Home>Garden Essentials>How Long To Let Pumpkin Seeds Dry
Garden Essentials
How Long To Let Pumpkin Seeds Dry
Modified: August 23, 2024
Discover the optimal drying time for pumpkin seeds in your garden. Learn how long to let them dry to ensure the tastiest and healthiest harvest.
(Many of the links in this article redirect to a specific reviewed product. Your purchase of these products through affiliate links helps to generate commission for Storables.com, at no extra cost. Learn more)
Introduction
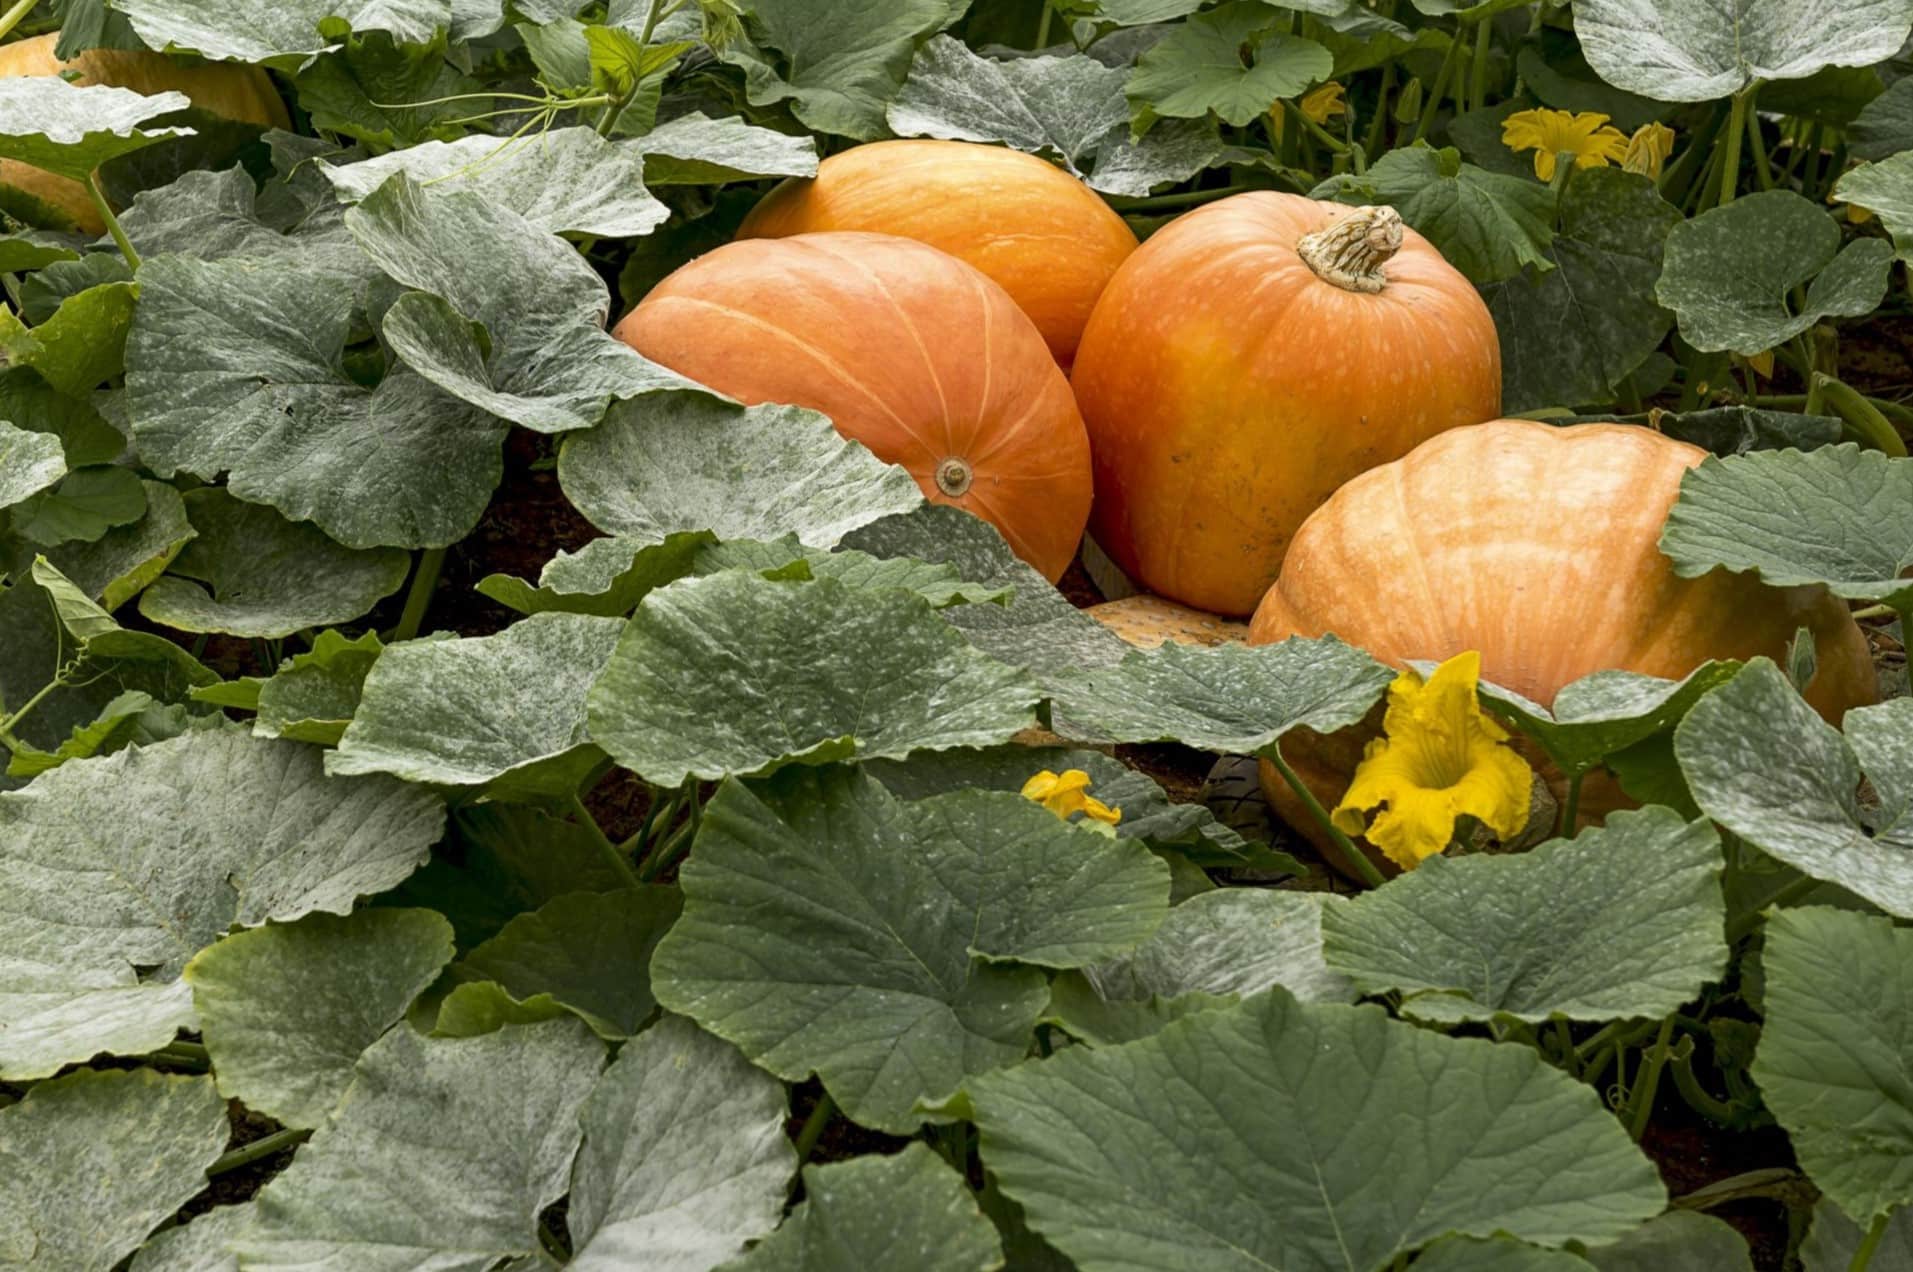
Growing pumpkins in your garden can be a rewarding experience. From the vibrant orange color to the delicious flesh, pumpkins bring joy to both Halloween and Thanksgiving celebrations. But did you know that the seeds inside these autumn treasures can also be utilized in a variety of ways?
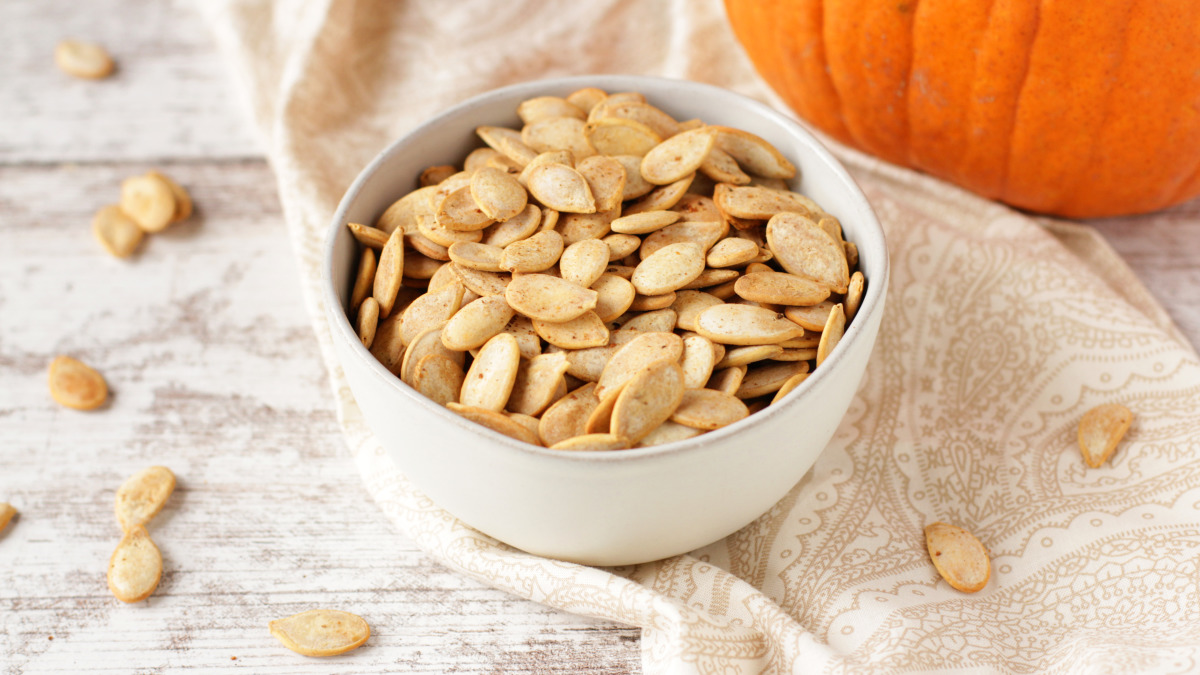
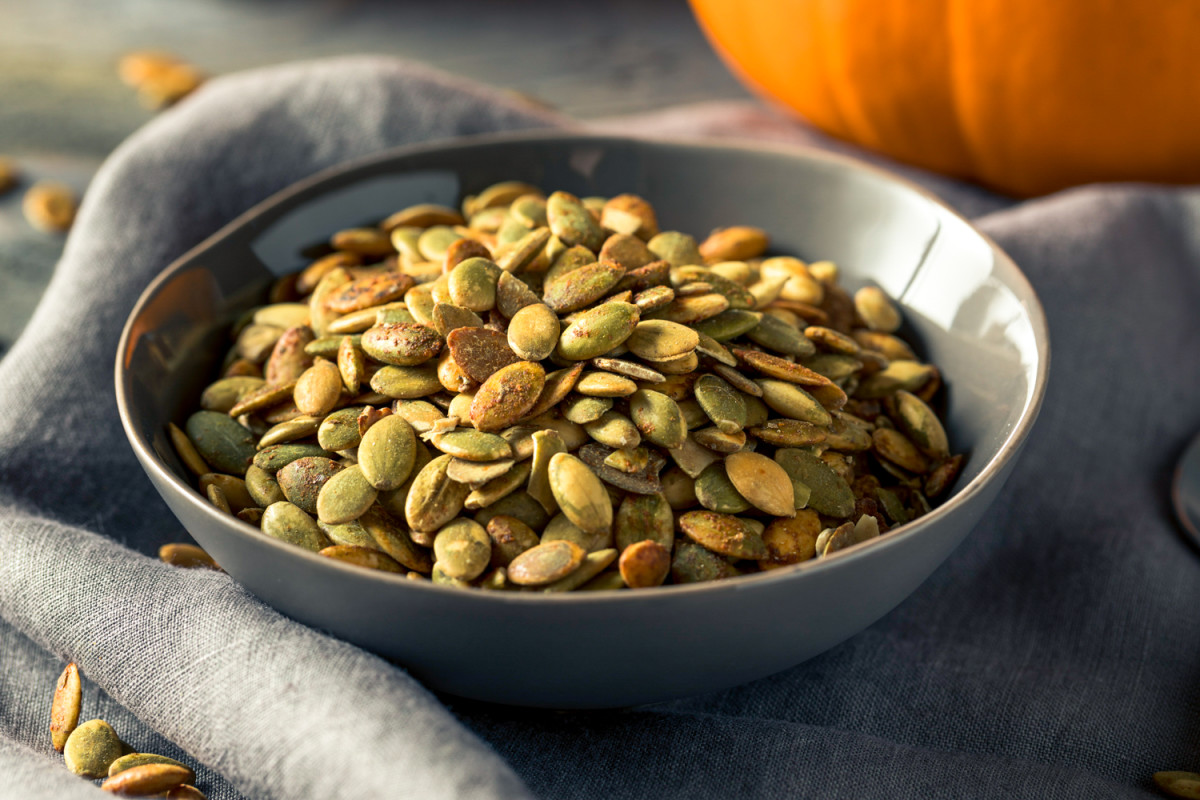
One important step in harnessing the full potential of pumpkin seeds is to properly dry them. Drying pumpkin seeds not only extends their shelf life but also enhances their flavor and texture, making them perfect for snacking, baking, or adding to your favorite dishes.
In this article, we will explore the process of drying pumpkin seeds and discuss why it is important. We will cover various methods for drying pumpkin seeds, including air drying and oven drying. Additionally, we will provide tips for determining the dryness of the seeds and guidelines for proper storage. So, let’s dive in and learn how to maximize the utility of this natural gift from the garden.
Key Takeaways:
- Don’t rush it! Properly drying pumpkin seeds enhances their flavor, extends shelf life, and ensures viability for future planting. Whether air drying or oven drying, patience is key for delicious results.
- Store smart! After drying, keep pumpkin seeds in airtight containers in a cool, dark place. Regularly check for mold and enjoy the crunchy, flavorful rewards of your garden harvest.
Read more: How Do You Dry Pumpkin Seeds
Why it’s important to dry pumpkin seeds
While you may be tempted to skip the drying process and go straight to roasting or planting your pumpkin seeds, taking the time to dry them properly has several benefits.
Firstly, drying pumpkin seeds helps to extend their shelf life. Freshly harvested seeds have a higher moisture content, making them more prone to mold and spoilage. By drying the seeds, you reduce the moisture content, increasing their longevity and ensuring that you can enjoy them for a longer period of time.
In addition to preserving the seeds, drying them also enhances their flavor. Moist seeds can taste bland and have a chewy texture. By drying them, the natural oils within the seeds concentrate, intensifying their flavor and giving them a satisfying crunch when roasted or eaten as a snack.
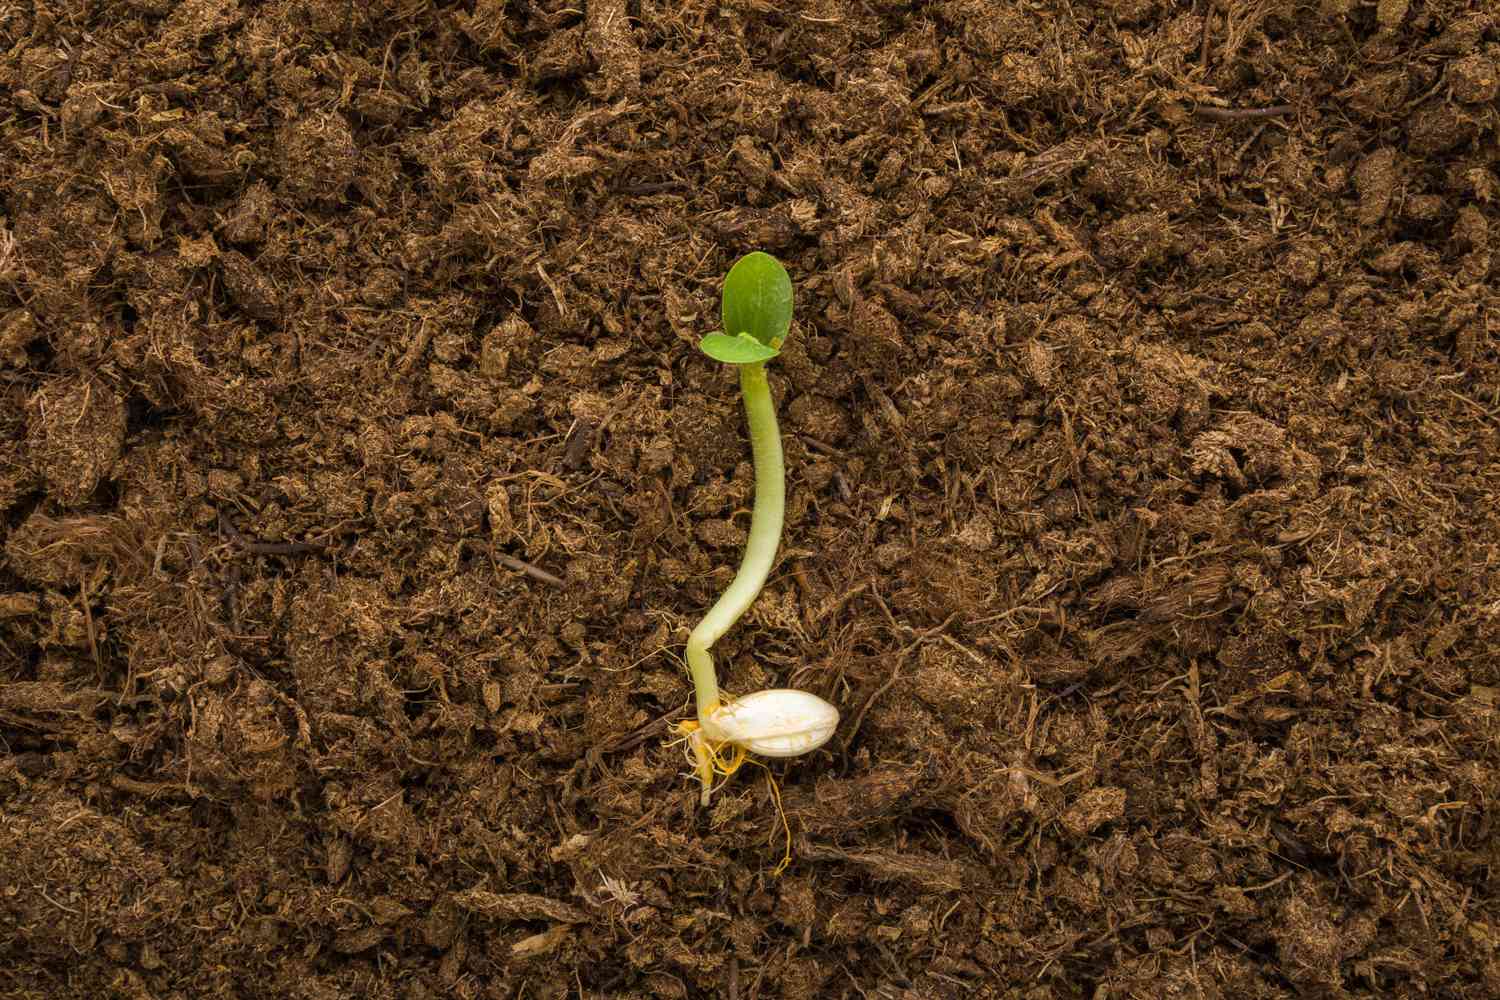
Drying pumpkin seeds is also crucial if you plan to store them for future planting. Excess moisture can lead to the growth of mold or fungus, which can harm the viability of the seeds. Properly drying them before storage ensures that they remain healthy and viable, ready to be planted when the next gardening season rolls around.
Drying pumpkin seeds is a step that shouldn’t be overlooked. Not only does it preserve their quality and extend their usability, but it also allows you to fully savor their flavor and texture. Now that we understand why it’s important to dry pumpkin seeds, let’s move on to the next step: harvesting the seeds.
Harvesting pumpkin seeds
Harvesting pumpkin seeds is an exciting part of the gardening journey. It involves selecting the perfect pumpkin, allowing it to fully mature, and extracting the seeds for further use. Here is a step-by-step guide to harvesting pumpkin seeds:
- Choose a mature pumpkin: Look for a pumpkin that has reached its peak color and has a hard rind. The stem should be brown and starting to dry out. Avoid selecting pumpkins that have soft spots or blemishes.
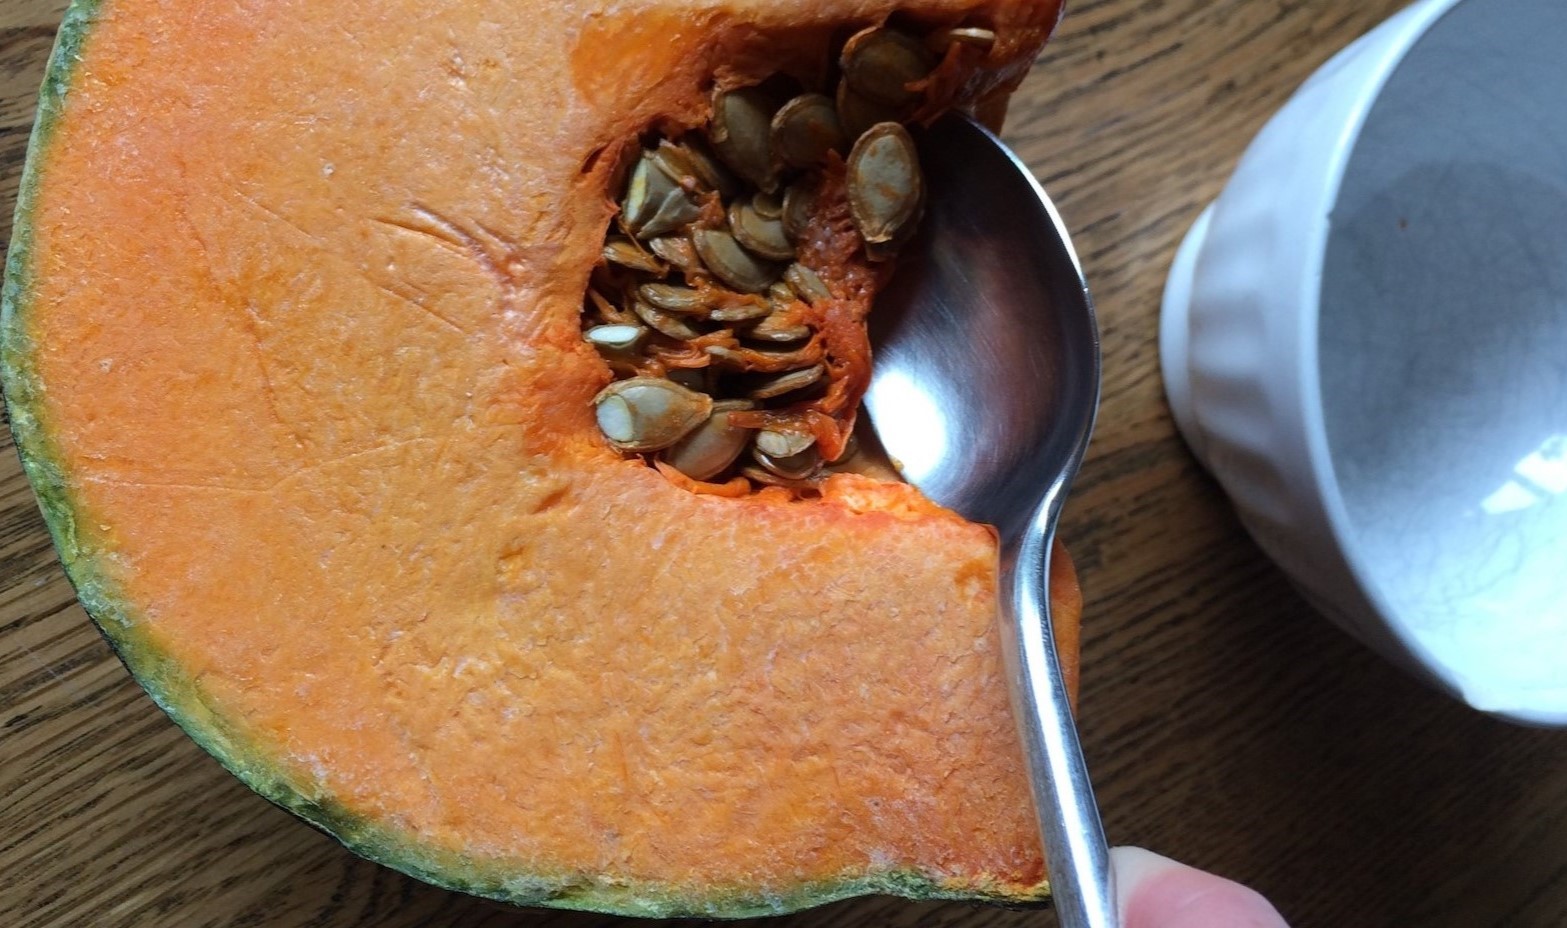
- Cut open the pumpkin: Use a sharp knife to carefully cut into the pumpkin near the stem. Take your time to ensure a clean cut and avoid damaging the seeds inside.
- Remove the seeds: Scoop out the seeds using a spoon or your hands. Place them in a container or bowl, separating them from the pulp as much as possible. Some pulp residue is okay, as it will be removed during the cleaning process.
- Rinse the seeds: Fill the container with water and swirl the seeds around. This will help remove any remaining pulp or stringy bits. Pour off the water and repeat the rinsing process until the seeds are mostly clean.
- Pat dry the seeds: Use a paper towel or clean cloth to gently pat the seeds dry. Avoid rubbing them too vigorously, as this may damage the seeds.
- Now that you’ve successfully harvested and cleaned the pumpkin seeds, it’s time to move on to the next step: drying them.
Harvesting pumpkin seeds is a wonderful way to make the most of your pumpkin harvest. Whether you plan to roast them for a tasty snack or save them for future planting, following these steps will ensure a successful seed harvesting experience. Once you have your clean pumpkin seeds, it’s time to prepare them for drying.
Cleaning pumpkin seeds
Cleaning pumpkin seeds is an essential step in the seed drying process. By removing any remaining pulp and debris, you ensure that the seeds are clean and ready for drying. Here’s how to clean pumpkin seeds effectively:
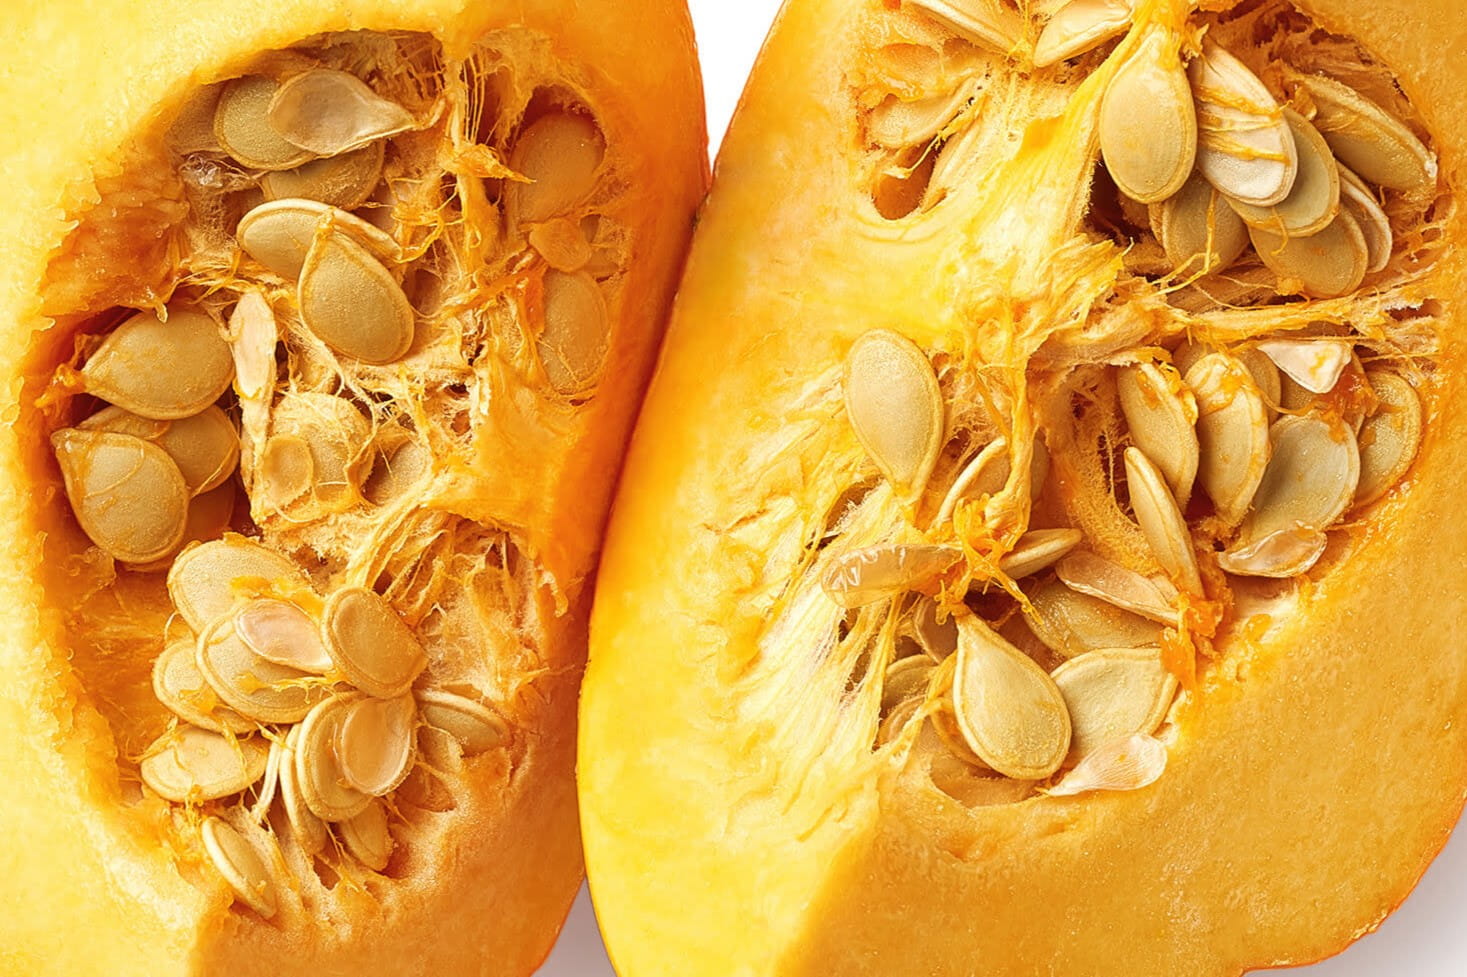
- Separate the seeds from the pulp: After removing the seeds from the pumpkin, place them in a colander or sieve. Use your hands or a spoon to separate the seeds from any remaining pumpkin pulp or stringy bits. Discard the pulp.
- Rinse the seeds: Rinse the seeds under cold running water. Gently rub them with your hands to remove any clinging pulp or debris. This step helps to ensure that the seeds are clean and free from any unwanted residue.
- Inspect the seeds: As you rinse the seeds, take the opportunity to visually inspect them. Remove any seeds that appear damaged, discolored, or moldy. It’s important to only dry and consume seeds that are healthy and in good condition.
- Drain the seeds: Once the seeds are clean, allow them to drain in the colander or on a clean towel. Shake off any excess water and let them air dry for a few minutes.
- Pat dry the seeds: After draining, use a paper towel or clean cloth to gently pat dry the seeds. Make sure to remove as much moisture as possible, as damp seeds may take longer to dry and can be more prone to mold growth.
By following these steps, you can ensure that your pumpkin seeds are clean and ready for the drying process. Cleaning the seeds removes any unwanted residue and prepares them for optimal drying. Now that your pumpkin seeds are clean and dry, it’s time to explore the different methods of drying them.
Methods for drying pumpkin seeds
There are several methods you can use to dry pumpkin seeds, depending on your preferences and resources. Here are two popular methods for drying pumpkin seeds: air drying and oven drying.
Read more: How Long To Soak Pumpkin Seeds
Air drying pumpkin seeds
Air drying is a simple and natural method for drying pumpkin seeds. Here’s how to air dry pumpkin seeds:
- Spread the seeds: After cleaning and patting dry the pumpkin seeds, spread them out in a single layer on a clean, dry surface. You can use a baking sheet, tray, or a mesh drying rack.
- Allow airflow: Place the seeds in a well-ventilated area with good airflow. This could be near an open window or a fan, but make sure they are protected from direct sunlight.
- Stir the seeds: Every few hours, gently stir the seeds to ensure even drying. This will help prevent them from sticking together or developing mold in areas with higher moisture content.
- Wait for complete drying: It typically takes around 1-2 weeks for pumpkin seeds to fully air dry. Test the seeds by biting into one; it should feel dry and crisp.
Air drying is a traditional and low-energy method for drying pumpkin seeds. However, it does require patience as it takes longer than other methods. If you’re looking for a quicker option, you can try oven drying.
Oven drying pumpkin seeds
Oven drying is a faster method for drying pumpkin seeds. Here’s how to oven dry pumpkin seeds:
- Preheat the oven: Preheat your oven to a low temperature, around 160°F (70°C).
- Spread the seeds: After cleaning and patting dry the seeds, spread them out in a single layer on a baking sheet. Make sure they’re not overlapping for even drying.
- Dry in the oven: Place the baking sheet with the seeds in the preheated oven. Keep the oven door slightly ajar to allow moisture to escape.
- Bake until dry: Bake the pumpkin seeds for about 1-2 hours, checking on them periodically. They should feel dry and crisp when done.
Oven drying provides a quicker turnaround time compared to air drying. However, it requires more energy consumption. Make sure to monitor the seeds closely to prevent them from burning.
Both air drying and oven drying methods can yield deliciously dry pumpkin seeds. Choose the method that suits your time constraints and resources. Once you’ve dried your pumpkin seeds, the next step is determining their dryness level.
Air drying pumpkin seeds
Air drying is a simple and natural method for drying pumpkin seeds. This method allows the seeds to gradually lose moisture and achieve the desired dryness. Here’s a step-by-step guide on how to air dry pumpkin seeds:
- Clean and pat dry the seeds: After harvesting and cleaning the pumpkin seeds, gently pat them dry with a paper towel. Removing excess water will help speed up the drying process.
- Spread the seeds: Place the cleaned and dried pumpkin seeds in a single layer on a clean, dry surface. You can use a baking sheet, tray, or a mesh drying rack, ensuring that the seeds are not overlapping.
- Select a well-ventilated area: Choose a well-ventilated area with good airflow to allow the seeds to dry properly. It’s important to keep them away from direct sunlight, as excessive heat can affect the quality of the seeds.
- Stir the seeds: Every few hours, gently stir the seeds to ensure even drying. This helps prevent them from sticking together and enables consistent air circulation.
- Monitor the drying process: It typically takes around 1-2 weeks for pumpkin seeds to fully air dry. Keep an eye on the seeds, checking for any signs of mold or moisture. Discard any seeds that show signs of spoilage.
- Test for dryness: To check if the seeds are dry enough, bite into one. It should feel dry and crisp. If the seeds are still chewy or soft, they require more time to dry.
- Complete the drying process: Once the pumpkin seeds are completely dry, transfer them to an airtight container or sealable bag for storage. Store them in a cool, dry place away from moisture and sunlight.
Air drying is an energy-efficient and straightforward method for drying pumpkin seeds. It requires minimal equipment and allows the seeds to naturally reach the desired level of dryness. With patience and careful monitoring, you can achieve perfectly dried pumpkin seeds ready for snacking or further use in culinary creations.
Now that you know how to air dry pumpkin seeds, you can enjoy the process and relish the rewards of your homegrown delights.
Oven drying pumpkin seeds
Oven drying is a quicker method for drying pumpkin seeds, ideal for those who want a faster turnaround time. This method utilizes low heat from an oven to remove moisture and dry the seeds. Here’s a step-by-step guide on how to oven dry pumpkin seeds:
- Clean and pat dry the seeds: After harvesting and cleaning the pumpkin seeds, gently pat them dry with a paper towel. Removing excess water will help ensure even drying.
- Preheat the oven: Preheat your oven to a low temperature, around 160°F (70°C). This gentle heat will gradually dry the seeds without burning or scorching them.
- Spread the seeds: Place the cleaned and dried pumpkin seeds in a single layer on a baking sheet. Make sure the seeds are spread out evenly and not overlapping.
- Dry in the oven: Place the baking sheet with the pumpkin seeds in the preheated oven. Keep the oven door slightly ajar to allow moisture to escape and promote airflow.
- Bake until dry: Bake the pumpkin seeds for about 1-2 hours, checking on them periodically. Stir or toss the seeds gently every 30 minutes to ensure even drying. The seeds are done when they are dry, crisp, and lightly golden in color.
- Cool and store: Remove the baking sheet from the oven and let the seeds cool completely. Once cooled, transfer them to an airtight container or sealable bag for storage. Ensure the container is placed in a cool, dry location away from moisture and sunlight.
Oven drying offers a faster drying time compared to air drying, making it a convenient option for those who are eager to enjoy their pumpkin seeds sooner. However, it’s crucial to monitor the seeds closely during the drying process to prevent them from burning or over-drying.
With oven drying, you can enjoy deliciously crispy pumpkin seeds in no time. Whether you’re snacking on them or using them in recipes, oven-dried pumpkin seeds add a delightful crunch to your culinary creations.
Now that you know how to oven dry pumpkin seeds, get ready to savor the delicious results of your efforts.
Determining the dryness of pumpkin seeds
Determining the dryness of pumpkin seeds is crucial to ensure that they are properly dried and ready for storage or consumption. Here are a few methods you can use to check the dryness of pumpkin seeds:
Visual inspection:
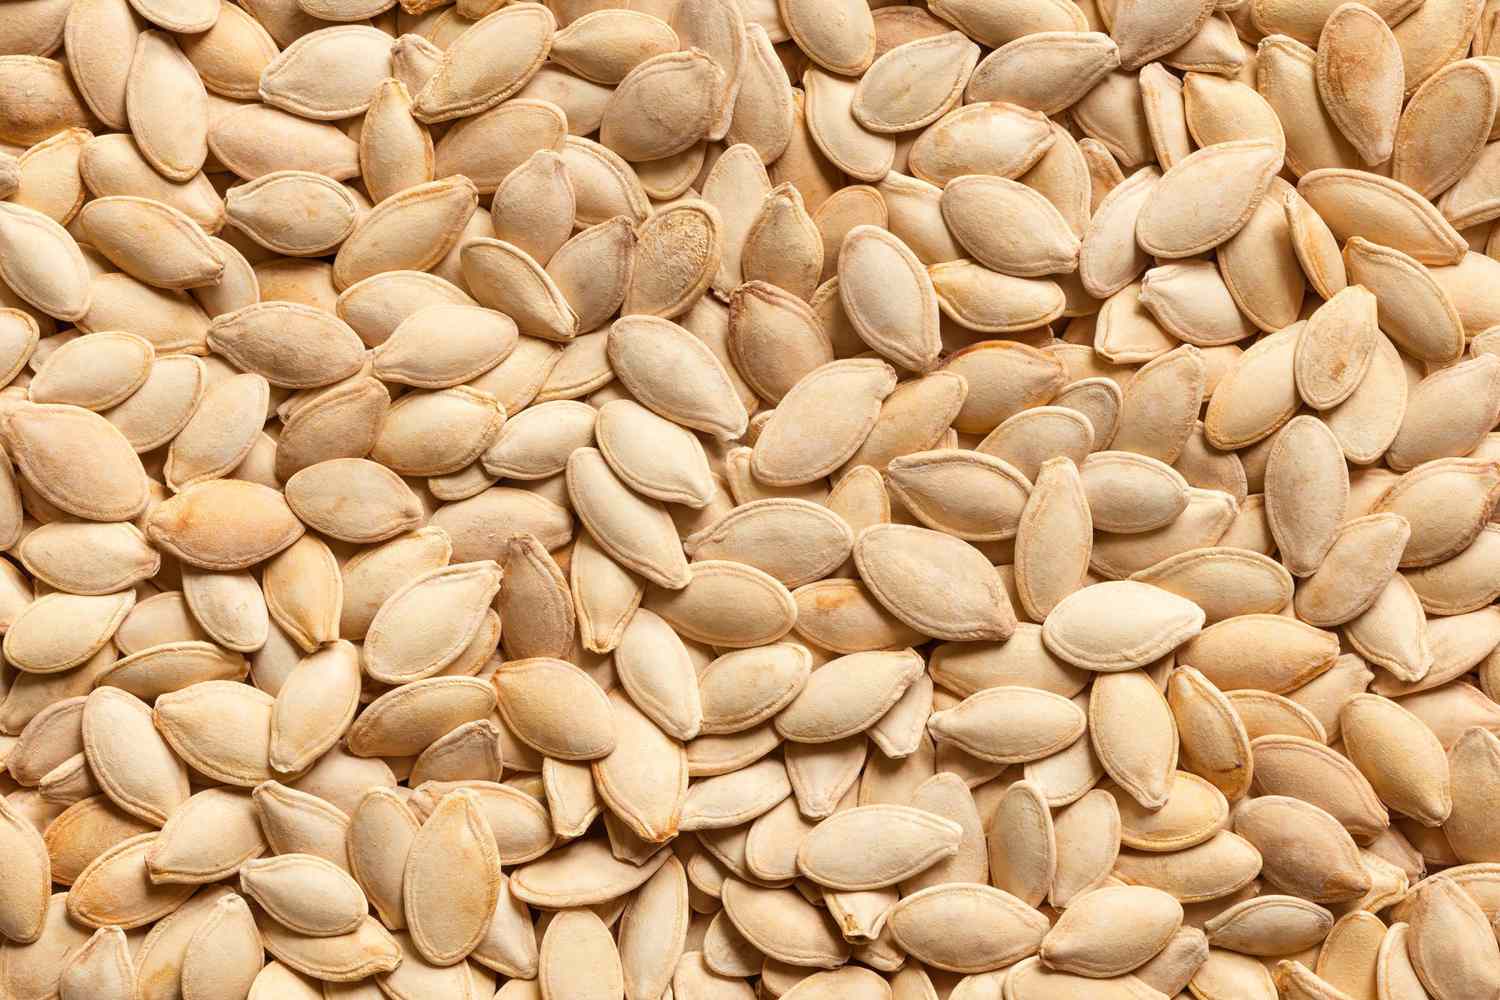
One way to determine the dryness of pumpkin seeds is through a visual inspection. Dry seeds will have a slightly lighter color and a crisp texture. They should not appear shiny or feel sticky to the touch. If the seeds still appear moist, they need more drying time.
Fingernail test:
Performing the fingernail test can also help assess the dryness of pumpkin seeds. Take a seed and press it with your fingernail. If the seed cracks or breaks easily, without any softness or moisture, it is considered dry. If the seed feels soft or squishy, it requires more time to dry.
Bite test:
A simple bite test can give you an indication of the dryness of pumpkin seeds. Take a seed and bite into it. Dry seeds will have a crisp texture and offer a satisfying crunch. If the seed feels chewy or soft, it needs further drying.
Read more: How Long To Grow A Pumpkin From Seed
Weighing the seeds:
Weighing the pumpkin seeds before and after drying can provide an objective measure of their dryness. Take a sample of seeds and weigh them before drying. Record the initial weight. After drying, weigh the seeds again. If the final weight is significantly lower than the initial weight, it indicates moisture loss and successful drying.
It’s important to note that the dryness level may vary depending on personal preference and the intended use of the seeds. Some prefer their pumpkin seeds slightly less dry for a chewier texture, while others prefer them completely dry and crispy.
Regardless of the method you choose, it’s essential to ensure that the pumpkin seeds are completely dry before storing them. Any residual moisture can lead to mold or spoilage, compromising their quality.
By employing these methods, you can confidently determine the dryness of your pumpkin seeds and enjoy their deliciousness or store them for future use. Now that the seeds are dry, let’s explore proper storage techniques.
Storing dried pumpkin seeds
Proper storage is key to maintaining the freshness and quality of dried pumpkin seeds. Here are some guidelines to ensure that your seeds stay in optimal condition:
Clean and fully dry the seeds:
Before storing the pumpkin seeds, make sure they are clean and completely dry. Any moisture left in the seeds can lead to mold or spoilage during storage.
Airtight containers:
Transfer the dried pumpkin seeds to airtight containers, such as glass jars or sealable plastic bags. Ensure that the containers are clean and dry before adding the seeds. Airtight containers prevent moisture from entering and help maintain the seeds’ crispness and flavor.
Read more: How Long To Bake Pumpkin Seeds At 350
Cool and dark location:
Store the airtight containers of dried pumpkin seeds in a cool and dark location. Exposure to heat, light, and humidity can degrade the quality of the seeds. A pantry or a cupboard away from direct sunlight is an ideal storage spot.
Avoid temperature fluctuations:
Fluctuations in temperature can affect the freshness of the pumpkin seeds. Avoid storing them near sources of heat, such as stoves or radiators. Additionally, avoid storing them in areas prone to temperature changes, like near windows or in the refrigerator.
Use-by date:
Label the containers with the date of drying. While properly stored pumpkin seeds can last up to a year, it’s still advisable to consume them within a reasonable period. The taste and texture may deteriorate over time, so it’s best to enjoy them while they are fresh.
Periodic inspection:
Check the stored pumpkin seeds periodically for any signs of moisture or mold. If you notice any discoloration, moisture, or off smells, discard the affected seeds to prevent spoilage from spreading to others.
Read more: How Long Does It Take Pumpkins To Germinate
Save seeds for planting:
If you plan to save some pumpkin seeds for planting in the future, store them separately from those intended for consumption. Place them in a labeled envelope or paper bag and store them in a cool, dry place. Ensure the seeds are completely dry before sealing the container.
By following these storage guidelines, you can enjoy the full flavor and freshness of your dried pumpkin seeds for an extended period. Whether you use them in recipes, as a snack, or for future plantings, properly stored pumpkin seeds will continue to add a delicious crunch to your culinary endeavors.
Tips for Drying Pumpkin Seeds
Drying pumpkin seeds properly is essential to ensure optimal flavor, texture, and shelf life. Here are some helpful tips to enhance the drying process and achieve the best results:
Start with clean seeds:
Thoroughly clean the pumpkin seeds, removing any pulp or debris. Rinsing them under cold water and patting them dry with a paper towel helps remove excess moisture.
Single-layer arrangement:
Spread the cleaned pumpkin seeds in a single layer during drying. This allows for proper airflow and even drying. Avoid overcrowding the seeds, as they may stick together and take longer to dry.
Read more: How Long Do Uncooked Pumpkin Seeds Last
Optimal drying environment:
Choose a well-ventilated area with good airflow for air drying. Avoid areas with high humidity or direct sunlight, as these can hinder the drying process or compromise the quality of the seeds.
Stir periodically:
Periodically stir the pumpkin seeds during drying. This ensures that all sides of the seeds are exposed to air and promotes even drying. Stirring also helps prevent the seeds from clumping together.
Be patient with air drying:
Air drying takes time and patience. It can take 1-2 weeks for pumpkin seeds to fully dry through this method. Avoid rushing the process, as proper drying is crucial for maintaining the seeds’ quality and extending their shelf life.
Monitor oven drying closely:
If using the oven drying method, closely monitor the seeds to prevent burning or over-drying. Set the oven temperature to a low setting and periodically check the seeds for dryness to ensure they don’t become too brittle.
Read more: How Long Do Cooked Pumpkin Seeds Last
Avoid excessive heat:
Avoid exposing the seeds to excessive heat, as this can affect their taste and texture. Slow drying at a moderate temperature helps preserve the flavor and ensures a satisfying crunch when eating.
Properly store dried seeds:
After the seeds are dry, transfer them to airtight containers and store them in a cool, dark place. This helps preserve their freshness and prevents moisture from affecting their quality.
Regularly check for mold or spoilage:
Inspect the dried pumpkin seeds periodically for any signs of mold or spoilage. If any seeds appear discolored or have a musty smell, discard them to prevent contamination.
By following these useful tips, you can achieve perfectly dried pumpkin seeds that are flavorful, crispy, and ready to be enjoyed or stored for future use. With a little care and attention, you can make the most of this delicious and versatile garden treasure.
Conclusion
Drying pumpkin seeds is a crucial step in fully utilizing the potential of this garden gem. Whether you plan to enjoy them as a nutritious snack or save them for future plantings, properly dried pumpkin seeds offer enhanced flavor, texture, and an extended shelf life.
In this article, we explored why it’s important to dry pumpkin seeds, emphasizing the benefits of extended shelf life, improved flavor, and viability for planting. We discussed the process of harvesting and cleaning pumpkin seeds, ensuring they are ready for drying.
We then delved into two popular methods for drying pumpkin seeds: air drying and oven drying. Air drying offers a natural and low-energy approach, while oven drying provides a quicker turnaround time. Both methods have their advantages, and you can choose the one that suits your preferences and available resources.
We also provided guidance on determining the dryness of pumpkin seeds using visual inspection, the fingernail test, bite test, and weighing. Properly assessing the dryness of the seeds ensures they are ready for storage or consumption.
Storing dried pumpkin seeds in airtight containers, in a cool and dark location, helps maintain their flavor, crispness, and overall quality. Regular inspection and removal of any spoiled seeds ensure the longevity of your stored seeds.
Finally, we shared useful tips to enhance the drying process, including starting with clean seeds, arranging them in a single layer, selecting an optimal drying environment, and being patient during air drying. We also emphasized the importance of monitoring oven drying closely, avoiding excessive heat, and properly storing the dried seeds.
By following the guidelines and tips outlined in this article, you can successfully dry and preserve pumpkin seeds, unlocking their potential for delicious snacking, baking, or future planting endeavors.
So, the next time you harvest pumpkins from your garden, remember to save those seeds and embark on the rewarding journey of drying them. Enjoy the flavors, crunch, and versatility that dried pumpkin seeds have to offer, and let your garden’s bounty continue to bring delight long after the harvest season is over.
Frequently Asked Questions about How Long To Let Pumpkin Seeds Dry
Was this page helpful?
At Storables.com, we guarantee accurate and reliable information. Our content, validated by Expert Board Contributors, is crafted following stringent Editorial Policies. We're committed to providing you with well-researched, expert-backed insights for all your informational needs.


0 thoughts on “How Long To Let Pumpkin Seeds Dry”