Home>Garden Essentials>How Long To Dry Pumpkin Seeds
Garden Essentials
How Long To Dry Pumpkin Seeds
Modified: March 15, 2024
Discover how long it takes to dry pumpkin seeds in your garden. Master the art of preserving your harvest with our expert tips and techniques.
(Many of the links in this article redirect to a specific reviewed product. Your purchase of these products through affiliate links helps to generate commission for Storables.com, at no extra cost. Learn more)
Introduction
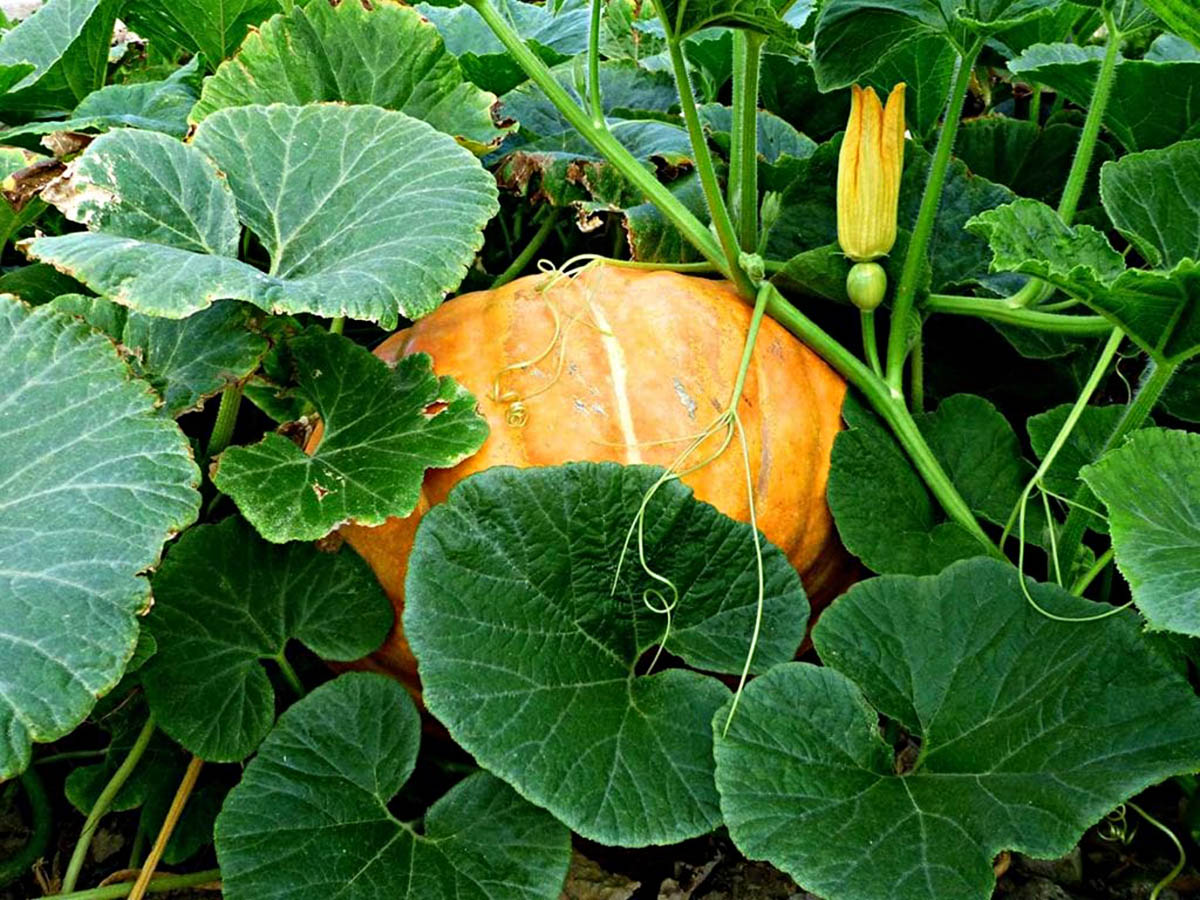
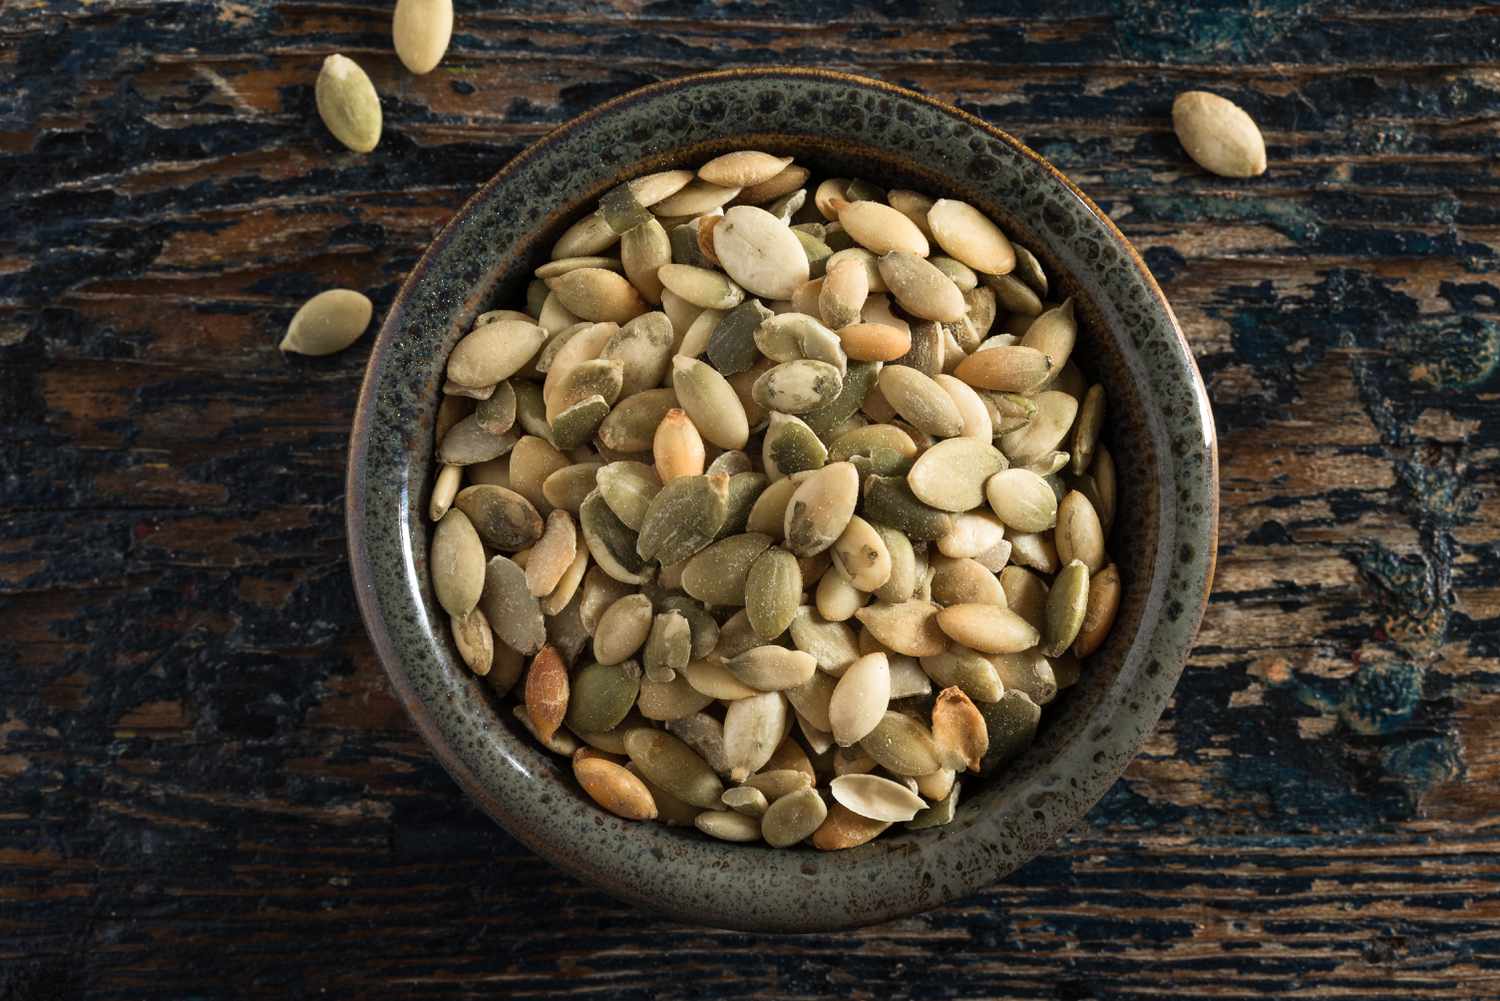
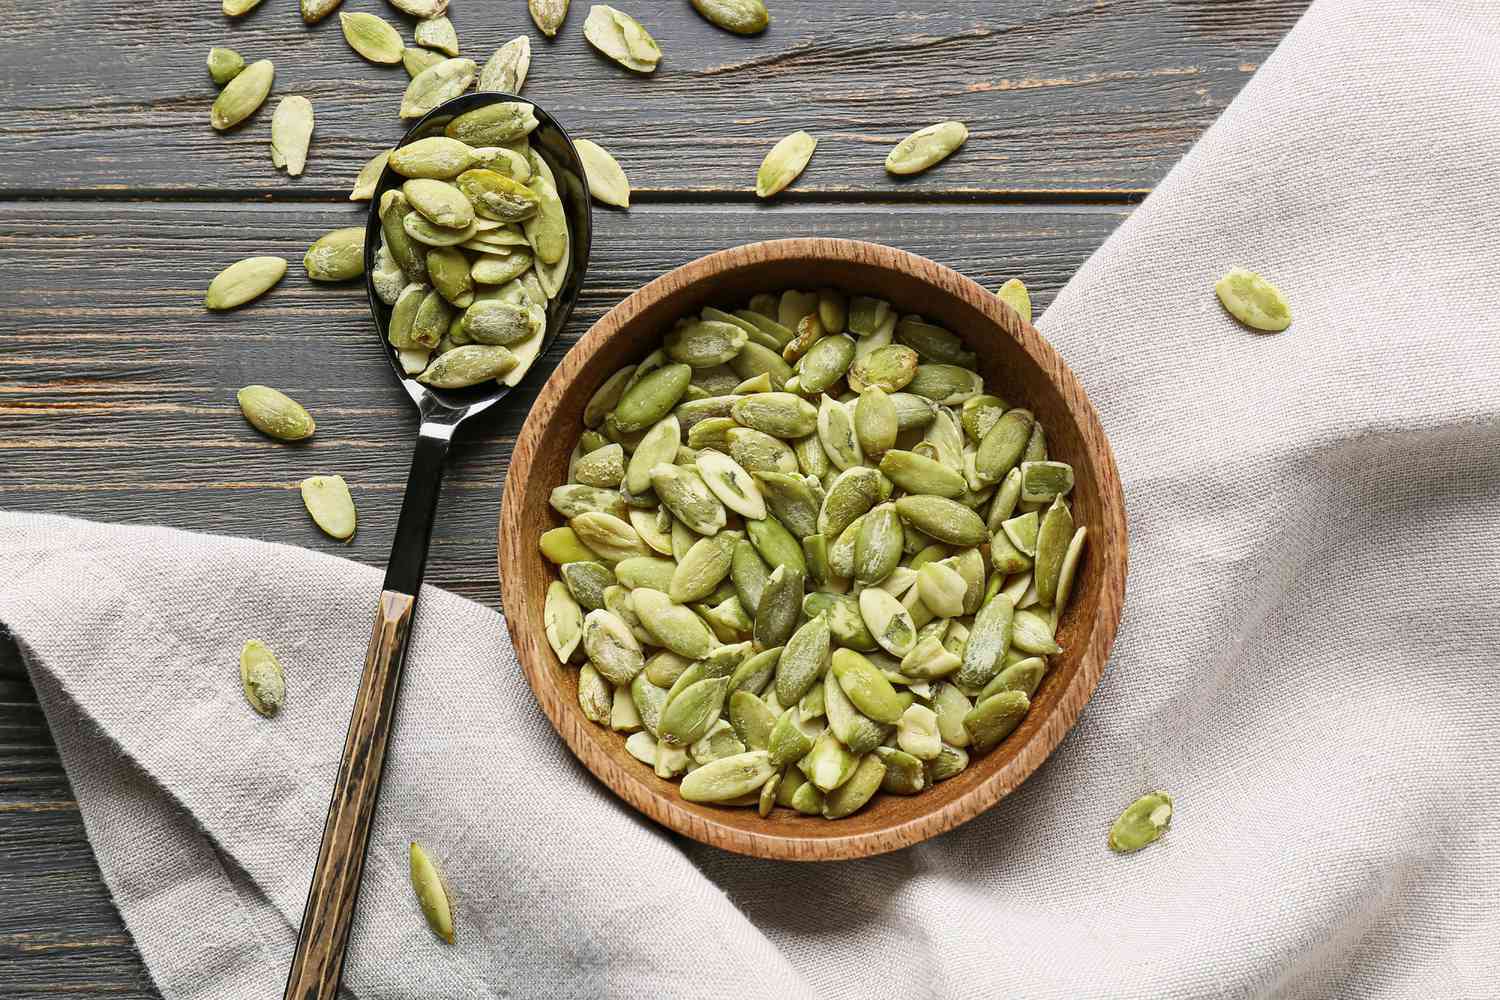
Pumpkin seeds, also known as pepitas, are a nutritious and versatile snack that can be enjoyed on their own or used as an ingredient in various dishes. When it comes to preserving pumpkin seeds for later use, drying is a popular method. Drying pumpkin seeds not only extends their shelf life but also enhances their flavor and texture. In this article, we will explore the importance of drying pumpkin seeds, factors affecting drying time, different drying methods, and provide useful tips for the optimal drying of pumpkin seeds.
Key Takeaways:
- Drying pumpkin seeds enhances their flavor, texture, and shelf life, making them a delicious and versatile snack or ingredient for year-round enjoyment.
- Factors such as seed size, moisture content, and drying method affect the drying time of pumpkin seeds, so it’s important to consider these when drying them.
Read more: How Long To Let Pumpkin Seeds Dry
Importance of Drying Pumpkin Seeds
Drying pumpkin seeds is a crucial step in preserving their freshness and ensuring their long-term storage. Freshly harvested pumpkin seeds contain moisture, which can lead to mold and spoilage if not properly dried. By drying the seeds, you remove excess moisture, minimizing the risk of bacterial growth and extending their shelf life.
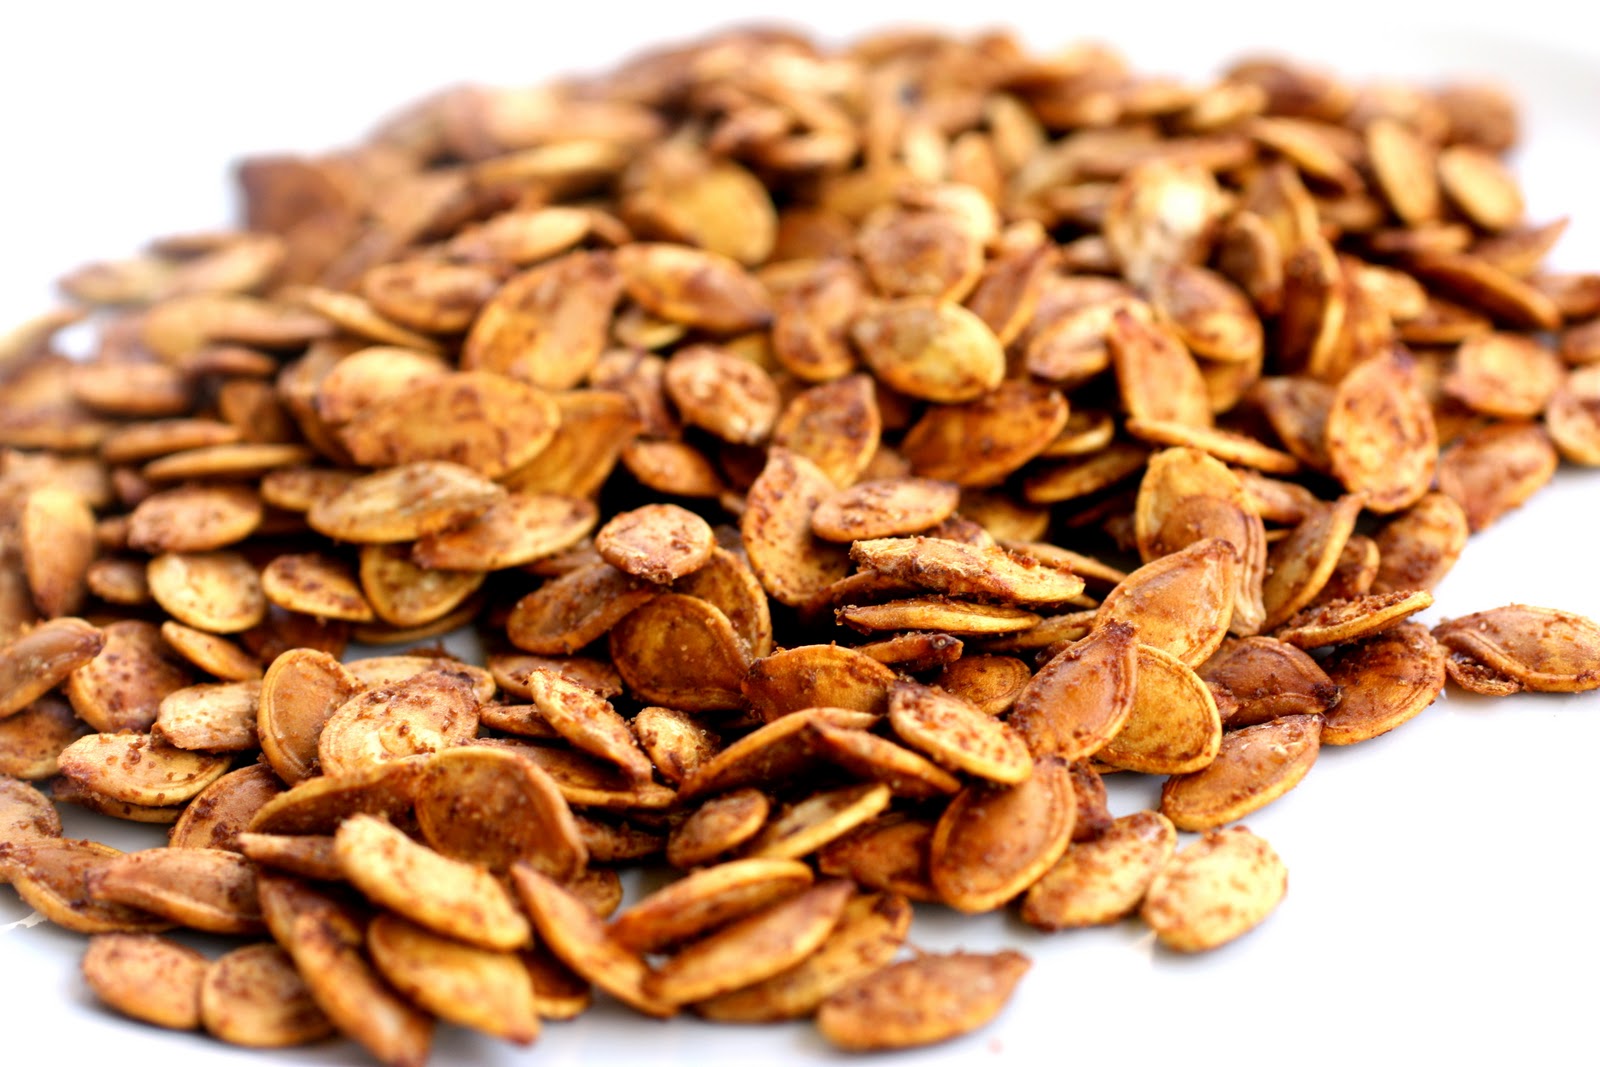
Furthermore, drying pumpkin seeds enhances both their flavor and texture. Freshly scooped-out pumpkin seeds are typically soft and have a higher water content, resulting in a chewy texture. Drying the seeds reduces their moisture content, resulting in a crispier and crunchier texture, making them more enjoyable to eat.
Dried pumpkin seeds also offer a longer storage life, allowing you to enjoy their goodness throughout the year. Properly dried seeds can be stored in airtight containers in a cool, dry place, keeping them fresh for several months. This is especially beneficial if you have a bountiful harvest and want to enjoy pumpkin seeds beyond the typical fall season.
In addition to the preservation benefits, drying pumpkin seeds can also enhance the flavors they offer. As moisture evaporates during the drying process, the natural flavors of the seeds become more concentrated. This intensifies their nutty and slightly sweet taste, making them even more delicious.
Dried pumpkin seeds are incredibly versatile and can be used in a variety of ways. They can be enjoyed as a healthy snack on their own, sprinkled over salads or yogurt, or incorporated into baked goods and savory dishes. By drying pumpkin seeds, you have a convenient and versatile ingredient on hand to enhance the flavors and nutritional value of your favorite recipes.
Factors Affecting Drying Time
When drying pumpkin seeds, several factors can influence the drying time. Understanding these factors will help you achieve optimal results and ensure that your pumpkin seeds are thoroughly dried.
- Pumpkin seed size: The size of the pumpkin seeds can impact the drying time. Smaller seeds tend to dry more quickly than larger ones. If you are drying a mix of different sized seeds, it is best to separate them and dry them accordingly.
- Seed moisture content: The initial moisture content of the seeds will affect the drying time. Seeds with higher moisture content will take longer to dry compared to those with lower moisture content. Harvesting seeds from fully ripe pumpkins and removing any excess pulp can help reduce the moisture content.
- Drying method: The method you choose for drying pumpkin seeds can also affect the drying time. Sun drying may take longer compared to using an oven or dehydrator due to the dependence on weather conditions. Air drying may also take longer, but it requires minimal effort.
- Ambient humidity: The humidity levels in your environment can impact the drying time. High humidity slows down the drying process, while low humidity speeds it up. Consider drying pumpkin seeds on a sunny and dry day when the humidity is low for quicker results.
- Seed thickness: Thicker pumpkin seeds may take longer to dry compared to thinner ones. Thicker seeds have a higher moisture content, which takes more time to evaporate. It is advisable to ensure consistent seed thickness for more even drying.
- Dryness preferences: Personal preferences for the dryness of pumpkin seeds can also affect the drying time. Some people prefer their seeds to be slightly chewy, while others prefer them to be fully crispy. Adjust the drying time accordingly to achieve the desired texture.
By considering these factors and making appropriate adjustments, you can effectively control the drying time and ensure that your pumpkin seeds are thoroughly dried and ready to be stored or enjoyed in your favorite recipes.
Methods for Drying Pumpkin Seeds
There are several methods you can use to dry pumpkin seeds, depending on your preferences and available resources. Each method offers different advantages and requires varying amounts of time and effort. Let’s explore some popular methods for drying pumpkin seeds.
- Sun Drying: This traditional method involves air drying the seeds under the sun. Spread the pumpkin seeds on a flat surface, such as a baking sheet or a mesh screen, in a single layer. Place them in a sunny spot with good airflow. It may take several days for the seeds to dry completely, depending on the weather conditions. Ensure the seeds are protected from birds and insects by covering them with a fine mesh net or cheesecloth.
- Oven Drying: If you prefer a faster and more controlled drying process, oven drying is a great option. Preheat your oven to a low setting, around 150°F (65°C). Spread the seeds in a single layer on a baking sheet lined with parchment paper or a silicone mat. Place the baking sheet in the oven and leave the door slightly ajar to allow moisture to escape. Stir the seeds occasionally for even drying. The drying time can range from 1 to 3 hours, depending on the size and moisture content of the seeds.
- Dehydrator Drying: If you have a food dehydrator, it can be an efficient way to dry pumpkin seeds. Follow the manufacturer’s instructions for drying seeds or use a low temperature setting, around 125°F (52°C), and spread the seeds in a single layer on the dehydrator trays. The drying time can vary from 4 to 8 hours, depending on the thickness and moisture content of the seeds.
- Air Drying: If you live in a dry climate, you can air dry pumpkin seeds by spreading them in a single layer on a clean, dry towel or a mesh screen. Place them in a well-ventilated area with good airflow. The drying time can range from a few days to a week, depending on the humidity levels and seed size.
Regardless of the method you choose, it is essential to regularly check the seeds for dryness. They should feel firm and crispy when completely dry. Keep in mind that drying times can vary depending on the factors discussed earlier, so it’s best to monitor the progress and adjust as needed.
Once the pumpkin seeds are thoroughly dried, you can store them in airtight containers in a cool, dry place. Properly dried and stored pumpkin seeds can remain fresh for several months, ensuring you have a delicious and nutritious snack or ingredient to enjoy whenever you desire.
Sun Drying
Sun drying is a traditional and cost-effective method for drying pumpkin seeds. It harnesses the natural heat and energy from the sun to gently remove moisture from the seeds, resulting in a deliciously crispy snack. Here’s a step-by-step guide on how to sun dry pumpkin seeds:
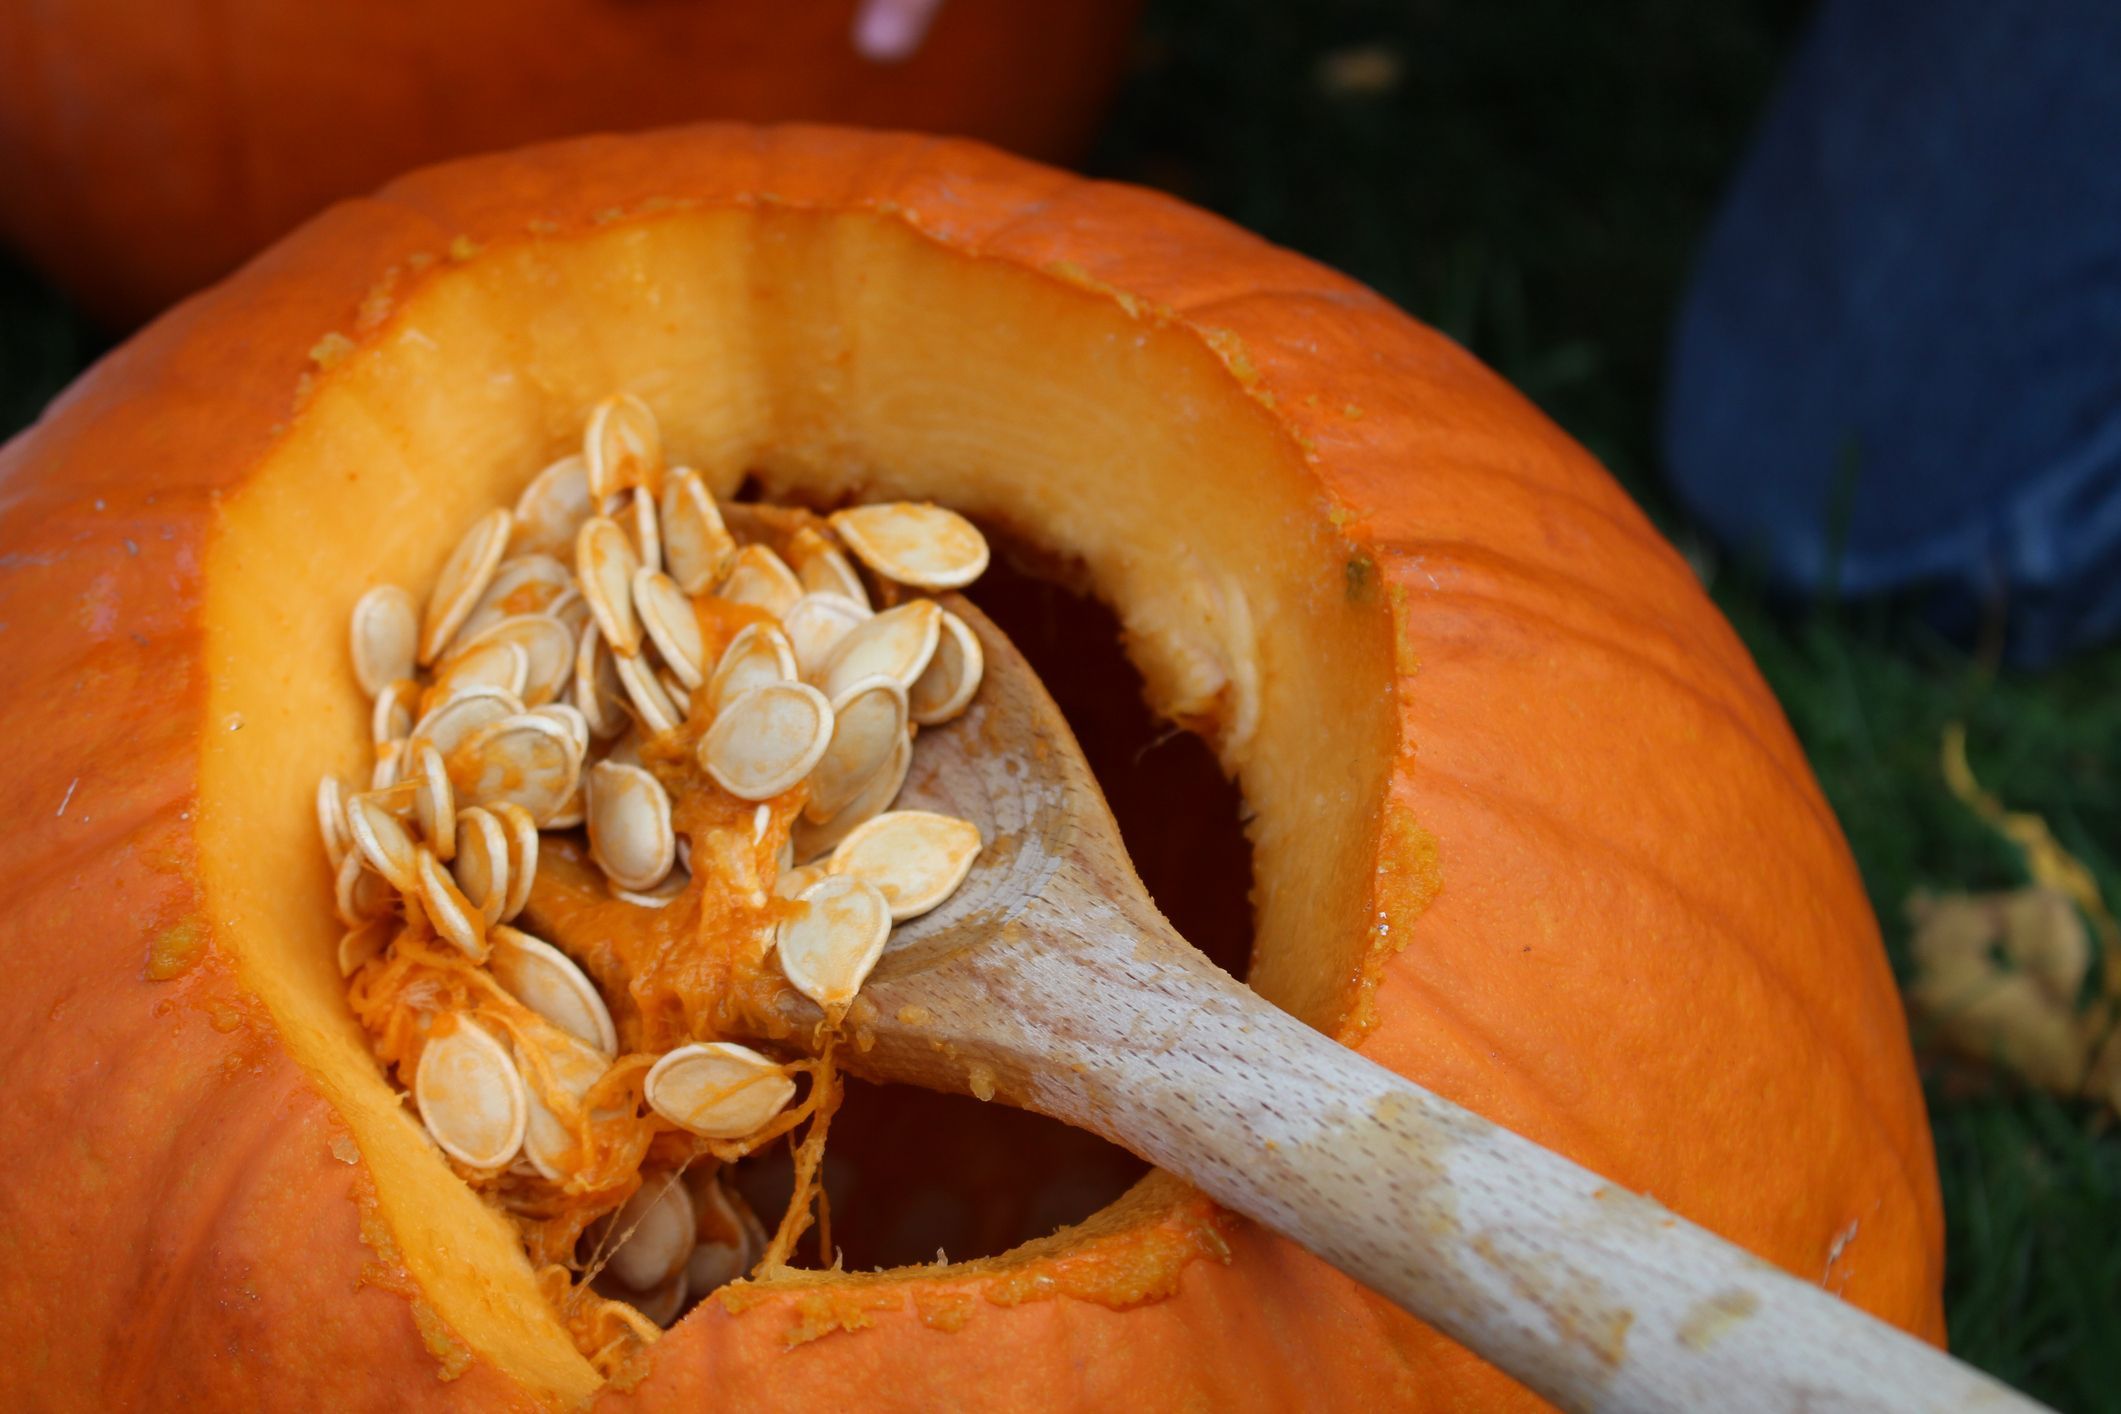
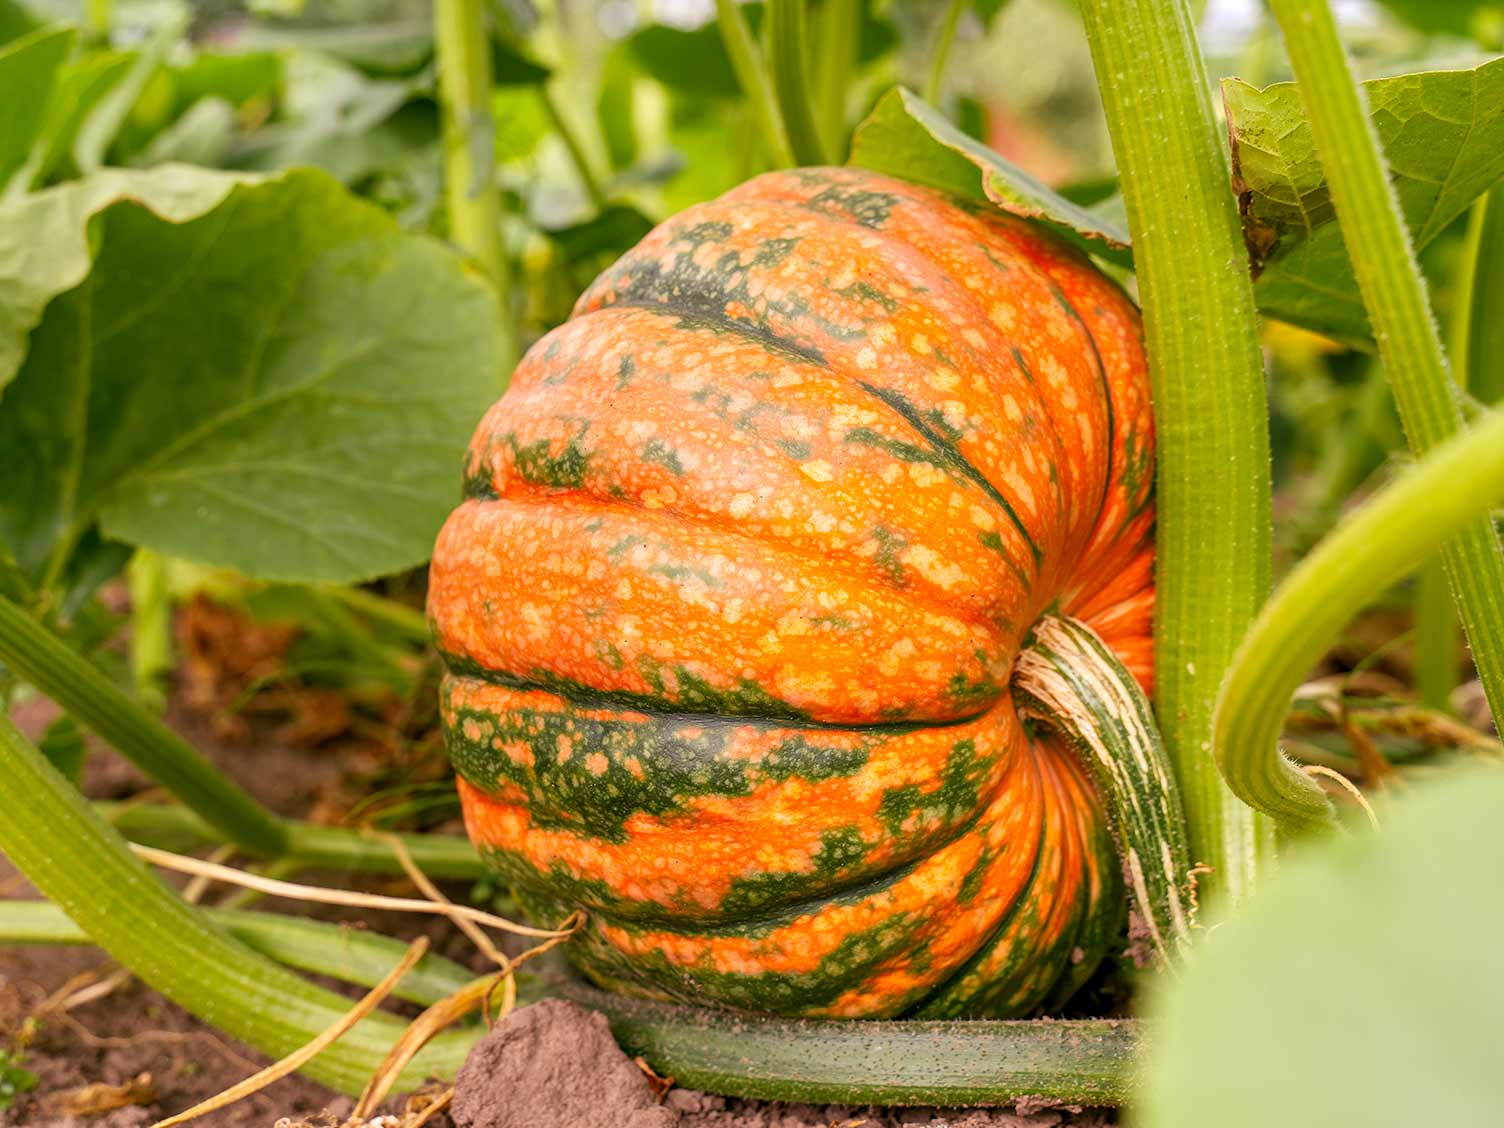
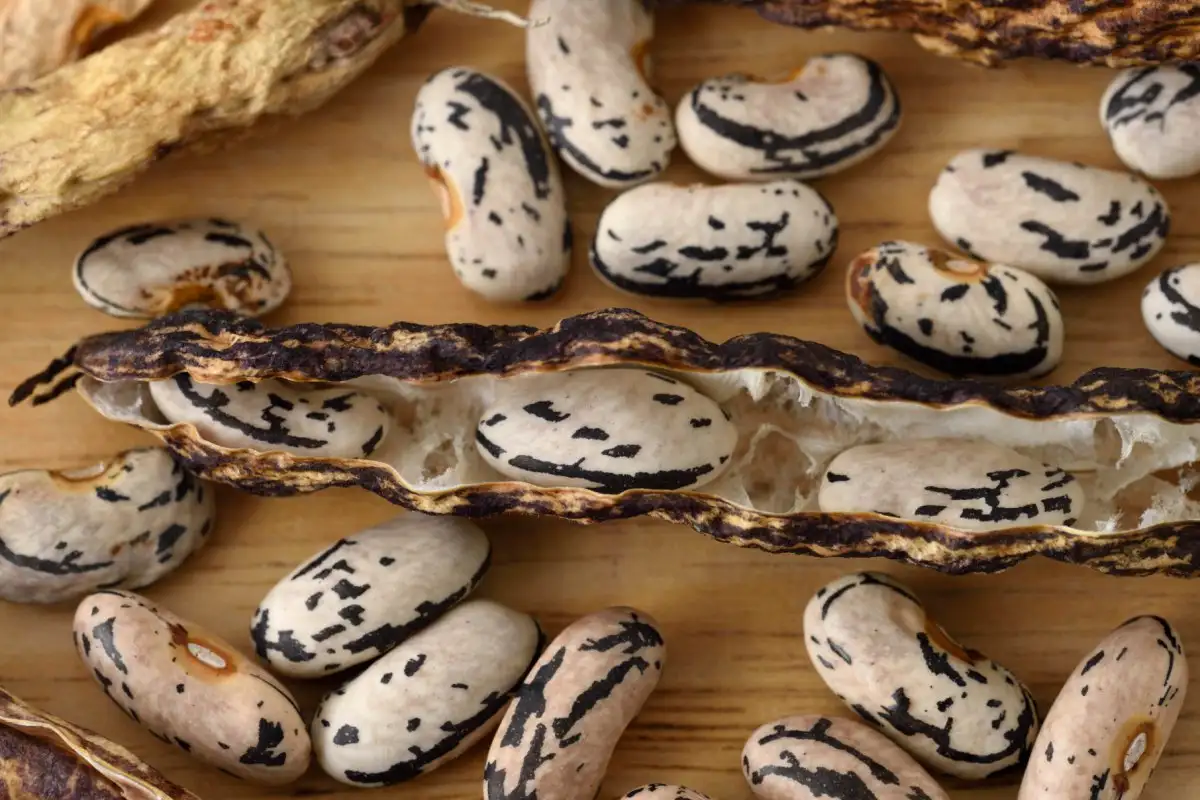
- Harvest and clean the seeds: Start by harvesting ripe pumpkin pods and scooping out the seeds. Remove any excess pulp and thoroughly rinse the seeds in a colander under running water to remove any remaining fibers.
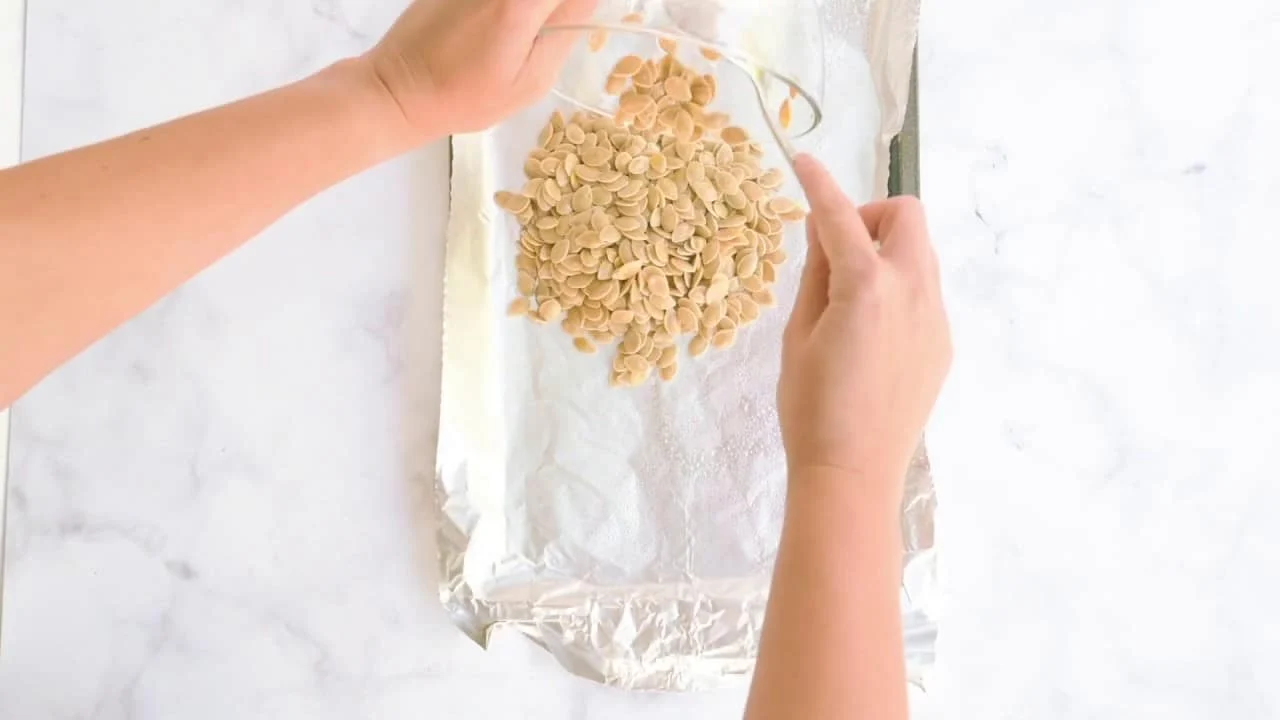
- Pat dry the seeds: Use a clean kitchen towel or paper towels to pat dry the pumpkin seeds. Spread them out on the towel, ensuring they are in a single layer. This will help remove excess water and promote faster drying.
- Prepare a drying area: Choose a flat surface for drying, such as a baking sheet or a mesh screen. You can also use a clean, dry towel or a piece of cheesecloth. Ensure the drying area is placed in a sunny spot where there is good airflow.
- Spread the seeds: Transfer the cleaned and dried pumpkin seeds to the chosen drying area. Make sure to spread them out in a single layer, allowing air circulation around each seed. Avoid overcrowding the seeds, as this can slow down the drying process and increase the risk of mold formation.
- Protect the seeds: Cover the drying area with a fine mesh net or cheesecloth to protect the seeds from birds or insects. This will ensure that your precious harvest remains undisturbed during the drying process.
- Rotate and monitor: To ensure even drying, rotate and flip the seeds every few hours. This will help expose all sides of the seeds to the sunlight and prevent uneven drying or potential mold growth.
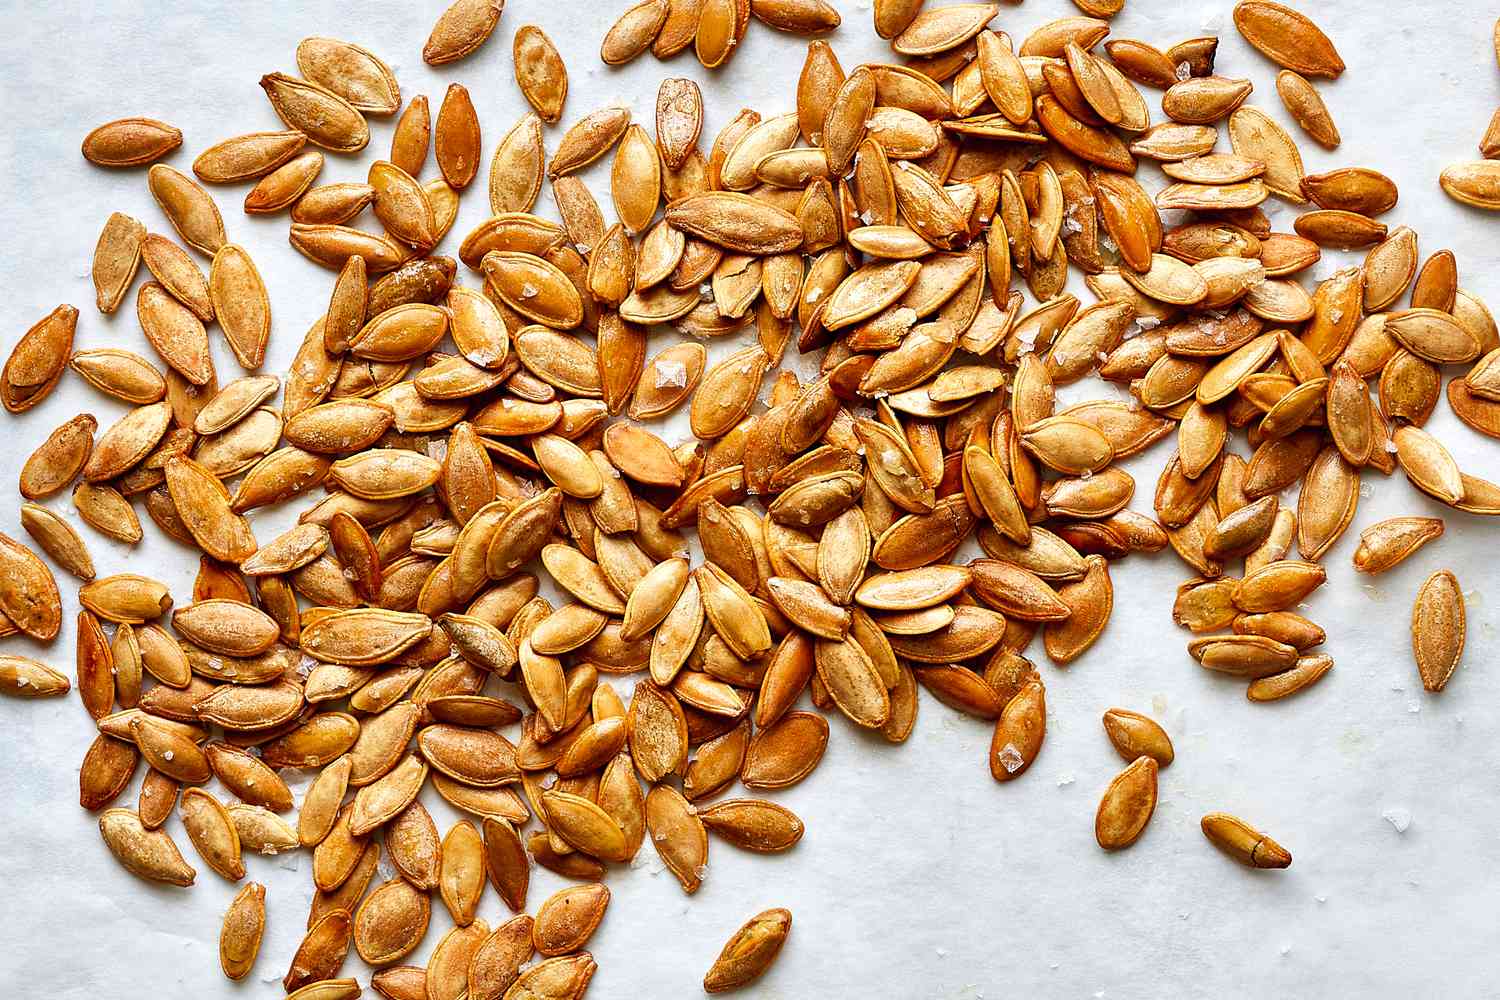
- Check for dryness: After a few days of sun drying, start checking the seeds for dryness. They should feel firm and crispy to the touch. To be sure, break a seed in half – it should snap easily without any signs of moisture. If the seeds are not completely dry, continue the drying process for a bit longer.
- Store or enjoy: Once the seeds are fully dried, allow them to cool completely before storing them in airtight containers. Keep the containers in a cool, dry place away from direct sunlight. Properly dried and stored pumpkin seeds can last for several months.
Sun drying is not only an effective method for drying pumpkin seeds but also a delightful way to connect with nature and make use of natural resources. Soak up the sun’s rays and enjoy the process of turning fresh pumpkin seeds into a delicious and nutritious snack or ingredient.
Read more: How Do You Dry Pumpkin Seeds
Oven Drying
Oven drying is a convenient and efficient method for drying pumpkin seeds. By using the controlled heat of your oven, you can achieve perfectly crispy and flavorful seeds. Here’s a step-by-step guide on how to oven dry pumpkin seeds:
- Preheat your oven: Start by preheating your oven to a low temperature of around 150°F (65°C). This low heat helps to gradually remove moisture from the seeds without cooking them.
- Clean and dry the seeds: After harvesting your pumpkin and scooping out the seeds, separate them from any pulp or strings. Rinse the seeds in a colander under running water and pat them dry using a kitchen towel or paper towels.
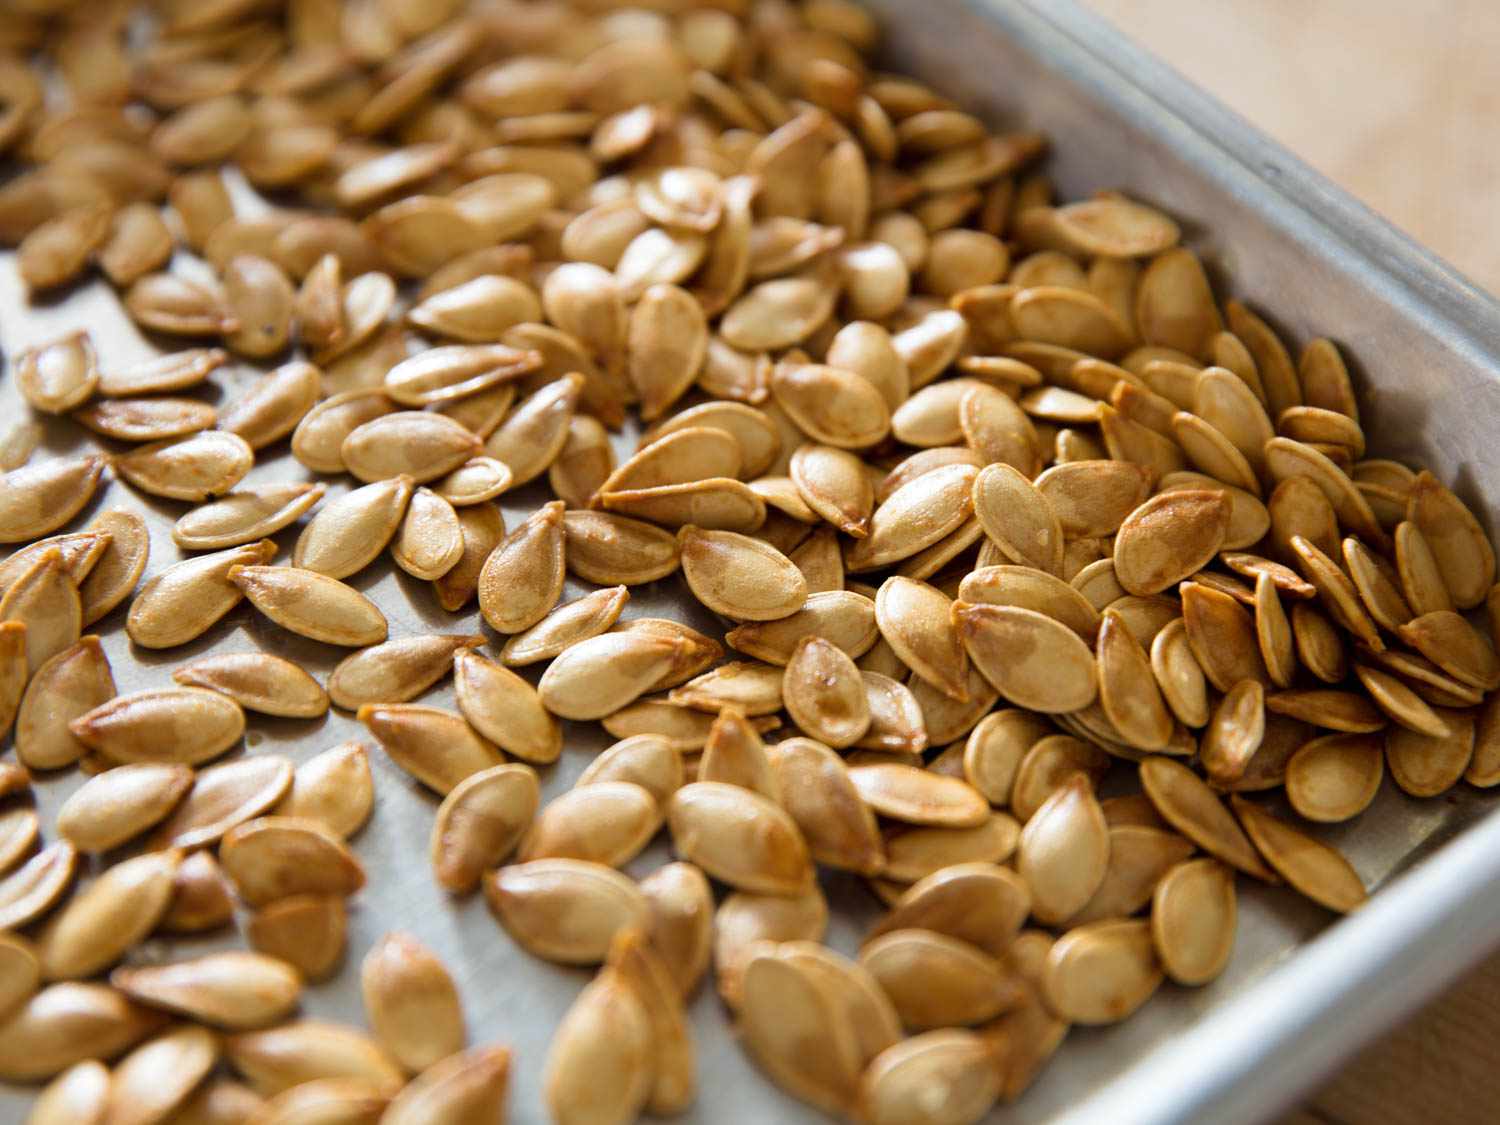
- Spread the seeds: Line a baking sheet with parchment paper or a silicone mat to prevent the seeds from sticking. Spread the cleaned and dried pumpkin seeds in a single layer on the prepared baking sheet. Make sure there is enough space between the seeds for air circulation.
- Place in the oven: Place the baking sheet with the pumpkin seeds in the preheated oven. Leave the oven door slightly ajar to allow moisture to escape during the drying process. This helps to prevent the seeds from becoming soggy.
- Stir occasionally: Stir the seeds every 15-20 minutes to ensure even drying. This helps to prevent any seeds from becoming too dry or burning. Gently shake the baking sheet to redistribute the seeds before stirring.
- Check for dryness: After about 1 to 3 hours, depending on the size and moisture content of the seeds, start checking for dryness. The seeds should be firm and crispy to the touch, without any signs of moisture. If they are not completely dry, continue drying them in the oven for a bit longer.
- Cool and store: Once the pumpkin seeds are thoroughly dried, remove them from the oven and allow them to cool completely on the baking sheet. This helps to ensure they reach room temperature and become extra crispy. Once cooled, transfer the seeds to an airtight container for storage.
Oven drying pumpkin seeds provides you with a fast and effective way to enjoy crispy and flavorful snacks or add a nutritious twist to your favorite recipes. Just remember to keep an eye on the seeds while they are drying to prevent over-drying or burning. With oven drying, you can enjoy the delicious goodness of perfectly dried pumpkin seeds throughout the year.
After removing pumpkin seeds from the pumpkin, rinse them and pat them dry with a paper towel. Then spread them in a single layer on a baking sheet and let them air dry for 24-48 hours, stirring occasionally, until completely dry. This will ensure crispy and delicious roasted pumpkin seeds.
Dehydrator Drying
Using a food dehydrator is a convenient and precise way to dry pumpkin seeds. Dehydrators provide low, consistent heat and optimal airflow to efficiently remove moisture from the seeds. Here’s a step-by-step guide on how to dehydrate pumpkin seeds using a food dehydrator:
- Prepare the seeds: Start by cleaning the pumpkin seeds and removing any pulp or strings. Rinse the seeds under running water and pat them dry with a kitchen towel or paper towels.
- Spread the seeds: Arrange the cleaned and dried pumpkin seeds in a single layer on the dehydrator trays. Make sure there is some space between the seeds for proper air circulation.
- Set the temperature: Based on the instructions of your dehydrator, set the temperature to around 125°F (52°C) for drying pumpkin seeds. This low temperature ensures slow and gentle drying without cooking the seeds.
- Start the drying process: Once the dehydrator is set to the desired temperature, place the trays with the pumpkin seeds inside the dehydrator. Ensure that the dehydrator door is properly closed to maintain a consistent drying environment.
- Monitor the drying progress: Allow the pumpkin seeds to dry in the dehydrator for 4 to 8 hours, depending on the thickness and moisture content of the seeds. During the drying process, periodically check the seeds for dryness, gently pressing them to make sure they are firm and crispy.
- Rotate the trays: For even drying, rotate the trays every couple of hours. This helps to ensure that all seeds dry uniformly and prevents any areas from becoming too dry or under-dried.
- Check for complete dryness: Once the pumpkin seeds are thoroughly dried, remove a few seeds and let them cool to room temperature. Break them in half to check if there is any moisture or softness in the center. If they are fully dry and crispy, the rest of the seeds are ready as well.
- Cool and store: After confirming that the pumpkin seeds are completely dry, allow them to cool on the dehydrator trays before transferring them to airtight containers. Properly dried pumpkin seeds can be stored in a cool, dry place for several months.
Using a dehydrator offers precise control over the drying process, resulting in perfectly dehydrated pumpkin seeds. This method ensures that the seeds retain their flavor, texture, and nutritional value while giving you a convenient and delicious snack or ingredient to enjoy year-round.
Air Drying
Air drying is a simple and low-cost method for drying pumpkin seeds. This method relies on natural airflow and evaporation to remove moisture from the seeds. Here’s a step-by-step guide on how to air dry pumpkin seeds:
- Harvest and clean the seeds: Begin by harvesting fully ripe pumpkin pods and extracting the seeds. Separate the seeds from any pulp or strings and rinse them under running water to remove any remaining debris.
- Pat dry the seeds: Gently pat the pumpkin seeds dry using a clean kitchen towel or paper towels. Make sure to remove as much surface moisture as possible to facilitate drying.
- Spread the seeds: Lay the cleaned and dried pumpkin seeds in a single layer on a clean, dry towel or a mesh screen. Ensure that the seeds are evenly spaced and not clumped together.
- Choose a drying location: Place the towel or mesh screen with the pumpkin seeds in a well-ventilated area with good airflow. Ideally, choose a spot away from direct sunlight to avoid overheating the seeds.
- Allow for sufficient drying time: Depending on the ambient humidity and temperature, air drying pumpkin seeds can take anywhere from a few days to a couple of weeks. Be patient and allow enough time for the seeds to dry thoroughly.
- Rotate and monitor: Every day, gently stir or rotate the pumpkin seeds to expose different sides to the air. This ensures that all parts of the seeds dry evenly and helps prevent any moisture accumulation.
- Check for dryness: After the recommended drying time, check a few pumpkin seeds to ensure they are completely dry. Crack them open – they should be firm and crisp with no signs of moisture. If they are not fully dry, continue air drying for a bit longer.
- Store or enjoy: Once the pumpkin seeds are adequately dried, transfer them to airtight containers for storage. Keep the containers in a cool, dry place away from moisture to maintain the seeds’ crispness and shelf life.
Air drying pumpkin seeds may take more time compared to other methods, but it is a simple and effective way to preserve their flavor and nutritional value. Enjoy the natural process of drying as you transform fresh pumpkin seeds into a delicious and nutritious snack or ingredient.
Tips for Drying Pumpkin Seeds
Drying pumpkin seeds requires careful attention to detail to ensure optimal results. Here are some helpful tips to consider when drying pumpkin seeds:
- Thoroughly clean the seeds: After scooping out the seeds from the pumpkin, rinse them thoroughly under running water to remove any residual pulp or fibers. This ensures that the seeds dry evenly and prevents any unwanted flavors.
- Pat dry the seeds: Before drying, pat the pumpkin seeds dry with a kitchen towel or paper towels. Removing excess moisture accelerates the drying process and helps prevent the seeds from becoming moldy.
- Spread the seeds evenly: Whether you’re air drying, sun drying, using an oven, or dehydrator, make sure to spread the seeds in a single layer for even drying. This allows for better airflow and consistent drying of all the seeds.
- Rotate or stir the seeds: To ensure uniform drying, rotate or stir the seeds regularly during the drying process. This helps expose all sides of the seeds to the drying method being used and prevents them from clumping together.
- Monitor the drying time: Different drying methods and seed sizes may require varying amounts of time to dry completely. Regularly check the seeds for dryness, and adjust the drying time as needed to ensure they reach the desired crispy texture.
- Avoid high humidity: Choose a dry and well-ventilated area for drying the pumpkin seeds. High humidity can prolong the drying process and increase the risk of mold formation. If necessary, use a dehumidifier or air conditioner to create a suitable drying environment.
- Adjust the drying temperature: Depending on your chosen method, adjusting the temperature may be necessary. Lower temperatures are recommended to prevent overcooking or burning the seeds, while higher temperatures can speed up drying but may risk uneven results.
- Store in airtight containers: Once the pumpkin seeds are thoroughly dried, transfer them to airtight containers for storage. This helps maintain their crispiness and extends their shelf life. Store them in a cool, dry place away from direct sunlight and moisture.
Following these tips will help you achieve perfectly dried pumpkin seeds that are flavorful and ready to enjoy as a healthy snack or ingredient in your favorite recipes. With a little care and attention, you can savor the delicious taste of home-dried pumpkin seeds even beyond the harvest season.
Read more: How Long To Soak Pumpkin Seeds
Recommended Drying Times
The drying time for pumpkin seeds can vary depending on factors such as seed size, moisture content, and the drying method used. While there is no exact time frame that applies to all situations, here are some general guidelines to help you estimate the drying times for different methods:
- Sun Drying: Sun drying typically takes several days to a week, depending on the weather conditions and seed size. Seeds exposed to direct sunlight and warm temperatures can dry faster than those in cooler or cloudy weather.
- Oven Drying: Drying pumpkin seeds in the oven usually takes between 1 to 3 hours. The exact time can vary based on seed size, oven temperature, and desired dryness. Keep a close eye on the seeds and check for dryness frequently to avoid overcooking.
- Dehydrator Drying: Using a food dehydrator, pumpkin seeds can take approximately 4 to 8 hours to dry thoroughly. The drying time may vary depending on seed thickness, moisture content, and the specific dehydrator model and settings used.
- Air Drying: Air drying pumpkin seeds can take anywhere from a few days to a couple of weeks, depending on humidity levels, seed size, and airflow. Patience is key when air drying, as the process relies on natural evaporation.
It’s important to note that these recommended drying times are approximate and can vary based on individual circumstances. Factors such as seed moisture content, ambient humidity levels, and personal preferences for the final texture can influence the actual drying time. Regularly check the seeds for dryness and adjust the drying time accordingly to achieve your desired results.
Remember that achieving proper dryness is crucial for preserving the flavor and quality of the pumpkin seeds. Overdrying can result in a burnt or bitter taste, while underdried seeds may be susceptible to mold or spoilage. Always conduct a final test by breaking a seed in half to ensure there is no moisture or softness in the center.
By following these general guidelines and paying attention to the specific conditions of each drying method, you can successfully dry your pumpkin seeds to a crisp and delicious perfection.
Conclusion
Drying pumpkin seeds is a crucial step in preserving their freshness, enhancing their flavor, and extending their shelf life. Whether you choose sun drying, oven drying, dehydrator drying, or air drying, each method offers its own advantages and ensures that the seeds are thoroughly dried.
The importance of drying pumpkin seeds lies in their long-term storage potential and improved texture. Drying removes excess moisture, preventing mold growth and spoilage. It also enhances the flavor, concentrating the nutty and slightly sweet taste of the seeds. The resulting crispy texture makes them more enjoyable to eat as a snack or as an ingredient in various dishes.
Understanding the factors that affect drying time, such as seed size, moisture content, and drying method, can help you achieve the best results. By considering these factors and following the recommended drying times and techniques, you can ensure that your pumpkin seeds are thoroughly dried and ready to be stored or enjoyed.
Whether you choose to sun dry the seeds to connect with nature, use the convenience of your oven or dehydrator for faster results, or opt for air drying to enjoy the simplicity of the process, each method offers a unique experience. Whichever method you choose, remember to monitor the drying progress, rotate or stir the seeds for even drying, and store them in airtight containers to maintain their crispness and freshness.
Dried pumpkin seeds are not only a nutritious and flavorful snack but also a versatile ingredient. Incorporate them into your favorite recipes such as salads, baked goods, or as a crunchy topping for yogurt or cereal. With properly dried and stored pumpkin seeds, you can enjoy their delightful taste and nutritional benefits throughout the year.
So, embrace the art of drying pumpkin seeds and discover the joys of preserving this delicious and nutritious snack. Let the drying process enhance their flavor, prolong their shelf life, and open up a world of culinary possibilities. Happy drying!
Frequently Asked Questions about How Long To Dry Pumpkin Seeds
Was this page helpful?
At Storables.com, we guarantee accurate and reliable information. Our content, validated by Expert Board Contributors, is crafted following stringent Editorial Policies. We're committed to providing you with well-researched, expert-backed insights for all your informational needs.


0 thoughts on “How Long To Dry Pumpkin Seeds”