Home>Garden Essentials>How To Separate Pumpkin Seeds
Garden Essentials
How To Separate Pumpkin Seeds
Modified: March 15, 2024
Learn how to separate pumpkin seeds from the garden with this easy step-by-step guide.
(Many of the links in this article redirect to a specific reviewed product. Your purchase of these products through affiliate links helps to generate commission for Storables.com, at no extra cost. Learn more)
Introduction
Gardening enthusiasts and pumpkin lovers alike often find themselves faced with the task of separating pumpkin seeds from the flesh. Whether you plan to roast the seeds for a delicious snack or save them for future planting, knowing how to separate pumpkin seeds is an essential skill.
In this article, we will guide you through the step-by-step process of removing, cleaning, and drying pumpkin seeds. By following these instructions, you can ensure that your pumpkin seeds are properly separated and ready for whatever purpose you have in mind.
But before we dive into the details, let’s talk about the tools and materials you will need for this task.
Key Takeaways:
- Don’t let pumpkin seeds scare you! With a few simple tools and steps, you can easily separate, clean, and dry them for roasting or planting. It’s a fun and rewarding activity for all pumpkin lovers!
- Gather your tools and follow the steps to separate, clean, and dry pumpkin seeds. Once they’re ready, store them properly for future use. It’s a practical and enjoyable process that anyone can master!
Read more: How To Plant Pumpkin Seeds
Tools and Materials Needed
Before you embark on the journey of separating pumpkin seeds, it’s important to gather the necessary tools and materials. Here’s what you will need:
- A sharp knife or pumpkin carving tool
- A large spoon or ice cream scoop
- A colander or strainer
- A bowl or bucket
- A clean towel or paper towels
- A baking sheet or tray
- Parchment paper or aluminum foil
- Airtight containers or ziplock bags for storage
Make sure these items are readily available before you start the pumpkin seed separation process. Having everything prepared will streamline the task and make the experience more enjoyable.
Now that you have your tools and materials ready, let’s move on to the first step: removing the pumpkin seeds.
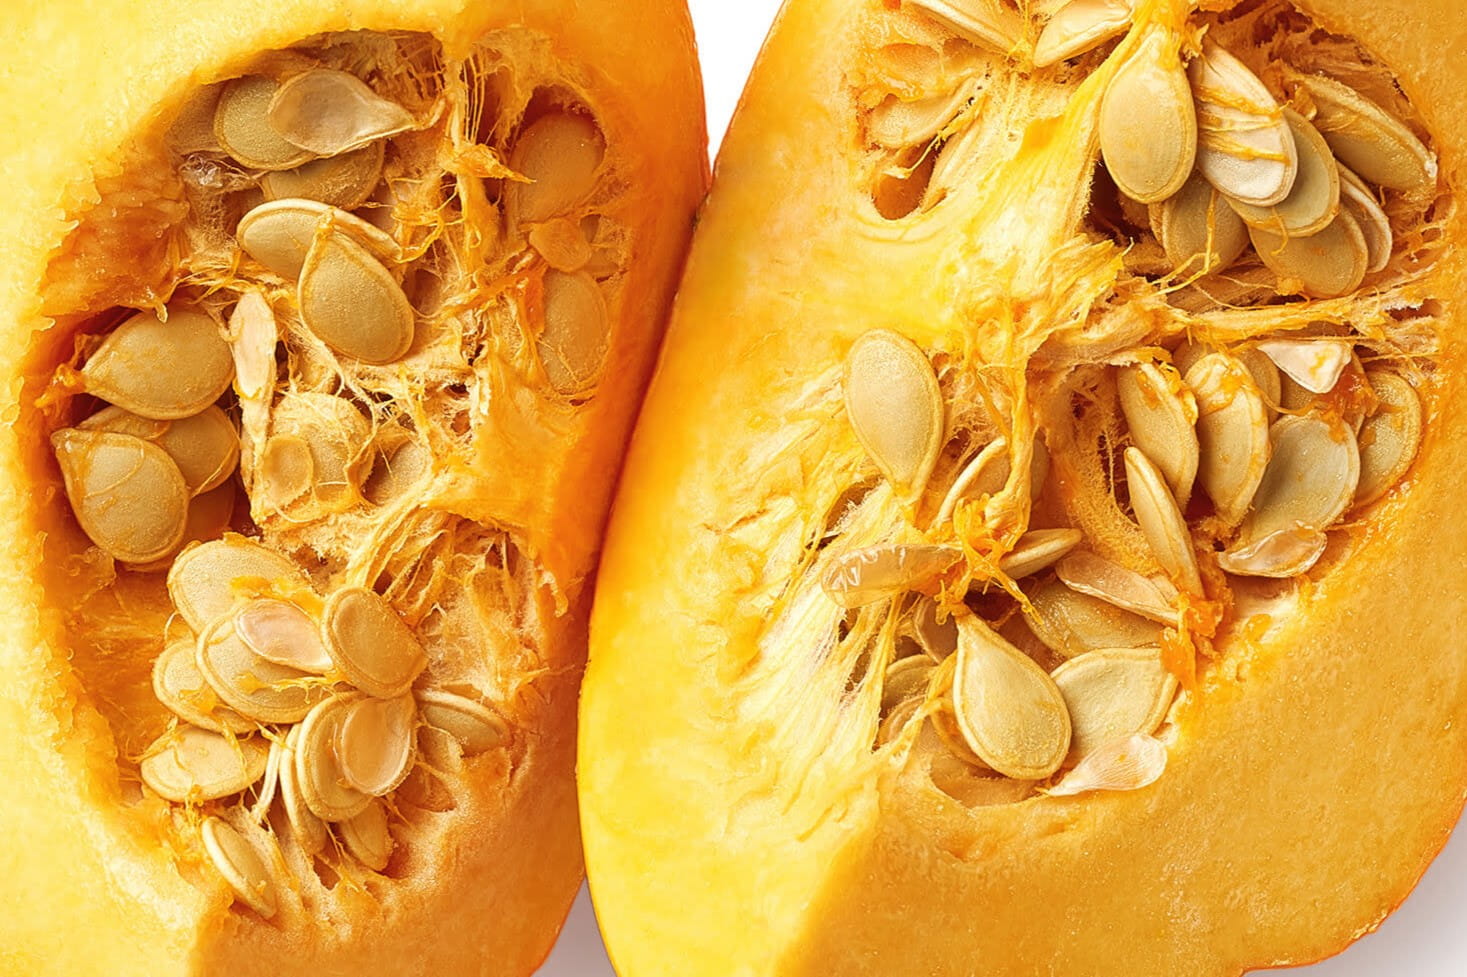
Step 1: Removing the Pumpkin Seeds
The first step in separating pumpkin seeds is to remove them from the pumpkin itself. Here’s how you can do it:
- Start by using a sharp knife or pumpkin carving tool to carefully cut off the top of the pumpkin. Make sure to remove enough so that you have a wide opening to work with.
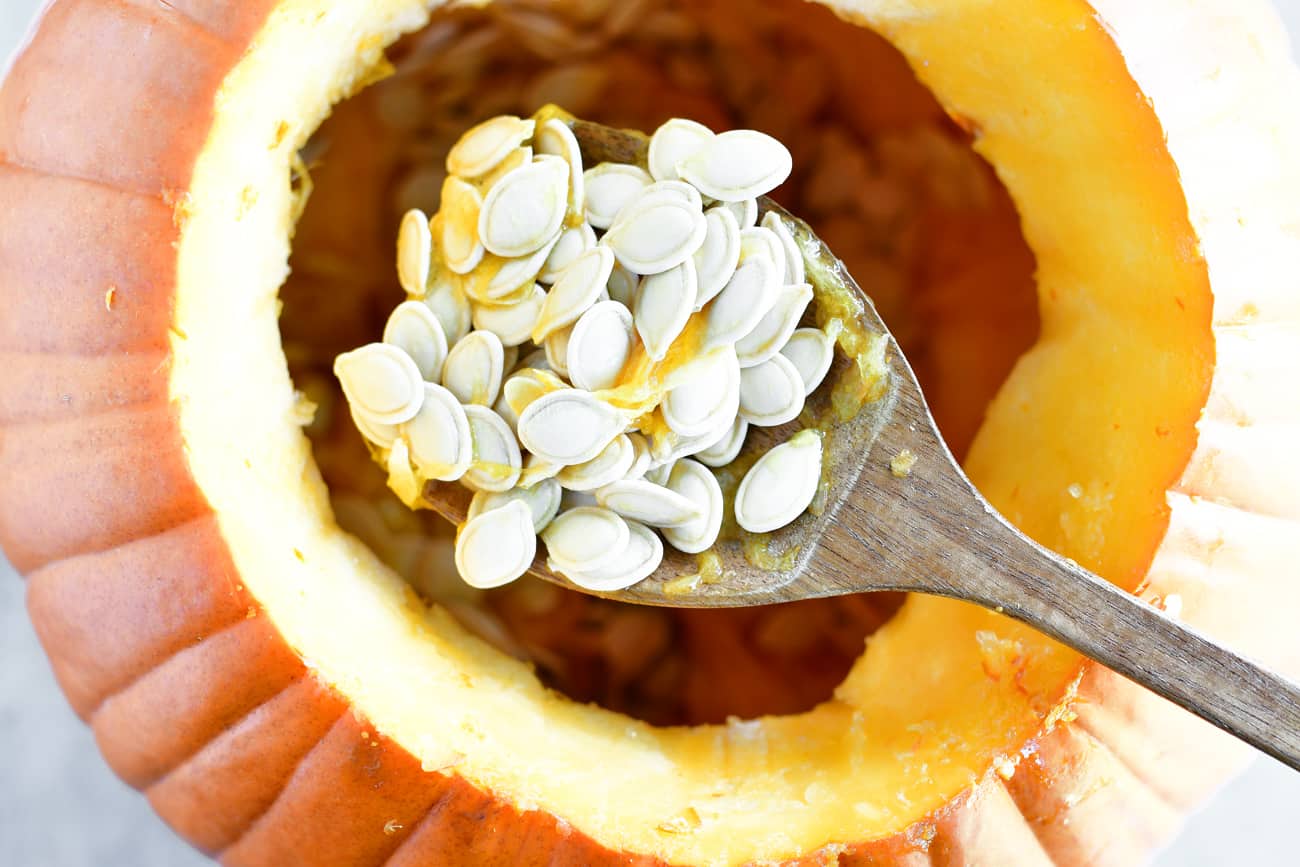
- Next, grab a large spoon or ice cream scoop and begin scooping out the insides of the pumpkin. Scrape along the sides and bottom to loosen the seeds from the flesh.
- Transfer the scooped-out contents into a bowl or bucket. As you do this, you will notice that the seeds are mixed with pulp and stringy fibers. Don’t worry, we’ll deal with those in the next step.
Repeat these steps until you have removed all the seeds from the pumpkin. Remember to take your time and be thorough in scooping out the pumpkin’s interior.
Now that you have a bowl or bucket filled with pumpkin seeds and pulp, it’s time to move on to step 2: cleaning the pumpkin seeds.
Step 2: Cleaning the Pumpkin Seeds
After removing the pumpkin seeds, it’s important to clean them thoroughly to ensure that they are free from any residue or debris. Follow these steps to clean the pumpkin seeds:
- Place the pumpkin seeds and pulp mixture into a colander or strainer.
- Hold the colander under running water and use your hands to agitate the mixture. This will help separate the seeds from the pulp and loosen any dirt or debris.
- Continue rinsing and agitating until the water runs clear and the pumpkin seeds are free from any clinging pulp.
- Once the seeds are clean, transfer them to a clean towel or paper towels and pat them dry. Make sure to remove any excess water.
By taking the time to clean the pumpkin seeds, you ensure that they are ready for the next step: separating them from the flesh.
Now that your pumpkin seeds are clean and dry, let’s move on to step 3: separating the pumpkin seeds from the flesh.
After removing the seeds from the pumpkin, soak them in water for a few hours. This will help separate the seeds from the stringy pulp more easily.
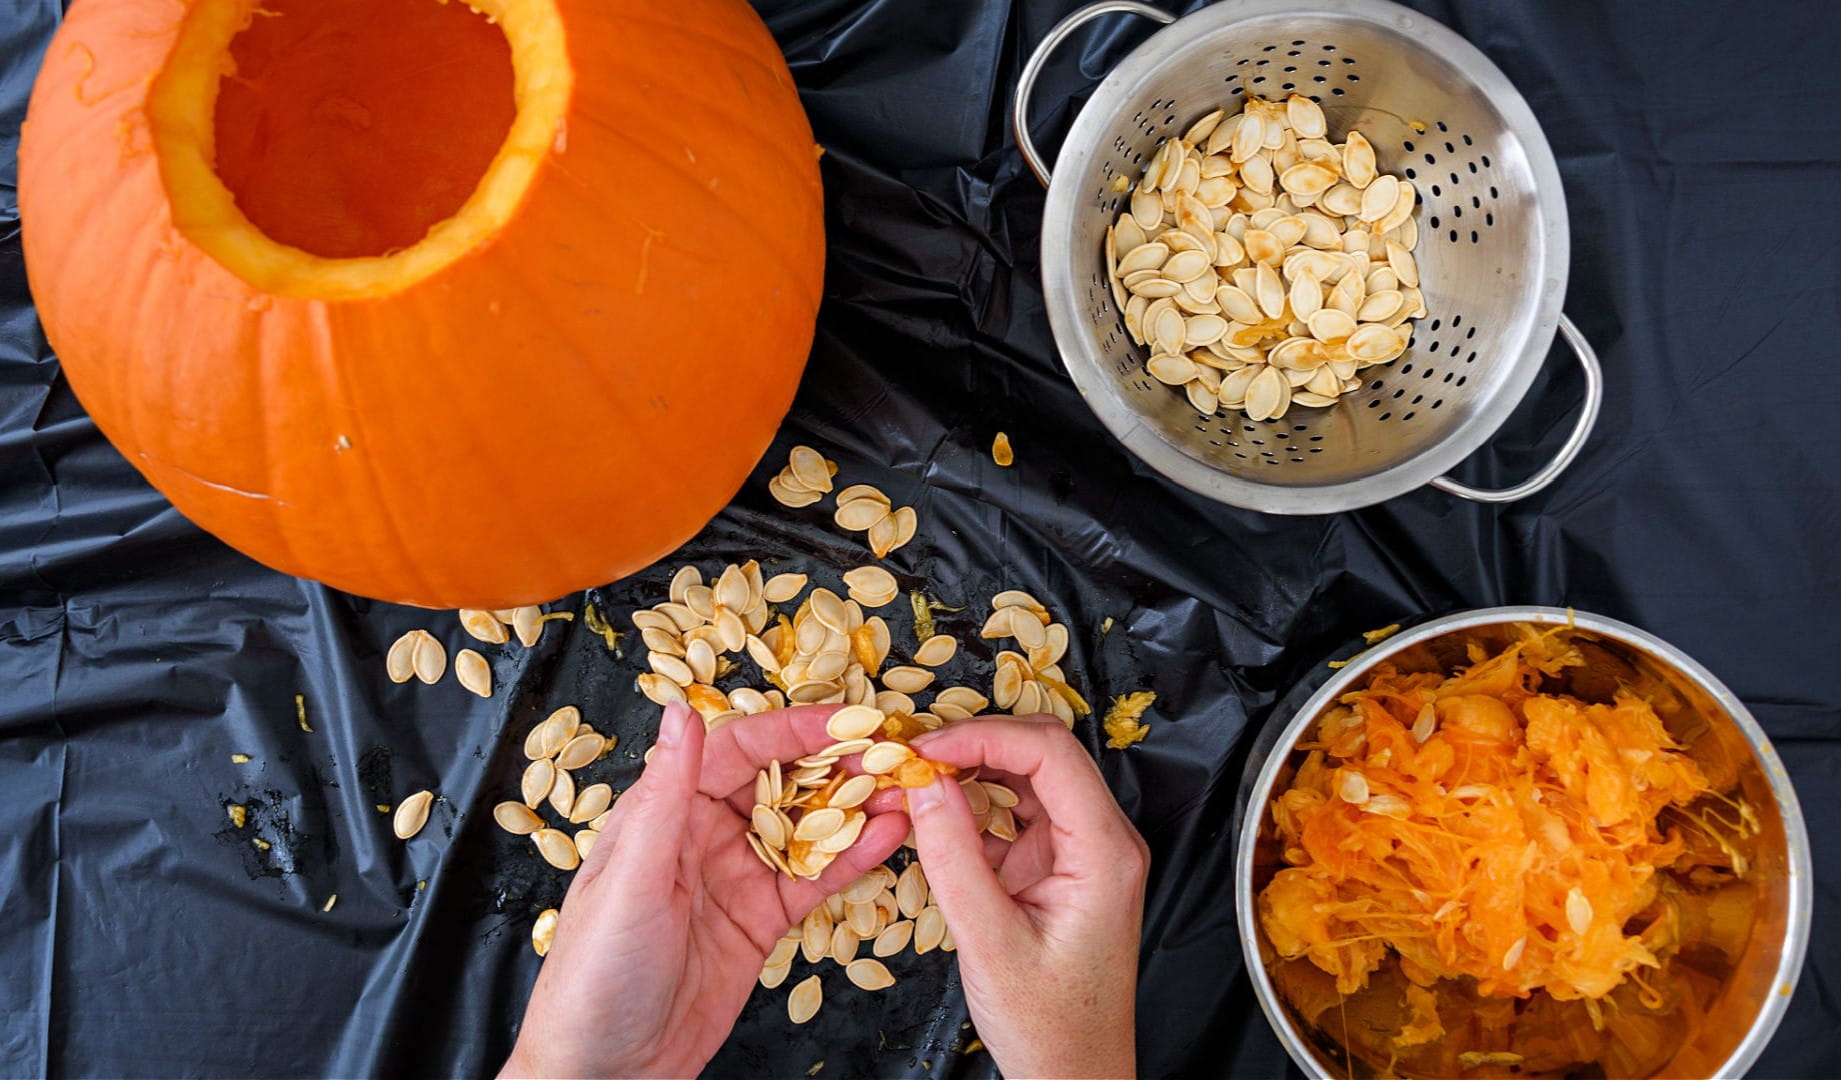
Step 3: Separating the Pumpkin Seeds from the Flesh
Now that your pumpkin seeds are clean and dry, it’s time to separate them from the flesh. Follow these steps to efficiently separate the pumpkin seeds:
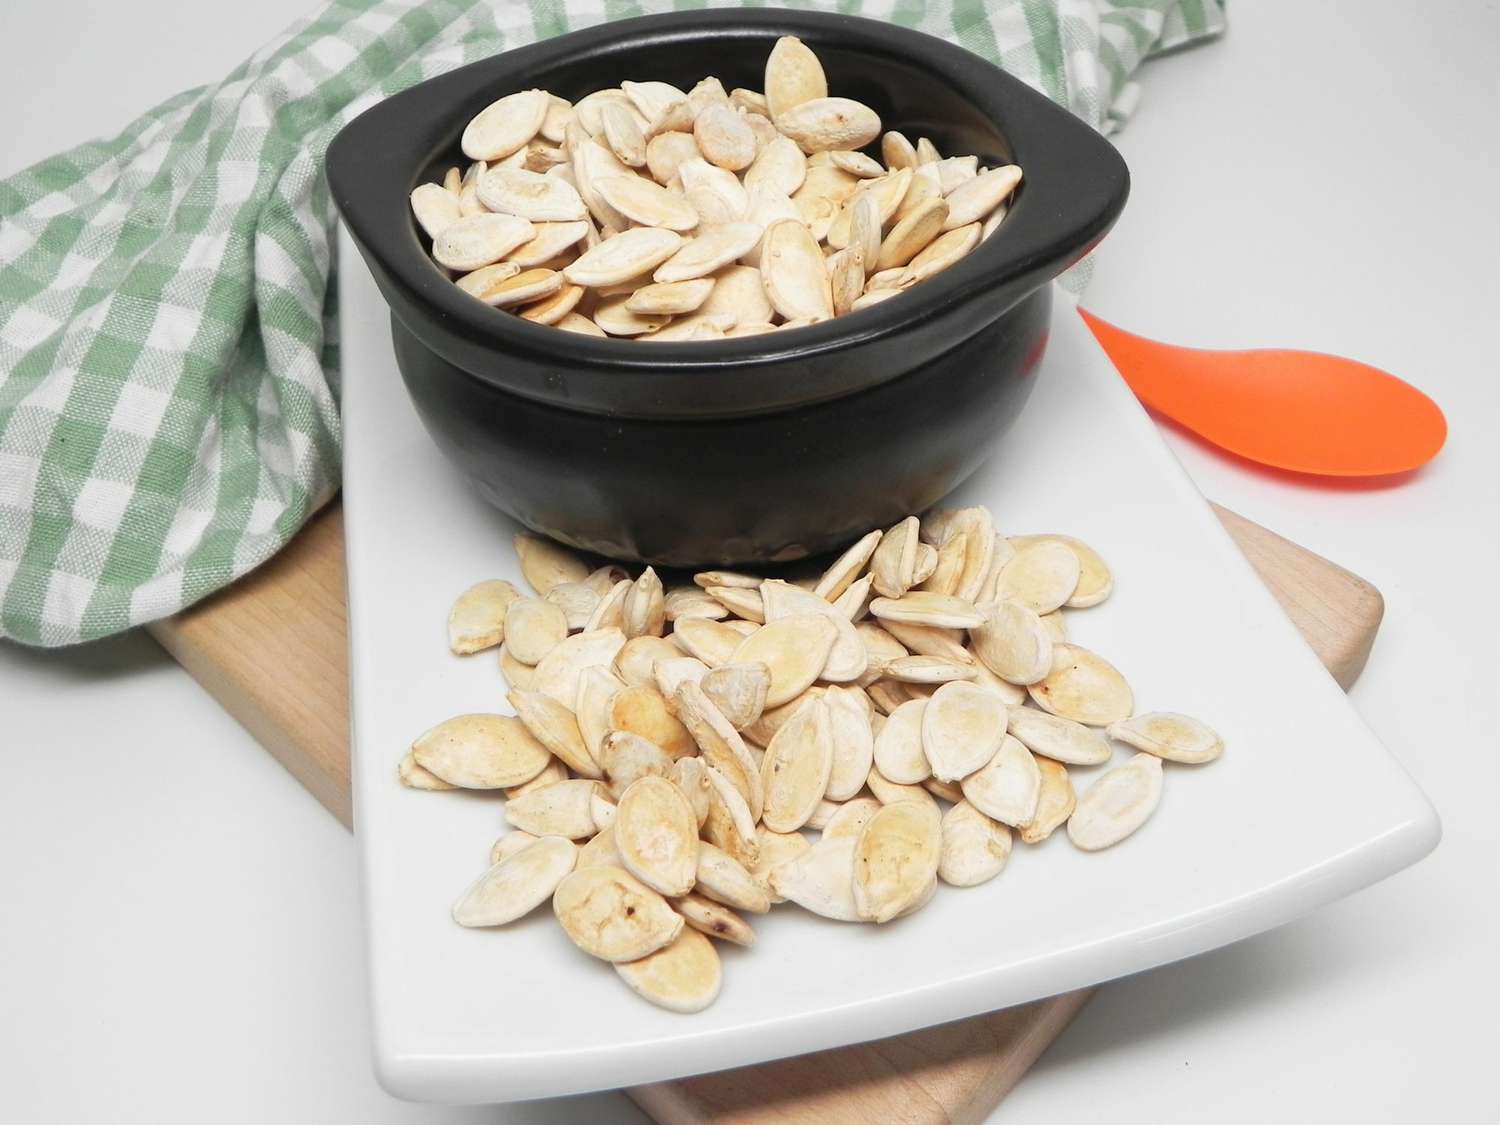
- Place the clean and dry pumpkin seeds on a clean surface, such as a kitchen counter or cutting board.
- With your fingers or a spoon, gently remove any remaining bits of flesh that may be attached to the seeds. Be careful not to crush or damage the seeds in the process.
- As you work through the seeds, separate them into a separate bowl or container. This will make it easier to identify any remaining pieces of flesh and ensure that only the seeds are saved.
Take your time during this step to ensure that the pumpkin seeds are completely separated from the flesh. The goal is to have clean, intact seeds ready for drying.
With the pumpkin seeds now separated, it’s time to move on to step 4: drying them.
Read more: How To Open Pumpkin Seeds
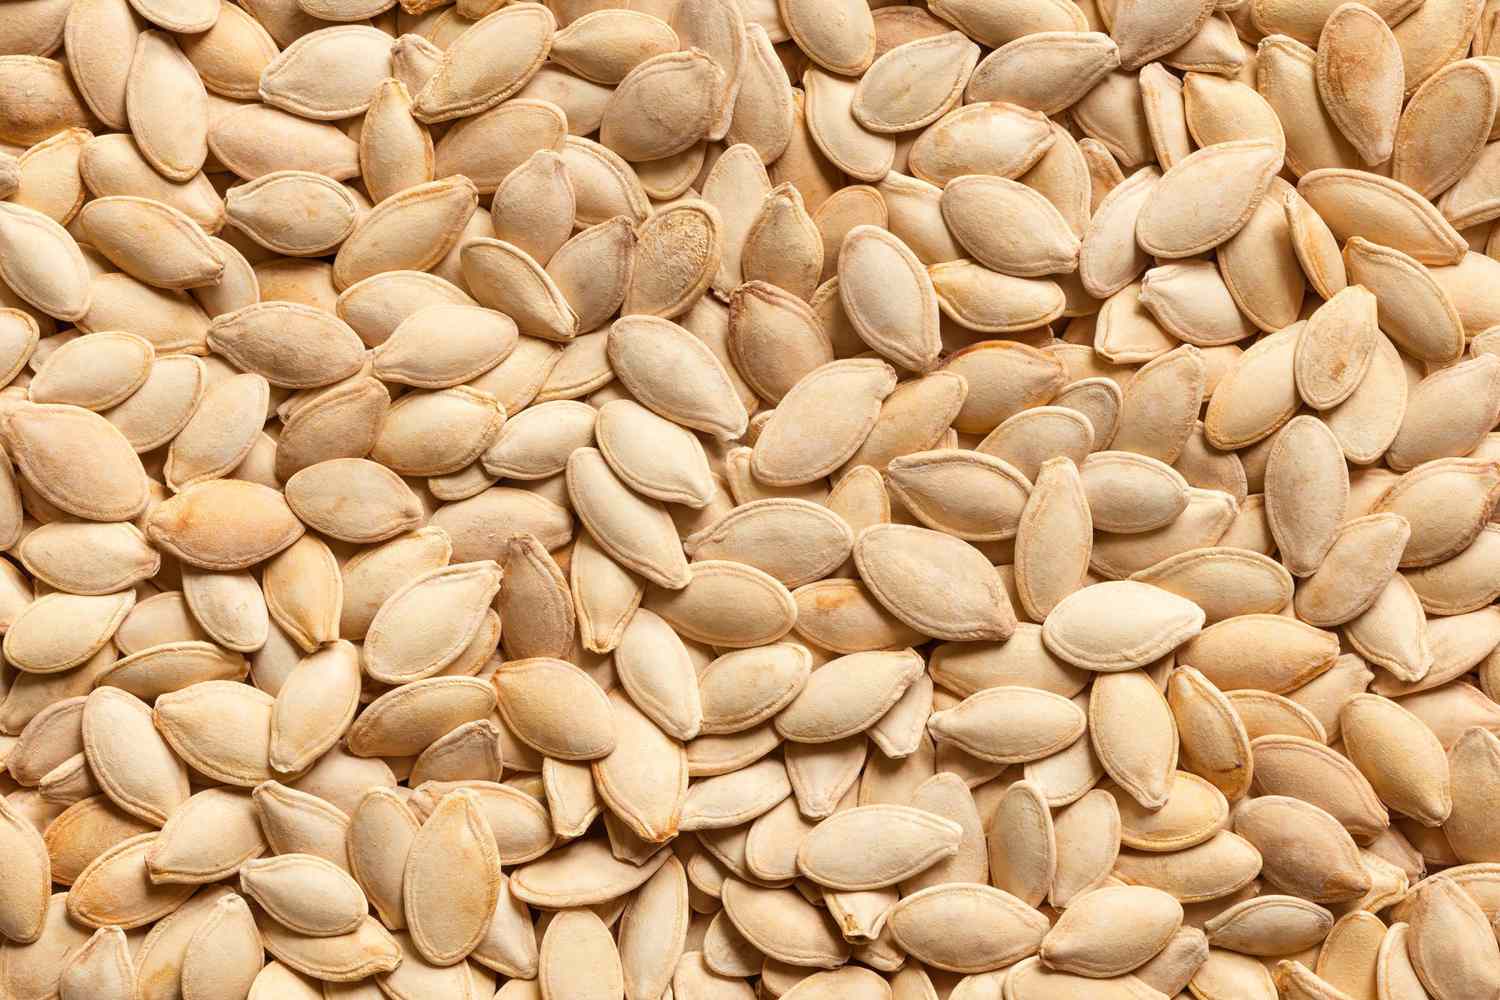
Step 4: Drying the Pumpkin Seeds
After separating the pumpkin seeds from the flesh, it’s important to properly dry them before storage or further use. Follow these steps to ensure that your pumpkin seeds are dried thoroughly:
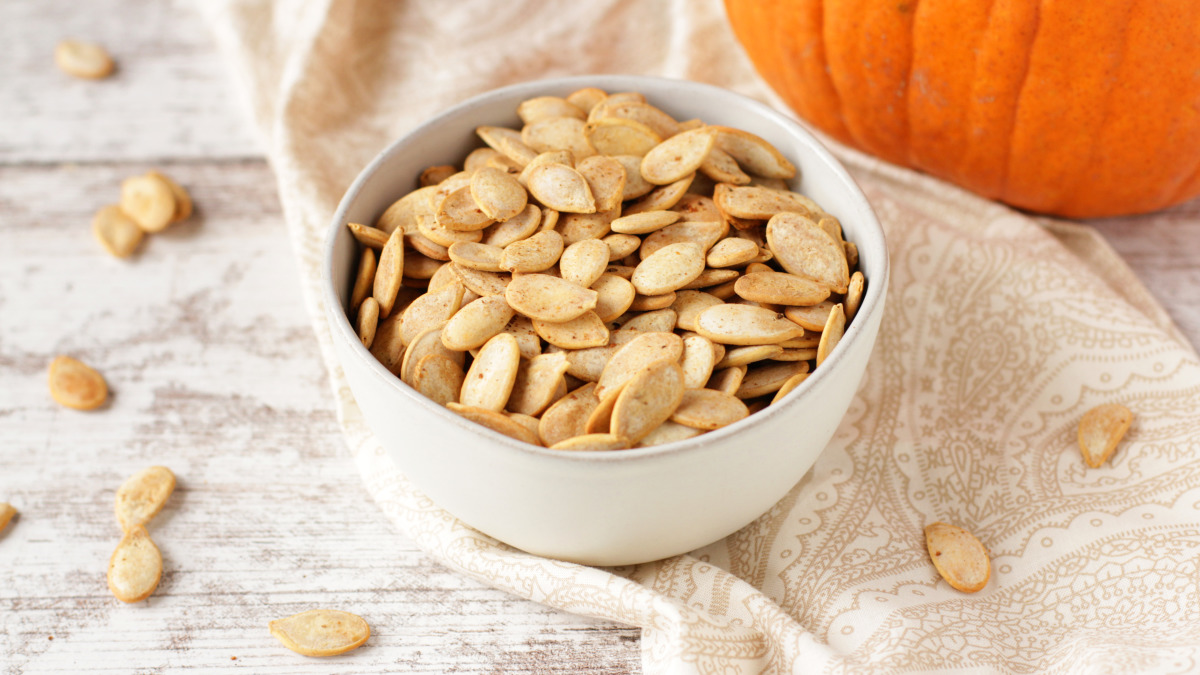
- Preheat your oven to a low temperature, around 150°F (65°C).
- Spread the pumpkin seeds evenly across a baking sheet or tray lined with parchment paper or aluminum foil.
- Place the baking sheet in the preheated oven and let the pumpkin seeds dry for approximately 1 to 2 hours. Keep a close eye on them to prevent burning or over-drying.
- Occasionally, stir or toss the seeds on the baking sheet to ensure even drying.
- Check the pumpkin seeds for doneness by biting into one. If it crunches, it is dry and ready. If it’s still soft or chewy, continue drying for another 15-30 minutes and check again.
Once the pumpkin seeds are dry and crispy, remove them from the oven and let them cool completely on the baking sheet. This will allow any residual moisture to evaporate fully.
With your pumpkin seeds now dry, it’s time for the final step: storing them properly.
Step 5: Storing the Pumpkin Seeds
Now that your pumpkin seeds are cleaned, separated, and dried, it’s important to store them properly to maintain their freshness. Follow these steps to store your pumpkin seeds:
- Ensure that your pumpkin seeds are completely cooled before you proceed with storing them. Any residual warmth can create excess moisture and cause them to spoil.
- Transfer the cooled pumpkin seeds into airtight containers or ziplock bags. This will help protect them from moisture, air, and pests.
- Label the storage containers or bags with the date and any additional information, such as the pumpkin variety or any special treatment the seeds may need for planting purposes.
- Store the pumpkin seeds in a cool, dry, and dark location, such as a pantry or cupboard. Avoid areas of high humidity or fluctuations in temperature.
Properly stored pumpkin seeds can remain viable for up to a year, making them ready for roasting or planting whenever you desire.
Congratulations! You have successfully learned how to separate pumpkin seeds and are now ready to enjoy their deliciously roasted flavors or plant them for future pumpkin growing adventures.
Remember, the process of separating pumpkin seeds is not only practical but also a fun activity that allows you to make the most of this seasonal favorite. So, next time you encounter a pumpkin, put your new skills to the test and enjoy the rewards of your labor.
Happy pumpkin seed separating!
Conclusion
Separating pumpkin seeds may seem like a daunting task, but with the right tools and techniques, it becomes a straightforward and enjoyable process. By following the steps outlined in this article, you can easily remove, clean, and separate pumpkin seeds from the flesh, allowing you to savor their roasted goodness or save them for future planting.
Remember to gather all the necessary tools and materials before starting the process. A sharp knife or pumpkin carving tool, a large spoon or ice cream scoop, a colander or strainer, and a clean towel or paper towels are essential for a smooth and efficient seed separation.
After removing the pumpkin seeds from the pumpkin, ensure they are thoroughly cleaned by rinsing and agitating them in a colander under running water. Pat them dry with a towel to remove any excess moisture.
Next, separate the pumpkin seeds from any lingering bits of flesh, taking care to handle them gently to avoid damage. This step guarantees that you have clean, intact seeds ready for further use.
Drying the pumpkin seeds is crucial to prevent spoilage. Spread them on a baking sheet lined with parchment paper or aluminum foil, and dry them in a low-temperature oven for approximately 1 to 2 hours. Stir or toss them occasionally for even drying and check for doneness by biting into one. Once crispy and dry, let them cool completely on the baking sheet.
Finally, store the cooled pumpkin seeds in airtight containers or ziplock bags. Label them with relevant information and keep them in a cool, dry, and dark place to maintain their freshness and viability.
Now that you’re equipped with the knowledge and techniques to separate pumpkin seeds, you can confidently tackle this task with ease. Whether you choose to roast them for a delicious snack or save them for planting, you’ll appreciate the reward of your efforts.
So, the next time you have a pumpkin on hand, give it a go and enjoy the satisfaction of extracting those precious pumpkin seeds. Happy separating!
Frequently Asked Questions about How To Separate Pumpkin Seeds
Was this page helpful?
At Storables.com, we guarantee accurate and reliable information. Our content, validated by Expert Board Contributors, is crafted following stringent Editorial Policies. We're committed to providing you with well-researched, expert-backed insights for all your informational needs.


0 thoughts on “How To Separate Pumpkin Seeds”