Home>Garden Essentials>How Do You Grow Grapes From Seeds
Garden Essentials
How Do You Grow Grapes From Seeds
Modified: March 16, 2024
Learn how to grow grapes from seeds in your garden. Discover the best techniques and tips for successful grape cultivation.
(Many of the links in this article redirect to a specific reviewed product. Your purchase of these products through affiliate links helps to generate commission for Storables.com, at no extra cost. Learn more)
Introduction
Grapes are not only a delicious fruit, but also a beautiful addition to any garden. While most people think of grapes being grown from cuttings or vines, did you know that it’s possible to grow grapes from seeds too? Growing grapes from seeds can be an exciting and rewarding experience.
In this article, we will guide you through the process of growing grapes from seeds, covering everything from selecting the right grape varieties to caring for the seedlings until they are ready to bear fruit. So, put on your gardening gloves and let’s get started!

Key Takeaways:
- Growing grapes from seeds is an exciting journey that requires patience and care. From selecting the right varieties to nurturing the seedlings, each step contributes to the rewarding experience of homegrown grapes.
- Harvesting and enjoying your homegrown grapes is a delightful culmination of your efforts. Whether eaten fresh, preserved, or shared with others, the fruits of your labor bring joy and connection to your garden.
Read more: How To Grow Grapes From Seed
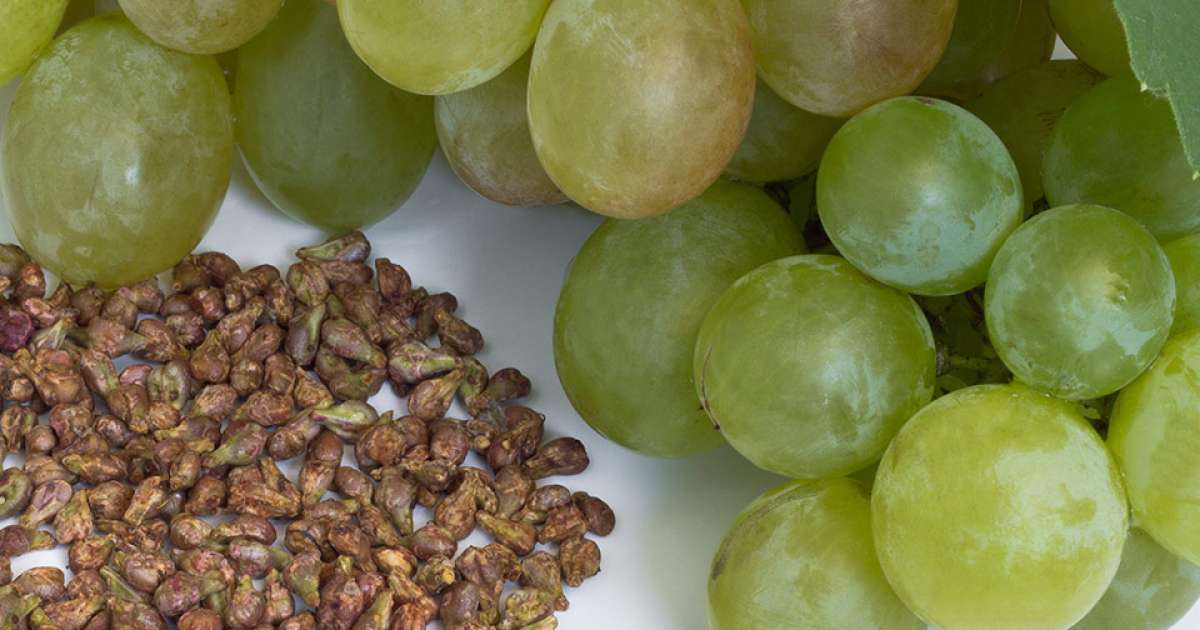
Understanding Grape Seeds
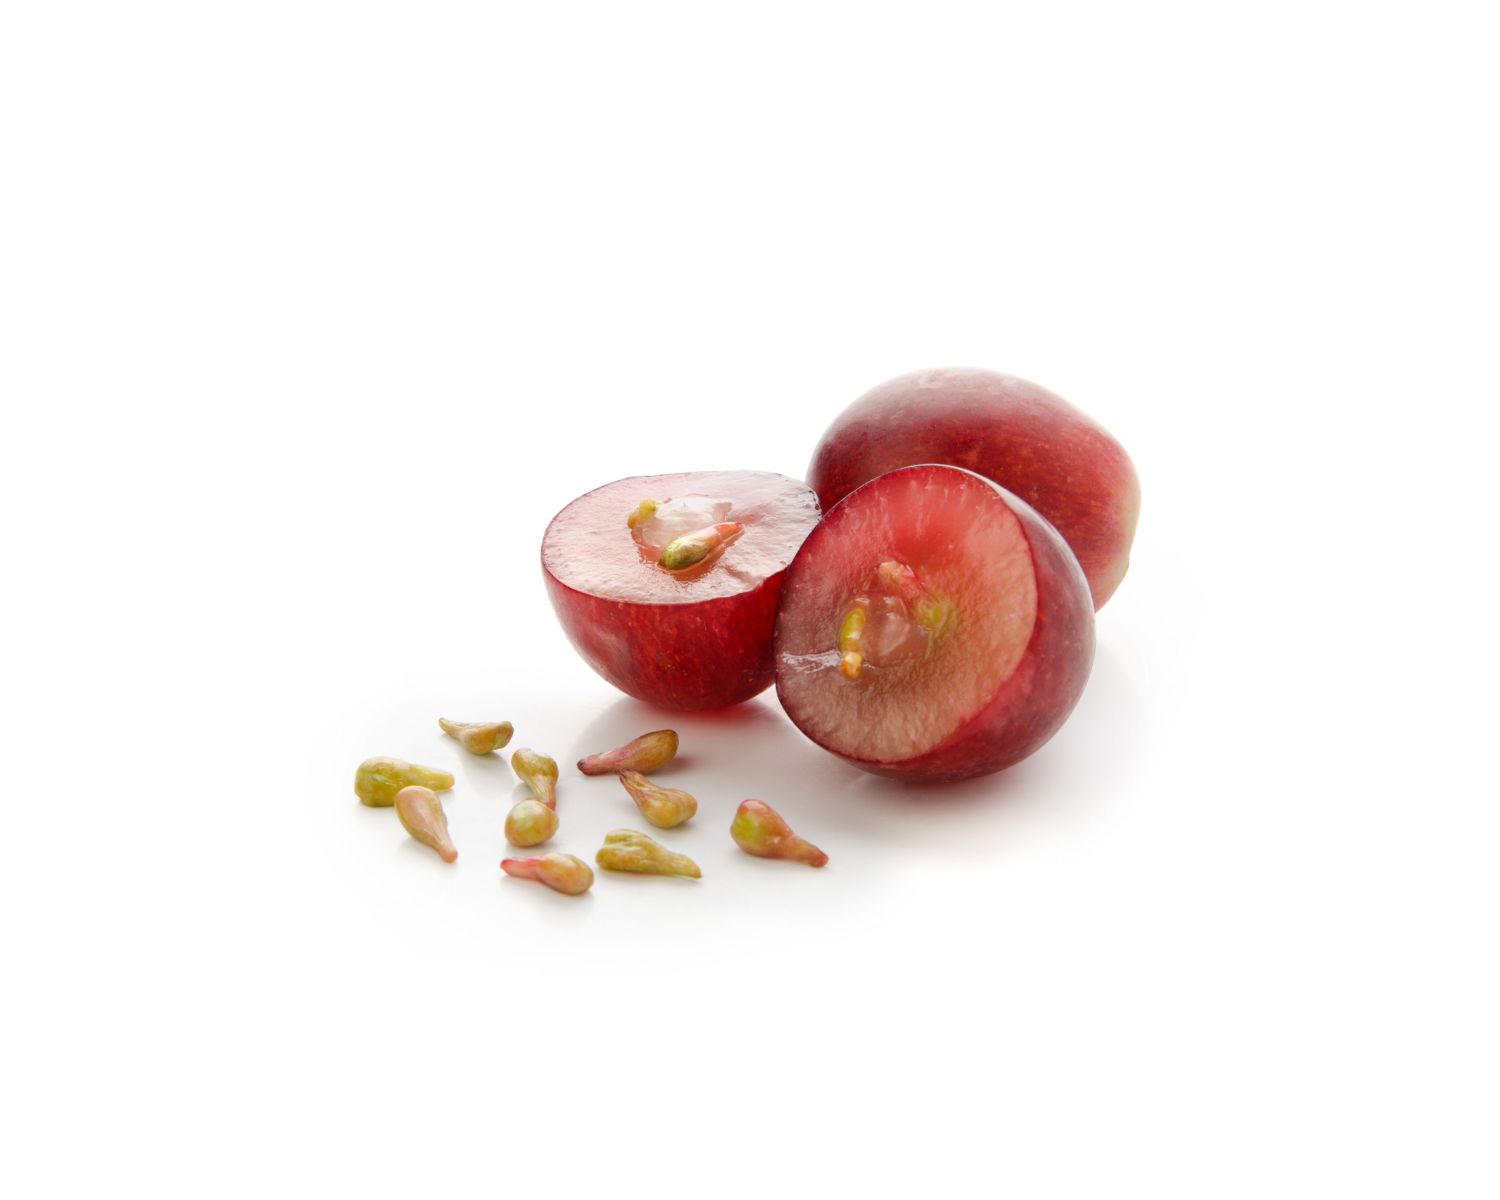
Grape seeds are tiny, brownish, and oval-shaped structures found within the flesh of grapes. They are responsible for reproducing and creating new grape plants. Each seed contains the genetic information necessary to grow into a vine that will produce grapes.
It’s important to note that grape seeds are not always viable for germination. Some grape varieties have seeds that are more fertile and have a higher chance of germinating successfully. If you’re interested in growing grapes from seeds, it’s best to choose a grape variety known for producing viable seeds.
Keep in mind that grapes grown from seeds may not produce an exact replica of the parent plant. They may exhibit different characteristics, such as flavor, color, and even disease resistance. This is because the seeds inherit genetic traits from both the male and female parent plants, resulting in some level of variation.

Grape seeds are covered by a hard outer shell, which protects the seed during the germination process. This outer shell can make it difficult for water and air to penetrate and initiate germination. That’s why it’s essential to prepare the seeds properly to enhance the chances of successful germination.
Now that we have a basic understanding of grape seeds, let’s move on to the next step: selecting the right grape varieties to grow from seeds.
Selecting Grape Varieties
When it comes to selecting grape varieties to grow from seeds, it’s essential to consider your climate, growing conditions, and personal preferences. Different grape varieties excel in specific climates and regions, so choosing the right ones will greatly contribute to your success as a grape grower.
Start by researching grape varieties that are well-suited to your climate zone. Some grape varieties prefer hot and dry climates, while others thrive in cooler and more humid regions. Understanding your climate and growing conditions will help you narrow down your options and choose grape varieties that have a higher likelihood of thriving in your garden.
Additionally, consider the purpose for which you plan to grow grapes. Are you interested in making wine, eating table grapes, or both? Different grape varieties have varying flavors, textures, and properties that make them more suitable for specific uses.
Once you have an idea of the climate and purpose, explore the different grape varieties available. Some popular grape varieties that are well-suited for home cultivation include:
- Concord: Known for its rich and sweet flavor, Concord grapes are excellent for fresh eating and making jelly.
- Thompson Seedless: This seedless variety produces juicy and sweet grapes, perfect for snacking and drying into raisins.
- Cabernet Sauvignon: Commonly used for winemaking, Cabernet Sauvignon grapes have a bold and complex flavor profile.
- Chardonnay: Another popular wine grape, Chardonnay grapes produce crisp and fruity white wines.
It’s also worth considering hybrid grape varieties. Hybrid grapes are created by crossing two or more grape species, resulting in offspring with desirable traits, such as disease resistance or unique flavors. These hybrids often combine the best characteristics of their parent varieties.
When selecting grape varieties, it’s a good idea to consult with local nurseries or gardening experts who can provide insights tailored to your specific region. This will ensure that you choose grape varieties that are well-suited for your climate and growing conditions.
With the right grape varieties selected, you’re ready to move on to the next step: preparing the seeds for germination.
Preparing the Seeds
Before you can begin the process of germinating grape seeds, it’s essential to properly prepare them. The preparation stage helps to soften the outer shell of the seeds and improve their chances of successful germination.
Here’s a step-by-step guide on how to prepare grape seeds for germination:
- Harvesting and extracting the seeds: Collect ripe grapes from your chosen grape variety. Gently squeeze the grapes to separate the seeds from the flesh.
- Cleaning the seeds: Rinse the extracted seeds under cool water to remove any leftover grape pulp or debris.
- Scarification: To improve germination rates, you can scarify the seeds by lightly nicking or scratching the hard outer shell. You can use sandpaper or a small knife to create a small abrasion on one side of the seed. This process helps water penetrate the seed more easily.
- Soaking the seeds: Place the scarified seeds in a container and cover them with warm water. Allow the seeds to soak for 24 to 48 hours. This soaking process helps to further soften the seed coat and promote germination.
- Drain and dry: After soaking, drain the water from the container and spread the seeds on a paper towel or a fine-mesh screen to dry. Allow them to air dry for a day or two until they are slightly sticky to the touch.
It’s important to note that not all grape seeds will germinate, even after going through the preparatory steps. The scarification and soaking process merely increases the chances of germination but does not guarantee it.
Once the seeds are ready, it’s time to move on to the stratification process to further promote germination. We will explore stratification techniques in the next section.
Stratification Process
The stratification process is an important step in preparing grape seeds for germination. It involves subjecting the seeds to a period of cold and moist conditions, simulating the natural winter dormancy period that grape seeds experience in nature. This process helps to break seed dormancy and prepare the seeds for germination.
Follow these steps to stratify grape seeds:
- Fill a plastic bag or container with a moistened medium such as vermiculite, peat moss, or damp paper towels.
- Place the prepared grape seeds in the moist medium, ensuring that they are evenly spaced and not overcrowded.
- Seal the bag or cover the container to create a semi-sealed environment that retains moisture. Make a few small holes or leave a small opening for air circulation.
- Place the bag or container in a refrigerator or another cool, dark location with a temperature between 32-41°F (0-5°C). This will provide the necessary cold stratification period.
- Leave the seeds in stratification for approximately 8 to 10 weeks, periodically checking the moisture level and ensuring they do not dry out.
During the stratification period, the cold and moist conditions help to break down the dormancy mechanisms of the seeds. This prepares them for future germination when conditions are favorable.
It’s important to note that not all grape seeds require stratification. Some grape varieties have lower dormancy requirements and may germinate without the stratification process. However, for most grape seeds, stratification is beneficial and increases the likelihood of successful germination.
After the appropriate stratification period has passed, it’s time to move on to germinating the grape seeds. We will explore different germination techniques in the next section.
Read more: How Do You Grow Onions From Seed
Germination Techniques
Now that the grape seeds have gone through the preparatory steps and stratification process, it’s time to focus on germinating them. There are a few different techniques you can employ to encourage viable grape seeds to sprout and begin their journey towards becoming grape seedlings.
Here are three commonly used germination techniques for grape seeds:
- Paper Towel Method: Dampen a paper towel or a coffee filter with water. Place the stratified grape seeds on one half of the towel and fold over the other half to cover the seeds. Place the towel with the seeds in a sealed plastic bag or container to create a moist environment. Keep the bag/container in a warm location with temperatures around 70-75°F (21-24°C). Check the seeds periodically and mist the towel with water to maintain moisture levels. Germination usually occurs within 1-2 weeks.
- Potting Mix Method: Fill small pots or seed trays with a well-draining potting mix. Make shallow indentations in the soil using your finger or a pencil. Place the stratified grape seeds in the indentations and cover them lightly with the potting mix. Mist the soil to moisten it and cover the pots or trays with plastic wrap to create a greenhouse-like environment. Keep the containers in a warm location with consistent moisture. Germination typically occurs within 2-3 weeks.
- Direct Sowing Method: This method involves sowing the stratified grape seeds directly into the ground if the weather and soil conditions are suitable. Choose a location in your garden with well-draining soil and full sun exposure. Dig small holes, approximately ½ inch deep, and place the stratified seeds in the holes. Cover the seeds with soil and gently firm it down. Ensure the soil remains consistently moist but not waterlogged. Germination may take a bit longer with this method, typically occurring within 3-4 weeks.
Whichever germination technique you choose, it’s important to provide the seeds with the optimal conditions for sprouting. Adequate moisture, warmth, and protection from extreme temperatures are crucial for successful germination.
Once the seeds have successfully germinated and sprouted, it’s time to transplant the grape seedlings into individual containers or directly into the garden. We will explore the process of transplanting grape seedlings in the next section.
To grow grapes from seeds, start by soaking the seeds in water for 24 hours. Then plant them in a well-draining soil mix and keep them in a warm, sunny location. Keep the soil consistently moist and be patient, as it can take several years for the seeds to grow into fruit-bearing vines.
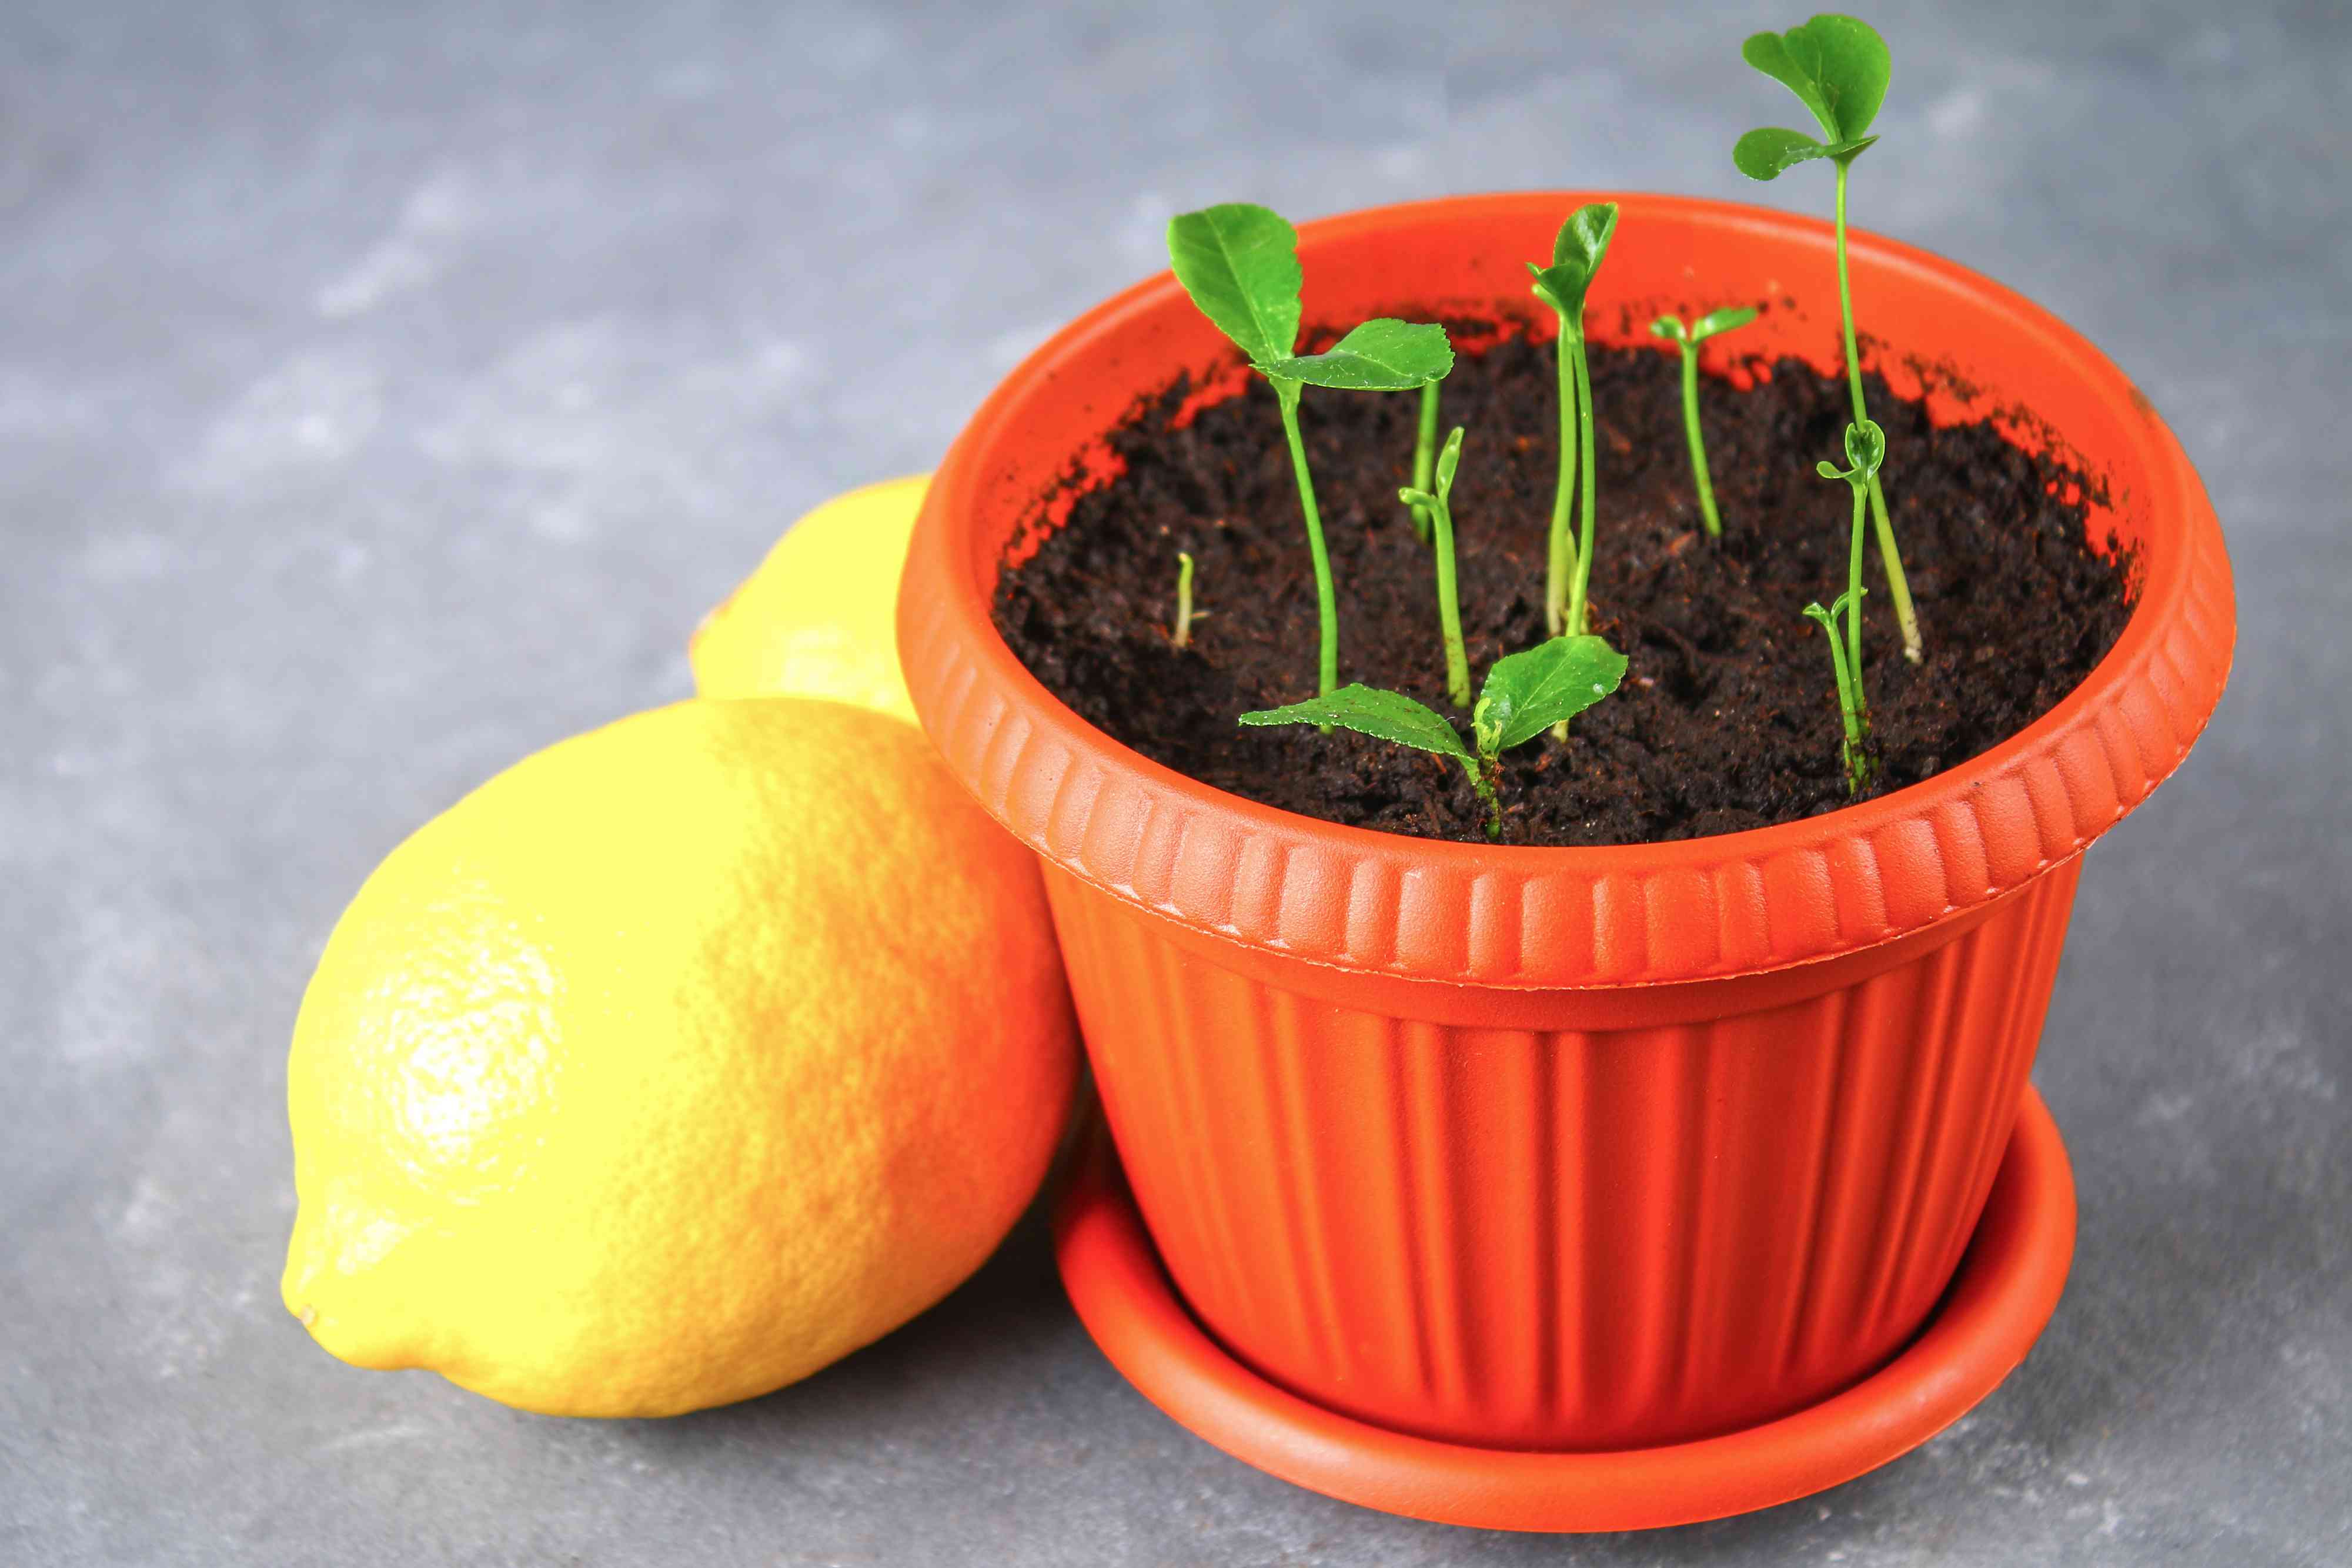
Transplanting Grape Seedlings
Once your grape seedlings have germinated and grown their first set of true leaves, it’s time to transplant them into individual containers or directly into the garden. Transplanting allows the seedlings to establish their root systems and continue their growth journey towards becoming productive grape vines.
Here are the steps to transplant grape seedlings:
- Prepare the transplant site: If you plan to transplant the seedlings directly into the garden, choose a sunny location with well-draining soil. Remove any weeds or grass and amend the soil if needed to provide good fertility and drainage.
- Prepare individual containers: If you prefer to start the seedlings in containers before moving them to the garden, ensure each container has proper drainage holes. Fill the containers with a well-draining potting mix suitable for grape plants.
- Gently remove the seedlings: Carefully lift the seedlings from their original germination containers or trays. Be gentle to avoid damaging their delicate roots. Use a spoon or your fingers to scoop out the seedlings, ensuring you keep as much soil around the roots as possible.
- Transplant into containers or the garden: Create holes in the potting mix or garden soil that are deep enough to accommodate the roots of the seedlings. Place each seedling into a hole, making sure the roots are spread out and do not bend or curl. Gently fill the hole with soil, gently firming it around the seedling to provide stability.
- Water thoroughly: After transplanting, water the seedlings deeply to provide moisture and help settle the soil around the roots. Ensure the seedlings receive adequate irrigation during the establishment period to promote healthy root growth.
Transplant shock is common after moving seedlings to a new environment. To minimize stress on the seedlings and increase their chances of survival, it’s important to gradually expose them to their new growing conditions. This can be done by gradually introducing them to outdoor elements over a period of several days.
Whether you choose to transplant the seedlings into containers or directly into the garden, monitor their progress closely and provide appropriate care to ensure their successful transition.
Now that your grape seedlings are comfortably settling into their new homes, the next step is to learn how to care for them and help them thrive. We will explore grape seedling care in the following section.
Caring for Grape Seedlings
Once you have transplanted your grape seedlings, it’s crucial to provide them with proper care to ensure their healthy growth and development. Here are some essential tips for caring for your grape seedlings:
1. Watering: Grape seedlings require consistent moisture, especially during their early stages of growth. Keep the soil evenly moist but not waterlogged. Avoid overwatering, as it can lead to root rot and other issues. Water deeply and provide irrigation whenever the top inch of soil feels dry.
2. Fertilizing: Feed your grape seedlings with a balanced fertilizer designed for fruit-bearing plants. Follow the dosage instructions on the fertilizer package, and apply it according to the recommended frequency. Fertilize regularly during the growing season to provide essential nutrients for vigorous growth.
3. Sunlight: Grape plants thrive in full sunlight, so ensure your seedlings receive at least six to eight hours of direct sunlight each day. If you are growing them in containers, place them in a sunny location or use grow lights to supplement the natural sunlight.
4. Pruning: While pruning is not required in the early stages of grape seedling growth, it is important to start training and pruning them once they establish their permanent location. Pruning helps shape the vine, control its growth, and improve air circulation, which reduces the risk of diseases. Consult pruning guides specific to your chosen grape variety for proper techniques.
5. Trellising: Grapes are vigorous climbers and benefit from being trained on trellises or other support structures. As your seedlings grow, provide a trellis system or wires for them to anchor onto. This helps them grow vertically, allows better access to sunlight, and improves air circulation around the foliage.
6. Pest and Disease Management: Regularly monitor your grape seedlings for any signs of pests or diseases such as aphids, fungal infections, or mildew. Use organic pest control methods or consult with a local gardening expert for suitable interventions to protect your plants.
7. Mulching: Apply a layer of organic mulch around the base of your grape seedlings. Mulch helps retain moisture, suppresses weed growth, and regulates soil temperature. Use materials like straw, wood chips, or compost and ensure the mulch is not piled against the main stem to prevent rot.
8. Support and Training: As your grape seedlings grow, provide support and training to guide their tendrils or shoots along the trellis or support system. This helps them develop a strong structure and optimizes fruit production.
By following these care practices, you will establish a solid foundation for your grape seedlings to thrive and eventually grow into productive grape vines.
Now that you know how to care for your grape seedlings, the next step is to understand the process of pruning and training your grape vines. We will explore this important aspect in the following section.
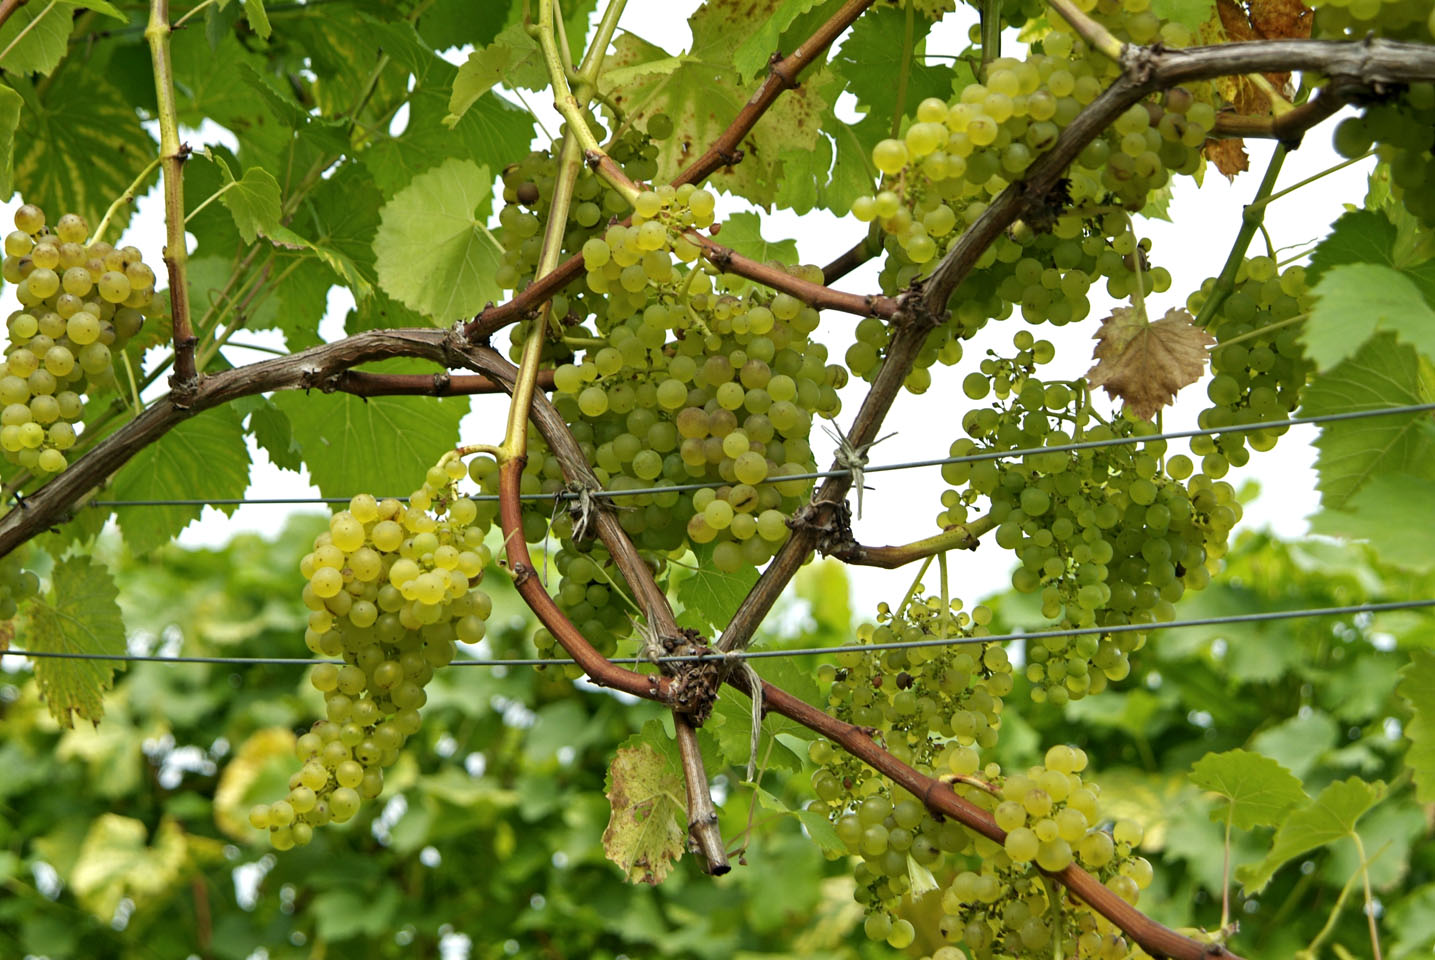
Pruning and Training Grape Vines
Pruning and training are essential practices for grape vines to ensure proper vine structure, optimal fruit production, and overall vine health. By following correct pruning and training techniques, you can maximize the yield and quality of your grapes. Here’s a guide to pruning and training grape vines:
1. Pruning Timing: Pruning grape vines is generally done during late winter or early spring when the vines are dormant, before the new growth begins. This allows the vines to utilize the energy for new shoot development and fruit production.
2. Establishing the Main Trunk: When your grape vine reaches its first year of growth, select a single strong, healthy shoot to serve as the main trunk. Remove any competing shoots, leaving only the best one to develop into the central leader of the vine.
3. Selecting Canes and Spur Pruning: In subsequent years, choose two to four strong canes on each side of the main trunk to serve as fruiting arms. These canes should be about pencil thickness and have well-spaced buds. Prune the remaining shoots, known as spurs, back to two to three buds, as these will produce new growth and potential fruit-bearing shoots.
4. Training Along the Trellis: As the grape vine continues to grow, train the fruiting arms along the trellis wires, using vine clips or soft ties to secure them. Allow the new shoots to grow vertically, while gently removing any lateral shoots that may emerge from the fruiting arms.
5. Canopy Management: Maintain an open canopy structure by thinning excess shoots, especially in the center of the vine, to improve air circulation and light penetration. This helps prevent diseases, promotes even ripening, and improves grape quality.
6. Summer Pruning: During the growing season, remove any excessive or crowded shoots arising from the fruiting arms. This practice, known as summer pruning or canopy management, helps maintain a balanced vine and prevents the vine’s resources from being wasted on excess foliage growth.
7. Renewal Pruning: After several years of grape production, the older fruiting canes may start to decline in productivity. To rejuvenate the vine, remove some of the older canes and select new, healthy canes to replace them. This ensures the continued health and vigor of the grape vine.
8. Winter Protection: Before winter arrives, provide protection to your grape vines by wrapping them with burlap or horticultural fleece to shield them from harsh temperatures and frost damage. This is especially important for young or newly planted vines.
Remember, the specific pruning and training techniques may vary depending on the grape variety and trellis system used. Consult local gardening resources, extension services, or expert vineyard professionals for guidance tailored to your specific grape variety and climate.
By implementing proper pruning and training practices, you will ensure the longevity, health, and productivity of your grape vines, leading to bountiful harvests of delicious grapes.
Now that you’re well-versed in pruning and training, the next step is understanding the process of harvesting and enjoying the fruits of your labor. We’ll explore this exciting topic in the following section.
Read more: How To Grow A Grape Seed
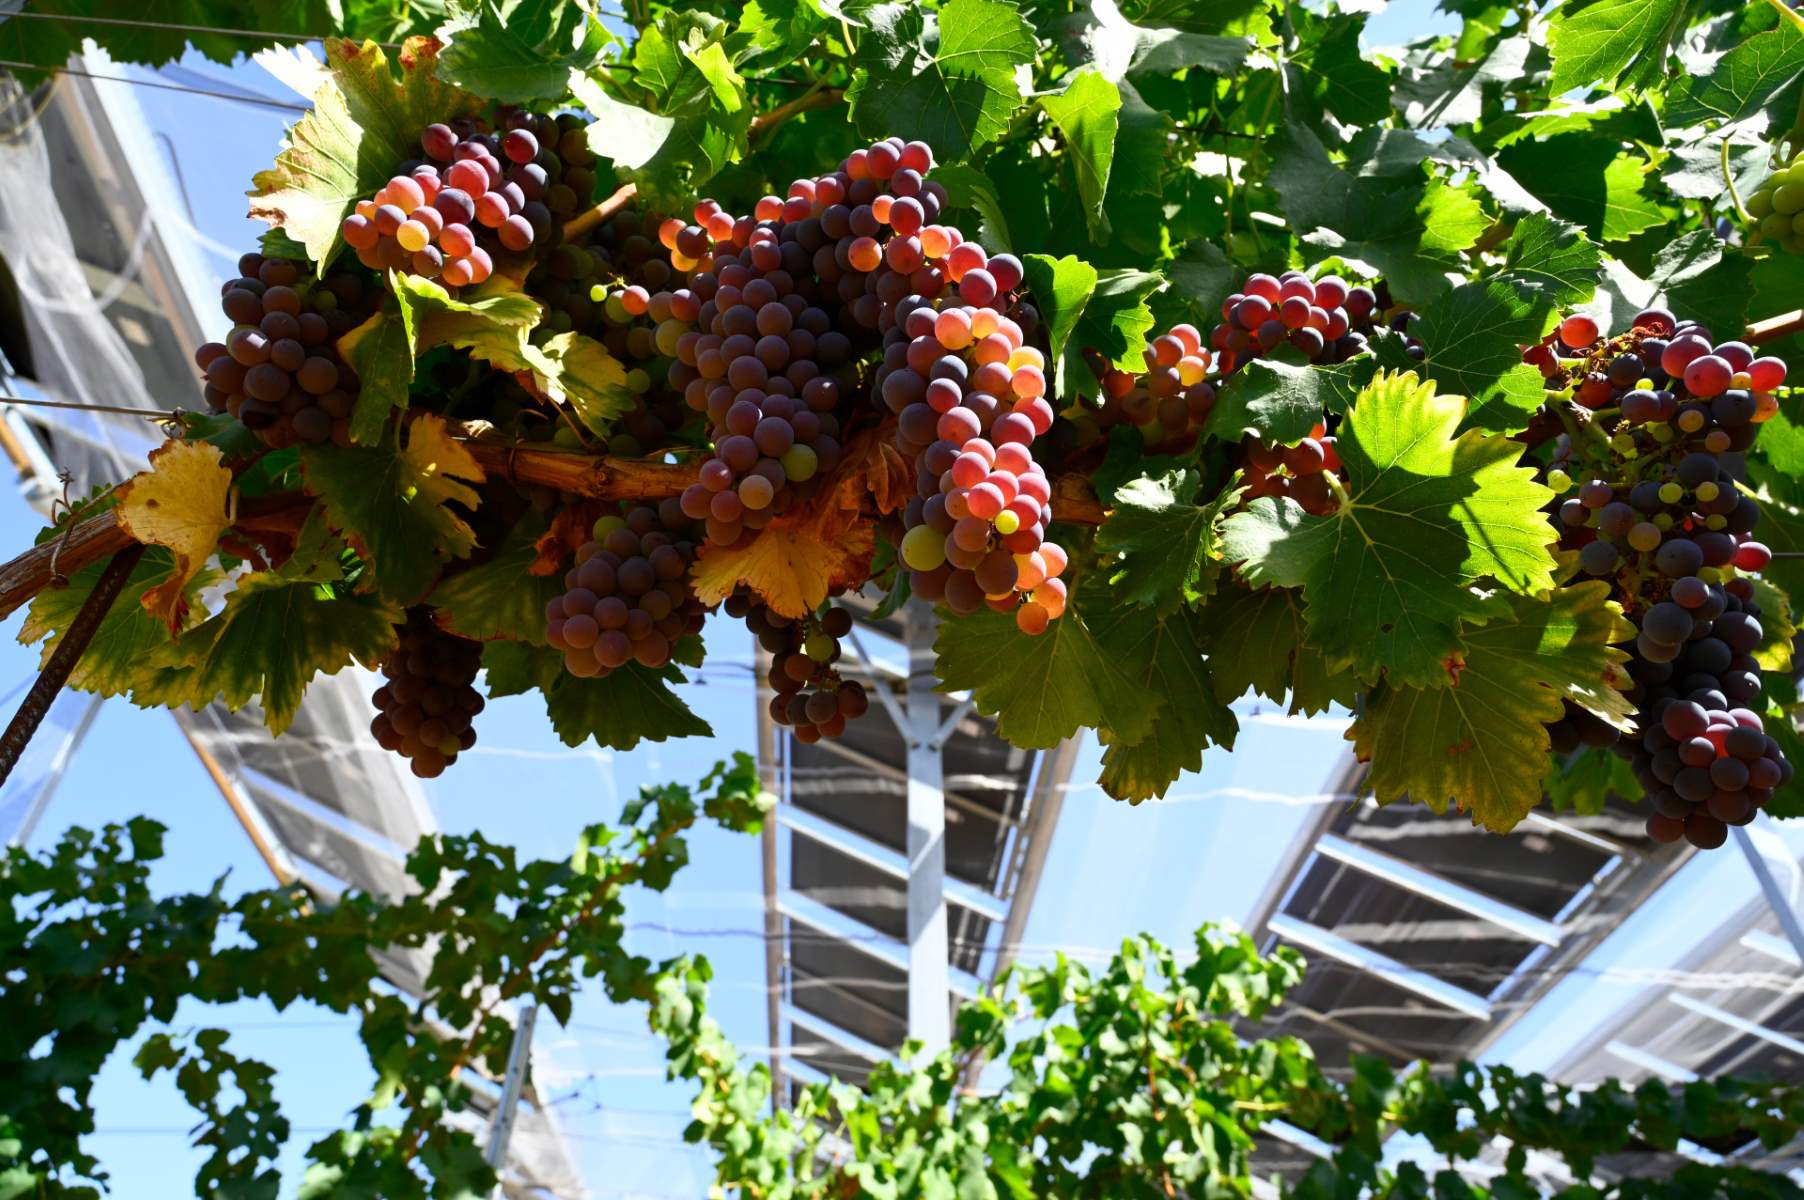
Harvesting and Enjoying your Homegrown Grapes
Congratulations! You’ve successfully nurtured your grape vines from seedlings to mature plants, and now it’s time to reap the fruits of your labor. Harvesting and enjoying your homegrown grapes is an exciting and rewarding experience. Here’s a guide to help you maximize the flavor and enjoyment of your harvest:
1. Determining the Harvest Time: The timing of grape harvest varies based on the grape variety and desired use. For table grapes, wait until they reach their full color and have a slight give when gently squeezed. Wine grapes are typically harvested when they reach their optimal sugar and acid balance.
2. Harvesting Techniques: To harvest your grapes, use a sharp pair of gardening shears or scissors to cut the bunches from the vine. Be careful not to damage the grape clusters or the vines. Harvest in the morning or evening when temperatures are cooler to preserve the quality of the grapes.
3. Proper Handling and Storage: After harvesting, handle the grapes gently to avoid bruising or damaging the delicate fruit. Remove any damaged or overripe grapes, as they can accelerate spoilage. Store grapes in a cool and humid environment, such as the refrigerator, to maintain their freshness and crispness.
4. Enjoying Fresh Grapes: Homegrown grapes are a delight to eat fresh. Rinse them gently before enjoying, and savor their sweet, juicy flavor straight from the vine. Use them as a healthy snack, add them to fruit salads, or pair them with artisanal cheeses for a delectable cheese plate.
5. Preserving the Harvest: If you have an abundant grape harvest, consider preserving the grapes to enjoy their flavors year-round. Grapes can be transformed into delicious jams, jellies, juices, or even wine. Explore recipes and experiment with different preservation methods to make the most of your harvest.
6. Sharing the Bounty: Homegrown grapes often provide an abundance of fruit. Share the joy of your harvest with friends, family, and neighbors. Consider hosting a gathering or creating homemade grape-themed gifts to spread the happiness of your garden’s bounty.
7. Saving Seeds for Future Plantings: If you’re interested in growing grapes from seeds again, save seeds from your ripe grapes. Allow the seeds to dry thoroughly, store them in a cool, dry place, and label them with the grape variety. They can be used for future planting endeavors or shared with other gardeners.
Remember, growing grapes is a continuous learning process, and each year brings new experiences. Take note of the flavors, characteristics, and growth habits of your grape vines to refine your techniques and enhance future harvests.
By embracing the journey from planting seeds to savoring the fruits of your labor, you’ll find immense joy and satisfaction in the process of growing and enjoying your own homegrown grapes.
As we conclude our article, we hope this guide has provided you with the knowledge and inspiration to embark on your grape-growing adventure. Enjoy the beauty of your grape vines, relish in the flavors of your harvest, and celebrate the joys of gardening!
Conclusion
Growing grapes from seeds can be a fulfilling and rewarding endeavor for any gardener. From understanding grape seeds to selecting the right varieties, preparing the seeds, and going through the stratification and germination processes, each step contributes to the success of your grape-growing journey.
Caring for your grape seedlings, ensuring proper watering, fertilizing, and providing adequate sunlight and support, helps them thrive and develop into strong, healthy vines. Pruning and training the grape vines ensures optimal growth, proper air circulation, and maximum fruit production.
When the time comes for harvesting your homegrown grapes, savor the flavors of the ripe fruits and explore various ways to enjoy them, whether fresh off the vine or transformed into preserves or wine. Sharing the bountiful harvest with others adds an element of joy and connection.
Remember, growing grapes is a continuous learning process. Each year, you’ll gain more experience and knowledge about your specific grape variety and unique growing conditions. Adapt your techniques and practices accordingly to achieve even better results in the future.
We hope this comprehensive guide has provided you with the necessary information and inspiration to embark on your grape-growing journey. Whether you’re cultivating grapes for their delicious flavors, making your own wine, or simply enjoying the beauty of the vines in your garden, growing grapes from seeds allows you to connect with nature and experience the joy of homegrown produce.
So put on your gardening gloves, gather your grape seeds, and begin your grape-growing adventure. Embrace the process, learn from each step, and watch as your grape seeds transform into thriving vines that bear the fruits of your labor. Happy grape growing!
Frequently Asked Questions about How Do You Grow Grapes From Seeds
Was this page helpful?
At Storables.com, we guarantee accurate and reliable information. Our content, validated by Expert Board Contributors, is crafted following stringent Editorial Policies. We're committed to providing you with well-researched, expert-backed insights for all your informational needs.


0 thoughts on “How Do You Grow Grapes From Seeds”