Home>Garden Essentials>How Do You Grow A Lemon Tree From A Seed
Garden Essentials
How Do You Grow A Lemon Tree From A Seed
Modified: March 15, 2024
Learn how to grow a lemon tree from a seed in your garden with our comprehensive guide. Start growing your own fresh lemons today!
(Many of the links in this article redirect to a specific reviewed product. Your purchase of these products through affiliate links helps to generate commission for Storables.com, at no extra cost. Learn more)
Introduction
Growing a lemon tree from a seed can be a rewarding and fulfilling experience for any avid gardener. Not only will you be able to enjoy the bright and zesty lemons that will soon adorn your tree, but you will also have the satisfaction of nurturing a plant from its humble beginnings. While it may seem like a daunting task, growing a lemon tree from a seed is relatively simple, as long as you follow the right steps and provide the necessary care.
Before we jump into the process of growing a lemon tree from a seed, it’s important to note that doing so will not necessarily guarantee the same type of lemon tree as the one you got the seed from. The reason for this is that many commercial lemon trees are grafted onto rootstock, which means they have a different genetic makeup than the seeds that they produce. However, growing a lemon tree from a seed can still result in a healthy and productive tree that will provide you with delicious lemons.
In this article, we will guide you through the steps of growing a lemon tree from a seed, from gathering the necessary supplies to caring for the tree as it matures. Whether you’re a seasoned gardener looking for a new project or a beginner eager to try your hand at growing your own citrus tree, this article will provide you with the knowledge and guidance you need.
Key Takeaways:
- Growing a lemon tree from a seed is a fun and rewarding project, but it may not produce the exact same type of lemon tree as the parent. With patience and care, you can enjoy the process and the tangy fruits it produces.
- To grow a lemon tree from a seed, gather supplies, prepare the seed, germinate it, plant it, and provide proper care. With attention to watering, sunlight, and maintenance, you can enjoy harvesting your own fresh lemons.
Read more: How To Grow A Lemon Tree From Seed In Water
Step 1: Gathering Supplies
Before you can begin the process of growing a lemon tree from a seed, it’s essential to gather all the necessary supplies. Here’s a list of items you’ll need to get started:
- A fresh lemon: Look for a ripe lemon from a local grocery store or from a friend’s lemon tree. Make sure that the lemon is fresh and has not been treated with any chemicals or pesticides.
- A container: You’ll need a small container to germinate the lemon seed. Choose a pot with drainage holes to ensure proper water flow.
- Potting soil: Select a well-draining potting soil that is specifically formulated for indoor plants. Avoid using soil from your garden, as it may contain pests or diseases.
- Water: Clean, filtered water is ideal for watering your lemon tree seedling.
- A plastic bag or plastic wrap: This will be used to create a humid environment for the germinating seed.
- A sunny location: Lemon trees thrive in bright, sunny locations, so make sure you have a spot in your home or garden that receives at least 6-8 hours of direct sunlight per day.
Once you have gathered all of the necessary supplies, you’re ready to move on to the next step of the process: preparing the lemon seed.
Step 2: Preparing the Lemon Seed
Preparing the lemon seed is an important step in the process of growing a lemon tree. Follow these steps to ensure the seed is ready for germination:
- Cut open the lemon: Use a sharp knife to carefully cut the lemon in half. Choose a lemon that is ripe and has a fully developed seed.
- Extract the seed: Look for the large, plump seeds inside the lemon. Gently remove one or two of these seeds from the pulp. Make sure to choose seeds with a healthy appearance.
- Clean the seed: Rinse the seed under cool water to remove any remaining pulp. Avoid using any soap or chemicals, as this can damage the seed.
- Soak the seed: Fill a small bowl with water and place the lemon seed in it. Let it soak for about 24 hours. This soaking process will help soften the seed coat and promote germination.
After you have prepared the lemon seed, you are ready to move on to the next step: germinating the seed.
Step 3: Germinating the Seed
Germinating the lemon seed is a crucial step in the growing process, as it kickstarts the growth of the seed into a seedling. Follow these steps to successfully germinate the lemon seed:
- Prepare a paper towel: Take a damp paper towel and spread it out on a flat surface.
- Place the seed on the towel: Carefully place the soaked lemon seed on the damp paper towel. Make sure to position it in the center.
- Fold the paper towel: Fold the paper towel over the seed, covering it completely.
- Transfer to a sealable plastic bag or wrap: Place the folded paper towel with the seed inside a sealable plastic bag or wrap it securely with plastic wrap. This will create a humid environment for the seed.
- Store in a warm location: Find a warm location in your home where the temperature remains between 70-80°F (21-27°C). You can place the bag or wrapped seed on top of a refrigerator or near a heat source, such as a radiator.
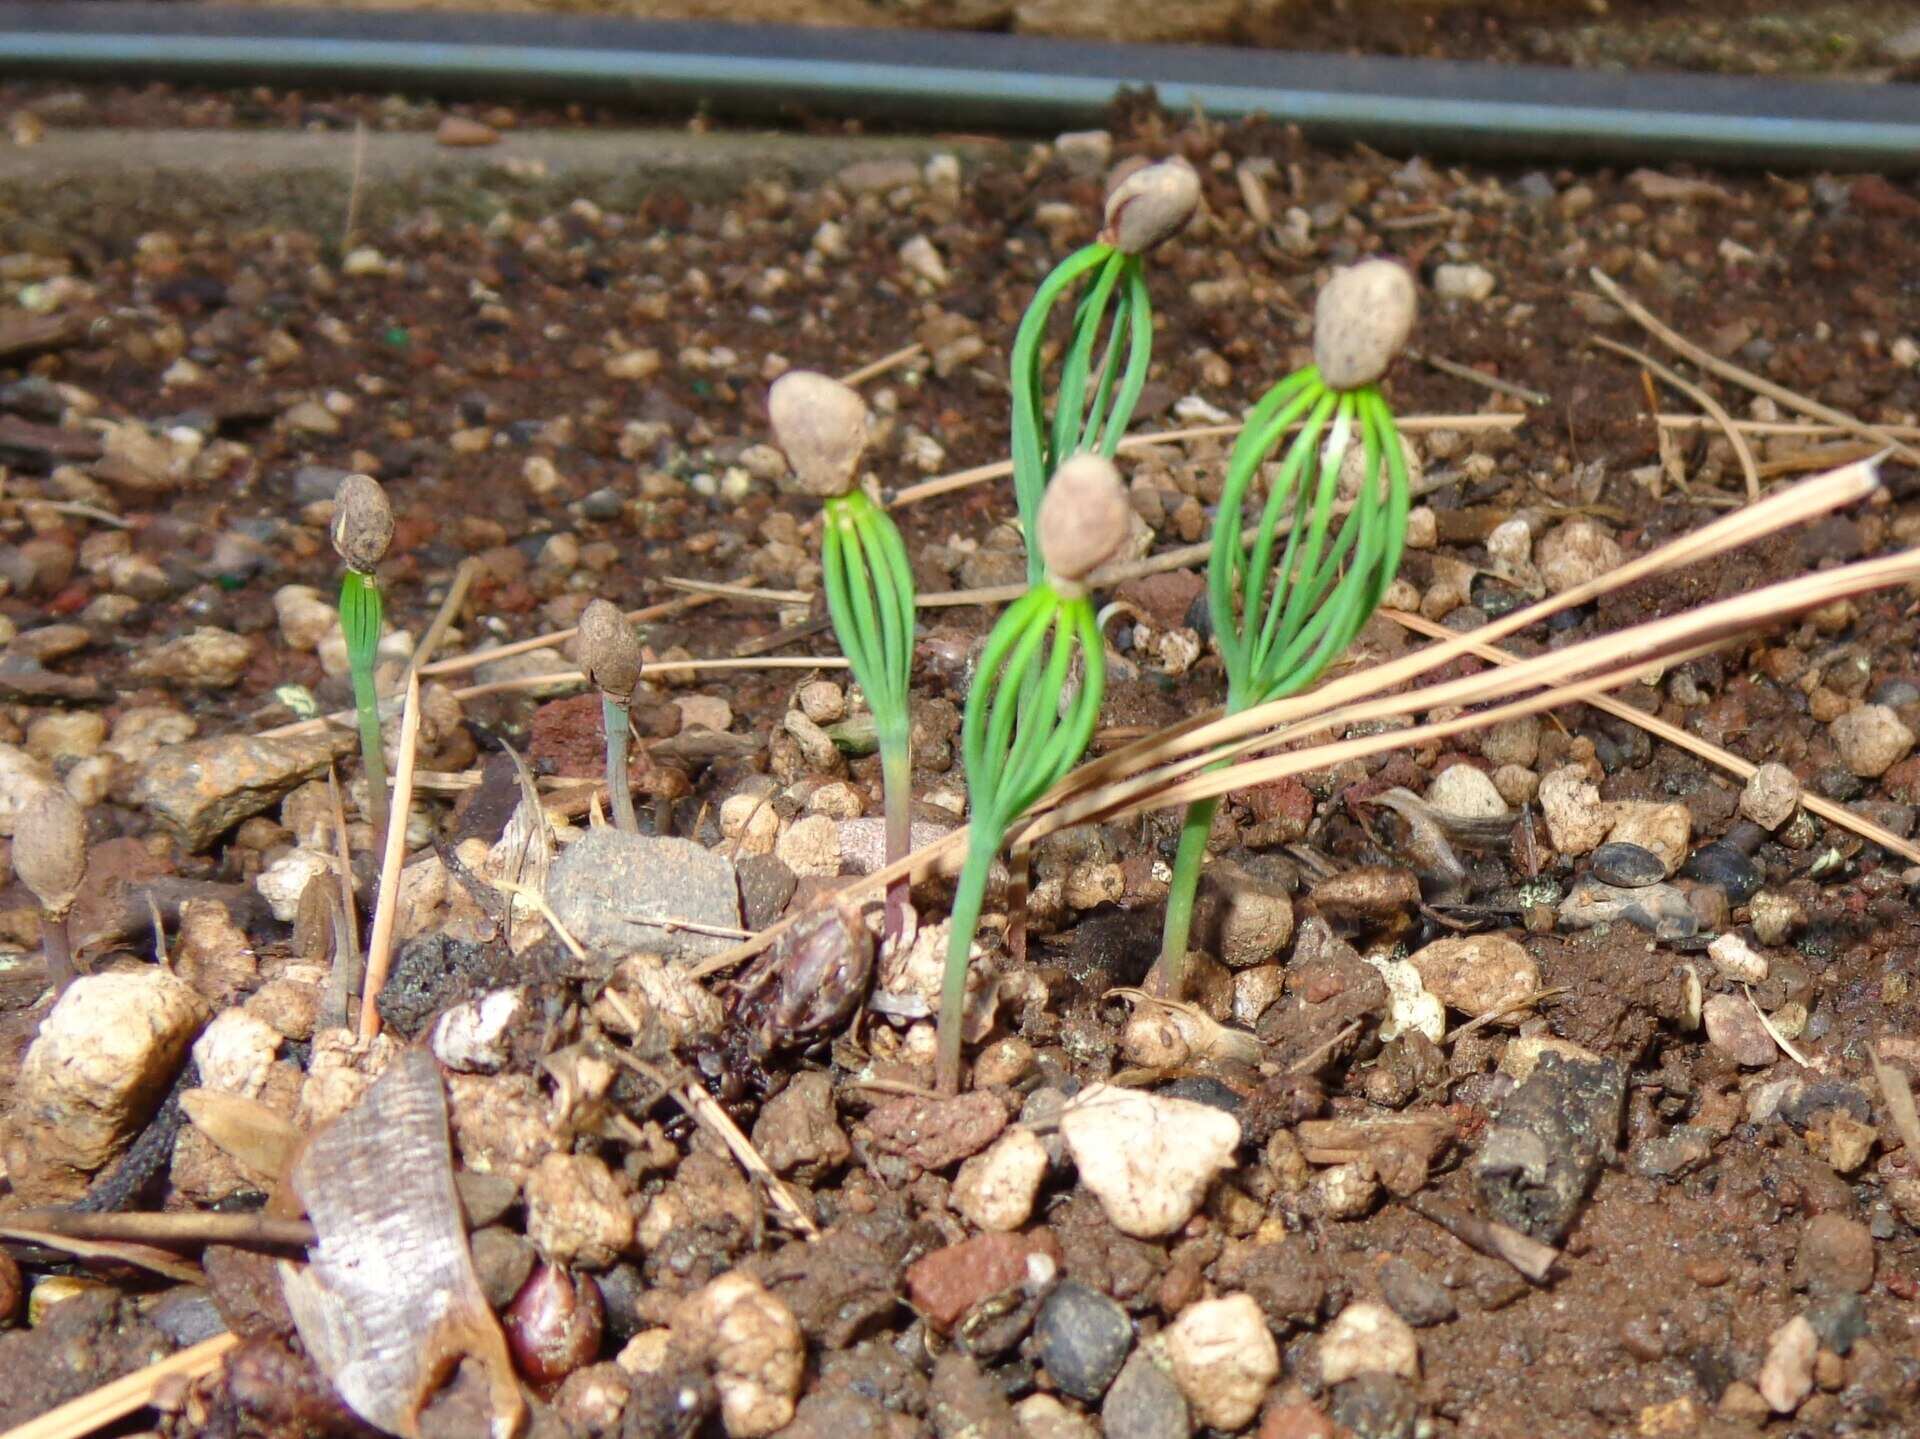
- Monitor for germination: Check the seed regularly for signs of germination. It can take anywhere from 2 to 6 weeks for the seed to sprout.
During this process, make sure to keep the paper towel damp by lightly misting it with water if it begins to dry out. Be patient and wait for the seed to sprout before moving on to the next step: planting the germinated seed.
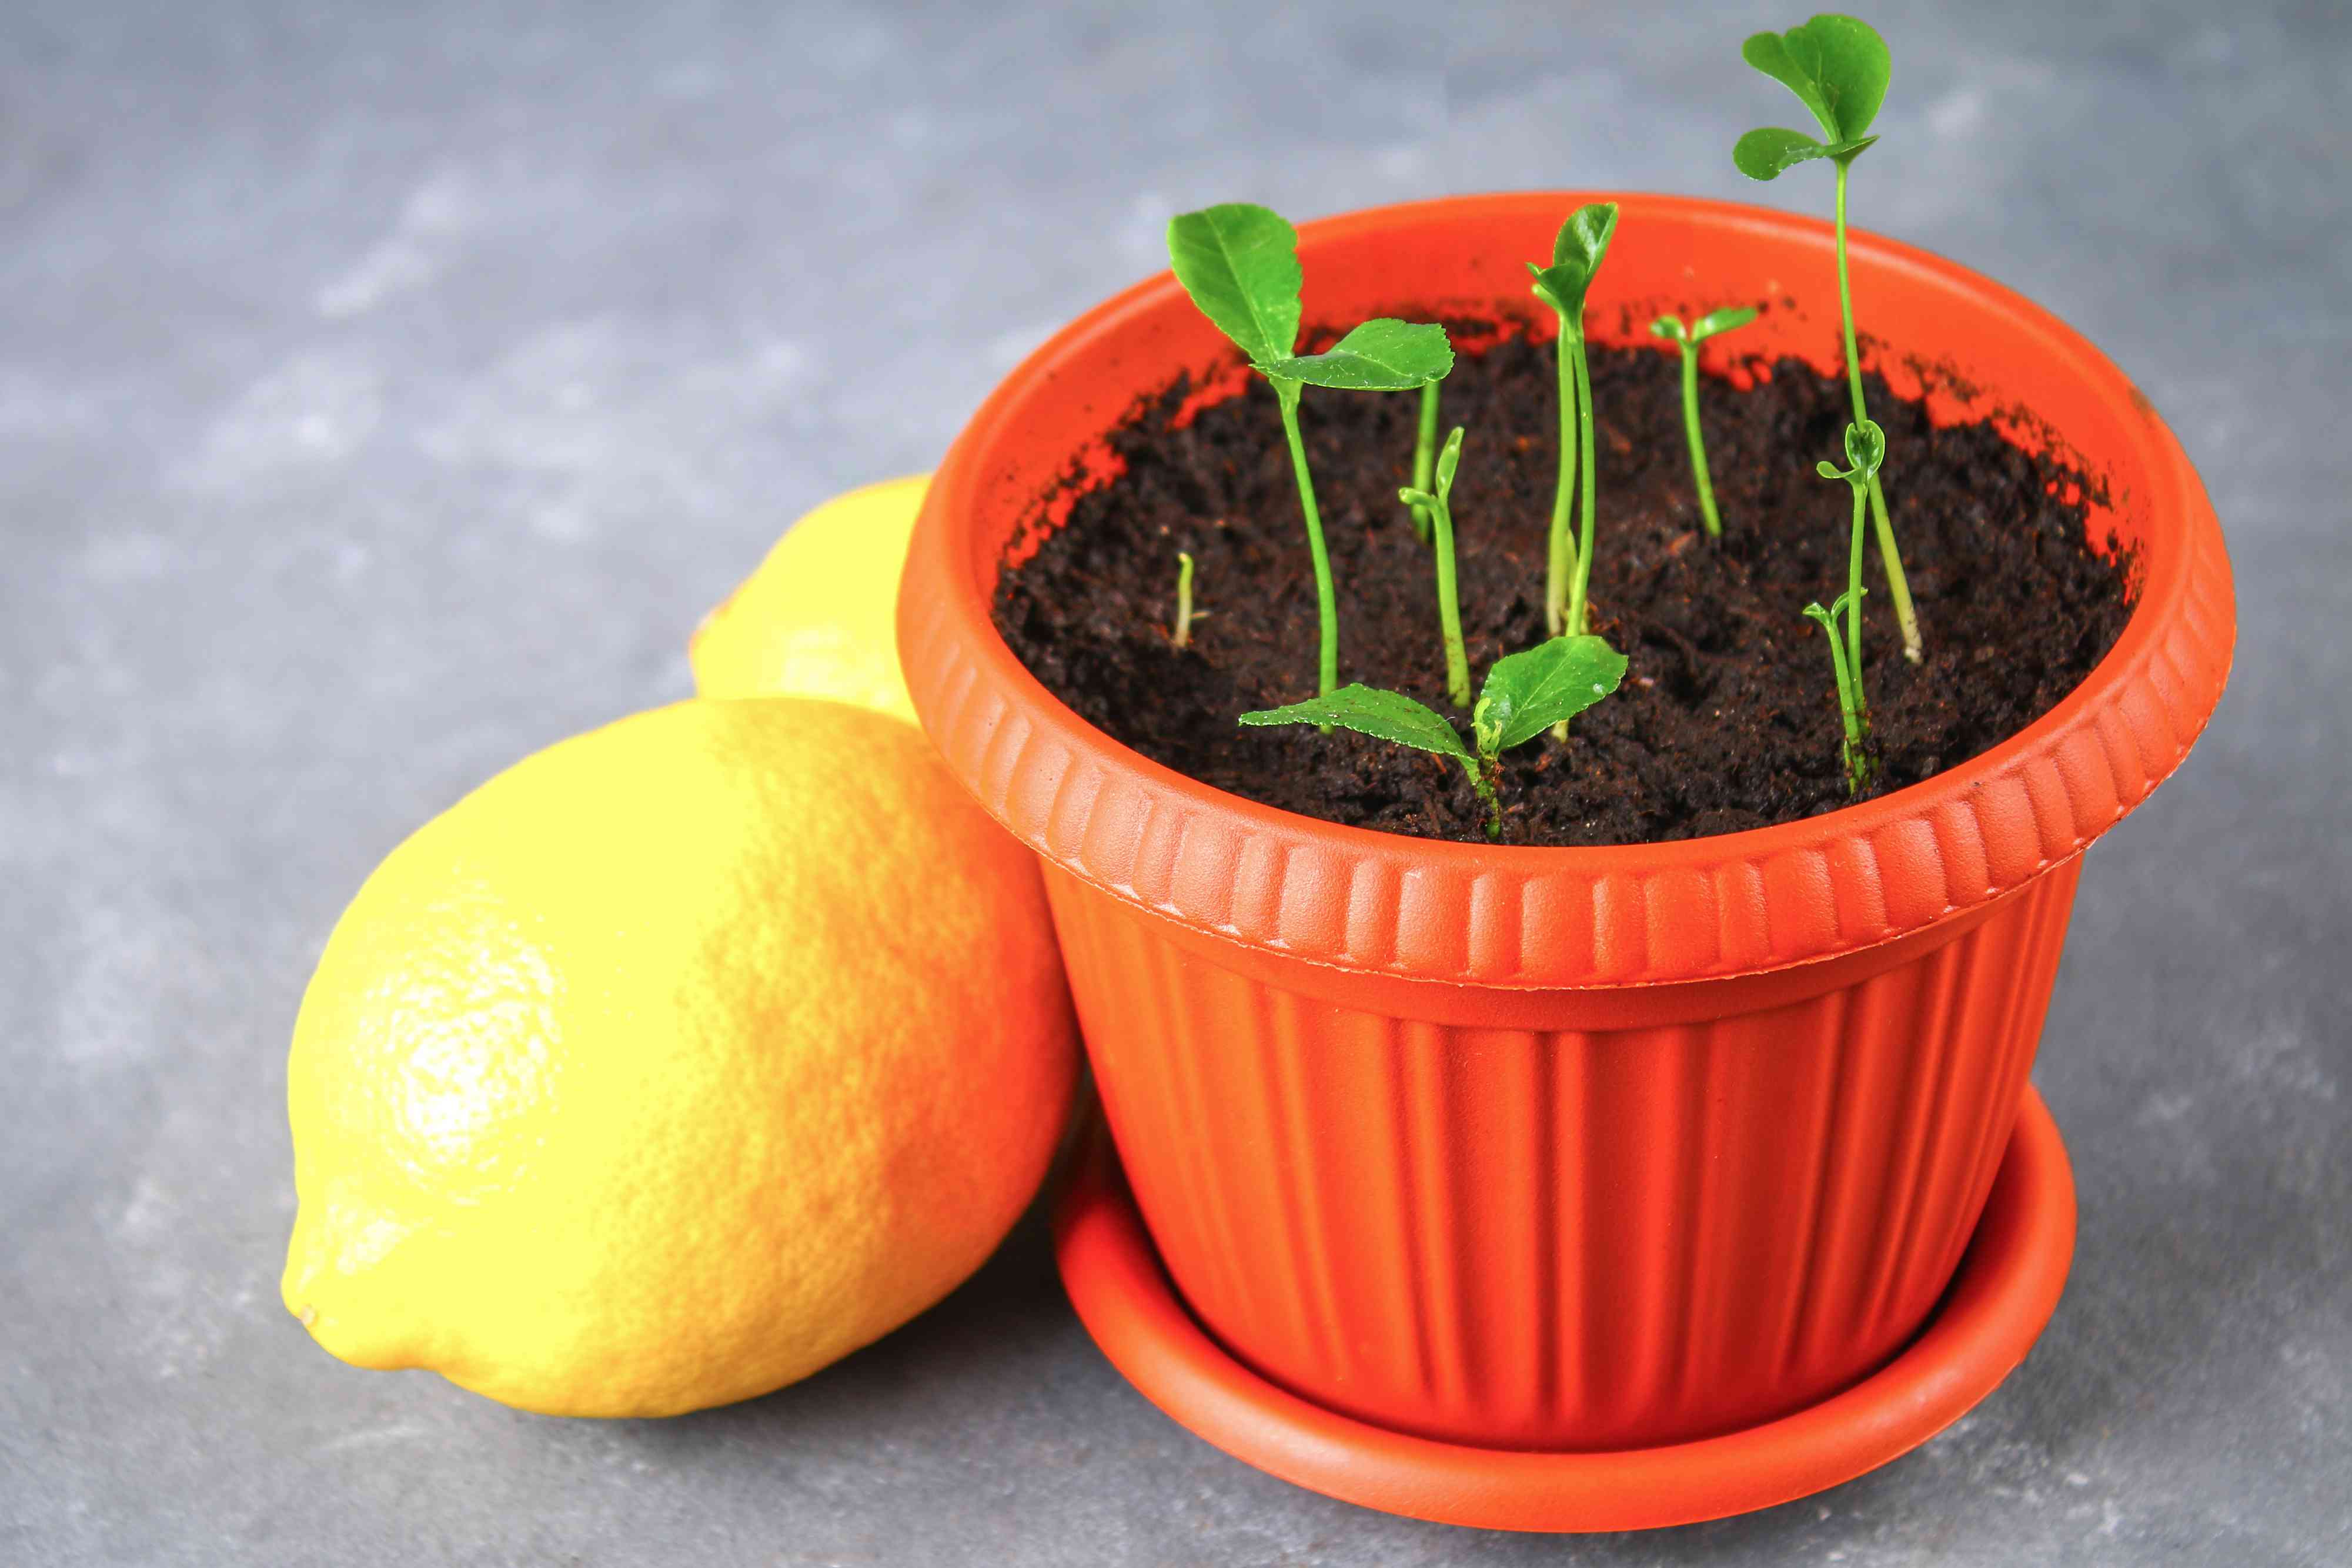
Step 4: Planting the Germinated Seed
Once the lemon seed has successfully germinated and sprouted, it’s time to plant it in a suitable container. Follow these steps to plant the germinated seed:
- Choose a container: Select a small container with drainage holes at the bottom. The container should be large enough to accommodate the growing seedling.
- Fill the container with potting soil: Fill the container with a well-draining potting soil, leaving about an inch of space at the top.
- Make a hole for the seedling: Use your finger or a small spoon to create a hole in the soil that is deep and wide enough to accommodate the roots of the germinated seedling.
- Gently place the seedling in the hole: Carefully transfer the germinated seedling into the hole, ensuring that the roots are spread out and covered with soil.
- Press the soil gently: Press the soil around the base of the seedling to secure it in place.
- Water the seedling: Give the newly planted seedling a thorough watering, ensuring that the soil is evenly moist.
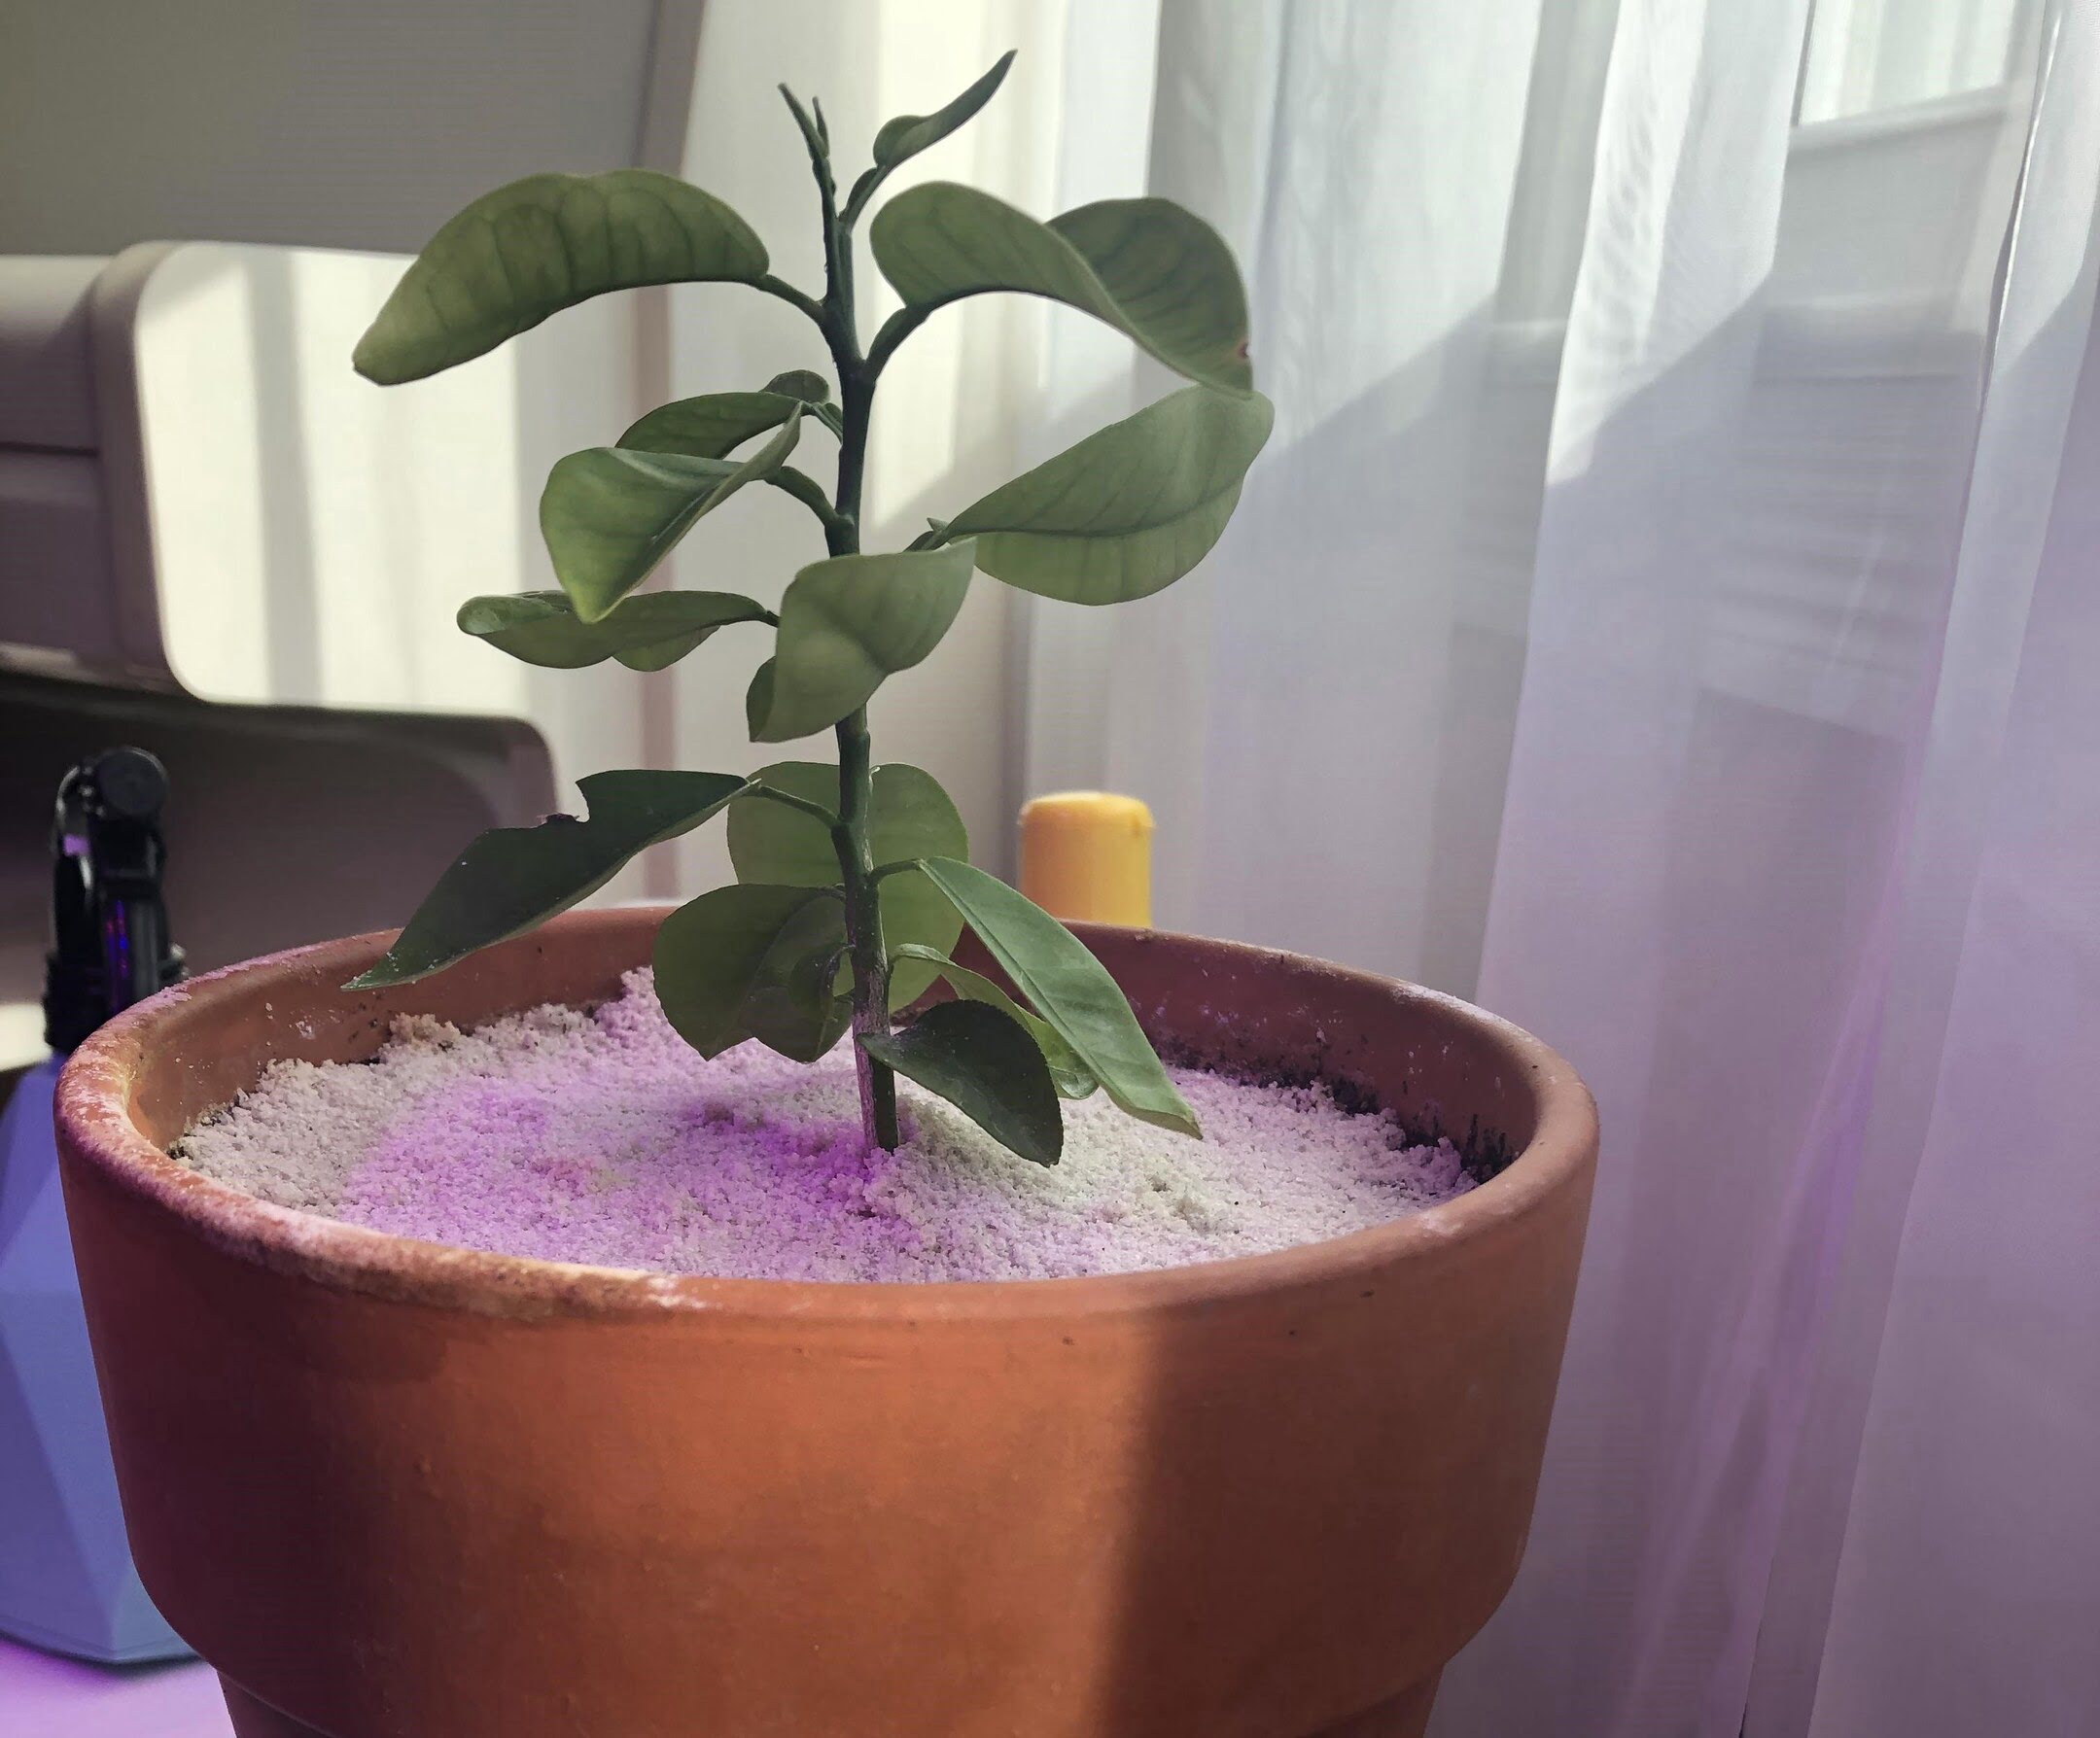
After planting the germinated seed, place the container in a sunny location where the lemon tree will receive 6-8 hours of direct sunlight daily. Continue to water the seedling regularly, keeping the soil consistently moist but not waterlogged. In the next step, we will discuss how to care for the lemon tree seedling as it grows and matures.
Plant the lemon seed in a small pot with well-draining soil, keep it moist but not waterlogged, and place it in a sunny spot. It can take several years for the tree to produce fruit, so be patient and give it plenty of care.
Read more: How To Start A Lemon Tree From Seed
Step 5: Caring for the Lemon Tree Seedling
Now that the lemon tree seedling is planted and starting to grow, it’s important to provide proper care to ensure its health and development. Here are some essential care tips for your lemon tree seedling:
- Watering: Lemon trees thrive in well-draining soil, so it’s crucial not to overwater them. Water the seedling when the top inch of soil feels dry, ensuring that the water reaches the roots. Avoid letting the soil become overly dry or waterlogged.
- Sunlight: Lemon trees require full sun to grow and produce fruit. Ensure that the seedling receives at least 6-8 hours of direct sunlight each day. If you’re growing the tree indoors, place it near a south-facing window to maximize sunlight exposure.
- Fertilization: After about 2-3 months of growth, you can start fertilizing the lemon tree seedling. Use a slow-release citrus fertilizer or organic compost to provide essential nutrients. Follow the instructions on the fertilizer package for proper application.
- Pruning: As the lemon tree seedling grows, it’s beneficial to prune it to encourage a strong and well-shaped structure. Remove any damaged or crossing branches, and maintain a balanced shape by cutting back excessive growth.
- Pest control: Keep an eye out for pests such as aphids, spider mites, and scale insects that can infest lemon trees. If you notice any pests, you can use organic insecticidal soap or natural pest control methods to alleviate the infestation.
- Temperature and humidity: Lemon trees prefer warm temperatures between 70-85°F (21-29°C) and moderate humidity levels. Avoid exposing the seedling to extreme cold or hot temperatures, as it can cause stress and hinder growth.
By providing the proper care and attention, your lemon tree seedling will continue to grow into a healthy and productive tree. In the next step, we will discuss when and how to transfer the seedling to a larger pot.
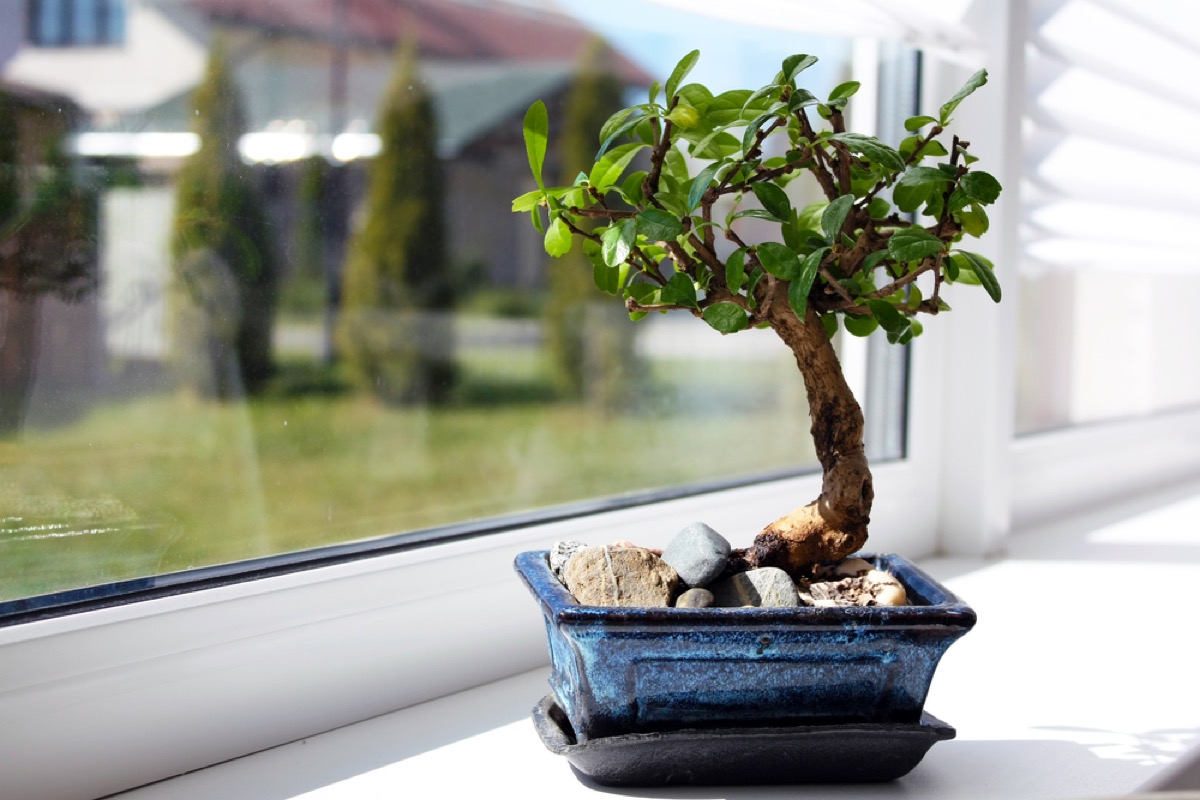
Step 6: Transferring the Seedling to a Bigger Pot
As your lemon tree seedling continues to grow, it will eventually outgrow its initial container and require a larger pot to accommodate its expanding root system. Follow these steps to successfully transfer the seedling to a bigger pot:
- Choose a larger pot: Select a pot that is 2-4 inches larger in diameter than the current container. Ensure that the new pot has drainage holes to prevent waterlogging.
- Prepare the new pot: Fill the new pot with fresh potting soil, leaving enough space at the top to accommodate the seedling.
- Water the seedling: Thoroughly water the seedling a few hours before transplanting. This will help ease the transition and prevent excessive stress to the plant.
- Remove the seedling from its current pot: Gently loosen the soil around the seedling in its current container. Carefully lift the seedling, supporting the roots, and gently place it in the new pot.
- Add soil around the roots: Fill in the gaps around the roots with fresh potting soil, ensuring that it is firmly packed but not overly compacted.
- Water the transplanted seedling: Give the seedling a thorough watering after transplanting to settle the soil and hydrate the roots.
- Place in a suitable location: Find a sunny spot for the newly transplanted lemon tree seedling. Make sure it receives ample sunlight throughout the day.
After transferring the seedling to a bigger pot, continue to provide proper care, including regular watering, adequate sunlight, and periodic fertilization. Monitor the growth and health of the lemon tree as it continues to flourish and mature.
In the next step, we will explore how to maintain the lemon tree as it grows and ensure optimal fruit production.
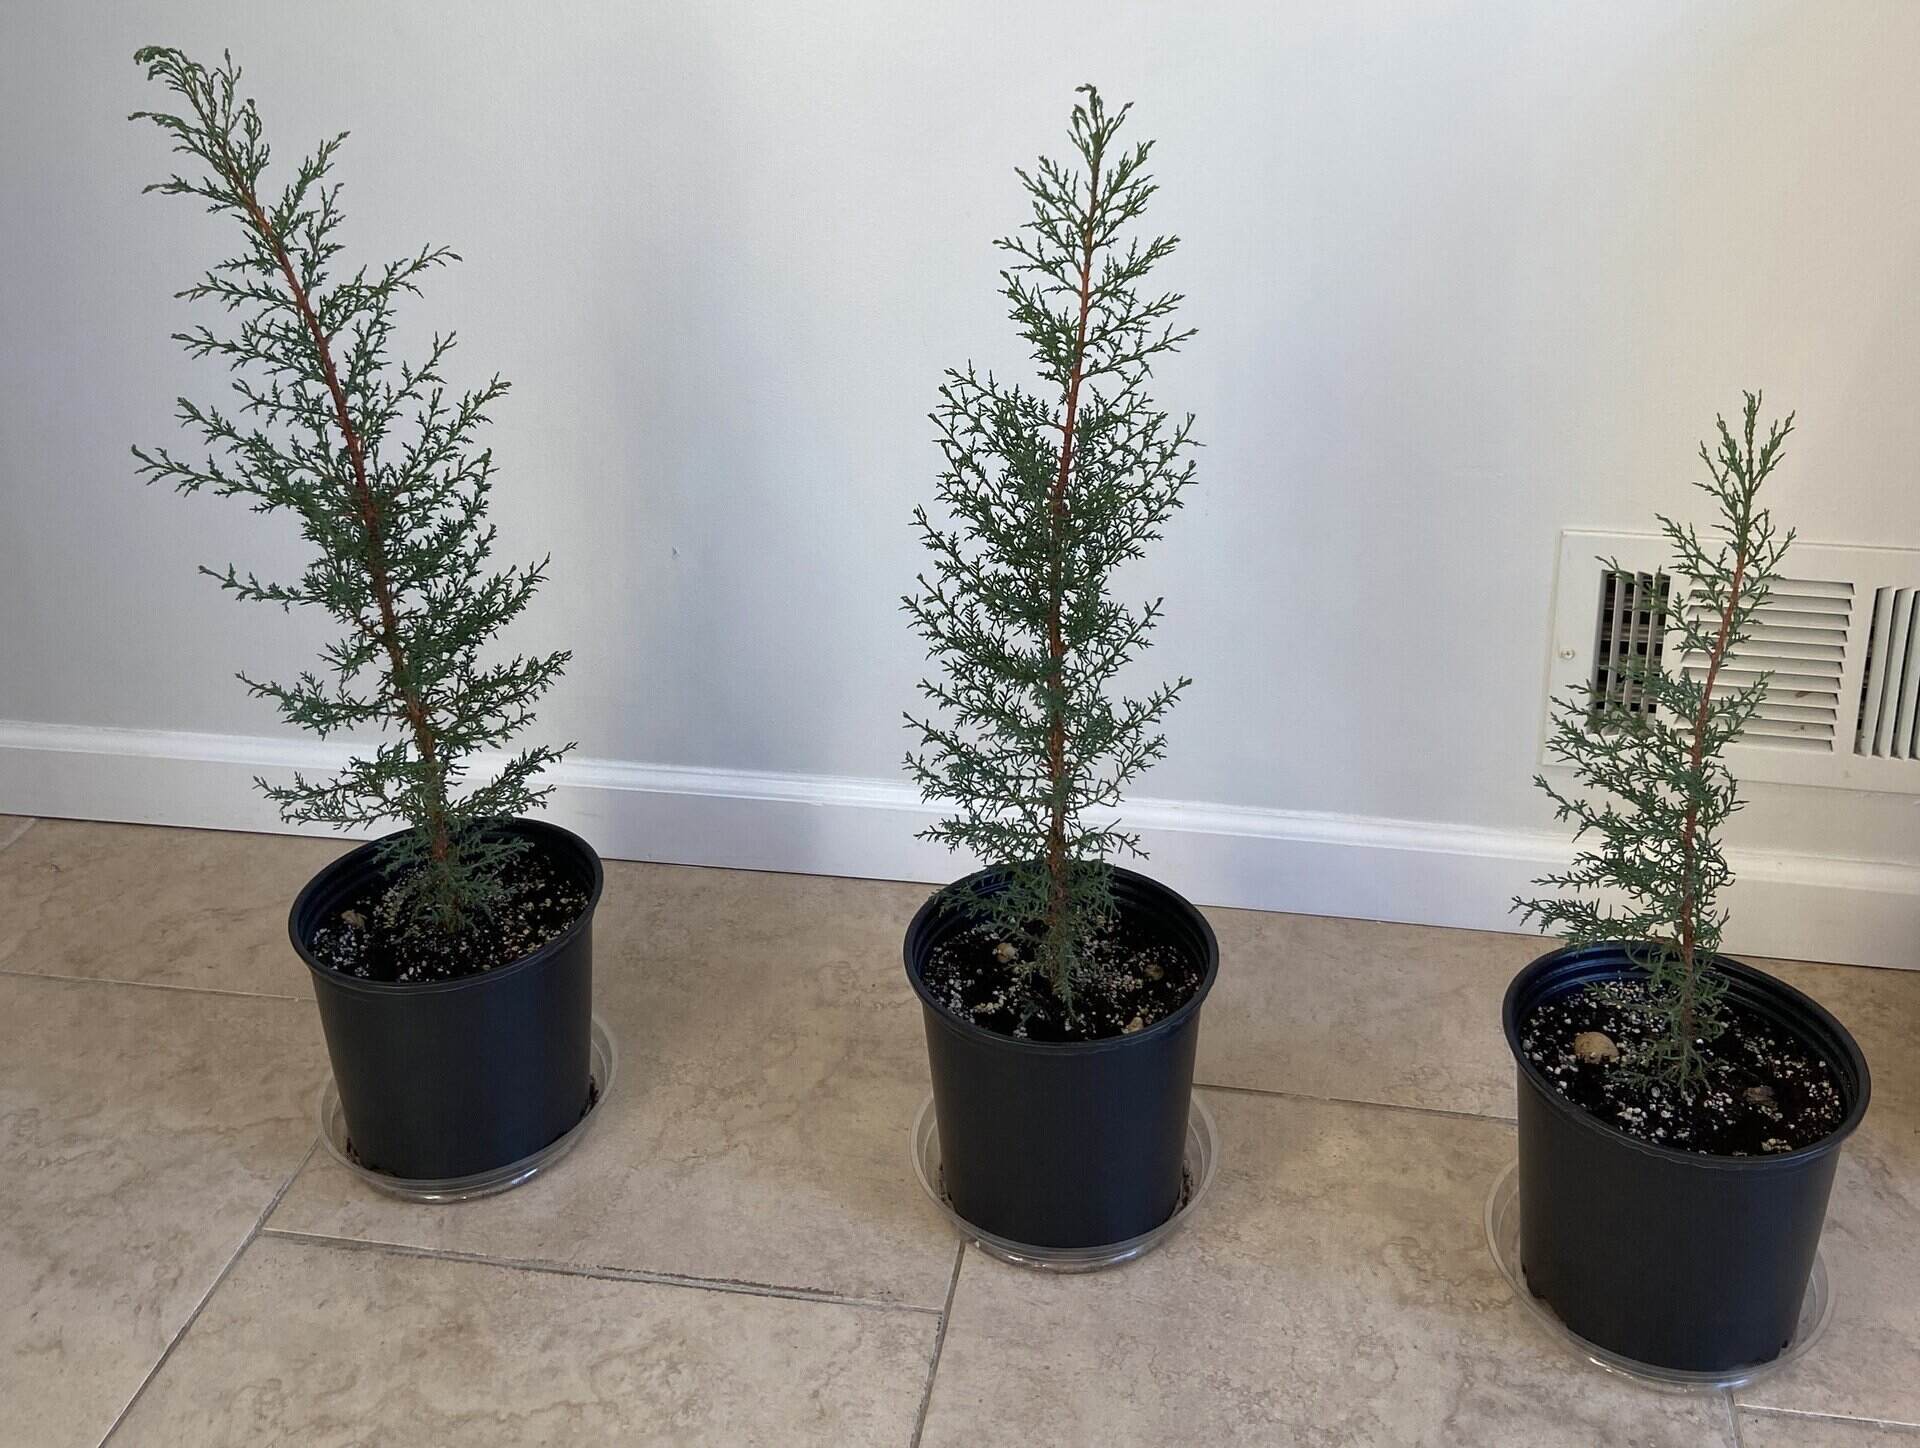
Step 7: Maintaining the Lemon Tree
Once your lemon tree has been transplanted into a larger pot and is growing well, it’s important to provide ongoing care to ensure its health and productivity. Follow these maintenance steps to keep your lemon tree thriving:
- Watering: Lemon trees require regular watering, especially during dry periods. Water the tree deeply, ensuring that the soil is evenly moist but not waterlogged. Adjust the frequency of watering based on the environmental conditions and the moisture levels in the soil.
- Fertilization: Lemon trees are heavy feeders and benefit from regular fertilization. Apply a balanced citrus fertilizer or organic compost every 2-3 months during the growing season. Follow the manufacturer’s instructions for proper dosage.
- Pruning: Prune your lemon tree regularly to maintain its shape, remove dead or diseased branches, and promote better airflow and sunlight penetration. Pruning should be done in late winter or early spring before new growth begins.
- Pest and disease control: Monitor your lemon tree for pests such as aphids, scale insects, and citrus leaf miners. Use organic pest control methods or insecticidal soap to manage infestations. Keep an eye out for signs of disease such as citrus canker or root rot, and take appropriate measures to address them.
- Supportive structures: As your lemon tree grows, it may require stakes or trellises for support. This will help prevent branches from becoming weak or breaking under the weight of the fruit.
- Winter care: If you live in an area with cold winters, provide protection for your lemon tree during freezing temperatures. Move the potted tree indoors or cover it with a frost cloth to shield it from the cold.
By maintaining regular care and addressing any issues promptly, your lemon tree will continue to thrive and provide you with a bountiful harvest of delicious lemons. In the final step, we will explore the exciting process of harvesting lemons from your tree.
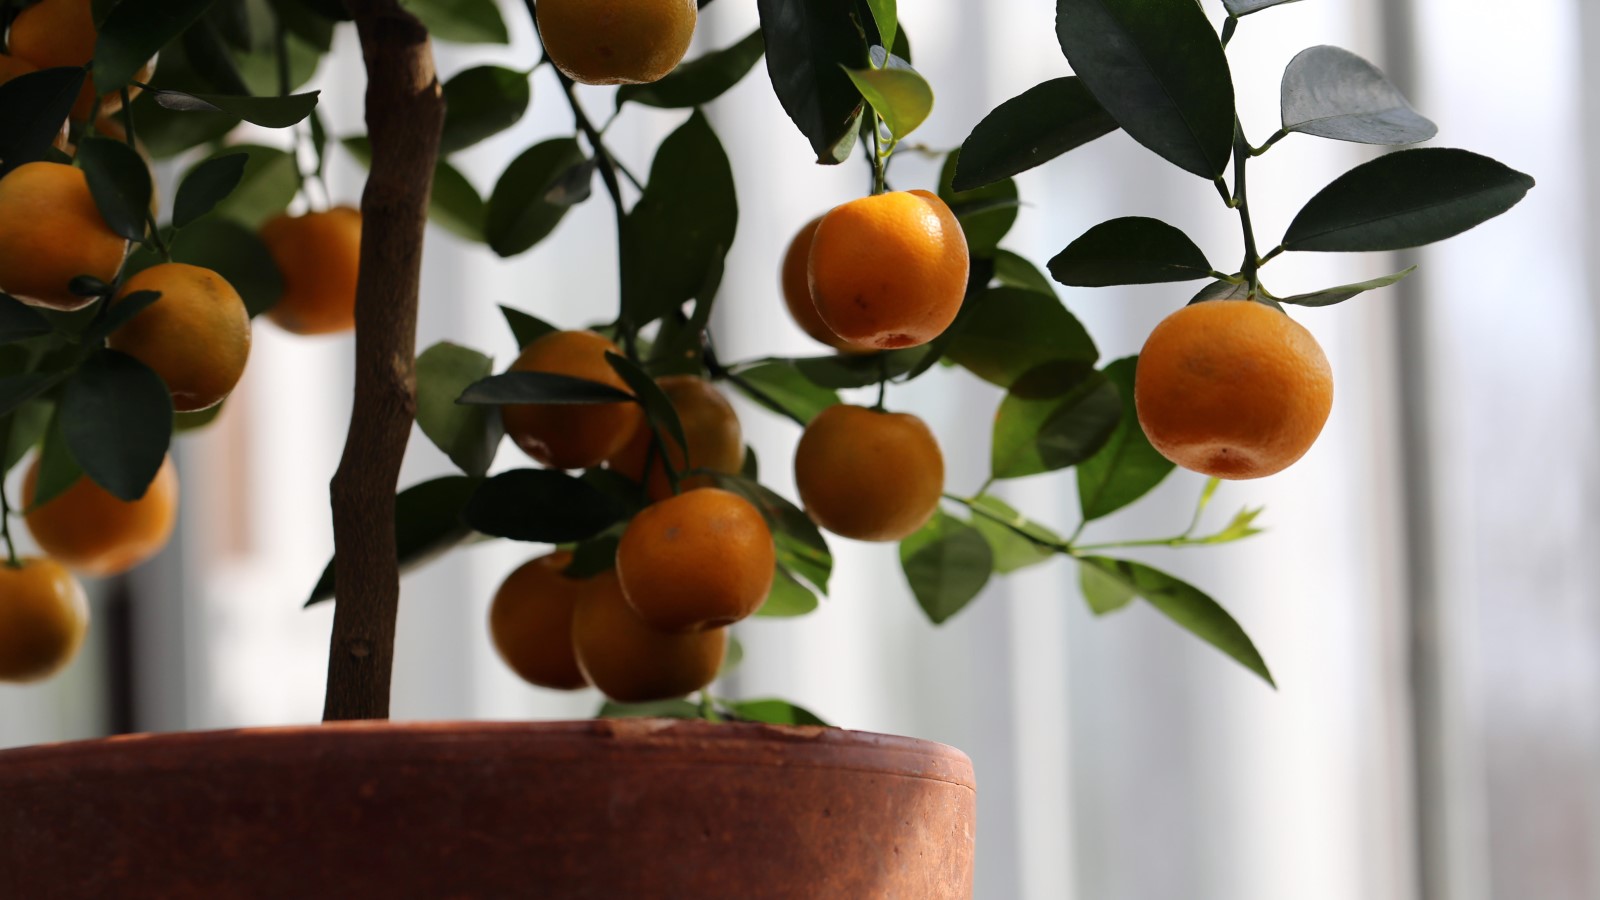
Step 8: Harvesting Lemons
One of the most satisfying moments in growing a lemon tree is finally harvesting the ripe and juicy lemons. Here are some important steps to follow when it comes to harvesting your lemons:
- Wait for the right time: Lemons typically take around 6 to 12 months to ripen, depending on the variety and growing conditions. Look for signs that the lemons are ready to be harvested, such as a bright yellow color and a slight give when gently squeezed.
- Use pruning shears or scissors: When harvesting lemons, it’s best to use sharp pruning shears or scissors to cleanly cut the fruit from the tree. This helps prevent any damage to the branches or the rest of the tree.
- Harvest selectively: Avoid harvesting all the lemons at once, especially if you have a small tree. Instead, pick only the ripest lemons and allow the others to continue ripening on the tree. This ensures a continuous supply of fresh lemons throughout the season.
- Store the harvested lemons properly: After harvesting, store the lemons in a cool, well-ventilated area. If you won’t be using them immediately, you can place them in the refrigerator for extended freshness.
Remember to enjoy the fruits of your labor by incorporating freshly harvested lemons into your favorite recipes, making refreshing lemonade, or simply using them to garnish drinks and dishes. There’s nothing quite like the taste and aroma of homegrown lemons!
Congratulations! By following these steps, you have successfully grown and harvested lemons from your very own lemon tree. Remember to continue providing proper care and maintenance to ensure the continued growth and productivity of your tree.
By nurturing your lemon tree and enjoying the fruits of your labor, you can truly appreciate the beauty and satisfaction of growing your own citrus tree. Happy growing!
Read more: How To Grow A Tree From A Seed
Conclusion
Growing a lemon tree from a seed is a truly rewarding and fulfilling experience that allows you to enjoy the beauty and bounty of nature right in your own home or garden. While it may require some patience and care, the process of nurturing a lemon tree from its humble beginnings to a fruitful and thriving plant is a journey worth undertaking.
Throughout this article, we have explored the step-by-step process of growing a lemon tree from a seed. Starting from gathering the necessary supplies and preparing the lemon seed, to germinating the seed, planting it, and providing proper care, we covered every stage of the journey. Additionally, we discussed how to transfer the seedling to a bigger pot, maintain the lemon tree’s health, and ultimately enjoy the satisfaction of harvesting ripe and juicy lemons.
Remember, while growing a lemon tree from a seed may not result in an exact replica of the parent tree, it still offers the opportunity to nurture and cultivate a unique citrus tree. The joy of witnessing the growth and development of your lemon tree into a productive plant, and the delight of enjoying the fresh and tangy lemons it produces, is truly unparalleled.
So, whether you’re an experienced gardener or a beginner with a green thumb, don’t hesitate to embark on the journey of growing a lemon tree from a seed. With the right supplies, care, and patience, you can create a thriving citrus tree that will bring beauty, fragrance, and delicious lemons into your life.
Enjoy the process, savor the moments, and relish the rewards of growing your very own lemon tree. Happy gardening!
Frequently Asked Questions about How Do You Grow A Lemon Tree From A Seed
Was this page helpful?
At Storables.com, we guarantee accurate and reliable information. Our content, validated by Expert Board Contributors, is crafted following stringent Editorial Policies. We're committed to providing you with well-researched, expert-backed insights for all your informational needs.


0 thoughts on “How Do You Grow A Lemon Tree From A Seed”