Articles
How Do You Remove A Bathroom Vanity
Modified: March 25, 2024
Learn how to remove a bathroom vanity with our helpful articles. Get step-by-step instructions and tips for a successful DIY project.
(Many of the links in this article redirect to a specific reviewed product. Your purchase of these products through affiliate links helps to generate commission for Storables.com, at no extra cost. Learn more)
Introduction
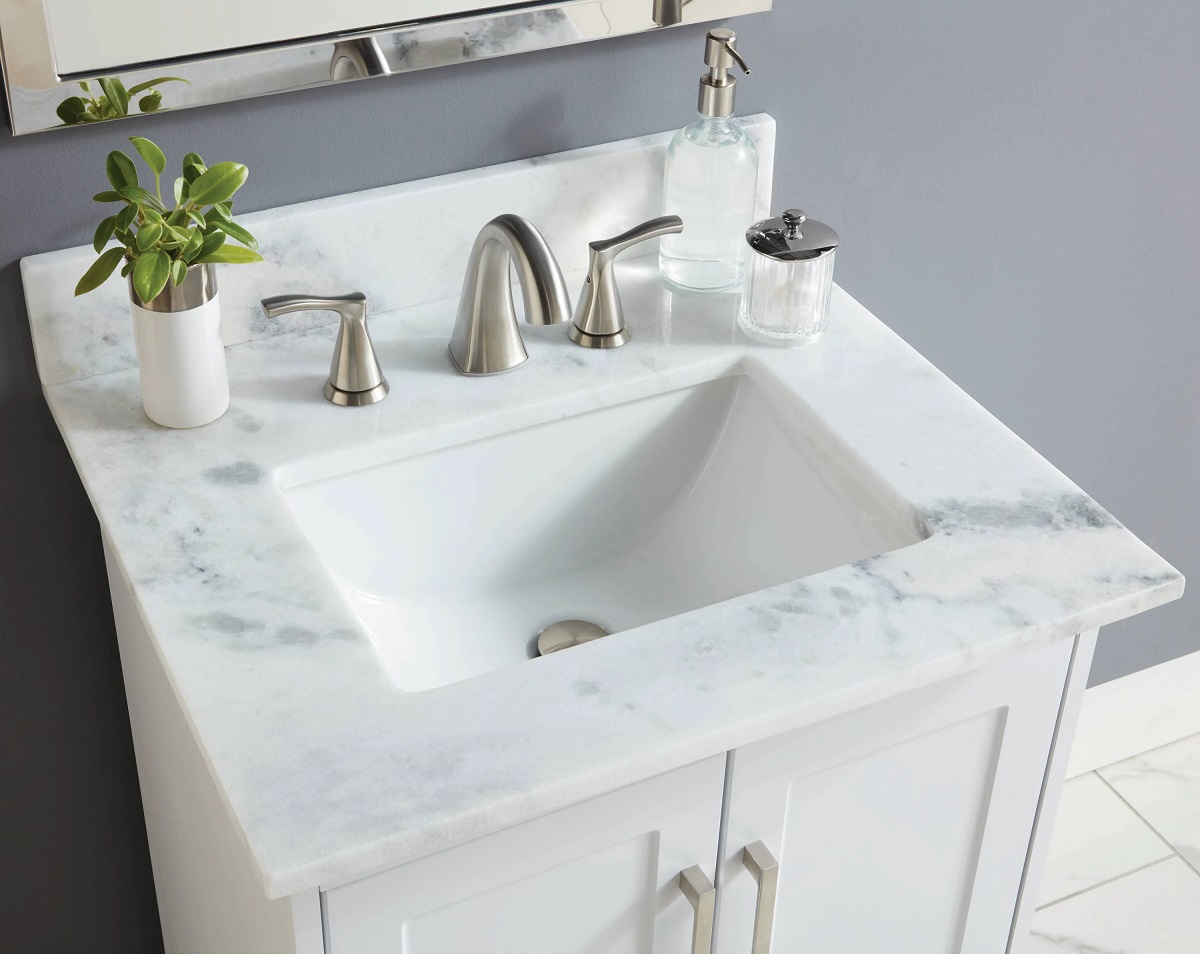
Removing a bathroom vanity can be a daunting task, but with the right tools and knowledge, it can be a relatively straightforward process. Whether you are looking to replace your vanity with a new one or simply want to update your bathroom’s aesthetic, knowing how to remove a bathroom vanity is an essential skill for any homeowner or DIY enthusiast.
In this article, we will guide you through the step-by-step process of removing a bathroom vanity. From gathering the necessary tools and materials to disconnecting the plumbing connections and removing the vanity itself, we will cover all the key details to ensure a successful and hassle-free removal.
Before we dive into the specifics, it’s important to note that safety should always be a top priority when working on any home improvement project. Make sure to wear the appropriate protective gear like gloves and safety glasses, and exercise caution throughout the process.
Now, let’s get started on removing that bathroom vanity!
Key Takeaways:
- Removing a bathroom vanity requires careful preparation, including gathering the necessary tools, shutting off the water supply, disconnecting plumbing connections, and unscrewing the vanity from the wall. Prioritize safety and take your time for a successful removal.
- After successfully removing the bathroom vanity, clear the area, clean up any debris, inspect the wall and floor for damage, and prepare for the next steps, such as installing a new vanity or making other renovations. Create a clean and organized space for a smooth and successful project.
Read more: How Do You Install A Floating Vanity
Step 1: Prepare the tools and materials
Before you begin the process of removing your bathroom vanity, it’s essential to gather all the necessary tools and materials. Having everything readily available will save you time and frustration during the removal process.
Here are the tools and materials you’ll need:
- Adjustable wrench
- Phillips-head screwdriver
- Pliers
- Putty knife
- Bucket or basin
- Tarp or old towels
- Masking tape
- Marker or pencil
- Protective gloves
- Safety glasses
Having these tools on hand will ensure that you have everything you need to remove the vanity safely and effectively.
Additionally, you may need some materials to protect your bathroom floor and walls during the removal process. Using a tarp or old towels to cover the floor will help prevent any damage from tools or debris. You may also want to use masking tape to mark the outlines of the vanity on the wall, making it easier to reinstall or position a new vanity in the same spot later on.
Once you have gathered all the necessary tools and materials, you are ready to move on to the next step: shutting off the water supply.
Step 2: Shut off the water supply
Before you can remove the bathroom vanity, it is crucial to shut off the water supply. This step is essential to prevent any water leakage or flooding during the removal process.
Follow these steps to shut off the water supply:
- Locate the shut-off valves: Look for the shut-off valves underneath the sink or behind the vanity. These valves control the water supply for the sink.
- Turn off the hot and cold water valves: Use your adjustable wrench to turn the valves clockwise until they are fully closed. This will cut off the water supply to the sink.
- Test the water flow: Turn on the sink’s faucets to ensure that the water supply has been successfully shut off. If there is no water running, you have successfully shut off the water supply.
It’s important to note that in some cases, there might be a main shut-off valve for the entire bathroom instead of individual valves for each fixture. If you cannot locate any shut-off valves under the sink, you may need to shut off the main water supply. This valve is typically located near the water meter or where the main water line enters your home.
By shutting off the water supply, you can proceed with confidence knowing that you won’t encounter any unexpected leaks or water damage during the rest of the removal process. With the water supply turned off, you’re now ready to move on to the next step: disconnecting the plumbing connections.
Step 3: Disconnect the plumbing connections
Once you have shut off the water supply, it’s time to disconnect the plumbing connections from your bathroom vanity. This step involves removing the pipes and fittings that connect the sink to the plumbing system.
Follow these steps to disconnect the plumbing connections:
- Place a bucket or basin under the sink: Position a bucket or basin underneath the sink to catch any residual water or debris that may come out during the disconnection process.
- Remove the P-trap: Use pliers or an adjustable wrench to loosen the slip nuts that connect the P-trap to the tailpiece of the sink drain. Once loosened, carefully remove the P-trap and empty any water or debris into the bucket.
- Disconnect the water supply lines: Locate the flexible water supply lines attached to the underside of the sink. Use an adjustable wrench or pliers to loosen the nuts connecting the supply lines to the shut-off valves. Once loosened, detach the supply lines from the valves.
- Remove any additional plumbing connections: Depending on the configuration of your vanity, there may be additional plumbing connections, such as a pop-up drain assembly or a waste pipe. Disconnect these connections using the appropriate tools, following the manufacturer’s instructions if necessary.
As you disconnect each plumbing connection, be cautious of any water that may still be trapped in the pipes. Empty the bucket or basin as needed to prevent overflowing.
Once all the plumbing connections are disconnected, you’ve successfully completed the necessary steps to detach the plumbing from your bathroom vanity. With the plumbing connections removed, you can now move on to the next step: removing the sink and countertop.
Before removing a bathroom vanity, turn off the water supply and disconnect the plumbing. Then, remove the countertop, backsplash, and any caulk or adhesive. Finally, unscrew the vanity from the wall and floor before carefully lifting it out.
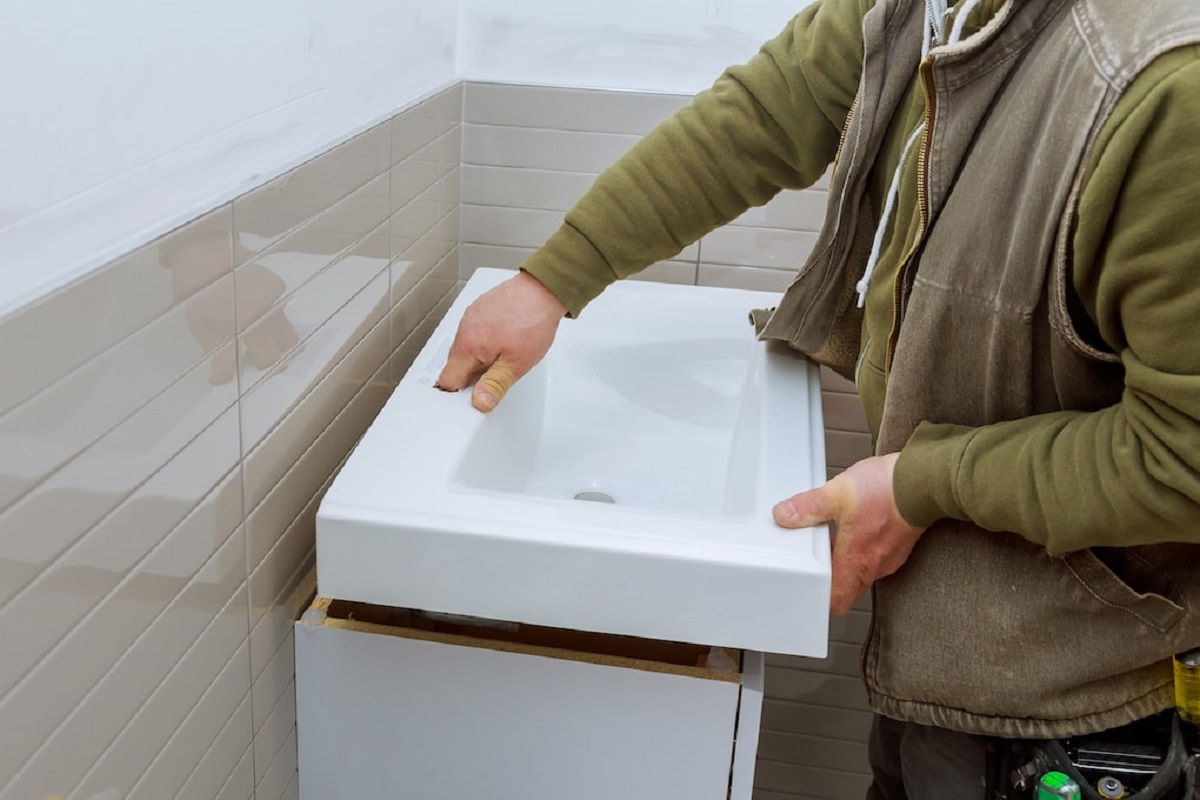
Step 4: Remove the sink and countertop
With the plumbing connections disconnected, it’s time to remove the sink and countertop from your bathroom vanity. This step requires careful handling to avoid any damage to the fixtures or surrounding area.
Follow these steps to remove the sink and countertop:
- Clear the area: Remove any items from the vanity and clear the surrounding area to create a safe and clutter-free workspace.
- Inspect for mounting clips or brackets: Check for any mounting clips or brackets securing the sink or countertop to the vanity. These may be located beneath the sink or along the edges of the countertop. Use a screwdriver or pliers to remove them if necessary.
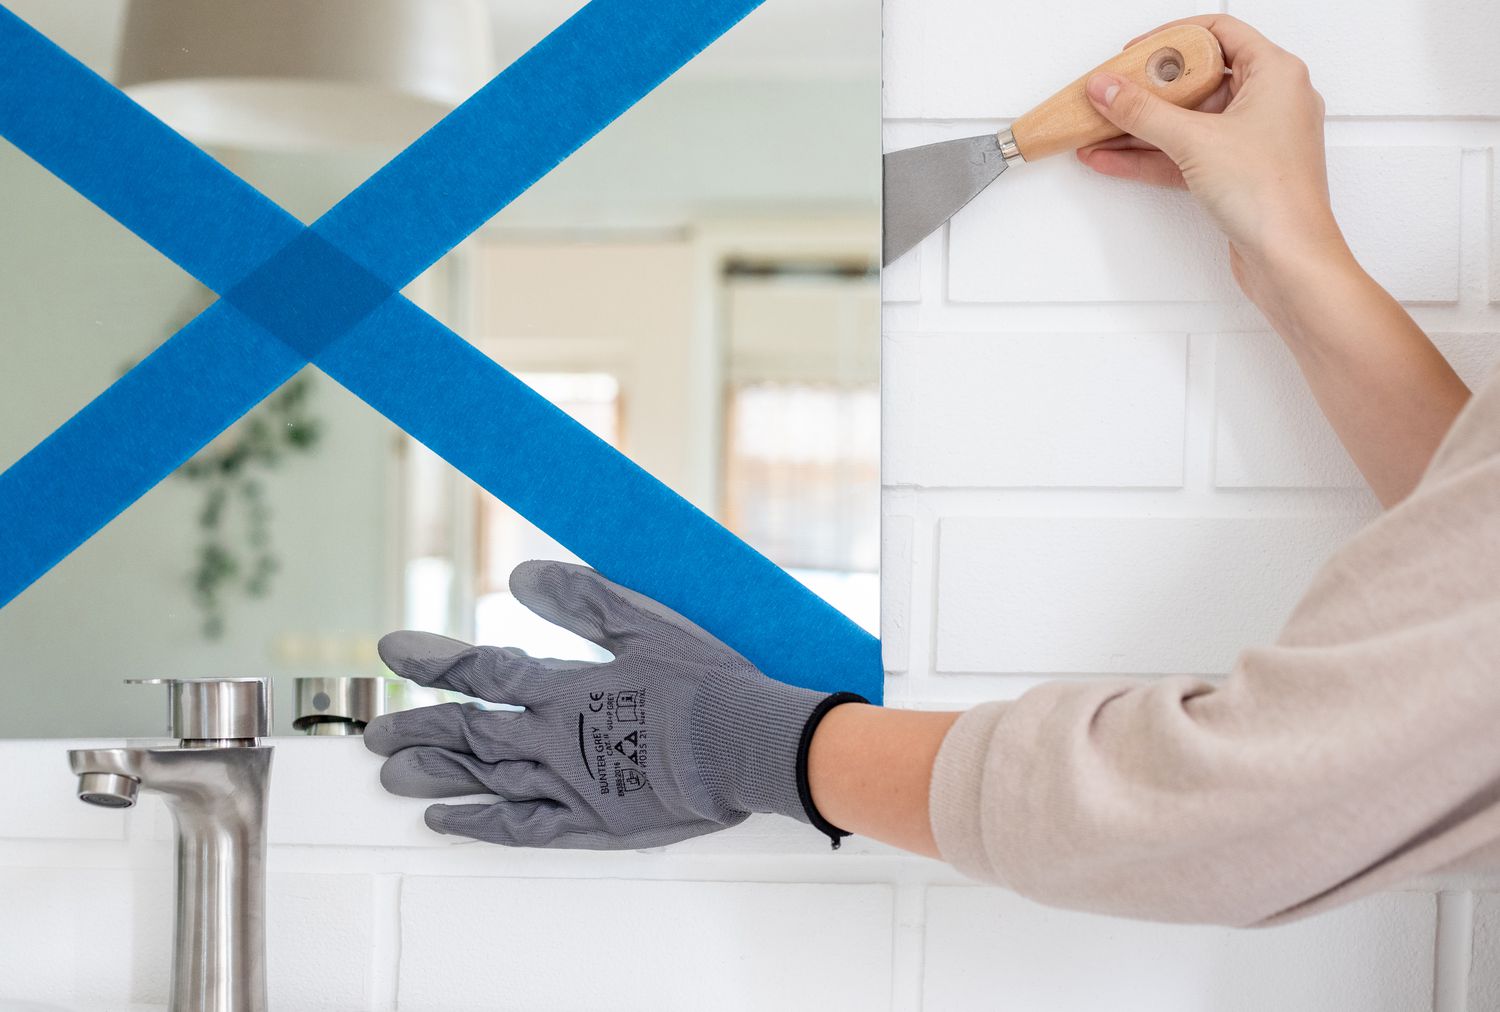
- Loosen the caulk or adhesive: Carefully run a putty knife along the edges of the sink and countertop to loosen any caulk or adhesive holding them in place. Take your time and apply gentle pressure to avoid damaging the fixtures.
- Lift and remove the sink and countertop: With the caulk or adhesive loosened, carefully lift the sink and countertop from the vanity. Enlist the help of another person if needed, especially if the countertop is large or heavy. Place the sink and countertop on a soft surface, such as old towels or a tarp, to prevent scratches or damage.
Once the sink and countertop have been removed, you can set them aside and prepare for the next step: unscrewing the vanity from the wall.
It is important to handle the sink and countertop with care to prevent any injury or damage. Take your time during this step to ensure a smooth removal process. With the sink and countertop removed, you’re one step closer to fully removing your bathroom vanity.
Read more: How Do You Whiten A Yellowed Vanity Top
Step 5: Unscrew the vanity from the wall
Now that the sink and countertop have been removed, it’s time to unscrew the vanity from the wall. This step involves detaching the vanity from any wall studs or brackets that secure it in place.
Follow these steps to unscrew the vanity from the wall:
- Locate the mounting screws: Look for the screws that secure the vanity to the wall. These screws are typically located inside the cabinet or behind decorative caps or covers.
- Remove any decorative caps or covers: If there are decorative caps or covers hiding the mounting screws, gently pry them off using a flathead screwdriver or your fingers.
- Unscrew the vanity from the wall: Use a screwdriver or power drill with a suitable attachment to unscrew the mounting screws. Start from the top and work your way down, removing each screw as you go. Hold onto the vanity while removing the screws to prevent it from tipping over.
Once all the mounting screws have been removed, carefully pull the vanity away from the wall. If there are any adhesive or caulking residue between the vanity and the wall, run a putty knife along the edges to loosen it before pulling the vanity away.
If you encounter any stubborn screws or encounter difficulties during this step, be patient and apply gentle force. Avoid forcing or excessively tightening the screws, as this can cause damage.
With the vanity successfully unscrewed from the wall, you’ve completed this step of the removal process. The last step in removing your bathroom vanity is to clear the area and clean up, which we’ll cover in the next step.
Step 6: Clear the area and clean up
Now that the bathroom vanity has been successfully removed, it’s time to clear the area and clean up any debris or mess left behind. This final step ensures that your bathroom is ready for the next phase, whether it’s installing a new vanity or making other renovations.
Follow these steps to clear the area and clean up:
- Dispose of any debris: Gather any loose screws, brackets, or other small items and dispose of them properly. Recycle or dispose of any materials that are no longer needed.
- Clean the surrounding area: Use a broom or vacuum cleaner to remove any dust, dirt, or debris that may have accumulated around the vanity during the removal process.
- Inspect the wall and floor: Take a moment to inspect the wall and floor where the vanity was previously installed. Look for any damage, such as holes, scratches, or loose tiles. Make a note of any repairs or touch-ups that may be necessary before installing a new vanity.
- Prepare for the next step: If you plan to install a new vanity, now is the time to measure the space, gather the necessary tools and materials, and make any necessary preparations for the installation. Take the opportunity to clean the sink and countertop that were removed earlier, ensuring they are ready for reinstallation or disposal.
By properly clearing the area and cleaning up, you create a clean and organized space for your next steps. Whether you’re replacing the vanity, updating the bathroom decor, or completing other renovations, this final step helps set the stage for a smooth and successful project.
Congratulations! You have successfully completed the process of removing a bathroom vanity. By following these steps and taking the necessary precautions, you have gained the knowledge and skills to remove a vanity safely and effectively. Remember to consult manufacturer instructions or seek professional assistance if you encounter any difficulties or unique situations during the removal process.
Conclusion
Removing a bathroom vanity may seem like a daunting task, but with the right tools, knowledge, and careful execution, it can be a manageable and rewarding DIY project. By following the step-by-step process outlined in this article, you can safely remove your old vanity and prepare the space for a new one or make other bathroom renovations.
From preparing the necessary tools and materials to shutting off the water supply, disconnecting plumbing connections, removing the sink and countertop, unscrewing the vanity from the wall, and clearing the area, each step is crucial to ensure a successful removal process.
Throughout the removal process, it is important to prioritize safety by wearing protective gear, working carefully, and being mindful of any potential hazards. Remember to take your time, exercise caution, and seek professional help if needed.
Once you have completed the removal process, take the opportunity to assess the state of your bathroom, perform any necessary repairs or touch-ups, and plan for the next steps, whether it’s installing a new vanity or embarking on other renovation projects.
Remember, each bathroom vanity removal may present unique challenges or requirements depending on factors such as plumbing configurations, vanity size and weight, and the condition of the fixtures. If you encounter any difficulties or uncertainties, don’t hesitate to consult manufacturer instructions or seek professional assistance.
By familiarizing yourself with the steps and techniques involved in removing a bathroom vanity, you empower yourself to make changes to your bathroom space and create a renewed and updated aesthetic. With patience, careful planning, and attention to detail, you can transform your bathroom and enjoy a fresh and stylish environment.
So roll up your sleeves, gather your tools, and embark on your bathroom vanity removal journey. Embrace the process and take pride in your ability to tackle home improvement projects. Happy remodeling!
Frequently Asked Questions about How Do You Remove A Bathroom Vanity
Was this page helpful?
At Storables.com, we guarantee accurate and reliable information. Our content, validated by Expert Board Contributors, is crafted following stringent Editorial Policies. We're committed to providing you with well-researched, expert-backed insights for all your informational needs.


0 thoughts on “How Do You Remove A Bathroom Vanity”