Home>Garden Essentials>How To Plant Plum Tree From Seed
Garden Essentials
How To Plant Plum Tree From Seed
Modified: September 1, 2024
Learn how to plant a plum tree from seed in your garden and enjoy homegrown plums. Discover step-by-step instructions and tips for successful planting.
(Many of the links in this article redirect to a specific reviewed product. Your purchase of these products through affiliate links helps to generate commission for Storables.com, at no extra cost. Learn more)
Introduction
Welcome to the wonderful world of gardening! If you’re a plant enthusiast looking to expand your garden and want to try something new and exciting, why not consider growing a plum tree from seed? It’s a rewarding experience that allows you to witness the entire growth process, from the tiny seed to a beautiful tree laden with delicious plums.
Planting a plum tree from seed requires a little patience and effort, but the results are truly satisfying. Not only will you enjoy the fruits of your labor, but you’ll also have a sense of fulfillment from nurturing a plant from its early stages.
In this article, we will guide you through the step-by-step process of planting a plum tree from seed. We’ll cover everything from selecting the right seed and preparing it for planting, to caring for the seedling and eventually transplanting it into a suitable location. By the end, you’ll have all the knowledge and confidence to successfully grow your own plum tree.
So, let’s get started on this exciting gardening adventure!
Key Takeaways:
- Growing a plum tree from seed is a fun and rewarding adventure that requires patience and care. From selecting the right seed to nurturing the seedling, every step is filled with anticipation and excitement.
- Providing the seed with cold stratification, choosing the right planting location, and caring for the seedling are essential for successfully growing a plum tree. With proper knowledge and care, you can enjoy the journey of watching your plum tree flourish and produce delicious plums.
Read more: How To Plant A Pomegranate Tree From Seeds
Selecting the Seed
The first step in planting a plum tree from seed is selecting the right seed. You have a few options when it comes to obtaining a plum seed:
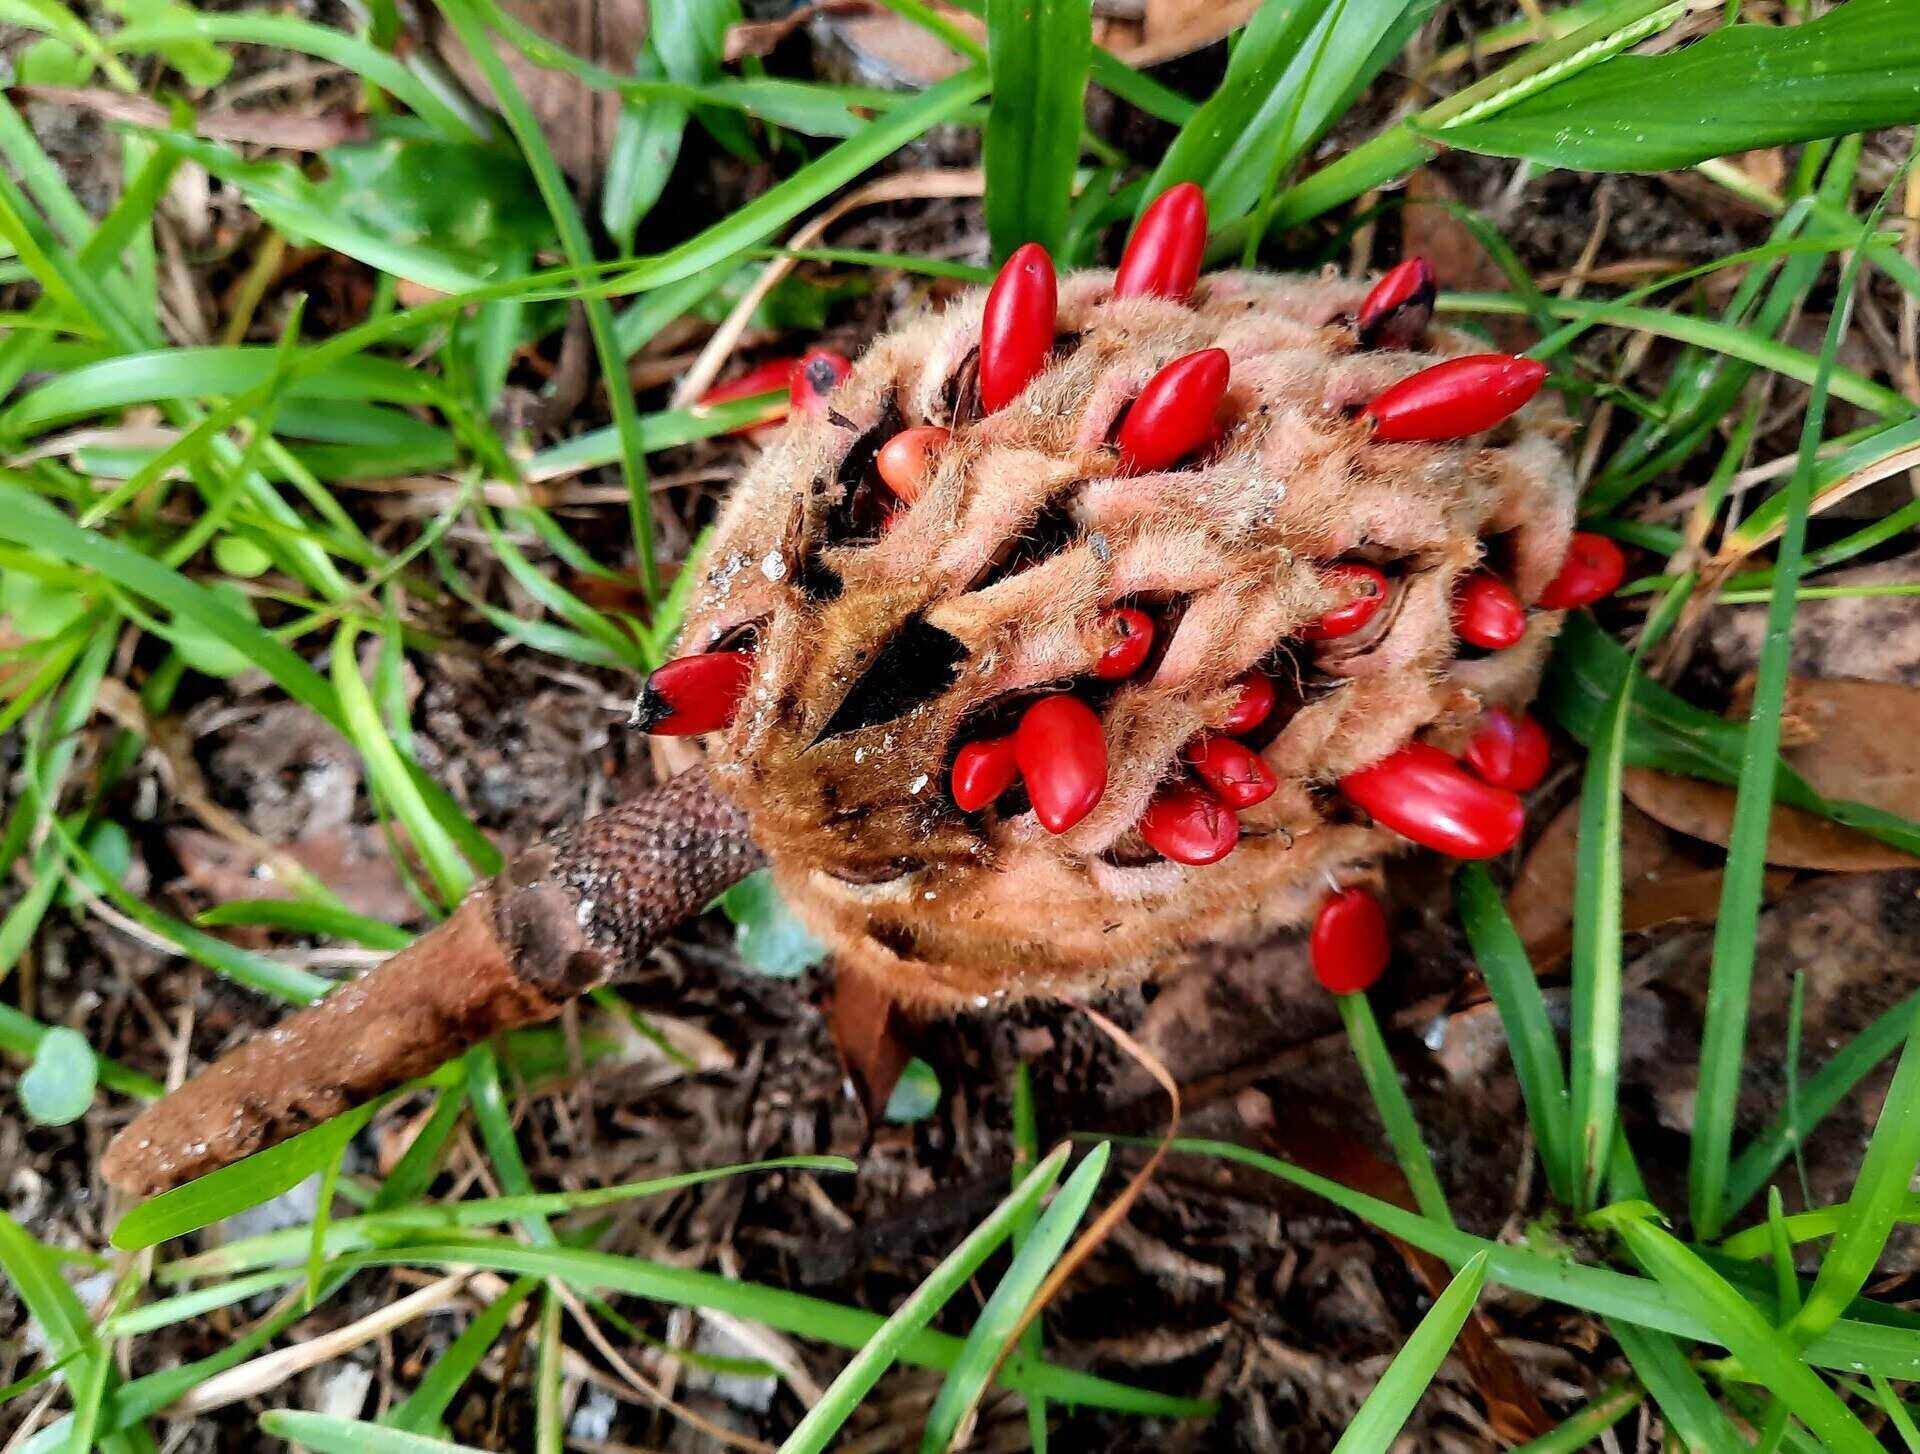
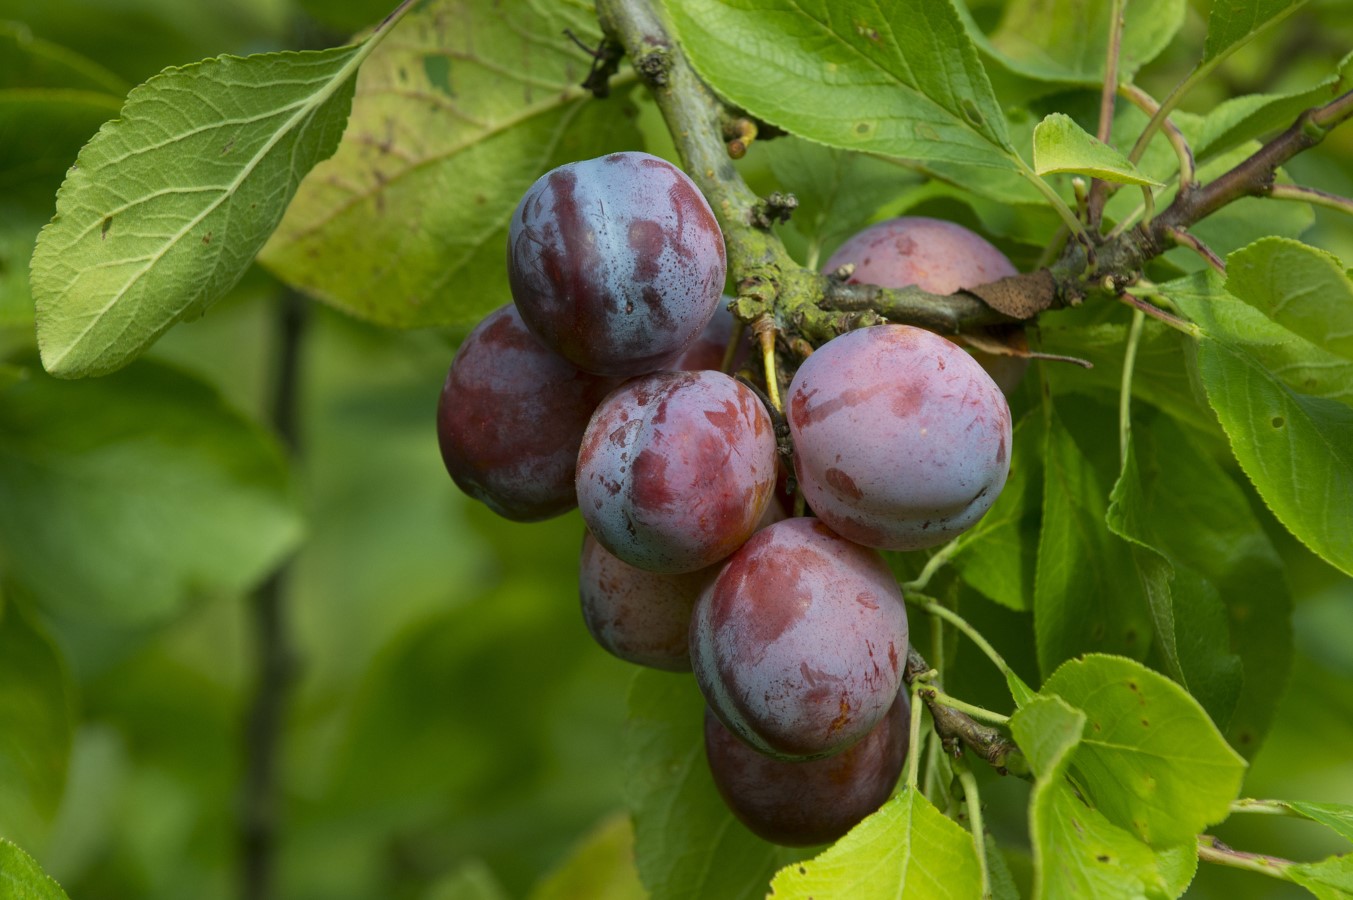
- Harvest a seed from a plum fruit: If you have access to fresh plums, you can carefully remove the seed from a ripe, juicy plum. Make sure to choose a plum variety that is well-suited to your climate and growing conditions.
- Purchase plum seeds: If you don’t have access to fresh plums or want a specific variety, you can purchase plum seeds from a reputable garden center or online seed supplier. Look for seeds that are labeled as being suitable for your region.
- Save seeds from store-bought plums: If you have plums from the grocery store, you can save the seeds to plant. Keep in mind that store-bought fruit may be hybrids, which means the seedlings may not grow true to the parent tree and could have different characteristics.
Once you have your plum seed, it’s important to ensure its viability. Plum seeds are contained within the fruit’s pit, also known as the stone. Before planting, you can perform a simple viability test by placing the seed in a bowl of water. If it sinks, it’s likely viable; if it floats, it may not be viable and should be discarded.
It’s also worth noting that planting multiple seeds is a good idea to increase the chances of success. Not all seeds may germinate, and by planting several, you maximize your chances of getting a healthy seedling.
Now that you’ve selected your plum seed, it’s time to prepare it for planting!
Preparing the Seed for Planting
Before you can plant the plum seed, it’s important to prepare it properly. This preparation helps to increase the chances of successful germination and gives your seed the best start possible. Follow these steps to prepare your plum seed for planting:
- Clean the seed: Gently wash the plum seed to remove any fruit residue or pulp. This can be done by rinsing it under cool running water and using a soft brush or cloth to gently scrub away any remaining debris.
- Stratify the seed: Plum seeds require a period of cold stratification to break their dormancy and stimulate germination. To stratify the seed, place it in a moist paper towel and seal it in a plastic bag. Label the bag with the date and variety of the seed. Keep the bag in the refrigerator for about 8-12 weeks.
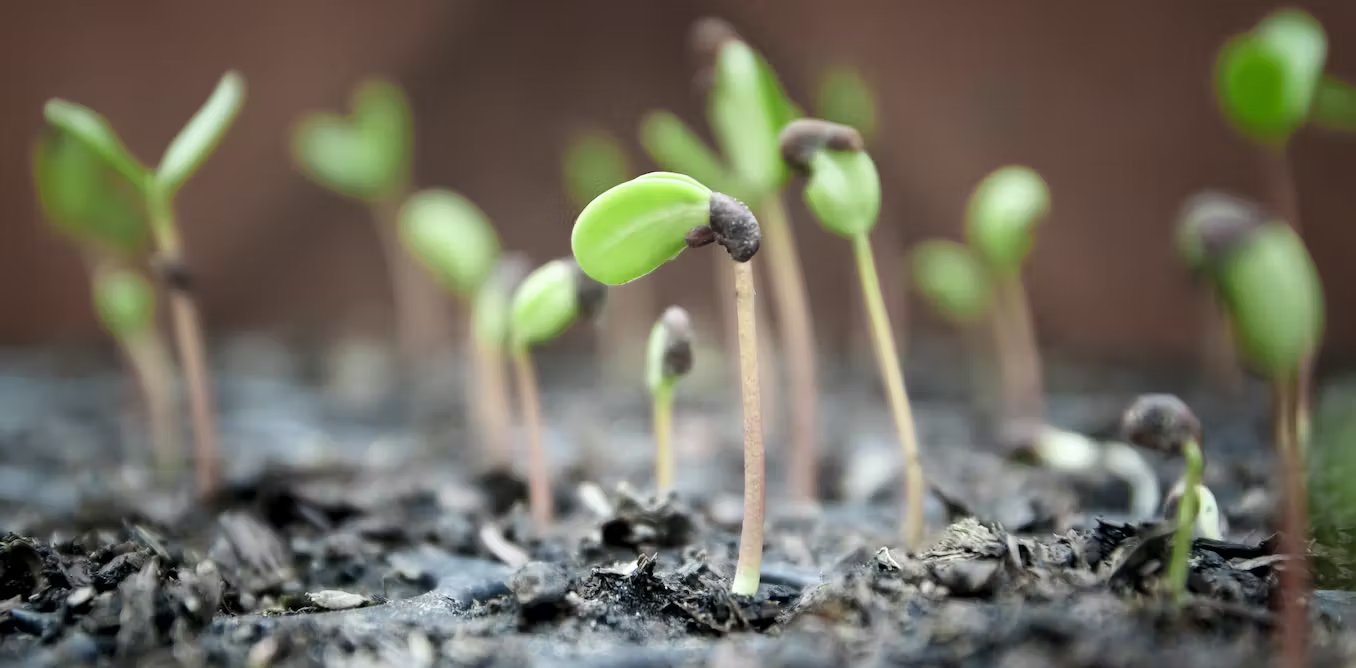
- Check for signs of germination: After the stratification period, check the seed for signs of germination. Look for small roots beginning to emerge from the seed. If you notice any signs of germination, it’s time to move on to the next step.
- Soak the seed: If the seed has not yet germinated, you can give it a little boost by soaking it in water for 24 hours. This helps to soften the seed coat and promote germination.
- Remove the seed coat: After soaking, carefully remove the outer seed coat, being careful not to damage the delicate embryo inside. You can use a pair of tweezers or your fingers to gently peel away the seed coat.
By following these steps, you are ensuring that your plum seed is properly prepared for planting. The cold stratification and soaking processes help to mimic the natural conditions the seed would experience in its native environment, encouraging successful germination.
Now that your seed is ready, it’s time to move on to preparing the planting location!
Preparing the Planting Location
Now that you have successfully prepared your plum seed, it’s time to focus on preparing the planting location. The right planting spot is crucial for the healthy growth and development of your plum tree. Here are some important factors to consider when selecting and preparing the planting location:
- Sunlight: Plum trees thrive in full sun, so choose a location that receives at least 6-8 hours of direct sunlight each day. This will ensure optimal fruit production and tree health.
- Soil: Plum trees prefer well-draining soil that is rich in organic matter. Test the soil pH to ensure it falls within the ideal range of 6.0-7.0. If the soil is heavy clay or poor-draining, consider amending it with compost or well-rotted manure to improve its texture and fertility.
- Space: Plum trees require adequate space for their roots to spread and for the tree to grow to its full size. Make sure there is enough room for the tree to reach its mature height and width without being crowded by other plants or structures.
- Protection from the elements: Select a location that offers some protection from strong winds, as they can damage the delicate branches and affect fruit production. Additionally, ensure the planting spot is not prone to excessive frost or standing water.
- Pollination: Some plum varieties require cross-pollination with another compatible variety to produce fruit. If you only have space for one plum tree, choose a self-pollinating variety or check if a neighboring garden has a compatible variety for cross-pollination.
Once you have identified the ideal planting location, it’s time to prepare the soil for planting. Start by clearing away any weeds or debris from the area. Loosen the soil using a garden fork or tiller to improve drainage and create a favorable environment for the roots to establish. Incorporate organic matter, such as compost or aged manure, into the soil to provide essential nutrients.
Remember, proper preparation of the planting location sets the stage for a healthy and thriving plum tree. Take the time to ensure all the necessary factors are considered to give your tree the best start possible.
With the seed prepared and the planting location ready, it’s time to move on to the exciting part – planting the seed!
After removing the seed from the plum, place it in a damp paper towel inside a plastic bag. Store it in the refrigerator for 8-12 weeks to simulate winter conditions. Then, plant the seed in well-draining soil and keep it moist.
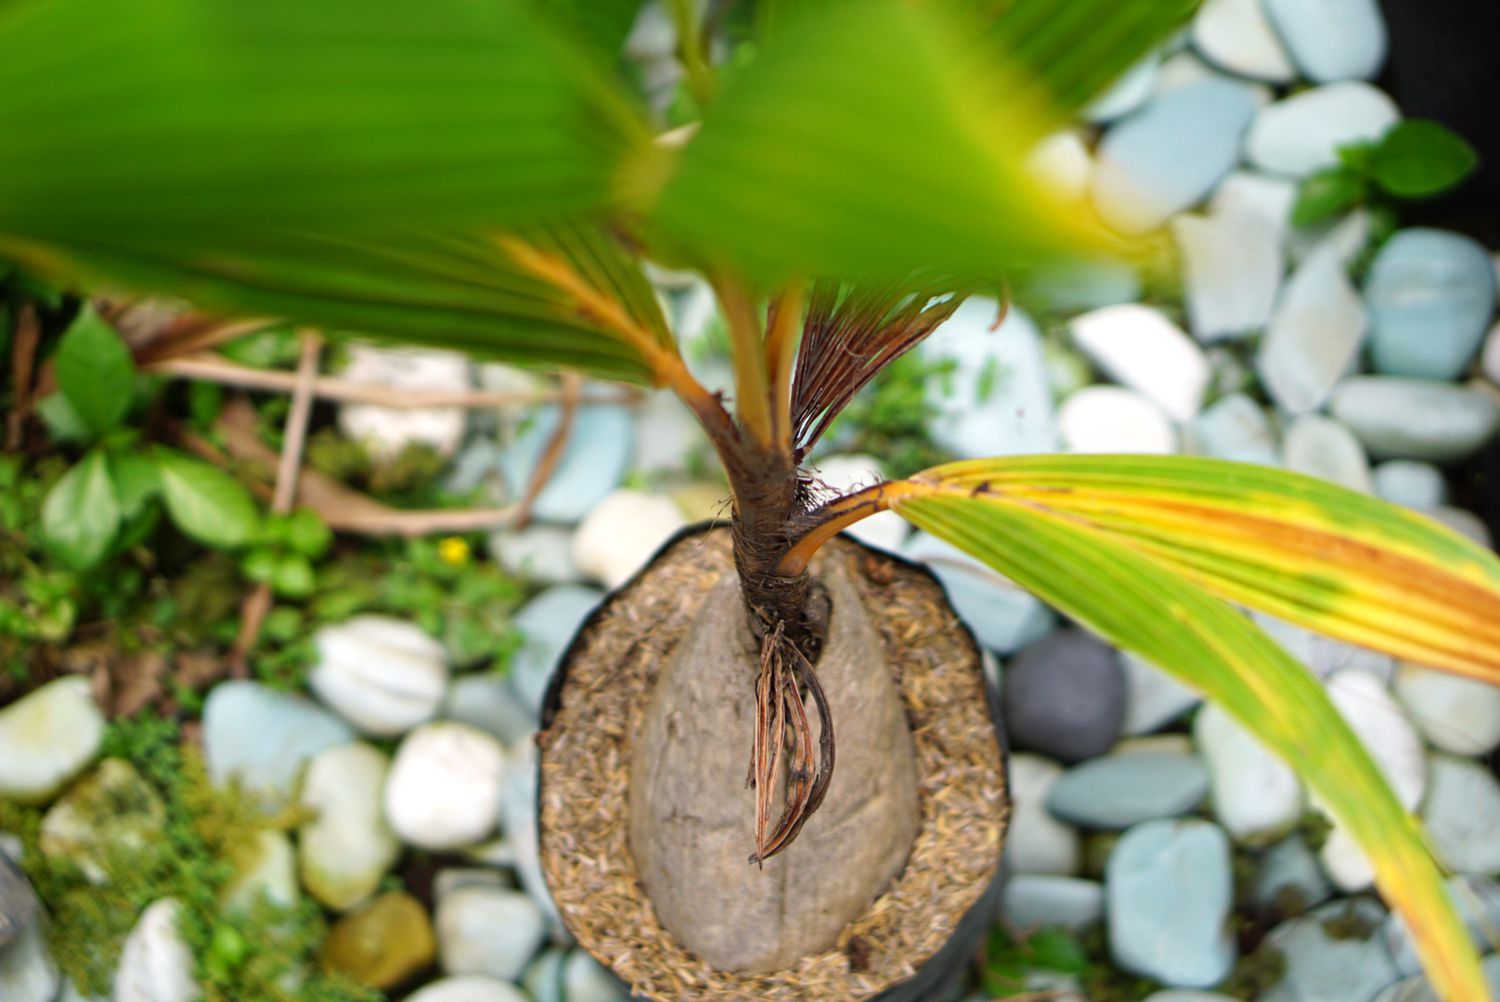
Planting the Seed
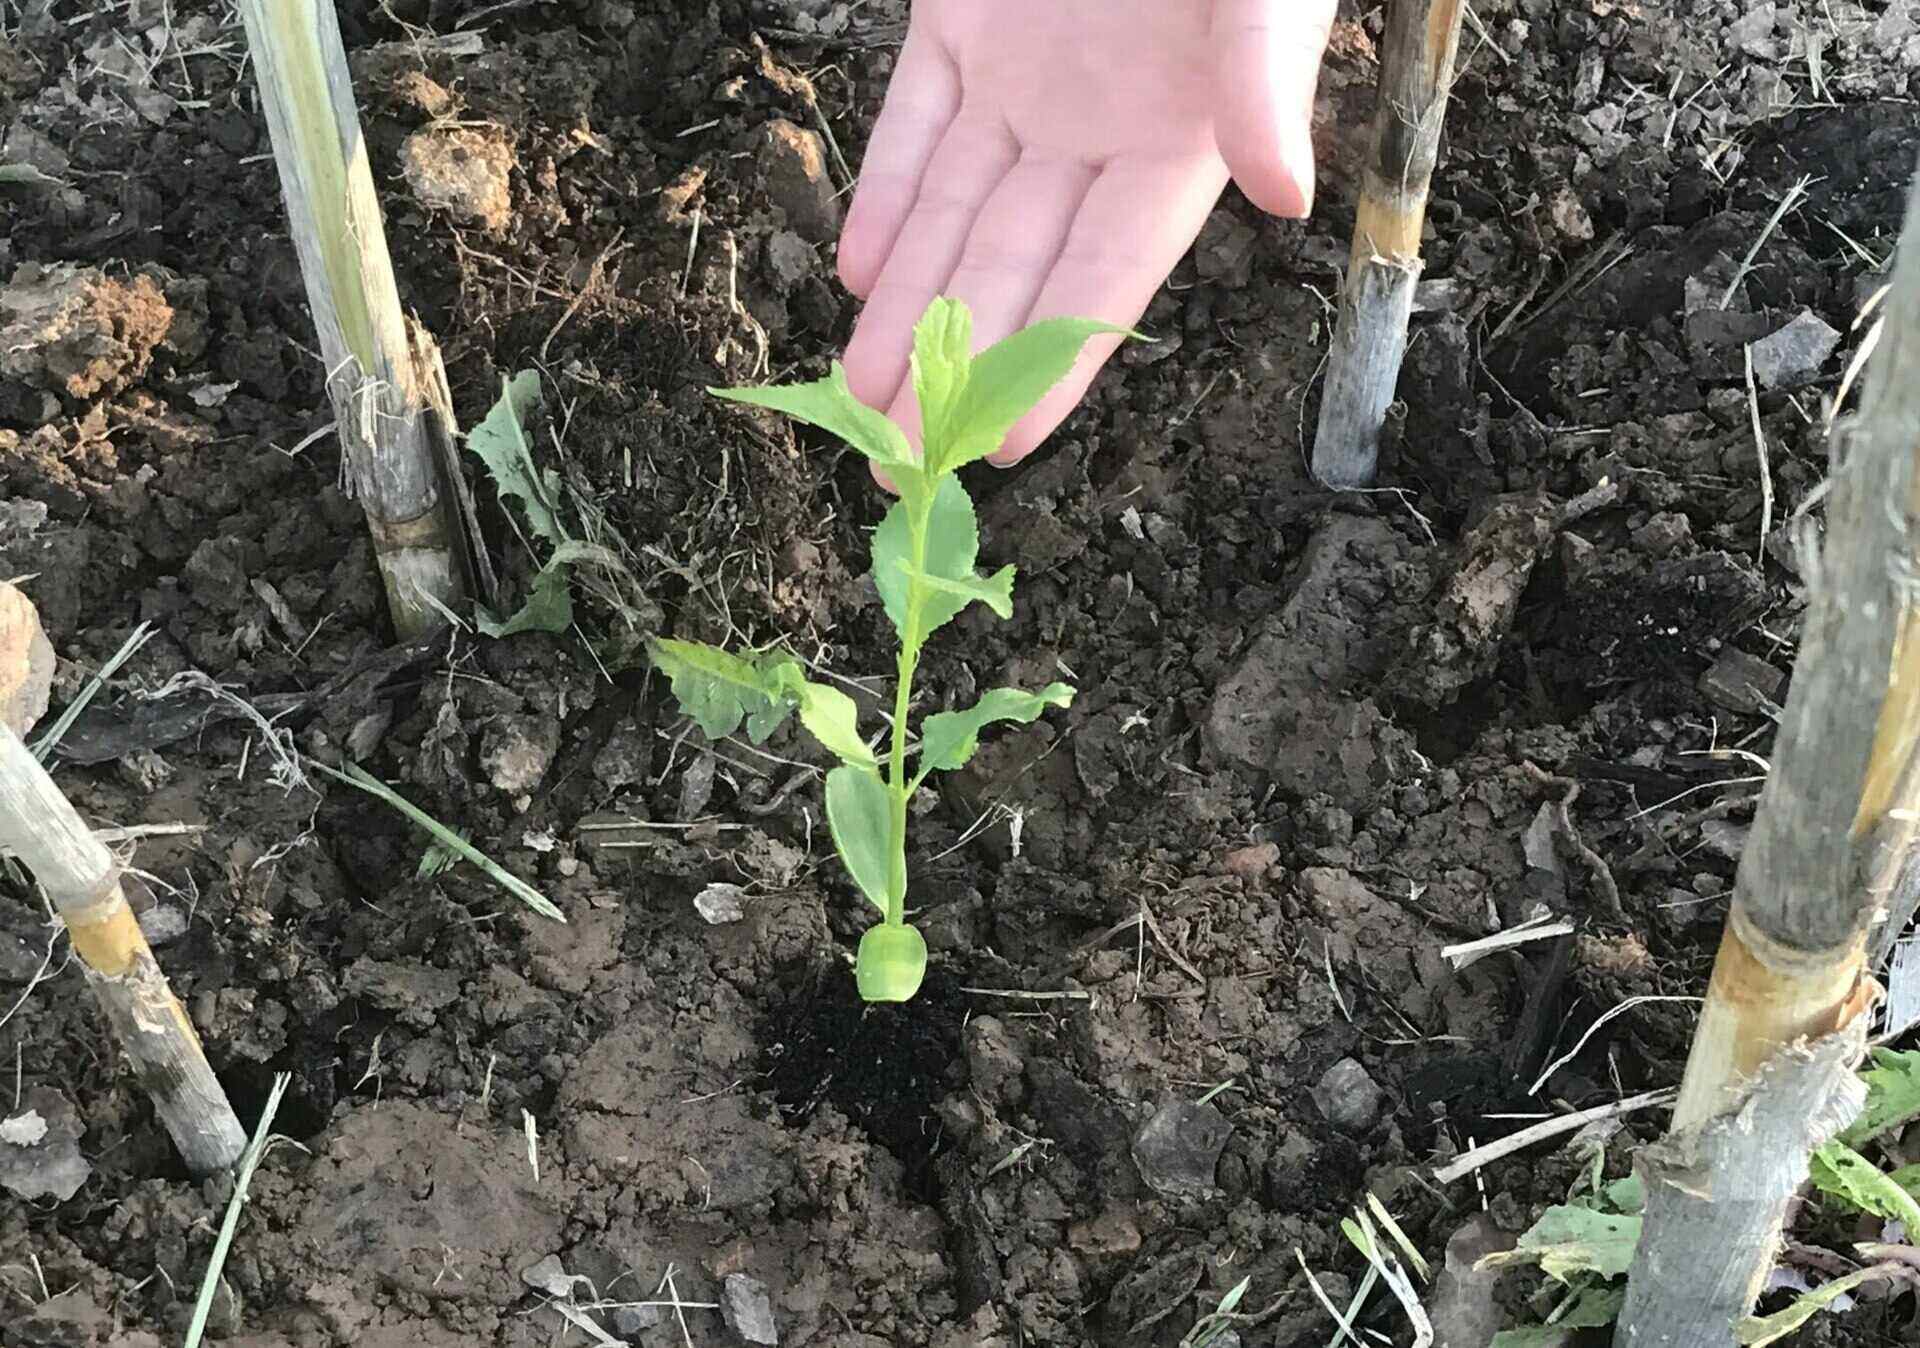
Now that you have selected a healthy plum seed, prepared it, and found the perfect planting location, it’s time to plant the seed and watch it grow into a beautiful plum tree. Follow these steps to ensure successful planting:
- Dig a hole: Start by digging a hole in the prepared planting location. The hole should be deep enough to accommodate the root system of the seedling and wide enough to provide ample space for the roots to spread out.
- Place the seed: Gently place the seed in the hole, making sure the bottom of the seed is at the same level as the soil surface. If the seed has sprouted a small root during the stratification period, position the root downward in the hole.
- Backfill the hole: Carefully backfill the hole with the soil, ensuring that the seed is well-covered. Gently firm the soil around the seed to eliminate any air pockets.
- Water thoroughly: After planting, give the seedling a thorough watering to settle the soil and provide moisture for growth. Be sure to water deeply, allowing the water to penetrate the root zone.
- Label and protect: It’s a good idea to label the planting spot to remember what seed you planted. Additionally, consider placing a protective barrier, such as a wire mesh or a collar, around the seedling to prevent damage from pests or animals.
Now that your plum seed is planted, it’s important to provide it with proper care and attention to ensure successful germination and healthy growth. Let’s explore how to care for the seedling in the next section.
Remember, planting a plum tree from seed requires patience, as it can take several months for the seedling to emerge. Be diligent in providing the necessary care, and soon you’ll be rewarded with a thriving plum tree!
Read more: How To Plant A Cherry Tree From Seed
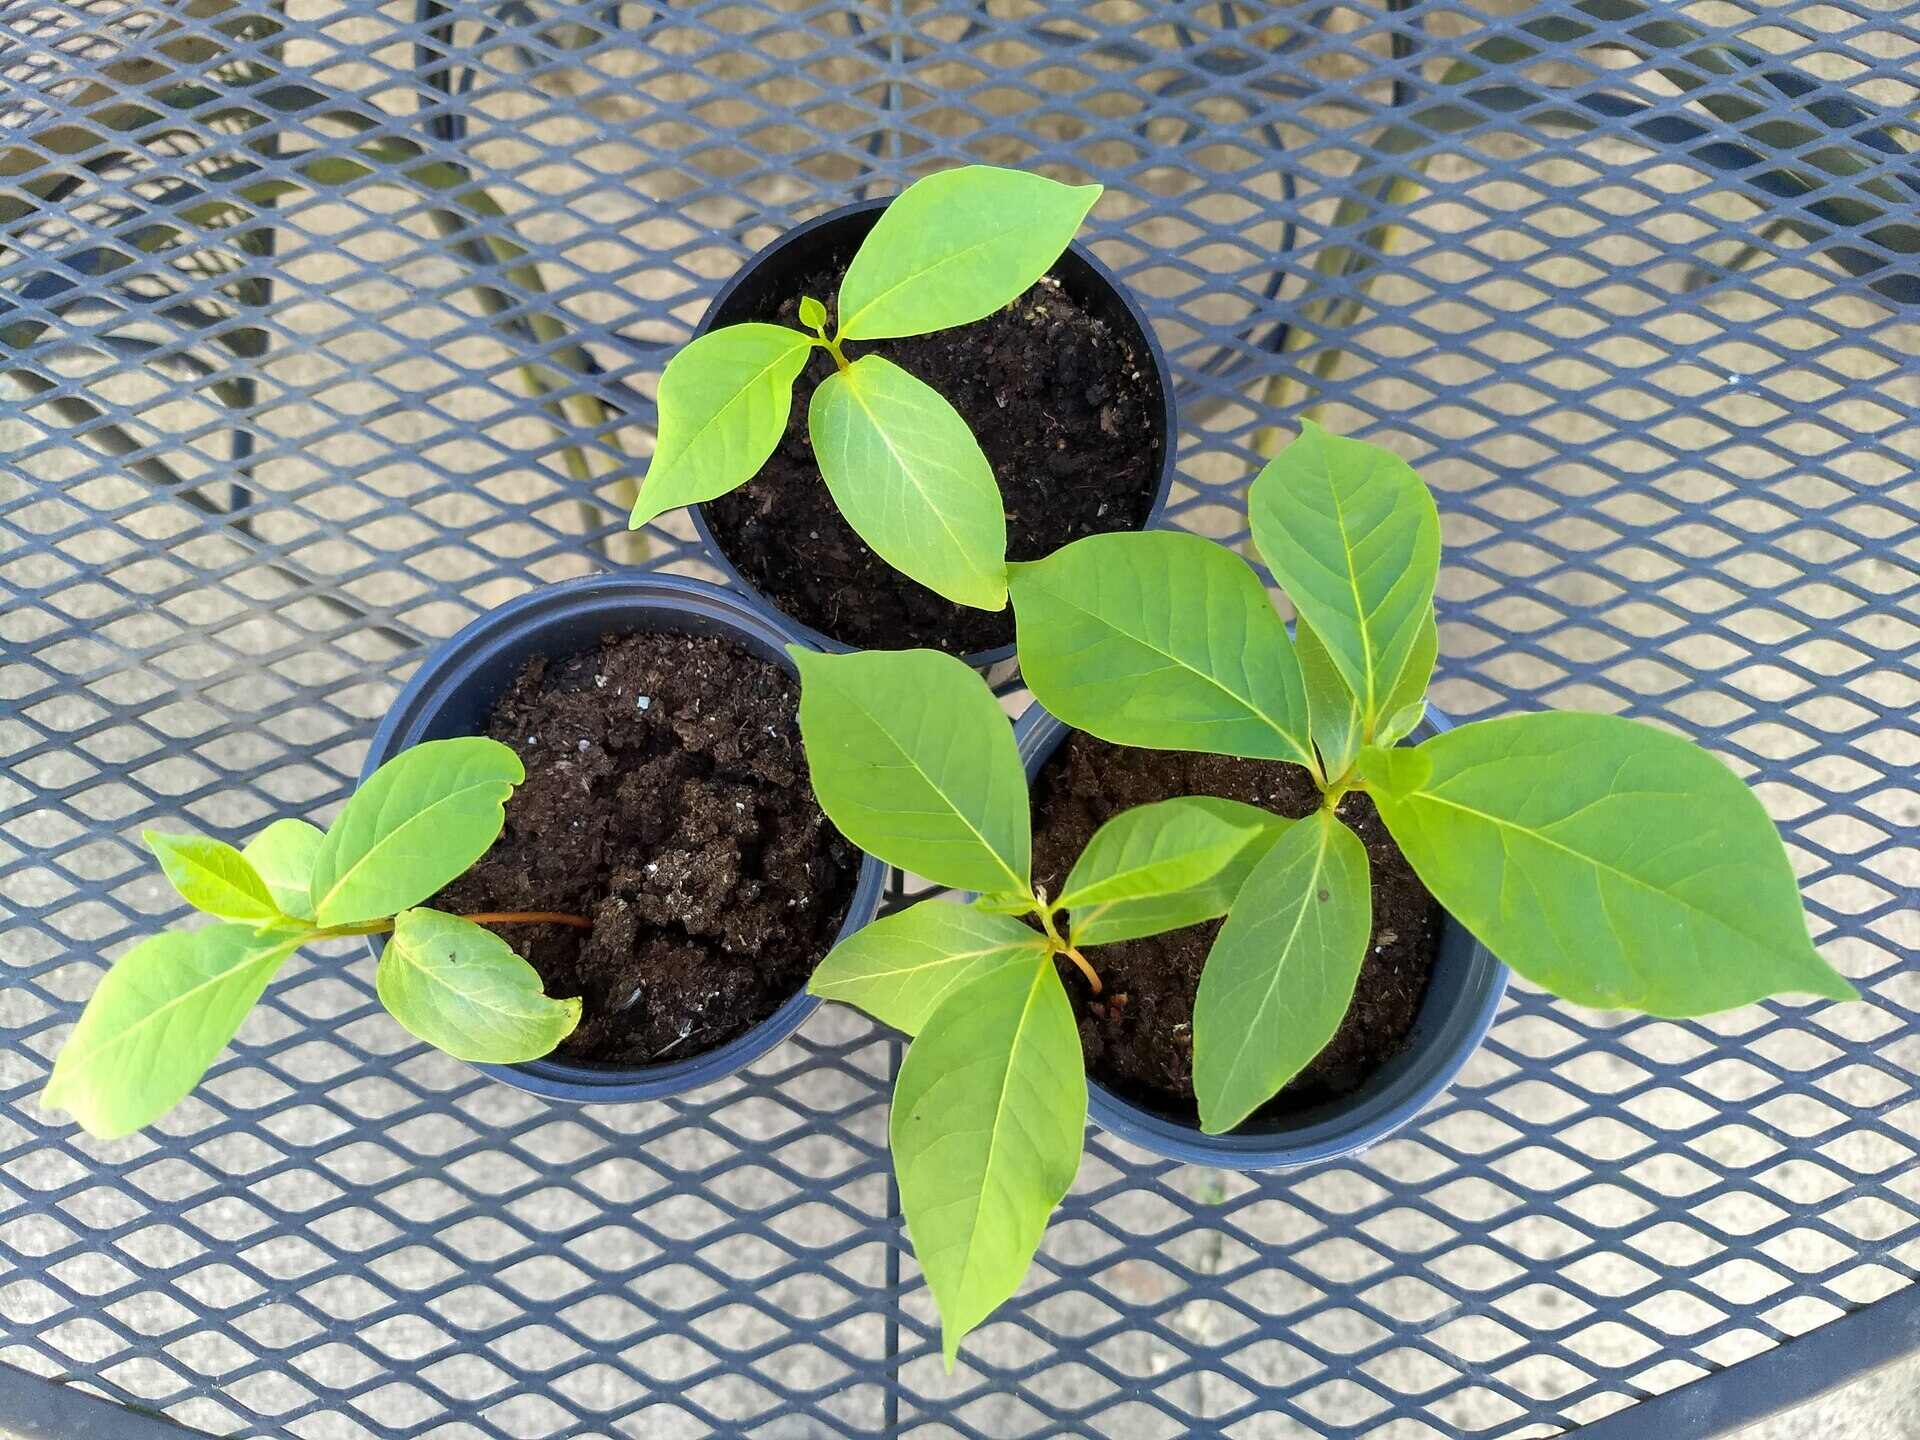
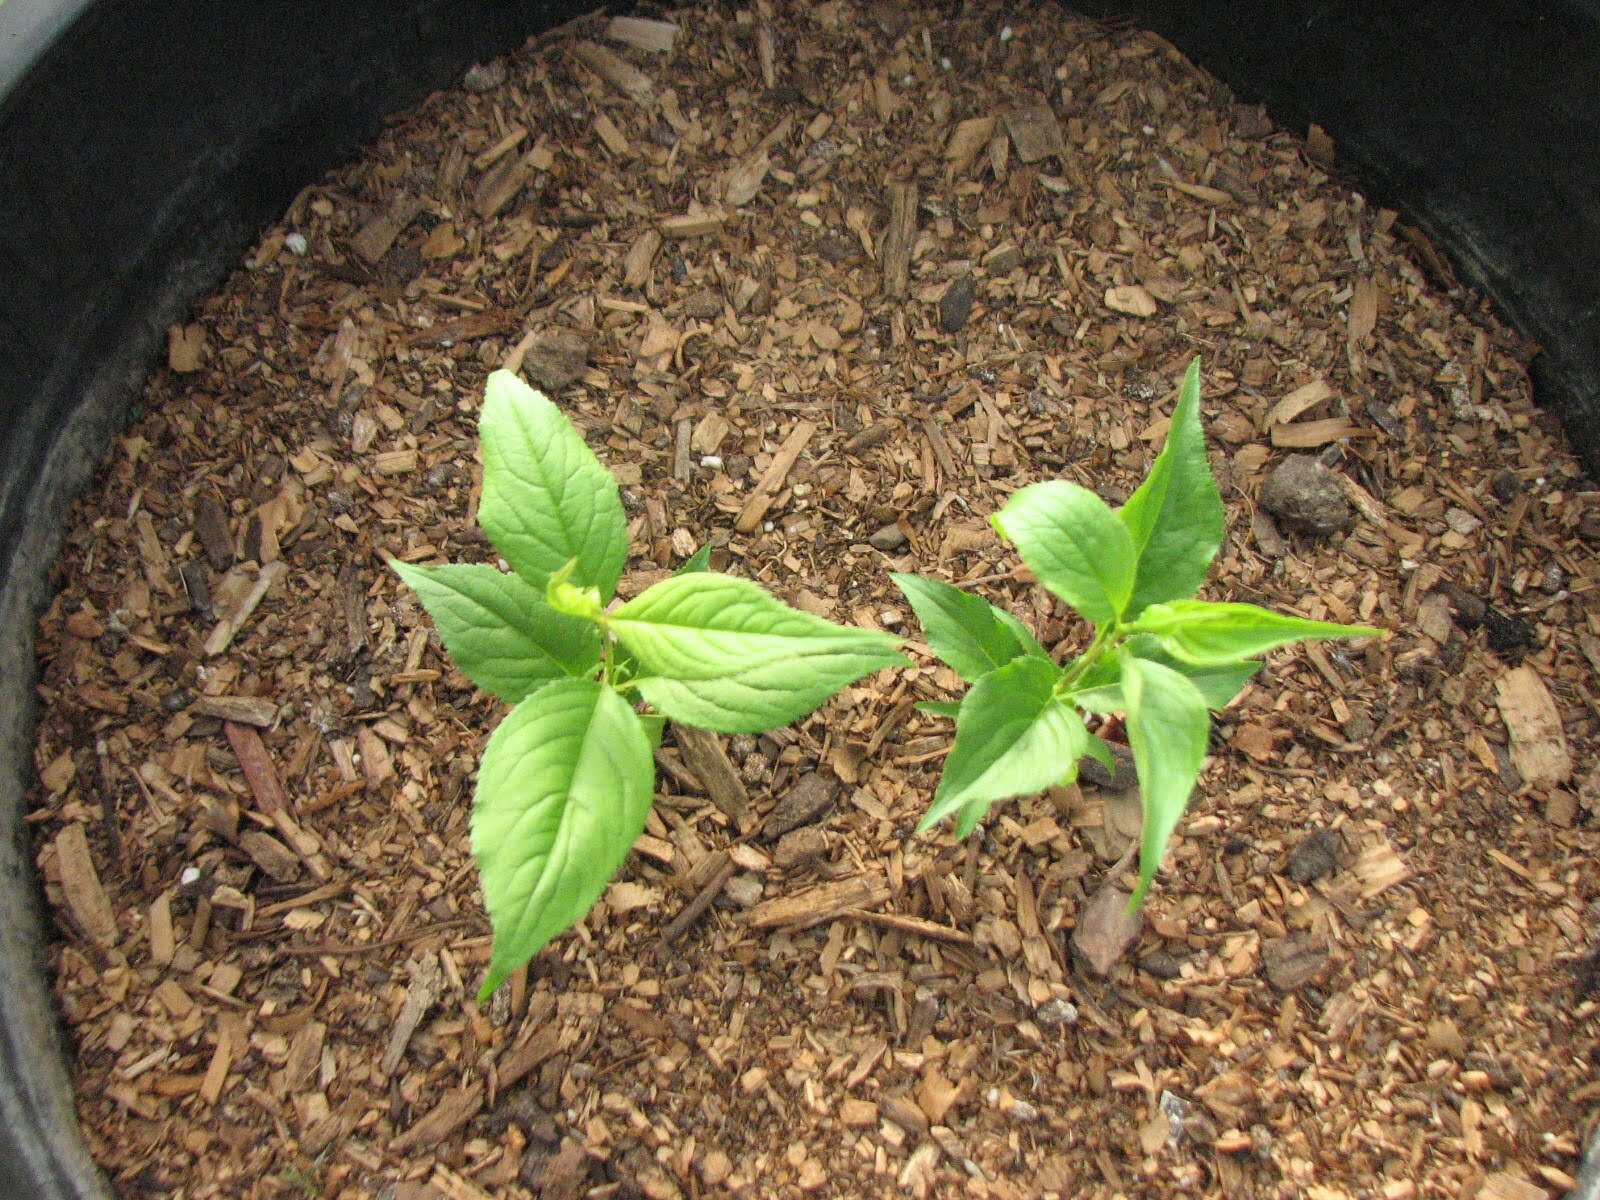
Caring for the Seedling
Once you have successfully planted your plum seed, it’s important to provide the proper care and attention to help the seedling thrive and grow into a healthy plum tree. Here are some essential steps for caring for your seedling:
- Watering: Regular and consistent watering is crucial during the early stages of growth. Keep the soil moist but not waterlogged. Water deeply, allowing the water to reach the root zone. Adjust the frequency of watering according to the weather conditions.
- Mulching: Apply a layer of organic mulch, such as wood chips or straw, around the base of the seedling. Mulching helps to conserve moisture, regulate soil temperature, and suppress weeds. Avoid piling the mulch against the trunk of the seedling to prevent moisture accumulation and potential damage.
- Fertilizing: Plum seedlings benefit from regular feeding to support their growth. Start fertilizing about six weeks after planting, using a balanced slow-release fertilizer specifically formulated for fruit trees. Follow the instructions on the fertilizer packaging for application rates.
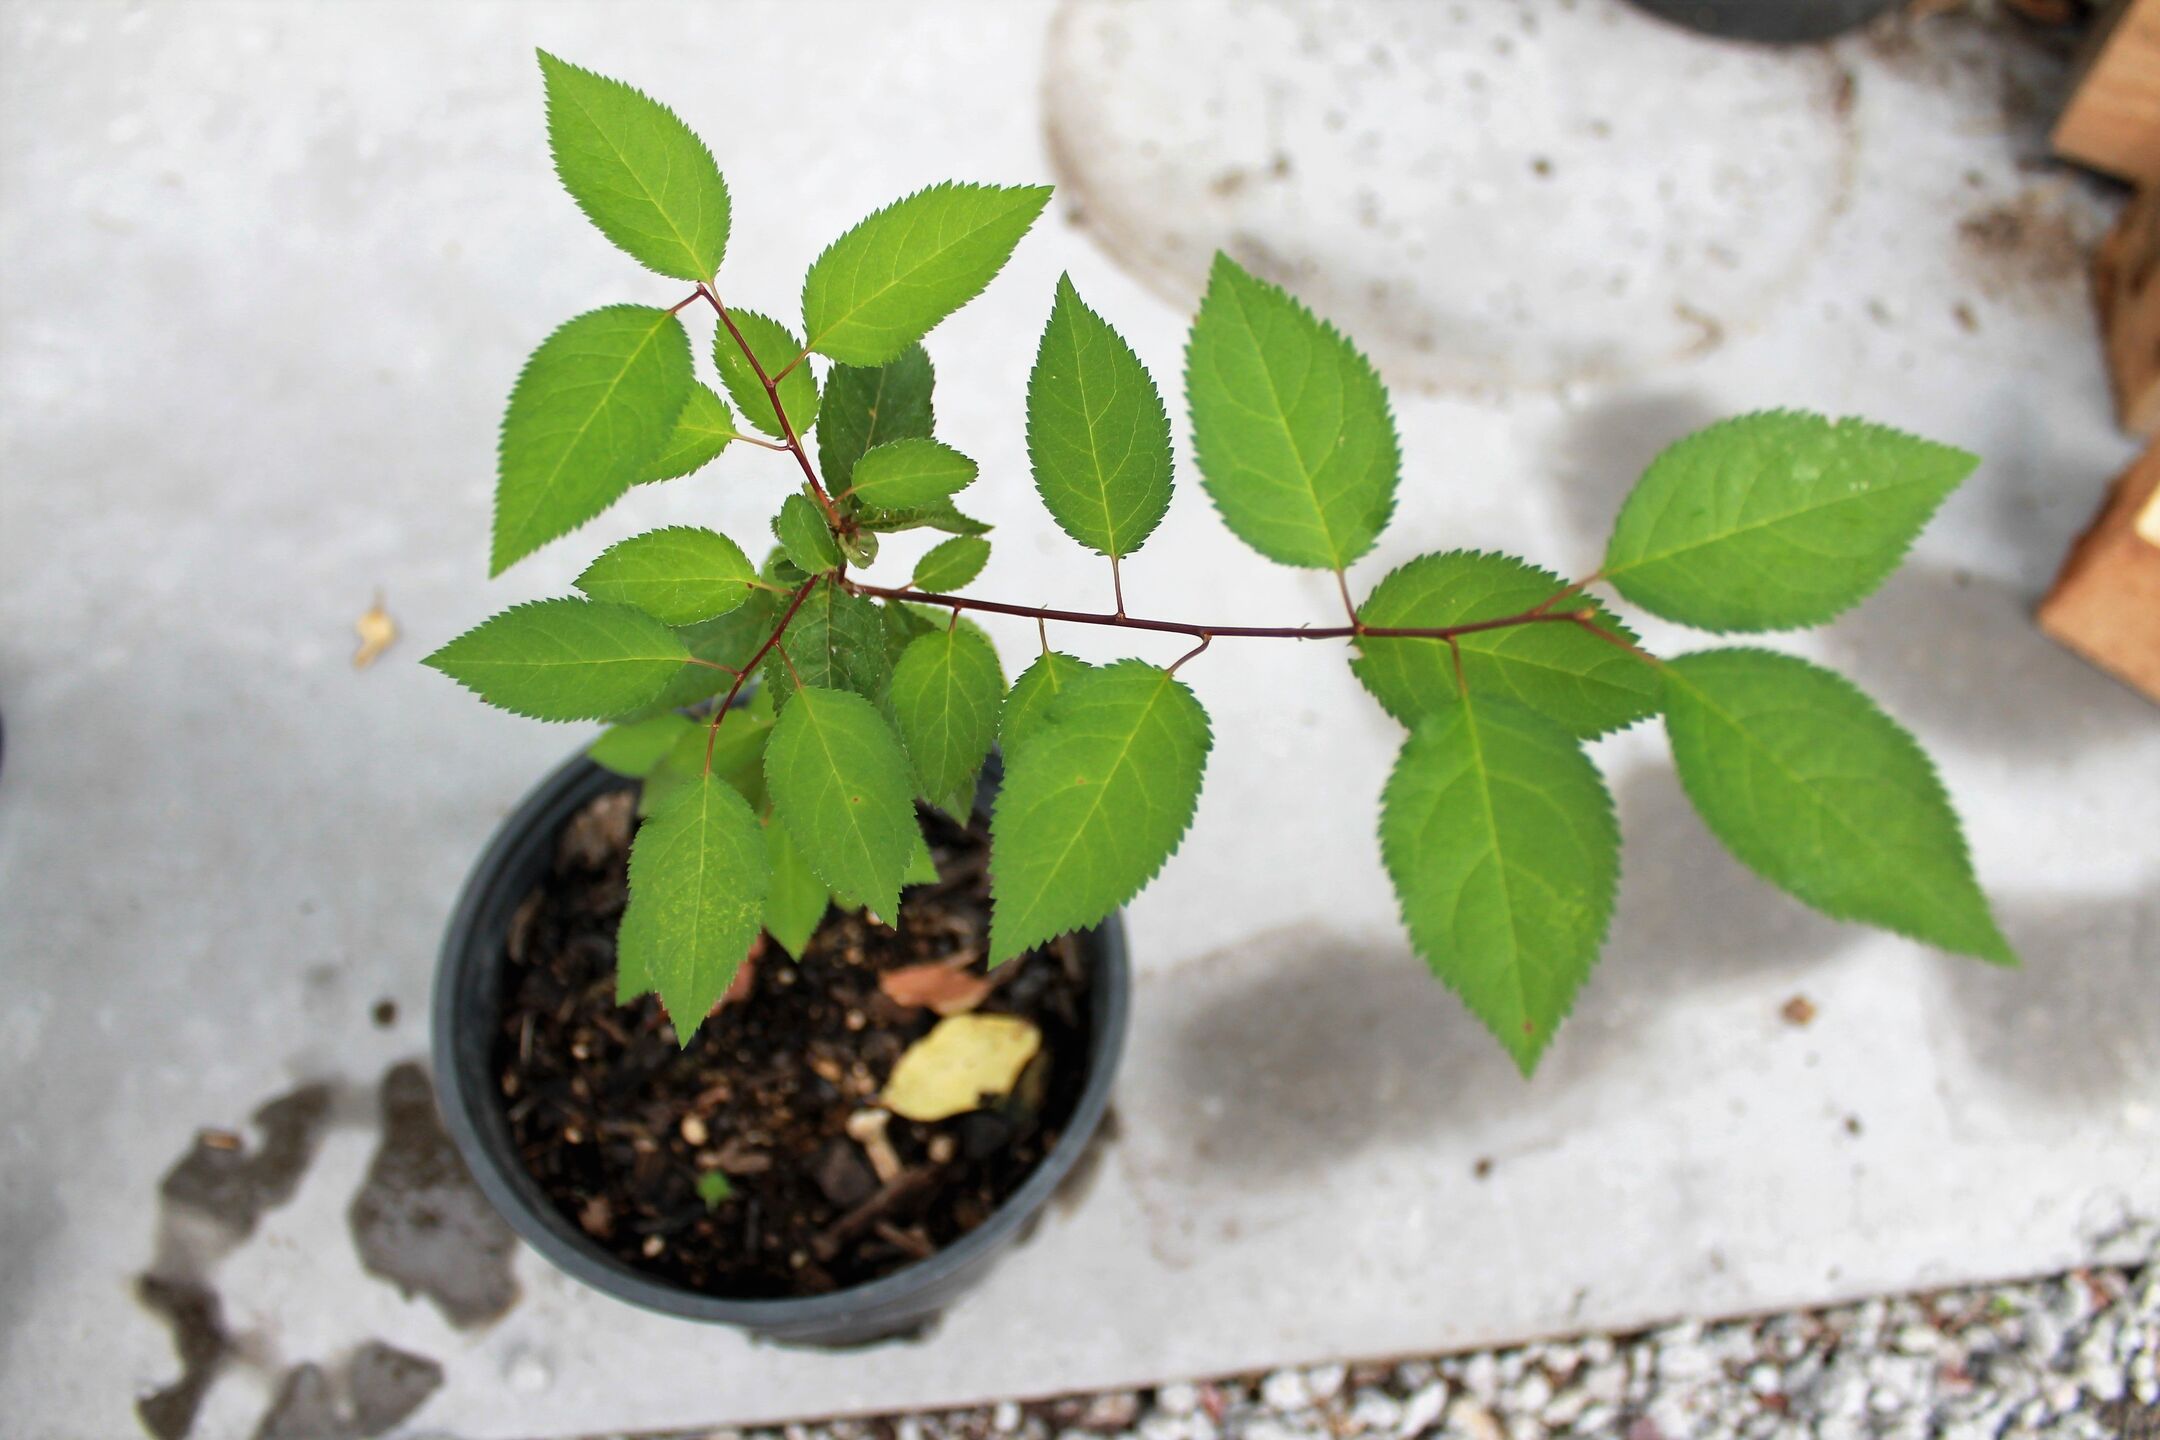
- Pruning: While pruning is not necessary during the early stages, it’s important to remove any damaged or diseased branches as the seedling grows. This helps to promote healthy growth and prevents potential problems down the line. Pruning for overall structure and fruit production can be done in subsequent years as the plum tree matures.
- Protecting from pests and diseases: Keep a watchful eye for any signs of pests or diseases. Inspect the seedling regularly, and take appropriate measures such as using organic pest control methods or consulting with a local gardening expert if necessary.
- Staking: If the seedling appears weak or prone to leaning, you may need to provide some support by staking it. Use a sturdy stake and loosely tie the seedling to it using soft ties. This will help the young tree establish strong roots and prevent it from bending or breaking in strong winds.
By providing consistent care and attention to your plum seedling, you are laying the foundation for a healthy, thriving tree. Remember to monitor its growth and adjust your care regimen based on its specific needs and the conditions in your garden.
As the plum tree continues to grow, it will eventually outgrow its container or current planting spot. At that point, it will be time to transplant it into a larger space to accommodate its growth. We will cover the process of transplanting the seedling in the next section.
Transplanting the Seedling
As your plum seedling grows and becomes more established, it will eventually outgrow its current container or planting location. Transplanting the seedling to a larger space is necessary to provide it with ample room for continued growth and development. Follow these steps to successfully transplant your plum seedling:
- Choose the right time: The best time to transplant a plum seedling is during its dormant season, which is typically in late winter or early spring before the buds start to break. This allows the tree to adjust to its new surroundings without the stress of actively growing.
- Prepare the new planting location: Select a suitable spot for the plum tree to thrive in. Ensure that the soil is well-draining, rich in organic matter, and meets the necessary sunlight and space requirements outlined earlier. Dig a hole that is wide and deep enough to accommodate the root system.
- Remove the seedling from its current location: Gently remove the seedling from its container or current planting spot. Take care not to damage the delicate roots.
- Transplant the seedling: Place the seedling in the prepared hole in the new planting location. Make sure the top of the root ball is level with the ground surface. Backfill the hole with soil, gently firming it around the roots to eliminate air pockets.
- Water thoroughly: After transplanting, give the seedling a thorough watering to settle the soil around the roots. This helps to eliminate any air pockets and ensures good soil-to-root contact.
- Mulch and provide support: Apply a layer of mulch around the base of the newly transplanted seedling to conserve moisture and suppress weeds. If necessary, stake the tree to provide support and stability until its roots become well-established.
- Care and monitor: Continue to provide proper care for the transplanted seedling, including regular watering, fertilization, and monitoring for pests or diseases. Keep an eye on its growth and adjust your care routine as needed.
Transplanting can be a stressful process for a young plum tree, so it’s important to minimize shock and provide optimal conditions for its successful transition. With proper care and attention, the transplanted seedling will quickly adapt and continue to grow into a beautiful and productive plum tree.
Congratulations! You have successfully learned how to plant a plum tree from seed, care for the seedling, and transplant it into a larger space. Now, all that’s left to do is to enjoy the journey of watching your plum tree flourish and eventually produce delicious plums for you to savor.
Happy gardening!
Conclusion
Growing a plum tree from seed is a gratifying and rewarding experience for any gardening enthusiast. From the careful selection of the seed to the nurturing of the seedling, every step of the process is filled with anticipation and excitement. By following the steps outlined in this guide, you now have the knowledge and confidence to successfully plant a plum tree from seed and watch it grow into a thriving fruit-bearing tree.
Remember, it all starts with selecting a healthy plum seed and preparing it for planting. By providing the seed with the necessary cold stratification and removing the seed coat, you create optimal conditions for germination and early growth.
Next, you need to choose the right planting location for your plum tree. Ensure it receives ample sunlight, has well-draining soil rich in organic matter, and enough space for the tree to grow and flourish. Proper preparation of the planting location sets the stage for a healthy and productive tree.
Once the seed is planted, caring for the seedling is essential for its growth and development. Regular watering, mulching, fertilizing, and keeping an eye out for pests and diseases are all part of providing the necessary care for your plum tree to thrive.
As the seedling grows, it will eventually need to be transplanted to a larger space. Proper transplanting techniques and careful attention will ensure a smooth transition and continued growth of your plum tree.
Throughout the journey, it’s important to have patience and enjoy the process. Watching your plum tree grow and eventually bear delicious plums is a fulfilling experience that brings joy and satisfaction.
So, grab your gardening tools and get ready to embark on this exciting adventure of growing a plum tree from seed. With knowledge, care, and a little bit of patience, you’ll be rewarded with a beautiful and fruitful addition to your garden.
Happy planting!
Frequently Asked Questions about How To Plant Plum Tree From Seed
Was this page helpful?
At Storables.com, we guarantee accurate and reliable information. Our content, validated by Expert Board Contributors, is crafted following stringent Editorial Policies. We're committed to providing you with well-researched, expert-backed insights for all your informational needs.


0 thoughts on “How To Plant Plum Tree From Seed”