Home>Garden Essentials>How To Grow Plum Seeds
Garden Essentials
How To Grow Plum Seeds
Modified: March 24, 2024
Learn how to grow plum seeds in your garden and enjoy the satisfaction of nurturing your own fruit trees. Follow our step-by-step guide for successful seed planting and watch your garden flourish with delicious plums.
(Many of the links in this article redirect to a specific reviewed product. Your purchase of these products through affiliate links helps to generate commission for Storables.com, at no extra cost. Learn more)
Introduction
Growing plants from seeds can be a rewarding and fulfilling experience, especially when it comes to fruit-bearing trees like plums. If you have ever wondered how to grow plum seeds and create your very own orchard, you’ve come to the right place. In this article, we will guide you through the process of selecting healthy plum seeds, preparing them for planting, creating the ideal growing environment, and caring for the seedlings until they mature into fruitful trees.
One of the great joys of growing plums from seeds is the ability to witness the entire lifecycle of a tree, from a tiny seed to a flourishing tree laden with fruits. While growing plums from seeds may take longer than planting seedlings, it provides a sense of connection with nature and the satisfaction of nurturing a plant from its earliest stages. So, whether you want to try your hand at gardening or simply enjoy the beauty and taste of homegrown plums, let’s dive in and learn how to grow plum seeds successfully.
Key Takeaways:
- Growing plum trees from seeds is a patient and rewarding journey, from selecting healthy seeds to nurturing seedlings, and finally harvesting delicious fruits.
- Creating the ideal growing environment for plum seeds involves proper soil preparation, watering, and protection, setting the stage for healthy and bountiful trees.
Read more: How To Grow Plum From Seed
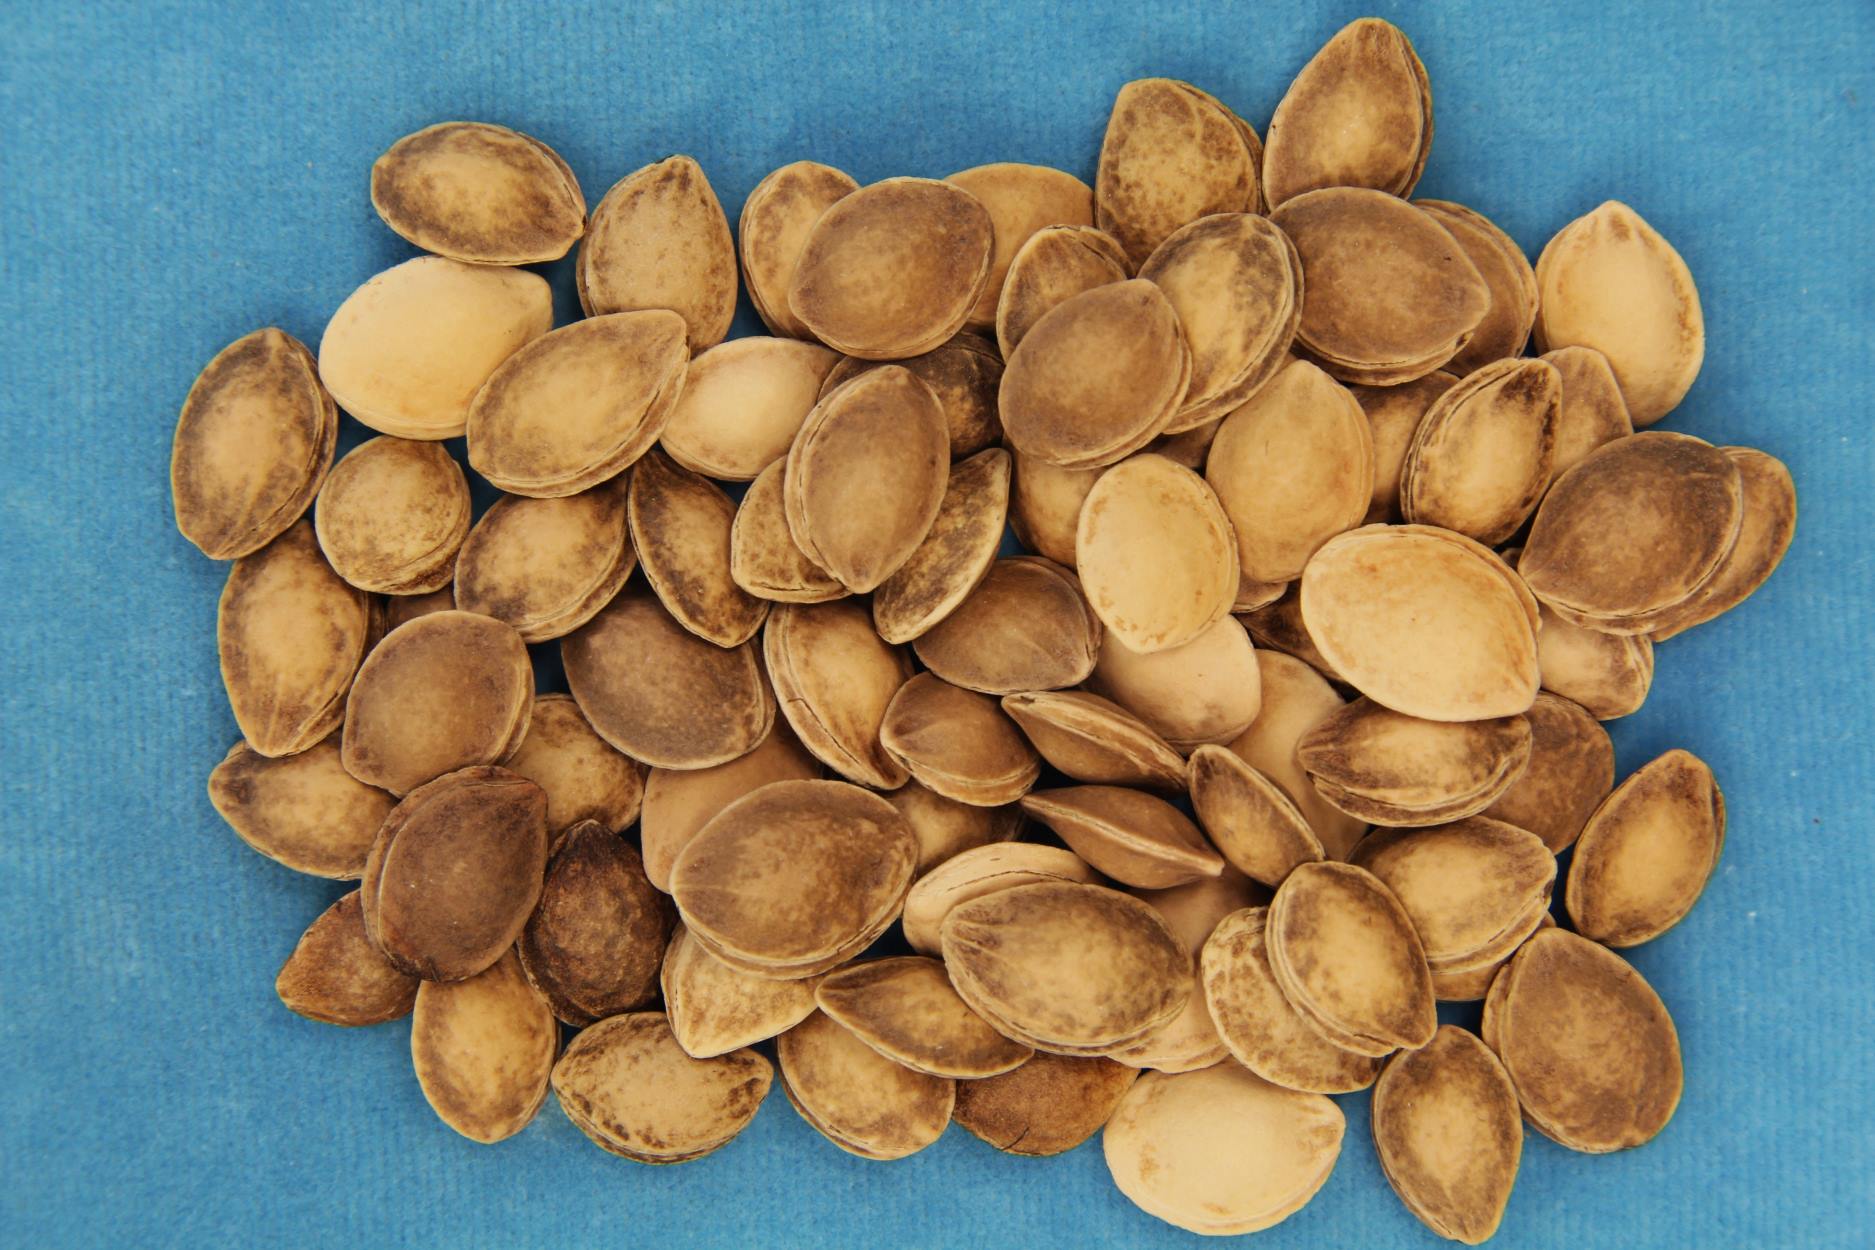
Step 1: Selecting Healthy Plum Seeds
The first and foremost step in growing plum seeds is to ensure that you have high-quality, viable seeds. Choosing healthy plum seeds will greatly increase your chances of successfully growing plum trees. Here’s what you need to know:
- Source: Obtain plum seeds from reliable sources such as local nurseries, farmers markets, or reputable online suppliers. This ensures that the seeds are fresh and adapted to your local climate.
- Variety: Decide on the variety of plums you want to grow. There are numerous plum varieties available, each with its unique flavor, color, and growing requirements. Consider factors such as taste preferences, pollination requirements, and disease resistance when selecting the variety.
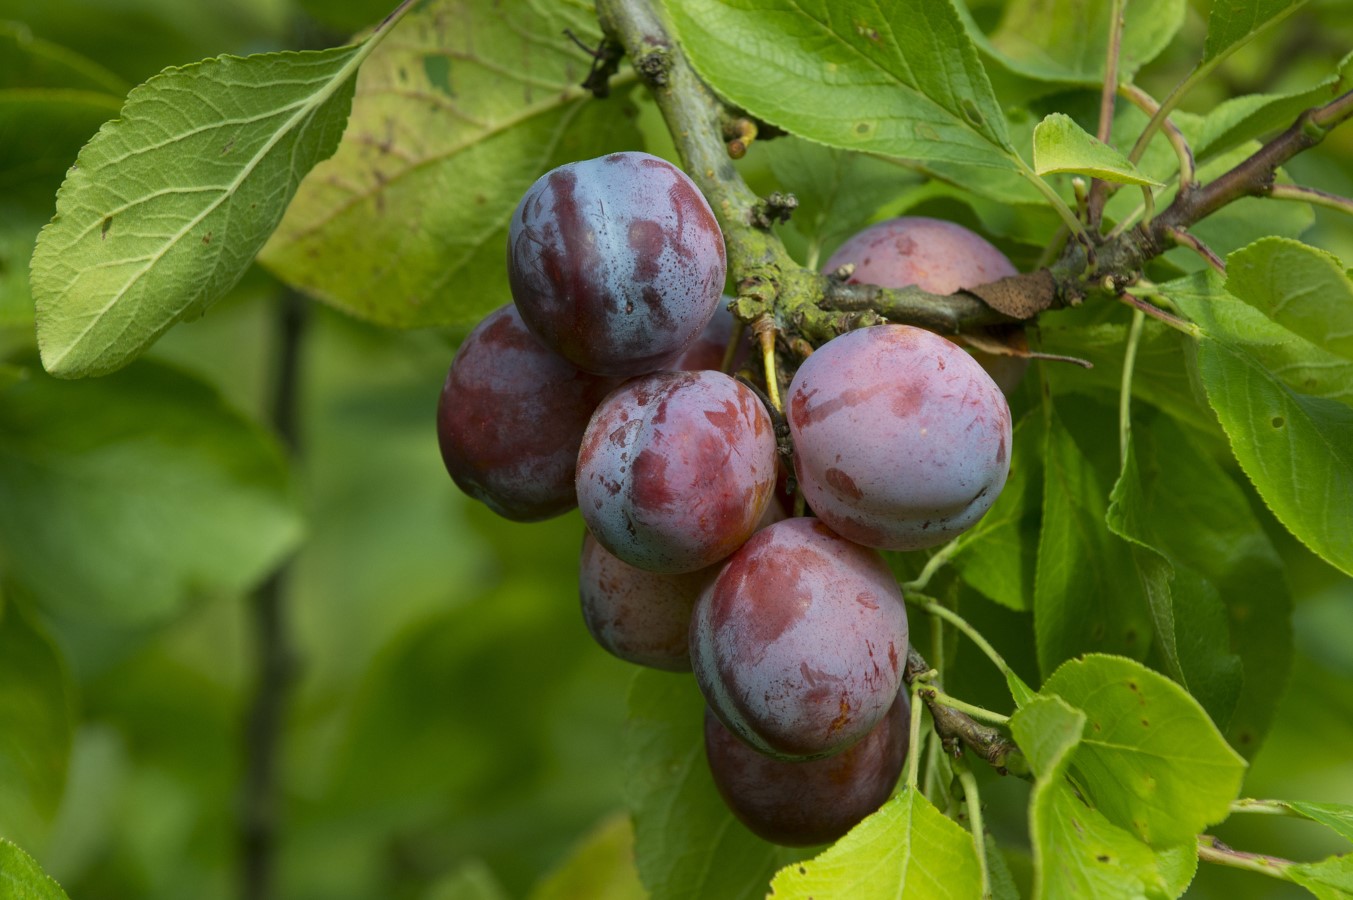
- Fruit Quality: Examine the plums carefully and choose fruits that are fully ripe but not overly soft or shriveled. Look for plums with desirable characteristics such as a good size, firm flesh, and flavorful taste. Remember, the quality of the parent fruit will influence the quality of the resulting seedling.
- Seed Extraction: After you have selected the plums, it’s time to extract the seeds. Cut the plums open and gently remove the seeds using a small knife or your fingers. Be careful not to damage the seeds during the process.
- Seed Cleaning: Once the seeds are extracted, rinse them with water to remove any residual plum flesh. Pat them dry with a clean cloth or paper towel.
It’s important to note that not all plum seeds will germinate successfully. To maximize your chances of success, it’s recommended to collect a few extra seeds than you actually need. This way, you can discard any non-viable seeds and still have enough to work with.
Step 2: Preparing the Seeds for Planting
Once you have selected your healthy plum seeds, the next step is to properly prepare them for planting. This involves a few essential tasks that will increase the chances of successful germination and healthy seedling development. Here’s what you need to do:
- Stratification: Plum seeds, like many other fruit tree seeds, require a period of stratification to break their dormancy and stimulate germination. To stratify the seeds, place them in a moist medium such as damp peat moss, vermiculite, or sand. Seal the seeds and medium in a plastic bag or container and refrigerate them for a period of 8-12 weeks. This mimics the natural cold winter conditions that plum seeds experience before germination.
- Seed Scarification: Some plum varieties have hard seed coats that may impede germination. To overcome this, you can scarify the seeds lightly before stratification. Gently file or nick the seed coat using a small file or sandpaper. This will create small openings that allow water to penetrate and aid in germination.
- Moisture Check: Regularly check the moisture content of the stratification medium. It should be damp but not waterlogged. If the medium feels too dry, lightly mist it with water to maintain the optimal moisture level. Avoid letting it become excessively wet to prevent mold or rot.
By stratifying and scarifying the plum seeds, you are providing the optimal conditions for breaking dormancy and promoting germination. This preparation process mimics the natural environmental cues necessary for seedling growth. Once the stratification period is complete, and the seeds have been scarified if needed, they are ready for planting.
Step 3: Creating the Ideal Growing Environment
To give your plum seeds the best chance of thriving, it’s important to create an ideal growing environment. The conditions in which the seeds are planted will significantly influence their germination and subsequent growth. Here’s how to create the optimal growing environment for your plum seeds:
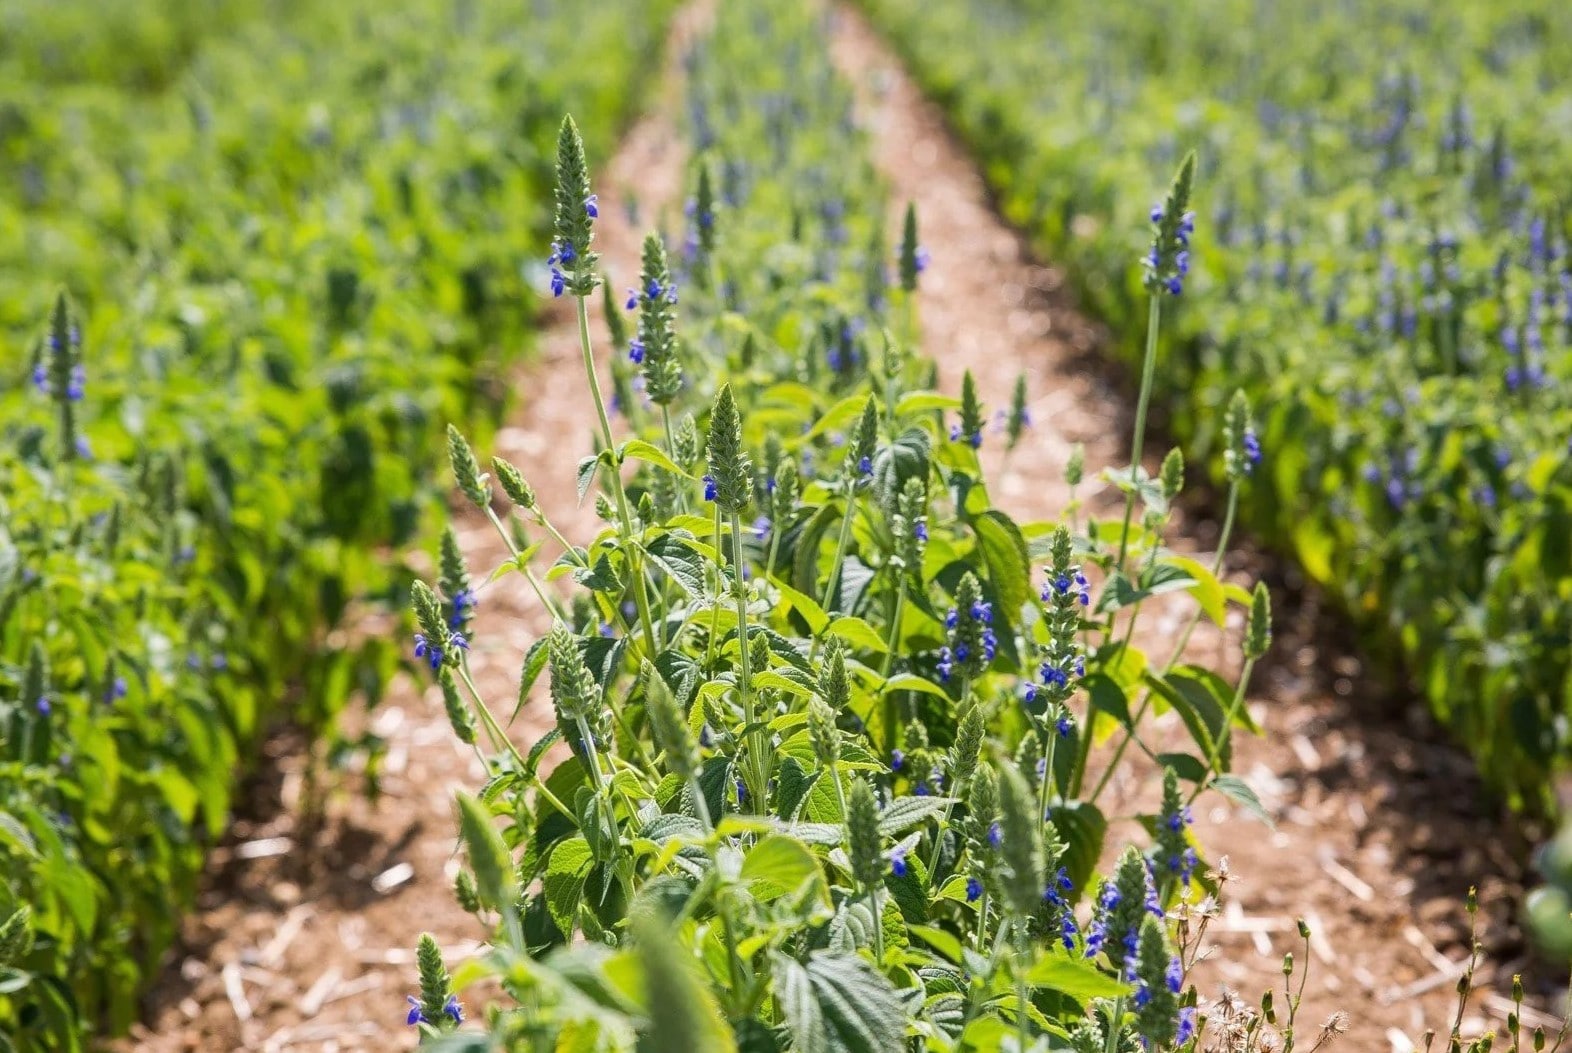
- Soil Preparation: Plum trees prefer well-draining soil with a slightly acidic pH between 6.0 and 6.5. Before planting, prepare the soil by removing any weeds, rocks, or debris. Loosen the soil to a depth of about 12 inches and amend it with organic matter like compost or well-rotted manure to improve its fertility and drainage.
- Site Selection: Choose a location that receives full sun for at least 6-8 hours a day. Plums thrive in sunlight and need it to produce a bountiful harvest. Ensure the planting site is protected from strong winds as they can damage fragile seedlings.
- Planting Method: There are two main methods for planting plum seeds: direct sowing or starting them in containers. For direct sowing, dig a hole about 2-3 inches deep and place the seed in the hole. Cover it with soil and gently firm it down. If you prefer container planting, use biodegradable pots or seed trays filled with a seed-starting mix. Plant the seeds at a depth of about 1 inch, and lightly water the soil.
- Watering: Proper watering is crucial for plum seed germination and growth. Keep the soil consistently moist but not waterlogged. Water whenever the top inch of soil feels dry. Be mindful not to overwater, as excessive moisture can lead to rotting of the seeds or root disease.
- Temperature: Plum seeds require warm soil temperatures for germination, ideally between 70-85°F (21-29°C). You can use a heating mat or place the seed trays in a warm area to help maintain the necessary temperature. Once the seedlings emerge, gradually acclimate them to outdoor conditions to prevent shock.
- Protection: Protect the young plum seedlings from extreme weather conditions, such as frost, excessive heat, or heavy rains. Use protective coverings like row covers or cloches to shield them when needed.
By creating an ideal growing environment, you are laying the foundation for healthy seedlings and a productive plum tree. Consistent care and attention will ensure their successful growth into mature trees that yield delicious fruits.
Step 4: Planting the Plum Seeds
Now that you have prepared your plum seeds and created the optimal growing environment, it’s time to plant them. Follow these steps to ensure proper planting and give your plum seeds the best start:
- Planting Depth: For direct sowing, plant the plum seeds about 2-3 inches deep in the soil. If you are using containers, plant the seeds at a depth of around 1 inch.
- Spacing: Space the seeds at least 4-6 inches apart to allow for proper root development and minimize competition among seedlings.
- Watering: After planting the seeds, water the area thoroughly to settle the soil and ensure good seed-to-soil contact. This will help with germination.
- Labeling: It’s important to label your planted seeds, especially if you are planting multiple varieties or have other plants nearby. Use markers or labels to indicate the plum variety and planting date.
- Protection: If you are planting in an area where birds or pests may disturb the seeds, consider covering the planting area with a mesh or netting to protect them until they germinate.
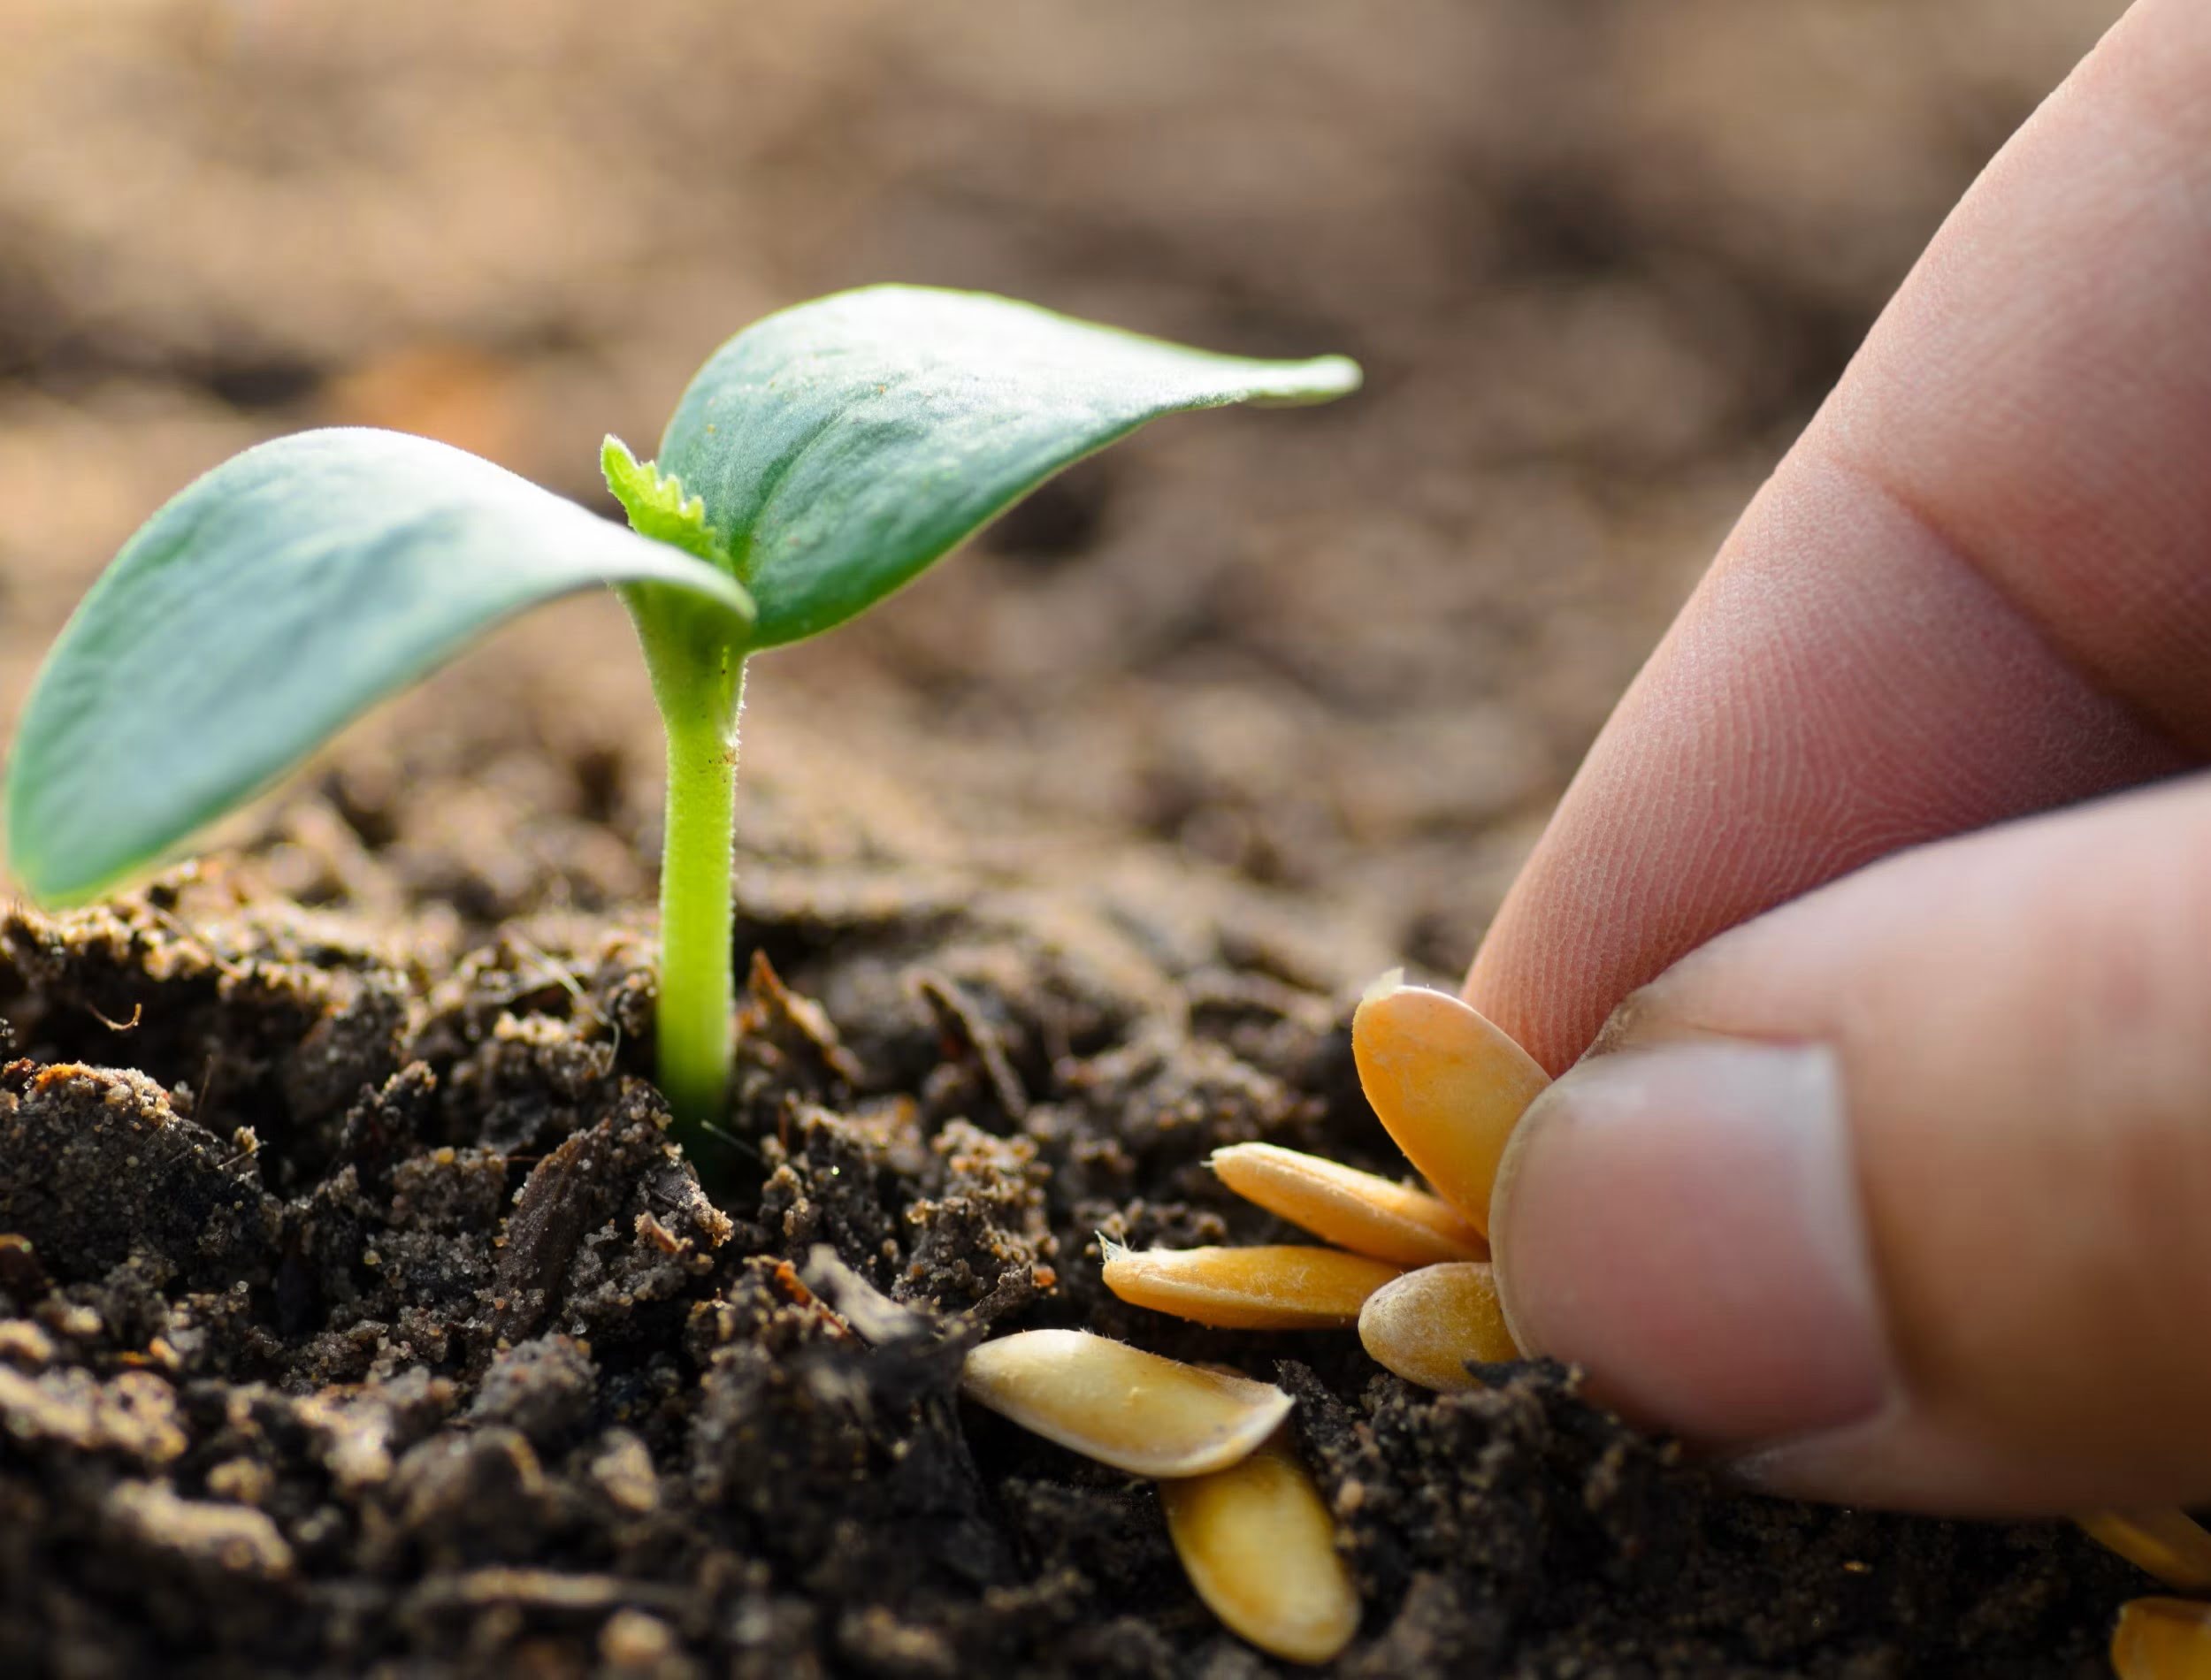
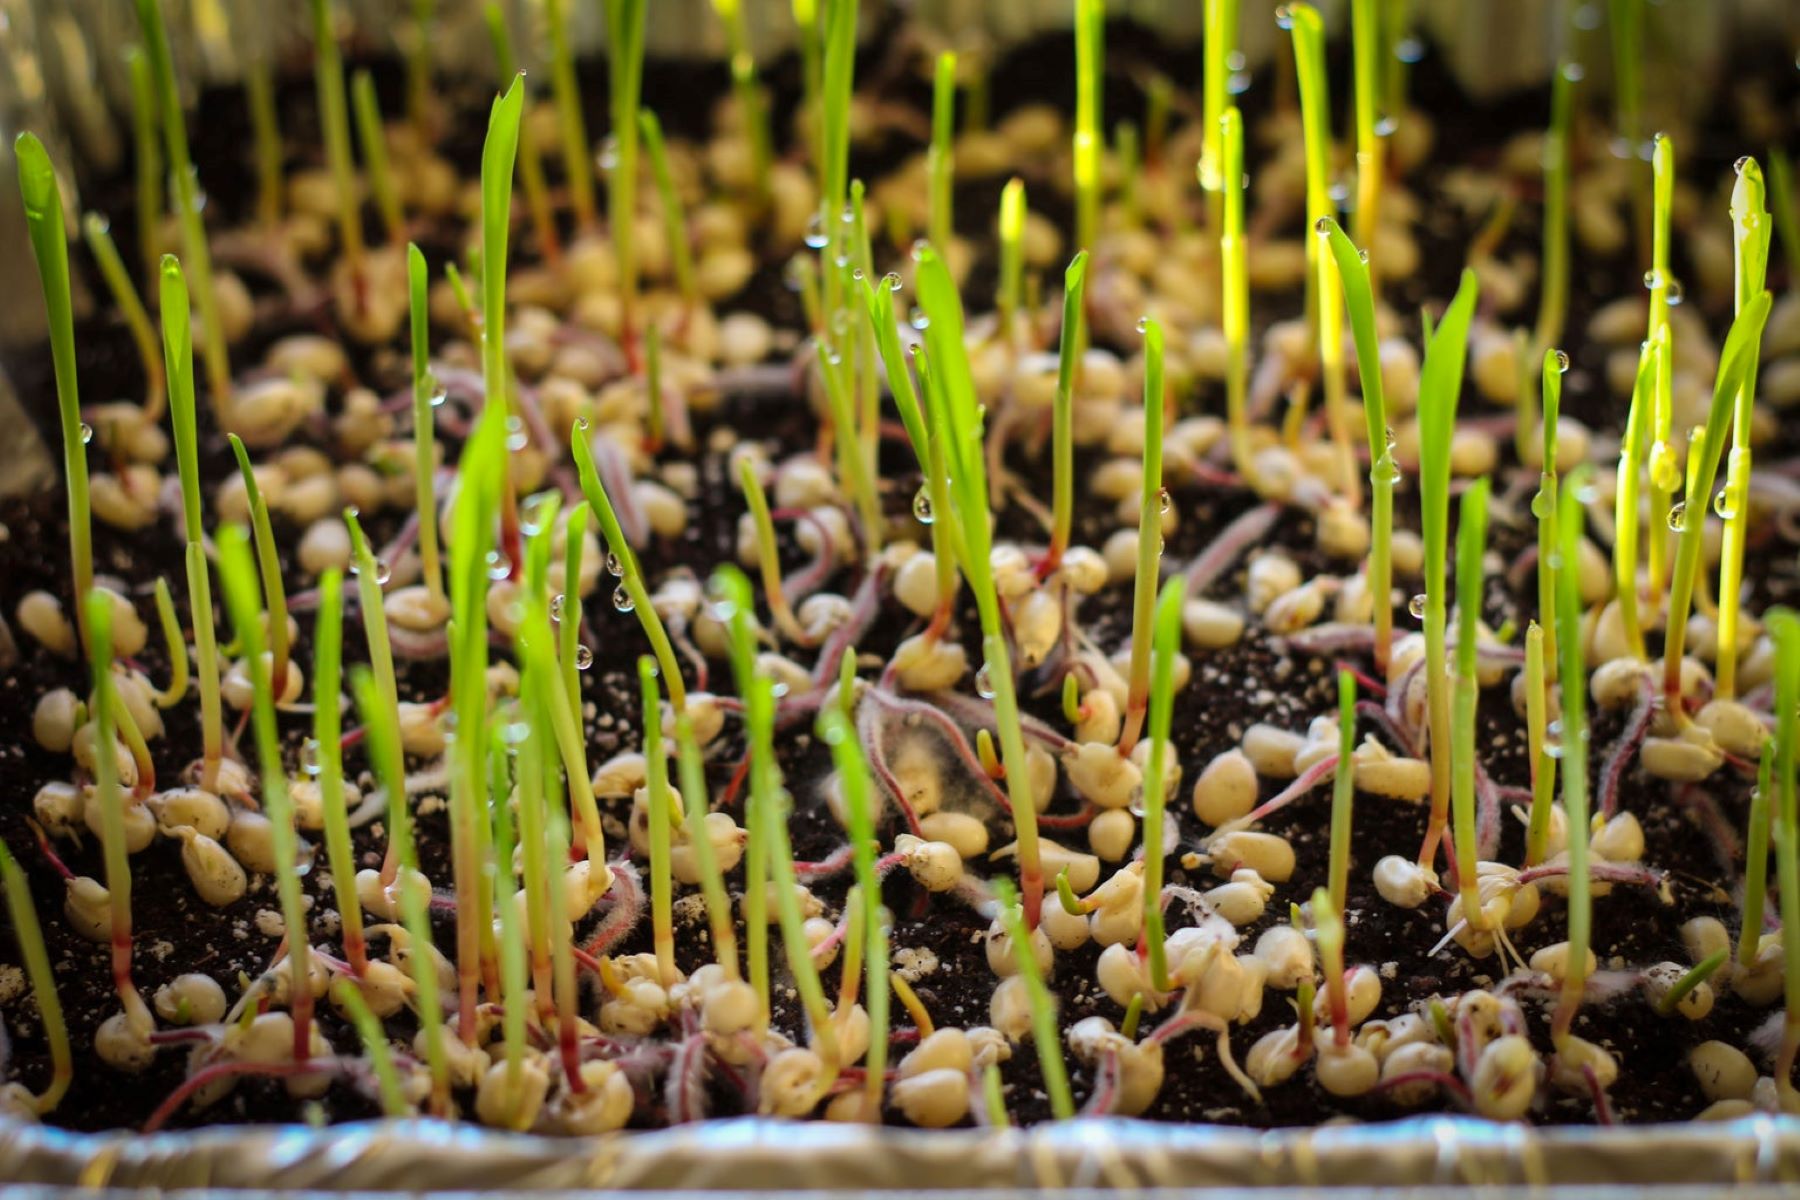
- Monitoring: Keep a close eye on the planted seeds and monitor their progress. Observe for signs of germination, such as the appearance of seedlings, within a few weeks. Be patient, as some varieties can take several weeks to sprout.
By ensuring the right planting depth, spacing, and providing adequate moisture and protection, you are giving your plum seeds the best chance to germinate and establish themselves. Now, it’s time to move on to the next step – caring for your plum seedlings.
After removing the seeds from the plum, wash and dry them. Then, place the seeds in a damp paper towel and keep it in a plastic bag in the refrigerator for 8-12 weeks to simulate winter conditions. After this cold stratification period, plant the seeds in a pot with well-draining soil and keep it in a sunny spot. Keep the soil consistently moist and wait for the seeds to germinate.
Read more: How To Grow Hog Plum From Seed
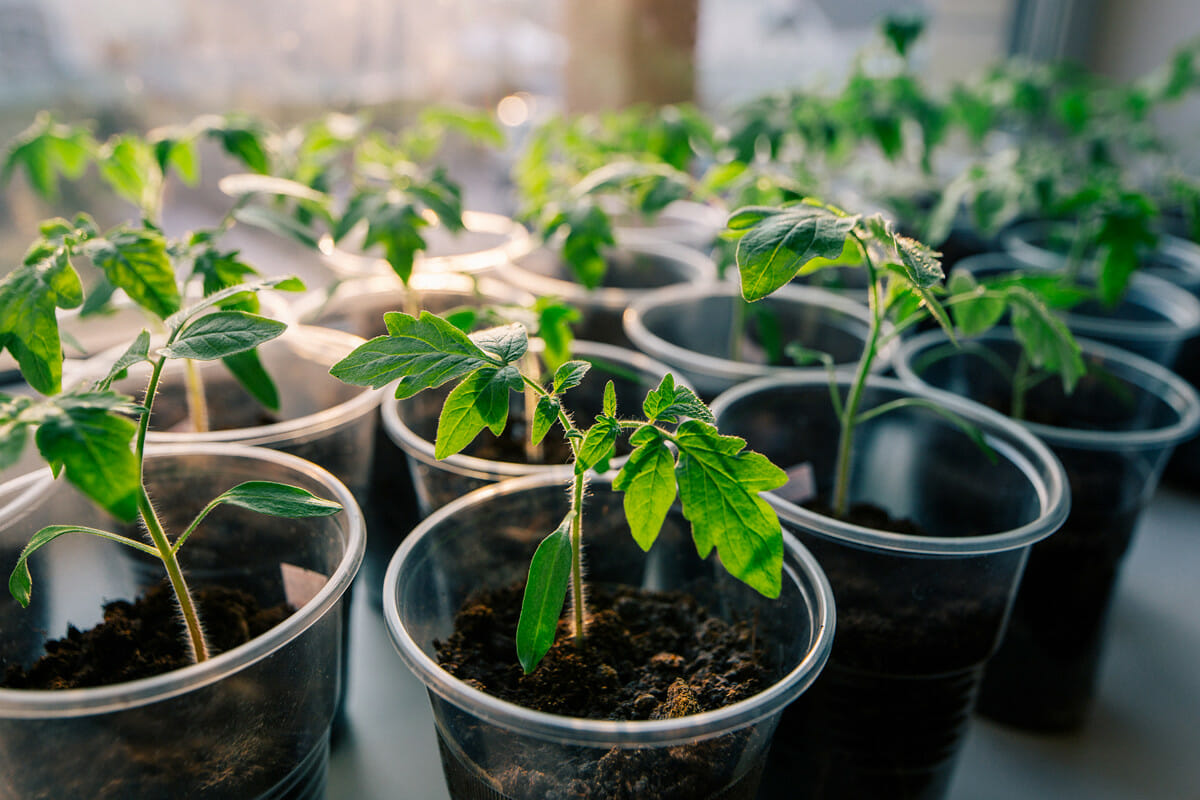
Step 5: Caring for Plum Seedlings
Once your plum seeds have germinated and sprouted into seedlings, it is crucial to provide proper care to ensure their healthy growth and development. Follow these essential steps to care for your plum seedlings:
- Watering: Continue to water the seedlings regularly, keeping the soil consistently moist but not waterlogged. Use a gentle stream of water to avoid disturbing the delicate roots. Monitor the soil moisture and adjust the watering frequency as needed, especially during hot and dry periods.
- Thinning: If you have multiple seedlings growing close together, thin them out to ensure adequate spacing. Remove the weaker seedlings, leaving only the strongest and healthiest ones. This allows for better airflow and reduces competition for nutrients and space.
- Fertilization: After the seedlings have established their first set of true leaves, you can begin fertilizing them. Use a balanced, slow-release fertilizer specifically formulated for fruit trees. Follow the package instructions for application rates and frequency.
- Weed Control: Regularly check for weeds around the seedlings and remove them promptly. Weeds compete with young plum trees for nutrients, water, and sunlight. Mulching around the base of the seedlings with organic materials like straw or wood chips can help suppress weeds while retaining soil moisture.
- Pest and Disease Management: Keep a watchful eye for pests such as aphids, caterpillars, or fungal diseases. If you notice any signs of damage, promptly take appropriate measures to control the pests or diseases, such as using organic insecticides or fungicides approved for fruit trees.
- Support: If your plum seedlings are growing tall and slender, provide support by staking them to prevent bending or breaking in strong winds. Use soft ties or plant-friendly materials to attach the seedlings to the stakes, being careful not to injure the delicate stems.
Consistent care and attention to these details will ensure that your plum seedlings grow into healthy and robust trees. As they mature, they will become better equipped to handle environmental stress and bear bountiful fruits.
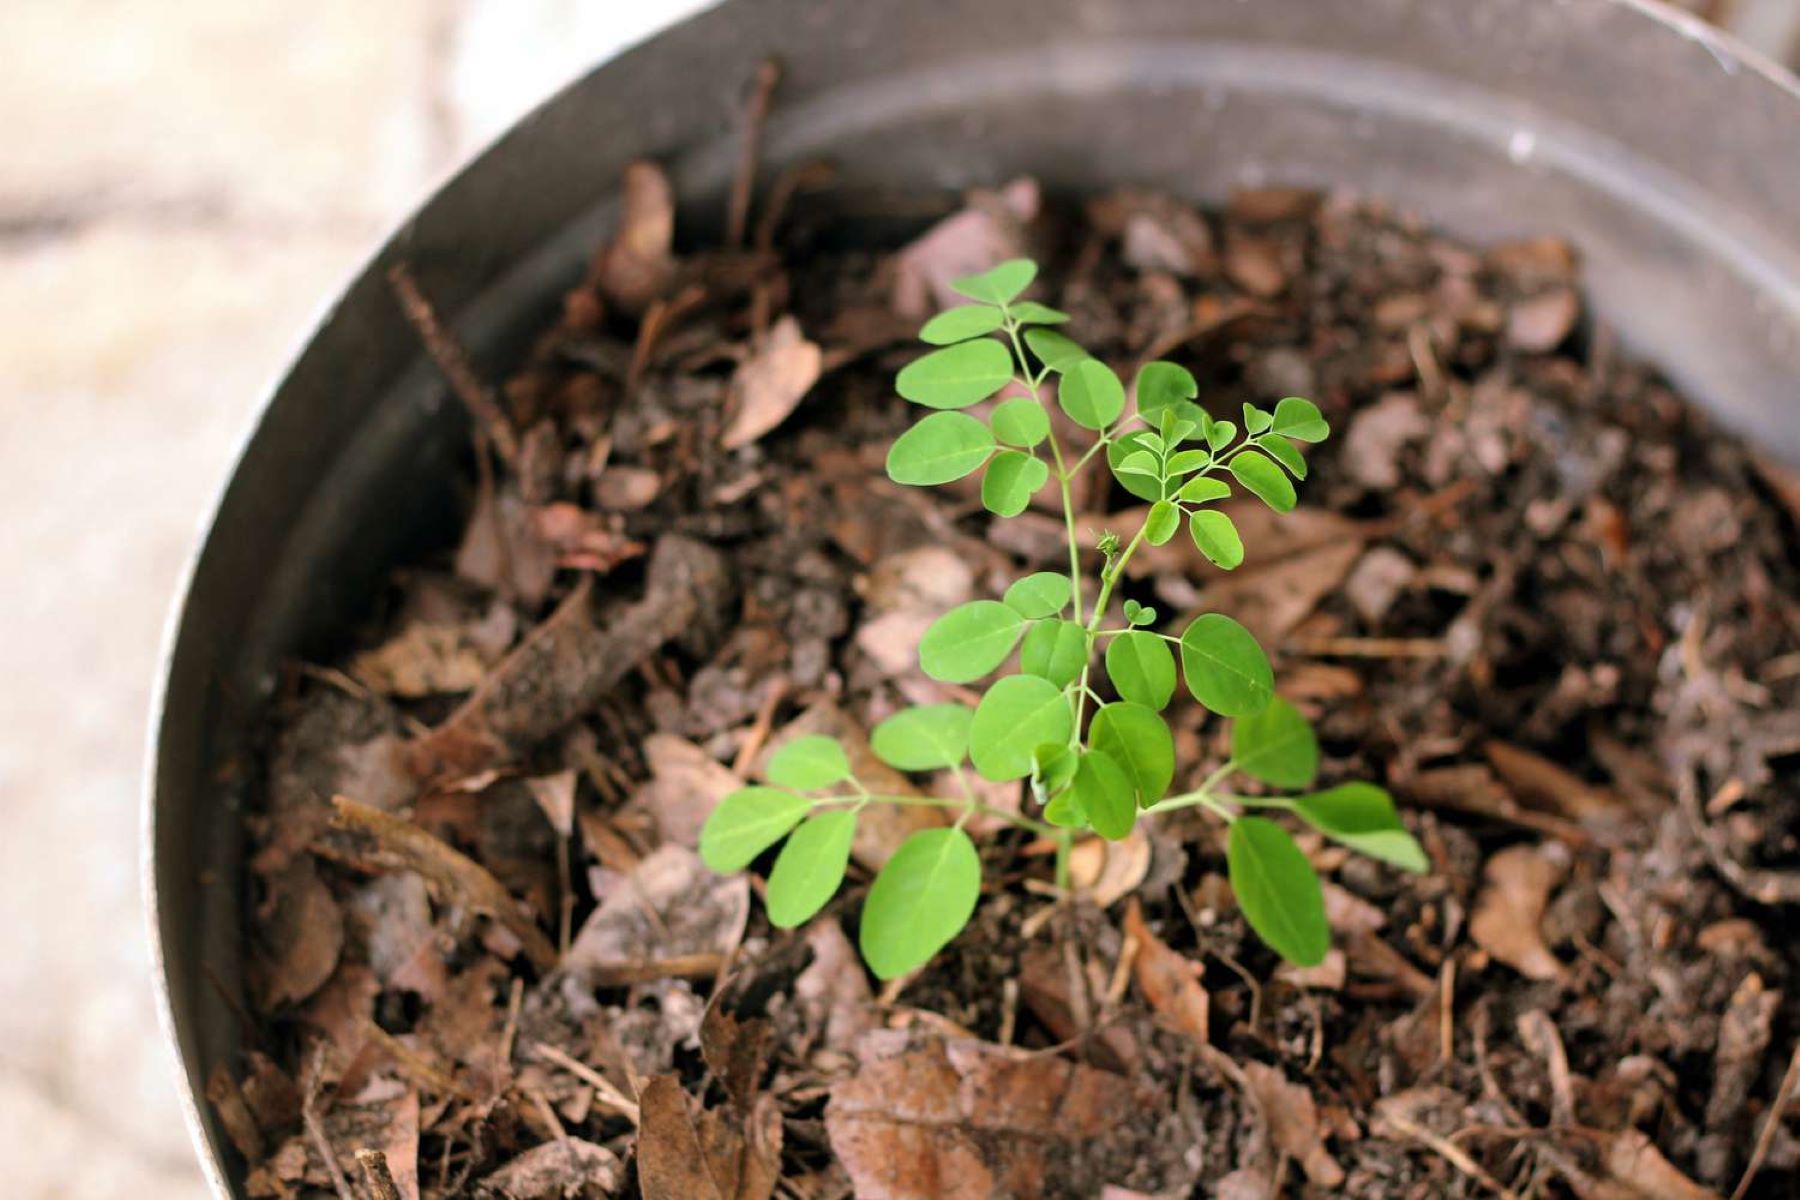
Step 6: Transplanting Plum Seedlings
As your plum seedlings continue to grow and develop, there may come a time when they outgrow their pots or current planting location. Transplanting them into a larger space or permanent location will provide them with the necessary room to flourish. Follow these steps for successful transplanting of your plum seedlings:
- Timing: Choose the right time to transplant your plum seedlings. It’s ideal to transplant them in early spring or late fall when the weather is mild and the seedlings are dormant. This minimizes stress on the plants and gives them time to establish their roots before experiencing extreme weather conditions.
- Site Selection: Select a location that meets the growing requirements of plum trees. It should have well-draining soil, full sun exposure, and ample space for the tree to grow to its mature size. Consider the final spacing requirements for your plum variety and ensure enough distance between trees if you are planting multiple seedlings.
- Preparing the Planting Hole: Dig a hole that is wider and slightly deeper than the root ball of the seedling. This allows room for the roots to spread out comfortably. Loosen the soil in the surrounding area to encourage root penetration and establishment.
- Seedling Removal: Gently remove the plum seedling from its current container or planting spot. Handle the seedling by its root ball to avoid damaging the delicate stem or leaves. If the roots have grown tightly and encircled the root ball, tease them out gently to encourage outward growth.
- Planting: Place the seedling in the prepared hole, making sure that the soil level matches the soil line of the seedling. Backfill the hole with soil, gently pressing it down to eliminate air pockets. Water the newly transplanted seedling thoroughly to help settle the soil and provide hydration for the roots.
- Mulching: Apply a layer of organic mulch around the base of the seedling, leaving a small gap around the trunk to prevent moisture buildup and potential rot. Mulch helps conserve soil moisture, suppresses weed growth, and regulates soil temperature.
- Watering and Care: Keep the newly transplanted plum seedling well-watered in the weeks following transplantation. Monitor soil moisture levels and water as needed to prevent drying out. Provide proper care by following the watering, fertilization, and pest control practices mentioned in the previous steps.
Transplanting plum seedlings can be a delicate process, but with proper care and attention, it ensures the healthy establishment of your trees in their new location. Remember to be gentle with the seedlings’ roots during the transplanting process to minimize transplant shock and promote successful growth.
Step 7: Pruning and Training Plum Trees
Pruning and training your plum trees is essential for maintaining their health, shape, and productivity. Proper pruning encourages optimal growth, improves air circulation, and helps manage the tree’s size. Follow these steps to effectively prune and train your plum trees:
- Timing: Prune plum trees during their dormant season, preferably in late winter or early spring before new growth begins. Avoid pruning when the tree is actively growing as it may hinder its ability to heal and increase the risk of disease.
- Remove Dead or Diseased Wood: Start by removing any dead, damaged, or diseased branches. These can be identified by their lack of foliage, discoloration, or signs of decay. Use clean pruners or loppers to make clean, angled cuts just outside the branch collar.
- Thin Out Excess Branches: Reduce overcrowding by thinning out excessive branches. Remove small, weak, or narrow-angle branches that compete with the main scaffold branches. Aim to maintain an open, well-spaced canopy that allows sunlight and air to penetrate.
- Shape the Canopy: Prune to shape the tree’s canopy and promote a balanced structure. The central leader system, with a dominant central trunk and lateral branches, is usually suitable for plum trees. Maintain a central leader by choosing one strong, upright branch as the main leader and removing competing upright branches.
- Manage Suckers and Watersprouts: Plum trees are prone to producing suckers (new shoots emerging from the base of the tree) and watersprouts (vigorous vertical shoots). Remove these promptly as they can drain energy from the tree and inhibit fruit production.
- Train Young Trees: For newly planted plum trees, train them to their desired shape and form during the first few years. Use stakes or training wires to support the main trunk and scaffold branches. Prune side shoots that develop on the scaffold branches to encourage upward growth.
- Prune for Fruit Production: Pruning can also impact fruit production. To promote better fruiting, thin out excess fruit clusters during the growing season to allow for better sizing and increased airflow. Additionally, prune to remove any crossed or crowded branches that may hinder fruit development or increase the risk of disease.
Remember to always use sharp, clean pruning tools to make precise cuts and minimize damage to the tree. Take care not to over-prune, as this can reduce fruiting potential. Regular pruning and training will help maintain the overall health and productivity of your plum trees, resulting in a plentiful harvest of delicious fruits.
Step 8: Harvesting Plum Fruits
The culmination of your hard work and patience is the moment of harvest, when you can finally enjoy the sweet rewards of your plum trees. Knowing the right time to harvest, along with proper handling and storage techniques, will ensure that you savor plums at their peak flavor and quality. Follow these steps for successful plum fruit harvesting:
- Observation: Regularly monitor your plum trees as the fruits near maturity. Plums should have a uniform color, depending on the variety, with a slight give when gently pressed. They should also be fragrant and easily release from the tree when gently twisted.
- Harvesting Time: Plums are typically ready for harvest in late summer or early fall, depending on the specific variety and growing conditions. The exact timing may vary, so it’s important to rely on visual and tactile cues to determine when each plum is ripe.
- Harvesting Technique: To pick plums, gently grasp the fruit and twist it until it detaches from the tree. Alternatively, you can use a sharp pair of pruners or garden shears to cut the stem about a half-inch above the fruit.
- Handling: Handle harvested plums with care to minimize bruising or damage. Place them in shallow containers or harvest baskets lined with a soft material to cushion the fruits. Avoid stacking or piling the plums on top of each other, as this can cause bruising.
- Sorting and Storage: Sort through the harvested plums, removing any damaged or overly ripe fruits. Store only the firm and healthy plums. For short-term storage, keep the plums at room temperature for up to a week. For longer storage, refrigerate them in a perforated plastic bag or container for up to two weeks.
- Enjoying Plums: Plums can be enjoyed fresh, added to salads, made into jams or jellies, or used in baking and desserts. Experiment with different recipes to make the most of your plum harvest and relish their delightful flavors.
- Pruning After Harvest: After the harvest, prune your plum trees to remove any dead or diseased wood, and adjust the canopy to maintain its shape and health. Pruning after harvest allows the tree to focus its energy on new growth and fruit production for the following year.
Remember, the taste of freshly picked, homegrown plums is truly special. By harvesting at the right time and following proper handling and storage techniques, you’ll experience the full flavor and sweetness of your plums, bringing your gardening journey full circle.
Read more: How To Plant Plum Tree From Seed
Conclusion
Growing plum trees from seeds is a rewarding and fulfilling experience that allows you to witness the journey from a tiny seed to a thriving tree laden with delicious fruits. By following the steps outlined in this guide, you can successfully grow plum seeds and create your very own orchard. From selecting healthy seeds to creating the ideal growing environment, to caring for seedlings, transplanting, pruning, and harvesting, each step is crucial to the overall success of your plum tree cultivation.
Remember, patience is key throughout the process. Plum trees take time to grow and mature, but the wait is well worth it when you bite into the juicy and flavorful fruits they produce. Be mindful of the specific needs of your plum variety, such as sun exposure, soil pH, and pruning requirements, and adjust your care accordingly.
As you embark on your journey of growing plum trees, don’t be afraid to experiment and learn from your experiences. Gardening is a continuous learning process, and every plum tree you grow will provide valuable insights and knowledge that you can apply to future endeavors.
Whether you aim to enjoy the sweet taste of homegrown plums, connect with nature, or simply embrace the joy of gardening, growing plum trees from seeds is a gratifying endeavor. So roll up your sleeves, get your hands dirty, and embark on this botanical adventure. With proper care and dedication, you can nurture plum seeds into thriving trees that bear the fruits of your labor for years to come.
Excited about nurturing home-grown plums? Why stop there? Extend your gardening skills with creative boundary solutions in our article on diverse garden fence ideas. Additionally, understanding seed germination speeds up any gardener's success rate; our dedicated piece sheds light on this crucial process. Both articles are just a click away, providing valuable insights and practical tips to enhance your green thumb efforts!
Frequently Asked Questions about How To Grow Plum Seeds
Was this page helpful?
At Storables.com, we guarantee accurate and reliable information. Our content, validated by Expert Board Contributors, is crafted following stringent Editorial Policies. We're committed to providing you with well-researched, expert-backed insights for all your informational needs.

0 thoughts on “How To Grow Plum Seeds”