Home>Garden Essentials>How To Grow Jalapenos From Seeds Indoors
Garden Essentials
How To Grow Jalapenos From Seeds Indoors
Modified: March 15, 2024
Looking to grow jalapenos from seeds indoors? Learn how to start a garden and successfully cultivate jalapenos in your own home!
(Many of the links in this article redirect to a specific reviewed product. Your purchase of these products through affiliate links helps to generate commission for Storables.com, at no extra cost. Learn more)
Introduction
Welcome to the world of gardening! Growing your own jalapeno peppers is a rewarding and satisfying experience. Not only do these spicy peppers add a delicious kick to your dishes, but they also bring a touch of excitement to your indoor garden. Whether you have a green thumb or are just starting out, learning how to grow jalapenos from seeds indoors is a fantastic way to embark on your gardening journey.
When you grow jalapenos from seeds, you have complete control over their growth, ensuring they receive the ideal conditions for germination and development. Starting jalapeno seeds indoors allows you to extend the growing season and gives you a head start before transplanting them outdoors. Plus, it’s a fun and educational activity that the whole family can enjoy.
Before we dive into the exciting process of growing jalapenos, let’s go over some basics. Jalapeno peppers, scientifically known as Capsicum annuum, are a type of chili pepper. They are known for their moderate heat and are commonly used in Mexican and Southwestern cuisine. Jalapenos are versatile and can be used fresh, dried, or pickled to enhance the flavor of various dishes.
Now that we have a brief understanding of jalapeno peppers, let’s gather our gardening supplies and get ready to embark on this indoor gardening adventure.
Key Takeaways:
- Growing jalapenos from seeds indoors is a fun and rewarding experience that allows you to have control over their growth conditions. With the right supplies and care, you can enjoy a bountiful harvest of spicy peppers right at home.
- From preparing the seed starting mix to harvesting the peppers, the process of growing jalapenos indoors is a continuous learning experience. Embrace the joy of gardening and savor the flavorful heat of your homegrown peppers.
Read more: How To Grow Jalapeno From Seed
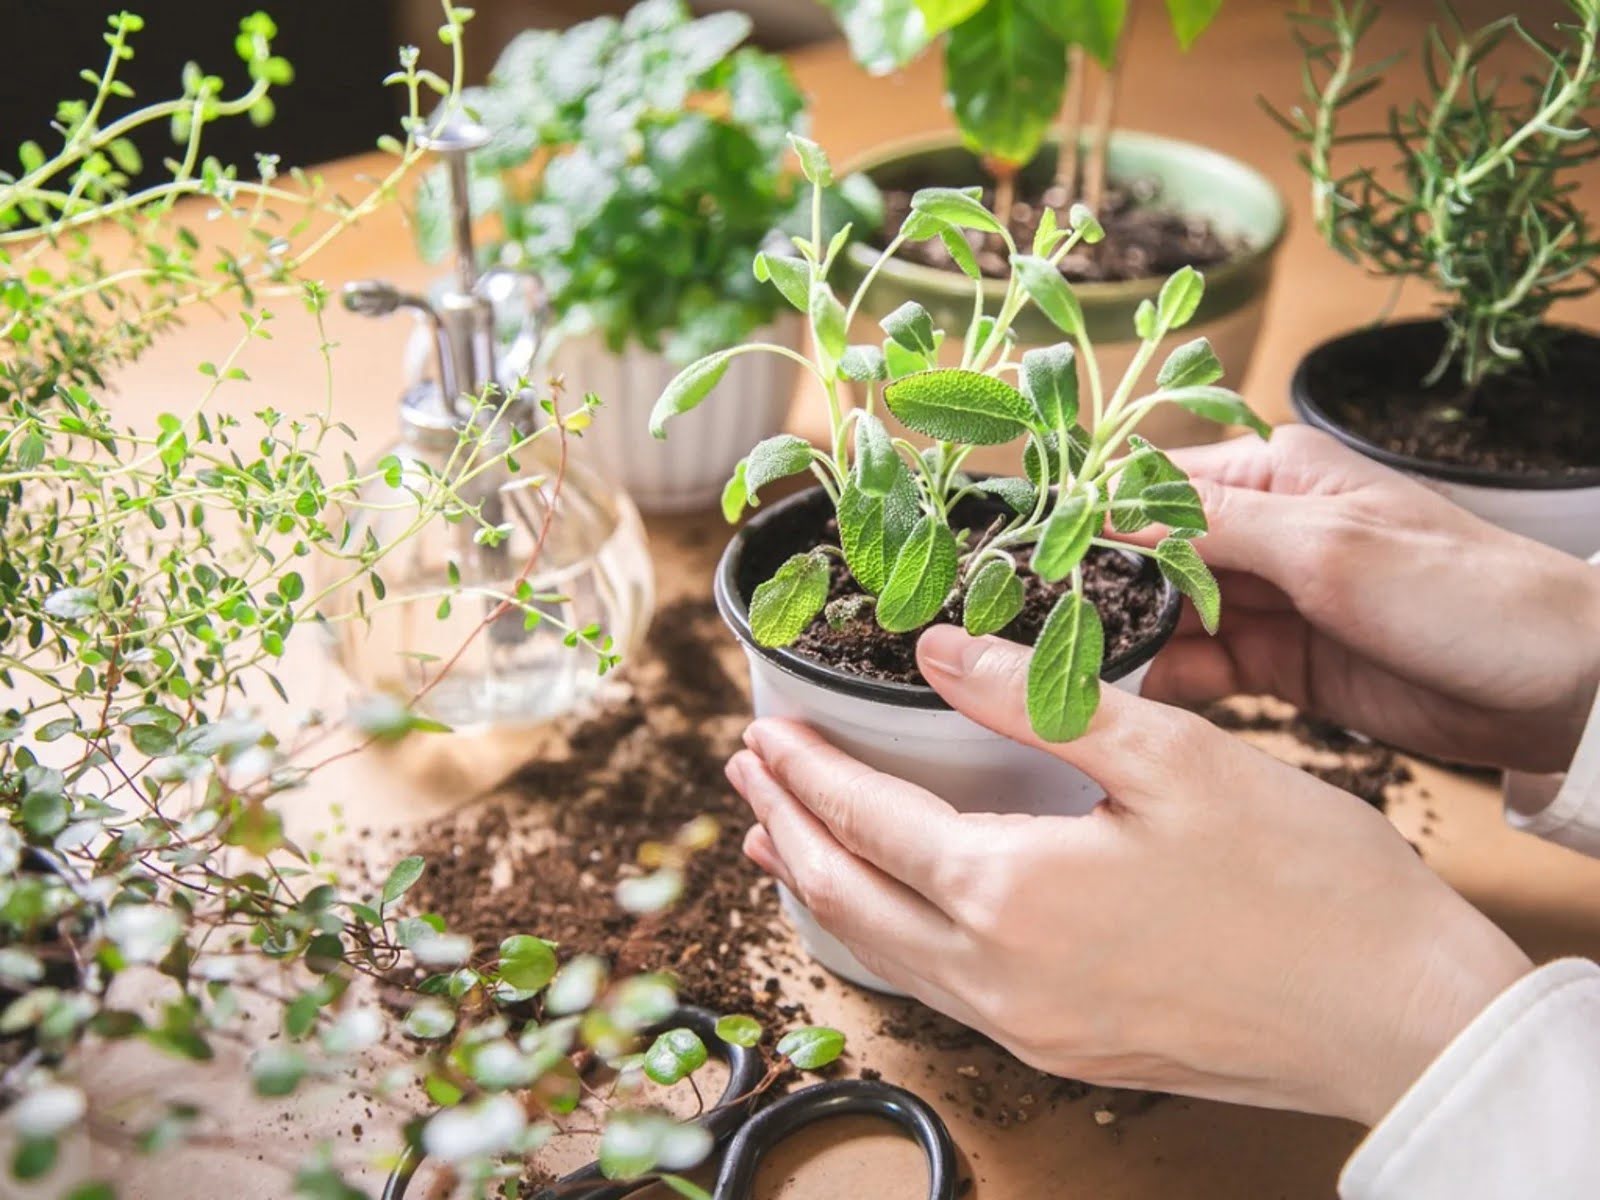
Step 1: Gather the necessary supplies
Before you start the process of growing jalapenos from seeds indoors, it’s essential to gather all the necessary supplies. Having everything ready will help ensure a smooth and successful growing experience. Here are the supplies you’ll need:
- Jalapeno seeds: Purchase high-quality jalapeno seeds from a reputable garden center or online seed supplier. Look for seeds that are fresh and specifically labeled for indoor cultivation.
- Seed starting trays or pots: Choose trays or pots with drainage holes at the bottom to prevent waterlogging. Consider using biodegradable peat pots or trays for easy transplantation later on.
- Seed starting mix: Opt for a well-draining seed starting mix that is lightweight and sterile. Avoid using regular garden soil, which can be too heavy and may contain harmful pathogens.
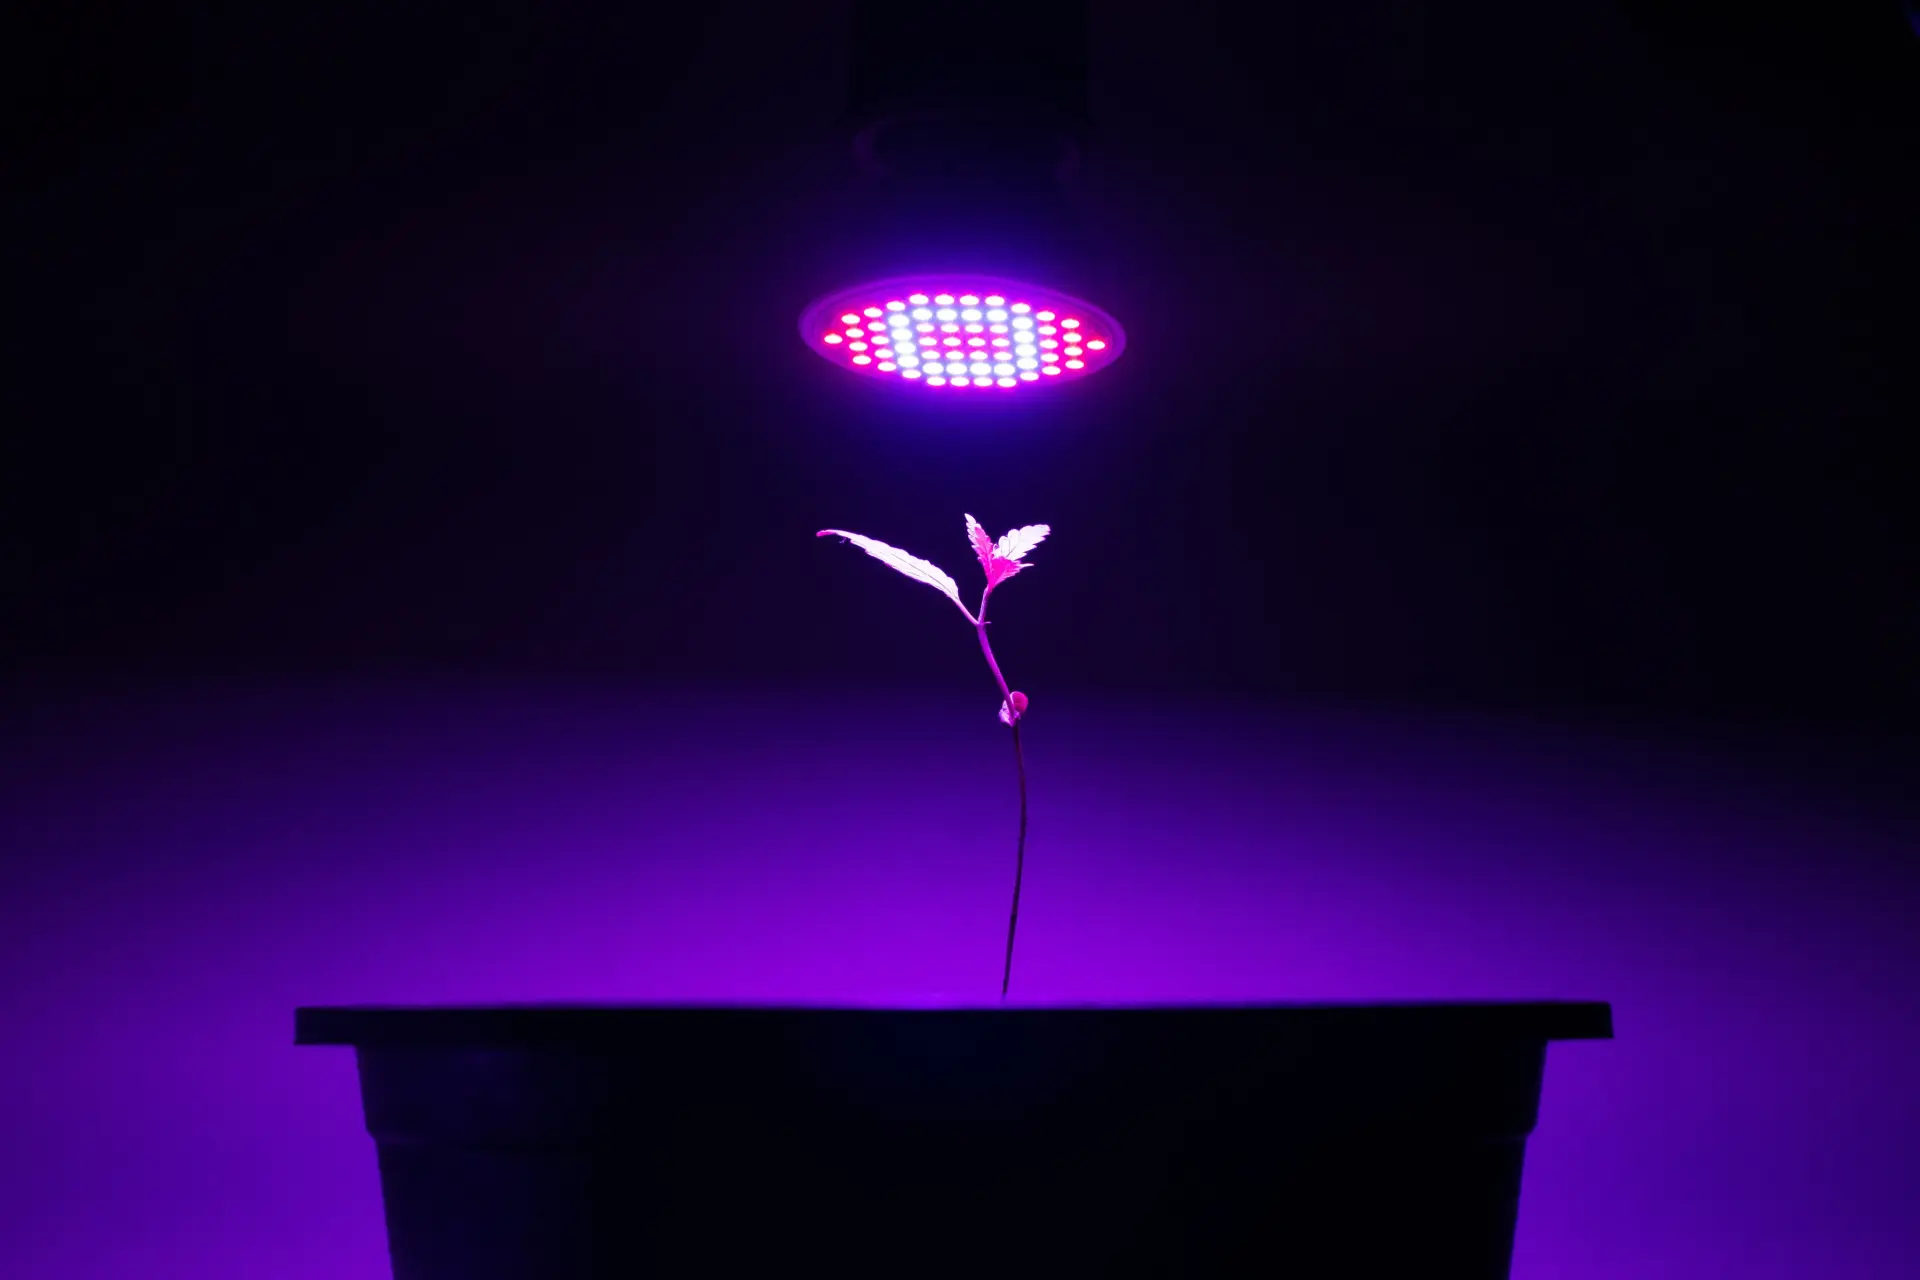
- Grow lights or a sunny window: Jalapeno seeds require ample sunlight to germinate and grow. If you don’t have access to a sunny window, consider investing in fluorescent or LED grow lights to provide the necessary light intensity and duration.
- Heat mat (optional): Jalapeno seeds prefer warm soil for optimal germination. A heat mat placed underneath the seed trays can provide consistent warmth and promote faster seedling growth.
- Spray bottle or watering can: You’ll need a gentle watering method to keep the soil evenly moist without causing damage to the delicate seedlings. A spray bottle or a small watering can with a fine nozzle works well.
- Misting dome or plastic wrap: To create a humid environment for seed germination, you can use a misting dome or cover the seed trays with plastic wrap. This helps retain moisture and promotes successful sprouting.
- Plant labels: It’s important to keep track of the different varieties of jalapeno seeds you plant. Use plant labels to mark each tray or pot, ensuring you can identify the specific plants as they grow.
- Water-soluble fertilizer: Once the jalapeno seedlings develop their first set of true leaves, you’ll need to provide them with nutrients. Choose a balanced water-soluble fertilizer suitable for vegetable plants and follow the package instructions for application.
With all these supplies readily available, you’re well-prepared to kick start your jalapeno growing journey. Let’s move on to the next step and prepare the seed starting mix.
Step 2: Prepare the seed starting mix
The seed starting mix plays a crucial role in providing the right environment for jalapeno seeds to germinate and grow. It’s important to use a lightweight and well-draining mix that is free from pathogens. Follow these steps to prepare the seed starting mix:
- Choose the right mix: Opt for a high-quality seed starting mix that is specifically formulated for starting seeds. These mixes are usually composed of materials such as peat moss, perlite, and vermiculite, which provide a loose and well-aerated texture.
- Moisten the mix: Place the seed starting mix in a large container and moisten it with water. Use enough water to dampen the mix, but be cautious not to make it overly wet and soggy.
- Stir and fluff: Use your hands or a trowel to stir and fluff the mix, ensuring that the moisture is evenly distributed. This step helps break up any clumps and promotes a consistent moisture level throughout the mix.
- Fill the seed trays: Fill your seed trays or pots with the moistened seed starting mix, leaving a small gap at the top to prevent overflow when watering. Gently press the mix down to ensure good contact with the container and eliminate air pockets.
- Level the top: Use a flat object like a ruler or a small board to level the surface of the seed starting mix. This helps create an even and flat surface for sowing the jalapeno seeds.
Preparing the seed starting mix properly ensures that it is well-moistened and provides a suitable medium for the germination and growth of jalapeno seeds. The next step is to sow the seeds into the prepared mix, so let’s move on to that.
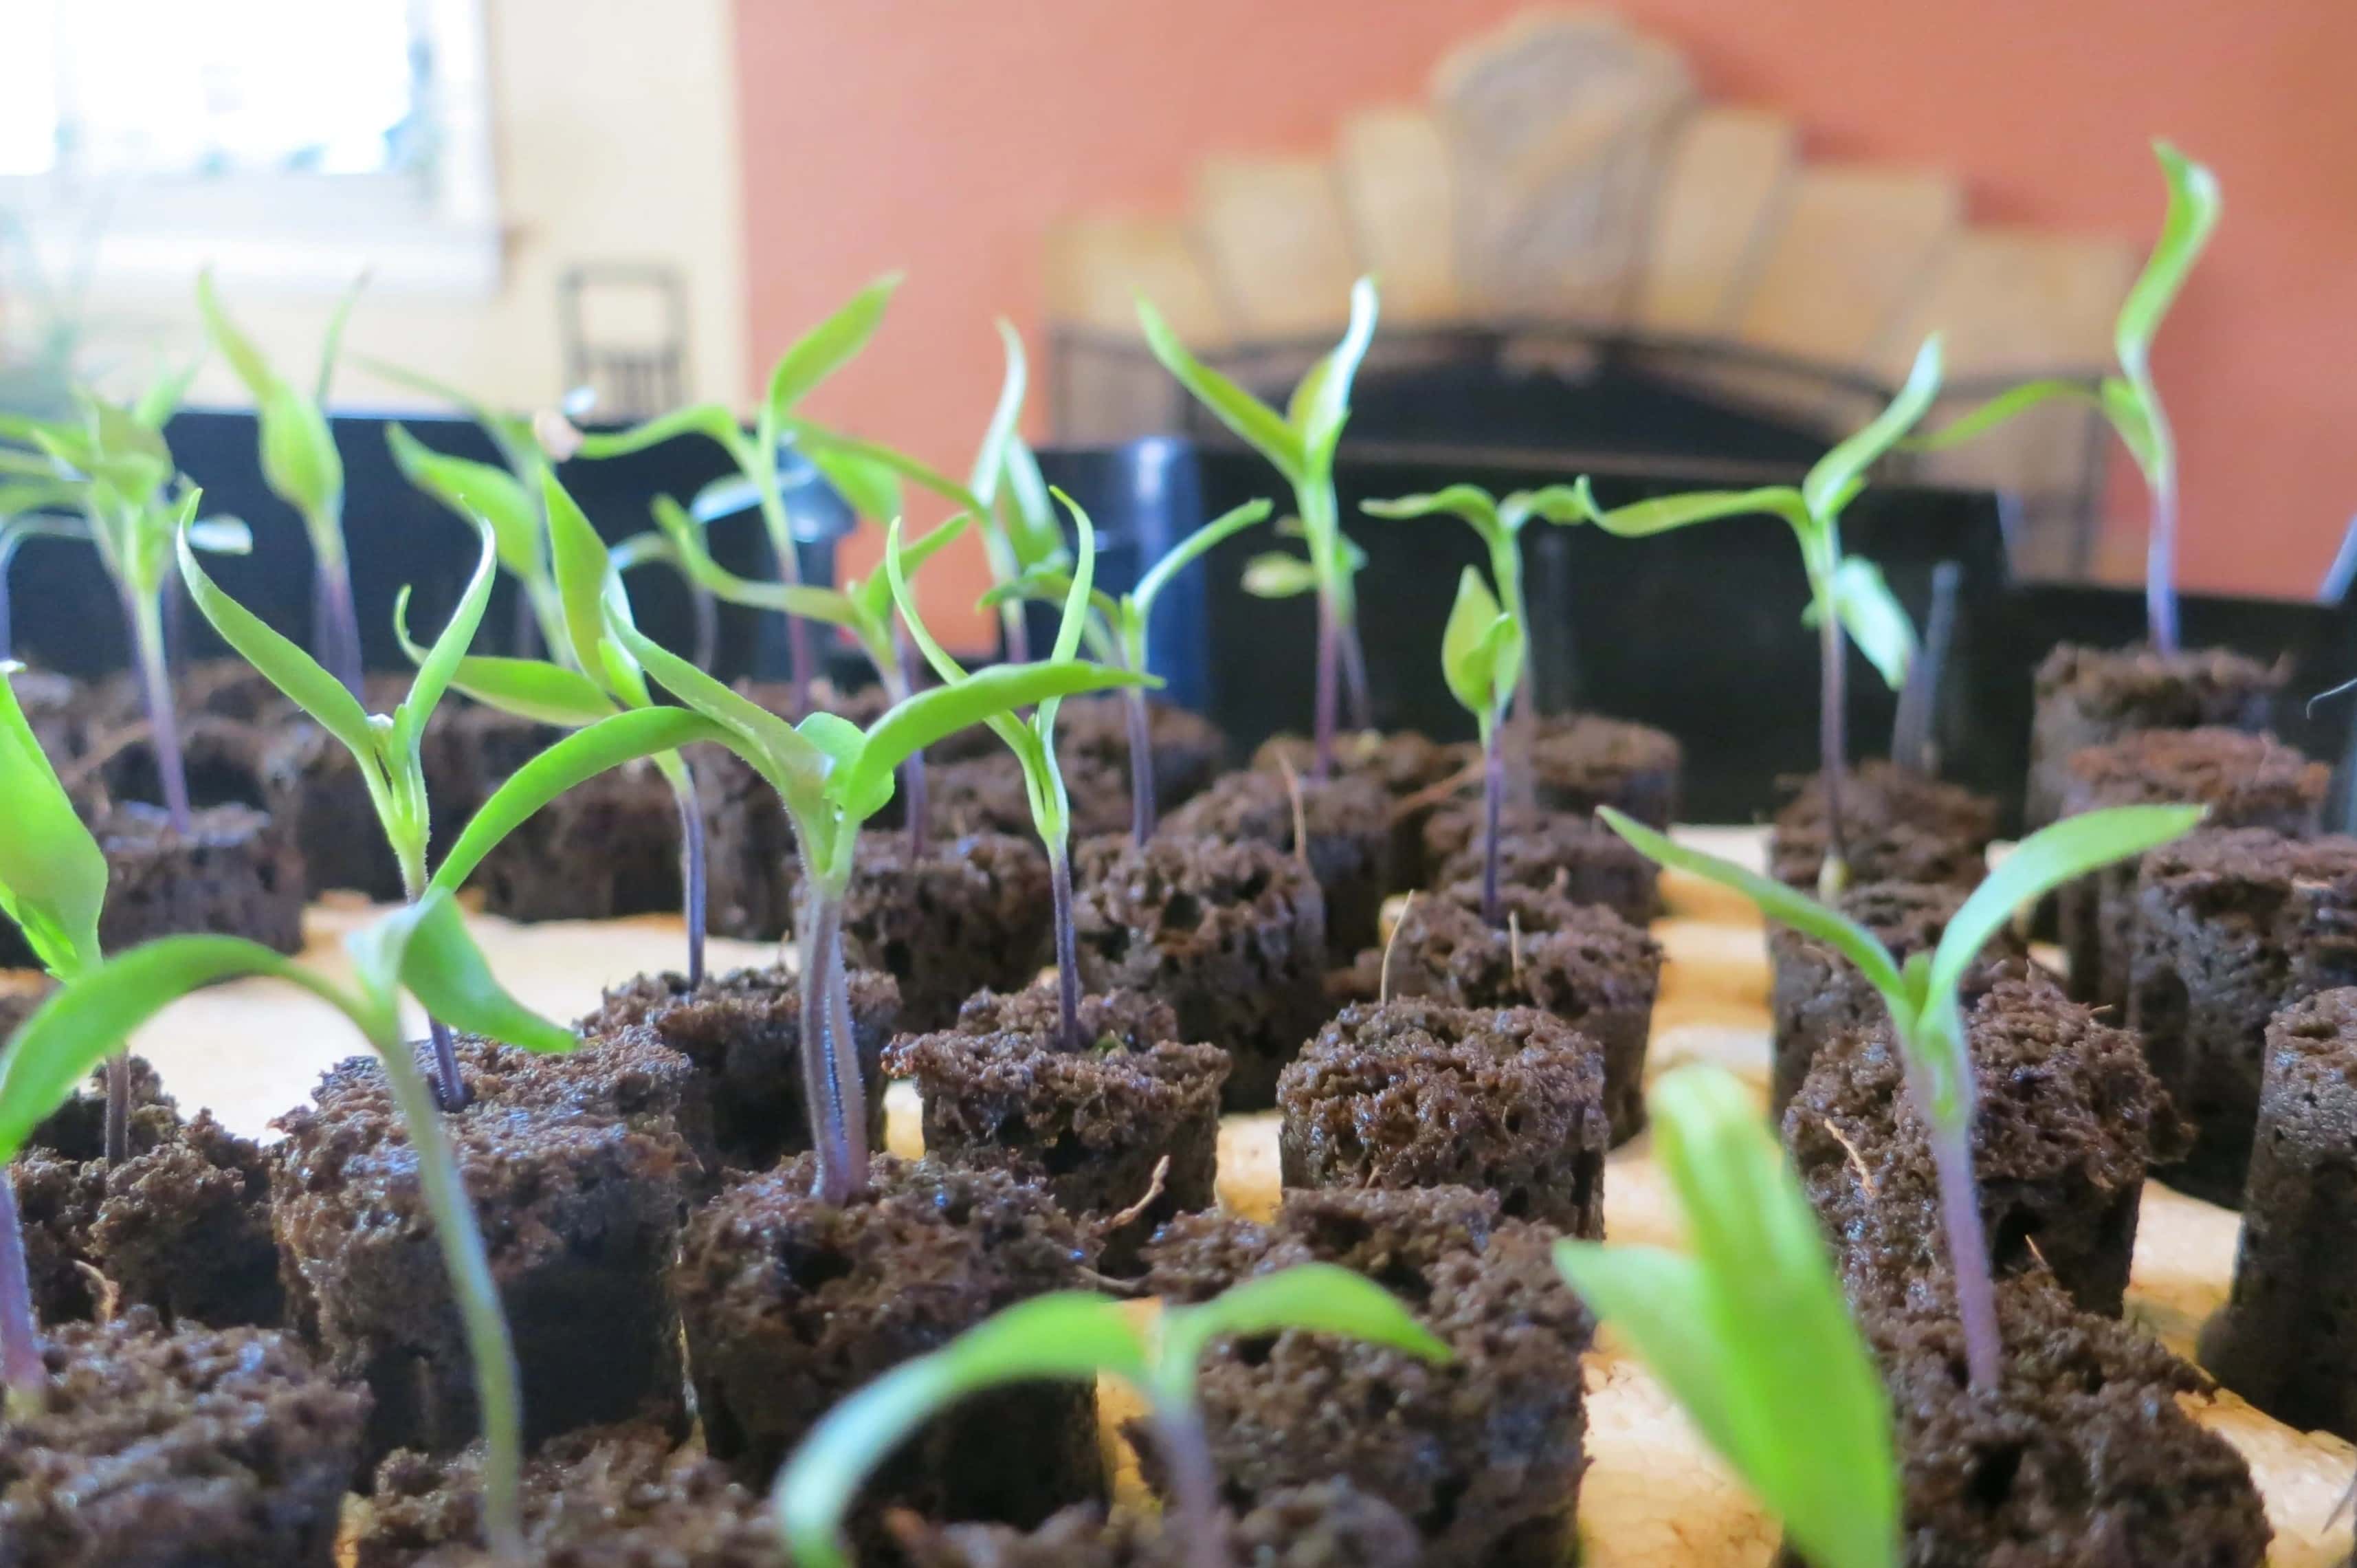
Step 3: Sow the jalapeno seeds
Now that you have your seed starting mix ready, it’s time to sow the jalapeno seeds. These steps will guide you through the process:
- Make small indentations: Use your finger or a small tool to create shallow indentations or “planting pockets” in the seed starting mix. Space the indentations about an inch apart to provide enough room for the seedlings to grow.
- Place the seeds: Gently place one or two jalapeno seeds into each indentation. If you’re using small seed starting trays, it’s best to sow just one seed per indentation to avoid overcrowding.
- Cover the seeds: Once the seeds are in place, lightly cover them with a thin layer of the seed starting mix. The layer should be about 1/4 inch thick, providing enough coverage without burying the seeds too deeply.
- Mist the surface: Use a spray bottle to lightly mist the surface of the seed starting mix. This helps settle the seeds and provide them with the moisture they need to initiate germination.
- Label the trays: It’s important to label each tray with the jalapeno variety you’ve sown. This will help you keep track of the different plants as they grow, ensuring you can provide them with the proper care and attention.
- Optional: Cover the trays: If you’re using a misting dome or plastic wrap, gently cover the trays to create a humid environment. This helps retain moisture and promotes faster germination. If you choose not to cover the trays, make sure to monitor the moisture level regularly.
After sowing the jalapeno seeds, place the trays in a warm location with proper lighting. Now, it’s time to provide the ideal growing conditions for your seeds to germinate and flourish. Keep reading to learn more in the next step.
Step 4: Provide the ideal growing conditions
Creating the ideal growing conditions for your jalapeno seeds is crucial for successful germination and growth. Here’s what you need to do:
- Temperature: Jalapeno seeds prefer warm temperatures for germination. Ideally, maintain a temperature between 70°F and 80°F (21°C-27°C). To ensure consistent warmth, you can use a heat mat placed under the seed trays.
- Light: Adequate lighting is essential for the growth of seedlings. If you have access to a sunny window, place your trays there. If natural light is limited, consider using fluorescent or LED grow lights. Position the lights about 2-4 inches above the seed trays and provide 14-16 hours of light each day.
- Air circulation: Proper air circulation is important to prevent fungal diseases and promote healthy growth. Place a small fan near your seedlings on a low setting to provide gentle air movement. This will also help strengthen the seedlings’ stems.
- Humidity: Jalapeno seeds require a slightly humid environment for germination. If you’re using a misting dome or plastic wrap to cover the trays, check regularly for condensation. If the condensation becomes excessive, remove the cover briefly for air circulation and then replace it.
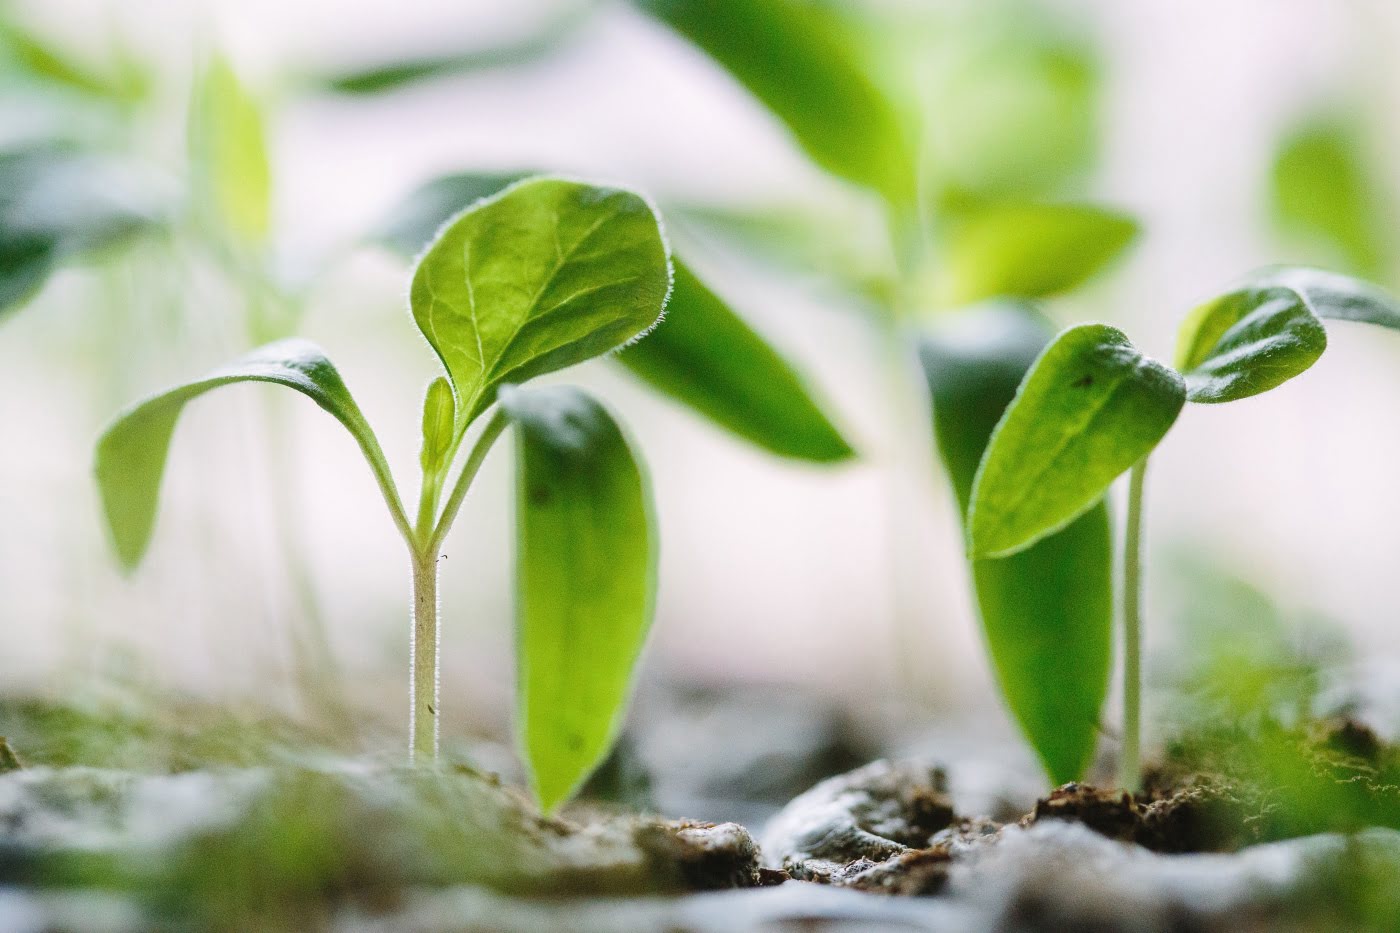
It’s important to monitor the growing conditions regularly to ensure your jalapeno seeds are thriving. Keep an eye on the temperature, light intensity, air circulation, and humidity levels. With the right conditions in place, your seeds will soon germinate, and you’ll see little green seedlings emerging from the soil.
Next, we’ll discuss watering and fertilizing techniques to nourish your growing seedlings. Let’s move on to the next step.
To grow jalapenos from seeds indoors, use a seed starting mix, keep the soil consistently moist, and provide plenty of light with a grow light or sunny window. Keep the temperature around 70-80°F for best results.
Read more: How To Grow Strawberries From Seeds Indoors
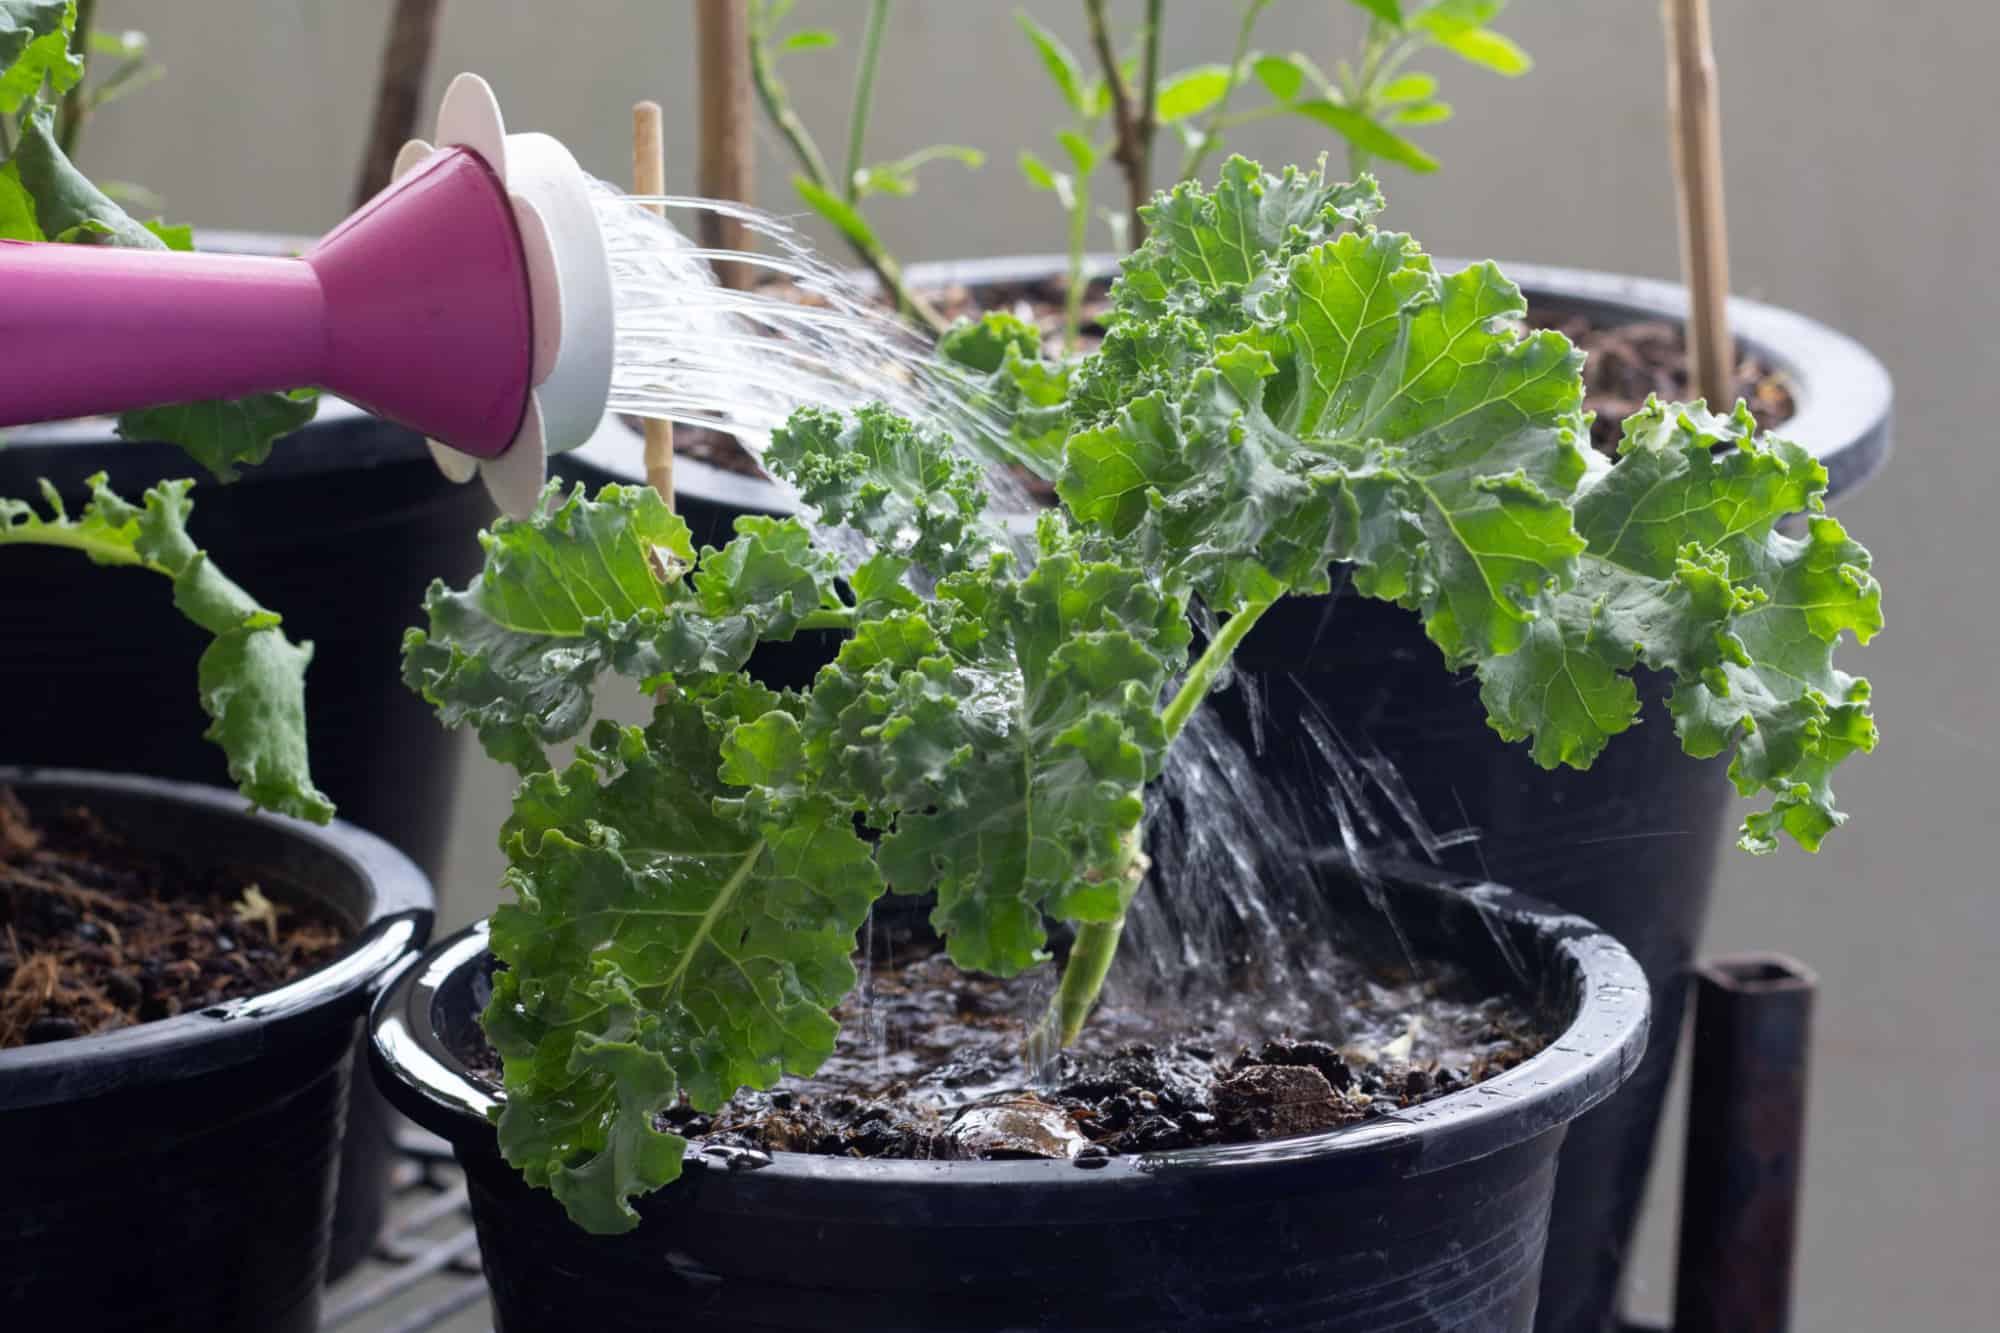
Step 5: Watering and fertilizing
Proper watering and fertilizing are essential for the healthy growth of your jalapeno seedlings. Here’s what you need to do:
- Watering: It’s important to keep the seed starting mix consistently moist, but not waterlogged. Use a spray bottle or a watering can with a fine nozzle to water the seedlings gently. Avoid pouring water directly onto the seedlings, as this can damage their delicate stems. Water whenever the top inch of the soil feels dry, but be careful not to overwater, as it can lead to root rot.
- Fertilizing: As the seedlings grow and develop their first set of true leaves, they will require nutrients for optimal growth. Start fertilizing with a water-soluble, balanced fertilizer diluted to half the recommended strength. Apply the fertilizer every two weeks or as directed on the packaging. Make sure to water the seedlings before fertilizing to prevent any potential root burn.
- Observation: Pay close attention to the appearance and growth of your seedlings. If they appear wilted or the leaves turn yellow, it may indicate overwatering or nutrient deficiency. On the other hand, if the seedlings look leggy or pale, it may suggest inadequate light. Adjust your watering, fertilizing, and lighting practices accordingly.
Remember, it’s better to underwater than to overwater your seedlings. Over time, you’ll develop a sense of when and how much water they need. Providing regular care and monitoring their growth will help you determine if adjustments are needed to ensure the healthy development of your jalapeno plants.
Now that your seedlings are well-nourished, it’s time to prepare them for transplantation. In the next step, we’ll discuss transplanting the jalapeno seedlings to larger containers or the garden. Stay tuned!
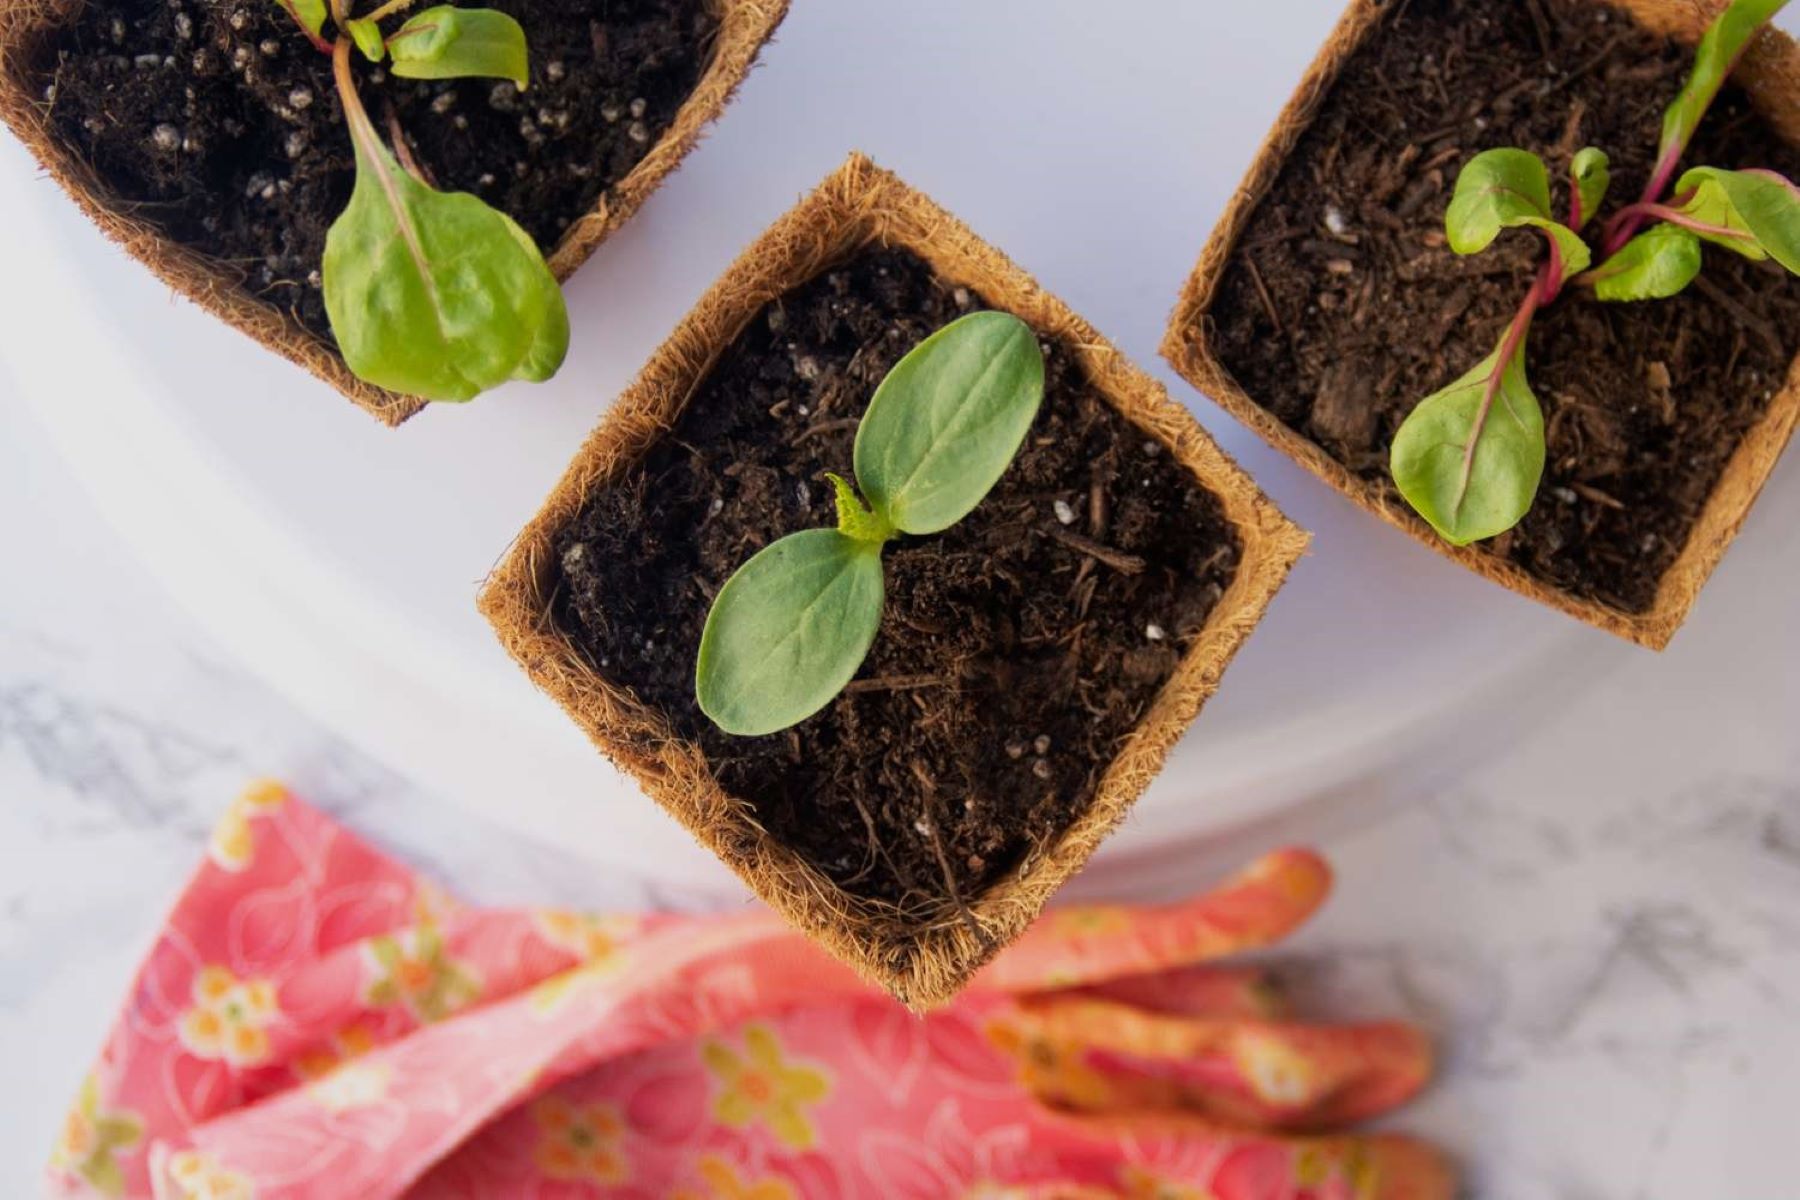
Step 6: Transplanting the seedlings
Once your jalapeno seedlings have grown to a suitable size and have developed a strong root system, it’s time to transplant them to larger containers or the garden. Here’s how to do it:
- Choose the right containers: Select containers that are at least 4-6 inches deep with drainage holes. Biodegradable peat pots are a great choice as they can be planted directly into the garden without disturbing the roots.
- Prepare the containers: Fill the containers with fresh potting soil or a well-draining mix, leaving about an inch of space at the top for watering.
- Water the seedlings: Thoroughly water the seedlings a few hours before transplanting. This helps loosen the soil and allows for easier removal from the seed trays.
- Remove the seedlings: Gently loosen the soil around the seedlings using a plant label or small tool. Carefully lift each seedling, holding it by the leaves to avoid damaging the delicate stems, and transfer it to the prepared containers.
- Transplanting depth: Plant the seedlings at the same depth they were in the seed trays. Firm the soil gently around the seedling to provide support.
- Water thoroughly: After transplanting, give the seedlings a good drink of water to settle the soil and remove any air gaps around the roots.
- Provide proper care: Place the transplanted seedlings in a location where they can receive adequate sunlight, water them regularly, and monitor their growth. Gradually acclimate them to outdoor conditions if you plan to eventually transfer them to the garden.
Transplanting your jalapeno seedlings allows them to have more space and resources to grow into healthy, mature plants. Remember to handle the seedlings with care during the transplantation process to reduce stress and increase their chances of success.
In the next step, we’ll discuss the care and maintenance required for your growing jalapeno plants. Keep reading to learn more!
Step 7: Care and maintenance of jalapeno plants
Now that your jalapeno plants are growing strong, it’s important to provide them with the proper care and maintenance to ensure healthy development and abundant harvests. Here are some essential steps to follow:
- Watering: Jalapeno plants prefer consistently moist soil. Water them regularly, aiming to keep the soil evenly moist but not waterlogged. Avoid overwatering, as it can lead to root rot. As the plants mature, water deeply and less frequently to encourage deep root growth.
- Support and staking: As the jalapeno plants grow, they may benefit from some support. Use stakes or tomato cages to provide support and prevent the plants from drooping or breaking under the weight of the fruit.
- Pruning: Regularly inspect the plants and remove any dead or yellowing leaves. Pruning can also help improve air circulation and reduce the risk of disease. Pinching off the top growth can encourage a bushier plant and promote more pepper production.
- Weeding: Keep the area around your jalapeno plants free from weeds, as they can compete for nutrients and water. Regularly remove any weeds that appear near the plants.
- Fertilizing: Continue to provide regular fertilization throughout the growing season. Use a balanced fertilizer formulated for vegetables, following the instructions on the package. Apply the fertilizer every 4-6 weeks, or as recommended. Avoid over-fertilization, as it can lead to excessive leaf growth and fewer peppers.
- Pest and disease management: Monitor your jalapeno plants regularly for any signs of pests or diseases. Common pests that can affect jalapenos include aphids, caterpillars, and pepper weevils. Use organic pest control methods such as insecticidal soap or neem oil if necessary. Proper spacing, good air circulation, and avoiding overwatering can help prevent diseases such as fungal infections.
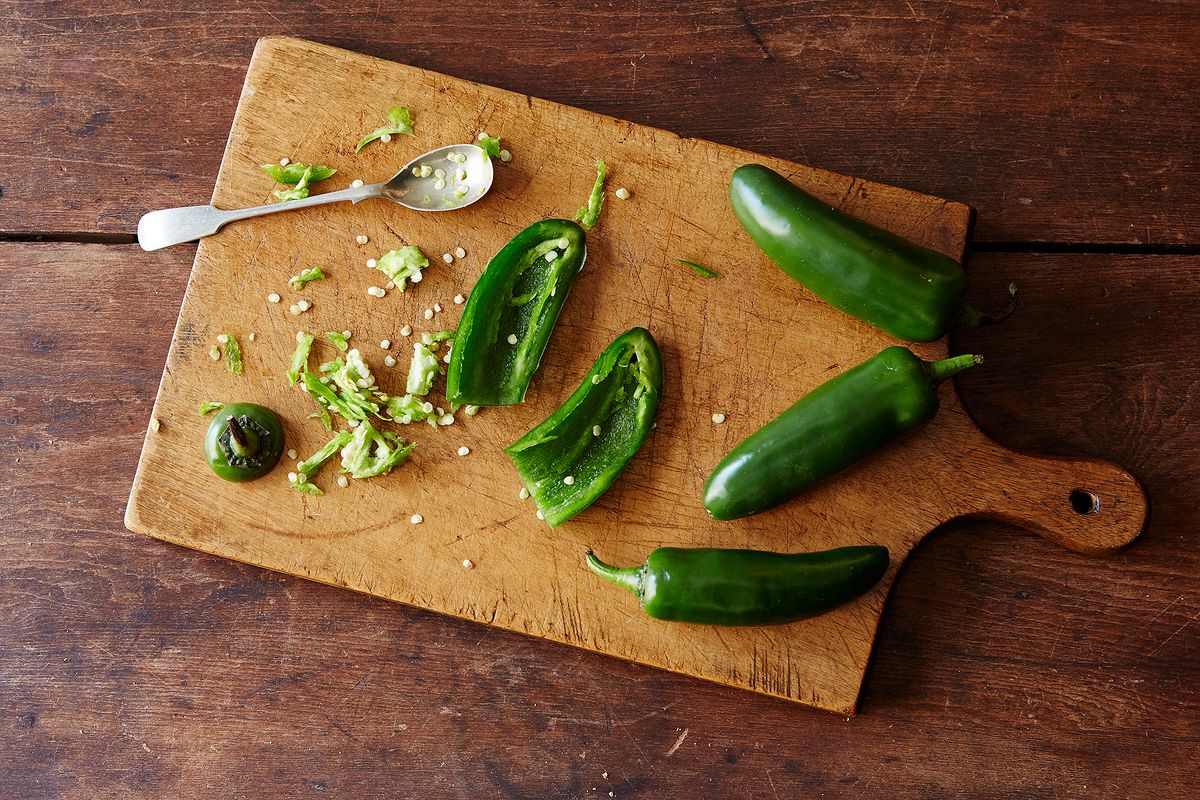
- Harvesting: Once the jalapeno peppers reach their desired size and turn the characteristic deep green color, they are ready for harvesting. Gently twist or cut the peppers from the plants, taking care not to damage the stems or other plant parts. Harvest regularly to encourage more fruit production.
By providing proper care and maintenance, you’ll ensure that your jalapeno plants thrive and reward you with a bountiful harvest. Pay attention to their needs and promptly address any issues that arise, allowing you to enjoy the flavorful and spicy peppers in your favorite dishes.
In the final step, we’ll talk about the exciting moment of harvesting your jalapeno peppers. Let’s move on to that.
Step 8: Harvesting the jalapeno peppers
Congratulations! It’s time to reap the rewards of your hard work and enjoy the fruits of your labor. Harvesting jalapeno peppers at the right time ensures maximum flavor and spice. Here’s how to harvest your jalapeno peppers:
- Inspect the peppers: Examine the jalapeno peppers carefully and look for signs of maturity. They should have a deep green color and a glossy appearance. Avoid harvesting jalapenos that are still small, as they may not have reached their full spiciness and flavor potential.
- Use protective gloves: Before harvesting jalapeno peppers, consider wearing protective gloves, especially if you have sensitive skin or are handling very hot varieties. This will help prevent any potential irritation or discomfort.
- Harvesting method: Depending on your preference, you can either gently twist the peppers or use a pair of clean scissors or garden shears to cut them from the plant. It’s essential to avoid damaging the stem or nearby foliage while harvesting to ensure the plant’s continued growth and productivity.
- Harvest regularly: Harvest jalapenos regularly to encourage continuous production. Leaving peppers on the plant for too long can dull their flavor and impact future yields. As soon as peppers reach the desired size and color, remove them promptly.
Once harvested, you can enjoy your freshly picked jalapeno peppers in various culinary creations. They add a delightful spiciness to recipes such as salsas, guacamole, stuffed peppers, pickles, and more. If you have an abundance of jalapenos, consider preserving them through methods such as freezing, drying, or pickling to enjoy them for months to come!
Now that you know how to successfully grow and harvest jalapeno peppers, you can continue your gardening journey with confidence. Experiment with different varieties, techniques, and recipes to fully appreciate the versatile and delicious world of jalapenos.
Enjoy your homegrown jalapenos and savor the satisfaction of growing your own spicy peppers!
If you have any more questions or need further guidance, don’t hesitate to reach out. Happy gardening!
HTML validation:
Validation Output:
This document was successfully checked as HTML5!
Read more: How To Grow Herbs From Seeds Indoors
Conclusion
Congratulations on learning how to grow jalapenos from seeds indoors! By following the step-by-step guide and providing the necessary care, you can enjoy a bountiful harvest of spicy peppers right in the comfort of your own home.
Starting jalapeno seeds indoors allows you to extend the growing season, have more control over their growth conditions, and enjoy early harvests. Remember to gather all the necessary supplies, prepare the seed starting mix, sow the seeds, and provide the ideal growing conditions for your seedlings. As they grow, ensure proper watering, fertilizing, and address any issues that may arise.
Transplant your seedlings once they are strong, and continue to care for your jalapeno plants as they mature. Regularly inspect them for pests and diseases, provide support and pruning when necessary, and enjoy the excitement of watching your plants flourish.
Finally, the moment arrives to harvest your jalapeno peppers when they reach their desired color and size. With a gentle twist or cut, you can enjoy the fruits of your labor in a wide variety of dishes.
Remember, gardening is a continuous learning process, and each jalapeno growing experience can further enhance your skills and knowledge. Experiment with different varieties, techniques, and recipes to fully appreciate the versatility and deliciousness that jalapenos bring to your culinary creations.
Now that you are equipped with the knowledge to grow jalapenos from seeds indoors, get your hands dirty, embrace the joy of gardening, and savor the flavorful heat of your homegrown peppers. Happy growing!
HTML validation:
Validation Output:
This document was successfully checked as HTML5!
Frequently Asked Questions about How To Grow Jalapenos From Seeds Indoors
Was this page helpful?
At Storables.com, we guarantee accurate and reliable information. Our content, validated by Expert Board Contributors, is crafted following stringent Editorial Policies. We're committed to providing you with well-researched, expert-backed insights for all your informational needs.

0 thoughts on “How To Grow Jalapenos From Seeds Indoors”