Home>Garden Essentials>How To Grow Pepper Plants From Seeds
Garden Essentials
How To Grow Pepper Plants From Seeds
Modified: August 17, 2024
Learn how to grow pepper plants from seeds in your garden and enjoy fresh, homegrown peppers. Follow our step-by-step guide for a successful harvest.
(Many of the links in this article redirect to a specific reviewed product. Your purchase of these products through affiliate links helps to generate commission for Storables.com, at no extra cost. Learn more)
Introduction
Welcome to the wonderful world of gardening! Growing your own plants from seeds is a rewarding and fulfilling experience, and one plant that is particularly exciting to cultivate is the pepper plant. Whether you’re a seasoned gardener or just starting out, learning how to grow pepper plants from seeds is a valuable skill that will allow you to enjoy the flavors and benefits of homegrown peppers.
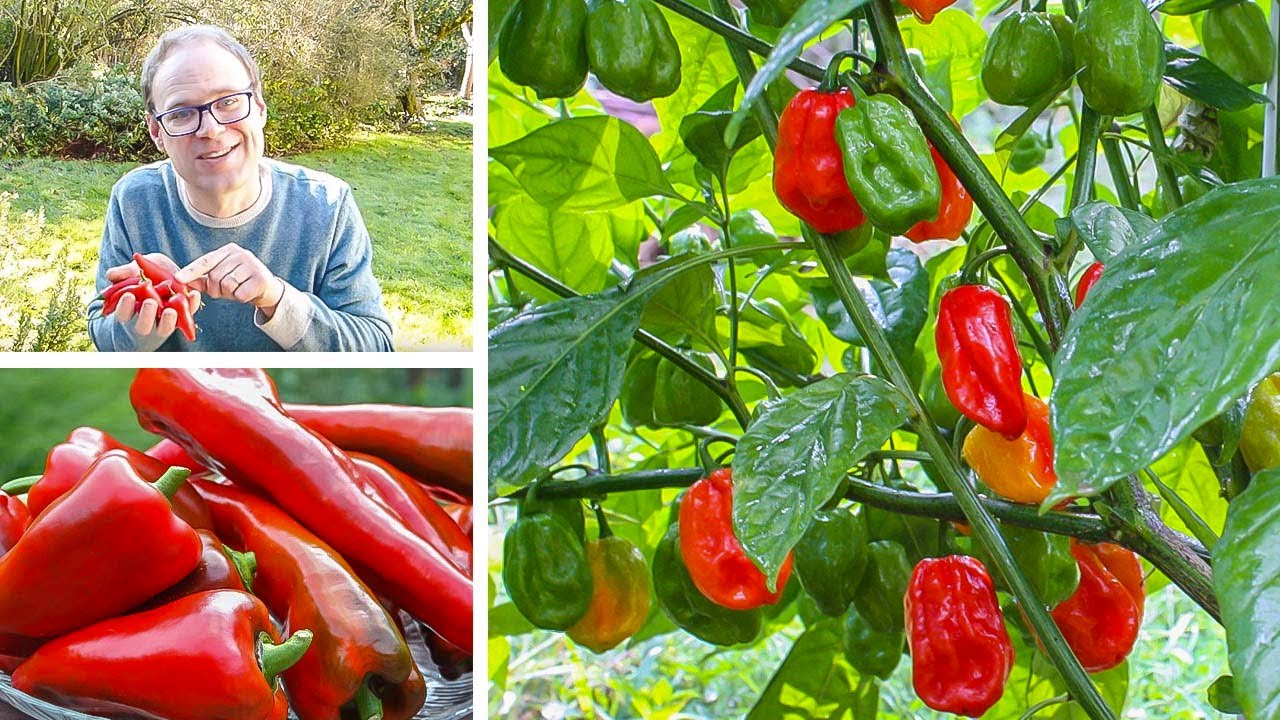
Pepper plants, scientifically known as Capsicum spp., come in a variety of shapes, sizes, colors, and flavors. From the mild and sweet bell peppers to the fiery hot habaneros, there is a pepper variety for every taste bud. By starting your plants from seeds, you have the freedom to choose from an even wider range of pepper varieties that may not be available as seedlings at your local garden center.
Growing pepper plants from seeds also gives you the opportunity to nurture them from the very beginning, ensuring they receive the optimal care and attention needed for healthy growth. In this article, we will guide you through the step-by-step process of growing pepper plants from seeds, from choosing the right seeds to harvesting your very own homegrown peppers.
So let’s roll up our sleeves, grab our gardening gloves, and dive into the fascinating world of pepper plant cultivation. Get ready to embark on a journey that will not only provide you with a bountiful harvest but also fill your garden with vibrant colors, enticing aromas, and the satisfaction of cultivating your own food.
Key Takeaways:
- Growing pepper plants from seeds allows you to choose from a wide variety of flavors and colors, providing a rewarding and flavorful experience for both seasoned and beginner gardeners.
- By following the step-by-step process of selecting the right seeds, providing optimal growing conditions, and caring for the plants, you can enjoy the satisfaction of harvesting and using your homegrown peppers.
Read more: How To Grow Peppers From Seed
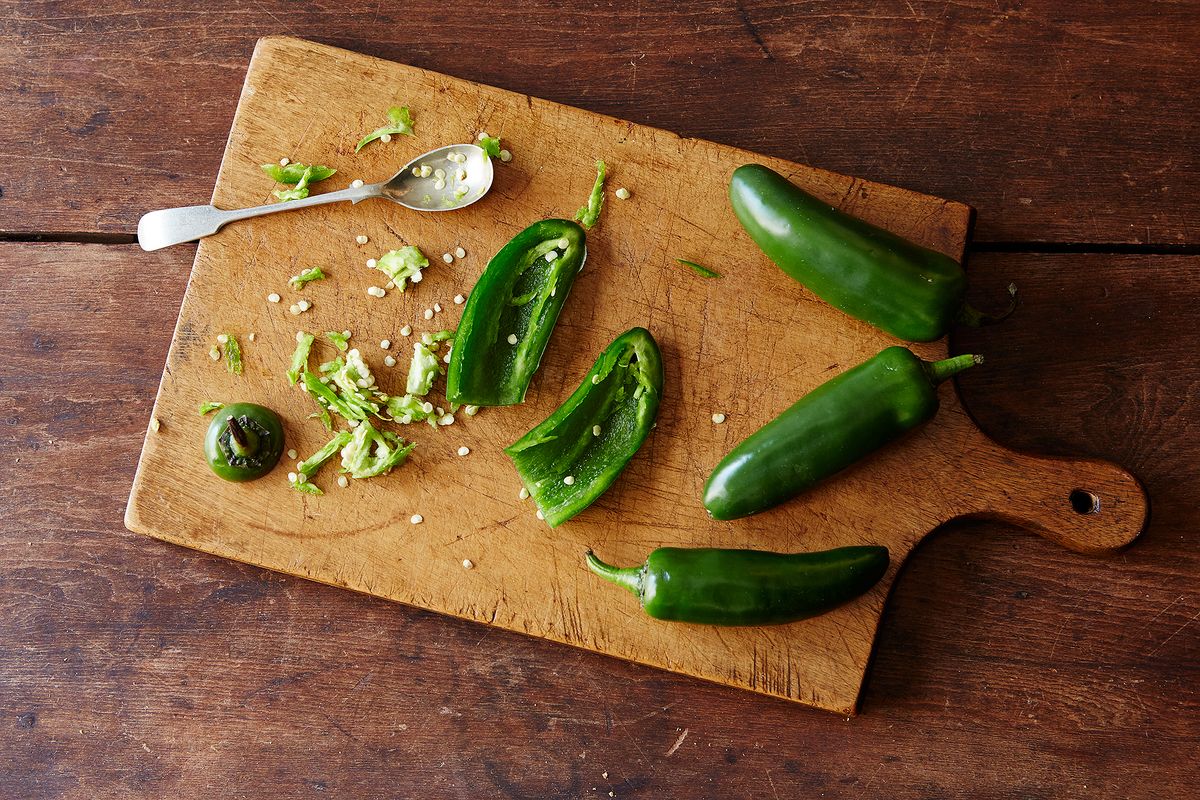
Step 1: Choosing the Right Pepper Seeds
When it comes to growing pepper plants from seeds, selecting the right seeds is crucial for success. Here are some factors to consider when choosing your pepper seeds:
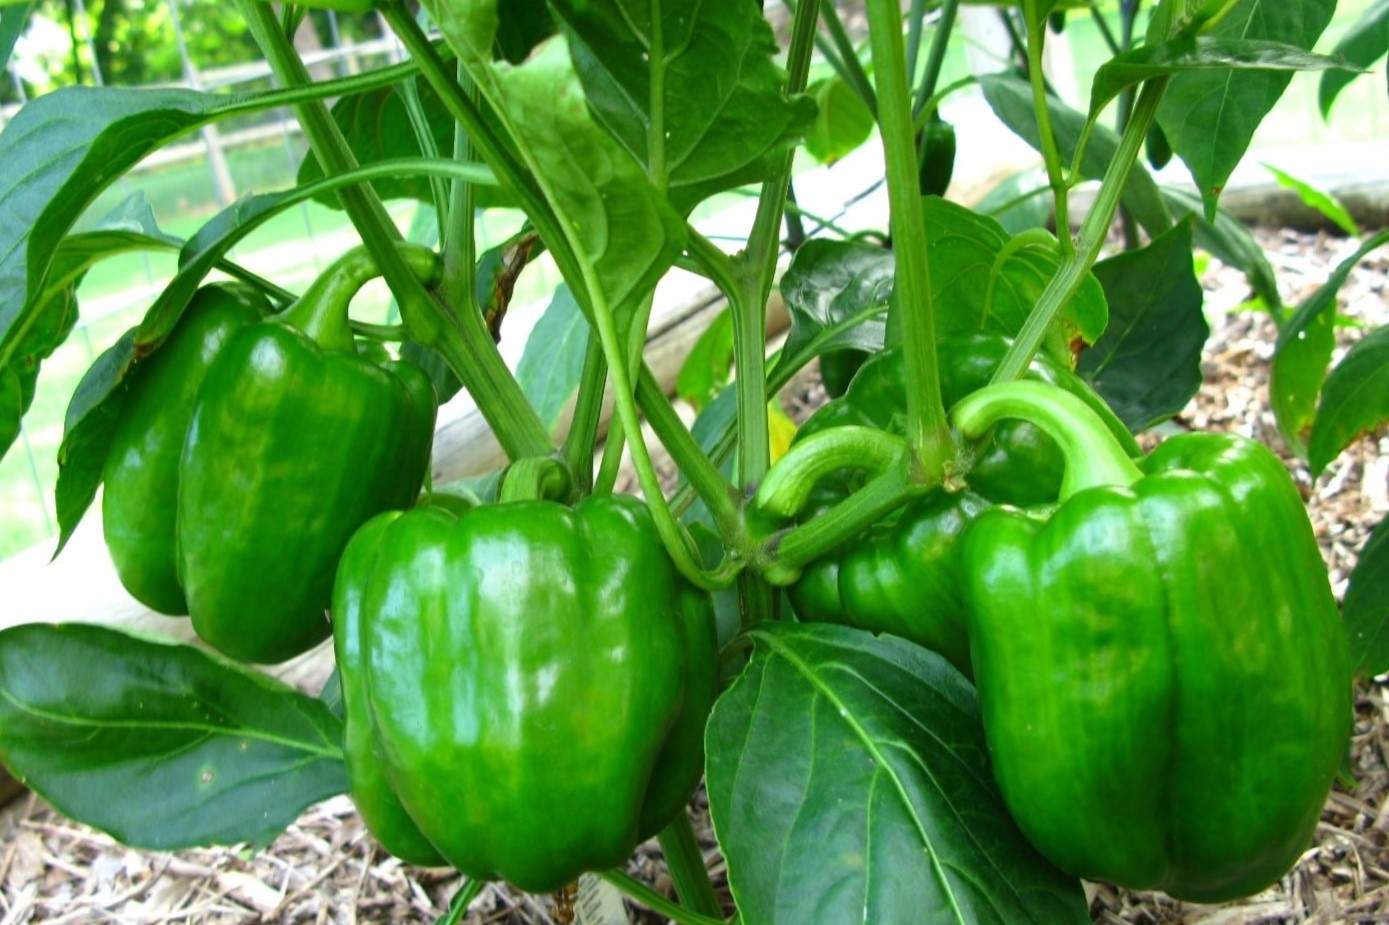
- Variety: Pepper plants come in various varieties, each with its own unique characteristics. Decide whether you want sweet bell peppers, spicy jalapenos, or hot habaneros, and choose the corresponding variety of seeds.
- Climate: Consider the climate in your area. Some pepper varieties thrive in hot and dry conditions, while others prefer cooler temperatures. Select seeds that are suitable for your climate to ensure the best chances of successful growth.
- Growing Space: Assess the available space in your garden or the containers you plan to use for growing your pepper plants. Some peppers grow into compact, bushy plants, while others become taller and more sprawling. Choose seeds that are appropriate for the space you have.
- Seed Source: Purchase your pepper seeds from a reputable source to ensure quality. Look for seeds that are fresh, organic, and specifically packaged for the current growing season.
Additionally, you can explore different varieties to add diversity to your pepper garden. Experimenting with heirloom or unique pepper varieties can introduce interesting flavors, colors, and shapes to your harvest.
It’s also worth considering whether you prefer open-pollinated or hybrid seeds. Open-pollinated seeds produce plants that closely resemble the parent plant, allowing you to save seeds from year to year. Hybrid seeds, on the other hand, combine the desirable traits of two parent plants, resulting in vigorous and productive plants. However, keep in mind that seeds saved from hybrid plants may not produce the same characteristics in subsequent generations.
Once you have chosen your pepper seeds, it’s time to move on to the next step: preparing the seed trays. Let’s get our hands dirty!
Step 2: Preparing the Seed Trays
Preparing the seed trays is an essential step in growing pepper plants from seeds. Here’s how you can get your seed trays ready:
- Select the Right Containers: Choose seed trays or containers that are at least 2-3 inches deep and have drainage holes. Avoid using containers without drainage, as excess water can lead to root rot.
- Soil Mix: Fill the seed trays with a well-draining seed starting mix. This mix should be lightweight, sterile, and enriched with nutrients. You can also create your own seed starting mix by combining equal parts of peat moss, perlite, and vermiculite.
- Moisten the Soil: Before planting the pepper seeds, moisten the seed starting mix by gently watering it. Ensure that the soil is evenly moist but not saturated.
It’s important to note that starting pepper seeds indoors allows you to control the growing environment and provide the optimal conditions for germination and early growth. This is especially beneficial if you live in a region with a short growing season or cool temperatures.
Once your trays are prepared, it’s time to move on to the exciting step of planting the pepper seeds! But don’t rush, take a moment to marvel at the potential that lies within those tiny seeds.
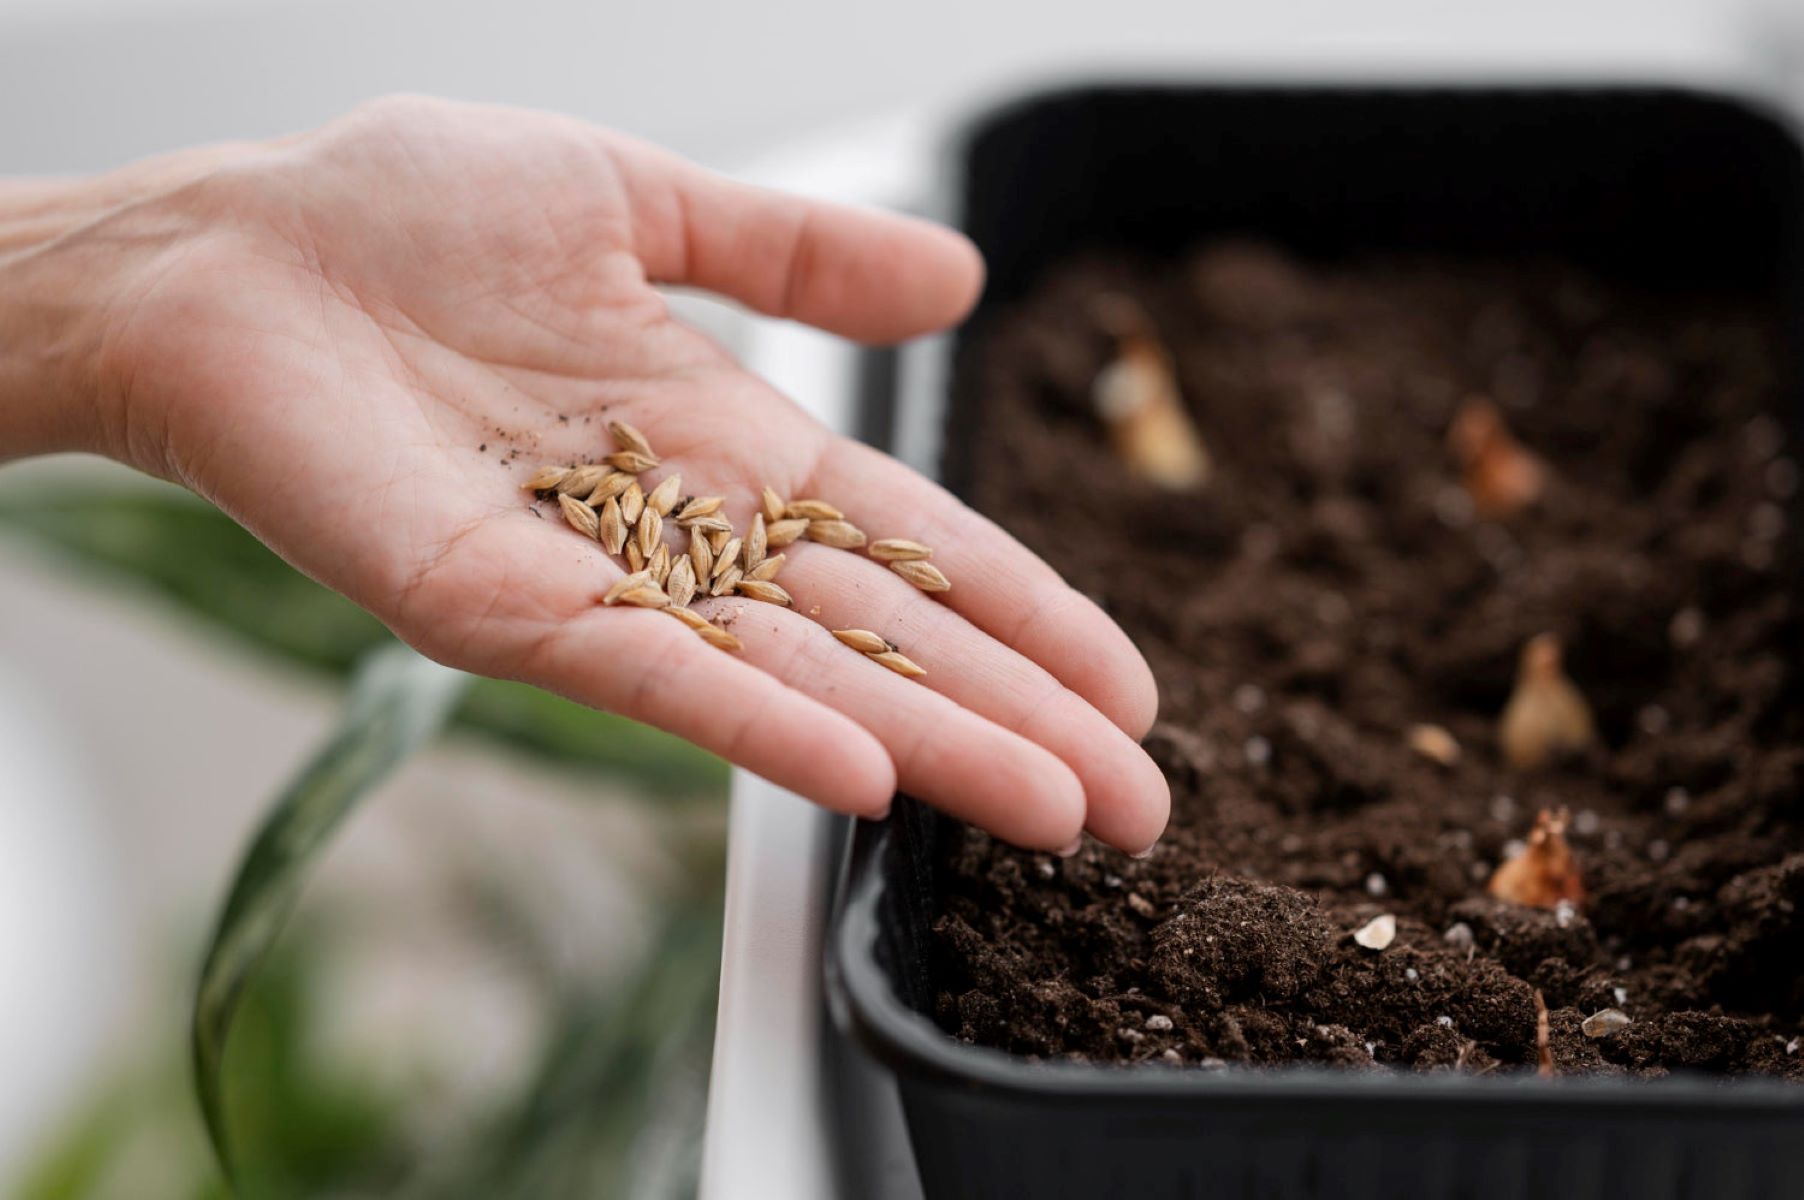
Step 3: Planting the Pepper Seeds
Now that your seed trays are prepared and ready, it’s time to plant the pepper seeds. Follow these steps to ensure successful germination and healthy seedlings:
- Planting Depth: Make small furrows in the soil of the seed trays, approximately ¼ to ½ inch deep. Space the furrows about 2 inches apart to provide enough room for the seedlings to grow.
- Sowing the Seeds: Gently place the pepper seeds into the furrows, spacing them about 1 inch apart. If you are planting multiple varieties, label the furrows to keep track of the different pepper plants.
- Covering the Seeds: Lightly cover the seeds with the seed starting mix. It’s important to not bury the seeds too deeply, as they need access to light and air for germination.
- Watering: Use a spray bottle or a gentle stream of water to moisten the surface of the soil without disturbing the seeds. Ensure that the soil remains consistently moist, but not waterlogged, throughout the germination period.
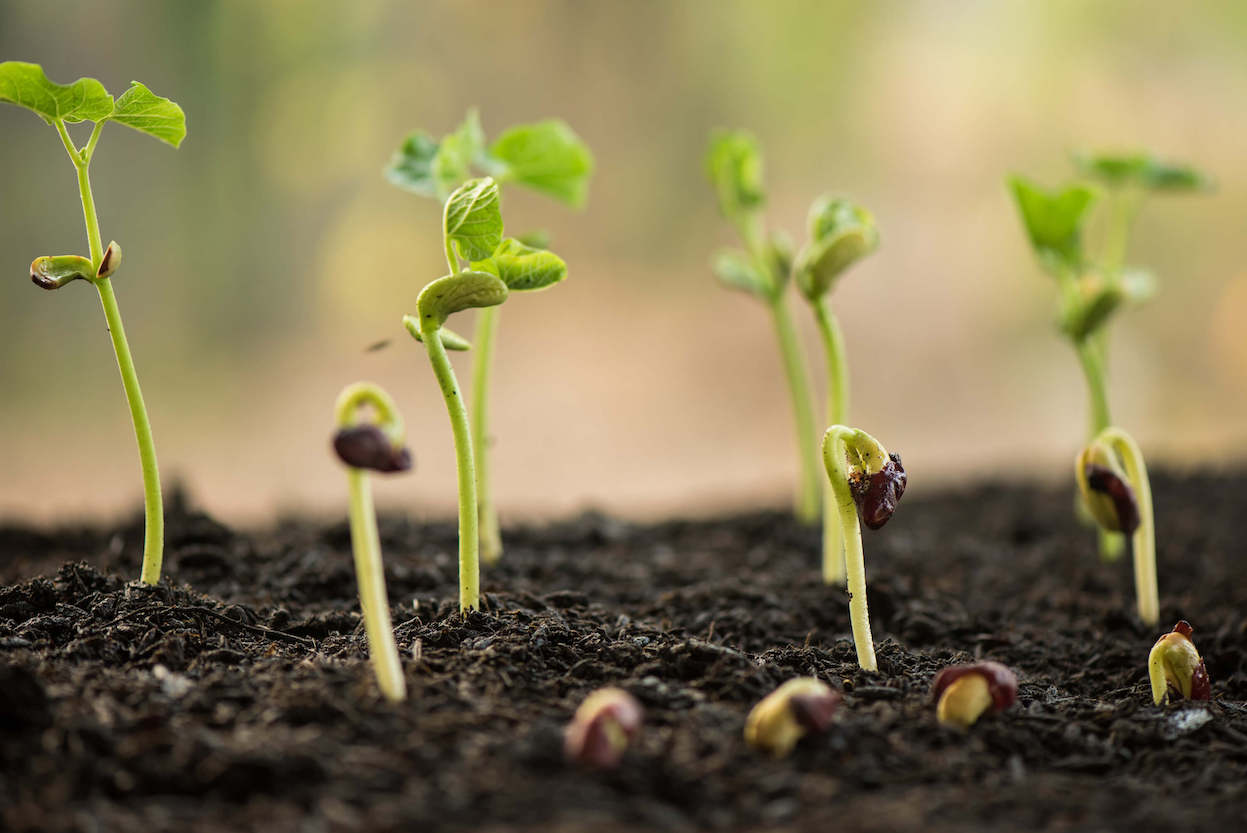
Pepper seeds typically germinate within 7-14 days, depending on the variety and the temperature. To encourage successful germination, maintain a warm temperature of around 75-80°F (24-27°C). You can use a seedling heat mat or place the trays in a warm area of your home.
As the seeds begin to sprout and the seedlings emerge, remove the plastic cover to allow for air circulation and prevent the damping-off disease. Continue to keep the soil evenly moist and provide adequate light to promote healthy growth.
Now that the pepper seeds are planted and on their way to becoming seedlings, let’s move on to the next step and create the optimal growing conditions for them. It’s time to nurture those little sprouts into robust pepper plants!
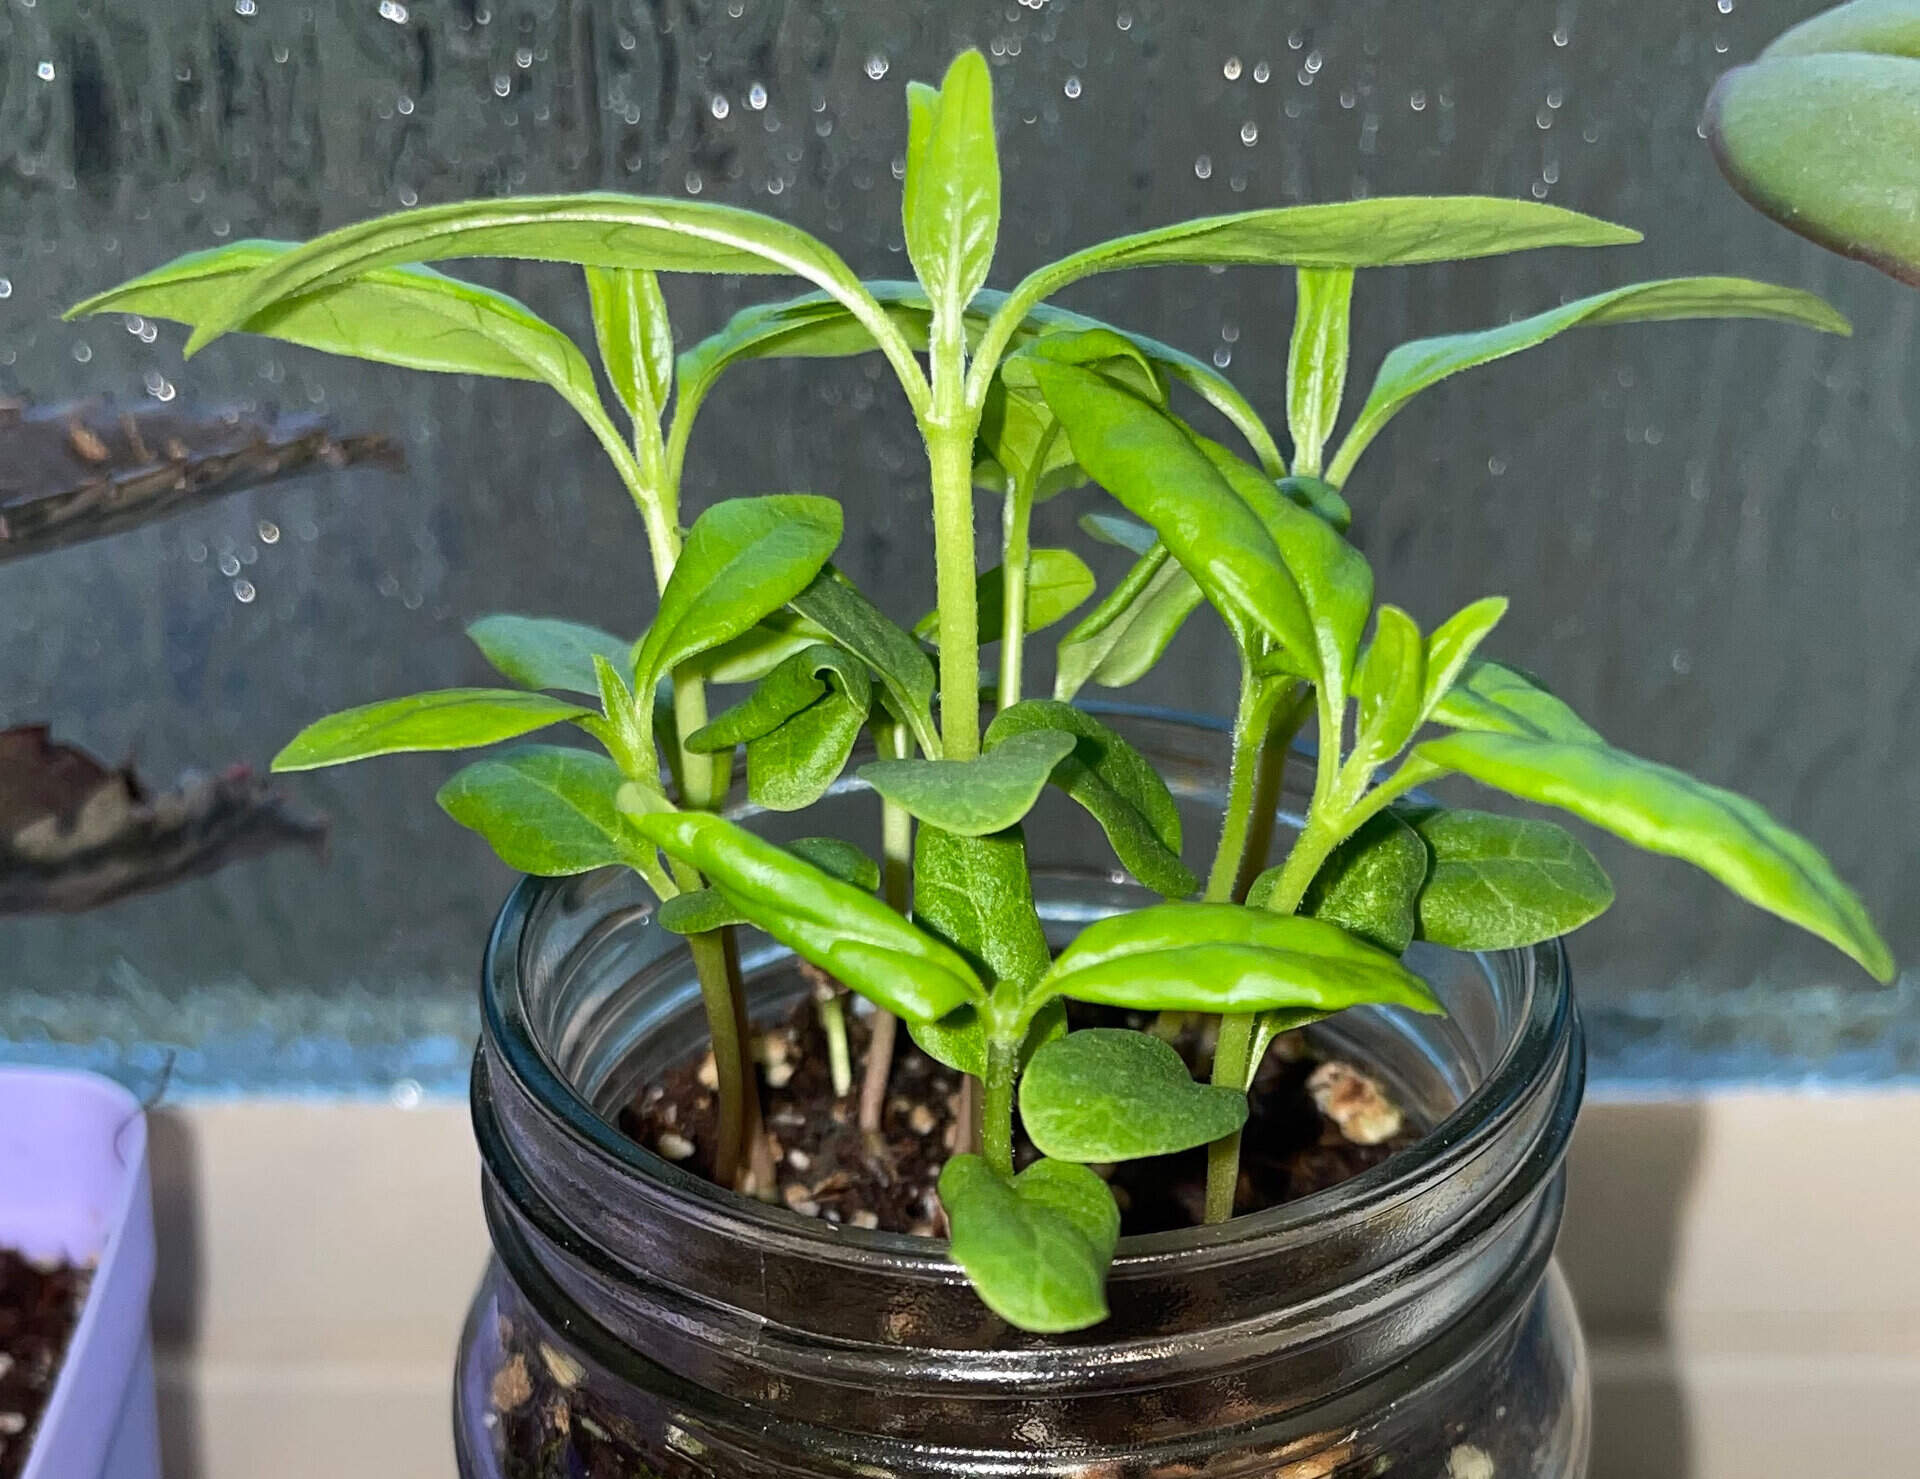
Step 4: Providing Optimal Growing Conditions
Pepper plants have specific requirements when it comes to growing conditions. By providing the right environment, you can ensure the healthy growth and development of your pepper seedlings. Here are some tips for creating optimal growing conditions:
- Temperature: Pepper plants thrive in warm temperatures. Maintain a consistent temperature of around 70-85°F (21-29°C) during the day and 60-70°F (15-21°C) during the night. You can use a heating mat or adjust the room temperature to provide the ideal conditions.
- Sunlight: Place the seedlings in a location that receives at least 6-8 hours of direct sunlight each day. If you’re starting the seeds indoors, you can use grow lights or fluorescent lamps to provide adequate light. Position the lights 2-3 inches above the seedlings and keep them on for about 14-16 hours a day.
- Air Circulation: Good air circulation is essential for preventing diseases and ensuring strong, sturdy plants. Provide ventilation by using a small fan or by gently moving the air around the plants with a hand-held fan for a few minutes each day.
- Watering: Pepper seedlings require regular watering to maintain moisture in the soil. Water the plants when the top inch of soil feels dry to the touch. Use a watering can or a gentle spray bottle to avoid displacing the soil or damaging the delicate seedlings.
- Fertilization: After the pepper seedlings have developed their first set of true leaves, you can start feeding them with a balanced liquid fertilizer. Dilute the fertilizer according to the package instructions and apply it every two weeks to provide the necessary nutrients for healthy growth.
Monitoring the growing conditions is important to ensure that the pepper seedlings are thriving. Keep an eye out for any signs of stress, such as yellowing leaves, stunted growth, or wilting. Adjust the conditions accordingly to meet the needs of the plants.
As the pepper seedlings continue to grow, they will develop a stronger root system and more leaves. This is an exciting phase, as you’ll soon be transplanting the seedlings into their permanent homes. But before we get to that step, let’s first learn how to care for the growing seedlings.
When growing pepper plants from seeds, make sure to provide them with plenty of sunlight, well-draining soil, and consistent watering. It’s also helpful to start the seeds indoors before transplanting them outside once the weather warms up.
Read more: How To Grow Banana Peppers From Seeds
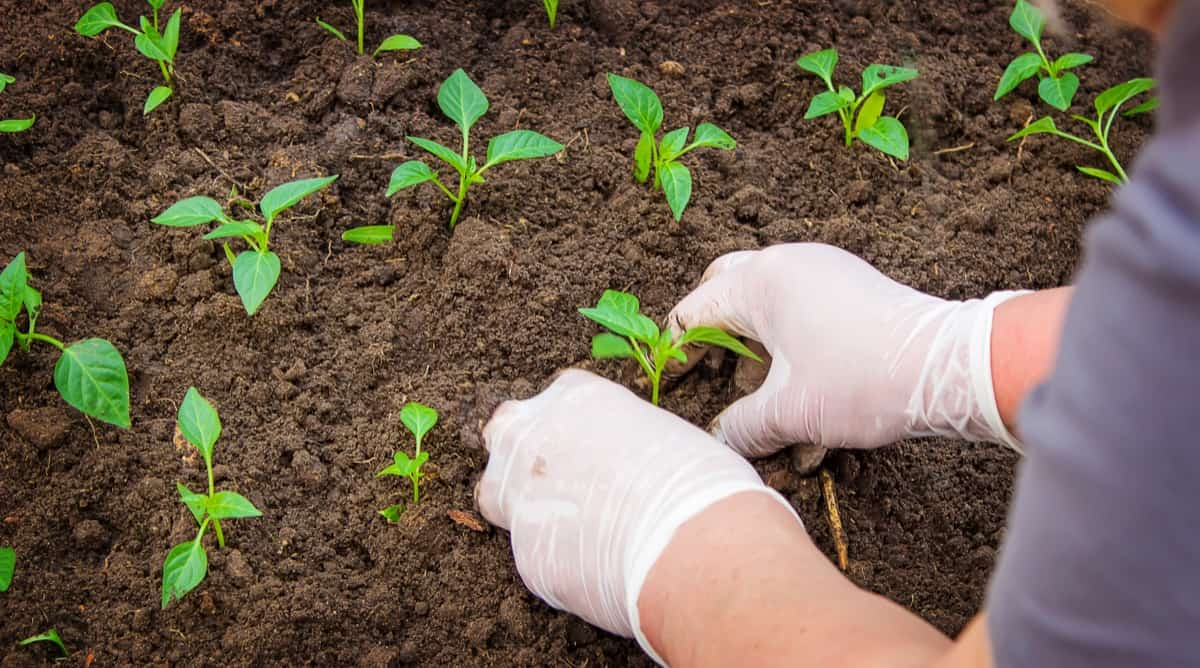
Step 5: Transplanting the Pepper Seedlings
As your pepper seedlings grow and develop, they will soon outgrow their seed trays and need to be transplanted into larger containers or your garden. Transplanting the seedlings at the right time is crucial for their continued growth and health. Follow these steps to successfully transplant your pepper seedlings:
- Timing: Wait until the seedlings have grown to be about 6-8 inches tall and have developed 4-6 true leaves. This usually takes around 6-8 weeks from the time of planting. Transplant the seedlings once all chances of frost have passed in your area and the soil temperature has warmed up.
- Choose Containers or Garden Beds: Select containers that are at least 10-12 inches in diameter and have good drainage. Alternatively, prepare a well-amended garden bed with fertile soil and good drainage.
- Prepare the Containers or Garden Beds: If using containers, fill them with a high-quality, well-draining potting mix. If transplanting into a garden bed, amend the soil with compost or aged manure to improve fertility and drainage.
- Transplanting Process: Gently remove the seedlings from the seed trays, being careful not to damage the delicate roots. Dig a hole in the container or garden bed that is slightly larger than the root ball of the seedling. Place the seedling into the hole and fill in with soil, firming it gently around the base to secure the plant.
- Watering: After transplanting, water the seedlings thoroughly to settle the soil and help establish the roots. Maintain regular watering as the plants adjust to their new environment.
- Space the Seedlings: If transplanting into a garden bed, space the pepper seedlings at least 12-18 inches apart to allow for proper growth and air circulation. If using containers, place only one seedling per container.
Transplanting the seedlings provides them with more room to grow, access to more nutrients, and the opportunity to develop stronger root systems. It is also an exciting milestone in your pepper-growing journey, as the plants will now have the space to reach their full potential.
Once the pepper seedlings are transplanted, it’s time to shift your focus to caring for the plants and ensuring their continued growth and development. Let’s move on to the next step and learn how to care for pepper plants.
Step 6: Caring for Pepper Plants
Now that your pepper plants are in their new homes, it’s important to provide them with the care they need to thrive and produce a bountiful harvest. Follow these steps to ensure the optimal care for your pepper plants:
- Watering: Pepper plants prefer consistently moist soil, so water them regularly to keep the soil evenly moist. Avoid overwatering, as it can lead to root rot. Water deeply, allowing the top inch of soil to dry out before watering again.
- Mulching: Apply a layer of organic mulch, such as straw or wood chips, around the base of the plants. Mulching helps conserve moisture, suppresses weed growth, and regulates soil temperatures.
- Fertilization: Feed your pepper plants with a balanced organic fertilizer every 4-6 weeks, following the instructions on the package. Avoid using excessive amounts of fertilizer, as it can lead to lush foliage but fewer fruits.
- Support: As your pepper plants grow and develop, they may benefit from staking or providing support. Use stakes, trellises, or cages to help support the plants and keep them upright, especially if you’re growing tall or heavy fruiting varieties.
- Pest and Disease Management: Monitor your plants regularly for any signs of pests or diseases, such as aphids, spider mites, or fungal infections. Use organic pest control methods, like handpicking pests or using neem oil, to manage infestations. Proper air circulation, avoiding overhead watering, and maintaining good sanitation practices can help prevent diseases.
- Pruning: Prune your pepper plants to remove any damaged or diseased foliage. This improves air circulation and allows the plants to focus their energy on fruit production. You can also pinch off the growing tips of the pepper plants when they reach the desired height to encourage bushier growth.
- Harvesting: Once your peppers reach their mature size and desired color, harvest them by gently cutting the stem just above the fruit. Regular harvesting promotes continuous fruit production throughout the growing season.
Providing the proper care for your pepper plants will not only ensure their health and productivity but also enhance the flavors of the peppers they produce. With tender loving care and attention, you’ll soon be enjoying the fruits of your labor!
Now that we have covered the essential aspects of caring for pepper plants, it’s time to move on to the exciting final step: harvesting and using your homegrown peppers.
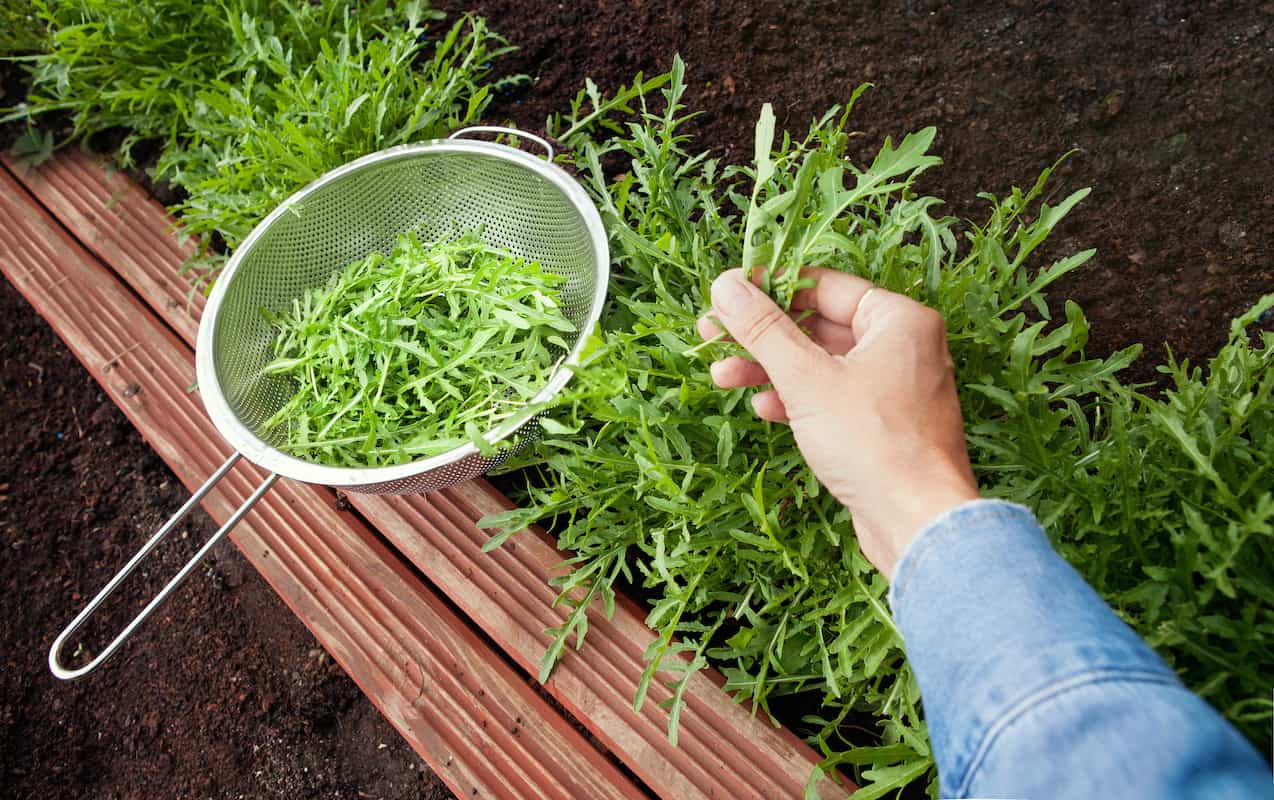
Step 7: Harvesting and Using Your Homegrown Peppers
After weeks of care and nurturing, it’s finally time to reap the rewards of your hard work and harvest your homegrown peppers. Here are some tips to guide you through the harvesting process and make the most of your freshly picked peppers:
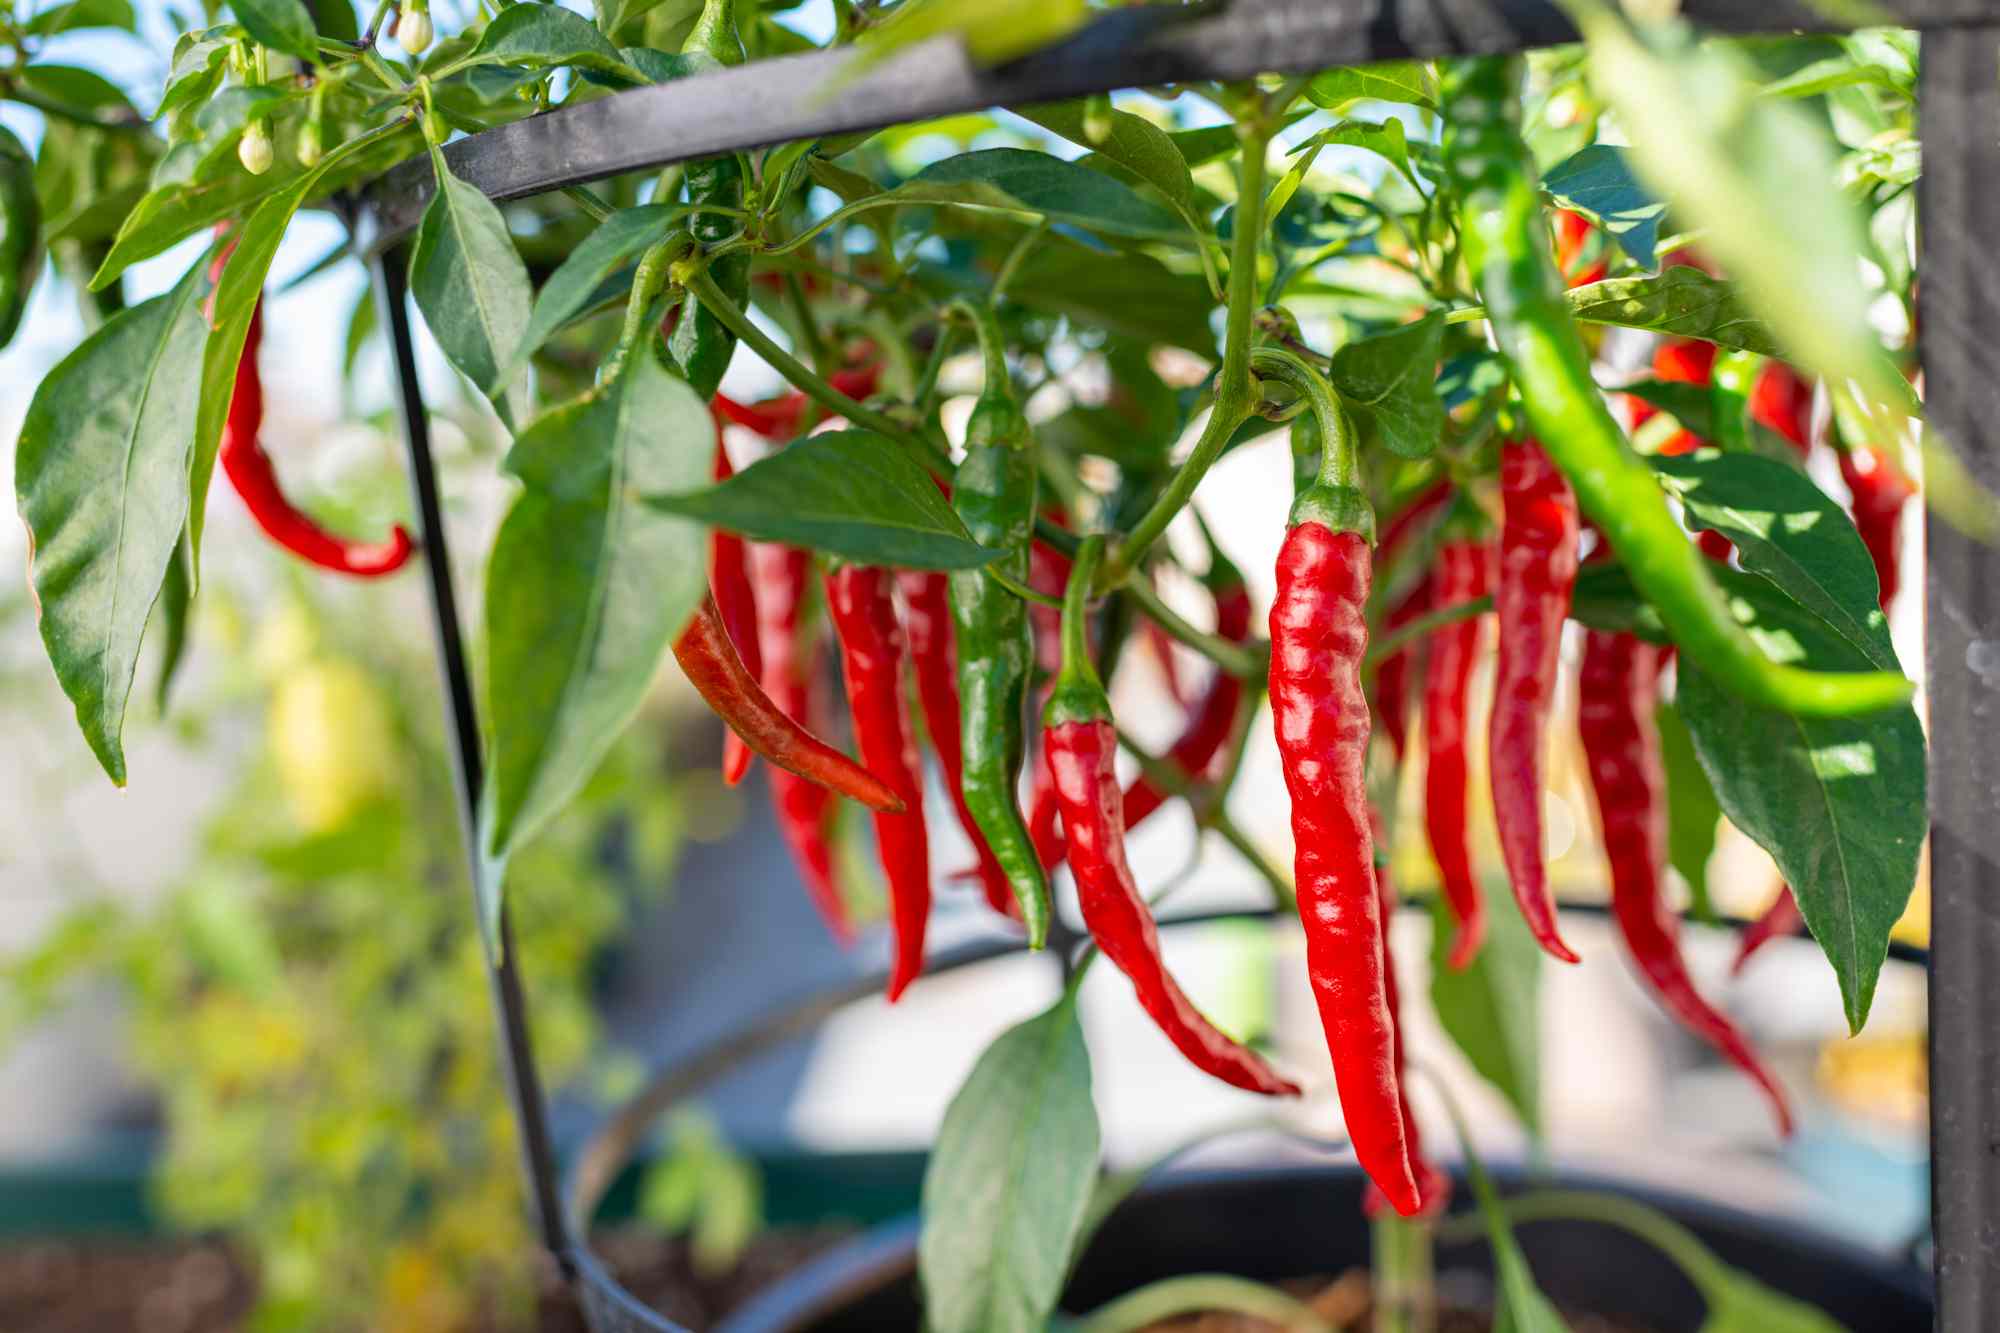
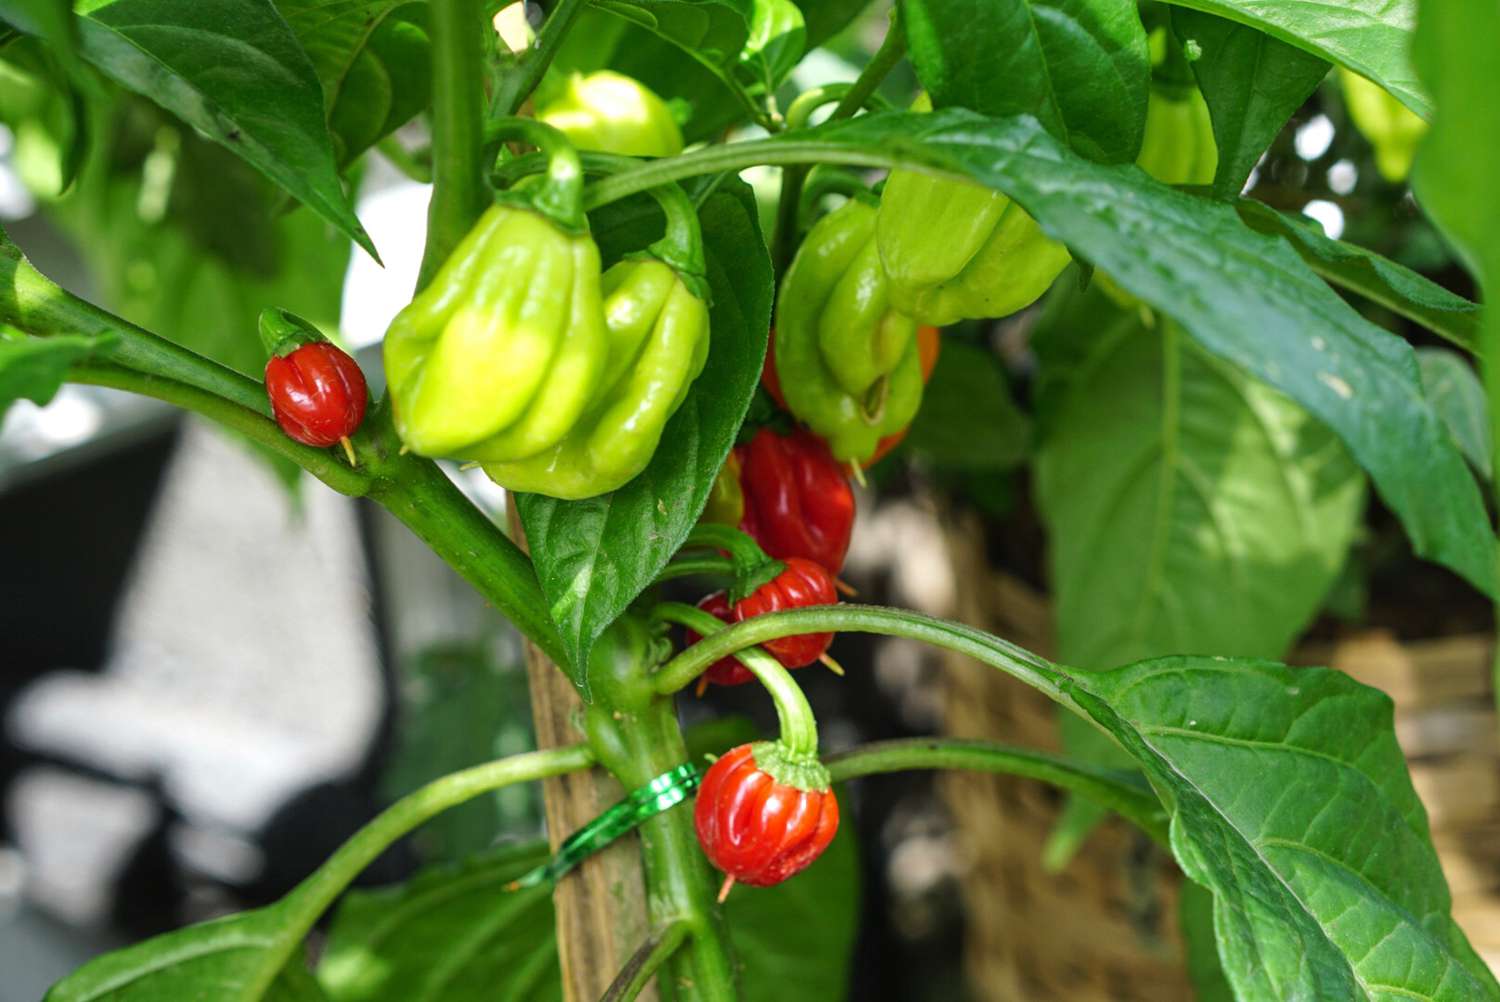
- Determine the Harvest Time: Peppers can be harvested at different stages of maturity, depending on your personal preference and the variety of peppers you’re growing. They can be harvested when they are still green or left to mature and change color, such as red, yellow, or orange.
- Harvesting Technique: Use a pair of sharp garden shears or scissors to cut the pepper stems about 1 inch above the fruit. Avoid pulling or twisting the peppers, as this can damage the plants. Handle the peppers gently to avoid bruising or puncturing them.
- Storing Fresh Peppers: Store freshly harvested peppers in a cool, dry place away from direct sunlight. They can last for up to two weeks when properly stored. Alternatively, you can store them in the refrigerator in a perforated plastic bag for extended freshness.
- Preserving Peppers: If you have an abundant harvest and want to preserve your peppers for later use, there are several methods you can try. Peppers can be dried, pickled, frozen, or even made into sauces and salsas.
- Enjoying the Fruits of Your Labor: Now comes the best part – enjoying the flavors and versatility of your homegrown peppers! Incorporate them into your favorite dishes, such as stir-fries, salads, fajitas, or homemade hot sauces. Get creative and experiment with different recipes to fully savor the unique flavors of your peppers.
Remember, the more you harvest your peppers, the more they will continue to produce. Regularly check your plants for ripe peppers, as they can quickly accumulate during peak harvest time.
Growing your own peppers not only provides you with fresh, flavorful produce but also gives you a sense of satisfaction and accomplishment. From seed to harvest, you have witnessed the entire journey and can truly appreciate the fruits of your labor.
So go ahead, savor the spice, and enjoy the vibrant taste of your homegrown peppers. Happy harvesting!
With that, we have reached the end of our guide on how to grow pepper plants from seeds. We hope this step-by-step process has provided you with the knowledge and confidence to embark on your own pepper-growing adventure. May your garden be filled with abundant harvests and delicious peppers!
Conclusion
Congratulations! You have successfully learned how to grow pepper plants from seeds. By following the step-by-step process outlined in this guide, you can cultivate your own pepper plants, enjoy their vibrant colors, and savor the flavors of freshly picked peppers.
Starting from choosing the right pepper seeds to caring for the plants and harvesting the fruits, you have gained valuable insights into the art of pepper cultivation. You have discovered the importance of selecting the appropriate variety, preparing seed trays, providing optimal growing conditions, and transplanting the seedlings. Additionally, you have learned about the significance of proper care, including watering, fertilizing, pruning, and pest management.
Through your dedication and commitment, you have transformed tiny pepper seeds into thriving plants that bear the fruits of your labor. Imagine the satisfaction of enjoying a salad garnished with crisp bell peppers or experiencing the fiery burst of flavor from a homegrown jalapeno. You have experienced the joy and benefits of growing your own food, fostering a deeper connection with nature and the food you consume.
Remember, gardening is an ongoing learning process. Each year presents new opportunities to refine your skills, experiment with different pepper varieties, and expand your knowledge. Embrace the journey and continue to explore the art of gardening, nurturing not only your plants but also your passion for nature and sustainability.
Whether you have a sprawling backyard or a small balcony, growing pepper plants from seeds allows you to experience the magic of gardening firsthand. So gather your supplies, put on your gloves, and let the adventure begin. Start sowing those seeds, and before you know it, you’ll be enjoying the delicious rewards of your own homegrown peppers.
Thank you for joining us on this pepper-growing journey. We hope this guide has inspired you to embark on your own gardening endeavors and discover the joys of growing your own food. Happy gardening and may your pepper plants thrive and flourish!
Frequently Asked Questions about How To Grow Pepper Plants From Seeds
Was this page helpful?
At Storables.com, we guarantee accurate and reliable information. Our content, validated by Expert Board Contributors, is crafted following stringent Editorial Policies. We're committed to providing you with well-researched, expert-backed insights for all your informational needs.


0 thoughts on “How To Grow Pepper Plants From Seeds”