Home>Garden Essentials>How To Plant A Pepper Seed
Garden Essentials
How To Plant A Pepper Seed
Modified: March 24, 2024
Learn how to plant a pepper seed and start your own garden. Discover step-by-step instructions for a successful pepper seed planting.
(Many of the links in this article redirect to a specific reviewed product. Your purchase of these products through affiliate links helps to generate commission for Storables.com, at no extra cost. Learn more)
Introduction
Gardening can be a rewarding and fulfilling hobby, bringing the beauty and freshness of nature right into your own backyard. If you’re looking to add some pizzazz to your garden, why not try growing peppers? These versatile plants not only add vibrant color to your landscape but also provide a tasty addition to your culinary creations.
To get started, you’ll need to plant pepper seeds. Although it may seem like a daunting task, with the right guidance and a little bit of effort, you can successfully grow your own pepper plants from seeds. This article will walk you through the steps of planting pepper seeds and provide you with the knowledge you need to nurture them until they mature into healthy, productive plants.
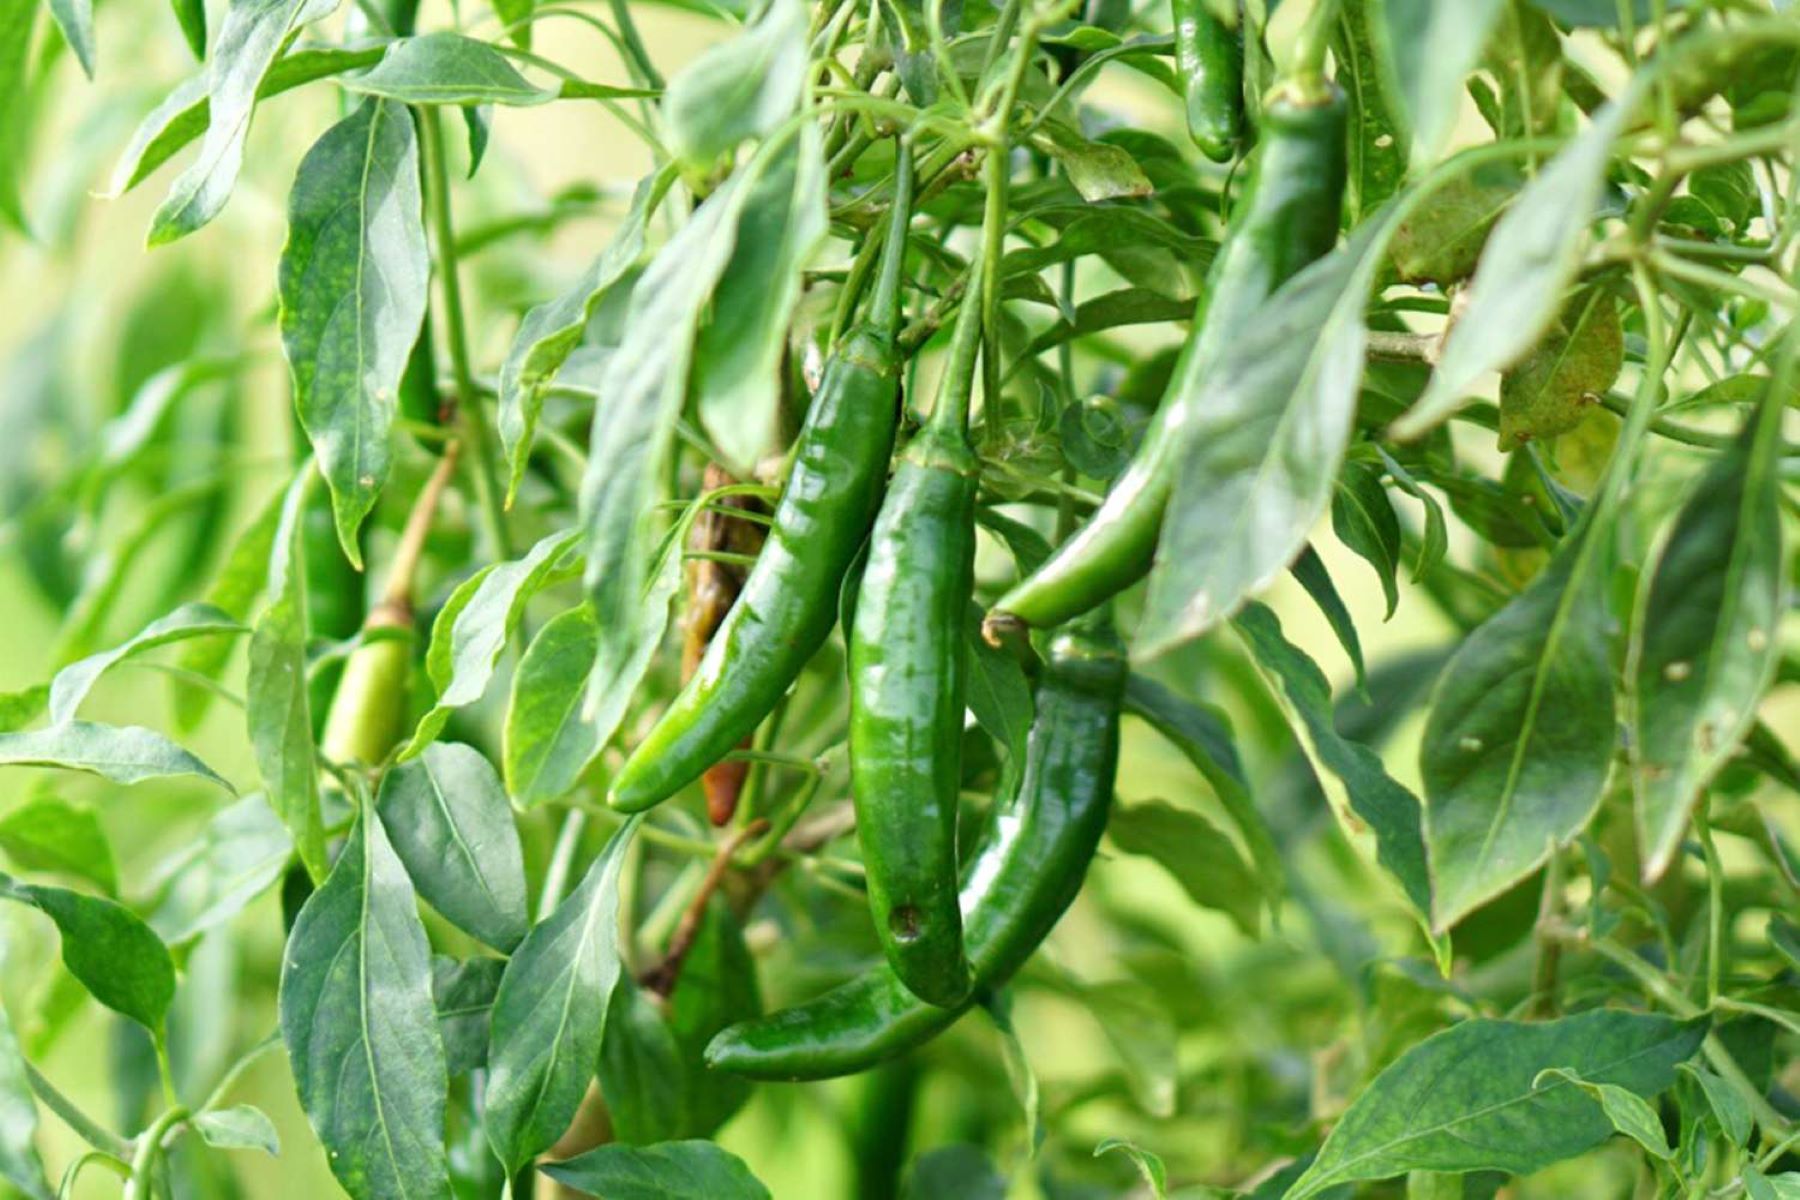
Before we dive into the step-by-step process, let’s take a moment to understand the different types of pepper plants you can choose from. Whether you prefer a mild, sweet pepper or a fiery, hot chili, there is a wide variety of pepper plants to suit your taste buds.
Key Takeaways:
- Planting pepper seeds requires gathering supplies, choosing the right container, preparing the soil, and providing proper watering. With care and attention, you can grow healthy pepper plants from seeds.
- Transplanting pepper seedlings into the garden is a significant step in their growth journey. Choose a sunny spot, follow transplanting steps, and continue caring for your plants to ensure a bountiful harvest.
Read more: How To Plant Bell Pepper Seeds
Step 1: Gather Supplies
Before you start planting pepper seeds, gather all the necessary supplies. Having everything on hand will make the planting process go smoothly and ensure that your pepper seeds have the best chance of germinating and growing successfully.
Here are the supplies you’ll need:
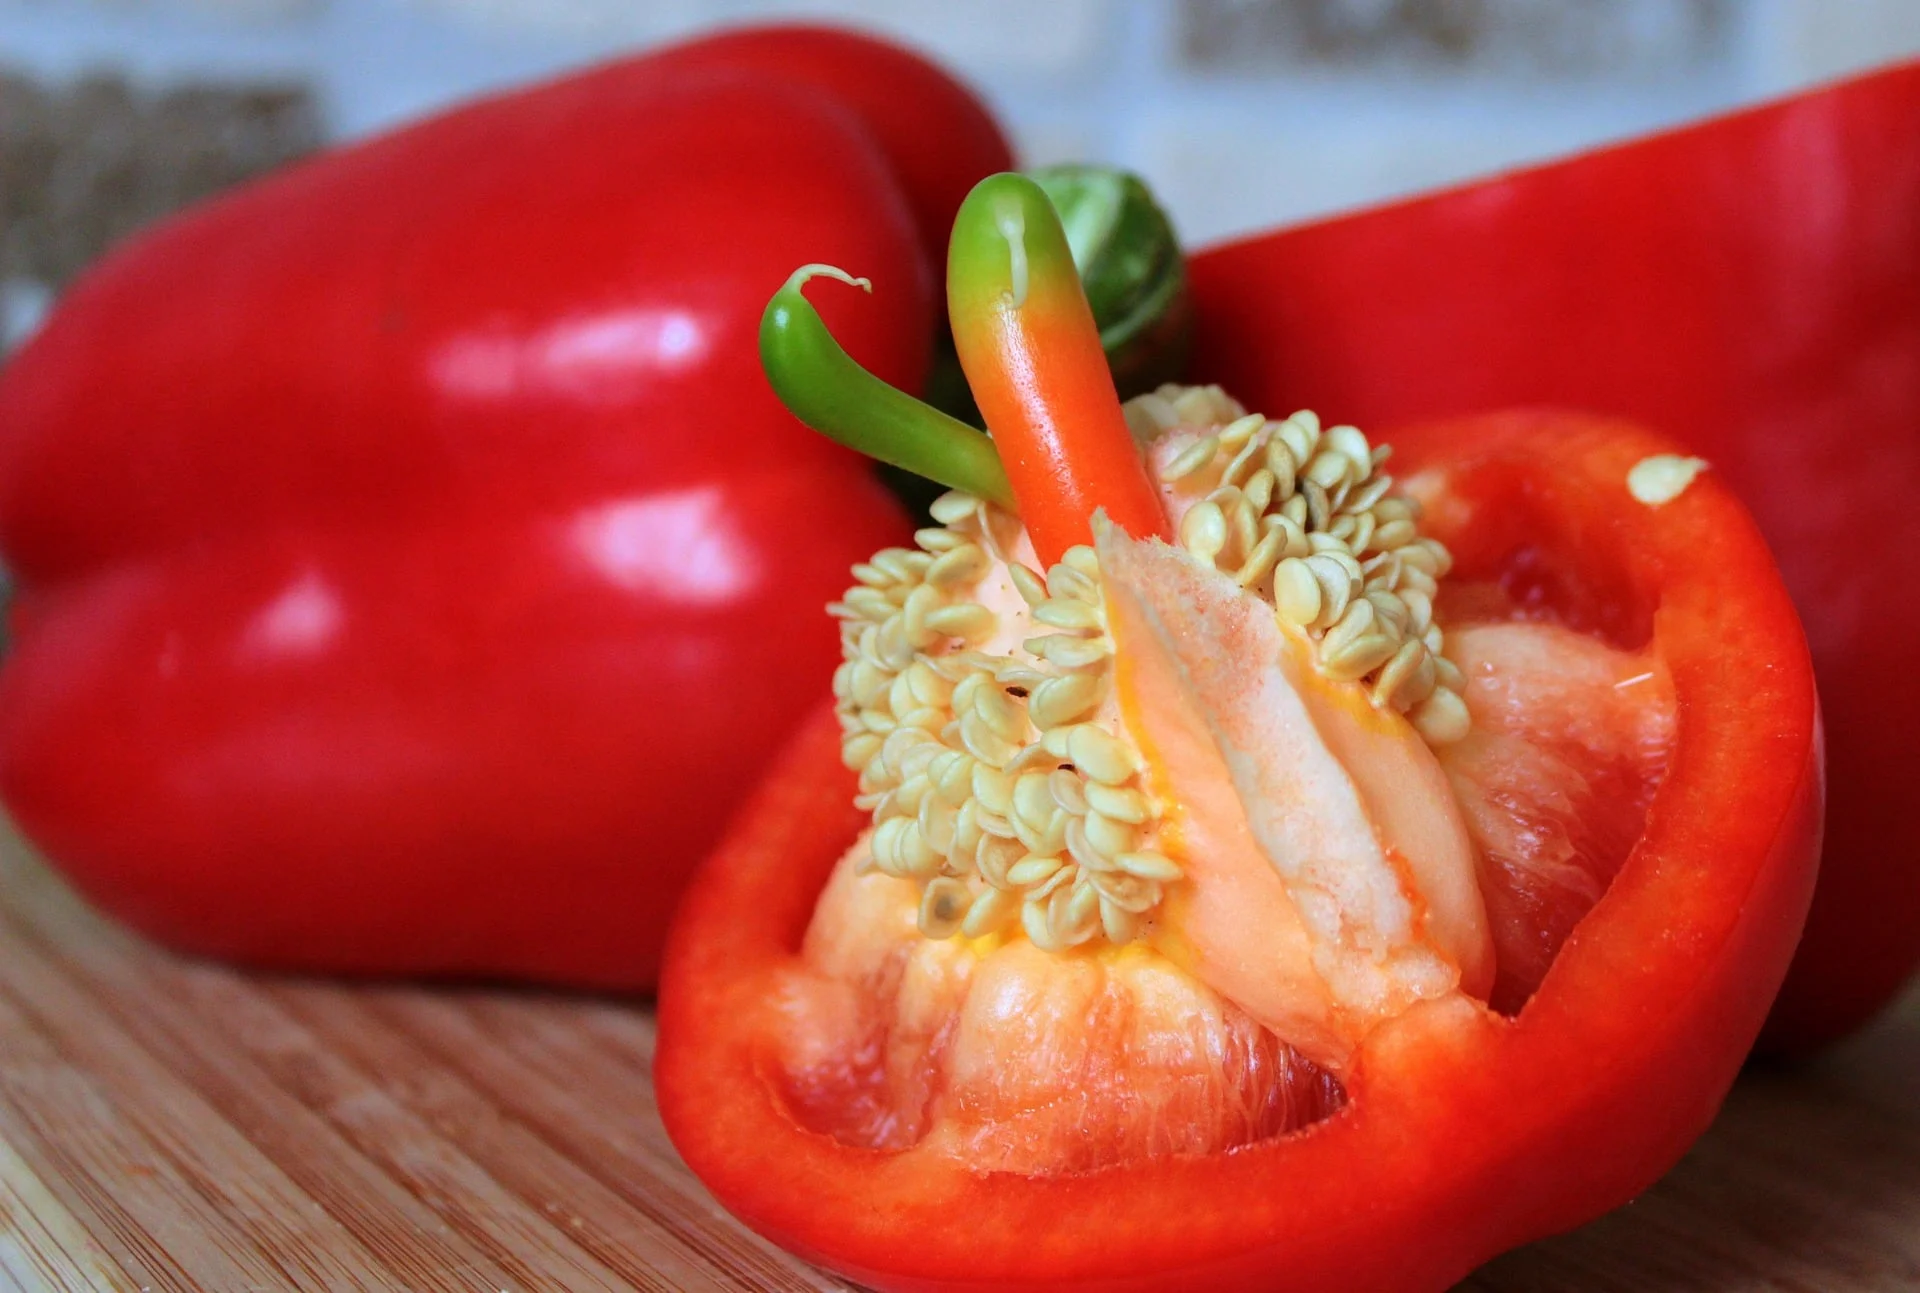
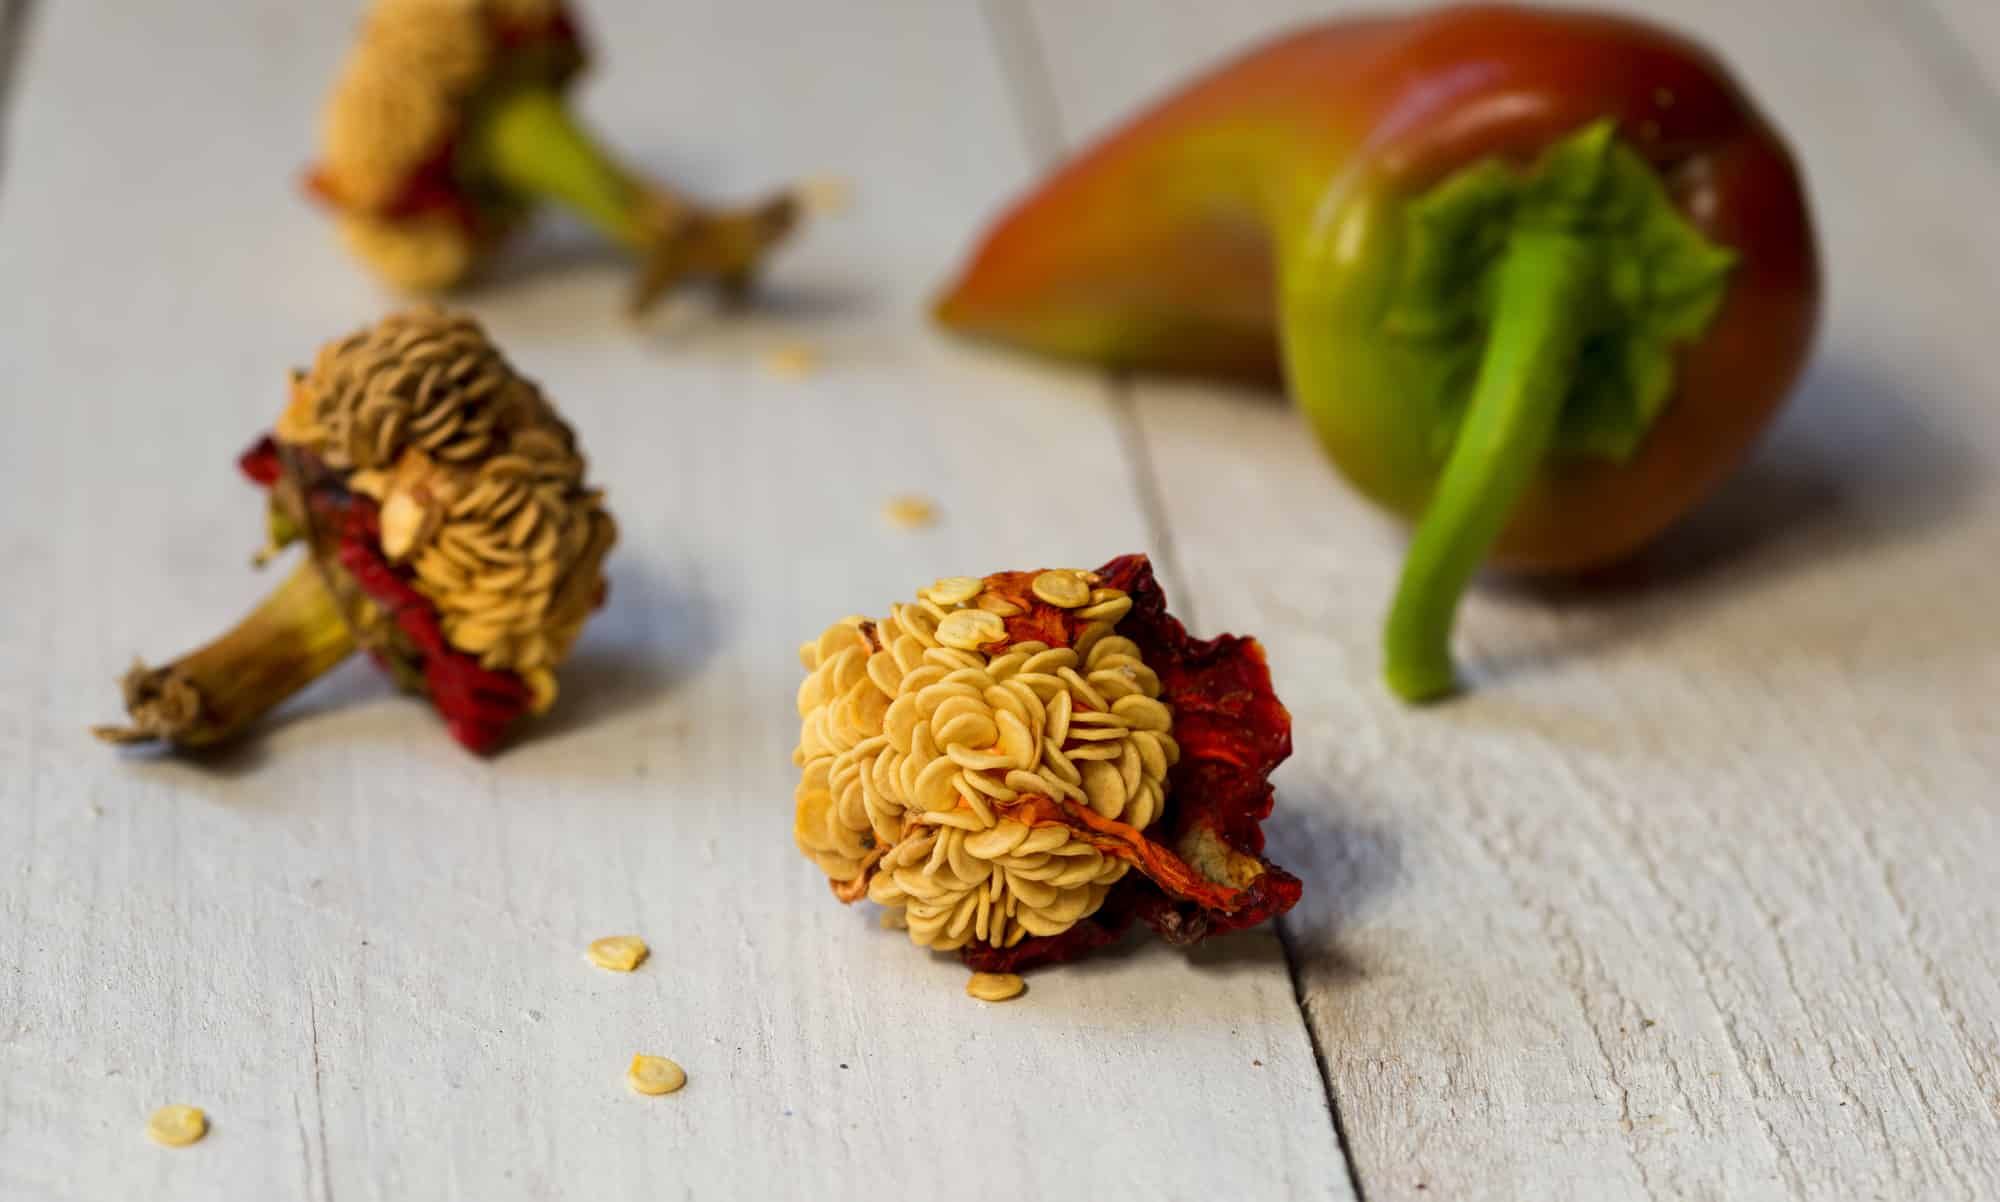
- Pepper seeds: Choose high-quality seeds from a reputable supplier or save seeds from mature pepper plants you have grown.
- Seed tray or pots: Opt for containers that have drainage holes to prevent waterlogging.
- Seed starting mix: Use a well-draining and nutrient-rich mix specifically formulated for seed starting.
- Watering can or spray bottle: A gentle water source is crucial for watering delicate seeds.
- Plastic wrap or humidity dome: Creating a warm and humid environment will aid in seed germination.
- Grow lights or a sunny windowsill: Pepper seeds need ample light to grow, especially during the germination stage.
- Labels: Keep track of the pepper varieties you planted by labeling each pot or tray with the seed variety.
- Optional: Heat mat or heating pad: Pepper seeds prefer warm soil for optimal germination.
Once you have gathered all the necessary supplies, you’re ready to move on to the next step: choosing the right container to sow your pepper seeds.
Step 2: Choose the Right Container
Choosing the right container is crucial for the successful growth of your pepper seeds. The container should provide proper drainage to prevent waterlogging, as excess moisture can lead to root rot and other diseases.
Here are a few options for containers:
- Seed trays: These shallow, plastic trays are ideal for starting multiple seeds at once. They often come with individual cells, which help with seed organization and prevent root entanglement.
- Pots: Use small individual pots if you prefer to give each seedling its own space from the start. Make sure the pots have drainage holes at the bottom.
- Recycled containers: If you’re looking for an eco-friendly and budget-friendly option, you can repurpose containers like yogurt cups or egg cartons. Just be sure to make drainage holes if they don’t already have them.
Regardless of the container you choose, ensure that it’s clean and sterilized before use. Washing it with mild soap and warm water will remove any potential pathogens that may harm your seeds.
Fill the chosen container with a seed-starting mix, leaving about 1/2 inch of space at the top to prevent overflow when watering. The next step is to prepare the soil for your pepper seeds.
Step 3: Prepare the Soil
The quality of the soil plays a vital role in the growth and development of your pepper plants. Before planting your pepper seeds, it’s important to prepare the soil to create an optimal growing environment.
Here are the steps to prepare the soil:
- Moisten the seed-starting mix: Before filling the container, moisten the seed-starting mix with water. This will ensure that the soil is evenly moist and ready for planting.
- Fill the container: Fill the chosen container with the moistened seed-starting mix, leaving about 1/2 inch of space at the top. Gently pat down the soil to create a level surface.
- Add nutrients (optional): If your seed-starting mix doesn’t already contain nutrients, you can add a slow-release fertilizer or organic compost to provide the young seedlings with essential nutrients as they grow.
- Test the pH level (optional): Pepper plants prefer slightly acidic soil with a pH range of 6.0 to 6.8. You can use a soil test kit to check the pH level and adjust it if necessary by adding lime to raise the pH or sulfur to lower it.
Once the soil is prepared, you’re ready to move on to the exciting part: planting the pepper seeds!
Step 4: Plant the Pepper Seed
Now that you have gathered your supplies, chosen the right container, and prepared the soil, it’s time to plant the pepper seeds. Follow these steps for successful seed planting:
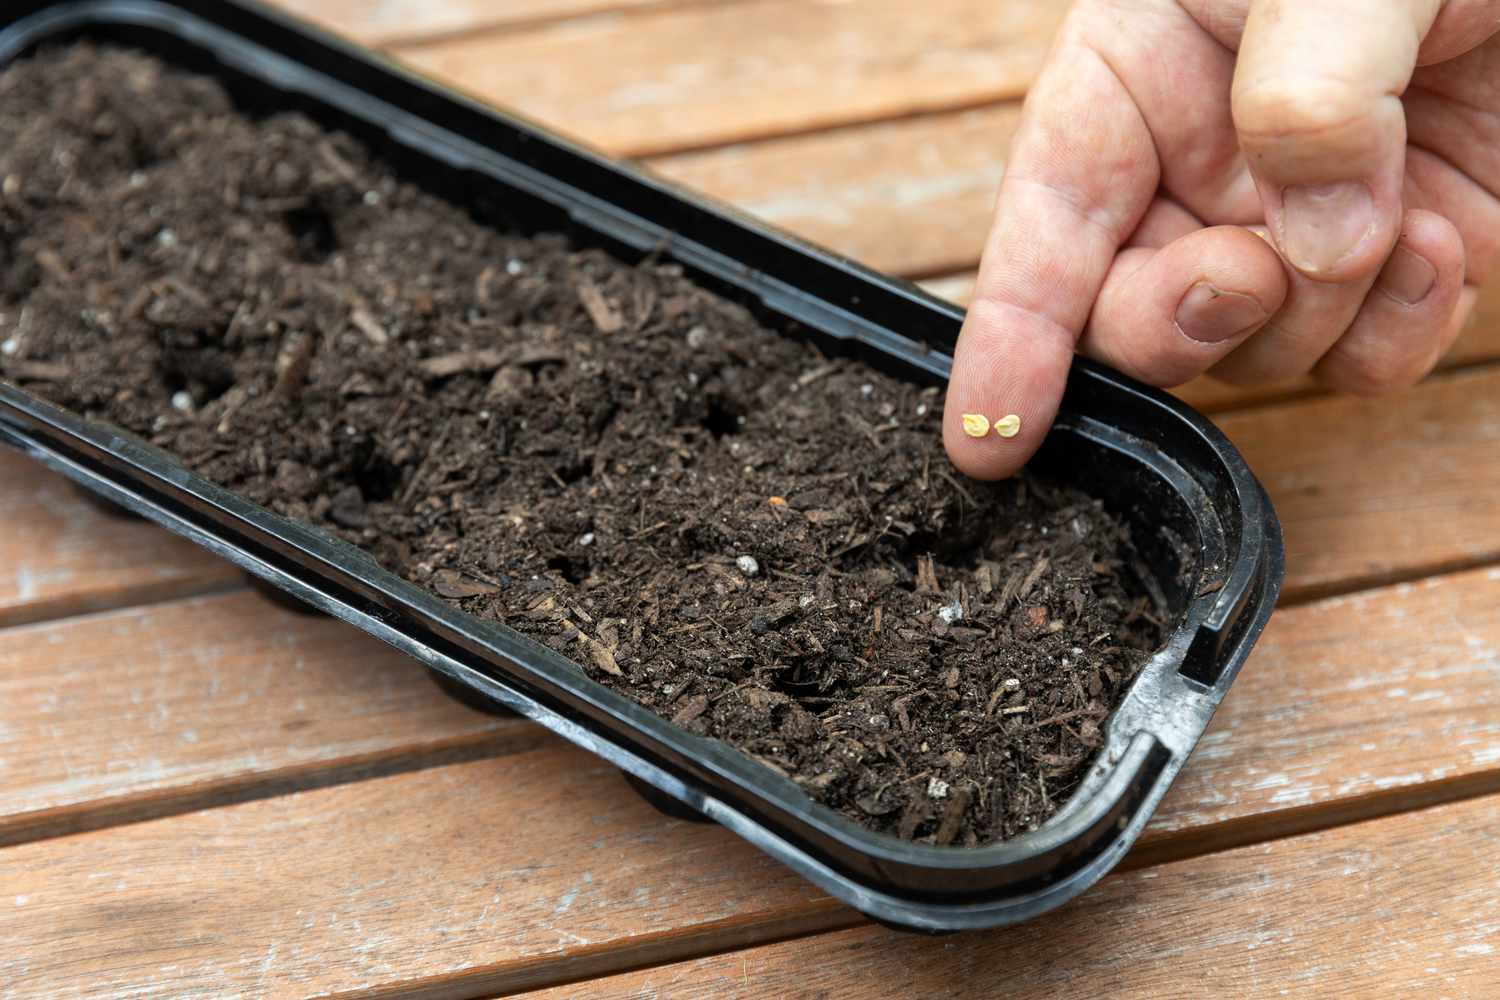
- Make planting holes: Use your finger or a small tool to create planting holes in the soil. The depth should be about 1/4 to 1/2 inch.
- Place the seeds: Drop one or two pepper seeds into each planting hole. If you’re using a seed tray or individual pots, you can sow multiple varieties side by side.
- Cover the seeds: Gently cover the seeds with a thin layer of soil, ensuring they are no deeper than the recommended depth specified on the seed packet.
- Label the containers: Place labels near the seeds to identify each variety. This is especially important if you’re planting different types of peppers.
After planting, lightly water the containers using a watering can or spray bottle. The goal is to provide moisture without disturbing the seeds or displacing the soil. Cover the containers with plastic wrap or a humidity dome to create a warm and humid environment for germination.
Now it’s time to move on to step 5: providing proper watering techniques to support the growth of your pepper seeds.
When planting pepper seeds, make sure to use well-draining soil and keep the seeds moist but not waterlogged. Plant the seeds 1/4 inch deep and keep them in a warm, sunny spot to encourage germination.
Read more: How To Plant Red Pepper Seeds
Step 5: Provide Proper Watering
Proper watering is essential for the germination and growth of your pepper seeds. Overwatering can lead to rot and fungal diseases, while underwatering can cause the seeds to dry out and fail to germinate. Follow these guidelines to ensure proper watering:
- Keep the soil moist, not soggy: Check the moisture level of the soil regularly. Water whenever the top layer feels dry to the touch, but avoid overwatering that leads to waterlogged soil.
- Water from the bottom: Fill a tray or saucer beneath the containers with water and allow the soil to absorb the moisture from the bottom. This prevents water from sitting on top of the soil and helps promote healthy root growth.
- Avoid overhead watering: Watering from above can dislodge delicate seeds and cause uneven moisture distribution. Instead, use a gentle shower attachment or spray bottle to water the soil surface directly.
- Monitor humidity levels: If you’re using plastic wrap or a humidity dome, check the moisture condensation inside. If it becomes excessive, remove the cover briefly to allow some airflow and prevent damping-off disease.
Remember, pepper seeds require consistent moisture for successful germination. However, be careful not to oversaturate the soil, as this can lead to root rot. Finding the right balance is key.
As your pepper seeds start to germinate and grow into seedlings, it’s time to focus on finding the optimal location for their continued development. Step 6 will guide you through this process.
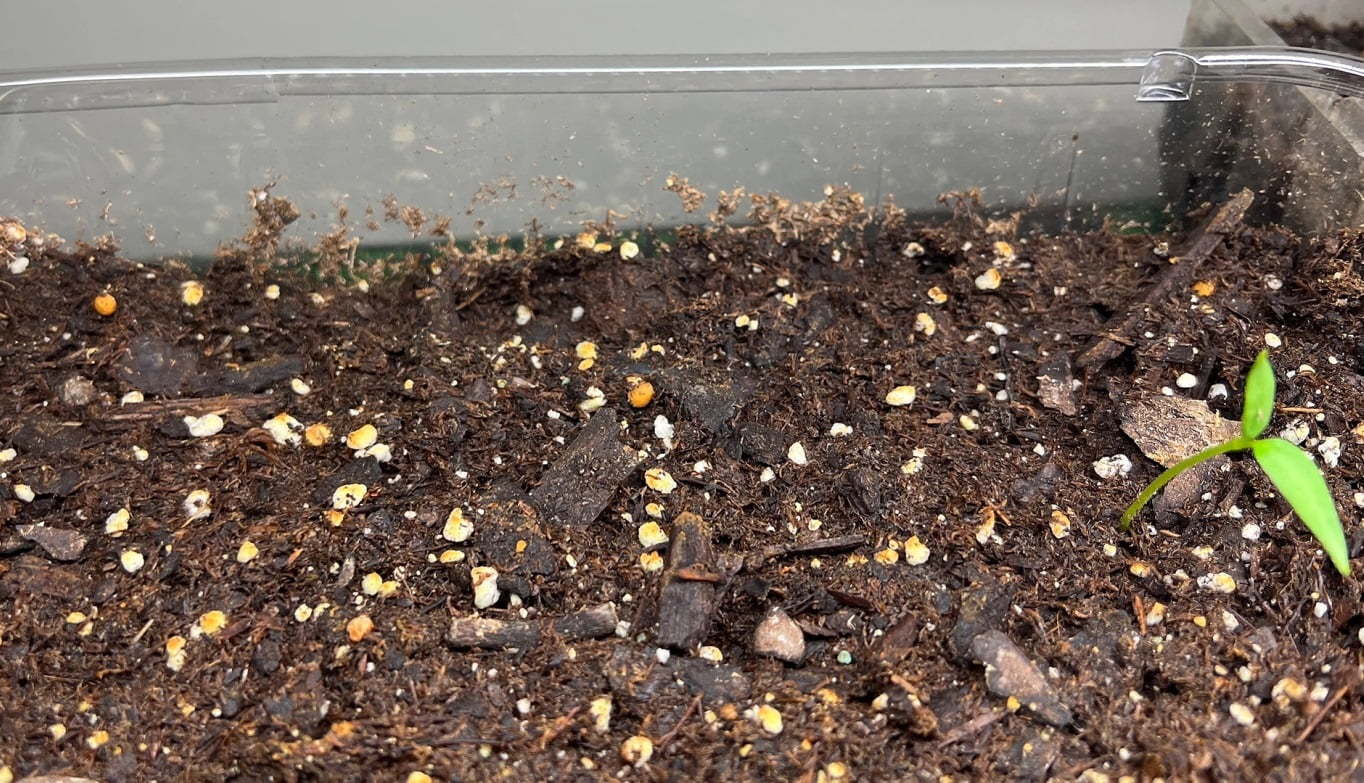
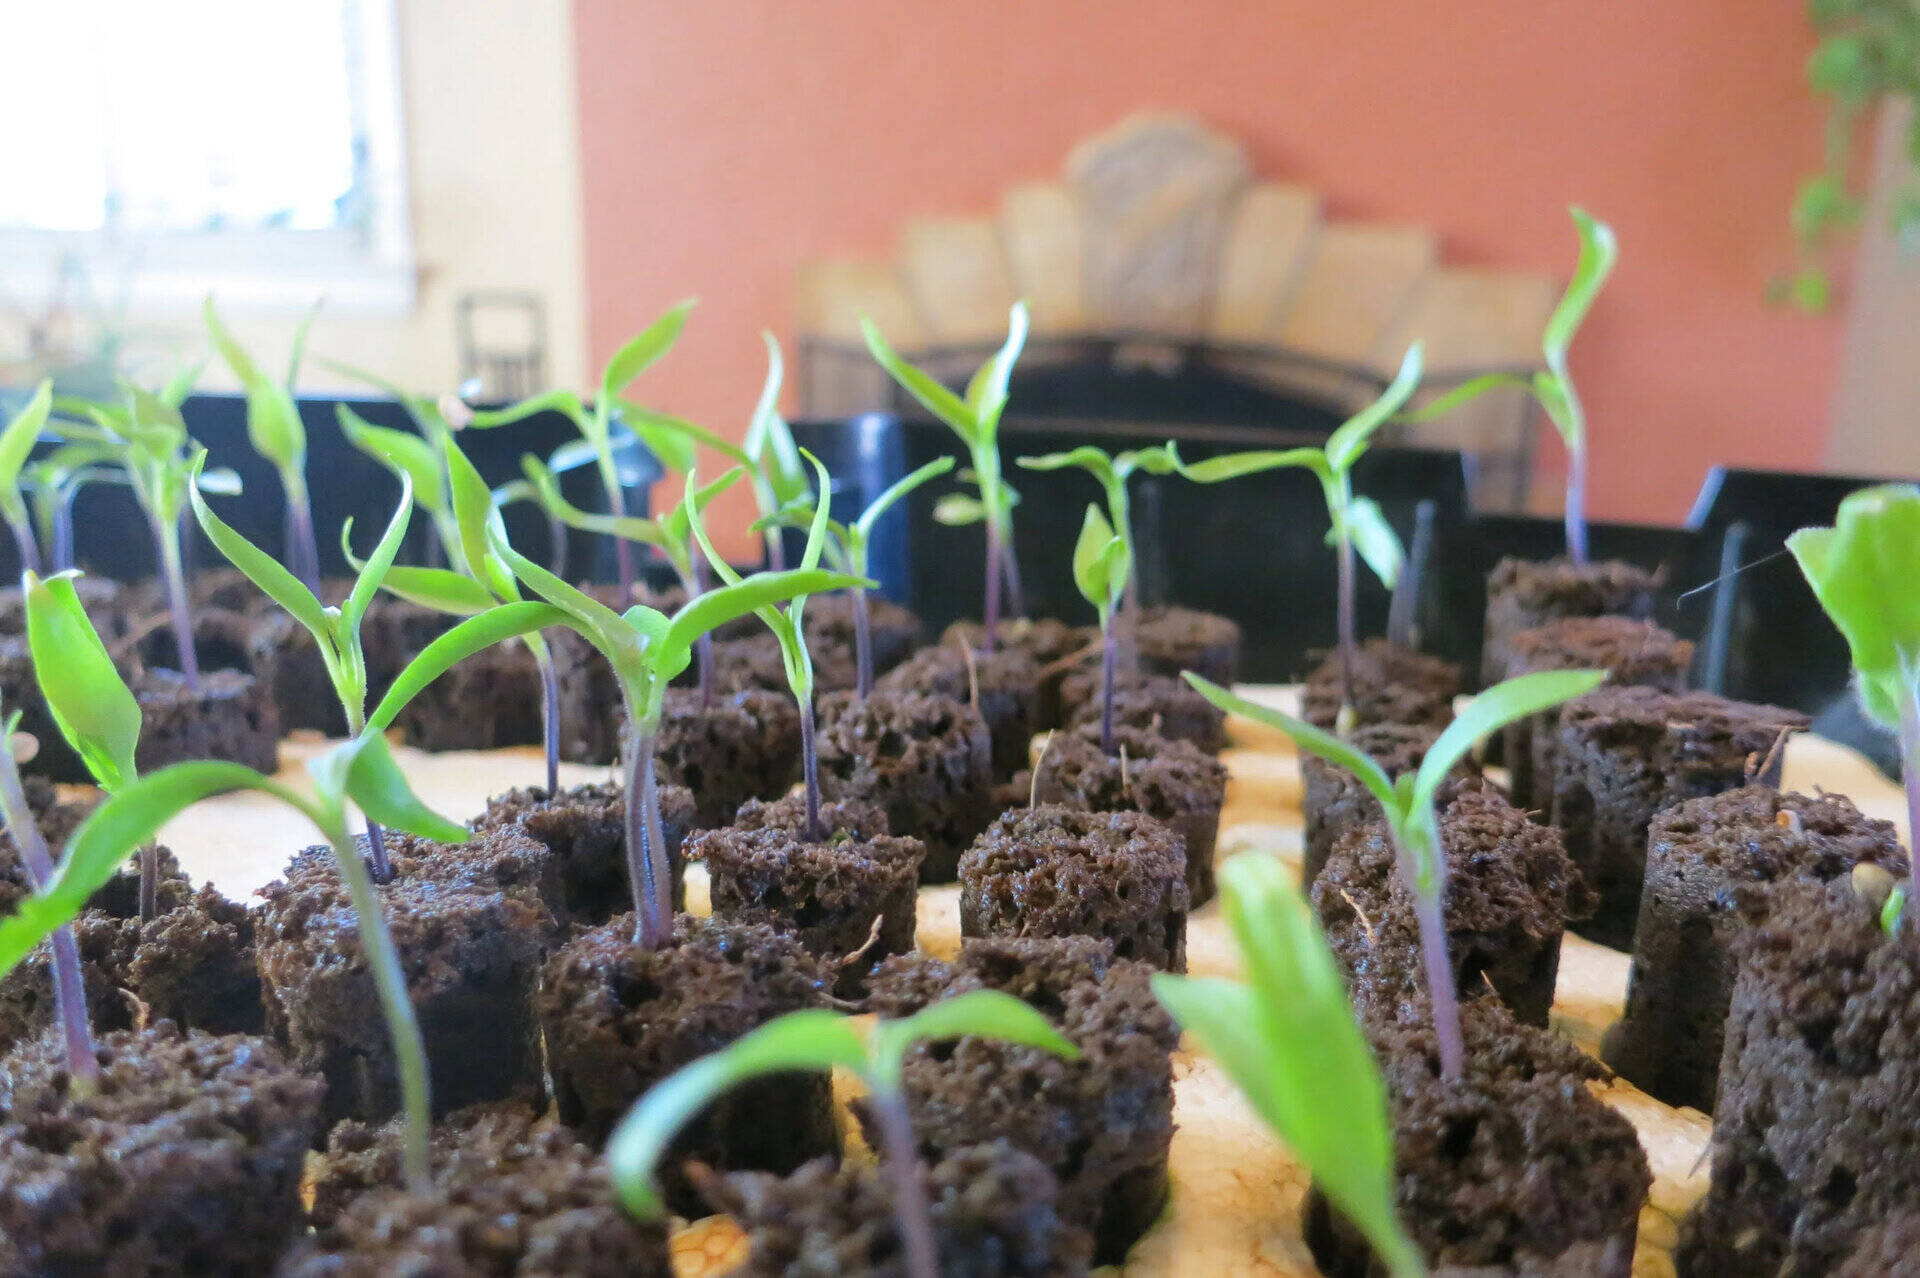
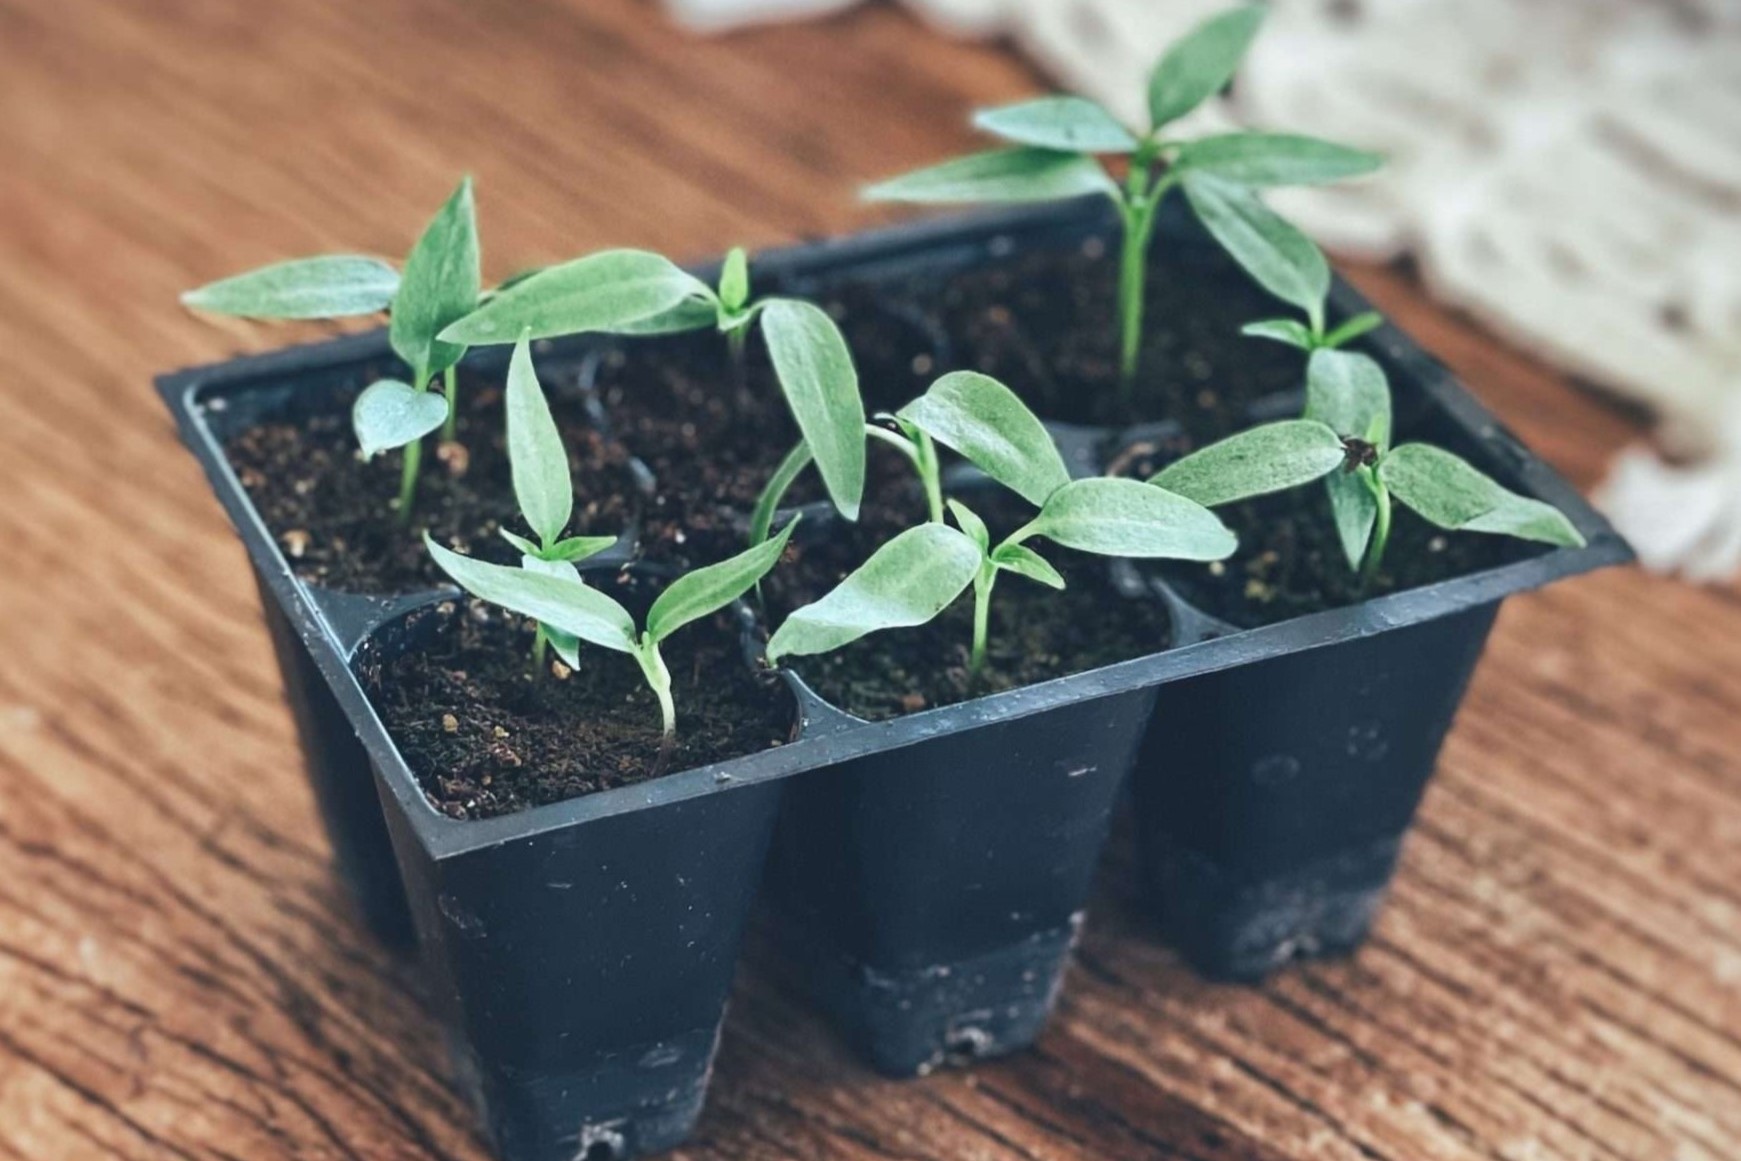
Step 6: Place in Optimal Location
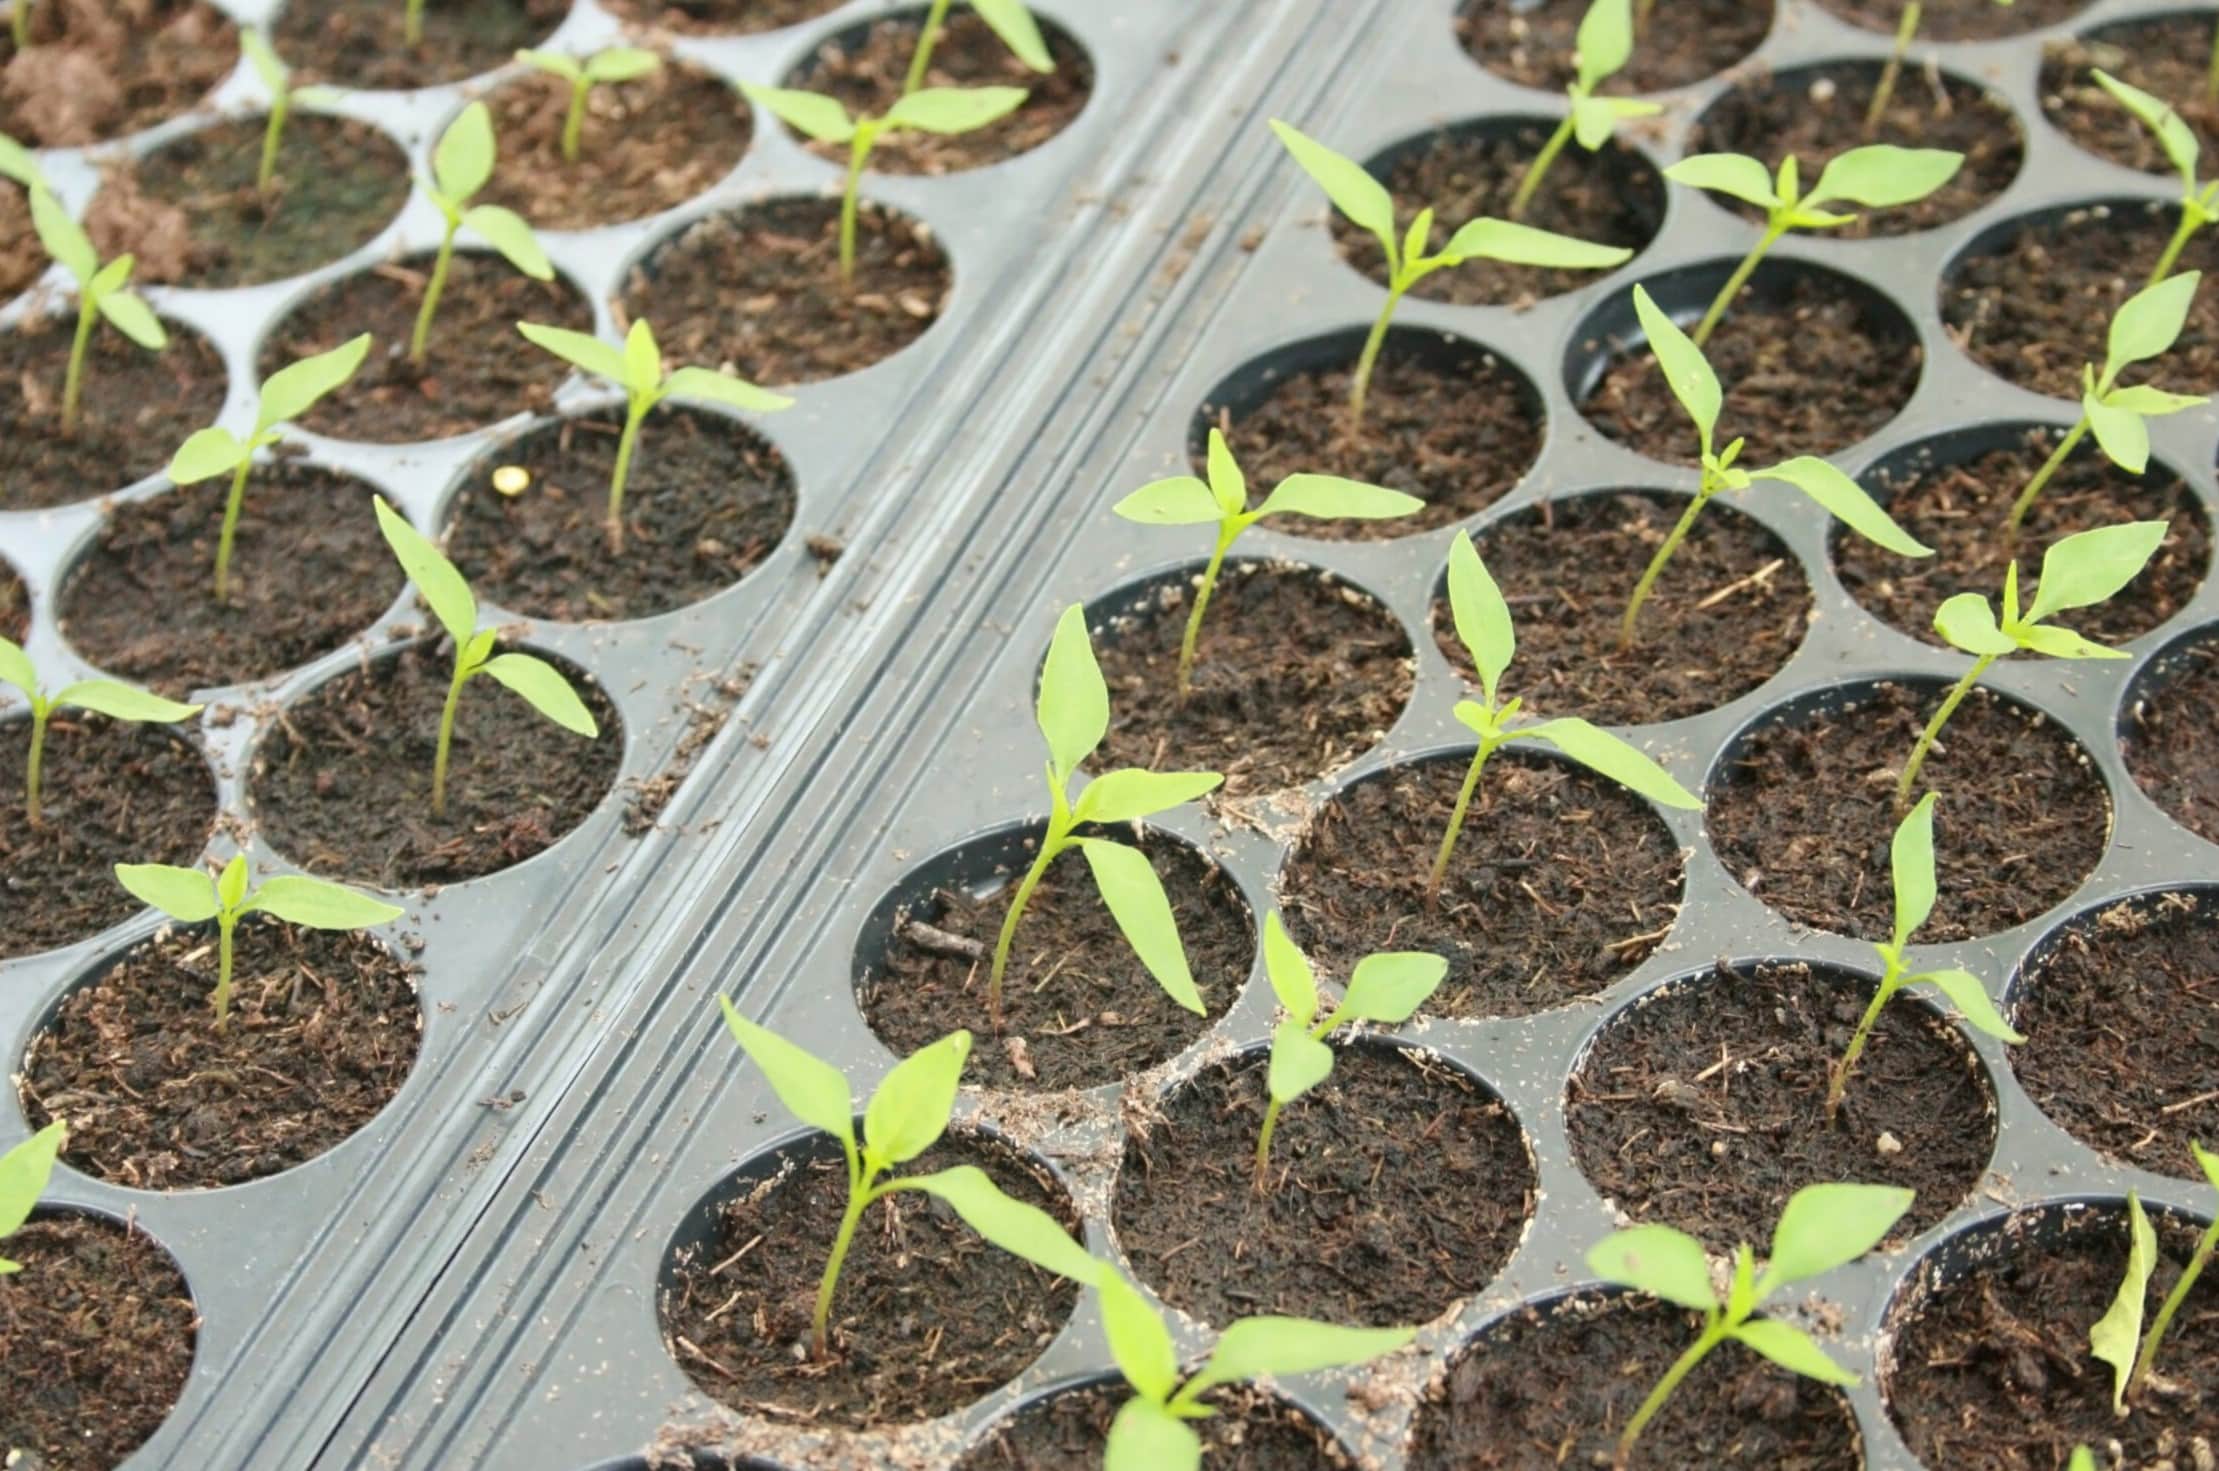
Now that your pepper seeds have germinated and are starting to grow, it’s important to provide them with the optimal location for their continued development. Follow these guidelines to ensure your pepper seedlings thrive:
- Temperature: Pepper plants thrive in warm temperatures between 70°F to 85°F (21°C to 29°C) during the day and around 60°F to 70°F (15°C to 21°C) at night. Keep them away from cold drafts and temperature fluctuations.
- Light exposure: Place your pepper seedlings in a location that receives 10 to 12 hours of bright, indirect sunlight each day. If growing indoors or in a location with insufficient natural light, consider using grow lights to supplement the light requirements.
- Avoid direct sunlight: While pepper plants require plenty of light, direct sunlight can scorch the seedlings. To protect them, position the containers in a spot where they receive bright, indirect light or provide shade during the hottest part of the day.
- Air circulation: Good air circulation helps prevent diseases and strengthens seedlings. Avoid overcrowding the containers and place them in a well-ventilated area.
Regularly monitor the growth of your pepper seedlings and make adjustments to their location if needed. If the seedlings start to lean or stretch towards the light source, consider rotating them every few days to promote even growth.
As your pepper seedlings continue to grow, they will require proper care and maintenance. Step 7 will guide you on how to take care of your pepper plants.
Step 7: Care and Maintenance
Proper care and maintenance are crucial for the healthy growth of your pepper plants. Follow these guidelines to ensure your pepper plants thrive:
- Watering: Continue to water your pepper plants regularly, keeping the soil evenly moist but not waterlogged. Adjust the watering schedule based on the moisture needs of the plants and the surrounding environment.
- Fertilization: After the seedlings have developed their first set of true leaves, start feeding them with a balanced liquid fertilizer. Follow the instructions on the fertilizer package for the correct dilution ratio and frequency of application.
- Weeding: Keep the area around your pepper plants free from weeds. Weeds compete for nutrients and can harbor pests and diseases. Regularly check and remove any unwanted plants to maintain a clean growing environment.
- Pest control: Monitor your pepper plants for signs of pests such as aphids, spider mites, or caterpillars. If pests are detected, use organic pest control methods like insecticidal soap or neem oil to mitigate the infestation.
- Disease prevention: Proper air circulation and avoiding excessive moisture can help prevent common diseases like damping-off and fungal infections. Promptly remove any diseased or infected plants to prevent the spread of disease to healthy plants.
- Support and pruning: As the pepper plants grow, provide support with stakes or tomato cages to prevent the heavy fruits from weighing down the branches. Prune the plants by removing any dead or damaged parts to promote healthy growth.
Regularly observe your pepper plants for any signs of distress or nutrient deficiencies. Adjust your care routine accordingly to address any issues promptly and ensure the optimal health and productivity of your pepper plants.
Once your pepper seedlings have grown into sturdy plants, it’s time to transplant them into their final growing location. Step 8 will guide you through the transplanting process.
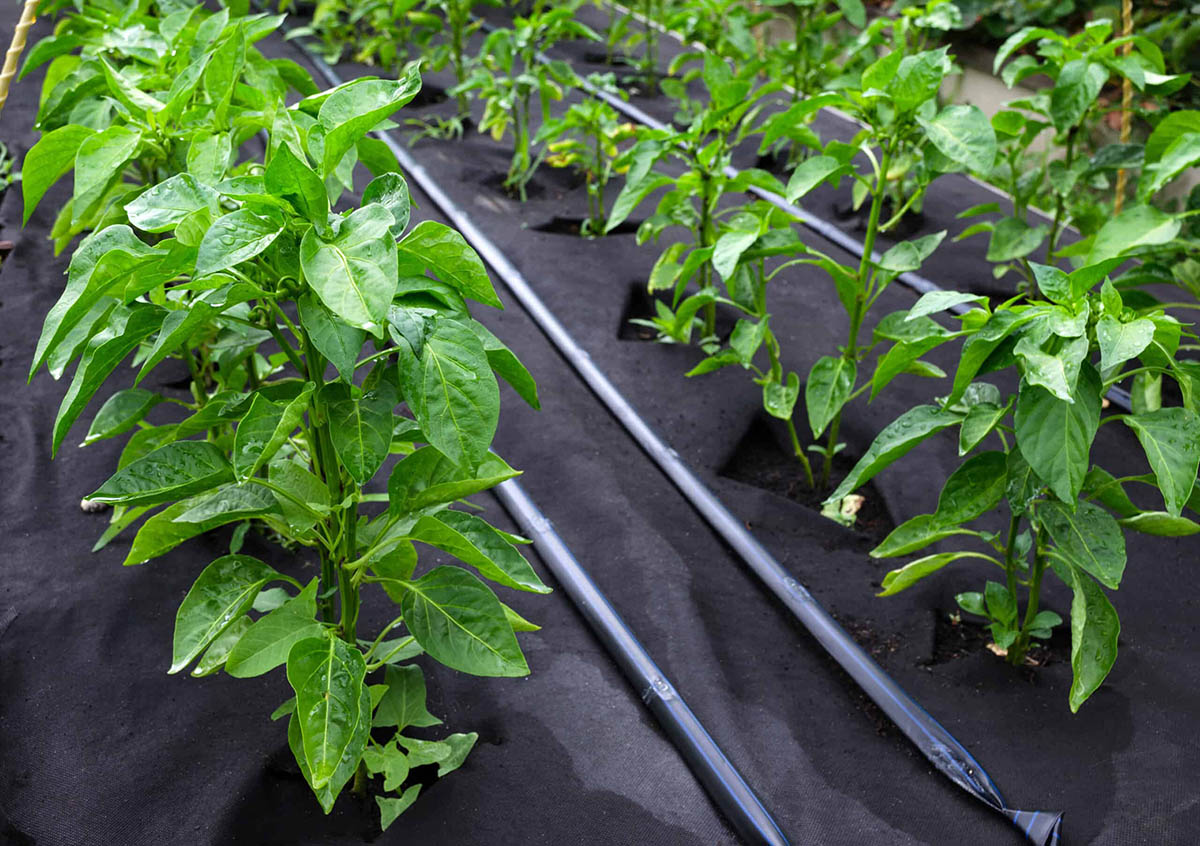
Step 8: Transplanting the Seedling
Transplanting your pepper seedlings into their final growing location is an exciting milestone in their journey. Follow these steps for a successful transplant:
- Choosing the right time: Wait until all danger of frost has passed and the soil temperature is consistently warm before transplanting your pepper seedlings. In most regions, this is around 2 to 3 weeks after the last frost date.
- Preparing the planting area: Select a sunny location in your garden with well-draining soil. Remove any weeds or grass and loosen the soil to facilitate root growth.
- Pre-soaking the soil: Water the planting area thoroughly the day before transplanting to ensure the soil is moist but not waterlogged.
- Digging the holes: Dig individual holes in the planting area, spaced at least 18 to 24 inches apart to allow the pepper plants ample room to grow. The holes should be slightly larger than the root ball of each seedling.
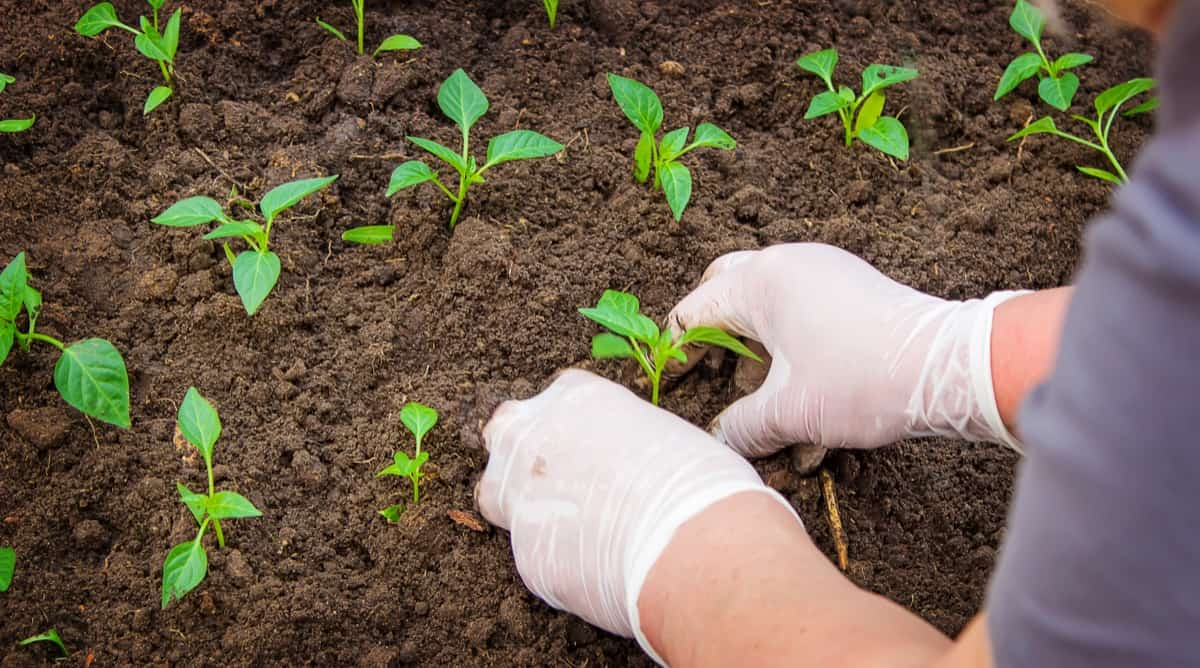
- Transplanting the seedlings: Carefully remove each seedling from its container, taking care not to damage the roots. Place the seedling into the prepared hole, making sure it is at the same depth as it was in the container.
- Backfilling and firming the soil: Fill the hole with soil, gently pressing it down to ensure good contact between the roots and the soil. Avoid compacting the soil too tightly, as it can hinder root growth.
- Watering and mulching: Water the newly transplanted seedlings deeply, saturating the soil around the roots. Apply a layer of organic mulch around the plants to help retain moisture, suppress weeds, and regulate soil temperature.
- Providing support: If your pepper plants are of the taller variety, stake or cage them to provide support for the heavy fruiting branches as they grow.
After transplanting, continue caring for your pepper plants as outlined in Step 7. Monitor their progress and provide regular maintenance to ensure optimal growth and a bountiful harvest.
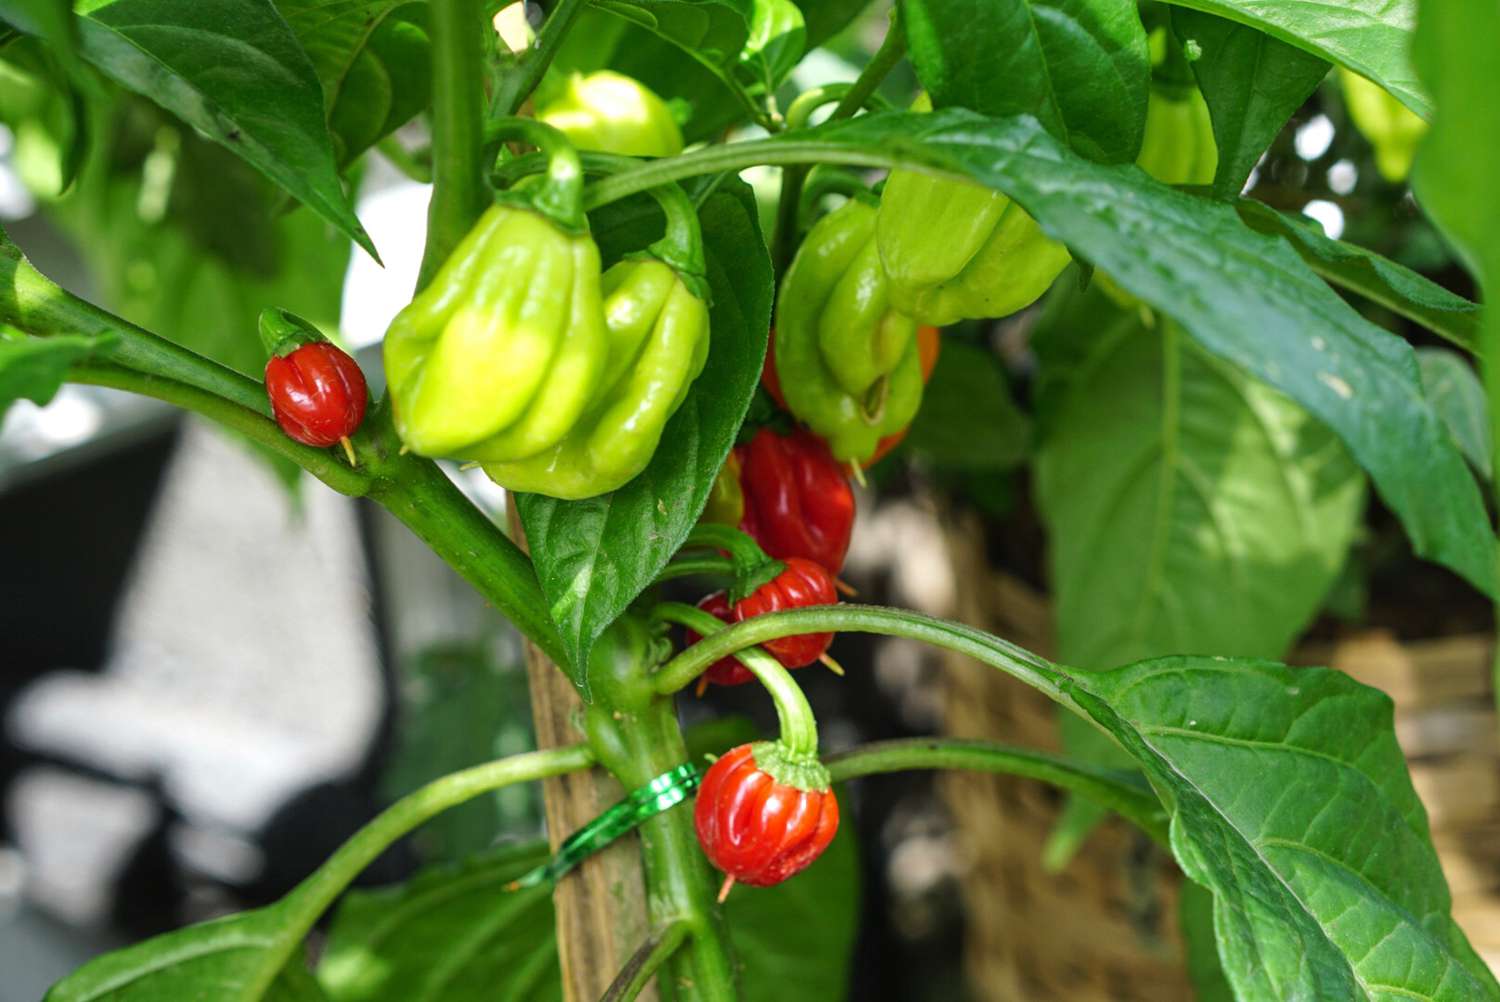
With proper care and attention, your pepper plants will reward you with a colorful and delicious harvest, adding a spicy kick to your meals. Enjoy the satisfaction of growing your own peppers and savor the flavors they bring to your garden.
Wishing you a fruitful pepper growing season!
Read more: How Do You Plant Pepper Seeds
Conclusion
Congratulations! You have reached the end of our guide on how to plant pepper seeds. By following these steps, you have set a solid foundation for growing healthy and productive pepper plants in your garden.
From gathering the necessary supplies to choosing the right container, preparing the soil, planting the seeds, providing proper watering, placing the seedlings in an optimal location, and caring for them with maintenance and support, you have learned the essential steps to successfully grow peppers from seeds.
Remember to adjust your care routine based on the specific needs of your pepper plants. Monitor their growth, provide adequate water and nutrients, protect them from pests and diseases, and give them the support they need as they flourish.
Transplanting your seedlings into the garden marks a significant milestone in their growth journey. Choose a sunny spot with well-draining soil, follow the transplanting steps carefully, and continue providing ongoing care to ensure your pepper plants thrive.
As your pepper plants mature, anticipate a bountiful harvest of vibrant, flavorful peppers that will elevate your culinary creations. From mild and sweet peppers to fiery and hot varieties, your garden will be bursting with diverse flavors and colors.
Gardening is an incredibly rewarding hobby that connects us to nature and allows us to nurture and witness the incredible transformations of plants. Planting pepper seeds is just the beginning; the journey continues as you cultivate and enjoy the fruits of your labor.
So, roll up your sleeves, get your hands dirty, and embark on this exciting pepper-growing adventure. Whether you’re a seasoned gardener or a beginner, growing peppers from seeds will provide you with a sense of accomplishment and a delicious harvest to enjoy.
Happy gardening and may your pepper plants flourish abundantly!
Frequently Asked Questions about How To Plant A Pepper Seed
Was this page helpful?
At Storables.com, we guarantee accurate and reliable information. Our content, validated by Expert Board Contributors, is crafted following stringent Editorial Policies. We're committed to providing you with well-researched, expert-backed insights for all your informational needs.
0 thoughts on “How To Plant A Pepper Seed”