Home>Garden Essentials>How To Build A Play Area For A Swing Set
Garden Essentials
How To Build A Play Area For A Swing Set
Modified: March 7, 2024
Create a beautiful and safe garden play area for your swing set with our step-by-step guide. Learn how to build a charming garden play space for endless outdoor fun.
(Many of the links in this article redirect to a specific reviewed product. Your purchase of these products through affiliate links helps to generate commission for Storables.com, at no extra cost. Learn more)
Introduction
Welcome to the world of backyard fun! Building a play area for a swing set is a great way to create a safe and enjoyable space for children to play and unleash their imaginations. Whether you have a spacious backyard or a compact area, with a little planning and some creativity, you can design a play area that will bring hours of joy and entertainment to your little ones.
In this article, we will guide you through the step-by-step process of building a play area for a swing set. From selecting the right location to adding the finishing touches, we will provide you with the knowledge and insights to ensure a successful and rewarding project.
Before diving into the details, it’s important to emphasize the importance of safety. When building a play area for children, safety should always be the top priority. Ensure that the swing set and all its components meet safety standards, and follow the manufacturer’s instructions carefully during the construction process. Additionally, consider adding safety measures such as proper surfacing materials, secure anchoring, and supervision to create a worry-free environment for your children to play.
Now, let’s get started on building that exciting play area for your swing set!
Key Takeaways:
- Safety First!
When building a swing set play area, prioritize safety by choosing the right location, securing the structure, and adding safety measures like soft surfaces and regular inspections. - Create a Fun Oasis
Transform your swing set play area into a joyful space by adding finishing touches like landscaping, seating, storage, lighting, and personalized touches for endless family fun.
Read more: How To Build A Play Area For Ferret
Step 1: Selecting the Right Location
The first step in building a play area for a swing set is to carefully select the right location. Consider the following factors to ensure a suitable and ideal spot:
- Space: Evaluate the available space in your backyard or outdoor area. Measure the dimensions and ensure that there is enough room for the swing set and adequate clearance around it for safe swinging.
- Ground Conditions: Examine the ground for any slopes, uneven surfaces, or obstacles that could affect the stability and safety of the swing set. Ideally, choose a level area with a solid, firm foundation.
- Accessibility: Think about how easily accessible the play area will be. Consider factors such as distance from the house, proximity to other outdoor amenities, and the ease of supervision.
- Sun and Shade: Observe the amount of sun and shade the location receives throughout the day. A balance between sunlight and shade is essential for the comfort of the children using the swing set.
- Visibility: Ensure that the chosen location allows for good visibility from key areas of your home, such as the kitchen or living room, so that you can easily keep an eye on the children while they play.
Once you have considered these factors, you can now identify the ideal location for your swing set play area. Remember, it’s essential to choose a location that offers both safety and enjoyment for your children.
Step 2: Clearing the Area
Now that you have selected the right location for your swing set play area, it’s time to clear the area and prepare it for construction. Follow these steps to ensure a clean and safe space:
- Remove Debris: Clear away any debris, rocks, sticks, or other objects from the area. This will create a clean and even surface for the swing set.
- Trim Vegetation: Trim any branches or overgrown vegetation that could interfere with the swing set or pose a safety hazard. This includes nearby trees, shrubs, and bushes.
- Clear Underground Obstructions: Check for any underground utilities, such as gas, water, or electrical lines, before digging. Use a utility locator or consult with your local utility companies to ensure that it’s safe to excavate in the area.
- Mark Boundaries: Define the boundaries of the play area by placing stakes or markers. This will help you visualize the space and plan the layout of the swing set.
By clearing the area, you are creating a safe and obstacle-free environment for the construction of your swing set play area. It’s important to take the time to complete this step thoroughly so that the next steps can be carried out smoothly.
Step 3: Leveling the Ground
Leveling the ground is a crucial step in building a stable and safe swing set play area. Follow these steps to ensure the ground is level:
- Remove Sod: Start by removing any existing sod or grass in the designated play area. Use a shovel or a sod cutter to cut and remove the grass layer.
- Determine the High and Low Points: With a long straight-edge or a level, determine the high and low points of the ground. This will help you identify where the ground needs to be leveled.
- Add or Remove Soil: If there are low areas, add soil to build them up, and if there are high spots, remove soil to level them. Use a rake or a shovel to distribute the soil evenly, ensuring a smooth and even surface.
- Check for Levelness: Periodically check the levelness of the ground using a long straight-edge or a level. Adjust the soil as needed until the entire surface is level.
- Compact the Soil: After leveling, use a hand tamper or a plate compactor to compact the soil. This will help create a stable and solid base for the swing set.
Leveling the ground is essential for the proper installation and stability of the swing set. It ensures that the swing set stands straight and doesn’t shift or lean when in use. Take your time during this step to achieve a level surface, as it will greatly impact the safety and enjoyment of the play area.
Step 4: Setting Up the Swing Set Foundation
Once the ground is level, it’s time to set up the foundation for your swing set. The foundation provides stability and support for the structure, ensuring a safe and secure play area. Follow these steps to set up the swing set foundation:
- Measure and Mark: Measure and mark the locations where the legs or posts of the swing set will be installed. Make sure to align the marks according to the dimensions of the swing set to ensure proper spacing.
- Dig Holes: Use a post-hole digger or an auger to dig holes for each leg or post. The depth and diameter of the holes may vary depending on the size and design of the swing set, so refer to the manufacturer’s instructions for specific measurements.
- Add Gravel: Place a layer of gravel at the bottom of each hole. This helps with drainage and prevents the wooden posts from coming into direct contact with the soil, which can lead to rotting.
- Insert Legs or Posts: Insert the legs or posts of the swing set into the holes. Make sure they are level and plumb using a level. Adjust the height if necessary by adding or removing gravel at the bottom of the holes.
- Secure with Concrete: Mix and pour concrete around the legs or posts to secure them in place. Follow the concrete manufacturer’s instructions for mixing and pouring. Make sure the legs or posts are held firmly in position while the concrete sets.
Setting up a solid foundation is essential for the safety and stability of the swing set. The proper installation of the legs or posts ensures that the swing set remains upright and secure during play. Take your time during this step to ensure the foundation is set correctly, as it will provide a strong base for the rest of the swing set structure.
When building a play area for a swing set, make sure to choose a level and sturdy location, use proper safety surfacing like wood chips or rubber mulch, and leave enough space around the swing set for safe swinging.
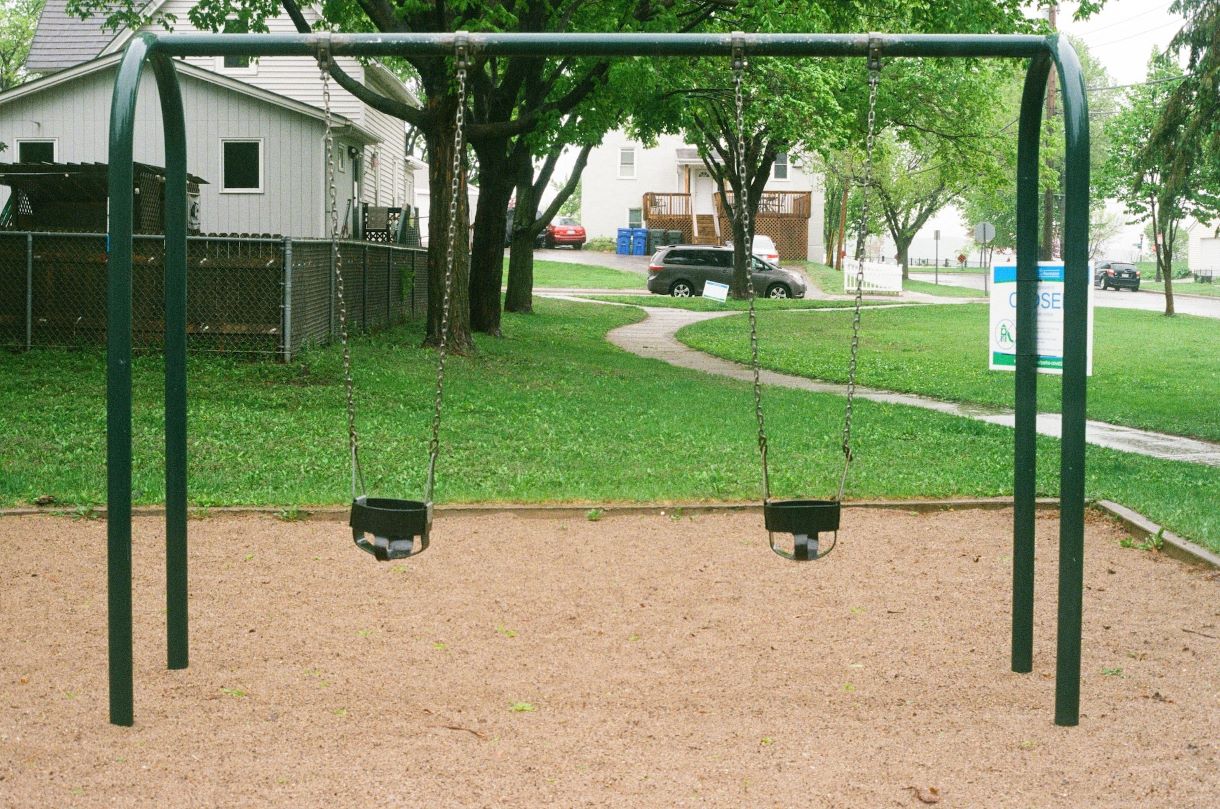
Step 5: Securing the Swing Set
After the swing set foundation is in place, it’s important to secure the structure to ensure stability and safety. Follow these steps to properly secure the swing set:
- Attach Crossbeams and Braces: Follow the manufacturer’s instructions to attach the crossbeams and braces to the legs or posts of the swing set. These provide additional support and stability to the structure.
- Tighten Bolts and Fasteners: Go through the swing set and check that all bolts and fasteners are tightened securely. This includes the connections between the crossbeams, braces, and legs, as well as any other attachments or accessories.
- Use Anchoring Kit: Depending on the design of the swing set and the manufacturer’s recommendations, you may need to use an anchoring kit. These kits typically include ground stakes or anchors that help secure the swing set to the ground, reducing the risk of tipping over during use.
- Install Ground Anchors: If using ground anchors, carefully follow the instructions provided with the anchoring kit to install them properly. This usually involves driving the stakes or anchors into the ground and attaching them securely to the legs or posts of the swing set.
- Test for Stability: Once the swing set is secured and all connections are tightened, give it a gentle shake or push to test for stability. The swing set should not wobble or move excessively. If you notice any instability, double-check the connections and anchoring.
Securing the swing set is crucial to ensure the safety of those using it. By following these steps, you can have peace of mind knowing that the swing set is properly anchored and stable, allowing children to play freely without facing unnecessary risks.
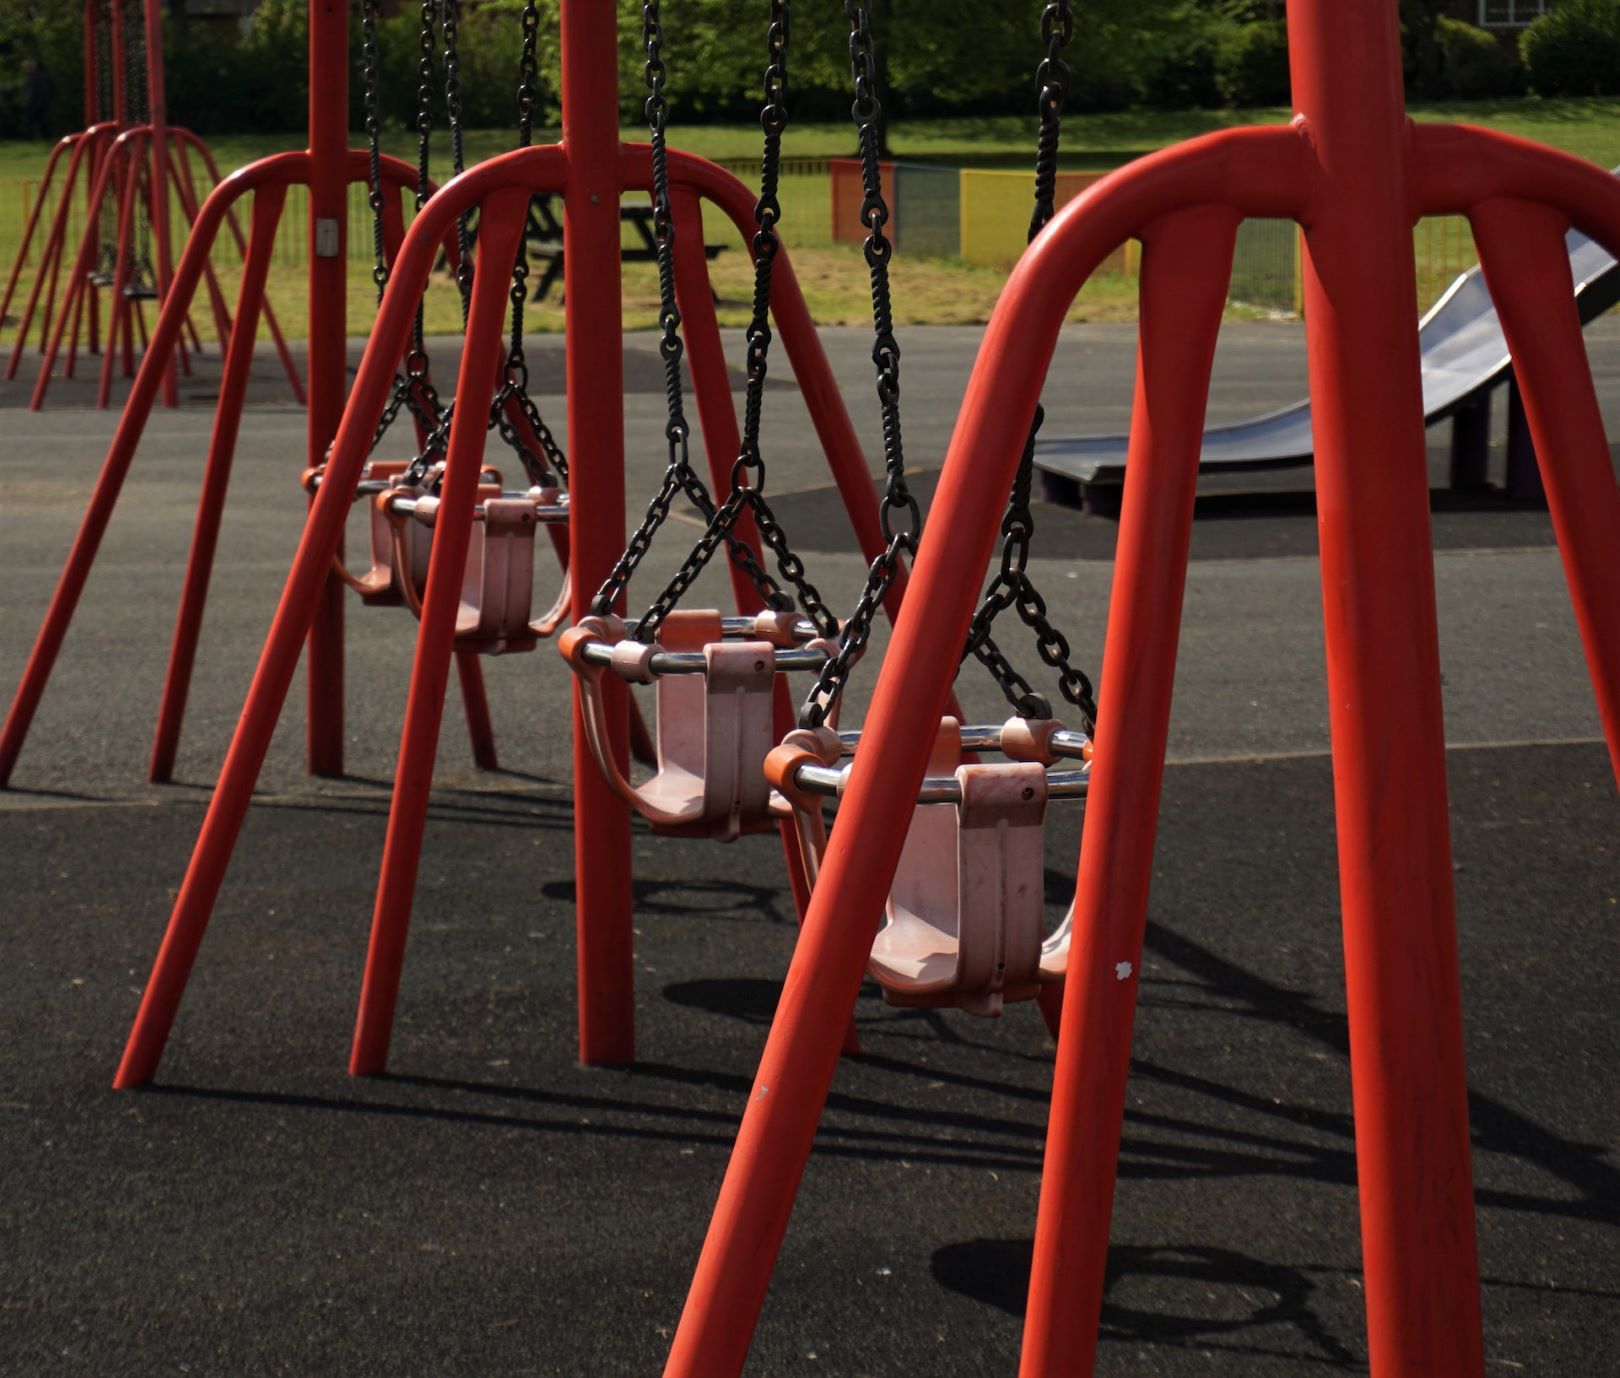
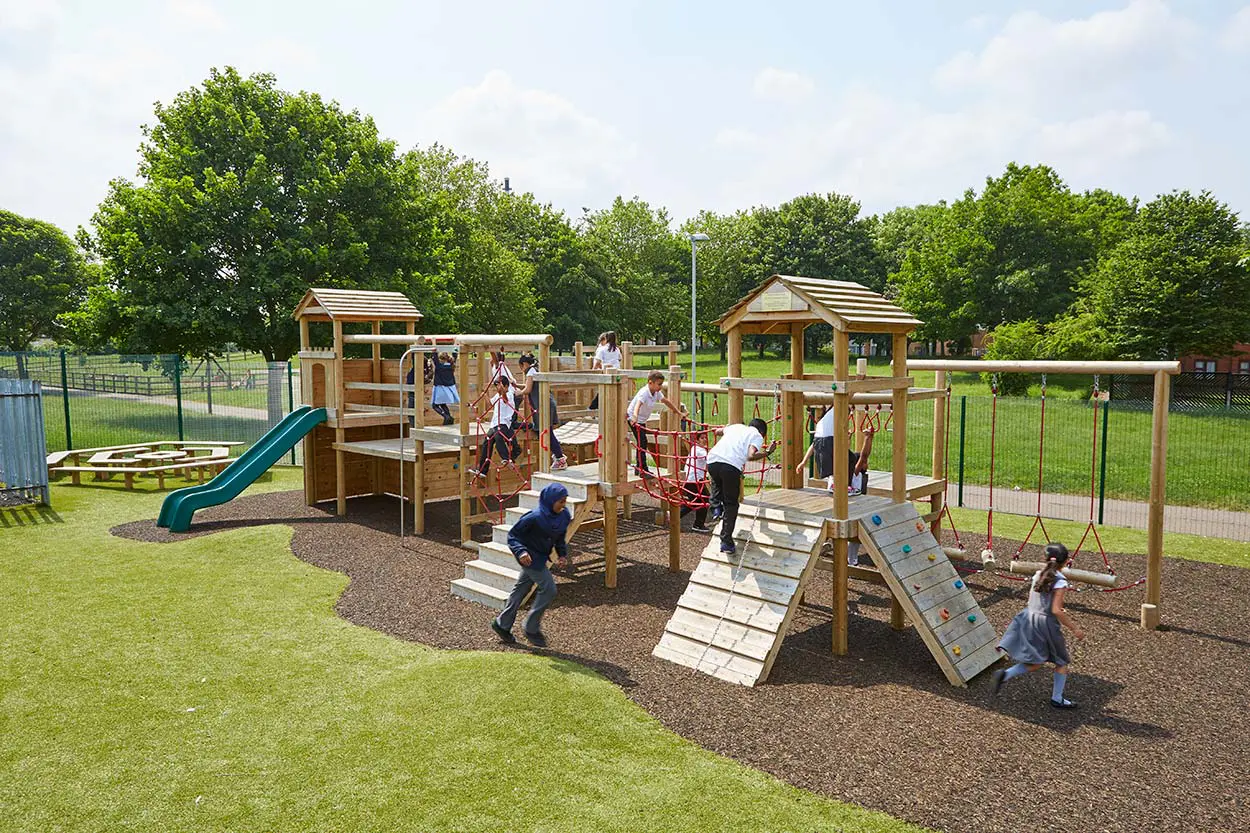
Step 6: Assembling and Installing the Swings and Accessories
Now that the swing set is securely in place, it’s time to assemble and install the swings and accessories. Follow these steps to ensure everything is properly set up:
- Read the Instructions: Carefully read the manufacturer’s instructions for assembling the swings and accessories. Familiarize yourself with the parts and steps involved in the process.
- Assemble Swings: Start by assembling the swings according to the provided instructions. This may involve attaching chains or ropes to the swing seats and connecting them to the swing set crossbeams or hangers.
- Install Other Accessories: If your swing set includes other accessories such as a slide, trapeze bar, or climbing wall, assemble and install them as directed by the manufacturer. Follow any specific instructions regarding height, placement, and safety measures.
- Check for Proper Clearance: Ensure that there is enough clearance around each swing and accessory to allow for safe usage. Make sure there are no obstructions such as trees, fences, or walls that could pose a hazard.
- Test the Swings and Accessories: Once everything is assembled and installed, test each swing and accessory to ensure they are functioning properly. Check that the swings move smoothly and the accessories are secure and stable.
- Make Adjustments: If necessary, make adjustments to the height or positioning of the swings and accessories. Take into consideration the age and height of the children who will be using them to ensure a comfortable and safe experience.
Assembling and installing the swings and accessories is an exciting part of building a swing set play area. By following the instructions and properly testing each component, you can ensure that the swings and accessories are set up correctly and ready for hours of fun and enjoyment.
Step 7: Adding Safety Measures
When it comes to building a swing set play area, safety should always be a top priority. Adding safety measures will provide an extra layer of protection for the children using the swing set. Follow these steps to enhance safety:
- Add Soft Surfaces: Install a soft surface beneath and around the swing set to cushion falls. Options include rubber mulch, wood chips, or impact-absorbing mats. The depth of the surface material should meet safety standards to minimize the risk of injury.
- Secure Loose Items: Ensure that any loose items, such as ropes, chains, or accessories, are properly secured and cannot become entangled or pose a strangulation hazard.
- Inspect Regularly: Regularly inspect the swing set for any signs of wear, damage, or loose parts. Replace or repair any faulty components immediately to maintain safety.
- Set Rules: Establish and communicate clear rules to the children who will be using the swing set. This includes guidelines such as one person per swing, no jumping off while swinging, and no rough play.
- Supervision: Ensure that children are always supervised while using the swing set, especially younger ones. Keep an eye out for any potential hazards or unsafe behavior.
- Weather Protection: Consider adding weather protection measures such as a canopy or awning to shield the swing set from direct sunlight, rain, or snow. This will help prolong the lifespan of the swing set and ensure its safety.
By implementing these safety measures, you can create a secure and worry-free environment for children to enjoy their swing set. Regular maintenance and adherence to safety guidelines will help ensure the longevity and safety of the play area.
Step 8: Adding Finishing Touches
With the swing set and its safety measures in place, it’s time to add the finishing touches to create a welcoming and enjoyable play area. These final details will enhance the overall aesthetics and functionality of the space. Follow these steps to add the finishing touches:
- Landscaping: Surround the swing set play area with landscaping elements such as plants, flowers, or shrubs. This not only adds visual appeal but also creates a natural boundary and enhances the overall atmosphere.
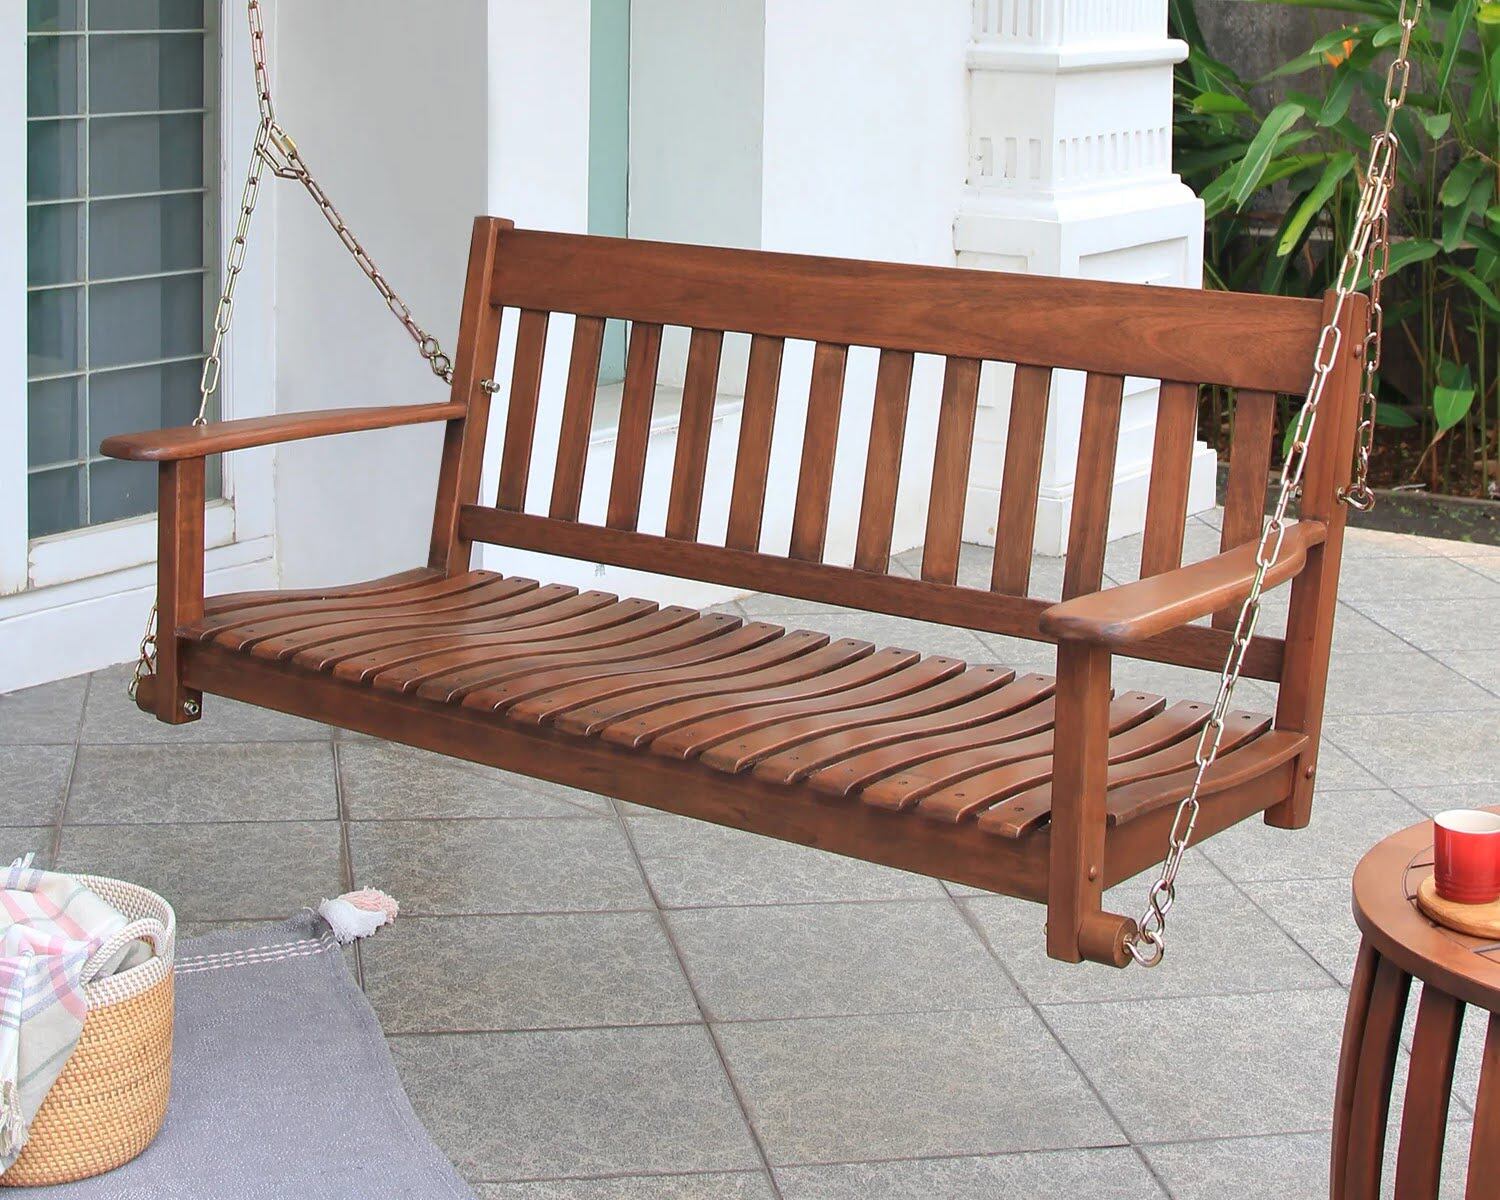
- Seating Area: Include a seating area near the swing set for parents or caregivers to relax while keeping an eye on the children. This can be as simple as a bench or chair, or even a small picnic table.
- Storage: Consider adding storage solutions to keep swing set accessories, outdoor toys, or other equipment neatly organized. This can be in the form of storage bins, hangable hooks, or even a dedicated storage shed.
- Nighttime Lighting: Install outdoor lighting to extend playtime into the evening hours. This can include solar-powered lights along walkways or uplighting to highlight specific features of the swing set or surrounding area.
- Personalization: Add personal touches to the swing set play area by incorporating customized signs, nameplates, or decorations that reflect the interests and personalities of the children using the space.
- Interactive Features: Consider adding interactive features such as a chalkboard, sandbox, or outdoor games near the swing set to encourage imaginative play and further engage the children.
Adding these finishing touches will transform your swing set play area into an inviting and aesthetically pleasing space. Take into account the preferences and needs of your family to create a customized and enjoyable environment for everyone to savor.
Read more: How Much To Build A Soft Play Area
Conclusion
Congratulations! You have successfully built a play area for a swing set, creating a haven of joy and imagination for your children. By following the step-by-step process outlined in this guide, you have ensured the safety and stability of the swing set, providing a secure space for endless hours of outdoor fun.
Remember, safety should always be a top priority when it comes to any play area. From selecting the right location to securing the swing set and adding safety measures, you have taken the necessary steps to protect your children while they play.
In addition to safety, the finishing touches you have added have enhanced the aesthetics and functionality of the play area. Landscaping, seating, storage, lighting, and personalization have come together to create a space that is inviting, personalized, and enjoyable for the whole family.
But the journey doesn’t end here. Regularly inspect and maintain the swing set to ensure its longevity and safety. Periodically check for any wear and tear, loose parts, or adjustments needed. By doing so, you can continue to provide a safe and fun play environment for your children for years to come.
Now, it’s time to watch your children’s faces light up with joy as they swing, climb, and play in their new swing set play area. Cherish these moments and create cherished memories together in this backyard oasis you have built with love and care.
Enjoy the laughter, the adventures, and the precious family time in your wonderful swing set play area!
Frequently Asked Questions about How To Build A Play Area For A Swing Set
Was this page helpful?
At Storables.com, we guarantee accurate and reliable information. Our content, validated by Expert Board Contributors, is crafted following stringent Editorial Policies. We're committed to providing you with well-researched, expert-backed insights for all your informational needs.


0 thoughts on “How To Build A Play Area For A Swing Set”