Home>Garden Essentials>How To Build Wooden Frame For Play Area
Garden Essentials
How To Build Wooden Frame For Play Area
Modified: August 27, 2024
Learn how to build a sturdy wooden frame for your garden play area with our step-by-step guide. Create a safe and fun space for kids to enjoy outdoor activities.
(Many of the links in this article redirect to a specific reviewed product. Your purchase of these products through affiliate links helps to generate commission for Storables.com, at no extra cost. Learn more)
Introduction
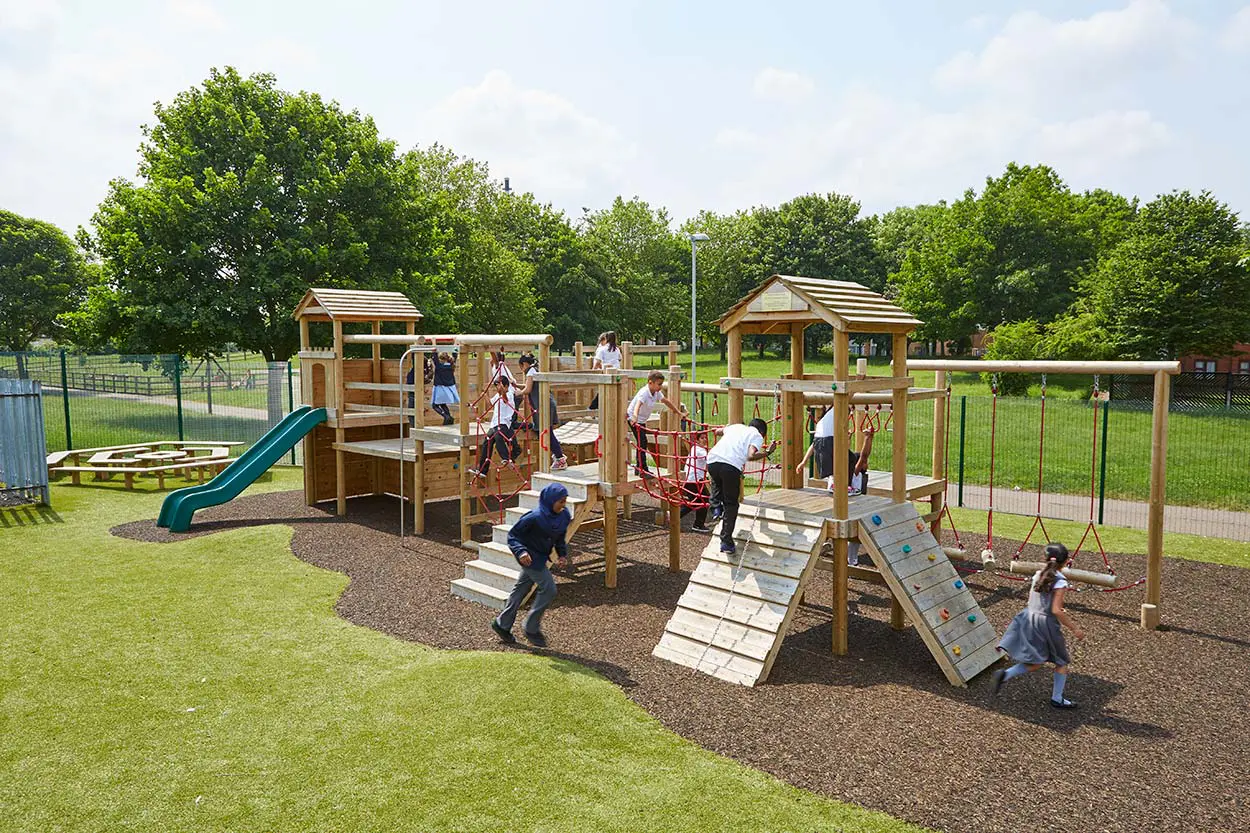
Welcome to the world of outdoor play areas! If you’re a parent or caregiver looking to create an engaging and safe play space for your children, building a wooden frame for a play area is an excellent option. Not only will it provide a dedicated space for your little ones to have fun, but it will also serve as a creative and exciting addition to your garden or backyard.
Building a wooden frame for a play area may seem like a daunting task, but with the right materials, tools, and a bit of guidance, you’ll be able to create a sturdy and durable structure that will withstand hours of playtime. In this article, we’ll walk you through the step-by-step process of building a wooden frame for a play area, from site preparation to final touches.
Before we dive into the construction process, let’s take a look at the essential materials you’ll need to complete this project:
- Pressure-treated lumber
- Wood screws
- Landscape fabric
- Gravel
- Measuring tape
- Pencil
- Circular saw
- Drill
- Level
- Hammer
Key Takeaways:
- Building a wooden frame for a play area requires careful site preparation, precise measurements, and sturdy assembly. It provides a safe and fun space for children to play and explore in the garden or backyard.
- Adding support beams and final touches, such as safety features and personalized accessories, enhances the durability and enjoyment of the play area. It’s a rewarding project that creates lasting memories for the whole family.
Read more: How To Build A Play Area For Ferret
Materials Needed
Before you begin building a wooden frame for your play area, gather the following materials:
- Pressure-treated lumber: This type of wood is resistant to rot and decay, making it ideal for outdoor use. You’ll need enough lumber to construct the frame and any additional features you want to include, such as swings or a slide.
- Wood screws: Choose screws that are suitable for outdoor use and long enough to securely fasten the lumber together.
- Landscape fabric: This will be used to create a barrier between the ground and the play area, preventing weeds and grass from growing through.
- Gravel: A layer of gravel will be placed under the landscape fabric to provide drainage and ensure stability.
- Measuring tape: Essential for accurate measurements throughout the construction process.
- Pencil: Used for marking measurements and guidelines on the wood.
- Circular saw: Necessary for cutting the lumber to the desired lengths.
- Drill: Needed for attaching the wood pieces together with screws.
- Level: Used to ensure that the frame is even and balanced.
- Hammer: Useful for hammering stakes and securing the frame.
Make sure to purchase high-quality materials that are built to last. It’s also a good idea to check with your local building codes and regulations to ensure compliance.
By having these materials on hand, you’ll be well-equipped to start building your wooden frame for the play area. Let’s move on to the next step: site preparation!
Step 1: Site Preparation
Before you begin constructing the wooden frame for your play area, it’s crucial to prepare the site properly. Follow these steps to ensure a stable and safe foundation:
- Choose the location: Select a suitable spot in your garden or backyard for the play area. Consider factors such as accessibility, visibility, and a level surface.
- Clean the area: Remove any obstructions, such as rocks, debris, or vegetation. Clearing the site will provide a clean canvas for your play area.
- Level the ground: Using a shovel and a rake, level the ground as much as possible. Remove any bumps or uneven areas to create a smooth surface.
- Add gravel: Lay a layer of gravel over the leveled ground. This will improve drainage and stability for your play area.
- Compact the gravel: Use a tamper or a heavy object to compact the gravel layer. This will ensure a solid and sturdy base for the wooden frame.
- Install landscape fabric: Cut and place landscape fabric over the compacted gravel. The fabric will prevent weeds from growing through the play area and help maintain the stability of the frame.
- Secure the fabric: Use stakes or garden pins to secure the landscape fabric in place. This will prevent it from shifting during the construction process.
By following these site preparation steps, you’ll create an optimal foundation for your wooden frame. A level and stable surface will enhance the structural integrity of the play area and provide a safe environment for your children. Now that the site is ready, let’s move on to the next step: measuring and marking.
Step 2: Measuring and Marking
Now that you’ve prepared the site for your play area, it’s time to measure and mark the dimensions for the wooden frame. Follow these steps to ensure accuracy:
- Determine the size: Decide on the dimensions of the play area based on the available space and your desired design. Consider factors such as the age of your children and the types of activities you want to incorporate.
- Measure the area: Use a measuring tape to measure the length and width of the designated play area. Note down the measurements for reference.
- Mark the corners: With the help of a tape measure and a pencil, mark the corners of the play area on the ground using the measured dimensions as a guide. Ensure the corners are square by using the 3-4-5 method or a carpenter’s square.
- Connect the marks: Use a string line or a chalk line to connect the marked corners, creating the outline of the play area.
- Double-check the measurements: Verify that the dimensions of the marked area match your initial measurements. Make any necessary adjustments at this stage.
- Mark the support beam locations: Determine the locations for the support beams within the marked area. These beams will provide additional stability for the frame. Use a measuring tape and pencil to mark the positions.
With precise measurements and clearly marked guidelines, you’ll have a solid foundation for constructing the wooden frame. Next, let’s move on to step 3: cutting the wood.
Step 3: Cutting the Wood
With the site prepared and the measurements marked, it’s time to cut the wood for your play area frame. Follow these steps to ensure accurate cuts:
- Gather the materials: Collect the pressure-treated lumber, circular saw, measuring tape, pencil, and safety equipment.
- Measure and mark: Take precise measurements for each piece of wood based on the marked guidelines. Use a measuring tape and pencil to mark the lengths on the lumber.
- Secure the wood: Use clamps or a vice to secure the wood in place before cutting. This will prevent any movement during the cutting process.
- Cut the wood: Using a circular saw, carefully cut along the marked lines. Take your time and follow safety precautions to ensure a clean cut.
- Double-check the cuts: After cutting each piece, double-check the dimensions to ensure accuracy. Trim any uneven edges, if necessary, for a snug fit during assembly.
- Organize the cut pieces: Group the cut pieces of wood together based on their designated positions in the frame. This will make the assembly process more efficient.
Remember to prioritize safety while using power tools. Wear appropriate protective gear, such as safety goggles and gloves, and work in a well-ventilated area. Once you have finished cutting the wood pieces, you’re ready to move on to step 4: assembling the frame.
When building a wooden frame for a play area, make sure to use pressure-treated lumber to prevent rot and decay. Also, consider using galvanized or stainless steel hardware to prevent rusting.
Read more: How Much To Build A Soft Play Area
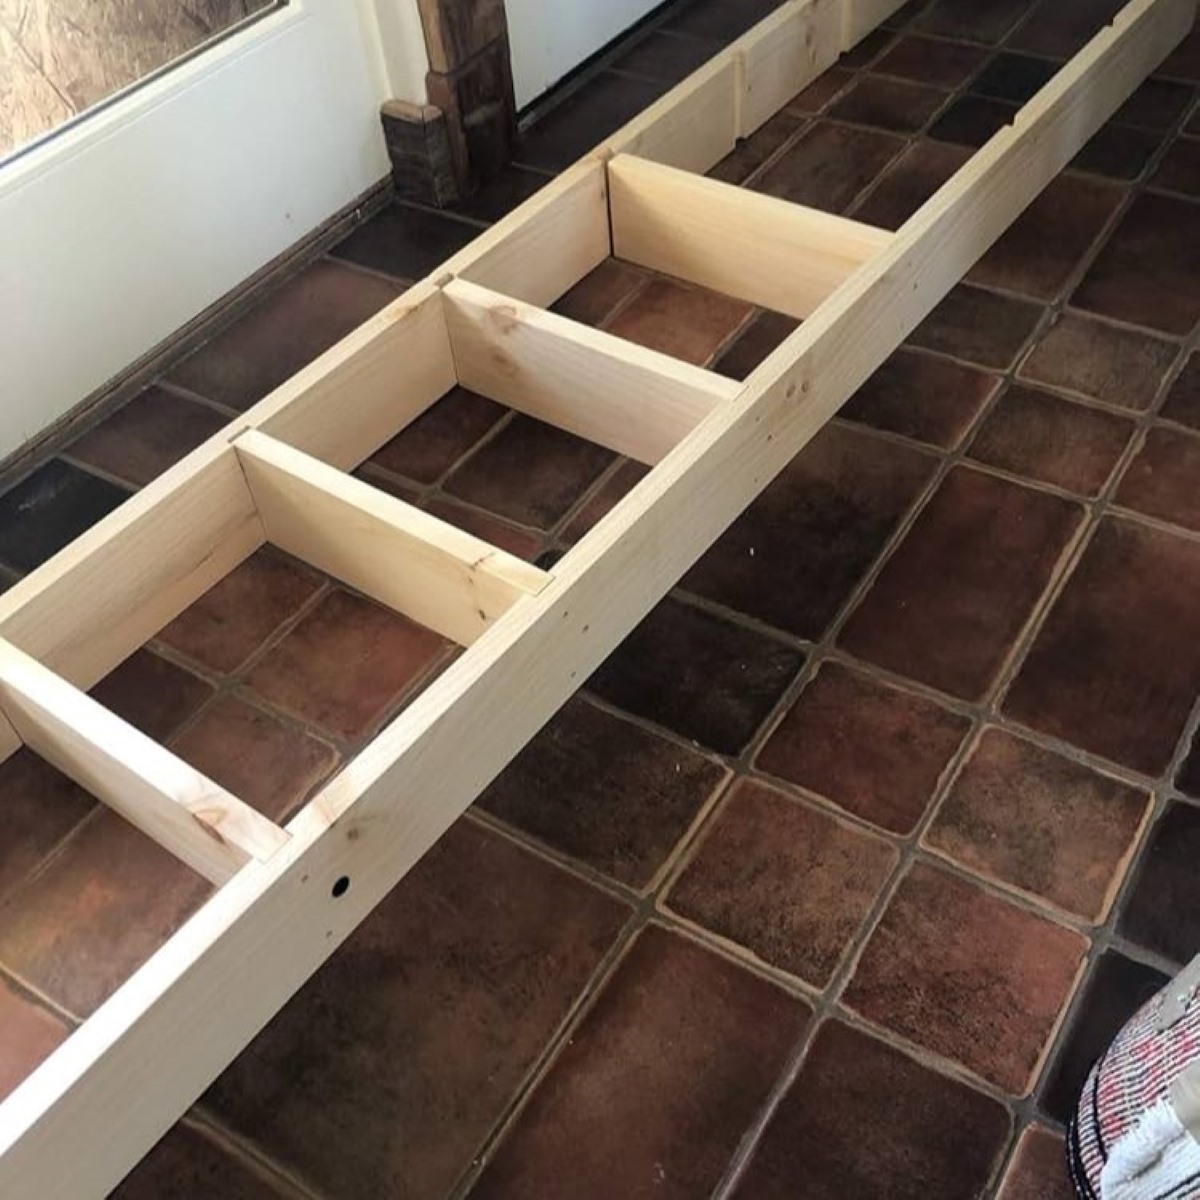
Step 4: Assembling the Frame
With the wood cut to the desired lengths, it’s time to assemble the frame for your play area. Follow these steps to ensure a sturdy and secure structure:
- Start with the corner posts: Take the longest pieces of lumber and position them at the designated corners of the play area. Use a level to ensure they are plumb and straight.
- Attach the side pieces: Take the shorter pieces of lumber and connect them to the corner posts, creating the sides of the frame. Secure them using wood screws, drilling them into the corner posts.
- Continue adding the remaining pieces: Add the remaining pieces of wood to complete the frame. Ensure that each piece is properly aligned and level before securing it with screws.
- Double-check the squareness: Use a carpenter’s square or the 3-4-5 method to verify that the frame is square. Adjust the position of the pieces, if needed, to achieve perfect right angles.
- Tighten the screws: Once all the pieces are in place and the frame is square, go back and tighten all the screws to ensure a solid connection between the wood pieces.
During the assembly process, it’s important to pay attention to the alignment and stability of the frame. Taking the time to ensure proper connections and squareness will result in a durable and safe structure for your play area. With the frame assembled, let’s move on to the next step: securing the frame.
Step 5: Securing the Frame
Now that you have assembled the wooden frame for your play area, it’s time to secure it in place. Follow these steps to ensure a stable and safe structure:
- Position the frame: Move the assembled frame into the marked area, aligning it with the guidelines on the ground. Make sure the frame is centered and level.
- Secure the corner posts: To anchor the frame, use a hammer and stakes or post anchors to secure the corner posts into the ground. Make sure they are firmly in place and provide adequate stability.
- Check for levelness: Use a level to ensure that the frame is still level after securing it. Make any necessary adjustments by adding or removing soil or gravel underneath the frame.
- Secure the sides: Take additional stakes or anchors and use them to secure the sides of the frame to the ground. This will provide added stability and prevent any movement during play.
- Double-check the stability: Give the frame a gentle shake to ensure that it is securely in place. If there is any wobbling or instability, reinforce the connections or add additional stakes as needed.
Securing the wooden frame will ensure that your play area can withstand active play and outdoor elements. A stable and well-anchored frame will provide a safe and enjoyable environment for children. With the frame secured, let’s move on to the next step: adding support beams.
Step 6: Adding Support Beams
Adding support beams to your play area frame will enhance its strength and stability. These beams will provide additional support and reinforcement to ensure a secure structure. Follow these steps to add support beams to your wooden frame:
- Determine the number and length of support beams: Assess the size and design of your play area frame to determine how many support beams you need. Measure and cut the pressure-treated lumber to the appropriate length.
- Position the support beams: Place the support beams horizontally across the frame, perpendicular to the sides. The beams should be evenly spaced for optimal support.
- Secure the support beams: Use wood screws or brackets to secure the support beams to the frame. Make sure they are tightly fastened to provide maximum strength.
- Double-check the levelness: Use a level to ensure that the support beams are horizontal and level. Make any necessary adjustments, such as adding shims or adjusting the screws, to achieve proper alignment.
- Test the stability: Apply pressure or give the frame a gentle shake to test the stability. The support beams should reinforce the structure, minimizing any wobbling or movement.
By adding support beams, you are strengthening the integrity of your play area frame. This extra reinforcement will provide peace of mind knowing that the structure can withstand the energetic play of children. With the support beams in place, let’s move on to the final step: adding the finishing touches.
Step 7: Final Touches
Now that the wooden frame for your play area is complete, it’s time to add the final touches to make it even more enjoyable for your children. Follow these steps to add those finishing touches:
- Sand the wood: Use sandpaper to smooth any rough edges or surfaces on the wooden frame. This will help prevent splinters and make it safer for children to play on.
- Apply a protective finish: Consider applying a weather-resistant sealant or paint to protect the wood from the elements. This will extend the lifespan of the play area frame and keep it looking vibrant.
- Add safety features: Install safety measures such as corner protectors or rubber mulch around the play area to minimize the risk of injuries during playtime.
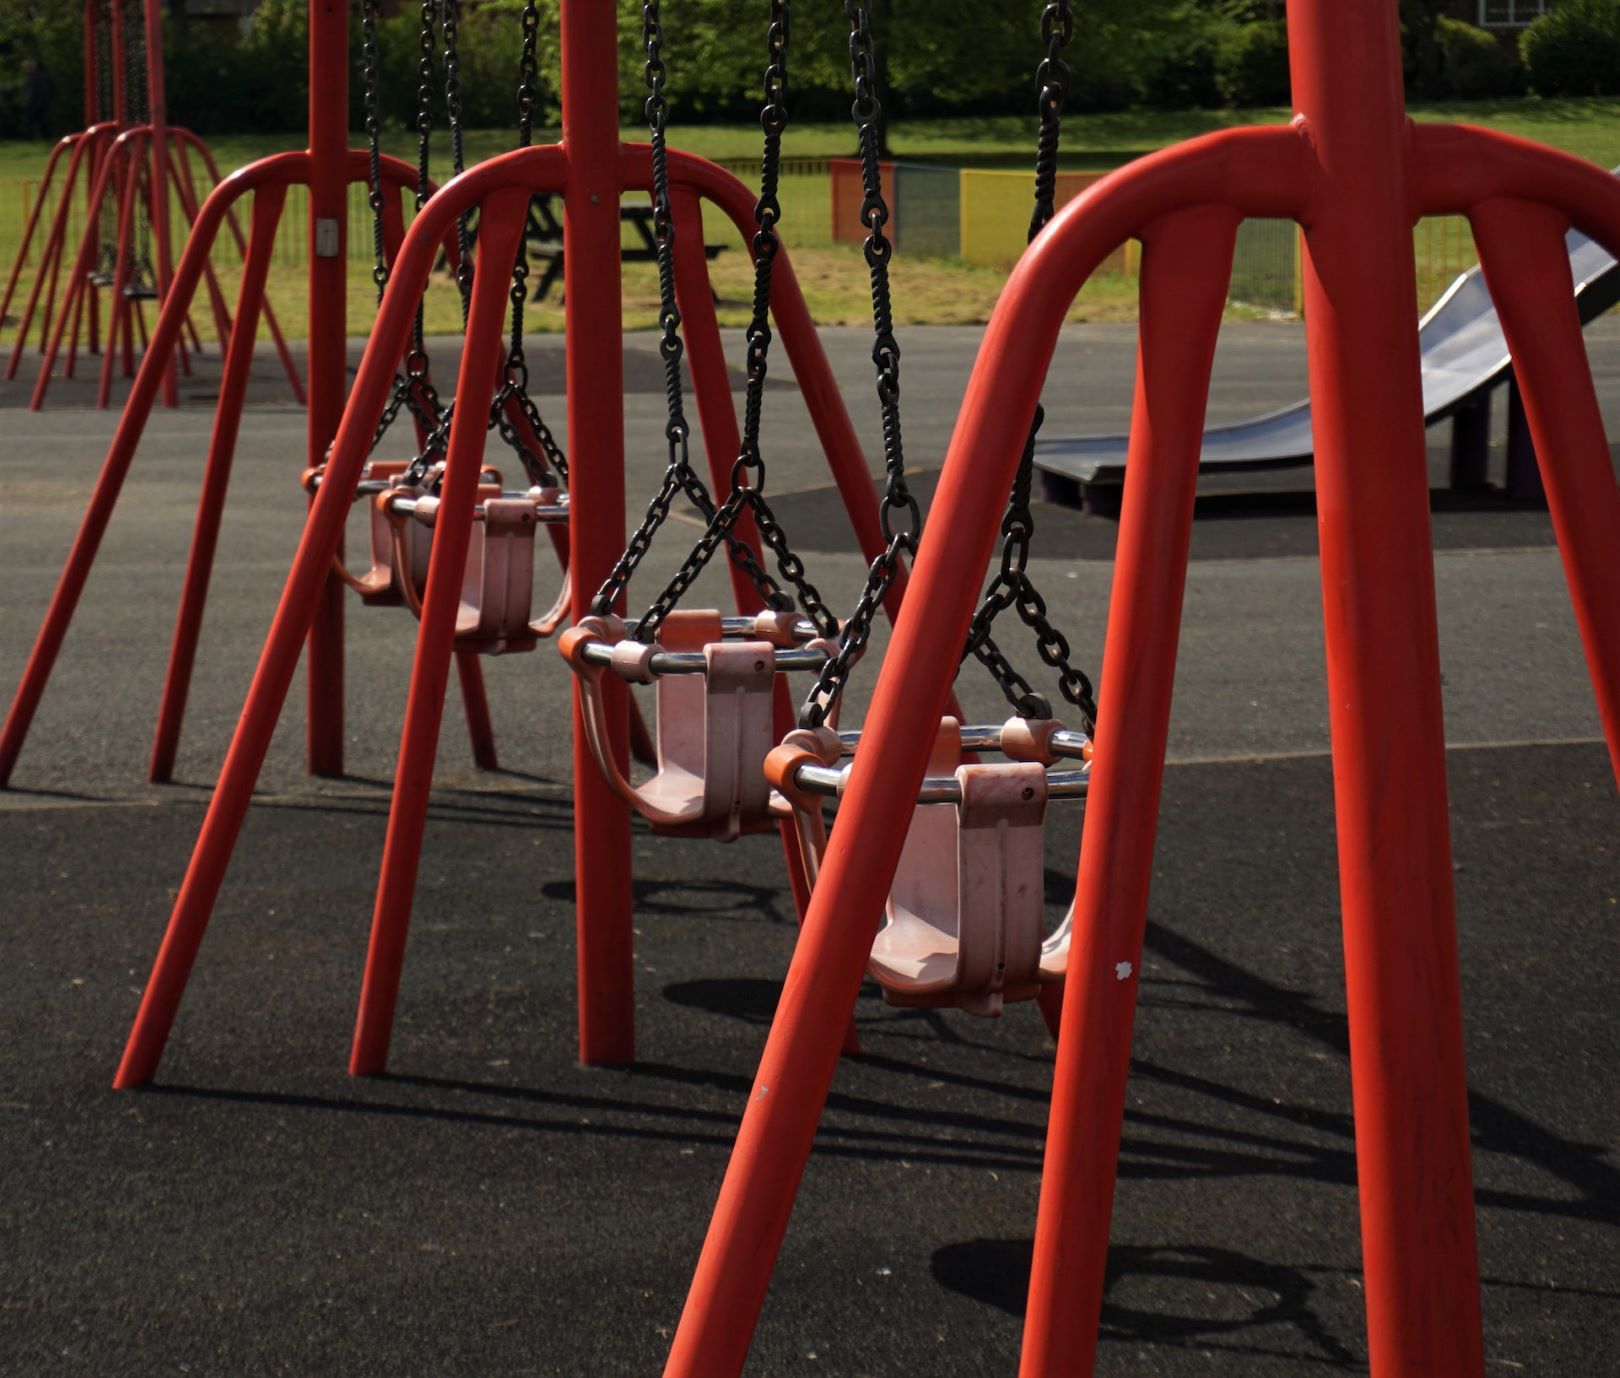
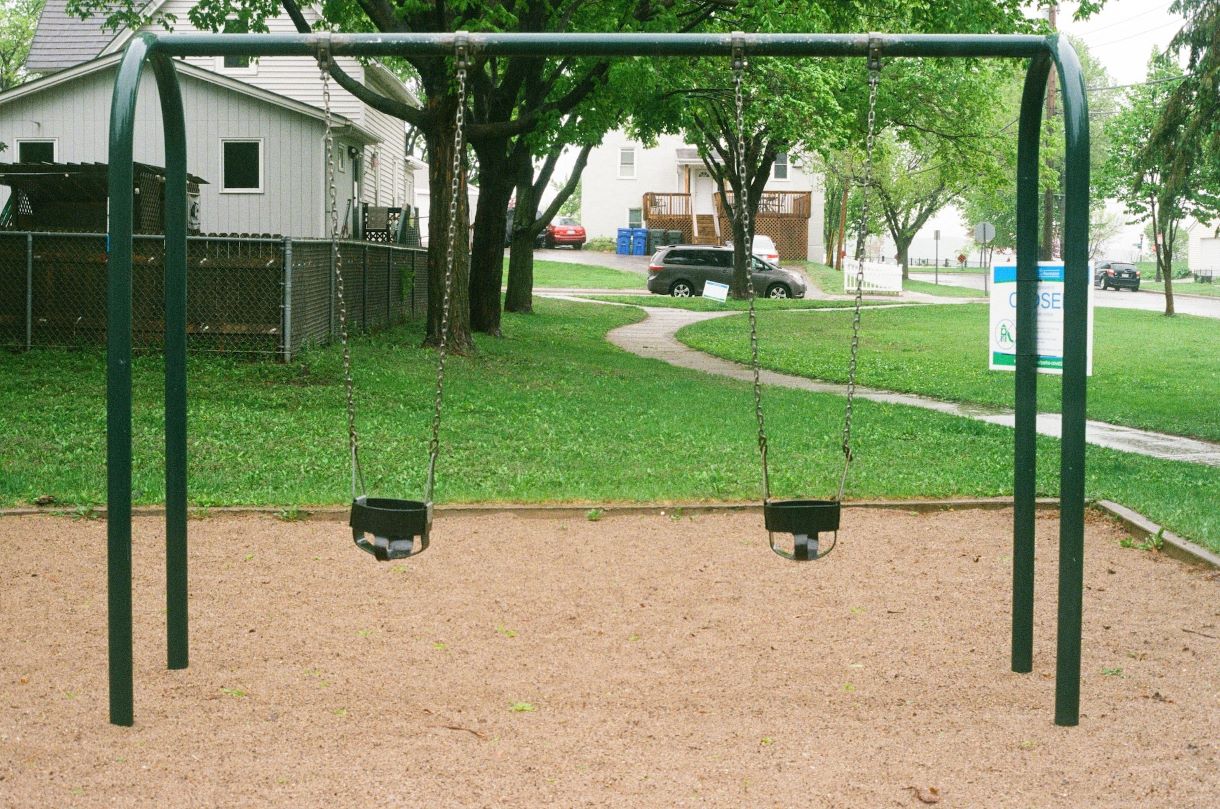
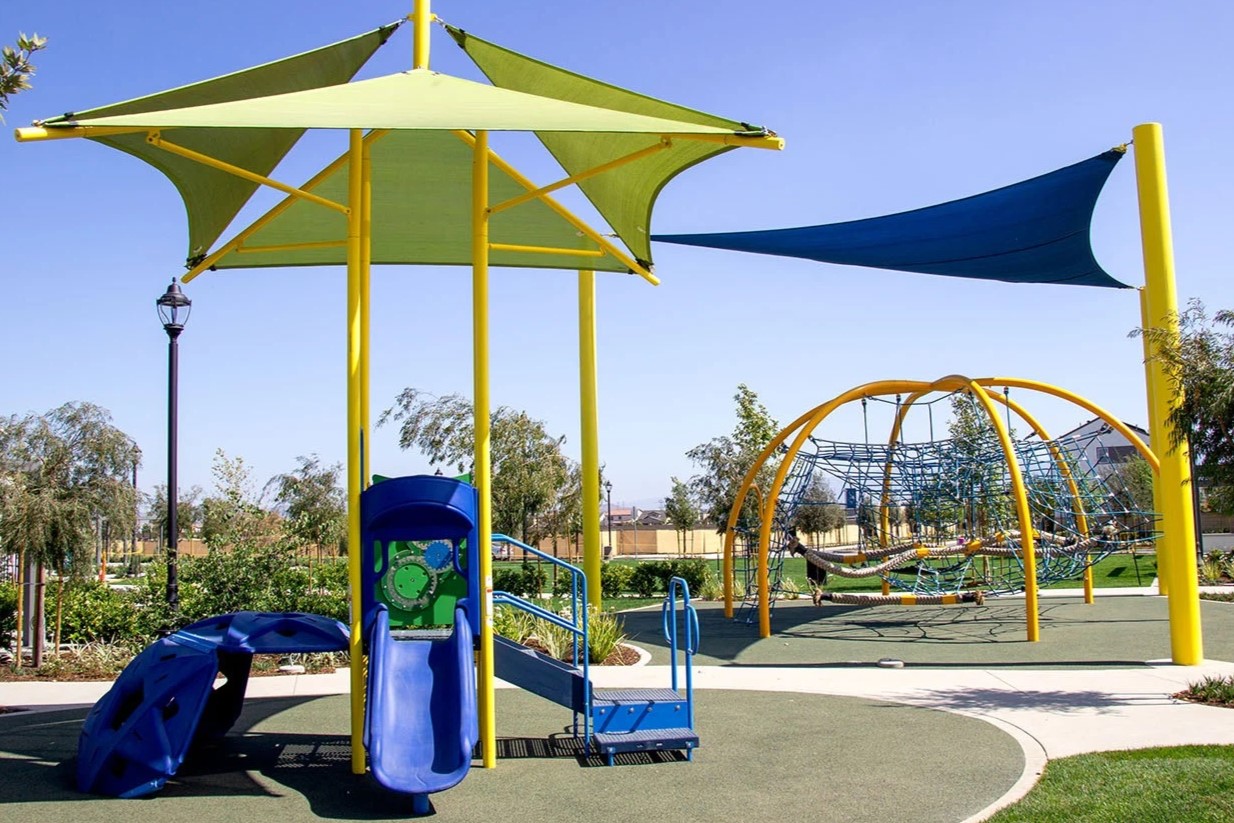
- Personalize the play area: Consider adding fun accessories like a canopy, swings, a slide, or a climbing wall to customize the play area and make it more engaging for your children.
- Create a soft landing: Lay down a layer of safety material, such as rubber mats or wood chips, under swings and slide exits to provide a cushioned landing for added safety.
- Add seating or picnic area: If space permits, create a seating or picnic area adjacent to the play area where parents and caregivers can relax while keeping an eye on the children.
By adding these final touches, you’ll make the play area more inviting and enjoyable for your children. Take the time to consider their preferences and interests when customizing the play area to create a space they will love. Once you’ve completed these final touches, your wooden frame play area will be ready for hours of fun and adventure!
Congratulations on successfully building a wooden frame for your play area. Not only have you created a safe and engaging space for your children, but you’ve also added a beautiful and functional element to your garden or backyard. Now, sit back, relax, and watch as your children’s imagination takes flight in their very own play area.
Enjoy the process, bond with your family, and create memories that will last a lifetime!
Read more: How To Build An Outdoor Play Area For Cat
Conclusion
Building a wooden frame for a play area is a rewarding project that provides a dedicated space for children to have fun and unleash their imagination. By following the step-by-step guide outlined in this article, you can create a sturdy and safe structure that will bring joy to your little ones for years to come.
From the initial site preparation to the finishing touches, each step plays a vital role in ensuring the durability and functionality of the play area frame. By selecting high-quality materials, accurately measuring and cutting the wood, and properly securing the frame, you can create a structure that will withstand the rigors of active play.
Remember to prioritize safety throughout the entire construction process. Secure the frame well, add support beams for reinforcement, and consider adding safety features such as corner protectors and soft landing materials. With these precautions in place, you can provide a safe environment for your children to play and explore.
Don’t forget to add your personal touch to the play area. Customize it with fun accessories, seating areas, and picnic spots that reflect your children’s interests and make the space uniquely their own. This will enhance their excitement and create a space where lasting memories can be made.
Building a wooden frame for a play area may require time, effort, and attention to detail, but the end result is well worth it. The smiles, laughter, and memories created in the play area will make it all worthwhile. So, roll up your sleeves, grab your tools, and embark on this exciting journey to create a magical play area for your children.
Enjoy the process, involve the whole family, and cherish the moments spent together in your backyard oasis. Let the adventures begin!
Frequently Asked Questions about How To Build Wooden Frame For Play Area
Was this page helpful?
At Storables.com, we guarantee accurate and reliable information. Our content, validated by Expert Board Contributors, is crafted following stringent Editorial Policies. We're committed to providing you with well-researched, expert-backed insights for all your informational needs.


0 thoughts on “How To Build Wooden Frame For Play Area”