Home>Gardening & Outdoor>Landscaping Ideas>How To Build An Elevated Garden Bed

Landscaping Ideas
How To Build An Elevated Garden Bed
Modified: October 19, 2024
Learn how to create a beautiful and functional elevated garden bed with our expert landscaping ideas. Transform your outdoor space today!
(Many of the links in this article redirect to a specific reviewed product. Your purchase of these products through affiliate links helps to generate commission for Storables.com, at no extra cost. Learn more)
Introduction
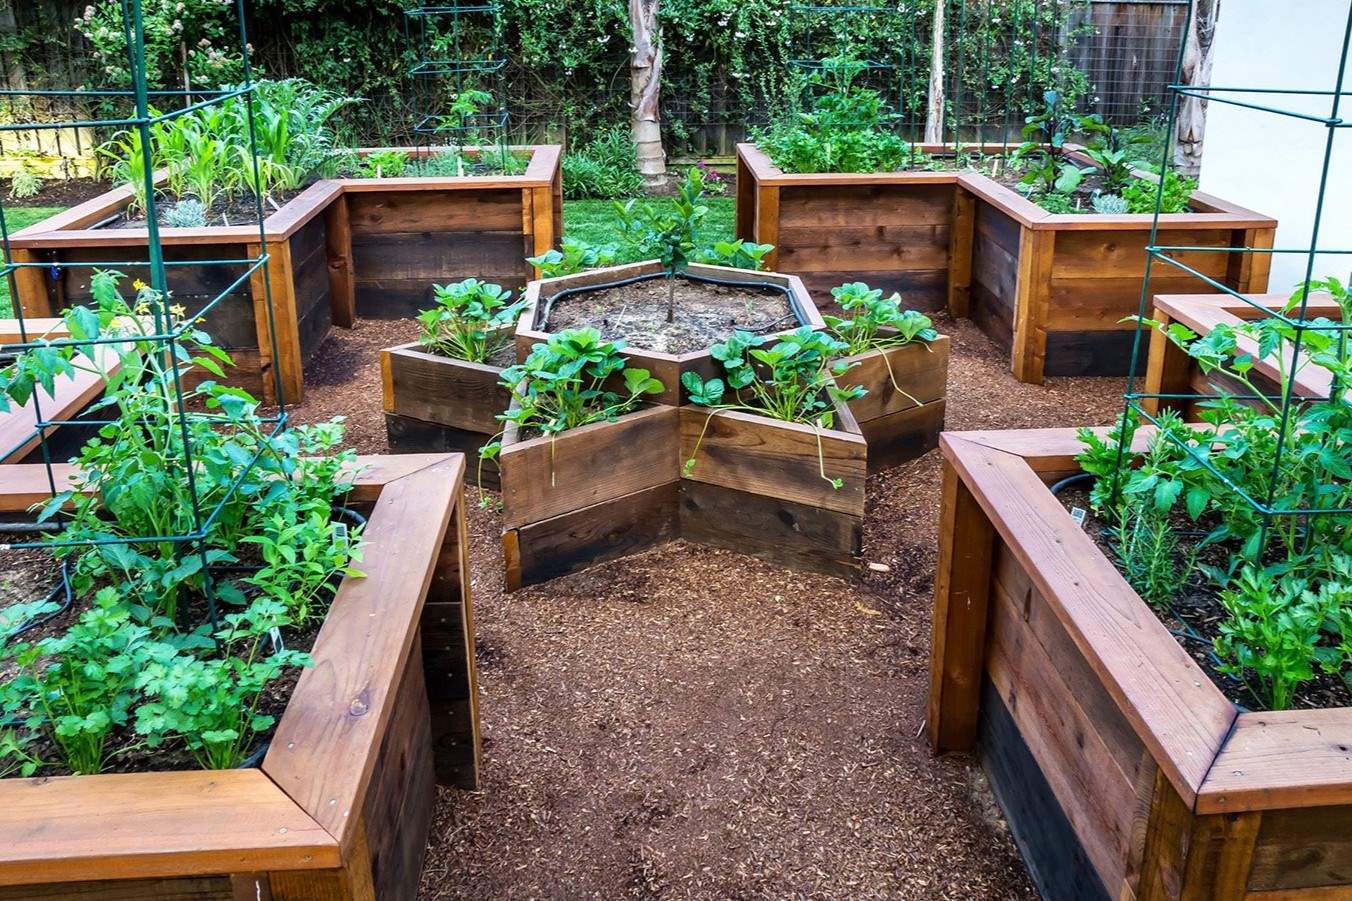
Elevated garden beds are a fantastic way to bring the joy of gardening to your outdoor space, whether you have a sprawling backyard or a cozy urban balcony. These raised planters offer numerous benefits, including improved drainage, better soil quality, and easier access for planting, tending, and harvesting your favorite flowers, herbs, or vegetables.
In this comprehensive guide, we will walk you through the step-by-step process of building your own elevated garden bed. Whether you're a seasoned gardener or a novice enthusiast, creating a raised garden bed can be a rewarding and enjoyable project that adds both beauty and functionality to your outdoor environment.
By following the simple yet effective instructions provided, you'll be able to customize the size and design of your elevated garden bed to suit your specific needs and preferences. From selecting the ideal location to choosing the right materials and assembling the frame, each step is designed to empower you with the knowledge and confidence to bring your garden bed vision to life.
As we delve into the process, you'll discover the satisfaction of working with your hands and witnessing the transformation of raw materials into a functional and aesthetically pleasing garden feature. Whether you're aiming to grow vibrant flowers to enhance your landscape or cultivate fresh produce for your kitchen, an elevated garden bed can serve as a versatile and charming addition to your outdoor space.
So, roll up your sleeves, gather your tools, and let's embark on this fulfilling journey of creating a beautiful and bountiful elevated garden bed that will bring joy and abundance to your outdoor oasis.
Key Takeaways:
- Elevated garden beds are a fun and rewarding way to grow plants, offering benefits like better soil and easier access. By following simple steps, you can create a beautiful garden oasis in your outdoor space.
- Choosing the right location, gathering materials, building the frame, adding soil, and planting your garden are the key steps to bring your elevated garden bed to life. It’s a creative and fulfilling project that adds beauty to your outdoor sanctuary.
Read more: How To Build Garden Beds
Step 1: Choose a Location
Selecting the right location for your elevated garden bed is crucial to the success of your gardening endeavors. When choosing a spot, consider the amount of sunlight, access to water, and the overall aesthetic of your outdoor space. Here's a detailed guide to help you make an informed decision:
-
Sunlight Exposure: Assess the sunlight patterns in your yard or balcony. Most plants thrive in full sun, which typically means they need at least 6-8 hours of direct sunlight per day. However, if you're planning to grow shade-loving plants such as ferns or certain herbs, a partially shaded area might be more suitable.
-
Accessibility: Ensure that the location you choose allows for easy access to your garden bed. This includes proximity to a water source for irrigation and the convenience of reaching the plants for watering, pruning, and harvesting. If you have limited mobility, consider a location that is easily accessible for maintenance tasks.
-
Aesthetic Appeal: The visual impact of your garden bed is an important consideration. Choose a location that complements the overall design of your outdoor space. Whether you opt for a corner of your yard, a prominent spot on your patio, or a balcony setting, the garden bed should enhance the beauty of its surroundings.
-
Soil Quality: Evaluate the soil quality in the area where you plan to place the garden bed. While raised beds offer the advantage of using custom soil mixes, it's still beneficial to start with a location that has good drainage and minimal compaction.
-
Local Regulations: Check local regulations or homeowner association guidelines regarding the placement of garden beds. Some areas may have specific rules about the size, height, or placement of raised garden beds, so it's important to be aware of any restrictions before proceeding.
By carefully considering these factors, you can choose a location that sets the stage for a thriving and visually appealing garden bed. Once you've identified the perfect spot, you'll be ready to move on to the next exciting step of gathering materials to bring your elevated garden bed to life.
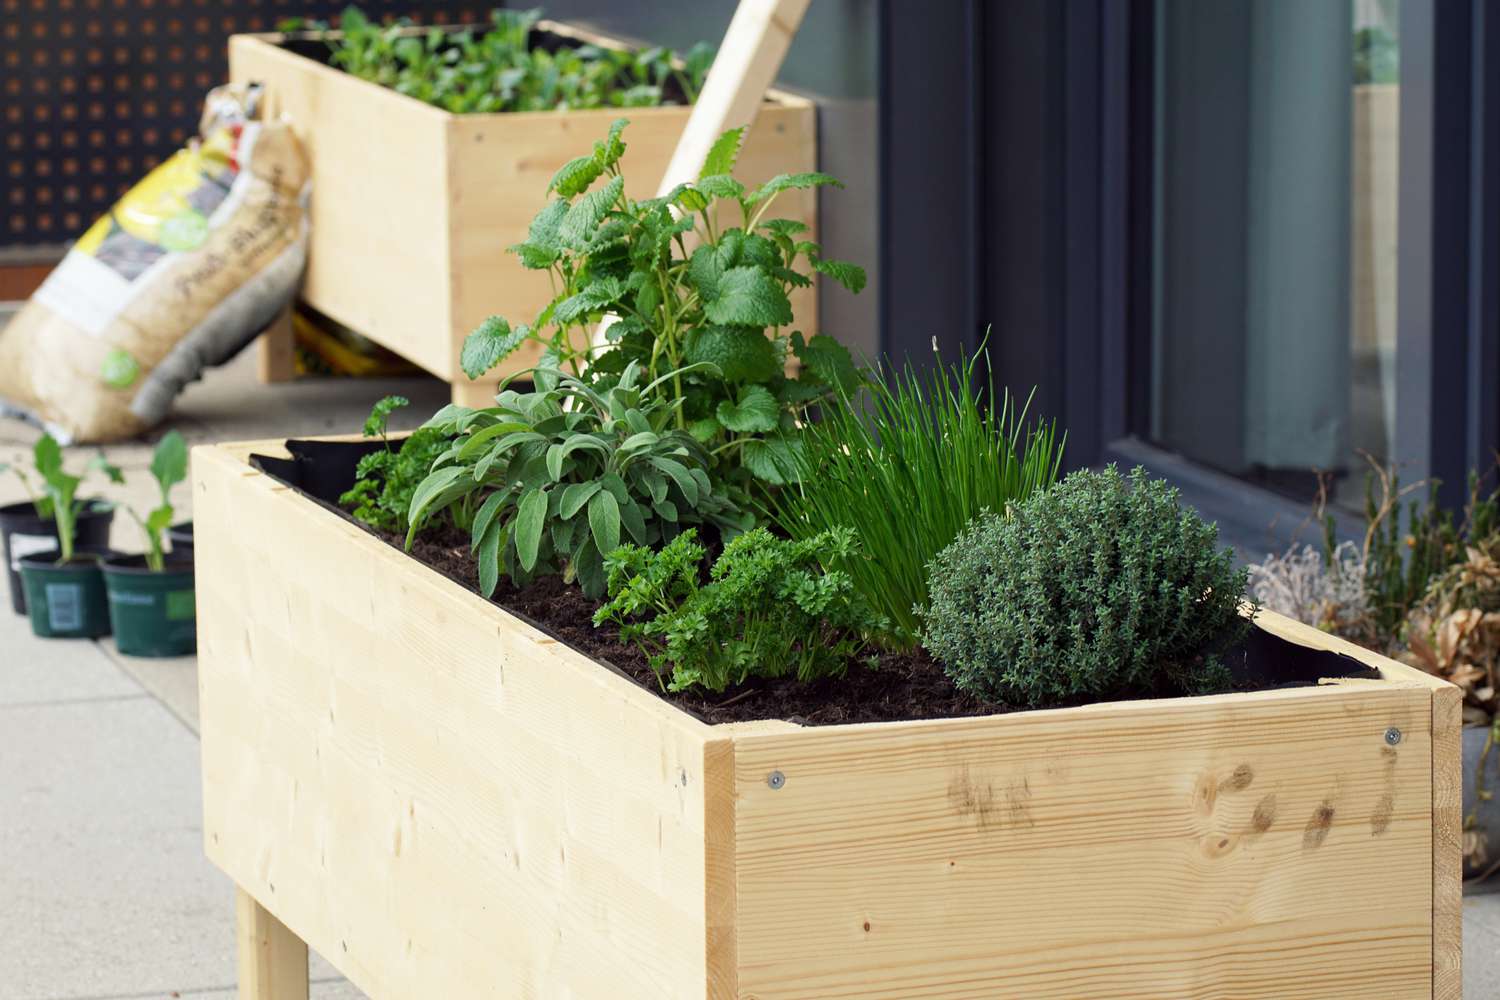
Step 2: Gather Materials
Before diving into the construction of your elevated garden bed, it's essential to gather all the necessary materials and tools. By ensuring that you have everything at your disposal, you can streamline the building process and minimize interruptions. Here's a comprehensive list of materials and tools you'll need to bring your garden bed vision to fruition:
Materials:
-
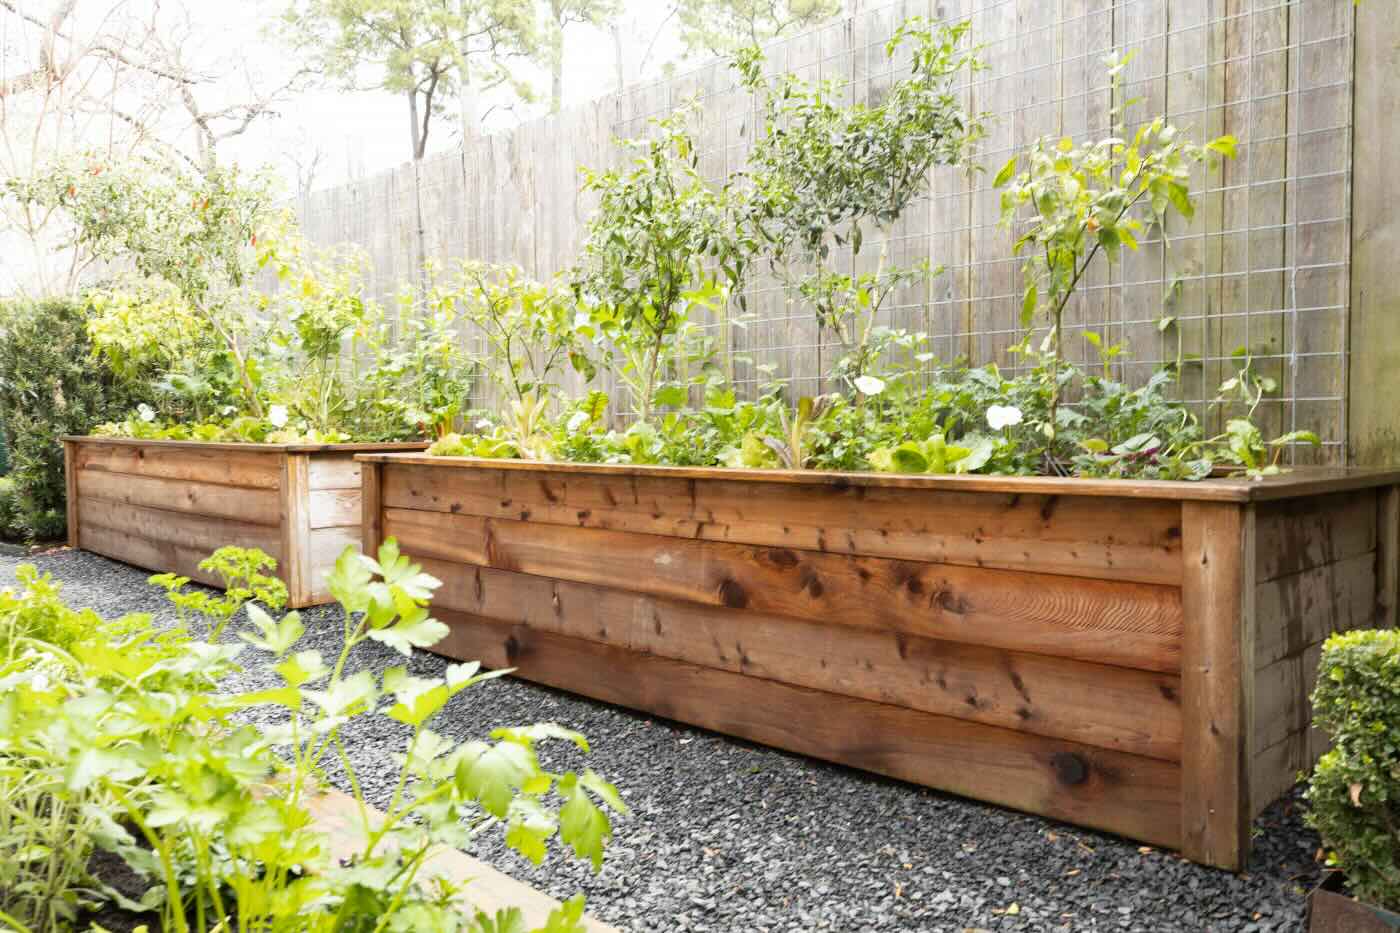
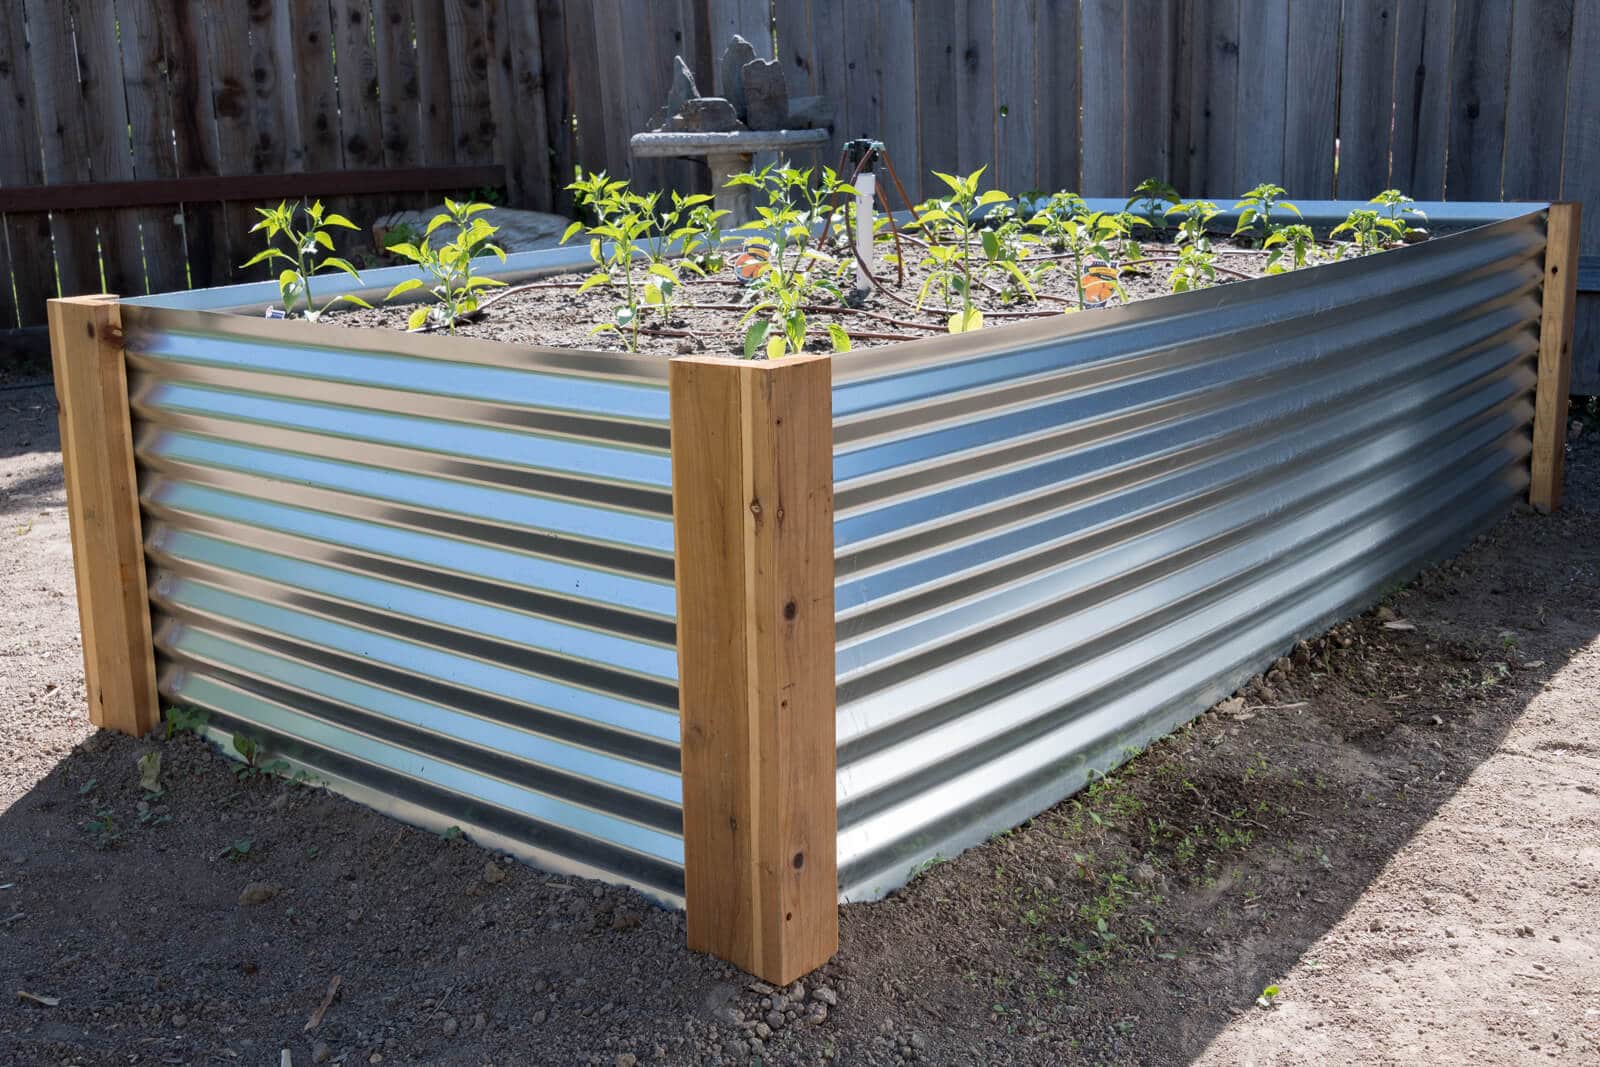
Lumber: Select high-quality, untreated lumber for constructing the frame of your garden bed. Cedar and redwood are popular choices due to their natural resistance to rot and insects. The dimensions of the lumber will depend on the size of the garden bed you intend to build.
-
Hardware: Purchase corrosion-resistant screws or galvanized nails to assemble the frame securely. Additionally, consider obtaining corner brackets or braces to reinforce the structure and ensure its stability.
-
Landscape Fabric: Acquire landscape fabric to line the interior of the garden bed. This will help prevent soil erosion and weed growth while allowing for proper drainage.
-
Soil: Depending on the size of your garden bed, calculate the amount of soil needed to fill it. Opt for high-quality, nutrient-rich soil to provide an optimal growing environment for your plants.
-
Compost and Amendments: Consider incorporating compost and organic soil amendments to enrich the soil and promote healthy plant growth. These can include well-rotted manure, composted leaves, or organic fertilizers.
-
Optional: Weed Barrier: If you anticipate weed issues, a weed barrier can be added beneath the soil to further deter weed growth and maintain a tidy garden bed.
Tools:
-
Measuring Tape: Accurate measurements are crucial for ensuring the proper dimensions of your garden bed. A measuring tape will help you determine the precise lengths of lumber needed for the frame.
-
Saw: A handsaw or power saw will be essential for cutting the lumber to the required lengths. Ensure that the cuts are clean and accurate to facilitate a seamless assembly process.
-
Drill or Hammer: Depending on your preference, use a drill with appropriate bits or a hammer to secure the lumber and hardware during assembly.
-
Staple Gun: If using landscape fabric or a weed barrier, a staple gun will be useful for securing these materials in place.
-
Shovel or Garden Trowel: For filling the garden bed with soil, a shovel or garden trowel will aid in the distribution and leveling of the growing medium.
By gathering these materials and tools, you'll be well-equipped to proceed with the construction of your elevated garden bed. With everything in hand, you're ready to embark on the exciting next step of building the frame that will form the foundation of your flourishing garden oasis.
Read more: How To Build A Garden Bed On A Slope
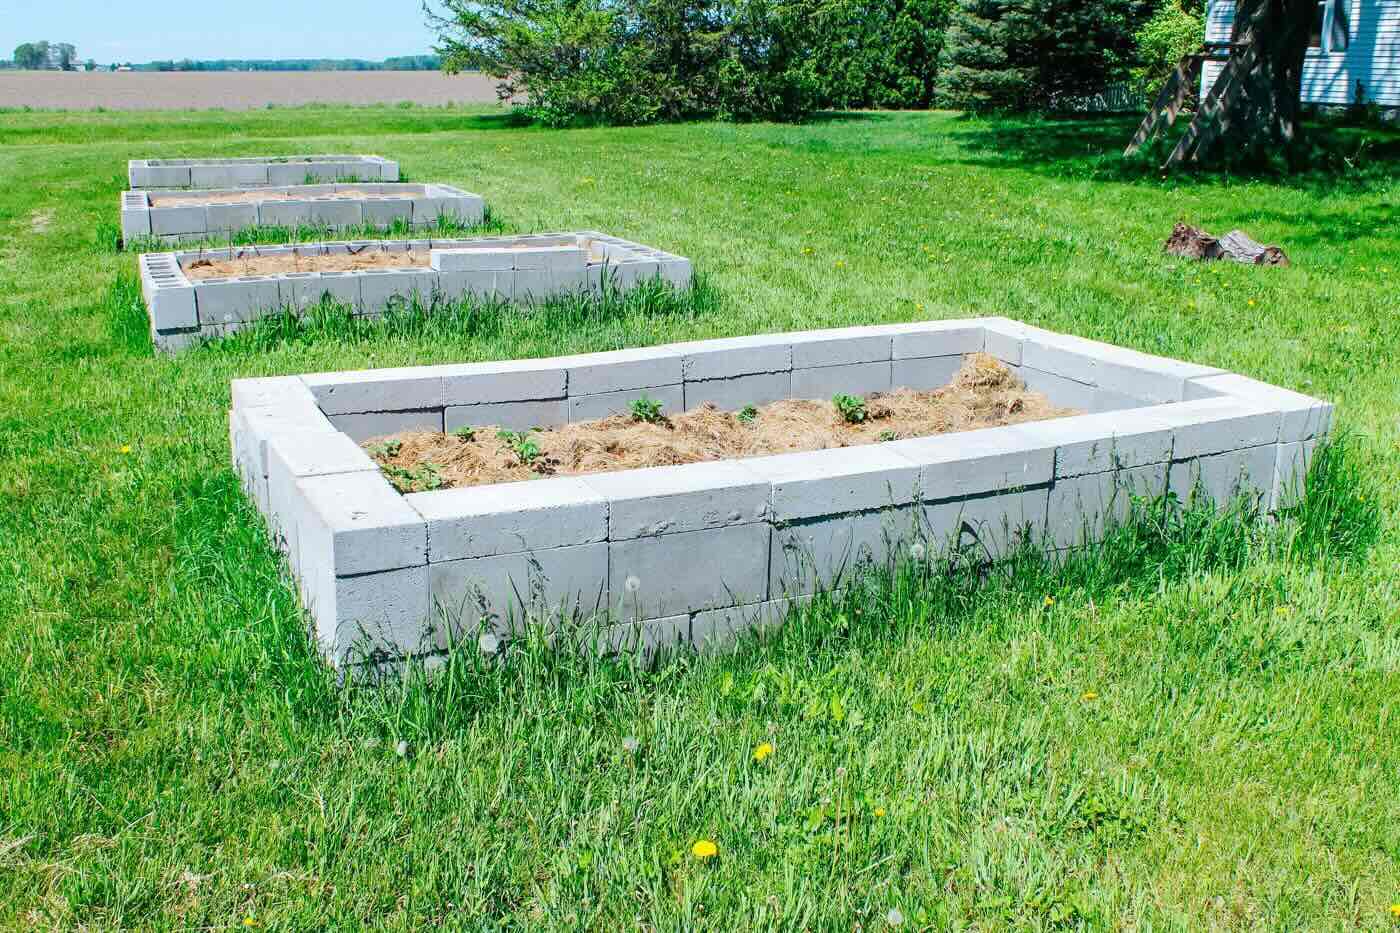
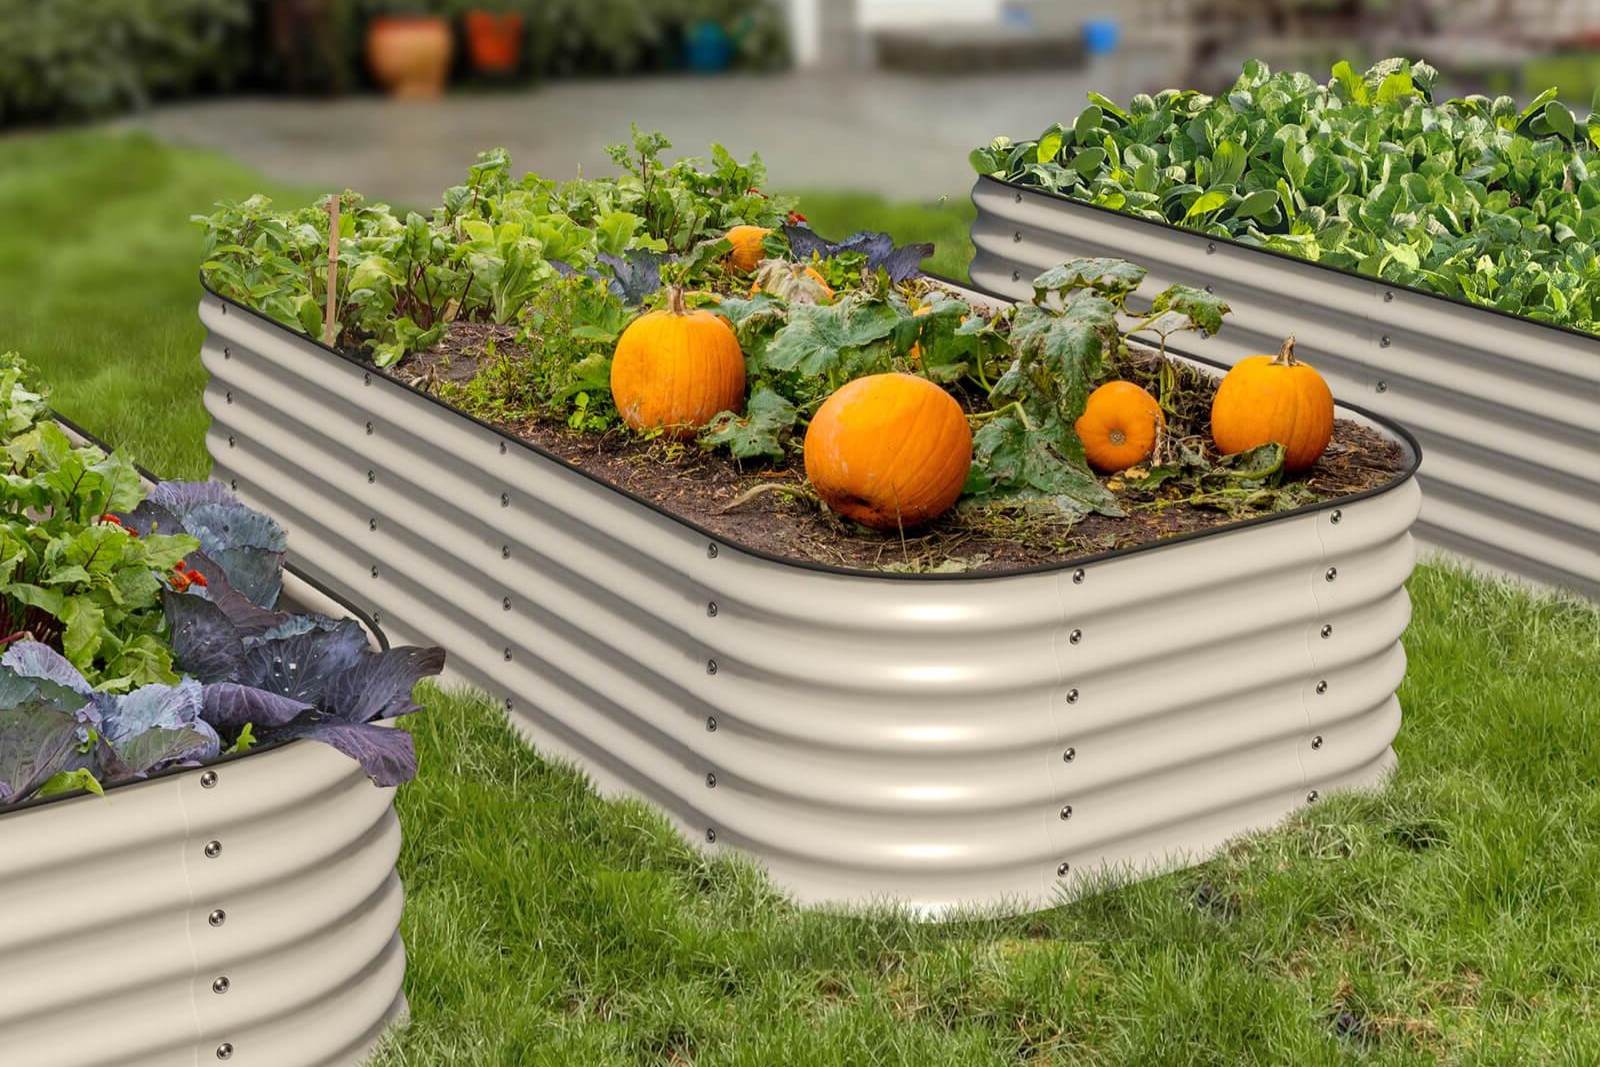
Step 3: Build the Frame
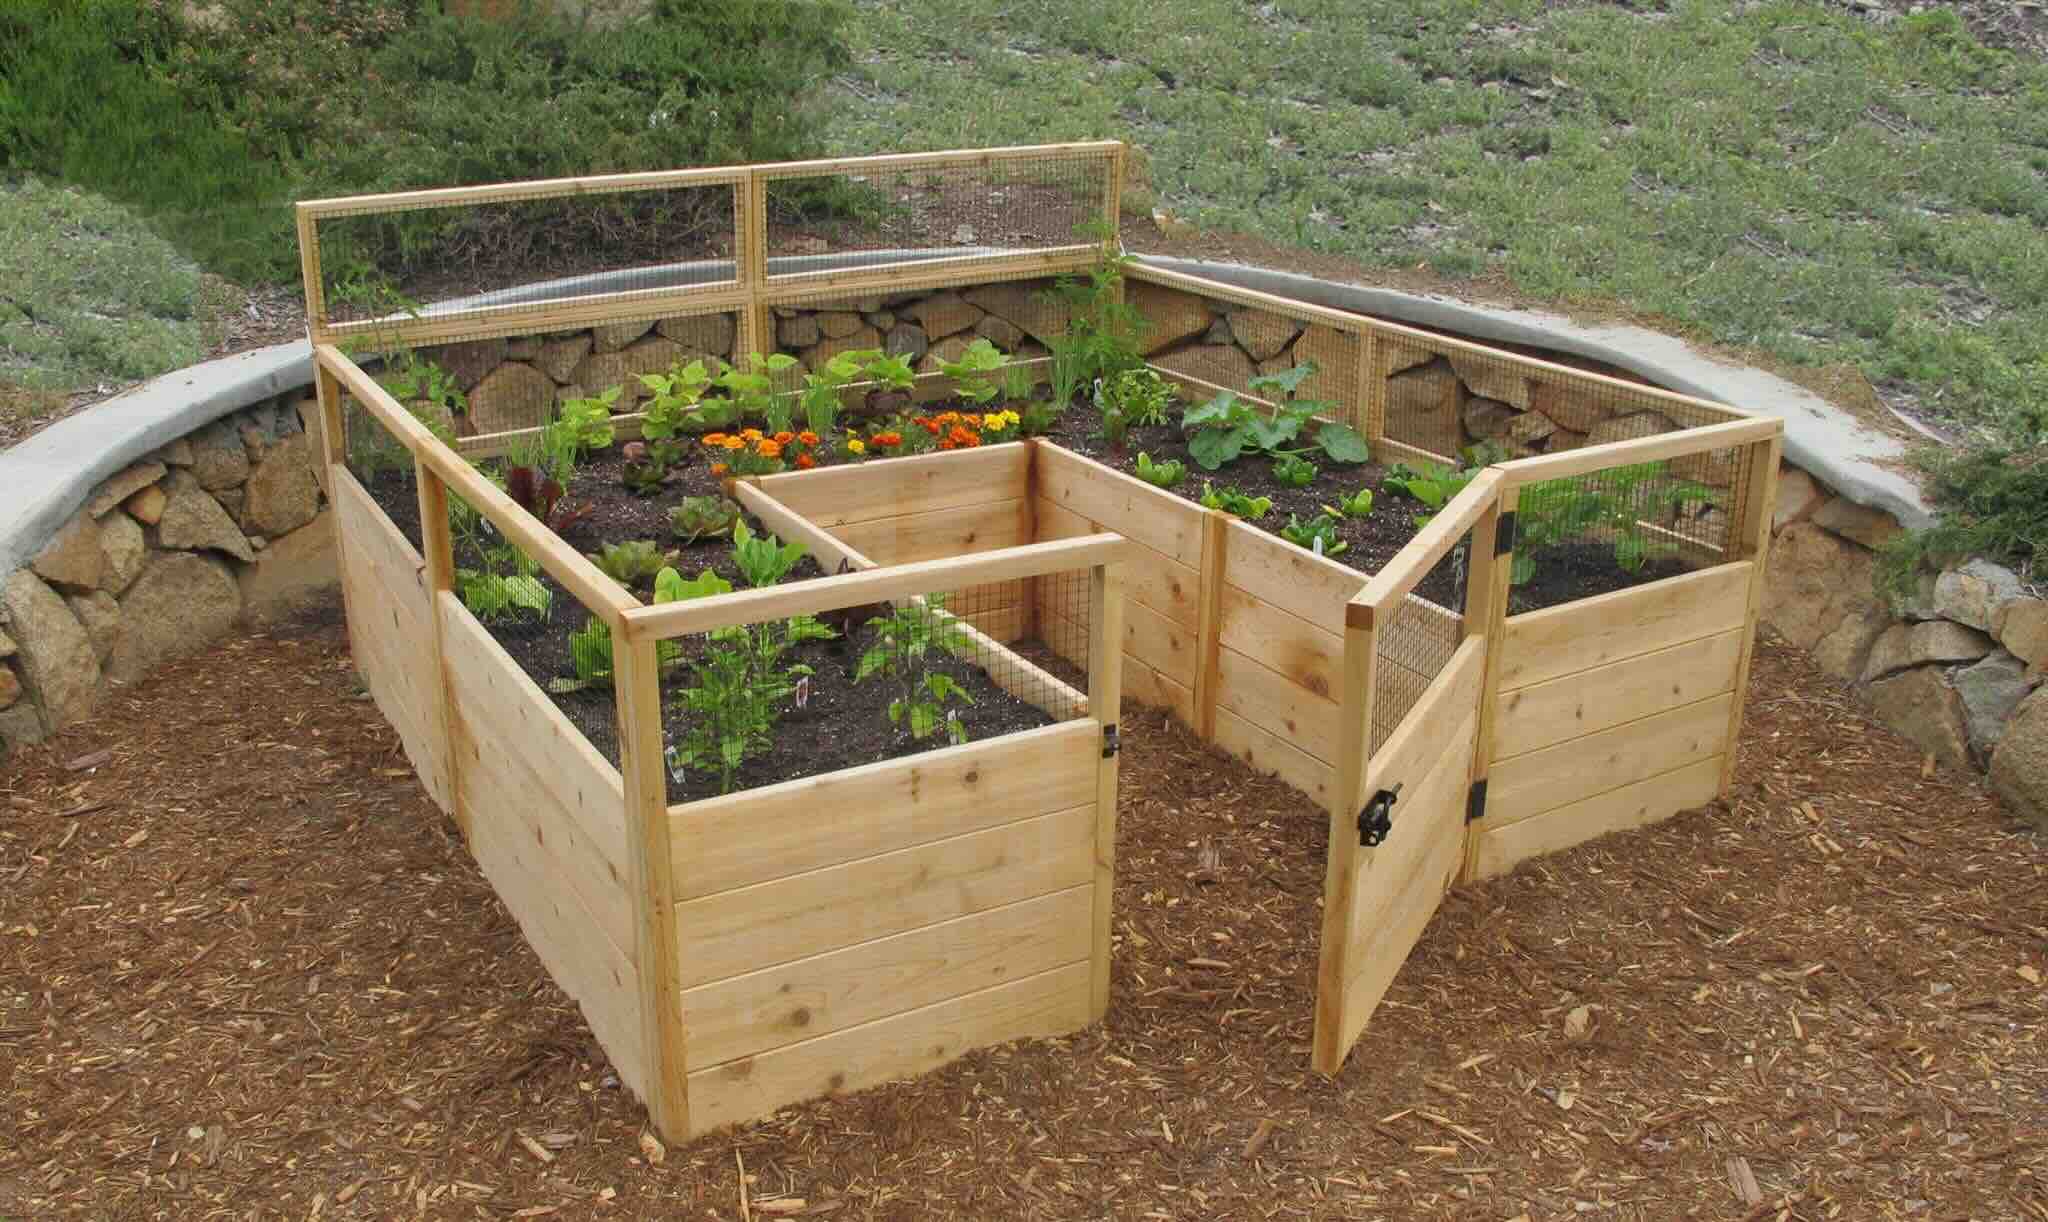
Building the frame of your elevated garden bed is a pivotal step that lays the groundwork for the structural integrity and visual appeal of the entire project. The frame not only defines the shape and dimensions of the garden bed but also provides essential support for the soil and plants it will contain. Follow these detailed instructions to construct a sturdy and attractive frame for your elevated garden bed:
1. Cut the Lumber
Using the measurements determined during the planning phase, carefully cut the lumber to the required lengths. If you're using untreated cedar or redwood, ensure that the cuts are precise and clean to facilitate a seamless assembly process. A handsaw or power saw will be essential for this task.
2. Assemble the Sides
Lay out the cut lumber pieces in the desired configuration to form the sides of the garden bed. Use corrosion-resistant screws or galvanized nails to securely attach the corners of the frame. For added stability, consider using corner brackets or braces at each corner. Ensure that the corners are square and the frame is level as you assemble the sides.
3. Reinforce the Corners
To enhance the durability of the frame, reinforce the corners by attaching additional lumber pieces diagonally across each corner. This technique, known as bracing, helps prevent the frame from shifting or becoming misshapen over time. It also contributes to the overall strength and longevity of the garden bed.
4. Line the Interior
Once the frame is assembled, line the interior with landscape fabric to prevent soil erosion and contain the growing medium. Secure the fabric in place using a staple gun, ensuring that it fits snugly against the inner walls of the frame. This step is crucial for maintaining the integrity of the soil and facilitating proper drainage.
5. Optional: Add a Weed Barrier
If weed control is a concern, consider adding a weed barrier on top of the landscape fabric before filling the frame with soil. This additional layer acts as a further deterrent to weed growth, keeping your garden bed free from unwanted intruders and minimizing maintenance efforts.
By following these steps, you will create a robust and visually appealing frame for your elevated garden bed. The completed frame will serve as a solid foundation for the soil and plants, setting the stage for the next exciting phase of adding the soil and bringing your garden bed to life.
Step 4: Add the Soil
With the frame of your elevated garden bed securely in place, it's time to fill it with the essential component that will nourish and support your plants: soil. This step is crucial in creating an optimal growing environment and providing the necessary nutrients for your garden to thrive. Follow these detailed guidelines to effectively add the soil to your elevated garden bed:
1. Select High-Quality Soil:
Choose a high-quality soil mix that is well-suited for the types of plants you intend to grow. Opt for a blend that offers good drainage, aeration, and sufficient organic matter to support healthy root development. Many garden centers offer pre-mixed soil specifically formulated for raised beds, which can be a convenient and effective option.
Read more: How To Elevate The Head Of A Bed
2. Fill the Garden Bed:
Using a shovel or garden trowel, begin filling the interior of the frame with the selected soil mix. Distribute the soil evenly, ensuring that it reaches all corners and edges of the garden bed. As you fill the bed, periodically tamp down the soil gently to remove air pockets and create a firm, level surface.
3. Consider Soil Amendments:
Depending on the specific needs of your plants, consider incorporating soil amendments such as compost, well-rotted manure, or organic fertilizers into the soil mix. These additions can enhance the fertility and structure of the soil, providing essential nutrients and promoting robust plant growth.
4. Level the Soil Surface:
Once the garden bed is filled with soil, use a rake or leveling tool to create a smooth and level surface. This step is essential for ensuring uniform moisture distribution and facilitating proper planting and maintenance. Aim for a level surface that reaches the top edge of the frame, providing ample space for planting and watering.
5. Assess Soil Depth:
Verify that the soil depth within the garden bed is sufficient for the types of plants you plan to grow. Different plants have varying root depth requirements, so adjust the soil level as needed to accommodate the specific needs of your chosen flora.
By following these steps, you will effectively add the soil to your elevated garden bed, creating a nurturing and fertile environment for your plants to flourish. With the soil in place, you're now ready to proceed to the exciting final step of planting your garden and bringing your vision of a vibrant and thriving outdoor oasis to fruition.
Read more: How To Build A Stone Raised Garden Bed
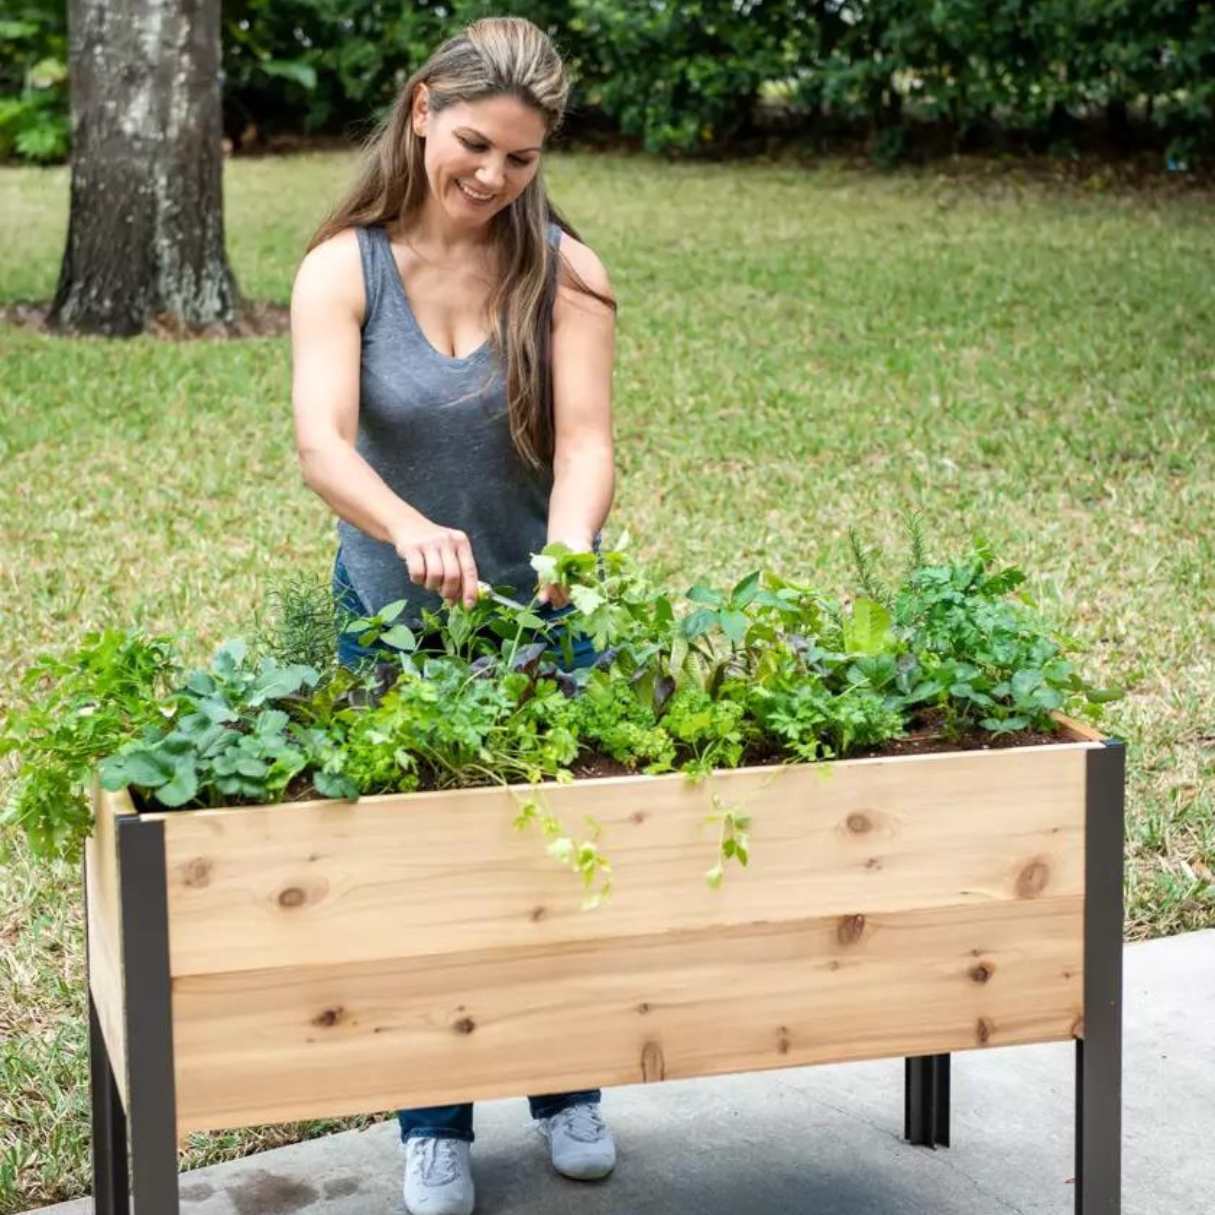
Step 5: Plant Your Garden
With the frame assembled and filled with nutrient-rich soil, the stage is set for the most rewarding and visually captivating phase of your elevated garden bed project: planting. Whether you envision a colorful array of flowers, a bountiful harvest of vegetables, or a fragrant herb garden, the planting process allows you to infuse your personal touch and creativity into the heart of your outdoor oasis. Here's a detailed guide to help you bring your garden bed to life with lush greenery and vibrant blooms:
1. Select Your Plants:
Begin by selecting the plants that best suit your gardening goals and the environmental conditions of your outdoor space. Consider factors such as sunlight exposure, climate, and the mature size of the plants to ensure harmonious growth within the confined space of the garden bed. Whether you opt for annuals, perennials, or a mix of both, choose varieties that resonate with your aesthetic preferences and align with the overall theme of your garden.
2. Plan the Layout:
Before placing the plants in the garden bed, take time to plan the layout and spacing to optimize visual appeal and growth potential. Consider the mature size of each plant, their growth habits, and any specific companion planting recommendations. Arrange the plants in a harmonious and balanced manner, taking into account color combinations, textures, and potential height differentials to create an aesthetically pleasing composition.
3. Plant with Care:
With the layout planned, carefully transplant or sow your selected plants into the prepared soil. Handle the plants gently, ensuring that their root systems are adequately covered with soil and that they are positioned at the appropriate depth. As you plant, maintain the spacing and arrangement determined during the planning phase, allowing ample room for each plant to thrive and flourish.
4. Water and Mulch:
After planting, thoroughly water the garden bed to settle the soil around the roots and provide essential hydration to the newly introduced plants. Consider applying a layer of organic mulch, such as shredded bark or compost, to help retain moisture, suppress weed growth, and regulate soil temperature. Mulching also adds a polished and cohesive look to the garden bed, enhancing its overall visual appeal.
5. Maintenance and Enjoyment:
As your garden begins to take shape, embrace the joy of nurturing and tending to your plants. Regularly monitor soil moisture, provide appropriate fertilization as needed, and promptly address any signs of pests or disease. Take time to appreciate the evolving beauty of your garden bed, from the emergence of tender seedlings to the full bloom of mature plants.
By following these steps, you will infuse your elevated garden bed with the vibrant energy and natural splendor of a thriving garden. The planting process marks the culmination of your efforts, transforming the raised structure into a living, breathing tapestry of botanical wonders. With your garden bed now flourishing, it's time to revel in the beauty and abundance it brings to your outdoor sanctuary.
Conclusion
As you reach the conclusion of this comprehensive guide, you have embarked on a fulfilling journey of creating an elevated garden bed that holds the promise of beauty, abundance, and joy. The process of building an elevated garden bed is not merely a construction project; it is an expression of creativity, a testament to patience, and a commitment to nurturing life within a confined yet thriving space.
Through the careful selection of the location, the gathering of materials, the construction of the frame, the addition of soil, and the planting of your chosen flora, you have woven together the essential elements that culminate in the creation of a vibrant and flourishing outdoor oasis. Your elevated garden bed stands as a testament to your dedication to fostering natural beauty and reaping the rewards of your labor.
As you stand back and admire the fruits of your efforts, you witness the transformation of raw materials into a living tapestry of colors, textures, and fragrances. The elevated garden bed becomes a focal point in your outdoor space, drawing the eye with its visual appeal and inviting you to engage with the natural world on a more intimate level.
With each passing day, your garden bed will evolve, offering a dynamic display of growth, bloom, and seasonal changes. It becomes a living canvas that reflects the ebb and flow of nature, inviting you to witness the intricate dance of life unfolding within its confines.
As you tend to your garden bed, nurturing the plants, and reveling in the simple pleasures of gardening, you become part of a timeless tradition that celebrates the harmony between humanity and the natural world. The elevated garden bed becomes a sanctuary, a place of respite and rejuvenation, where the stresses of daily life yield to the tranquility and beauty of the living landscape you have cultivated.
In conclusion, the creation of an elevated garden bed is not just a practical endeavor; it is a transformative experience that enriches your outdoor space and your connection to the natural world. It is a testament to the enduring allure of gardening and the profound impact it has on our lives. As you continue to nurture and cherish your garden bed, may it serve as a constant source of inspiration, wonder, and delight, reminding you of the boundless beauty that flourishes when human hands and nature unite in perfect harmony.
Frequently Asked Questions about How To Build An Elevated Garden Bed
Was this page helpful?
At Storables.com, we guarantee accurate and reliable information. Our content, validated by Expert Board Contributors, is crafted following stringent Editorial Policies. We're committed to providing you with well-researched, expert-backed insights for all your informational needs.

0 thoughts on “How To Build An Elevated Garden Bed”