Home>Home Security and Surveillance>How Many Days Does It Take To Install Home Security
Home Security and Surveillance
How Many Days Does It Take To Install Home Security
Modified: March 6, 2024
Discover how long it takes to install your home security system and surveillance. Find out the average installation duration at a glance for peace of mind.
(Many of the links in this article redirect to a specific reviewed product. Your purchase of these products through affiliate links helps to generate commission for Storables.com, at no extra cost. Learn more)
Introduction
Ensuring the safety and security of our homes is of paramount importance. One effective way to achieve this is by installing a home security and surveillance system. However, one common question that arises is: how long does it take to install a home security system?
The installation time of a home security system can vary depending on several factors, including the complexity of the system, the size of the property, and the experience and expertise of the installer. In this article, we will delve into the details of the installation process and discuss the various factors that can affect installation time. By understanding these factors, you can have a better idea of what to expect when you decide to invest in a home security system.
From pre-installation preparation to testing and troubleshooting, we will guide you through each step of the installation process. So let’s dive in and explore what it takes to install a home security system.
Key Takeaways:
- Installing a home security system involves careful planning, testing, and maintenance. Proper setup of sensors, cameras, and network connections ensures a secure and effective protection for your home and loved ones.
- The installation process includes steps such as positioning the control panel, mounting sensors and detectors, setting up security cameras, connecting the system to the home network, testing, troubleshooting, and finalizing the installation. Each step is vital in ensuring that the system is functioning optimally and providing the desired level of security.
Factors Affecting Installation Time
Several factors can influence the overall installation time of a home security system. Understanding these factors can help you better estimate the time required for installation and plan accordingly. Let’s take a closer look at each of these factors:
- System Complexity: The complexity of the security system itself plays a significant role in the installation time. A basic system with a few sensors and cameras will take less time to install compared to a more advanced system with multiple zones, integration with other smart devices, and extensive wiring requirements.
- Property Size: The size of your property is another factor to consider. Larger homes or properties with multiple buildings or outdoor areas may require more time for installation, as there will be more areas to cover and more equipment to install.
- Wiring Requirements: If your security system requires wired connections for sensors, cameras, or control panels, the wiring process can add significant time to the installation. Routing wires through walls, ceilings, and floors can be time-consuming, especially in spaces where access is limited.
- Integration with Existing Infrastructure: If you already have an existing security or smart home infrastructure, integrating the new system with your current setup can impact installation time. Compatibility testing, configuration, and troubleshooting may be required to ensure seamless integration.
- Customization and Personalization: If you have specific customization requirements, such as setting up different security zones or creating personalized automation rules, the installation time may increase. Customization adds an extra layer of complexity and requires additional configuration and testing.
- Experience of the Installer: The experience and expertise of the installer can greatly influence the installation time. An experienced professional who is familiar with the system can perform the installation more efficiently compared to someone who is less experienced.
It’s important to keep in mind that these factors are interrelated, and the actual installation time can vary based on the unique characteristics of your home and security system. It’s always advisable to consult with a professional installer who can assess your specific requirements and provide a more accurate estimate.
Pre-Installation Preparation
Before diving into the actual installation process, there are a few important steps to take to ensure a smooth and efficient installation of your home security system. These pre-installation preparations will help streamline the process and minimize any potential disruptions.
1. Create a Security Plan: Start by assessing your home’s security needs and developing a comprehensive security plan. Identify areas that require monitoring, such as entry points, windows, and vulnerable areas. Determine the type and number of sensors and cameras needed to cover these areas effectively.
2. Selecting the Right System: Choose a security system that aligns with your security plan and meets your requirements. Consider factors such as wireless or wired systems, remote monitoring capabilities, and integration with other smart devices. Research different brands and models, read reviews, and consult with professionals to make an informed decision.
3. Check Local Regulations and Permits: Before installation, familiarize yourself with any local regulations or permits required for installing a home security system. Some areas may have specific rules regarding the placement of cameras or the use of certain technologies. Adhering to these regulations ensures a legal and compliant installation.
4. Clear the Installation Areas: Clear the areas where the sensors, detectors, and cameras will be installed. Remove any obstructions, clutter, or decorations that might hinder the installation process. This will allow the installer to work efficiently and ensure proper placement of the devices.
5. Provide Necessary Access: Ensure that the installer has access to all the areas where the security system components will be installed. This includes indoor and outdoor spaces, as well as utility rooms or crawl spaces where wiring may need to be accessed. Clear any locked doors or provide keys or codes for entry.
6. Inform Household Members: Inform the members of your household about the upcoming installation. Let them know the areas that will be temporarily inaccessible and any necessary precautions to take during the installation process. Communication helps avoid confusion and ensures everyone is aware of the ongoing work.
7. Set a Timeline: Work with your installer to set a timeline for the installation process. Discuss the estimated time frame and any specific scheduling preferences you may have. Setting a timeline helps both parties plan and allocate the necessary resources for a successful installation.
By taking these pre-installation preparation steps, you can lay the groundwork for a smooth and efficient installation of your home security system. It will help ensure that the installation process progresses seamlessly, minimizing disruptions and maximizing the effectiveness of your security measures.
Equipment and Tools Required
Installing a home security system requires the use of specific equipment and tools to ensure a professional and secure installation. Here is a list of the common equipment and tools needed:
1. Security System Kit: The heart of your home security system is the control panel. It is usually included in a security system kit along with various sensors, detectors, and cameras. Ensure that you have the necessary components as per your security plan.
2. Sensors and Detectors: These devices are essential for monitoring and detecting potential security breaches. Common types include door and window sensors, motion sensors, glass break detectors, and smoke or carbon monoxide detectors. The number and type of sensors will depend on your security needs and the size of your property.
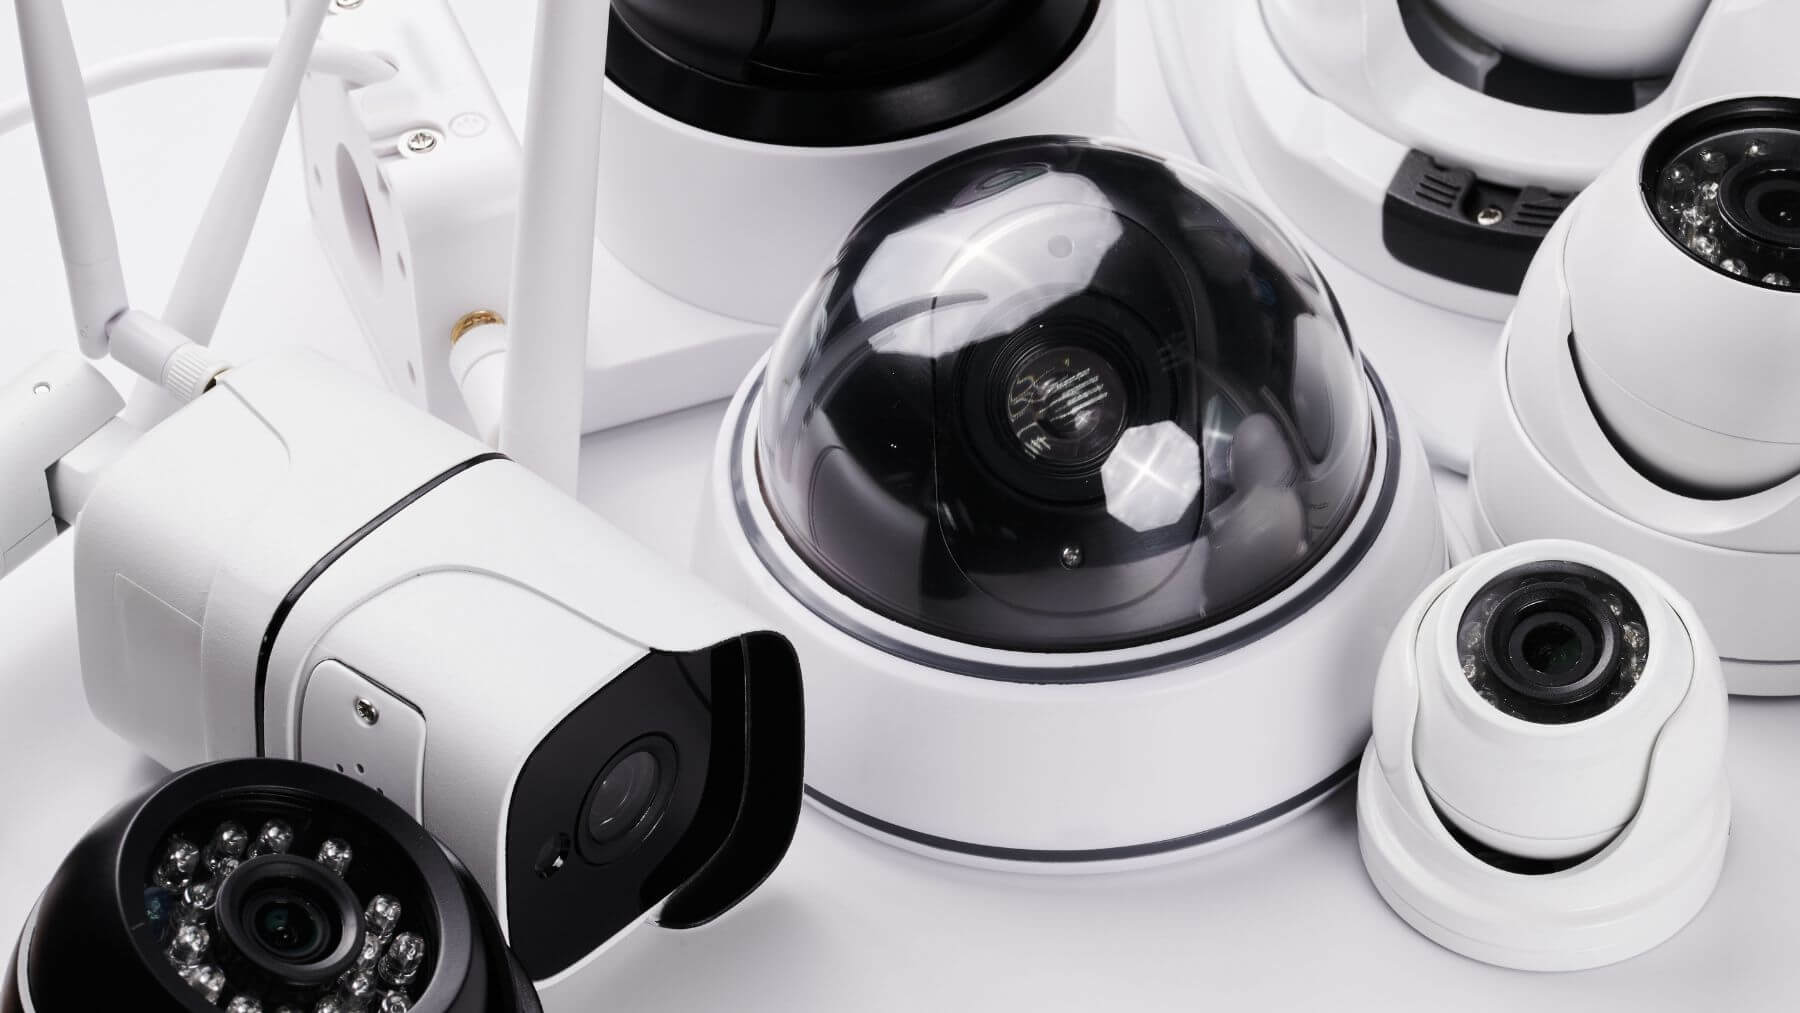
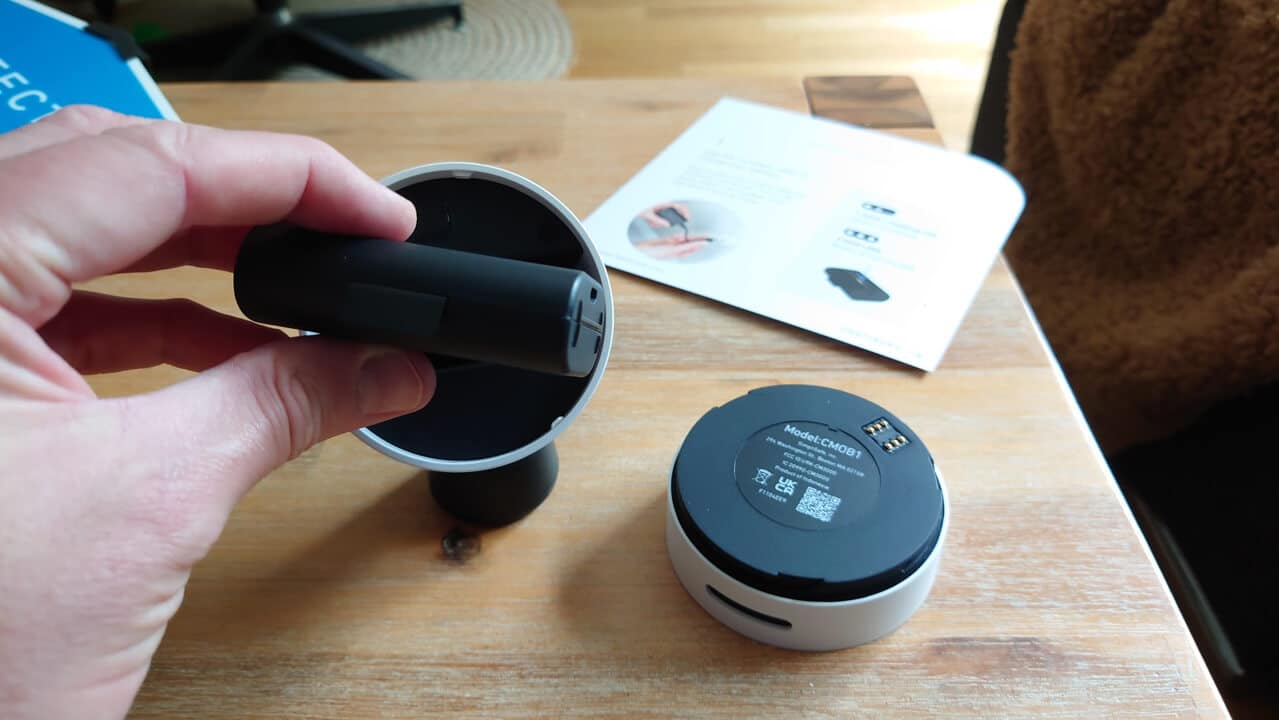
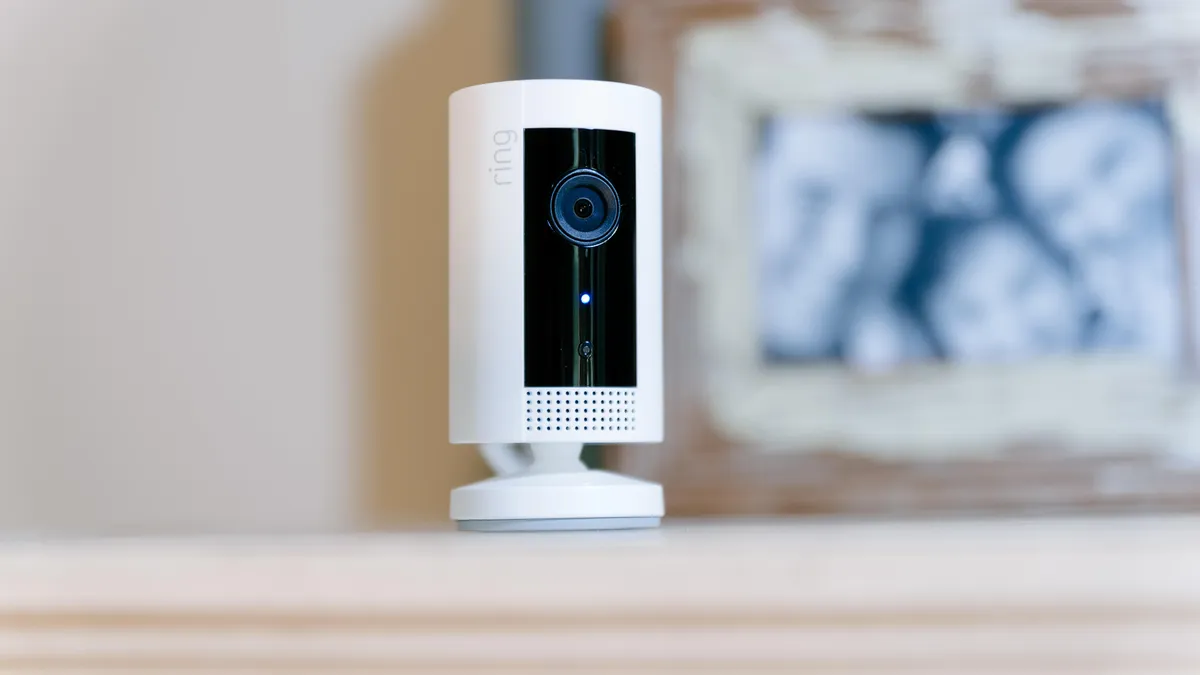
3. Security Cameras: Choose appropriate security cameras based on your requirements, such as outdoor cameras, indoor cameras, or a combination of both. Consider factors like resolution, night vision capabilities, field of view, and connectivity options.
4. Mounts and Brackets: Mounts and brackets are necessary for securely installing security cameras and positioning them in the desired locations. They come in various forms, such as wall mounts, ceiling mounts, or pole mounts, depending on your installation needs.
5. Cables and Wiring: If your security system involves wired connections, you will need cables and wiring. This includes Ethernet cables for connecting the control panel to the home network, power cables for cameras or sensors, and coaxial cables for video transmission.
6. Power Tools: Depending on the installation requirements, power tools such as drills, screwdrivers, and wire strippers may be needed. These tools are used to drill holes, secure mounts, and handle wiring connections.
7. Network Equipment: If your security system offers remote monitoring or connects to a smart home network, you may need network equipment such as routers or access points to ensure a stable and secure network connection.
8. Ladders or Scaffolding: For installations that require access to high or hard-to-reach areas, ladders or scaffolding may be necessary. These tools help installers safely reach the desired locations for installing cameras or sensors.
9. Test Equipment: To ensure that the installed system is functioning properly, test equipment such as multimeters, network testing tools, or camera alignment tools may be used. These tools help validate the integrity of the installation and troubleshoot any potential issues.
10. Personal Protective Equipment (PPE): Safety should always be a priority during installation. Installers should wear appropriate PPE, such as gloves, safety goggles, and footwear, to protect themselves during the installation process.
Having the necessary equipment and tools ready before the installation process begins ensures a smooth and efficient installation. It is recommended to consult with your installer or security system provider for a comprehensive list of equipment and tools required based on your specific system and installation needs.
Installation Process
The installation process of a home security system involves several steps, each designed to ensure that the system is properly installed and functioning effectively. Here is a general overview of the installation process:
1. Positioning the Control Panel: Start by locating the central control panel in a secure and easily accessible area of your home. This is the hub of the security system and acts as a command center for the entire system.
2. Mounting Sensors and Detectors: Install door and window sensors at the designated entry points. Secure them using adhesive or screws, depending on the type of sensor. Position motion sensors in strategic locations to cover the desired areas for motion detection. Mount smoke or carbon monoxide detectors as per the manufacturer’s instructions.
3. Mounting Security Cameras: Determine the optimal locations for your security cameras based on your security plan. Mount them securely using the appropriate brackets or mounts. Ensure that you have a clear line of sight and proper coverage of the desired areas.
4. Connecting the Control Panel and Sensors: Connect each sensor or detector to the control panel following the manufacturer’s guidelines. This may involve wiring them directly or using wireless connectivity options provided by the system.
5. Powering the System: Ensure that all components of the security system are properly powered. This may involve connecting cameras or sensors to a power source, plugging in the control panel, or using batteries, depending on the system specifications.
6. Setting Up Access Codes and User Permissions: Configure access codes and user permissions on the control panel. This allows you to control who has access to your security system and set different levels of permissions for household members or authorized individuals.
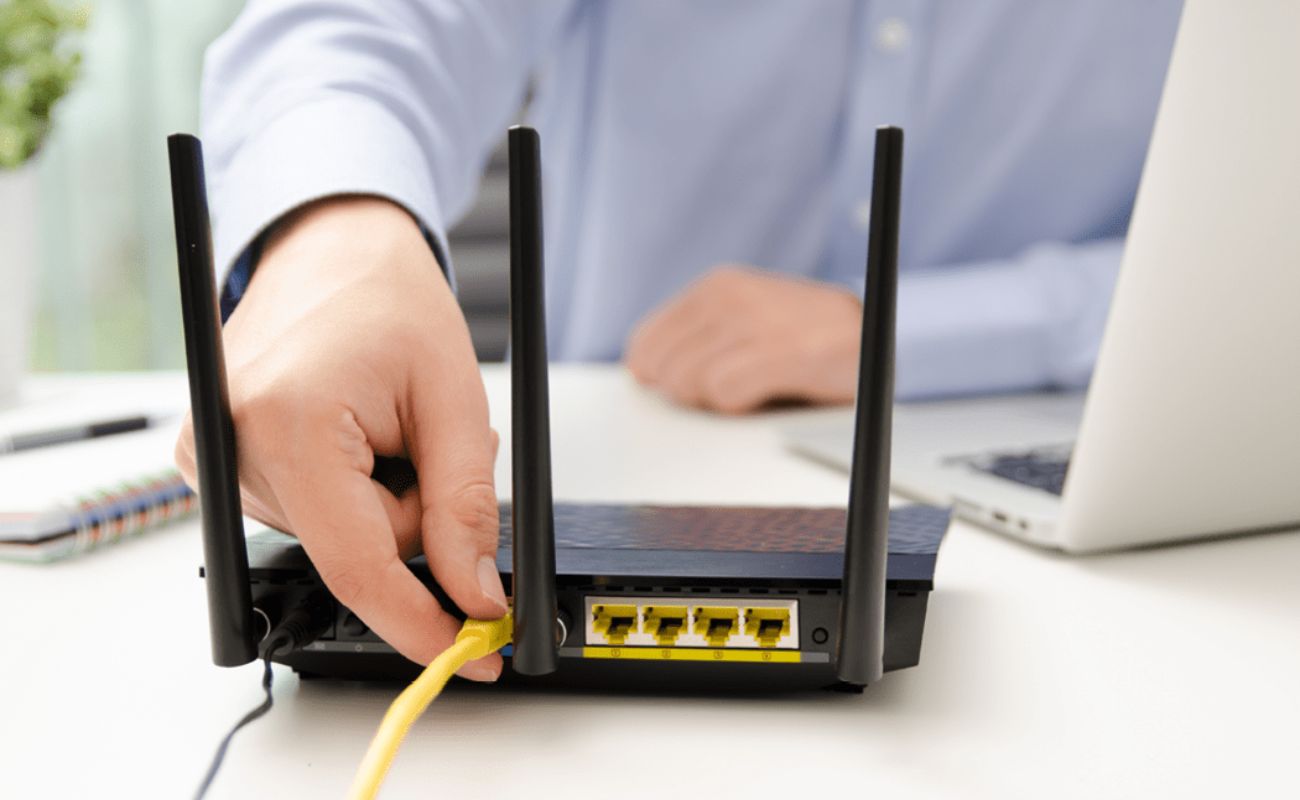
7. Network Connectivity: If your security system offers remote monitoring or integration with a home network, connect the control panel to your home network. This enables you to access the system remotely and receive alerts or notifications on your smartphone or computer.
8. Configuring System Settings: Configure the system settings according to your preferences. This includes setting up alarm triggers, adjusting motion detection sensitivity, scheduling automation rules, and customizing notification preferences.
9. Testing and Troubleshooting: Once the installation is complete, thoroughly test the system to ensure that all components are functioning correctly. Test each sensor, detector, and camera, and check for proper communication with the control panel. Address any issues or troubleshooting needs that may arise.
10. User Training: Provide training to household members or authorized individuals on how to operate the security system. This includes arming and disarming the system, understanding the different modes, and using any remote monitoring or mobile applications associated with the system.
The installation process may vary based on the specific security system you have chosen and any additional features or customizations you require. It is recommended to follow the manufacturer’s instructions and consult with a professional installer for a seamless and successful installation.
Read more: How Long Does Insulation Take To Install
Setting Up Sensors and Detectors
Sensors and detectors are crucial components of a home security system, as they provide the first line of defense against potential intrusions or hazards. Properly setting up and positioning these devices is essential for the overall effectiveness of your security system. Here are some key considerations when setting up sensors and detectors:
1. Door and Window Sensors: Door and window sensors are designed to detect when a door or window is opened or closed. These sensors are typically composed of two parts: a sensor and a magnet. The sensor is mounted on the door or window frame, while the magnet is placed on the movable part of the door or window. Ensure that the sensor and magnet are aligned correctly, with a minimal gap between them, to ensure accurate detection.
2. Motion Sensors: Motion sensors detect movement within a specified area. When setting up motion sensors, consider their range and coverage area. Position them in strategic locations where they can effectively monitor high-traffic areas or areas of potential intrusion. Avoid placing motion sensors near heat sources or objects that may cause false alarms, such as curtains that may sway with airflow.
3. Glass Break Detectors: Glass break detectors are used to detect the sound frequency associated with breaking glass. When installing glass break detectors, consider the range and placement to ensure coverage of the desired area. Mount them in rooms or areas with vulnerable windows, such as ground-level or easily accessible windows.
4. Smoke and Carbon Monoxide Detectors: Install smoke detectors in areas prone to fire hazards, such as kitchens, living rooms, and bedrooms. Mount them on the ceiling or high on the wall, following the manufacturer’s guidelines. Carbon monoxide detectors should be installed near potential sources of carbon monoxide, such as gas appliances or attached garages.
5. Proper Placement: Proper placement of sensors and detectors is crucial for accurate detection. Follow the manufacturer’s recommendations on ideal placement to maximize coverage and minimize false alarms. Consider the layout of your home, the specific security risks you are addressing, and any potential obstructions that may affect the sensors’ performance.
6. Testing and Calibration: After setting up the sensors and detectors, perform thorough testing to ensure they are functioning correctly. Test each sensor by arming the security system and triggering the device. Verify that the control panel receives the appropriate signal and responds accordingly. Calibrate motion sensors and adjust their sensitivity level if required.
7. Integration with the Control Panel: Connect each sensor or detector to the control panel according to the manufacturer’s instructions. This may involve wiring or utilizing wireless connectivity options, depending on the system. Verify that the sensors are properly communicating with the control panel and that their status is accurately displayed on the panel’s interface.
Remember that every home and security system is unique, so it’s important to consult the manufacturer’s guidelines and seek advice from professional installers if needed. Proper setup and placement of sensors and detectors ensure optimal functionality and enhance the overall effectiveness of your home security system.
The time it takes to install home security systems can vary depending on the complexity of the system and the size of the property. On average, it can take anywhere from a few hours to a couple of days to complete the installation process.
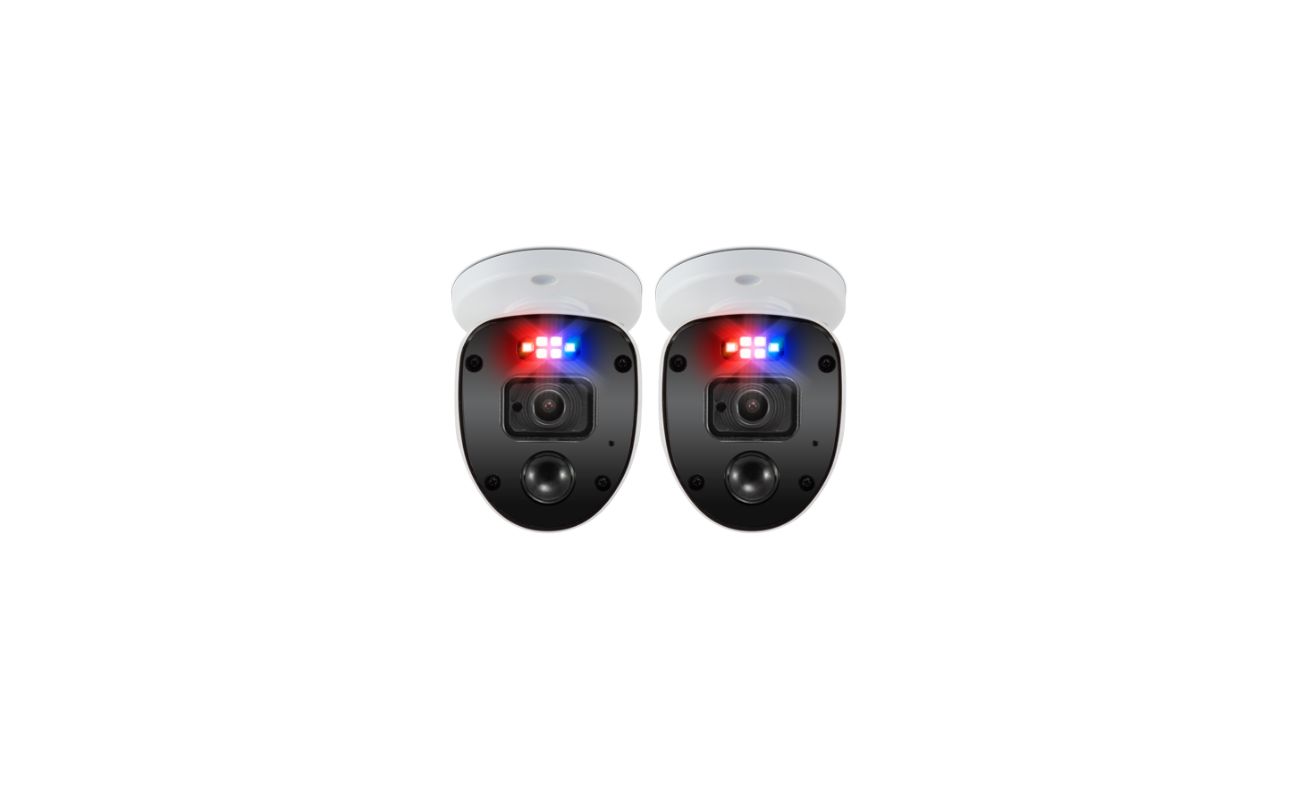
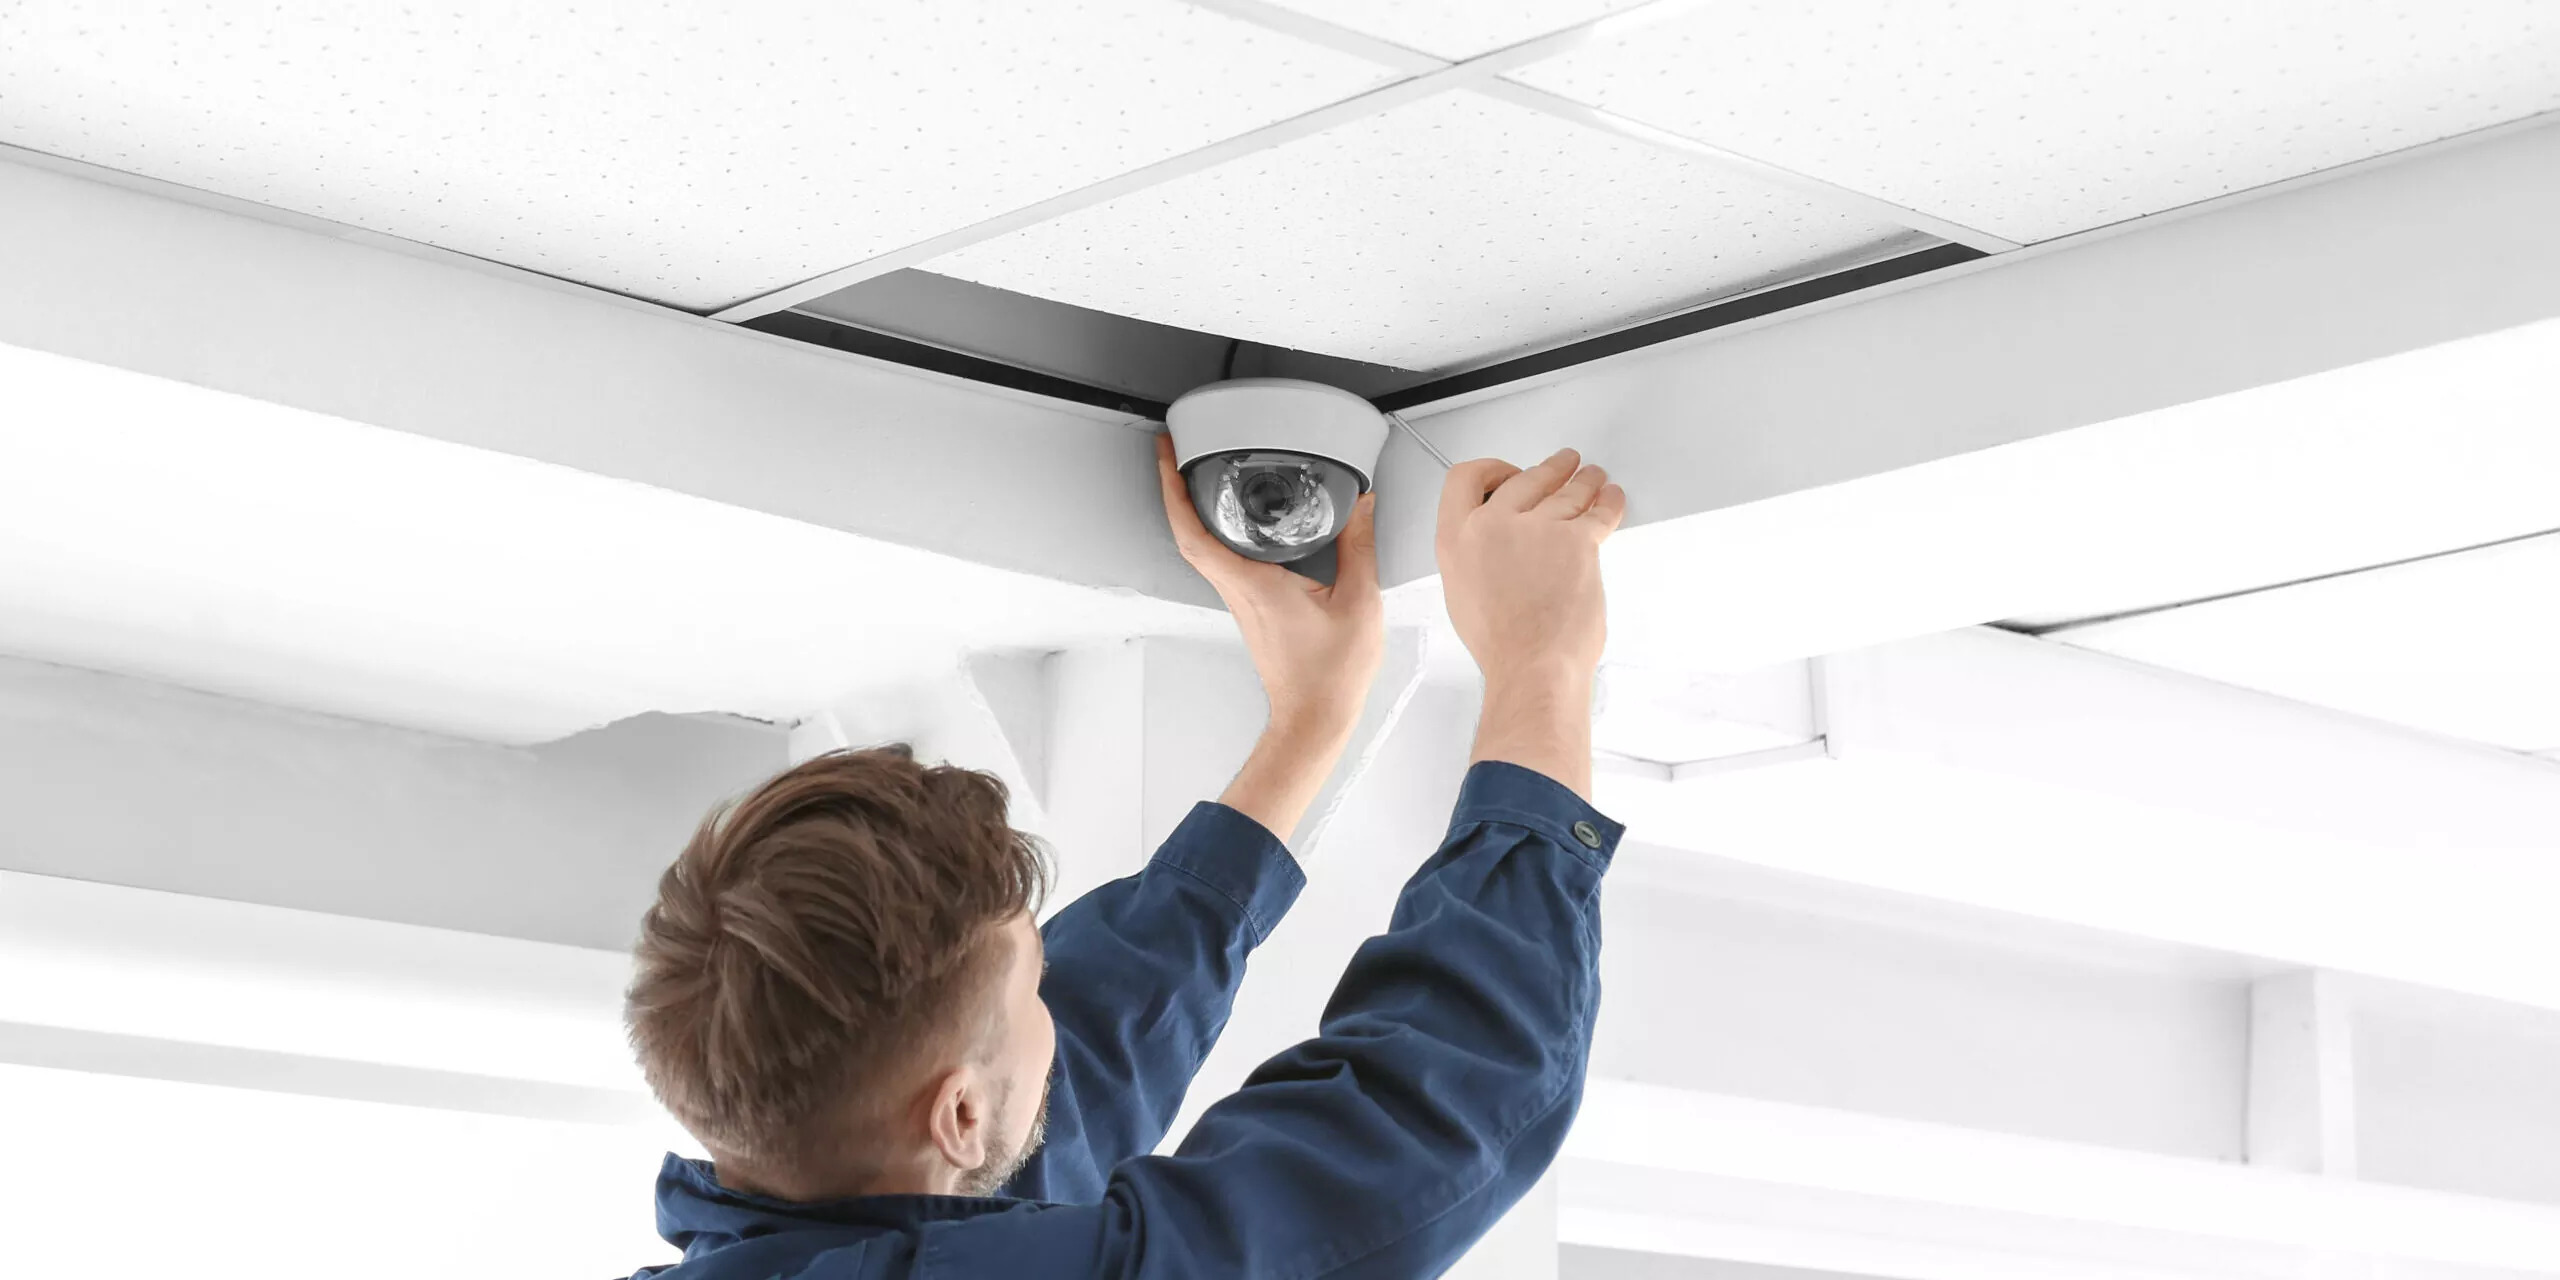
Mounting Security Cameras
Mounting security cameras in strategic locations is a critical step in creating a robust home surveillance system. Proper placement ensures optimal coverage and enhances the effectiveness of your security measures. Here are some key considerations when mounting security cameras:
1. Determine Placement Locations: Assess your property and identify areas that require surveillance coverage. Common locations include entry points, driveways, patio areas, and backyard entrances. Determine the camera’s field of view and make sure it covers the desired area effectively.
2. Outdoor Cameras: For outdoor cameras, choose weatherproof and durable camera models that can withstand harsh environmental conditions. Mount cameras under eaves, on exterior walls, or on dedicated camera mounts to protect them from vandalism or tampering.
3. Indoor Cameras: Indoor cameras are typically smaller and more discreet. Mount them on walls or ceilings in areas where they can capture clear images without obstruction. Consider privacy concerns and avoid placing cameras in spaces where people have an expectation of privacy, such as bedrooms or bathrooms.
4. Mounting Options: There are different mounting options available, including wall mounts, ceiling mounts, pole mounts, and corner mounts. Select the appropriate mount based on the camera’s design and the desired angle of view. Ensure the mount provides a secure and stable installation.
5. Height and Angle: The height and angle of the camera greatly impact its field of view and effectiveness. Mount cameras at a height that offers a clear view of the area while minimizing potential tampering or damage. Adjust the camera’s angle to capture the desired scene but avoid pointing it directly at bright light sources to avoid glare or washed-out images.
6. Wiring Considerations: If your cameras require wired connections, plan the wiring route to avoid visibility and potential tampering. Conceal wires within walls, ceilings, or conduit to maintain a clean and professional installation. If working with wireless cameras, ensure a reliable WiFi signal in the installation location.
7. Adequate Power Supply: Ensure cameras have access to a reliable power source. Outdoor cameras may require power from an electrical outlet or be connected to a power over Ethernet (PoE) switch. Indoor cameras may be powered through an outlet or use batteries depending on the model.
8. Testing and Adjusting: After mounting the cameras, test their functionality to ensure they provide clear images and capture the desired areas. Adjust the camera position if necessary to optimize coverage and eliminate blind spots. Consider performing tests during both daytime and nighttime to evaluate image quality under different lighting conditions.
9. Remote Access and Monitoring: Connect the cameras to your home network and configure remote access for monitoring. This allows you to view live video feeds or receive motion-triggered notifications on your mobile devices or computer from anywhere with an internet connection.
Remember, consult the manufacturer’s guidelines and consider seeking assistance from professional installers if needed. Well-placed and properly mounted security cameras play a crucial role in deterring potential threats and providing peace of mind by keeping a watchful eye on your home.
Connecting the Security System to the Home Network
Connecting your security system to your home network is essential for remote access, monitoring, and integration with other smart devices. It allows you to view live video feeds, receive notifications, and control various aspects of your security system from anywhere with an internet connection. Here are the steps to connect your security system to the home network:
1. Check Network Compatibility: Ensure that your security system is compatible with your home network. Most modern security systems support wired or wireless connections, but it’s important to verify the connectivity options before proceeding.
2. Connect the Control Panel: Locate the control panel of your security system, which typically acts as the central hub of communication. Connect the control panel to your home network using an Ethernet cable. Plug one end of the Ethernet cable into the control panel and the other end into an available LAN port on your router or network switch.
3. Configure Network Settings: Access the control panel’s user interface through a computer or mobile device connected to the same home network. Follow the manufacturer’s instructions to set up the network settings. This may involve entering the network name (SSID) and password to establish a secure connection.
4. Assign IP Address: Some security systems require a static IP address for reliable remote access. Check with your internet service provider (ISP) about obtaining a static IP address. Alternatively, you can utilize Dynamic DNS (DDNS) services to assign a domain name to your security system, making it accessible from anywhere without a static IP address.
5. Enable Port Forwarding: To access your security system from outside your home network, you must configure port forwarding on your router. Access your router’s administration settings and follow the manufacturer’s instructions to forward the required ports to the IP address of the control panel. This enables incoming connections to reach your security system.
6. Test Remote Access: Once the network configuration is complete, test remote access by connecting to your security system using a computer or mobile device outside your home network. Open a web browser or use the manufacturer’s mobile app to access the control panel’s user interface. If successful, you should be able to view live video feeds, receive notifications, and control your security system remotely.
7. Secure Your Network: Ensure that your home network is secure by following best practices, such as using strong and unique passwords for your network and security system, enabling network encryption (WPA2 or higher), and keeping your router’s firmware up to date. Regularly monitor your network for any suspicious activity.
Remember, network configurations may vary depending on your specific security system and router model. Consult the manufacturer’s documentation or seek assistance from professional installers if needed. Connecting your security system to your home network expands its capabilities and empowers you with remote access and monitoring for heightened security and peace of mind.
Testing and Troubleshooting
After the installation of your home security system, it’s crucial to perform thorough testing to ensure that all components are functioning correctly and providing the desired level of protection. Testing allows you to identify any potential issues or areas for improvement. Here are the key steps for testing and troubleshooting your security system:
1. Sensor and Detector Testing: Begin by testing each sensor and detector individually. Arm the system and trigger each sensor to ensure that it properly detects and reports any activity. Test door and window sensors by opening and closing the doors or windows. Trigger motion sensors by walking in their detection zones. Activate smoke or carbon monoxide detectors using the manufacturer-recommended test methods.
2. Camera Testing: Test each security camera by viewing the live video feed and confirming that it provides clear and continuous footage. Check for any viewing angle adjustments, focus issues, or obstructions that may affect the camera’s functionality. Evaluate the camera’s night vision capabilities by testing it in low-light conditions or darkness.
3. Alarm System Testing: Test the alarm system by setting off the alarm manually to ensure that the sirens or alarms sound as expected. This test helps verify that the system’s audible notification is loud and clear, alerting you and deterring potential intruders.
4. Remote Access Testing: If your security system offers remote access and monitoring, test the remote connectivity by accessing the system from outside your home network. Use a computer or mobile device to ensure that you can view live video feeds, receive notifications, and control the system remotely. Verify that the remote access is secure and password-protected.
5. System Integration Testing: If your security system integrates with other smart devices or home automation systems, test the integration functionalities. Turn on/off lights, lock/unlock doors, or trigger other automation actions to ensure that the security system interacts seamlessly with other devices and enhances overall functionality.
6. System Response Testing: Simulate various scenarios to test the system’s response. For example, trigger an alarm sensor while the system is armed to evaluate the response time and accuracy of notifications. Test the system’s ability to differentiate between actual threats and false alarms, minimizing unnecessary alerts.
7. Troubleshooting and Documentation: Document any issues or concerns that arise during the testing process. Troubleshoot and address any problems by referring to the manufacturer’s documentation or contacting technical support if needed. Keeping detailed records will help you troubleshoot future problems and assist professional technicians if required.
8. Ongoing System Maintenance: Regularly inspect and maintain your security system to ensure it remains in optimal working condition. Replace batteries as needed, clean cameras and sensors regularly to prevent dirt or debris accumulation, and update firmware or software to benefit from the latest security enhancements and improvements.
By conducting comprehensive testing and addressing any potential issues, you can ensure that your home security system operates at its best. Regular testing and troubleshooting provide peace of mind and allow you to make informed decisions regarding system updates or enhancements, ensuring the ongoing safety and security of your home.
Read more: How Many Days Do Tomatoes Take To Germinate
Finalizing the Installation
Finalizing the installation of your home security system involves a few essential steps to ensure that everything is in place and functioning as intended. These steps help wrap up the installation process and provide peace of mind that your home is well-protected. Here’s what you need to do to finalize the installation:
1. Double-Check all Connections: Take a final look at all the connections and ensure that everything is securely connected. Verify that the control panel, sensors, detectors, and cameras are all properly connected to the power source, wiring (if applicable), and the home network (for remote access).
2. Secure and Conceal Wiring: If your security system involves wired connections, ensure that all wiring is properly concealed and secured. Use cable clips or channels to keep wires organized and hidden from plain sight. Concealing wiring not only improves the aesthetics of your home but also prevents potential tampering.
3. Test the System Once More: Perform another thorough test of the entire security system to ensure that all components are functioning correctly. Test each sensor, detector, camera, and any automation features to verify proper functionality. Address any issues or inconsistencies that may arise during the final testing phase.
4. Set Up User Accounts and Notifications: Create user accounts for all authorized individuals who will have access to the security system. Assign appropriate permissions and access levels based on their roles. Set up notifications, such as email or mobile alerts, to receive alerts and updates regarding system events, such as alarms or sensor triggers.
5. Familiarize Yourself with the Control Panel: Take some time to familiarize yourself and other household members with the control panel’s features and operations. Understand how to arm and disarm the system, make adjustments to settings, and access important information, such as event logs or system status indicators.
6. Review the User Manual and Documentation: Read through the user manual and any accompanying documentation provided by the manufacturer. Familiarize yourself with troubleshooting steps, maintenance recommendations, and additional features that you can utilize to enhance the overall functionality and security of your home.
7. Schedule Regular Maintenance and Updates: Regularly perform maintenance tasks recommended by the manufacturer to keep your home security system in optimal condition. Replace batteries as needed, clean cameras and sensors, and check for software or firmware updates. Staying proactive with system maintenance ensures ongoing reliability and effectiveness.
8. Contact the Installer or Support for Assistance: If you encounter any challenges or have questions during the installation process, don’t hesitate to reach out to the installer or manufacturer’s support team. They can provide guidance, troubleshooting assistance, or additional resources to help you maximize the benefits of your security system.
By following these steps and finalizing the installation with care, you can have confidence that your home security system is properly installed, fully functional, and ready to deliver the protection and peace of mind you desire. Regular maintenance, monitoring, and updates will ensure that your system continues to provide reliable security for years to come.
Conclusion
Installing a home security and surveillance system is a proactive step towards safeguarding your home and loved ones. While the installation process may vary based on factors such as system complexity, property size, and customization needs, the end goal remains the same – to create a secure environment where you can have peace of mind.
Throughout the installation process, several important considerations come into play. Pre-installation preparation ensures that you have a clear security plan, the right system, and an understanding of any local regulations. Additionally, having the necessary equipment and tools allows for a professional installation while considering factors such as system complexity, property size, and the experience of the installer.
The installation process includes steps such as positioning the control panel, mounting sensors and detectors, setting up security cameras, connecting the system to the home network, testing, troubleshooting, and finalizing the installation. Each step is vital in ensuring that the system is functioning optimally and providing the desired level of security.
Properly setting up sensors and detectors enables accurate detection of potential threats, while strategic placement of security cameras provides comprehensive coverage of your property. Connecting the security system to your home network enables remote access and monitoring capabilities, adding an extra layer of convenience and control.
Testing and troubleshooting play a crucial role in identifying any issues or areas for improvement, allowing for a reliable and effective security system. Finalizing the installation includes double-checking connections, securing and concealing wiring, setting up user accounts and notifications, and familiarizing yourself with the control panel and user manuals.
In conclusion, the installation of a home security and surveillance system is a multi-step process that requires careful consideration, planning, and execution. By following best practices, consulting with professionals, and staying vigilant with ongoing maintenance and updates, you can create a robust security system that keeps your home and loved ones safe.
Remember, the installation of a home security and surveillance system is just the beginning. Regular maintenance, periodic testing, and staying informed about advancements in technology and security practices will help you adapt and optimize your system to meet evolving security needs. Invest in the safety of your home, and enjoy the peace of mind that comes with knowing you have taken proactive steps to protect what matters most.
Frequently Asked Questions about How Many Days Does It Take To Install Home Security
Was this page helpful?
At Storables.com, we guarantee accurate and reliable information. Our content, validated by Expert Board Contributors, is crafted following stringent Editorial Policies. We're committed to providing you with well-researched, expert-backed insights for all your informational needs.