Home>Garden Essentials>How To Install Artificial Vertical Garden
Garden Essentials
How To Install Artificial Vertical Garden
Modified: October 18, 2024
Learn how to easily install an artificial vertical garden to transform your space into a vibrant oasis. Enhance your garden with our step-by-step guide!
(Many of the links in this article redirect to a specific reviewed product. Your purchase of these products through affiliate links helps to generate commission for Storables.com, at no extra cost. Learn more)
Introduction
Welcome to the world of artificial vertical gardens! If you are a gardening enthusiast who lacks the outdoor space or time to maintain a traditional garden, or if you simply want to enhance the aesthetics of your indoor or outdoor space, then installing an artificial vertical garden is the perfect solution for you. Artificial vertical gardens provide all the beauty of lush, green foliage without the need for constant watering, pruning, or sunlight.
In this comprehensive guide, we will take you through the step-by-step process of installing an artificial vertical garden. Whether you are a seasoned DIY expert or a beginner, this guide will provide you with all the information you need to create a stunning vertical garden that will bring life and vibrancy to any space.
Before we dive into the installation process, let’s explore the benefits of artificial vertical gardens. Apart from their low maintenance nature, these gardens offer year-round beauty and can be installed in any location, regardless of the availability of natural light or space. They are also an excellent option for those with allergies, as artificial plants do not produce pollen.
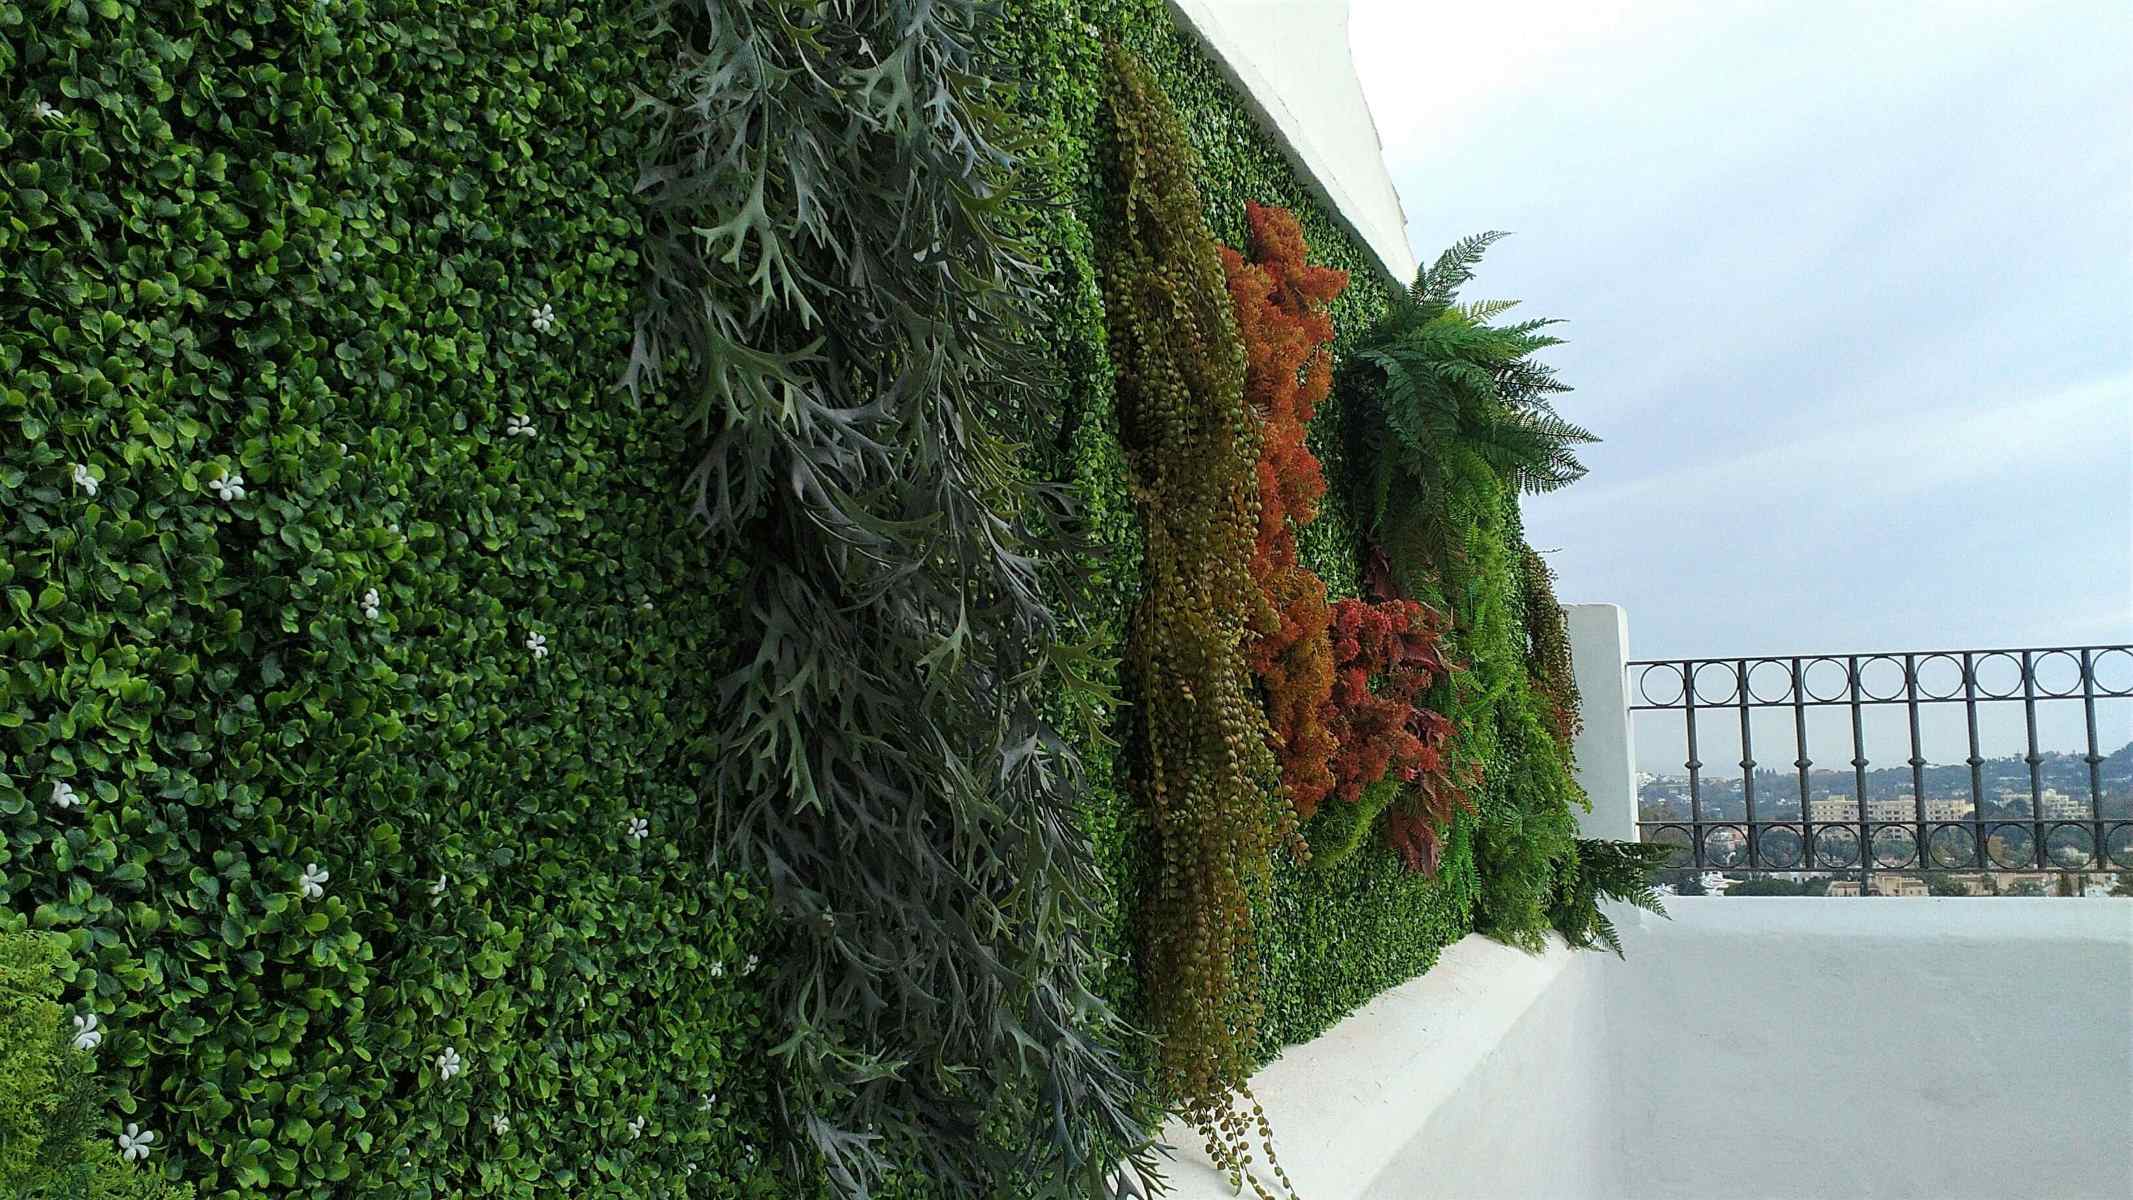
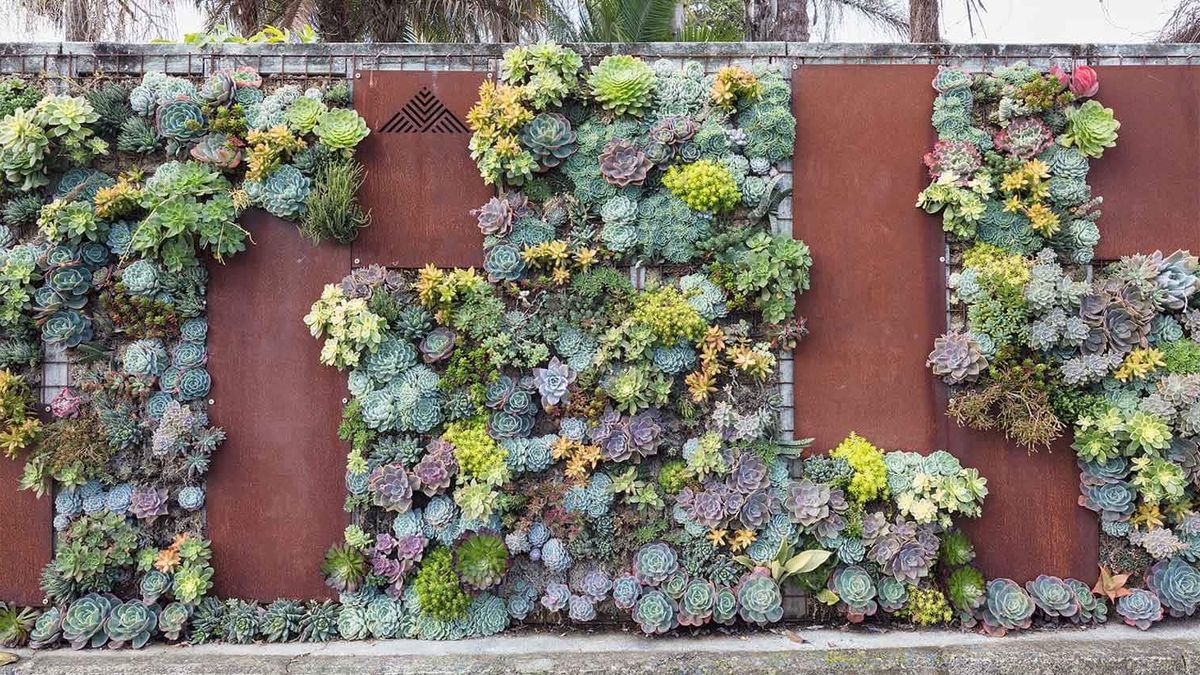
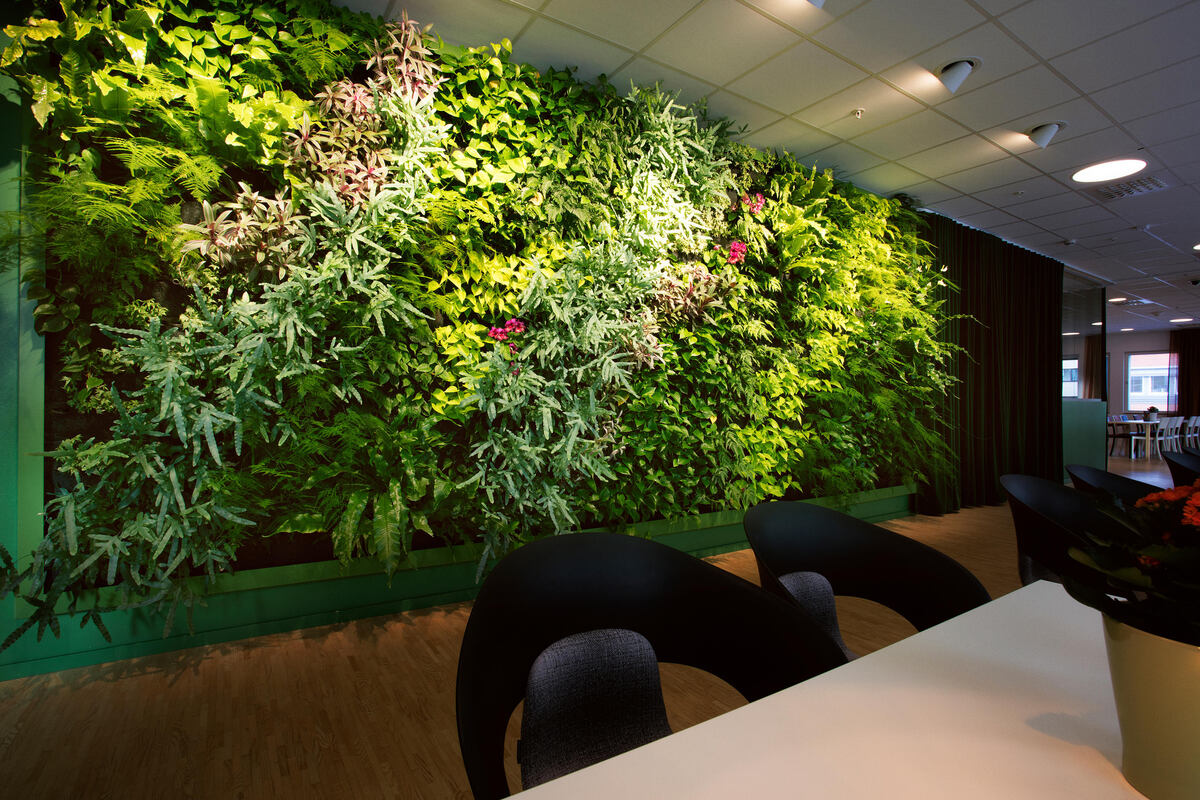
Artificial vertical gardens can transform any bland wall or space into a visually appealing oasis. They can be installed both indoors and outdoors, making them a versatile choice for a variety of settings, including homes, offices, restaurants, and retail spaces. So, let’s get started and learn how to install your very own artificial vertical garden!
Key Takeaways:
- Choose a suitable location for your artificial vertical garden by considering factors like sunlight, space, and accessibility. This sets the stage for a successful and visually appealing installation process.
- Enhance your artificial vertical garden with lighting, decorative elements, and regular maintenance. Get creative and personalize your garden to create a vibrant and tranquil oasis in any space.
Step 1: Choose the Location
The first step in installing an artificial vertical garden is to choose the perfect location. Consider the following factors to ensure the best possible outcome:
- Sunlight: Evaluate the amount of sunlight the chosen location receives. While artificial plants don’t require sunlight, some areas may still receive indirect natural light which can enhance the overall appearance and make the garden look more realistic. Choose a location that strikes a balance between providing enough light to create a vibrant display and minimizing direct sunlight that may cause fading over time.
- Space: Measure the available space on the wall where you plan to install the vertical garden. Take note of any obstructions such as windows, doors, or electrical outlets that may affect the installation process.
- Aesthetic Appeal: Consider the overall aesthetics of the space. Determine if you want a small, compact vertical garden or if you have enough room to create a larger, more elaborate display. Think about the style and theme of your space and choose a vertical garden design that complements the existing elements.
- Accessibility: Assess the accessibility of the chosen location. Make sure it is easy to reach for maintenance purposes, such as watering the plants (if necessary) or changing any components of the vertical garden system.
- Climate: Take into account the climate of your region. If you live in an area with extreme weather conditions, such as high humidity or temperature fluctuations, it may be best to choose an indoor location or a spot that is sheltered from the elements to ensure the longevity of the artificial plants.
After considering these factors, you will have a better understanding of where to install your artificial vertical garden. Remember that the chosen location sets the stage for the entire installation process, so take your time and choose wisely. Once you have determined the ideal location, you can move on to the next step of the installation process.
Step 2: Measure and Prepare the Wall
Now that you have chosen the location for your artificial vertical garden, it’s time to measure and prepare the wall. Follow these steps to ensure a smooth and successful installation:
- Measure the Wall: Use a tape measure to determine the height and width of the wall where you plan to install the vertical garden. This measurement will help you select the appropriate size and number of vertical garden panels needed for the project.
- Clean the Wall: Before installing the vertical garden panels, it’s important to clean the wall surface thoroughly. Remove any dust, dirt, or debris using a brush or a damp cloth. If there are any stains or stubborn marks, you may need to use a mild detergent and water to clean the surface effectively. Allow the wall to dry completely before proceeding.
- Identify and Address Any Issues: Inspect the wall for any cracks, holes, or imperfections. Repair any damaged areas using a suitable filler or patching compound. Smooth out the surface and make sure it is even and free from any protrusions that may affect the installation process.
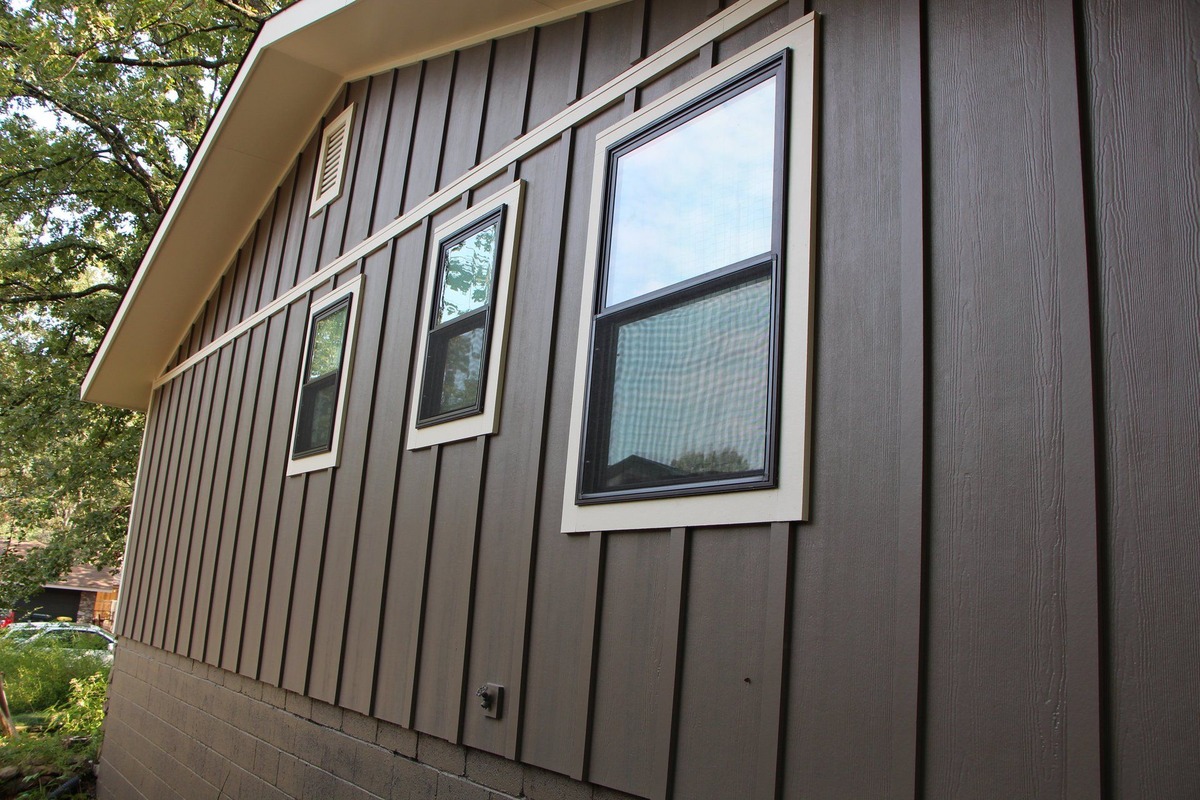
- Prepare the Wall Surface: Depending on the type of wall you are working with, you may need to take additional steps to prepare the surface. For example, if you are installing the vertical garden on a concrete or brick wall, you may need to use anchors or screws to secure the panels. If you are working with a drywall surface, you may need to locate the wall studs to provide proper support.
- Mark the Placement: Use a pencil or a chalk line to mark the placement of the vertical garden panels on the wall. This will serve as a guide during the installation process and ensure that the panels are aligned properly.
By measuring and preparing the wall beforehand, you can ensure a seamless and hassle-free installation process. Taking the time to clean, repair, and prepare the wall surface will help create a solid foundation for your artificial vertical garden. Once the wall is ready, you can move on to the next step of installing the vertical garden system.
Step 3: Install the Vertical Garden System
With the wall prepared, it’s time to start installing the vertical garden system. Here are the steps to follow:
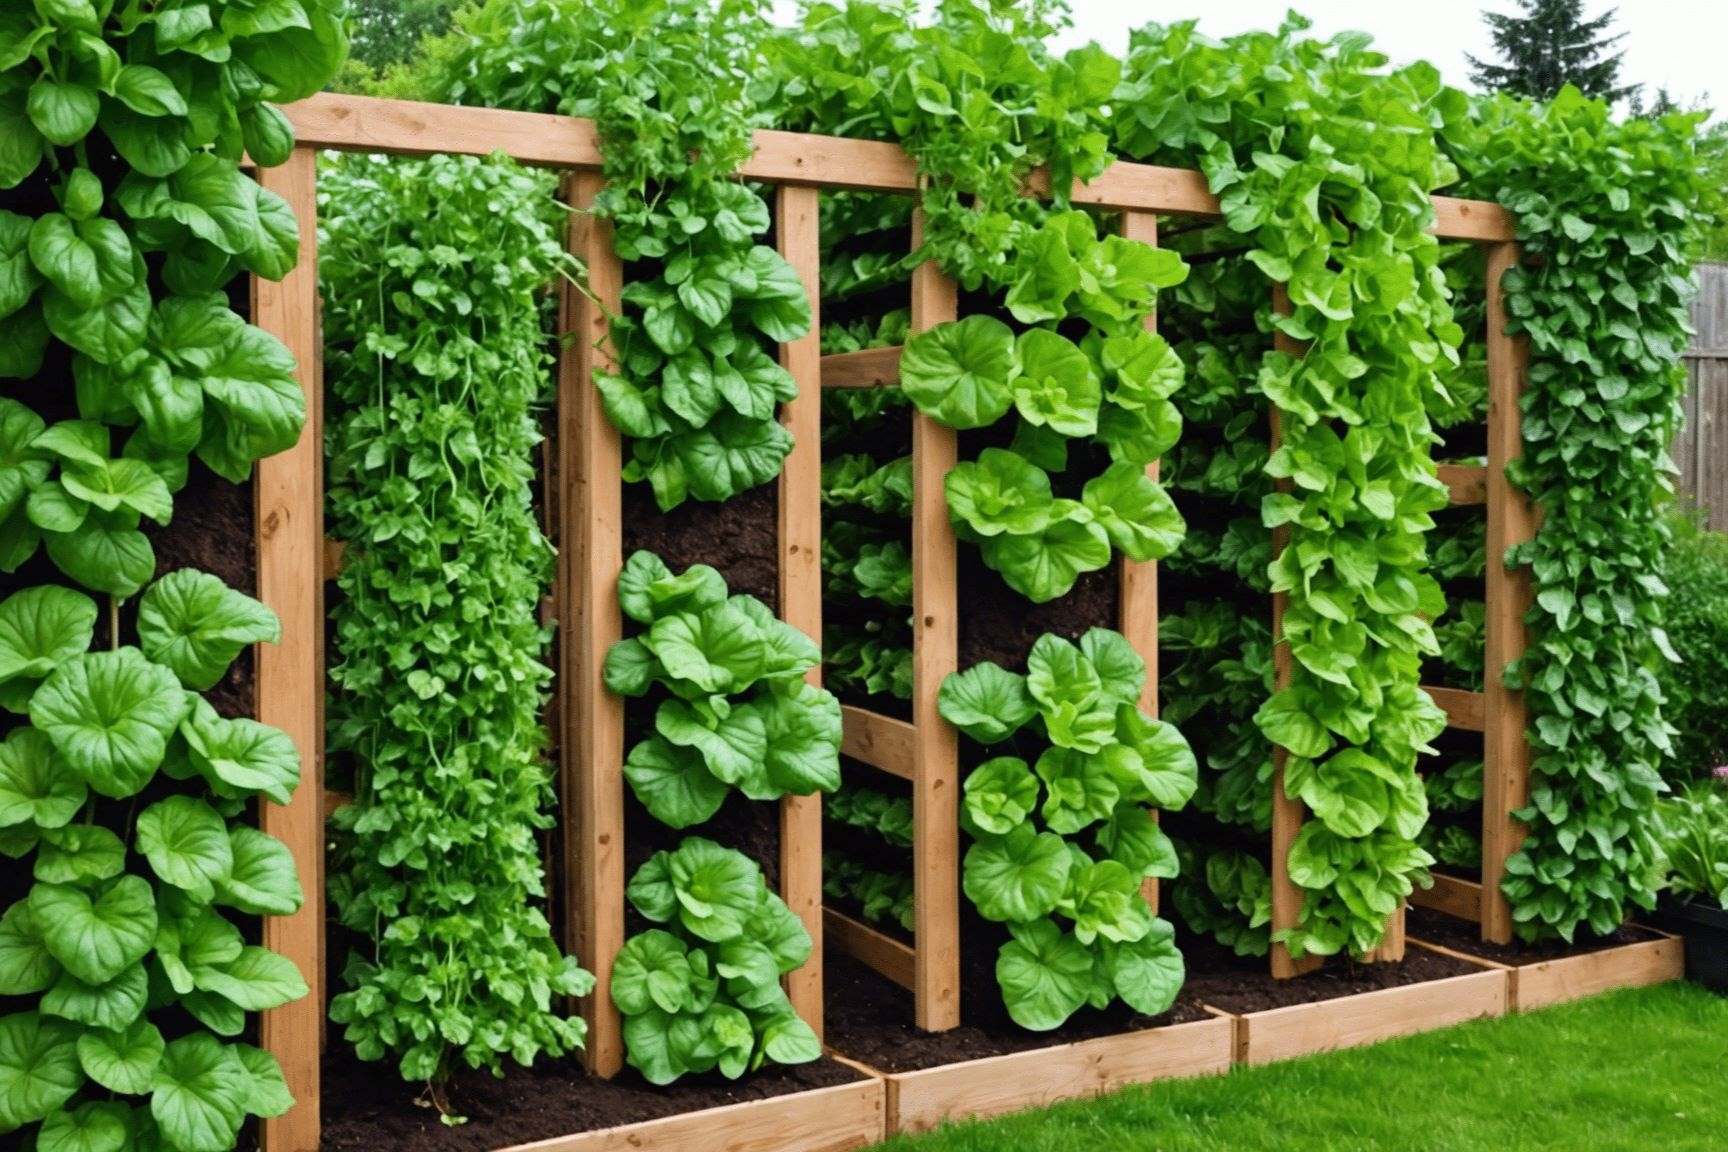
- Assemble the Vertical Garden Panels: If your artificial vertical garden system consists of individual panels, start by assembling them according to the manufacturer’s instructions. This may involve interlocking the panels or connecting them using brackets or clips. Follow the provided guidelines carefully to ensure proper assembly.
- Attach Mounting Rails: Next, attach the mounting rails or frame to the wall. Place the rails at the marked positions, making sure they are level and aligned. Use appropriate screws, anchors, or fasteners to secure the rails firmly to the wall surface. Double-check for stability and adjust as needed.
- Hang the Vertical Garden Panels: Once the mounting rails are securely in place, hang the vertical garden panels onto the rails. Slide each panel into the appropriate slots or hooks on the rails, ensuring a snug fit. Make sure the panels are evenly spaced and level. This step may require assistance, especially if the panels are large or heavy.
- Secure the Panels: To enhance stability and minimize movement, secure the vertical garden panels to the mounting rails. This can usually be done by using the provided clips, brackets, or fastening mechanisms. Follow the manufacturer’s instructions to ensure a secure attachment.
- Adjust and Fine-Tune: After hanging and securing the panels, step back and assess the overall look. Make any necessary adjustments to ensure that the panels are aligned and positioned correctly. Take the time to fine-tune the vertical garden system, ensuring that all components are securely fastened and visually appealing.
By following these steps, you will successfully install the vertical garden system. Make sure to refer to the specific instructions provided by the manufacturer for your particular vertical garden system, as there may be variations in the installation process. Once the vertical garden system is securely in place, it’s time to move on to the next step of attaching the artificial plants to the panels.
When installing an artificial vertical garden, make sure to properly secure the backing structure to the wall to ensure stability and safety. Use strong anchors and follow the manufacturer’s instructions for installation.
Step 4: Attach Artificial Plants to the Panels
Now that the vertical garden panels are installed, it’s time to add the vibrant foliage that will bring your artificial vertical garden to life. Here’s how to attach the artificial plants to the panels:
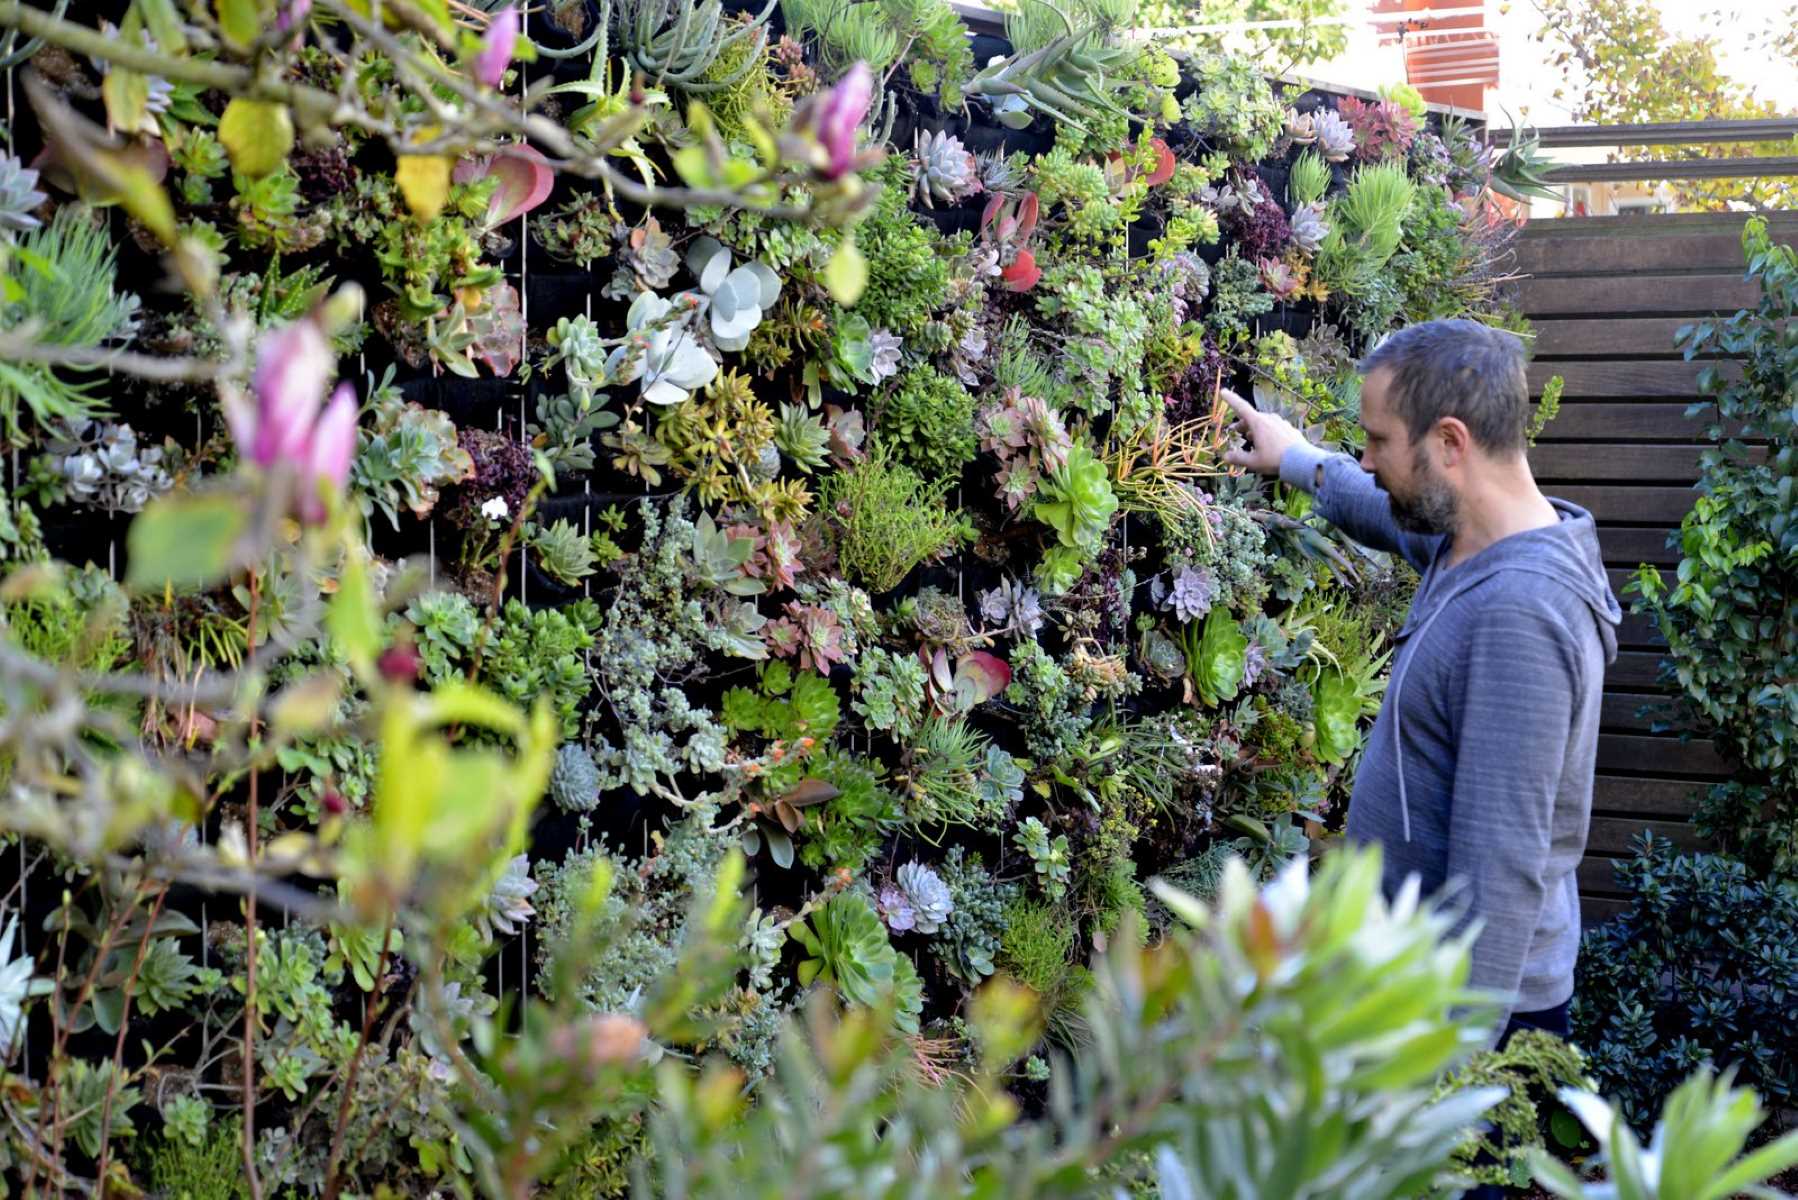
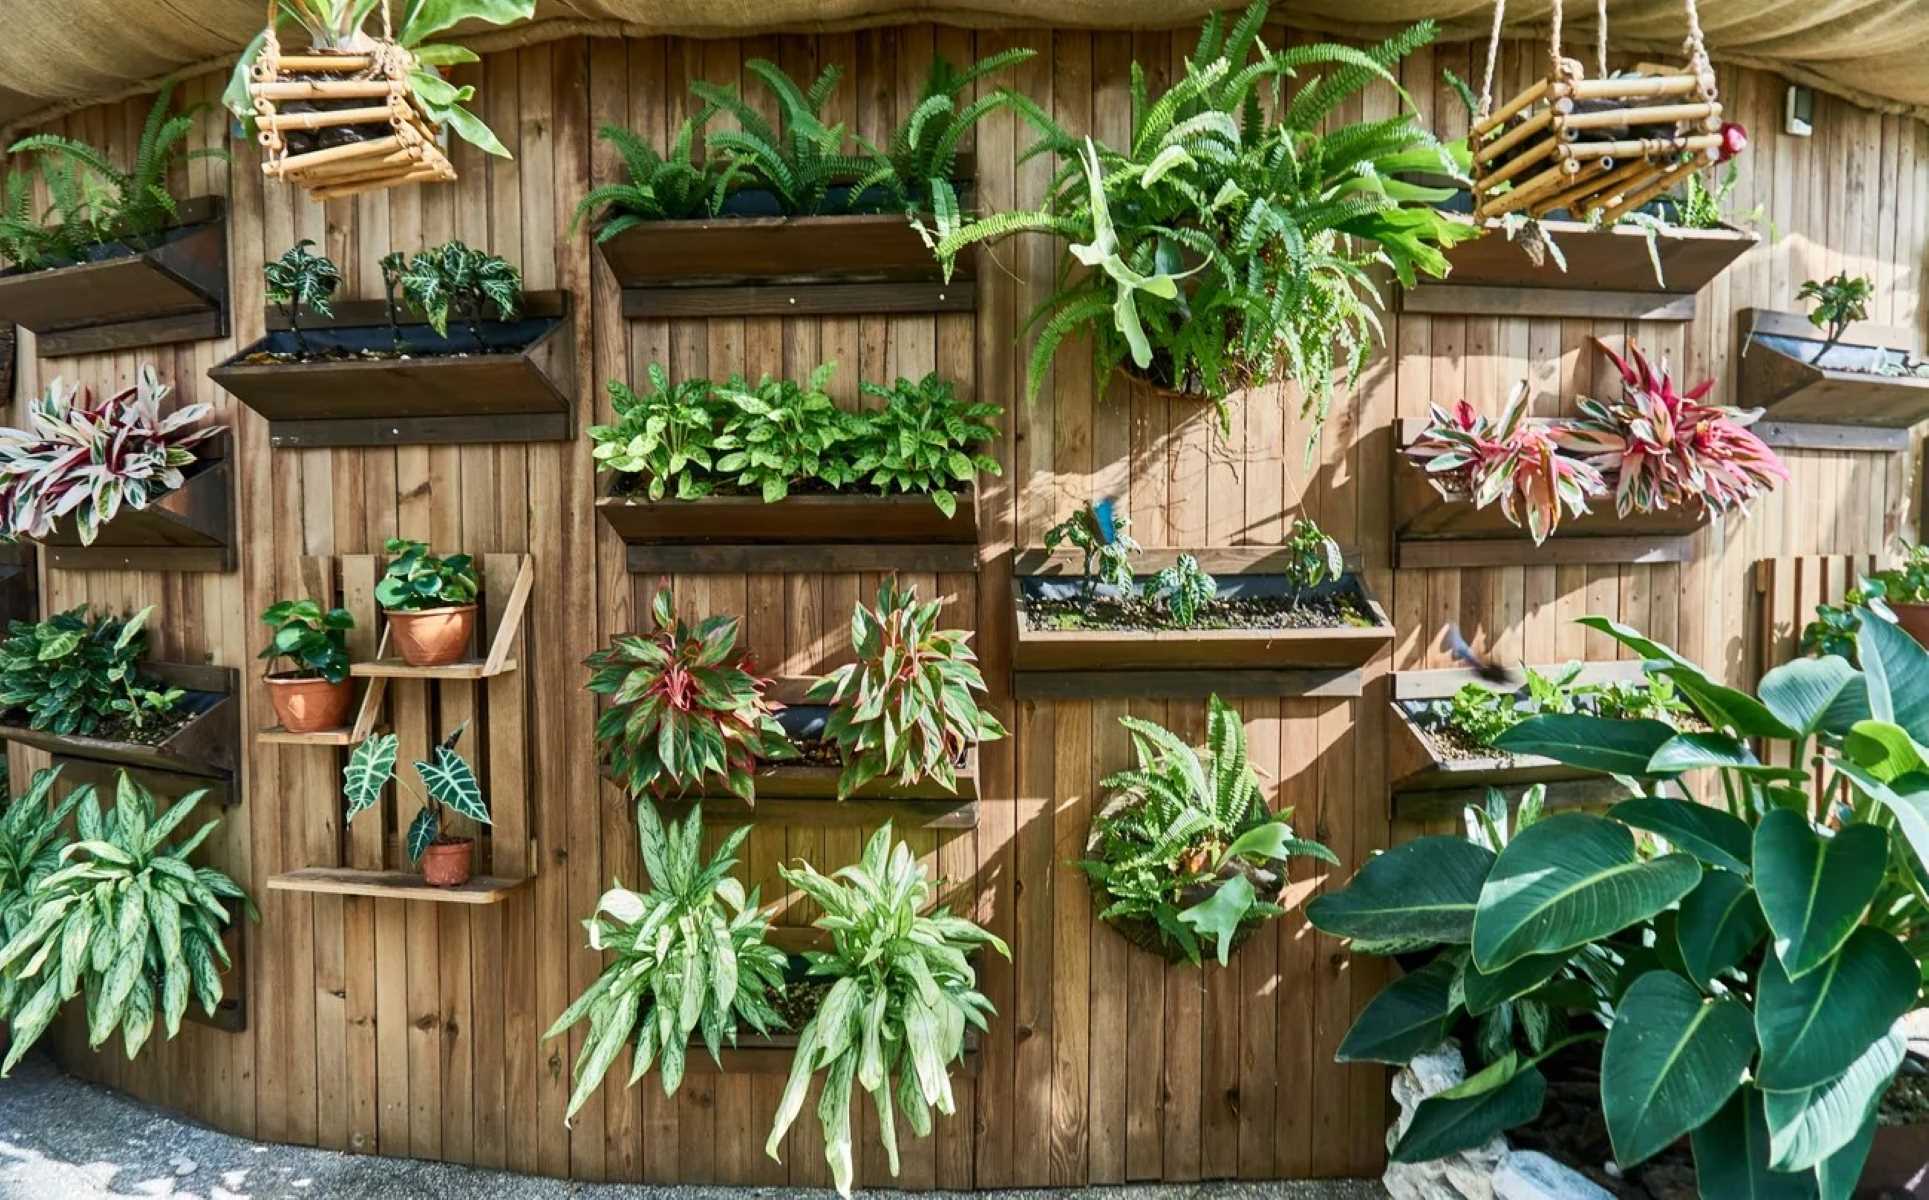
- Plan the Arrangement: Before attaching the plants, take a moment to plan out the arrangement. Consider the height, color, and texture of each plant and how they will complement each other. This will help create a visually appealing and balanced look for your vertical garden.
- Secure the Plants: Start by attaching the plants to the vertical garden panels. Most artificial plants have built-in hooks, loops, or clips that allow for easy attachment. Gently affix each plant to the panel, ensuring that it is securely in place. Space the plants evenly to create a natural and full appearance.
- Layering and Staggering: For a more realistic effect, consider layering and staggering the plants. Place taller plants towards the back of the panel and shorter plants towards the front. This will create depth and dimension, mimicking the look of a thriving garden.
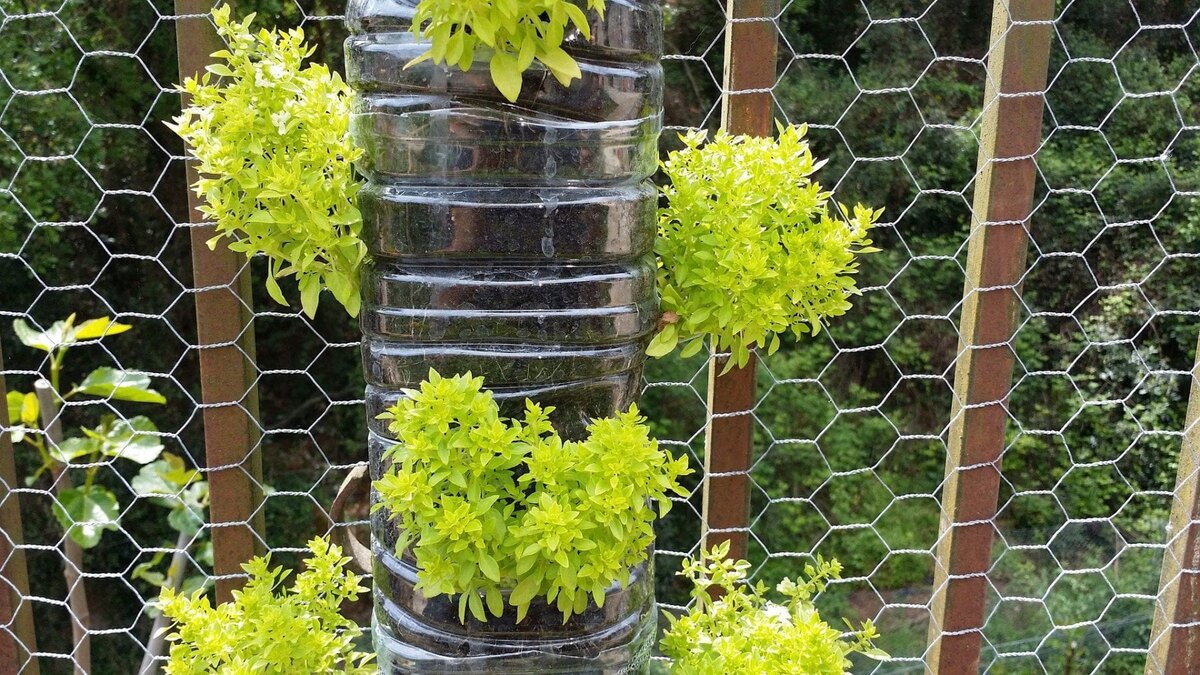
- Customize and Personalize: Don’t be afraid to get creative and customize your vertical garden. Consider adding artificial flowers, succulents, or trailing vines to add variety and interest. You can also mix different types of plants or create themed sections within your vertical garden.
- Secure Loose Ends: After attaching all the artificial plants, take a moment to secure any loose ends or strands. Use small zip ties or twist ties to neatly secure any loose foliage or branches. This will ensure that your vertical garden remains intact and looking its best.
As you attach the artificial plants, step back regularly to assess the overall look and make any necessary adjustments. Remember to follow the manufacturer’s instructions for attaching the plants to the vertical garden panels, as different systems may have variations in the attachment method. Once all the plants are in place, it’s time to move on to securing the vertical garden to the wall.
Read more: How To Water Vertical Garden
Step 5: Secure the Vertical Garden to the Wall
Now that your artificial plants are attached to the panels, it’s time to ensure the vertical garden is securely mounted to the wall. Follow these steps to properly secure the vertical garden:
- Double-Check Alignment: Before proceeding with securing the vertical garden, double-check the alignment of the panels. Ensure that they are level and evenly spaced. Adjust as necessary to achieve the desired look.
- Use Wall Anchors: Depending on the weight and size of your vertical garden, it may be necessary to use wall anchors for added stability. Wall anchors are particularly important if you are installing the garden on a surface other than concrete or brick. Follow the manufacturer’s instructions for selecting and installing the appropriate wall anchors.
- Attach Support Brackets: Install support brackets to secure the vertical garden panels to the wall. These brackets are usually included with the vertical garden system and are designed to provide additional support. Attach the brackets to the wall following the manufacturer’s instructions and align them with the corresponding slots or hooks on the panels.
- Secure with Screws or Fasteners: Using screws or other provided fasteners, secure the support brackets to the vertical garden panels. Make sure to tighten them securely without damaging the panels. This step will ensure that the vertical garden is firmly attached to the wall and will prevent any movement or instability.
- Perform Stability Check: Once the vertical garden is secured to the wall, perform a stability check by gently shaking the panels. If there is any wobbling or movement, verify that all screws and brackets are firmly tightened. Make any necessary adjustments to ensure a stable and secure installation.
- Test Weight Capacity (Optional): If you plan to add any additional elements to your vertical garden, such as decorative objects or hanging baskets, it is recommended to test the weight capacity of the vertical garden system. Ensure that the brackets, screws, and panels can support the added weight without compromising stability.
By following these steps, you will have a securely mounted vertical garden that will withstand the test of time. Take your time during this step to ensure a stable installation, as it is crucial for the long-term durability and success of your vertical garden. Once the garden is secure, it’s time to move on to the final step of adding the finishing touches to complete your artificial vertical garden.
Step 6: Add Finishing Touches
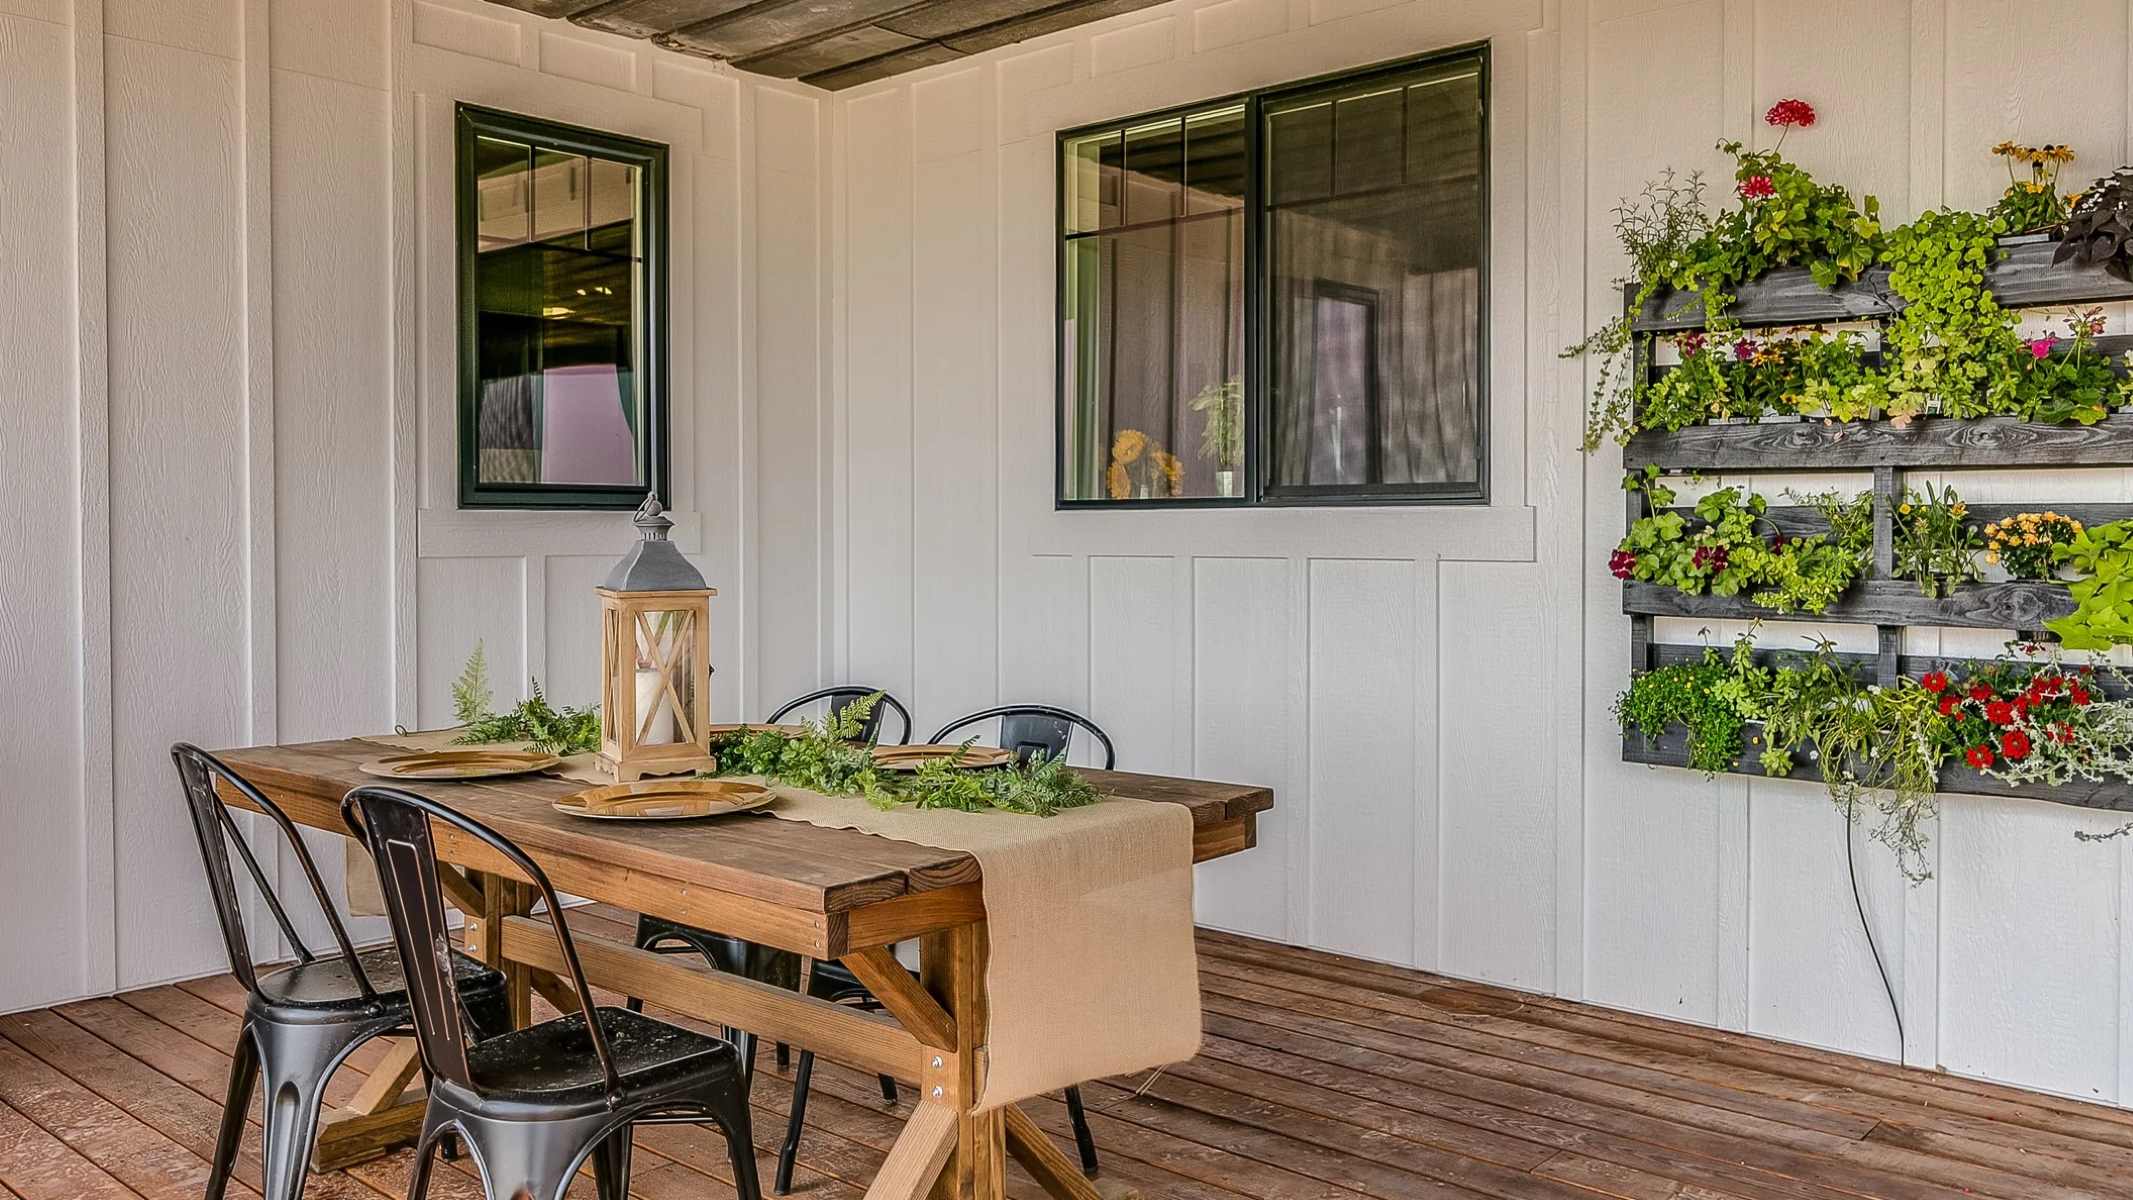
Now that your artificial vertical garden is securely installed, it’s time to add the finishing touches that will bring your garden to life. Here are some ideas to enhance the overall aesthetics:
- Enhance with Lighting: Consider adding lighting to highlight your vertical garden, especially if it is installed in an indoor space or an area with limited natural light. Use LED spotlights or string lights to create a warm and inviting ambiance.
- Add Decorative Elements: Personalize your vertical garden by adding decorative elements such as faux butterflies, birdhouses, or wind chimes. These small touches can add charm and character to your garden and make it truly unique.
- Maintain and Clean Regularly: Even though artificial plants require minimal maintenance, it’s important to keep them clean and dust-free. Use a soft brush or a cloth to gently remove any accumulated dust or debris from the foliage. Regular cleaning will ensure that your vertical garden looks vibrant and fresh.
- Consider Water Features: For an added touch of tranquility, consider incorporating a small water feature or fountain into your vertical garden. The sound of running water can create a calming ambiance and add a sense of serenity.
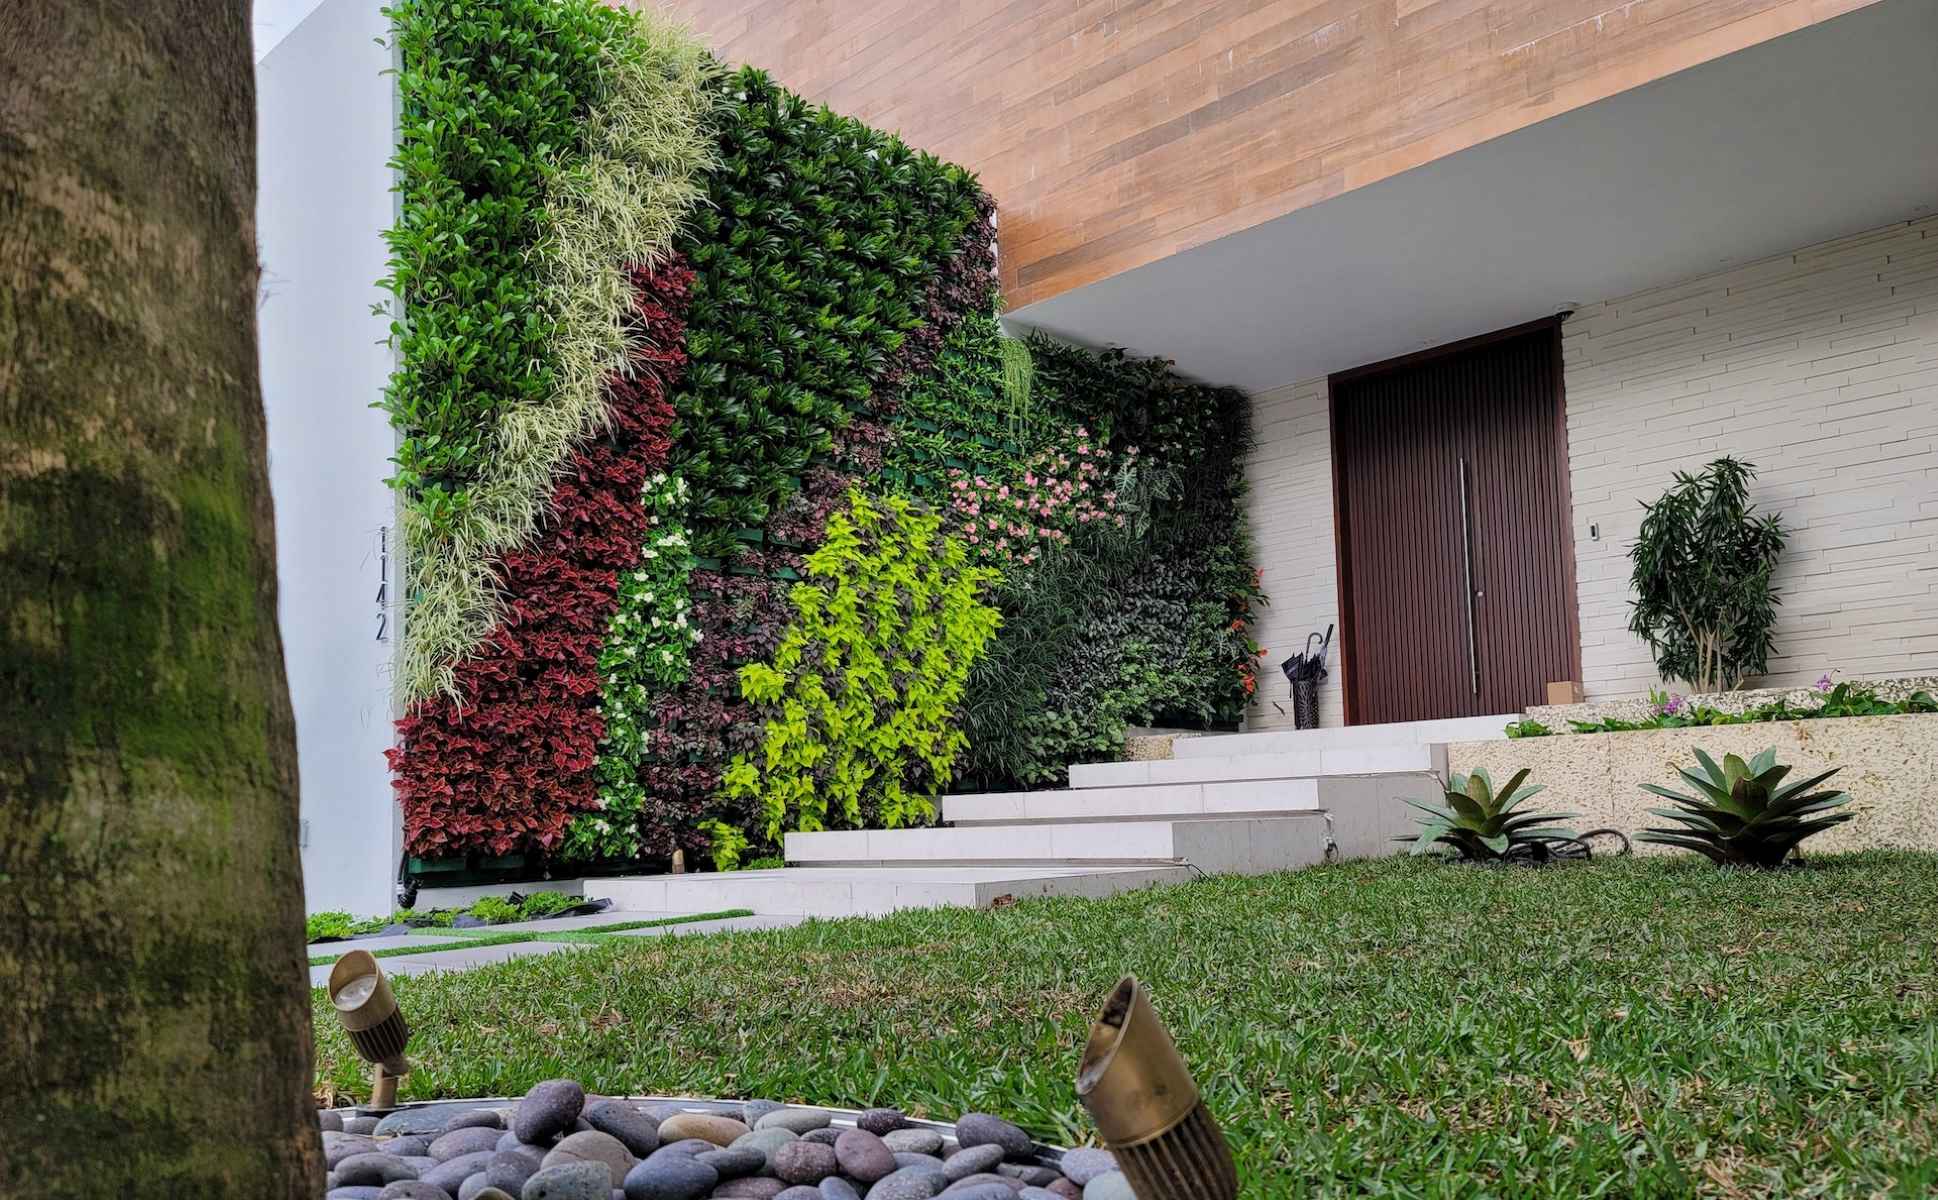
- Experiment with Colors and Textures: Don’t be afraid to experiment with different colors and textures to create visual interest. Mix and match varying shades of green, add pops of color with artificial flowers, or even introduce different foliage textures to create a dynamic and captivating display.
- Rotate and Rearrange: Keep your vertical garden looking fresh by periodically rotating or rearranging the plants. This will prevent uneven fading and ensure that all plants receive equal sunlight exposure.
By adding these finishing touches, you can take your artificial vertical garden to the next level and create a stunning display that will impress and delight. Be creative and let your imagination guide you in personalizing your vertical garden to suit your style and preferences.
With the completion of Step 6, you have successfully installed and adorned your artificial vertical garden. Take a step back, admire your creation, and enjoy the beauty and tranquility it brings to your space. Remember to maintain and care for your vertical garden regularly to keep it looking its best for years to come.
Enjoy your new artificial vertical garden and the endless beauty it provides, without the need for constant maintenance and care!
Conclusion
Congratulations on completing the installation of your artificial vertical garden! By following the steps outlined in this guide, you have transformed a blank wall into a vibrant and captivating display of lush foliage. Now, you can enjoy all the beauty and benefits of a garden without the hassle of traditional maintenance.
Artificial vertical gardens offer a convenient and low-maintenance alternative for those with limited outdoor space or time for gardening. They provide an opportunity to incorporate nature into any environment, whether it’s a small apartment balcony, an office lobby, or a cozy backyard. With a variety of plants, colors, and textures available, you can create a personalized vertical garden that truly reflects your style and preferences.
Remember to regularly clean and maintain your artificial vertical garden to keep it looking fresh and vibrant. Dusting off the foliage and occasionally rearranging the plants will ensure that your garden remains in top condition. Additionally, consider incorporating lighting, decorative elements, and even water features to further enhance the ambiance and visual appeal of your vertical garden.
By opting for an artificial vertical garden, you have made an environmentally friendly choice as well. Artificial plants require no watering, pesticides, or fertilizers, reducing water wastage and the use of harmful chemicals. They are a sustainable and long-lasting solution that brings nature into your surroundings.
We hope this guide has provided you with the knowledge and confidence to embark on your artificial vertical garden journey. Let your creativity flourish and enjoy the beauty and tranquility that your garden brings to your space. Whether indoors or outdoors, an artificial vertical garden is sure to make a striking statement and be a source of joy for years to come.
Thank you for joining us on this gardening adventure, and we wish you continued success in creating and maintaining your artificial vertical garden!
Frequently Asked Questions about How To Install Artificial Vertical Garden
Was this page helpful?
At Storables.com, we guarantee accurate and reliable information. Our content, validated by Expert Board Contributors, is crafted following stringent Editorial Policies. We're committed to providing you with well-researched, expert-backed insights for all your informational needs.
0 thoughts on “How To Install Artificial Vertical Garden”