Home>Garden Essentials>How To Build A Water Fountain Using Pots
Garden Essentials
How To Build A Water Fountain Using Pots
Modified: March 16, 2024
Learn how to build a stunning garden water fountain using pots. Enhance your outdoor space with this DIY project and create a tranquil oasis.
(Many of the links in this article redirect to a specific reviewed product. Your purchase of these products through affiliate links helps to generate commission for Storables.com, at no extra cost. Learn more)
Introduction
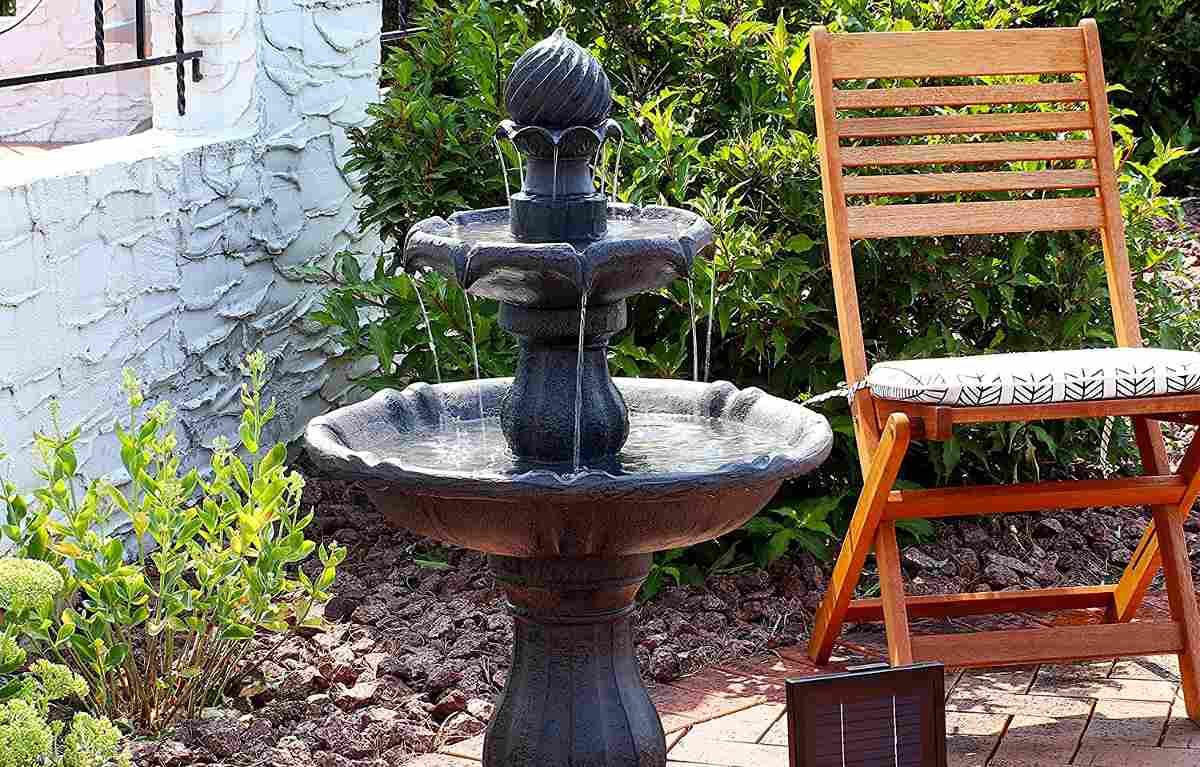
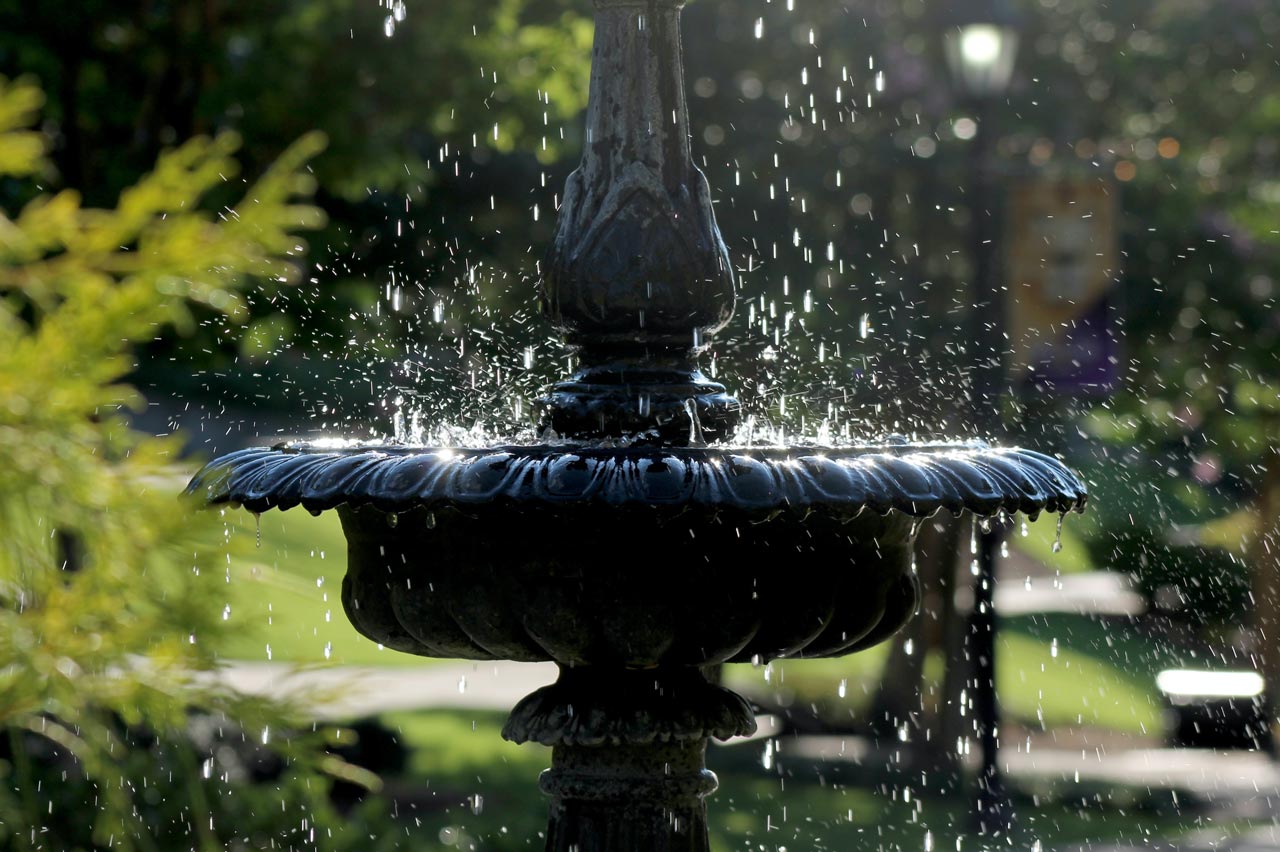
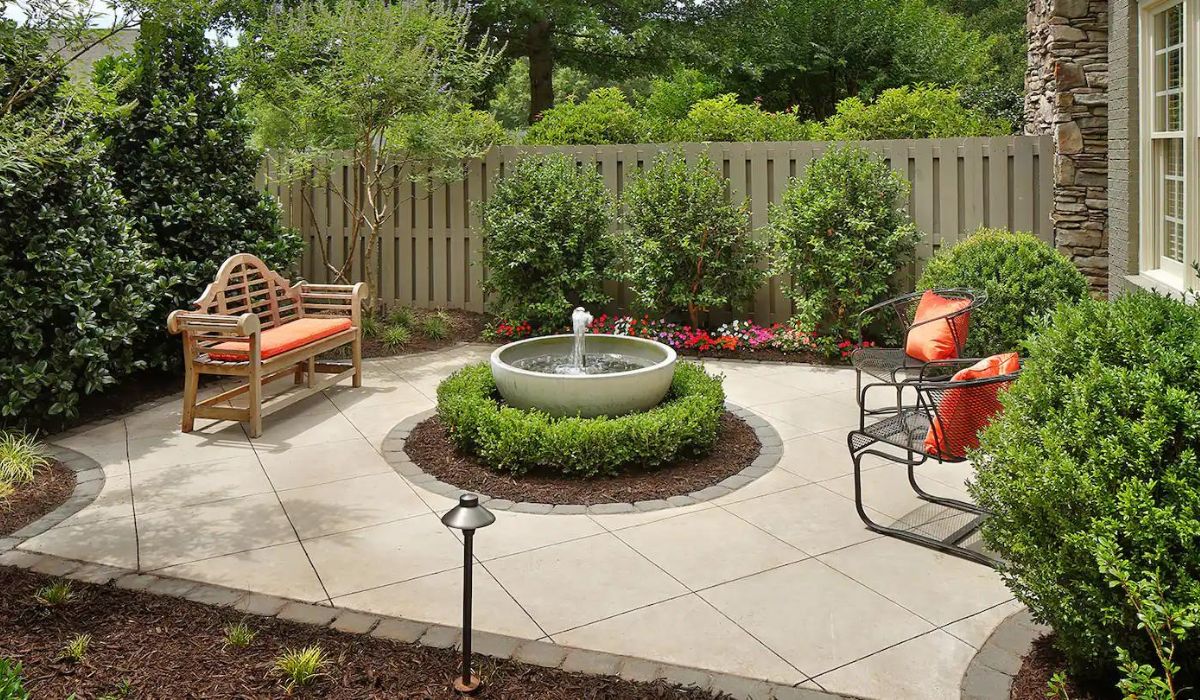
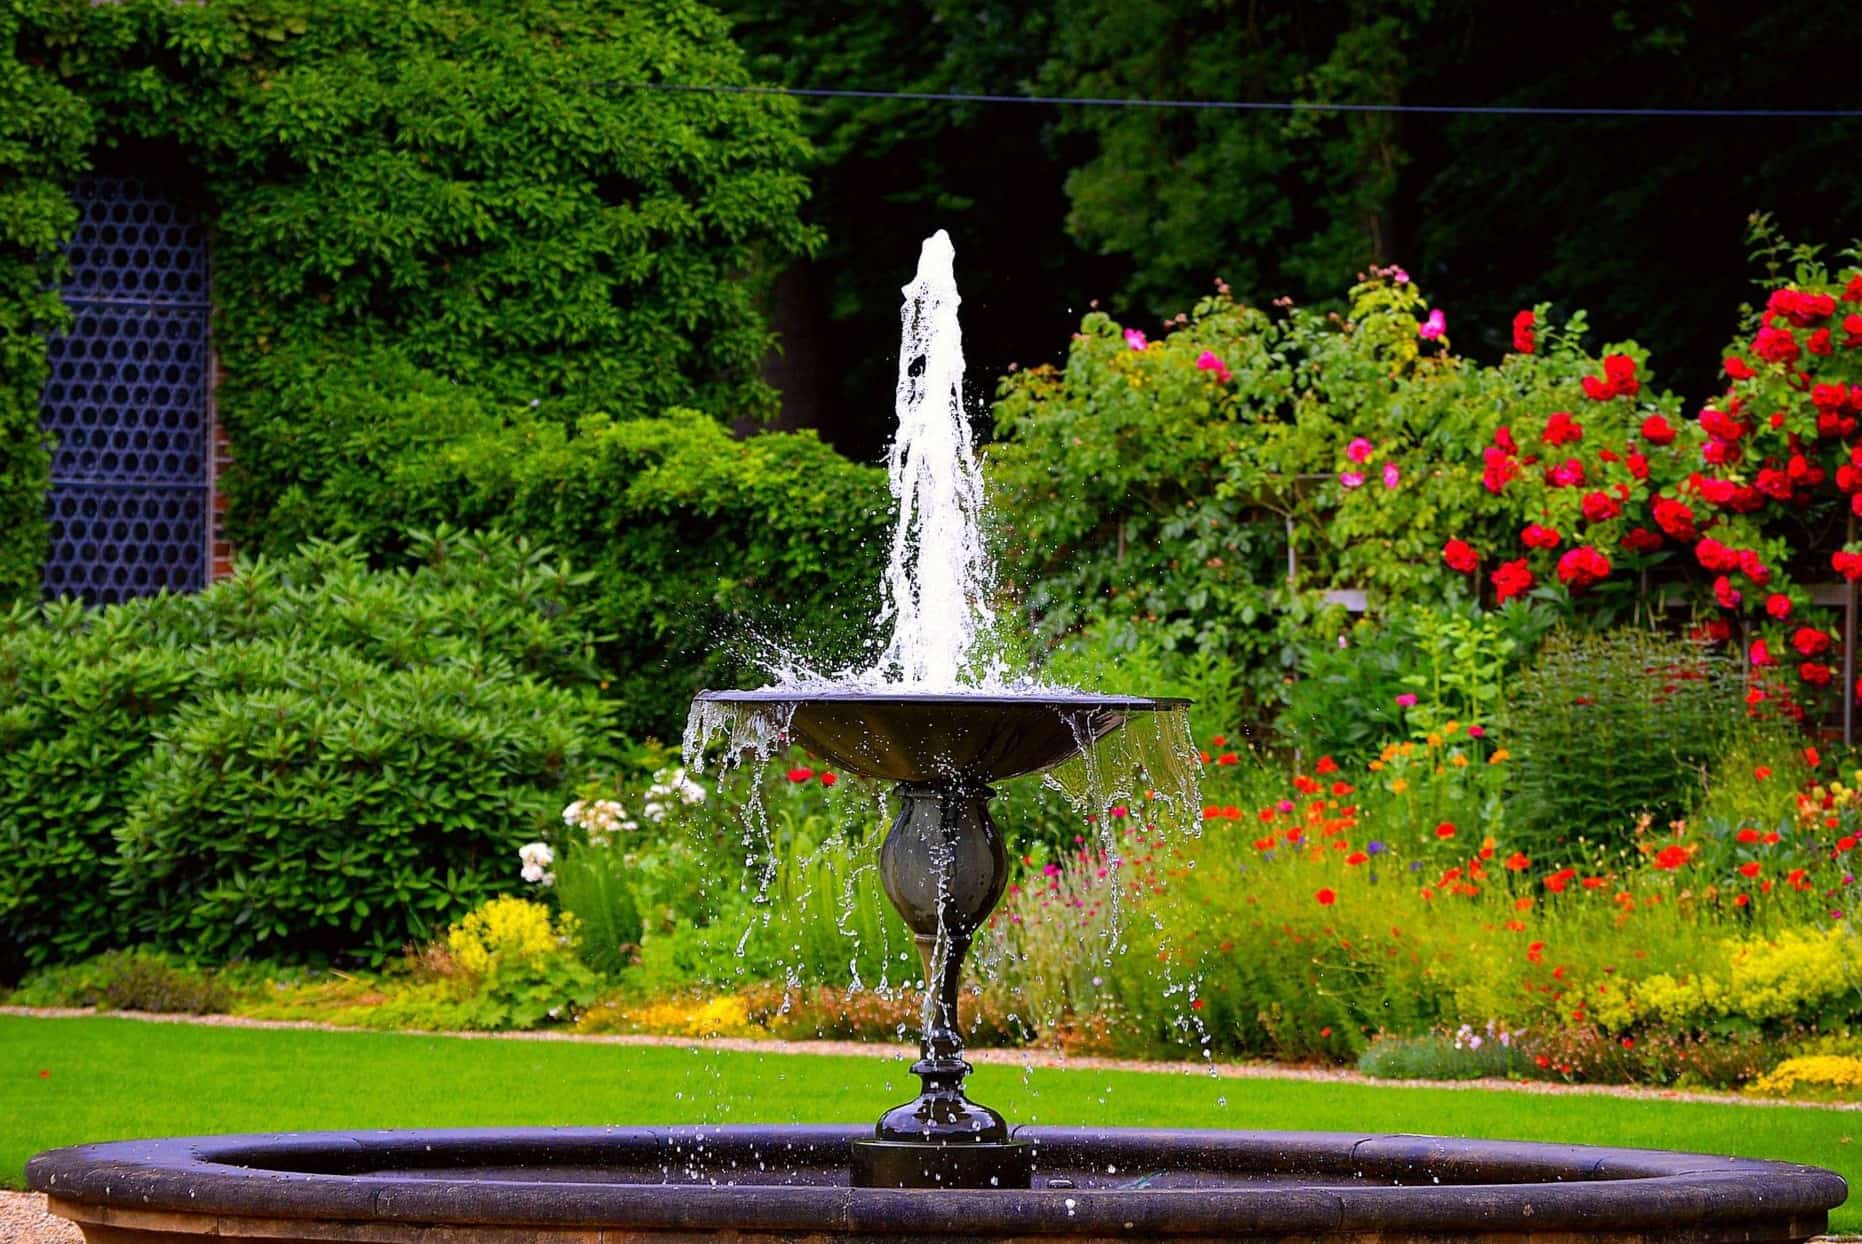
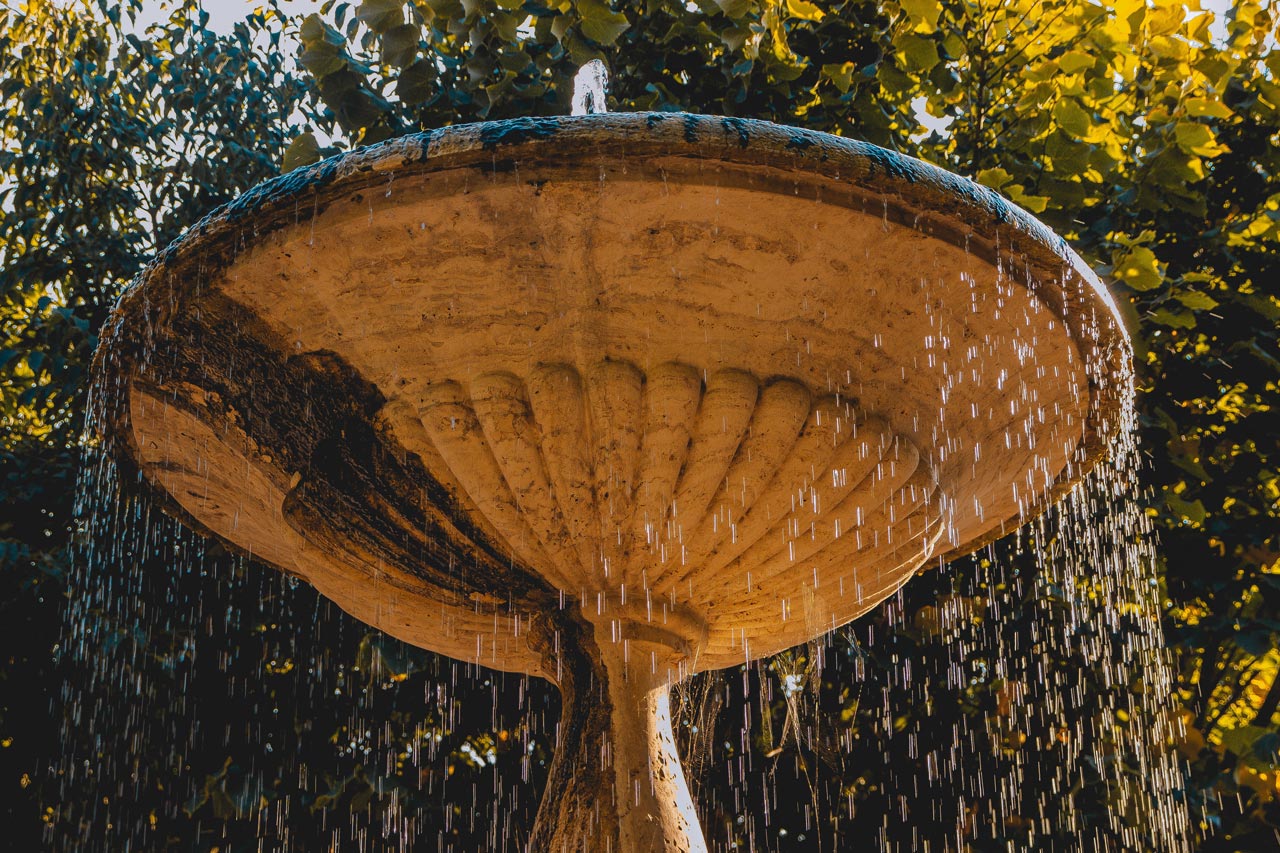
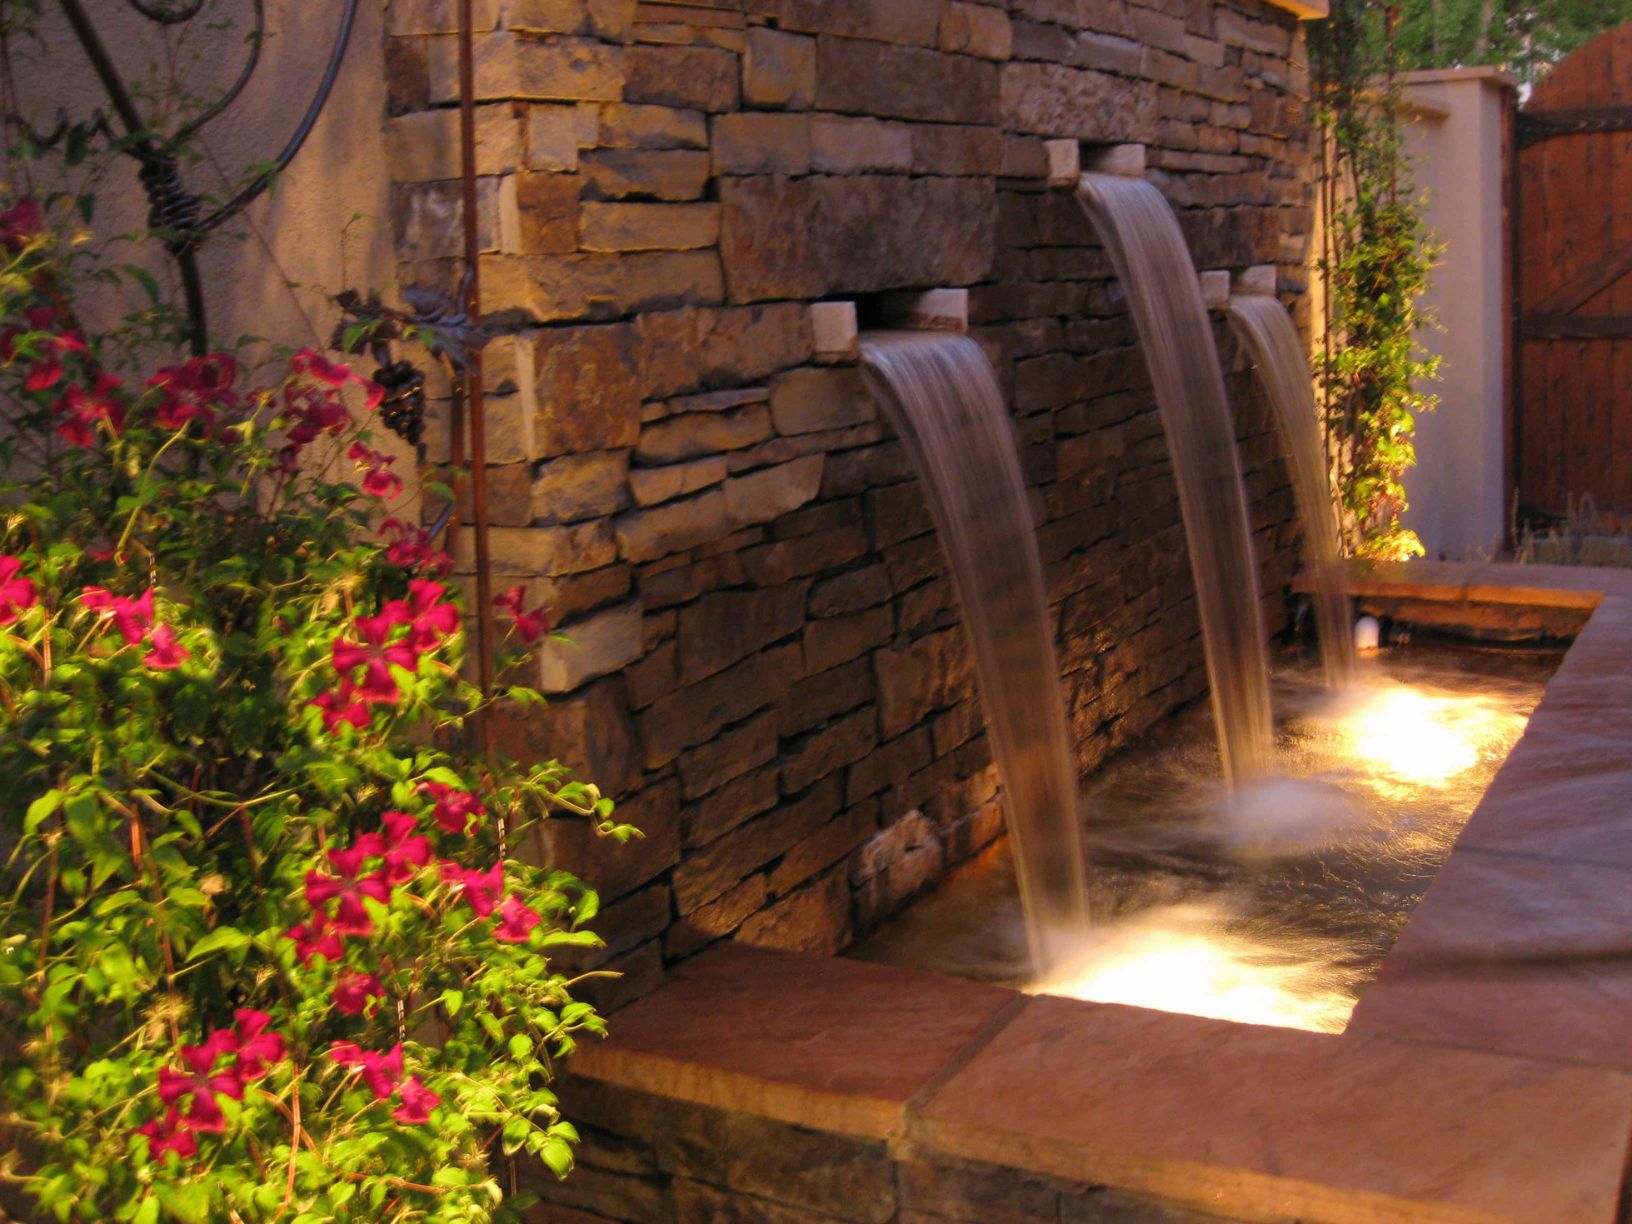
Welcome to the wonderful world of water fountains! Adding a water fountain to your garden can create a serene and soothing atmosphere, while also adding a touch of elegance and beauty. Imagine the gentle sound of running water, the sunlight sparkling on the droplets, and the way it can transform your outdoor space into a tranquil oasis.
Building your own water fountain using pots is a great DIY project for garden enthusiasts. Not only is it a fun and creative endeavor, but it also allows you to customize the design to fit your personal style and preferences. Plus, it’s a budget-friendly alternative to purchasing a pre-made fountain.
In this article, we will guide you through the step-by-step process of building your own water fountain using pots. Whether you’re a seasoned gardener or a beginner, with a little bit of patience and some basic tools, you’ll be able to create a stunning water feature that will be the highlight of your garden.
Before we dive into the details, let’s take a look at the materials you’ll need for this project.
Key Takeaways:
- Building a water fountain using pots is a fun DIY project that adds beauty and tranquility to your garden. With some basic materials and creativity, you can create a stunning water feature that will be the highlight of your outdoor space.
- Maintaining your water fountain is essential for its longevity. Regular cleaning, monitoring water levels, and inspecting the pump and tubing will ensure that your fountain remains a beautiful focal point in your garden.
Read more: How To Use Catit Water Fountain
Materials Needed
Before getting started with your water fountain project, gather the following materials:
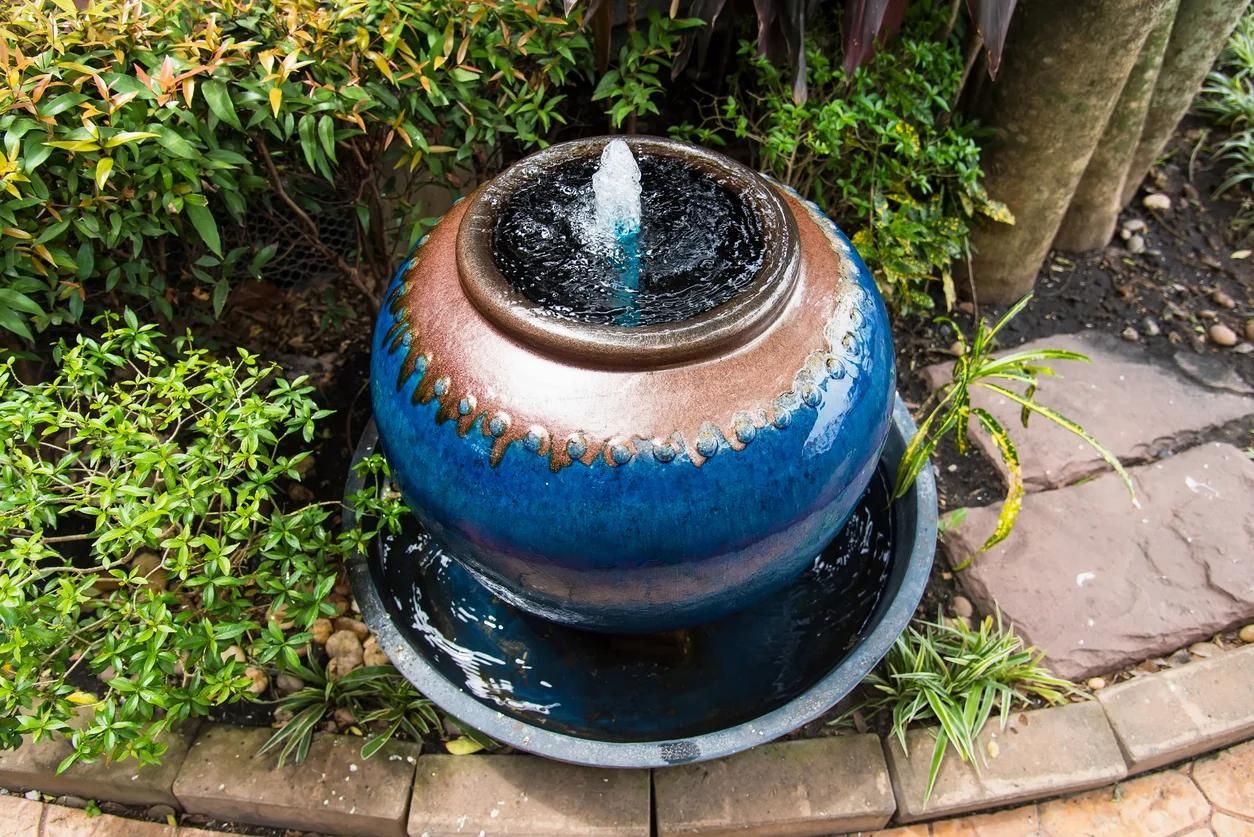
- Pots: Select two or more pots of different sizes and shapes to create a cascading effect. Make sure the pots are made of durable materials such as ceramic, fiberglass, or concrete.
- Water Pump: Choose a submersible water pump that is suitable for outdoor use. Select a pump with a flow rate that matches the size of your fountain.
- Tubing: You will need flexible tubing that fits the outlet of your water pump. Make sure the tubing is long enough to connect all the pots together.
- Drill: A drill with a masonry bit is necessary to create drainage holes in the pots.
- Waterproof Sealant: Use a waterproof sealant to seal any holes or cracks in the pots, ensuring that they hold water properly.
- Decorative Stones: Choose decorative stones or pebbles to fill the base of the pots and create a visually appealing look.
- Electrical Cord: Depending on the location of your fountain, you may need an outdoor-rated extension cord to connect the pump to a power source.
- Level: A level will be handy to ensure that your water fountain is balanced and stable once assembled.
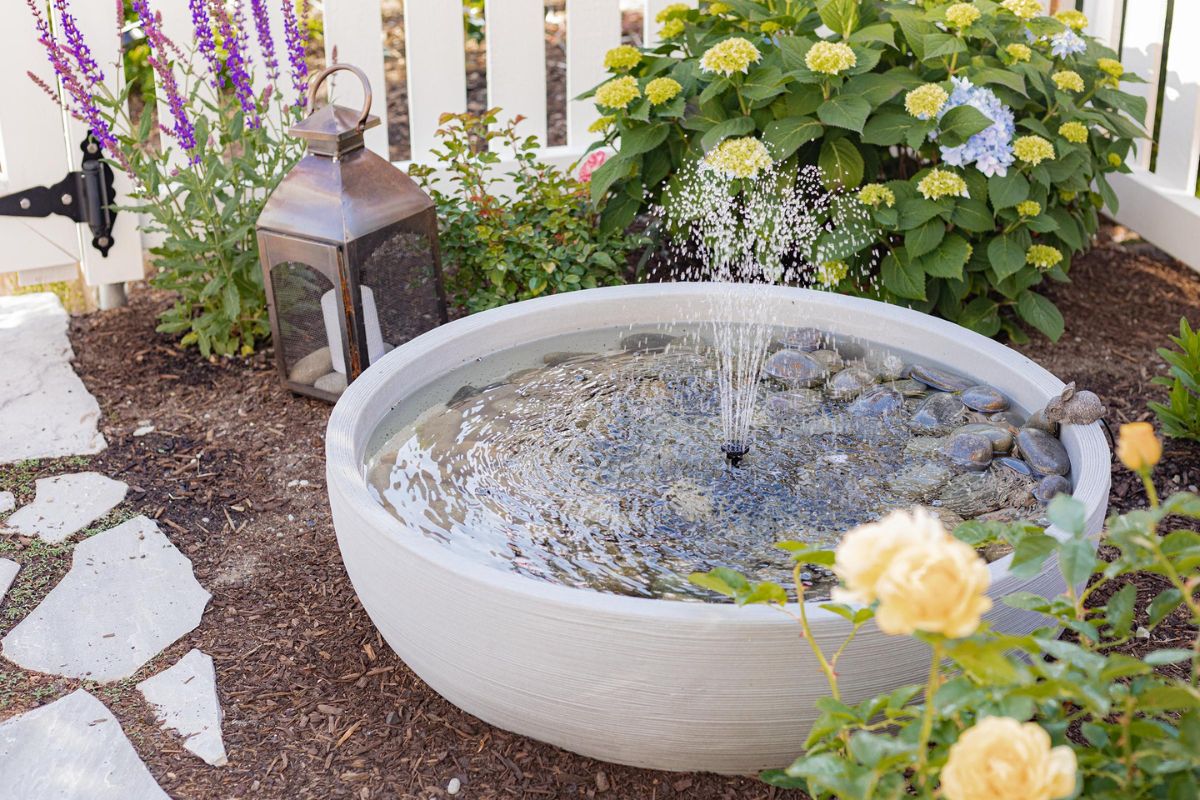
- Plants and Accessories: Consider adding aquatic plants, such as water lilies or water hyacinths, to enhance the beauty of your fountain. Additionally, you might want to include decorative accents like floating candles or small statues.
With these materials on hand, you’re now ready to move on to the next step: selecting the pots for your water fountain.
Step 1: Selecting the Pots
The choice of pots is a crucial step in creating your water fountain. When selecting pots, keep the following points in mind:
- Size and Shape: Choose pots of different sizes and shapes to create an aesthetically pleasing design. The largest pot will serve as the base, while the smaller pots will be stacked on top.
- Drainage Holes: Ensure that each pot has drainage holes at the bottom. These holes will allow the water to flow through the pots and back into the pump.
- Durability: Opt for pots made of sturdy materials like ceramic, fiberglass, or concrete. They should be able to withstand outdoor conditions and support the weight of the water and plants.
- Visual Appeal: Consider the overall look and style you want to achieve in your garden. Choose pots that complement your outdoor space and enhance its beauty.
Once you have selected the pots, ensure they are clean and free from any debris. This will provide a clean surface for the next step, which involves preparing the pots.
Now that you have the pots ready, it’s time to move on to the next step: preparing them for the water fountain construction.
Step 2: Preparing the Pots
Before assembling the pots into a water fountain, it’s important to properly prepare them to ensure their functionality and longevity. Follow these steps to prepare the pots:
- Drill Drainage Holes: Using a drill with a masonry bit, carefully create several drainage holes at the bottom of each pot. These holes will allow the water to flow from one pot to the next and back into the pump. Make sure to space the holes evenly to ensure an even water distribution.
- Seal Any Cracks: Inspect each pot for any cracks or holes. If you find any, use a waterproof sealant to seal them. This will prevent water leakage and ensure the pots hold water properly.
- Clean the Pots: Thoroughly clean the pots to remove any dust, dirt, or debris. Rinse them with water and let them dry completely before proceeding.
- Add a Water Reservoir: In the largest pot, create a small space or reservoir for the water to collect. This can be done by placing a smaller pot upside down inside the larger pot, leaving enough space around the edges for the water to pool.
By drilling drainage holes, sealing any cracks, and creating a water reservoir, you are now ready to proceed with the next step: creating the pump system for your water fountain.
Step 3: Creating the Pump System
The pump system is the heart of your water fountain, responsible for circulating the water and creating the soothing flow. Follow these steps to create the pump system:
- Choose the Right Pump: Select a submersible water pump that is appropriate for the size of your water fountain. Consider factors such as flow rate, head height, and power consumption. Refer to the manufacturer’s specifications for guidance.
- Position the Pump: Place the water pump in the water reservoir you created in the base pot. Ensure that it is sitting securely and level on the bottom of the pot.
- Connect the Tubing: Attach one end of the flexible tubing to the outlet of the water pump. The other end of the tubing will connect to the top pot, allowing the water to flow from one pot to the next in a cascading effect.
- Secure the Tubing: Secure the tubing in place using zip ties or hose clamps. This will prevent it from detaching or coming loose during the operation of the fountain.
Ensure that the pump is properly positioned and the tubing is securely connected before proceeding to the next step. With the pump system in place, it’s time to move on to the exciting part: assembling the water fountain!
Make sure to use a waterproof sealant on the inside of the pots to prevent leaks. This will help keep the water fountain functioning properly and prevent any water damage.
Read more: How To Use A Cat Water Fountain
Step 4: Assembling the Water Fountain
Now that you have prepared the pots and created the pump system, it’s time to assemble your water fountain. Follow these steps to assemble the fountain:
- Stack the Pots: Start by placing the largest pot, which contains the water reservoir and the pump, on a level surface. Carefully stack the smaller pots on top of each other, making sure they are centered and aligned.
- Thread the Tubing: Thread the tubing through the drainage holes of each pot, starting from the top pot and working your way down to the base pot. Ensure that the tubing is long enough to reach from the top pot to the pump in the base pot.
- Secure the Pots: To keep the pots stable and secure, use silicone adhesive or a strong adhesive to affix them together. Apply the adhesive around the bottom edges of each pot as you stack them, ensuring a strong bond.
- Add Decorative Elements: Once the pots are securely stacked, you can add decorative elements such as decorative stones, pebbles, or aquatic plants in each pot. Be creative and experiment with different arrangements to achieve your desired look.
Take your time to ensure that each pot is level and aligned with the one below it. This will not only enhance the aesthetic appeal but also ensure the proper flow of water. With the water fountain assembled, it’s time to move on to the next step: adding the water and testing the fountain.
Step 5: Adding the Water and Testing
With your water fountain assembled, it’s time to bring it to life by adding water and testing its functionality. Follow these steps to add water and test your fountain:
- Add Water: Fill the base pot with water, allowing it to flow into the water reservoir. As the water fills up, it will start to circulate through the tubing and flow from the top pot down to the base pot.
- Observe Water Flow: Observe the water flow in each pot and make any necessary adjustments. Ensure that the water is flowing freely and evenly from one pot to the next. If there are any issues, check for blockages or kinks in the tubing. Adjust the tubing or cleaning it as needed.
- Check Pump Functionality: Power on the water pump and listen for any unusual sounds. Ensure that the pump is functioning properly, circulating the water effectively and maintaining a steady flow.
- Make Adjustments: If you notice any imbalance or water splashing out of the pots, make adjustments to the pot arrangement or the pump flow rate. You may need to reposition the pots or adjust the flow rate of the pump to achieve the desired effect.
Once you are satisfied with the water flow and the functionality of the pump, sit back and enjoy the sight and sound of your beautiful water fountain. However, the work doesn’t end here – proper maintenance is essential to keeping your fountain in top condition.
In the next step, we will explore how to maintain and care for your water fountain to ensure its longevity.
Step 6: Maintaining the Water Fountain
Proper maintenance is key to keeping your water fountain functioning well and looking its best. Follow these steps to maintain your water fountain:
- Regular Cleaning: Clean the pots and the fountain components regularly to prevent the buildup of algae, dirt, and debris. Empty the fountain, remove any plants or decorative elements, and gently scrub the pots with a brush. Rinse them thoroughly and refill the fountain with clean water.
- Check Water Levels: Monitor the water levels in your fountain regularly, especially during hot and dry weather. Top up the water as needed to ensure the pump is always submerged. Low water levels can damage the pump and affect the water flow.
- Inspect the Pump and Tubing: Periodically check the water pump and tubing for any signs of damage or wear. Ensure that the pump is free from debris and the tubing is intact and properly connected. Replace any damaged or worn-out parts as necessary.
- Keep the Fountain Balanced: Check the stability and balance of the fountain regularly. Make adjustments as needed to ensure that all the pots are securely stacked and level. This will prevent any mishaps and maintain the water flow in the fountain.
- Trim and Prune Plants: If you have added aquatic plants to your fountain, regularly trim and prune them to prevent overgrowth and clogging of the tubing. Remove any dead or decaying plant matter to maintain a healthy environment.
- Winter Care: If you live in a colder climate, take precautions during winter to protect your water fountain. Before the freezing temperatures arrive, drain the fountain completely and remove the pump. Store the pump indoors to prevent it from freezing and potentially getting damaged.
By following these maintenance steps, you can ensure that your water fountain remains in excellent condition and provides a visually appealing, tranquil experience for years to come.
Congratulations on building your own water fountain using pots! Not only have you added a beautiful and captivating feature to your garden, but you’ve also gained the satisfaction of creating something with your own hands. Enjoy the soothing sounds and visual delight that your water fountain brings, and take pride in your DIY accomplishment!
Now, go forth and enjoy the tranquility of your garden oasis!
Conclusion
Building a water fountain using pots is a rewarding and creative DIY project that can transform your garden into a serene and enchanting space. By following the step-by-step guide outlined in this article, you have learned how to select suitable pots, prepare them, create a pump system, assemble the fountain, and maintain its functionality.
Through the careful selection of pots in different sizes and shapes, you can create a visually appealing cascading effect. By drilling drainage holes, sealing any cracks, and creating a water reservoir, you ensure that the pots are suitable for holding and circulating water. With the pump system in place, the soothing sounds of running water will fill your garden, inviting relaxation and tranquility.
Maintaining your water fountain is crucial for its longevity and continued enjoyment. Regular cleaning, monitoring water levels, inspecting the pump and tubing, and balancing the fountain are essential tasks that will keep your fountain in excellent condition. Additionally, trimming and pruning plants and taking winter care precautions will ensure that your fountain remains a beautiful focal point all year round.
By building your own water fountain, you have not only added a stunning feature to your garden but also allowed your creativity to shine. The joy and satisfaction of seeing your creation come to life cannot be understated. So, take a moment to sit back, relax, and enjoy the serene ambiance created by your magnificent water fountain.
Now, armed with the knowledge and skills gained from this article, let your imagination run wild and experiment with different designs and variations. Whether you choose to incorporate intricate patterns, vibrant colors, or different combinations of plants and accessories, the possibilities are endless.
So go ahead, embrace your inner gardener, and embark on the journey of creating your very own water fountain masterpiece using pots. Your garden will thank you, and you will be rewarded with a tranquil oasis that you can revel in for years to come.
Frequently Asked Questions about How To Build A Water Fountain Using Pots
Was this page helpful?
At Storables.com, we guarantee accurate and reliable information. Our content, validated by Expert Board Contributors, is crafted following stringent Editorial Policies. We're committed to providing you with well-researched, expert-backed insights for all your informational needs.


0 thoughts on “How To Build A Water Fountain Using Pots”