Home>Garden Essentials>How To Collect Lavender Seeds

Garden Essentials
How To Collect Lavender Seeds
Modified: March 16, 2024
Learn how to collect lavender seeds in your garden with our step-by-step guide. Start growing your own beautiful lavender plants today!
(Many of the links in this article redirect to a specific reviewed product. Your purchase of these products through affiliate links helps to generate commission for Storables.com, at no extra cost. Learn more)
Introduction
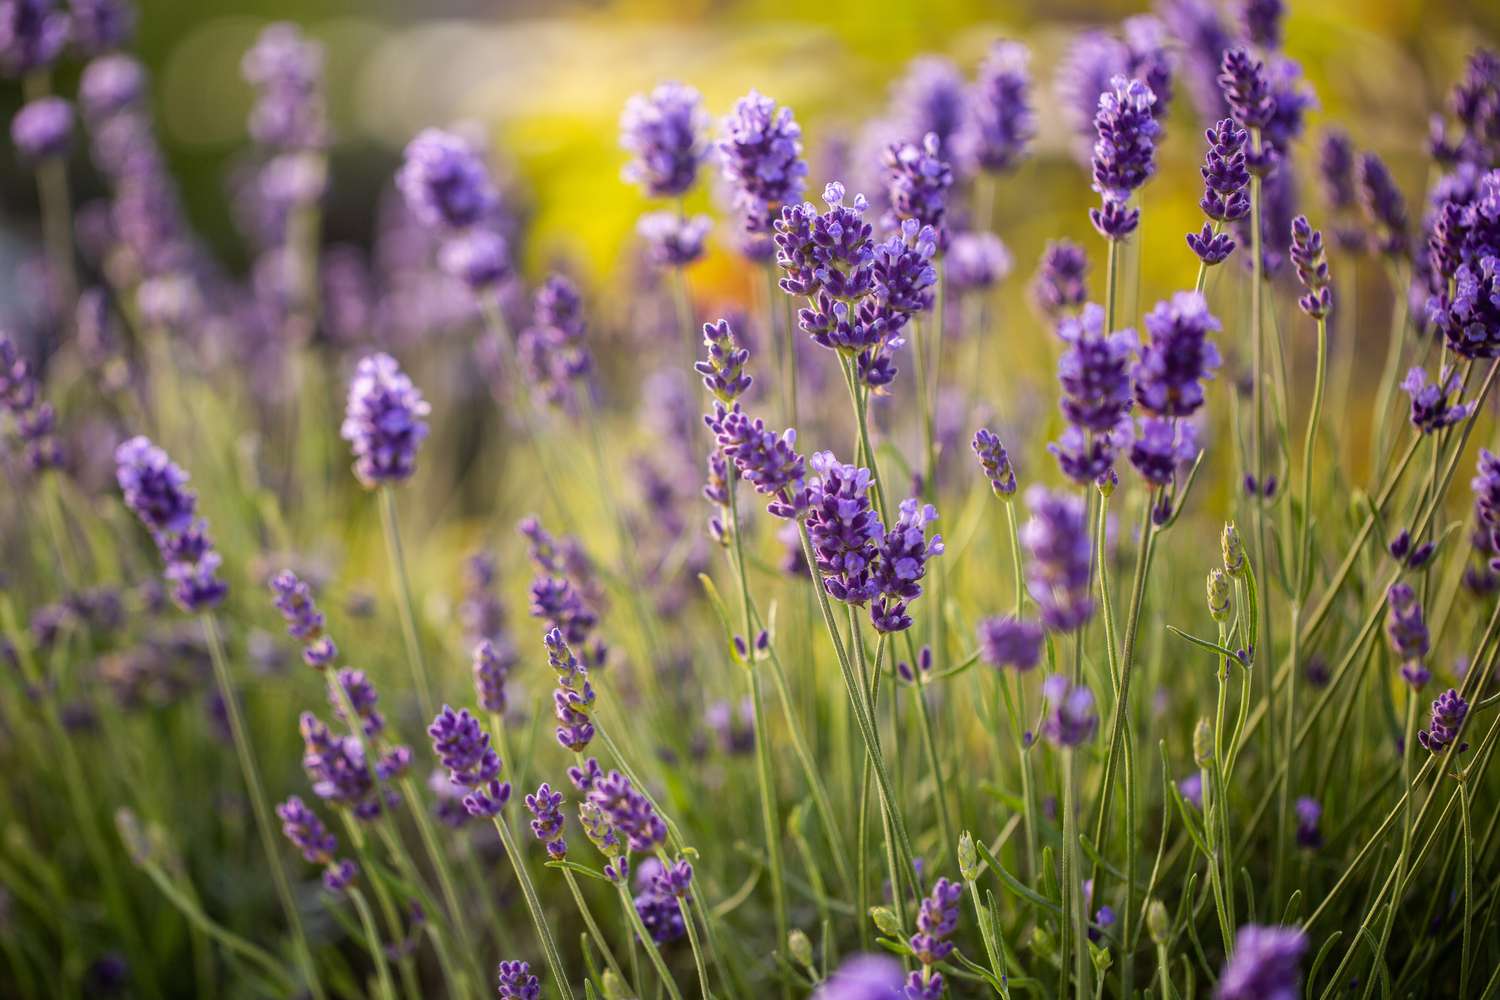
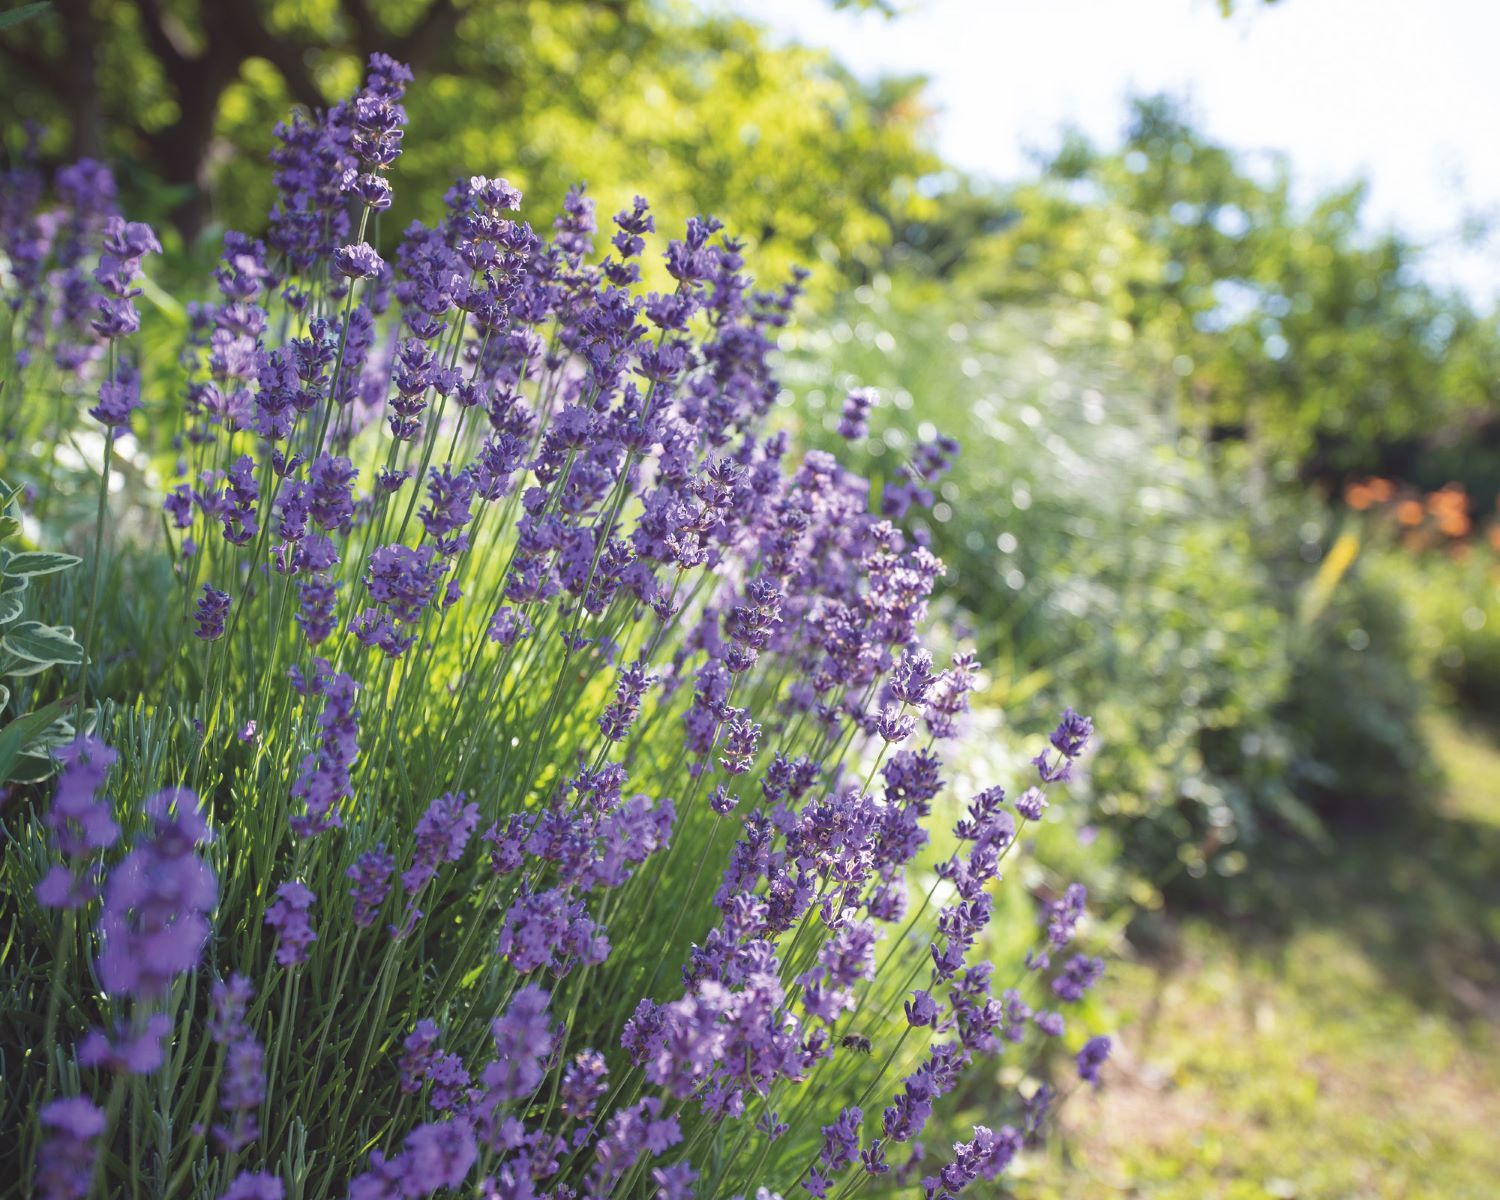
Welcome to the wonderful world of lavender! Known for its beautiful purple blooms and enchanting fragrance, lavender is a popular plant that is not only aesthetically pleasing but also offers a multitude of uses. From aromatherapy and beauty products to culinary delights and medicinal remedies, lavender is a versatile herb that can enhance various aspects of our lives.
One of the most fascinating aspects of lavender is its ability to reproduce and propagate through the collection and cultivation of its seeds. By collecting lavender seeds, gardeners can expand their lavender collection, create new plants, or share their seeds with fellow gardening enthusiasts. In this article, we will guide you through the process of collecting lavender seeds, step by step.
Before we dive into the nitty-gritty details, it’s important to point out that there are various lavender species and cultivars available, each with its unique characteristics. Therefore, the techniques and timing for collecting seeds may vary slightly depending on the specific lavender variety you are working with. However, the general principles outlined in this article will provide you with a solid foundation for successful seed collection.
So, let’s embark on this lavender seed collecting adventure and discover how you can bring new life to your garden with an abundance of lavender plants!
Key Takeaways:
- Lavender seeds should be collected from healthy, mature plants in late summer or early fall, ensuring they are dry but not fully withered. Use clean tools and dry the seeds before storing them in a cool, dark place.
- To collect lavender seeds, choose healthy plants, time the collection right, use the proper tools, and dry and store the seeds carefully. This ensures successful propagation and a beautiful, fragrant garden.
Read more: How To Plant Lavender Seeds
Step 1: Choosing the Lavender Plants
The first step in collecting lavender seeds is to choose the right lavender plants to work with. This is an essential step as the quality of the parent plant will greatly influence the quality of the seeds you will collect.
When selecting lavender plants for seed collection, opt for healthy and well-established plants that have reached maturity. Look for plants that have a strong growth habit, with sturdy stems and abundant foliage. The plants should also be free from any signs of pests or diseases.
Aim to select plants that are true to their species or cultivar. If you’re unsure about the specific variety of lavender you have, consult with a local nursery or horticulturist who can help you identify it. This is important because collecting seeds from hybrid or cross-pollinated plants may result in unpredictable offspring with characteristics that differ from the parent plant.
Additionally, consider the overall characteristics and traits of the lavender plants you want to collect seeds from. Do you prefer a specific color or scent? Are you looking for lavenders with compact growth or long-stemmed varieties? Take these preferences into account when choosing your parent plants.
It’s worth mentioning that some lavender varieties are easier to collect seeds from than others. English lavender (Lavandula angustifolia) and French lavender (Lavandula stoechas) are often popular choices for seed collection due to their accessibility and reliability. However, if you have other lavender species or cultivars in your garden, don’t hesitate to experiment and collect seeds from those as well.
By selecting the right lavender plants to collect seeds from, you increase the chances of obtaining high-quality seeds that will produce vigorous and true-to-type lavender offspring. So, take your time to observe and choose the best plants to work with before moving on to the next step.
Step 2: Timing the CollectionTiming is crucial when it comes to collecting lavender seeds. It’s important to choose the right moment to ensure that the seeds are mature and ready to be harvested. The ideal time for seed collection is when the lavender flowers have faded and begun to dry out, but before they have completely withered away.
Depending on the lavender variety and your local climate, the timing for seed collection can vary. As a general guideline, aim to collect the seeds in late summer or early fall, typically around August or September. This is when the flowers have finished blooming and started to form seed pods.
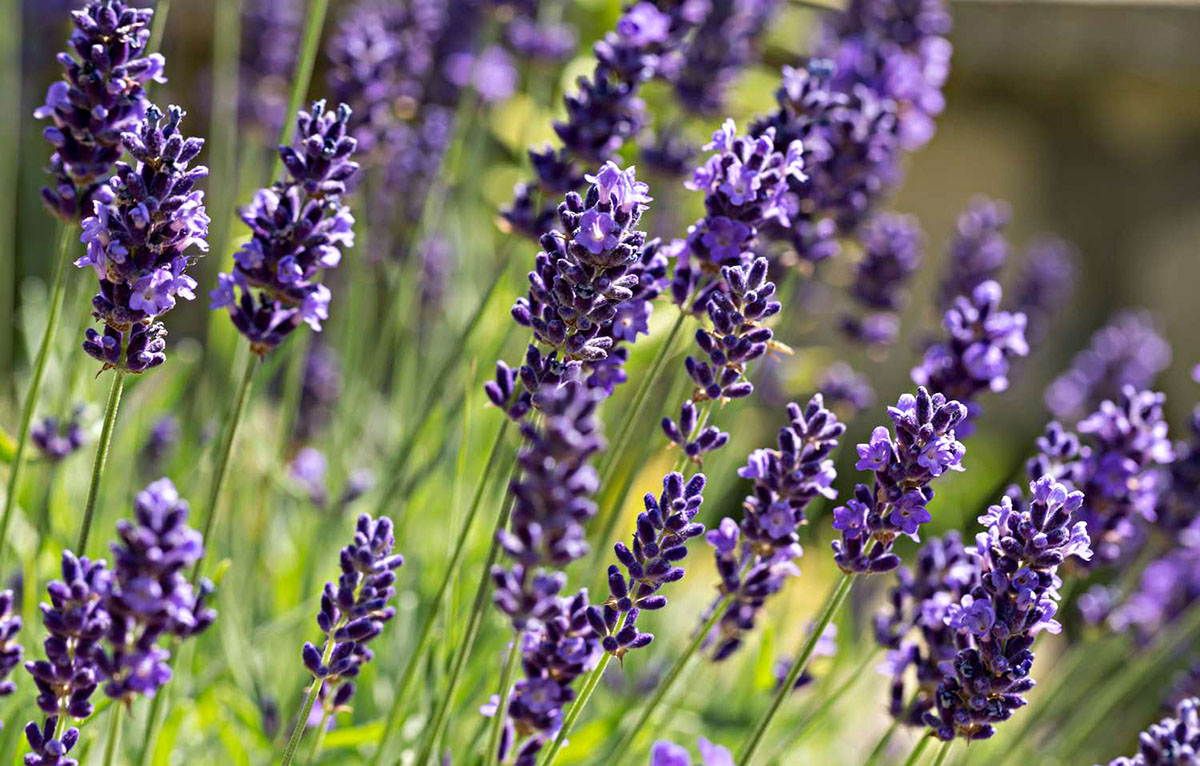
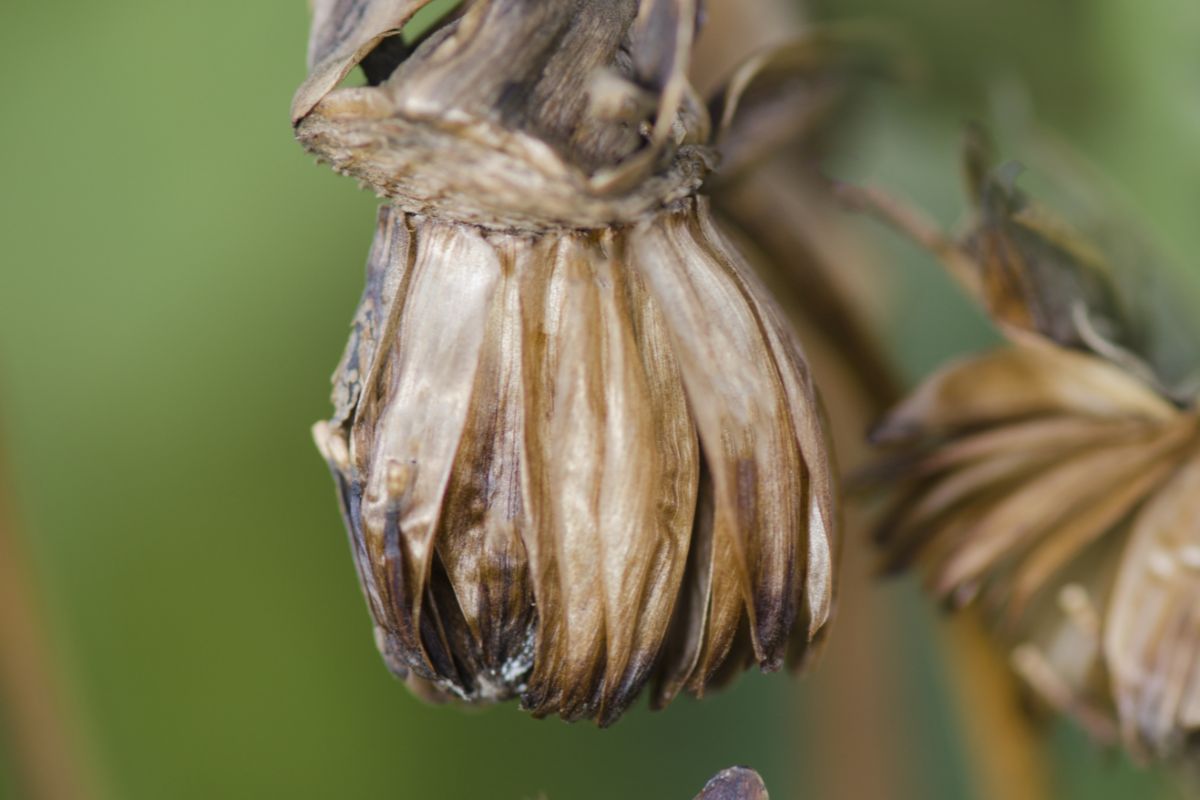
Observation is key during this step. Examine the flower spikes closely and look for signs of seed development. The dried flower spikes will have small papery pods containing the lavender seeds. The pods should be brown or grey in color, indicating that they have reached maturity.
Be mindful of collecting the seeds before they fully scatter or are dispersed by wind or rain. Timing is crucial because if the seed pods have already burst open, it may be too late to collect viable seeds. On the other hand, if you wait too long and the pods are left on the plant for too many seasons, the seeds may naturally fall and reseed the area, making it harder for you to collect them.
In some cases, you may notice that the seeds are shedding from the plant. In this situation, place a bag or container beneath the flower spike to catch any falling seeds. This will ensure that you don’t miss out on any valuable seeds.
Remember, the timing for seed collection can vary slightly depending on your specific location and the lavender variety you are working with. Keep a close eye on your plants and be attentive to the signs of seed maturity to determine the perfect time for collection.
Now that you know when to collect lavender seeds, it’s time to gather the necessary tools for the next step: harvesting the seeds.
Step 3: Preparing the Tools
Before you begin harvesting the lavender seeds, it’s important to gather the necessary tools to ensure a smooth and efficient process. Here are the tools you will need:
- Gloves: It’s a good idea to wear gloves during the seed collection process to protect your hands from any rough or prickly plant parts. This will also help prevent any skin irritation that may be caused by handling the plants.
- Pruning Shears or Scissors: You will need a sharp pair of pruning shears or scissors to cut the seed stalks from the lavender plants. Make sure they are clean and sterilized to minimize the risk of introducing any pathogens to the plants.
- Container or Bag: Prepare a container or bag to collect the cut seed stalks. It should be clean and spacious enough to accommodate the seed stalks without crushing them. Consider using a breathable bag, such as a paper or mesh bag, to allow air circulation and prevent moisture buildup.
- Labels and Marker: To keep track of the different lavender varieties or specific plants you are collecting seeds from, use labels and a marker. This will help you identify and organize the seeds later on.
- Optional: Camera or Notebook: If you’re conducting a large-scale seed collection or working with multiple lavender varieties, consider using a camera or notebook to document important details about each specific plant. This can be helpful for future reference or sharing your experiences with other enthusiasts.
Having these tools prepared and readily available will make the seed collection process much more convenient and enjoyable.
Once you have gathered your tools, you are now ready to proceed to the next step: harvesting the lavender seeds!
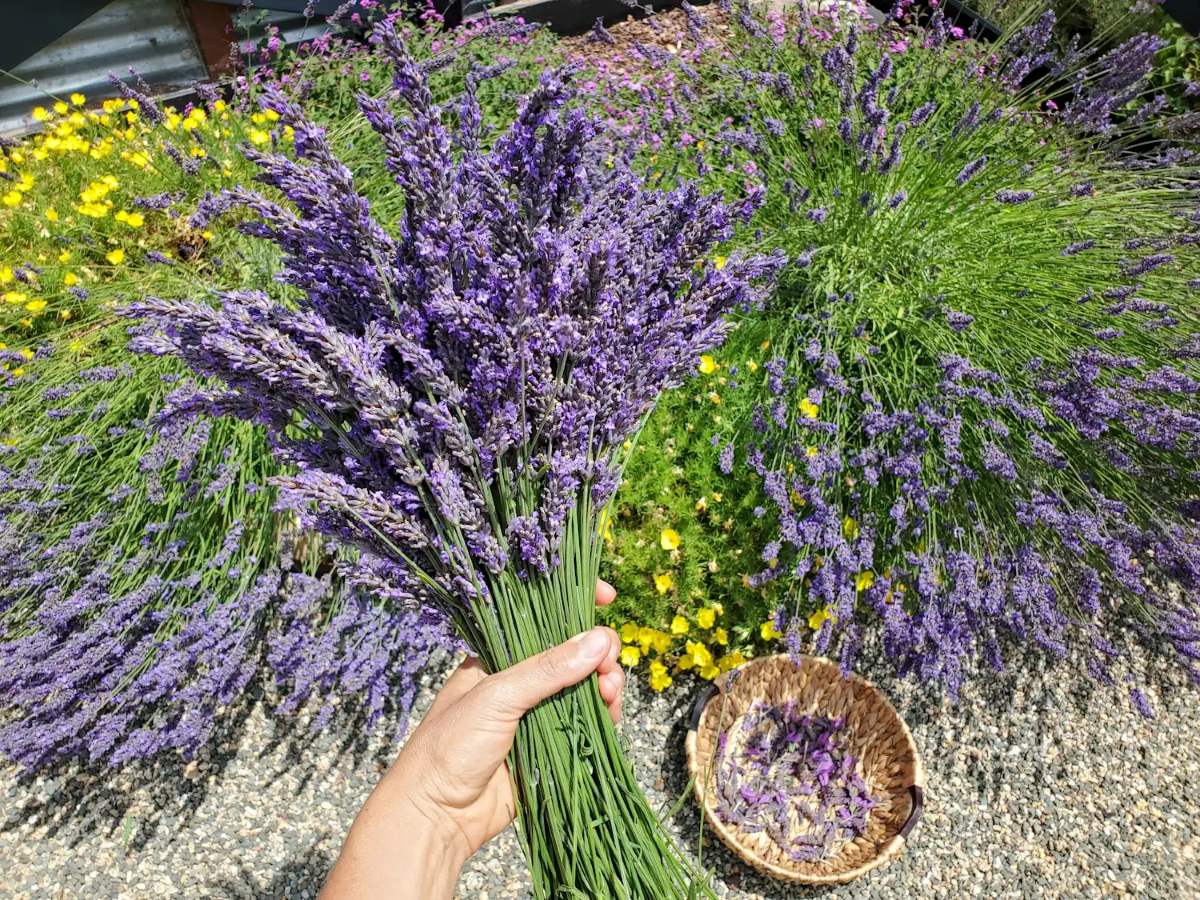
After the lavender flowers have dried on the plant, gently shake the stems to release the seeds. Collect the seeds in a paper bag and store in a cool, dry place.
Step 4: Harvesting the Lavender Seeds
Now comes the exciting part—harvesting the lavender seeds! With your tools prepared, follow these steps to collect the seeds:
- Locate the seed stalks: Identify the seed stalks on the lavender plants. These are the dried flower spikes that contain the seed pods. They will typically be brown or grey in color.
- Position your container: Hold the container or bag beneath the seed stalk to catch any falling seeds. This will prevent them from scattering and getting lost.
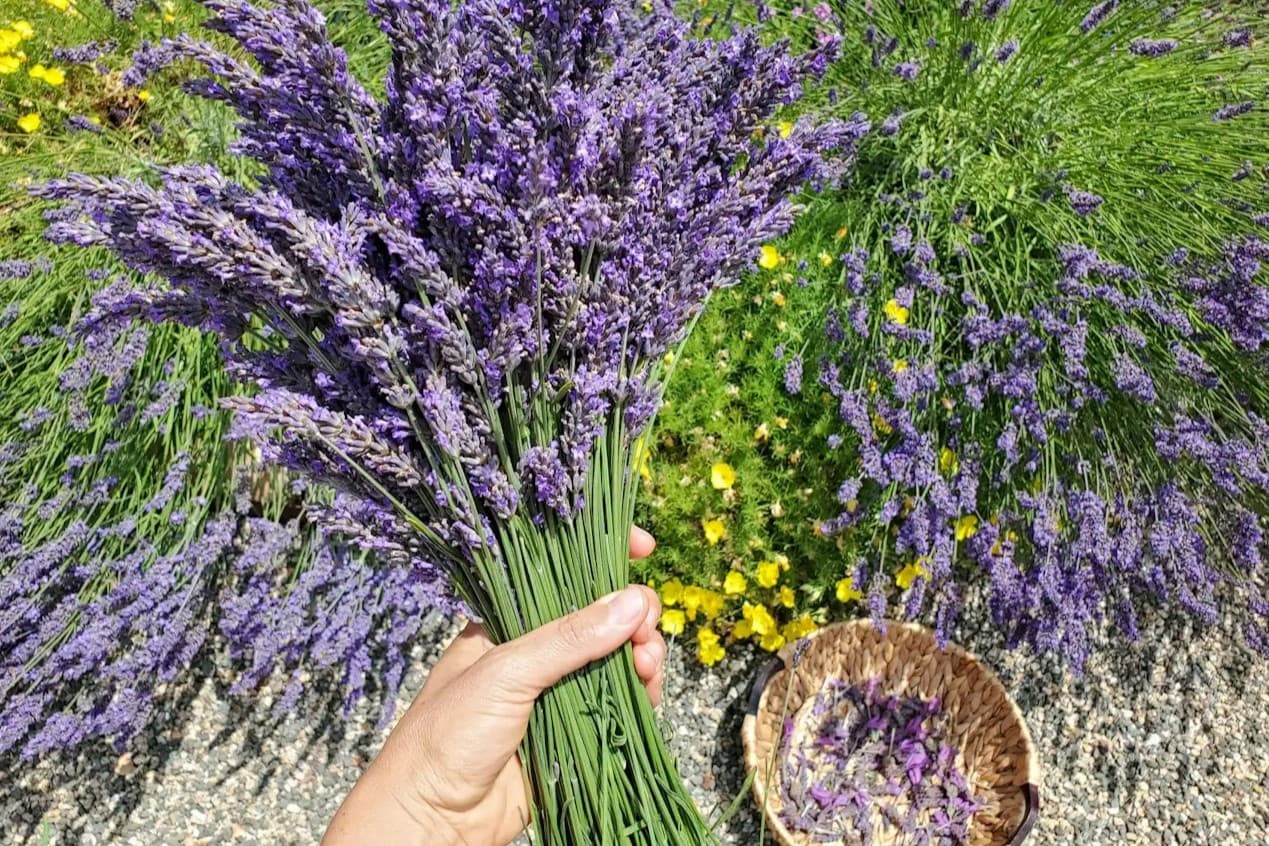
- Snip the seed stalks: Using your sharp pruning shears or scissors, carefully cut the seed stalks from the lavender plant. Aim to cut just below the base of the flower spike, making sure to avoid damaging any new growth or buds.
- Collect the seed stalks: Place the cut seed stalks directly into your container or bag. Be gentle to avoid crushing or damaging the fragile seeds.
- Repeat the process: Continue harvesting the seed stalks from the remaining lavender plants you have chosen to collect seeds from. Take your time and enjoy the process, being mindful of the different characteristics of each plant.
Once you have finished harvesting the lavender seeds, take a moment to admire your collection. You have successfully gathered the fruits of your labor!
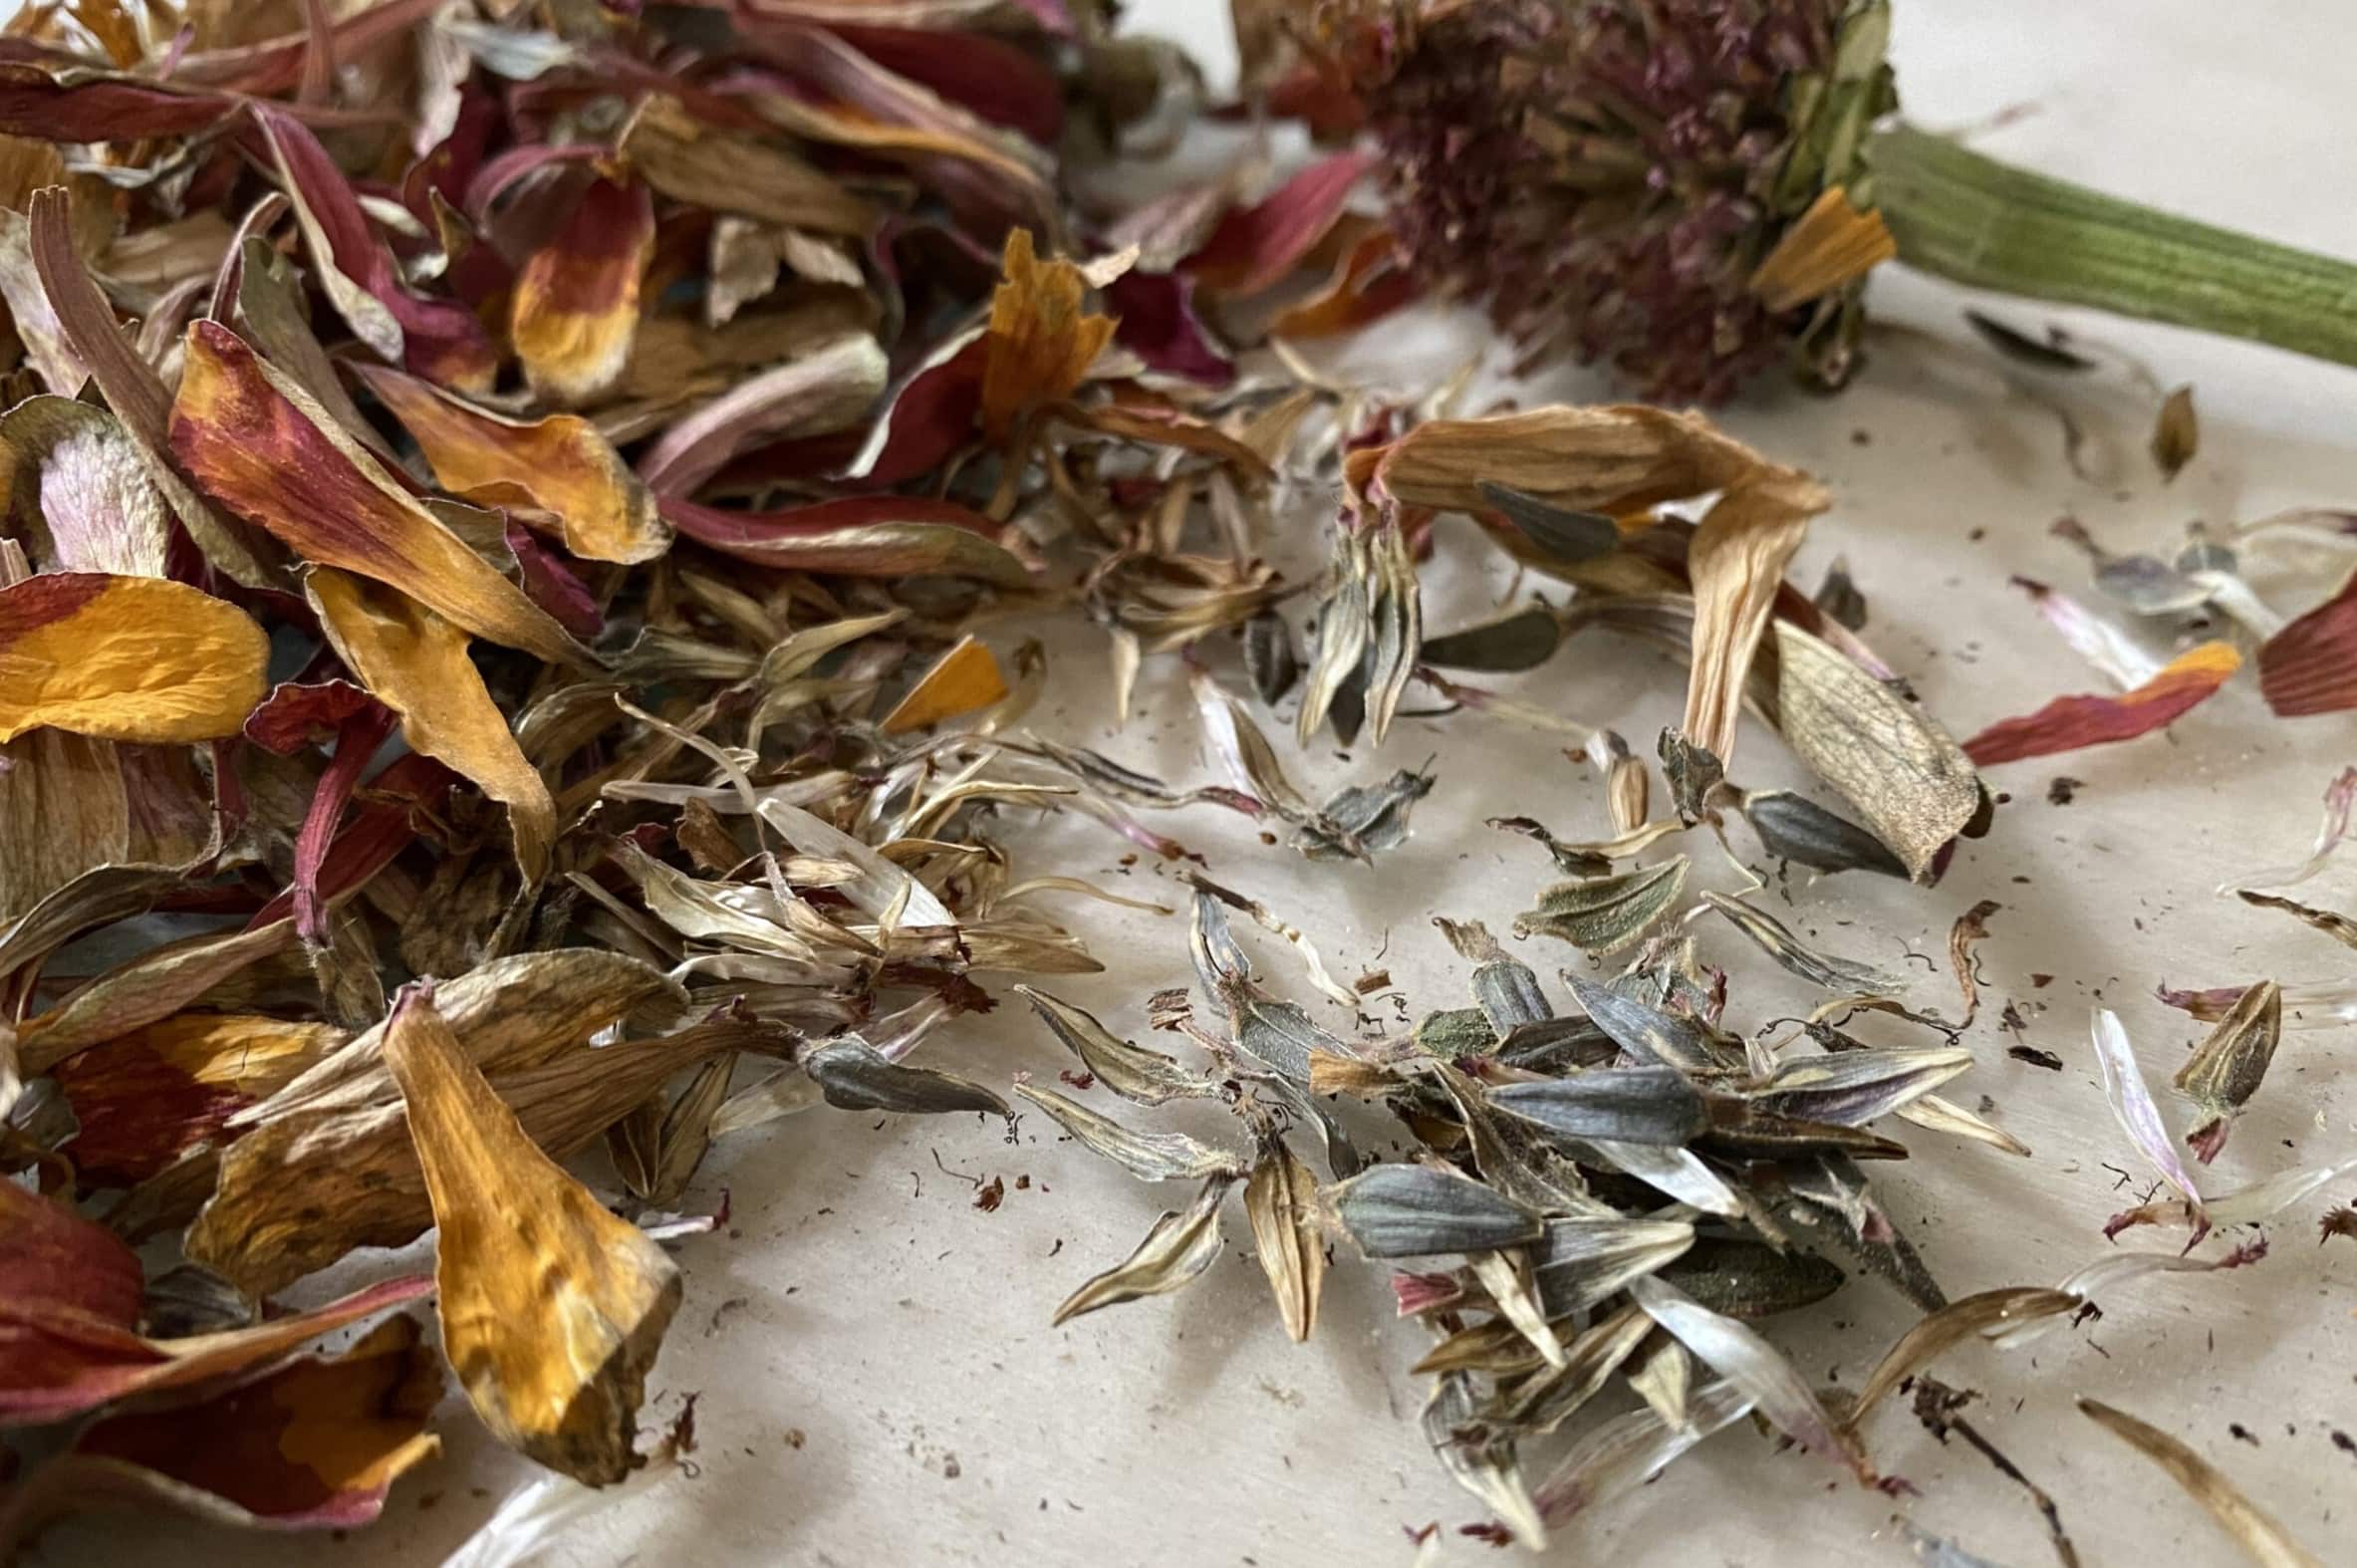
It’s worth noting that lavender seeds are relatively small, so it’s normal for the collection process to yield a considerable amount of plant material along with the seeds. Don’t worry—this is perfectly fine. You can easily separate the seeds from the plant material in the next step.
Now that you have the seeds in your container, it’s time to move on to the next step: drying the seeds.
Read more: How To Grow Lavender From Seed
Step 5: Drying the Seeds
After the exhilarating experience of harvesting the lavender seeds, the next step is to dry them. Drying the seeds is crucial as it helps remove any excess moisture, preventing them from becoming moldy or rotting.
Here’s how you can dry your lavender seeds:
- Prepare a drying area: Find a well-ventilated and dry location where you can spread out the seeds to dry. It could be a clean countertop, a drying rack, or a tray lined with parchment paper.
- Spread out the seeds: Carefully transfer the harvested lavender seeds from the container or bag onto the drying area. Spread them out in a single layer, making sure there is enough space between each seed to allow for proper airflow.
- Avoid direct sunlight: Place the drying area in a location away from direct sunlight. While some natural light is beneficial, too much direct sunlight can generate excess heat and negatively impact the quality of the seeds.
- Allow sufficient drying time: The drying process usually takes about one to two weeks. During this time, periodically check on the seeds and gently rotate or stir them to ensure even drying.
- Confirm dryness: To ensure that the seeds are completely dry, test a few by pressing them gently between your fingers. If they feel hard and brittle, they are ready for the next step. If they still feel slightly soft or pliable, give them more time to dry.
It’s important to note that during the drying process, you may notice that the seed pods start to open up naturally and release the enclosed lavender seeds. This is perfectly normal and indicates that the seeds are ready for the next step: storage.
Now that your lavender seeds are properly dried, let’s move on to the final step: storing the seeds for future use.
Step 6: Storing the Seeds
Congratulations on reaching the final step of collecting lavender seeds! Now it’s time to ensure their longevity and viability by storing them properly.
Follow these guidelines to store your lavender seeds:
- Ensure dryness: Before storing the seeds, ensure they are completely dry. Any residual moisture can lead to mold or rot.
- Remove debris: Take a moment to remove any remaining plant material or debris from the seeds. You can simply use your fingers or a fine sieve to gently separate the seeds from the plant matter.
- Label and organize: Label each storage container or envelope with the specific lavender variety or plant name. This will help you easily identify the seeds in the future.
- Choose a suitable container: Select airtight containers or envelopes made from materials such as glass, plastic, or paper. Make sure they are clean, dry, and free from any lingering odors that could potentially affect the seeds.
- Add desiccant (optional): If you live in a humid environment, consider placing a desiccant packet inside the storage container to absorb any moisture and keep the seeds dry.
- Store in a cool, dark place: Find a cool and dark storage location, such as a pantry or refrigerator, to keep the seeds away from direct light and excessive heat. Ideal storage temperatures range between 32°F (0°C) and 41°F (5°C).
- Avoid temperature fluctuations: Ensure that the storage area maintains a relatively consistent temperature. Avoid placing the seeds in areas prone to temperature fluctuations, such as near windows or heating vents.
- Monitor for viability: Periodically check the stored seeds for viability. After a year or two, some seeds may lose their viability, so it’s important to regularly assess and replace any non-germinating seeds if needed.
By following these storage practices, you can maximize the shelf life of your lavender seeds and increase the chances of successful germination when you’re ready to plant them.
Congratulations once again on completing the process of collecting and storing your lavender seeds! Now you have a treasure trove of seeds that can bring the beauty and fragrance of lavender to your garden for many seasons to come.
Enjoy your gardening journey and may your lavender seeds flourish and bloom into stunning plants!
Conclusion
Congratulations on successfully learning how to collect lavender seeds! By following the step-by-step process outlined in this article, you are now equipped with the knowledge and skills to embark on your own lavender seed collection adventure.
From choosing the right lavender plants and timing the collection to preparing the necessary tools and harvesting the seeds, you have discovered the intricacies of this rewarding process. Drying and storing the seeds properly ensures their longevity and viability, allowing you to enjoy the beauty and benefits of lavender in your garden for years to come.
Remember to experiment with different lavender varieties, documenting your experiences and sharing them with fellow gardening enthusiasts. Each seed you collect holds the potential for new growth, new scents, and new possibilities. Embrace the joy of nurturing life as you watch your lavender seeds transform into thriving plants.
Whether you plan to expand your lavender collection, share your seeds with friends and family, or simply enjoy the process of seed collection, know that you are contributing to the preservation and propagation of this beloved herb.
Now it’s time to put your newfound knowledge into action. Head into your garden and start collecting those lavender seeds, breathing in the calming aroma and embracing the wonders of nature. Happy gardening!
Frequently Asked Questions about How To Collect Lavender Seeds
Was this page helpful?
At Storables.com, we guarantee accurate and reliable information. Our content, validated by Expert Board Contributors, is crafted following stringent Editorial Policies. We're committed to providing you with well-researched, expert-backed insights for all your informational needs.

0 thoughts on “How To Collect Lavender Seeds”