Home>Garden Essentials>How To Plant Lavender Seeds
Garden Essentials
How To Plant Lavender Seeds
Modified: March 15, 2024
Learn how to plant lavender seeds and create a beautiful garden. Discover essential tips and techniques for successful gardening.
(Many of the links in this article redirect to a specific reviewed product. Your purchase of these products through affiliate links helps to generate commission for Storables.com, at no extra cost. Learn more)
Introduction
Gardening enthusiasts often find solace and joy in cultivating their own plants, watching them grow, and reaping the rewards of their hard work. If you’re looking to add a touch of beauty and fragrance to your garden, planting lavender seeds is a wonderful choice.
Lavender, with its vibrant purple flowers and delightful aroma, is not only a stunning addition to any landscape but also offers a myriad of benefits. From its calming properties to its culinary uses, this versatile herb has become a staple in gardens around the world.
While purchasing established lavender plants is a common practice, starting from seeds can be a rewarding and cost-effective way to grow a variety of lavender species. It allows you to experience the full journey of the plant’s growth, from seed to blossoming beauty.
In this step-by-step guide, we will walk you through the process of planting lavender seeds, ensuring that you have all the information and tools necessary for a successful and thriving lavender garden. So grab your gardening gloves and let’s dive in!
Key Takeaways:
- Planting lavender seeds requires gathering supplies, preparing the planting area, and providing proper sunlight and moisture. Regular pruning and care lead to a thriving lavender garden with beautiful blossoms.
- Harvesting lavender blossoms involves choosing the right time, using sharp shears, and drying the bundles. Enjoy the delightful uses of lavender in crafts, cooking, and well-being for months to come.
Read more: How Deep Do You Plant Lavender Seeds
Step 1: Gather the Necessary Supplies
Before you begin planting lavender seeds, it’s essential to gather all the supplies you’ll need. Having everything ready in advance will streamline the process and ensure that you have everything on hand when you need it. Here’s a list of the essential supplies you’ll need:
- Lavender seeds: Purchase high-quality lavender seeds from a reputable supplier. Consider the variety of lavender you want to grow, such as English lavender (Lavandula angustifolia), French lavender (Lavandula stoechas), or Spanish lavender (Lavandula dentata).
- Seed tray or pots: Choose a container with drainage holes to allow excess water to escape. A seed tray with individual cells or small pots will provide ample space for the seeds to grow.
- Potting mix: Use a well-draining potting mix specifically designed for seedlings. Avoid heavy garden soil as it may retain too much moisture, leading to root rot.
- Watering can or spray bottle: A watering can or spray bottle will help you provide a light mist or gentle watering to avoid dislodging the seeds or damaging the delicate seedlings.
- Plastic wrap or a clear plastic dome: Covering the seed tray or pots with plastic wrap or a clear plastic dome creates a greenhouse-like environment, promoting germination by trapping moisture and heat.
- Grow lights or a sunny windowsill: Lavender seeds require optimal lighting conditions to germinate and thrive. If you don’t have access to sufficient natural light, consider using grow lights to provide the necessary brightness.
- Labels and markers: Keep your lavender seedlings organized by labeling each tray or pot with the variety of lavender and the date of planting.
- Mist or spray bottle: A mist or spray bottle filled with water will come in handy to provide moisture to the seeds and seedlings without disturbing the delicate roots.
- Optional: Heat mat: If you are growing lavender seeds in a cooler environment, a heat mat placed underneath the containers can help maintain consistent soil temperature, promoting germination.
Ensure that all your supplies are clean and sterilized before use to avoid introducing any pests or diseases to your seeds. With these essential supplies ready, you’re now prepared to move on to the next step: preparing the planting area.
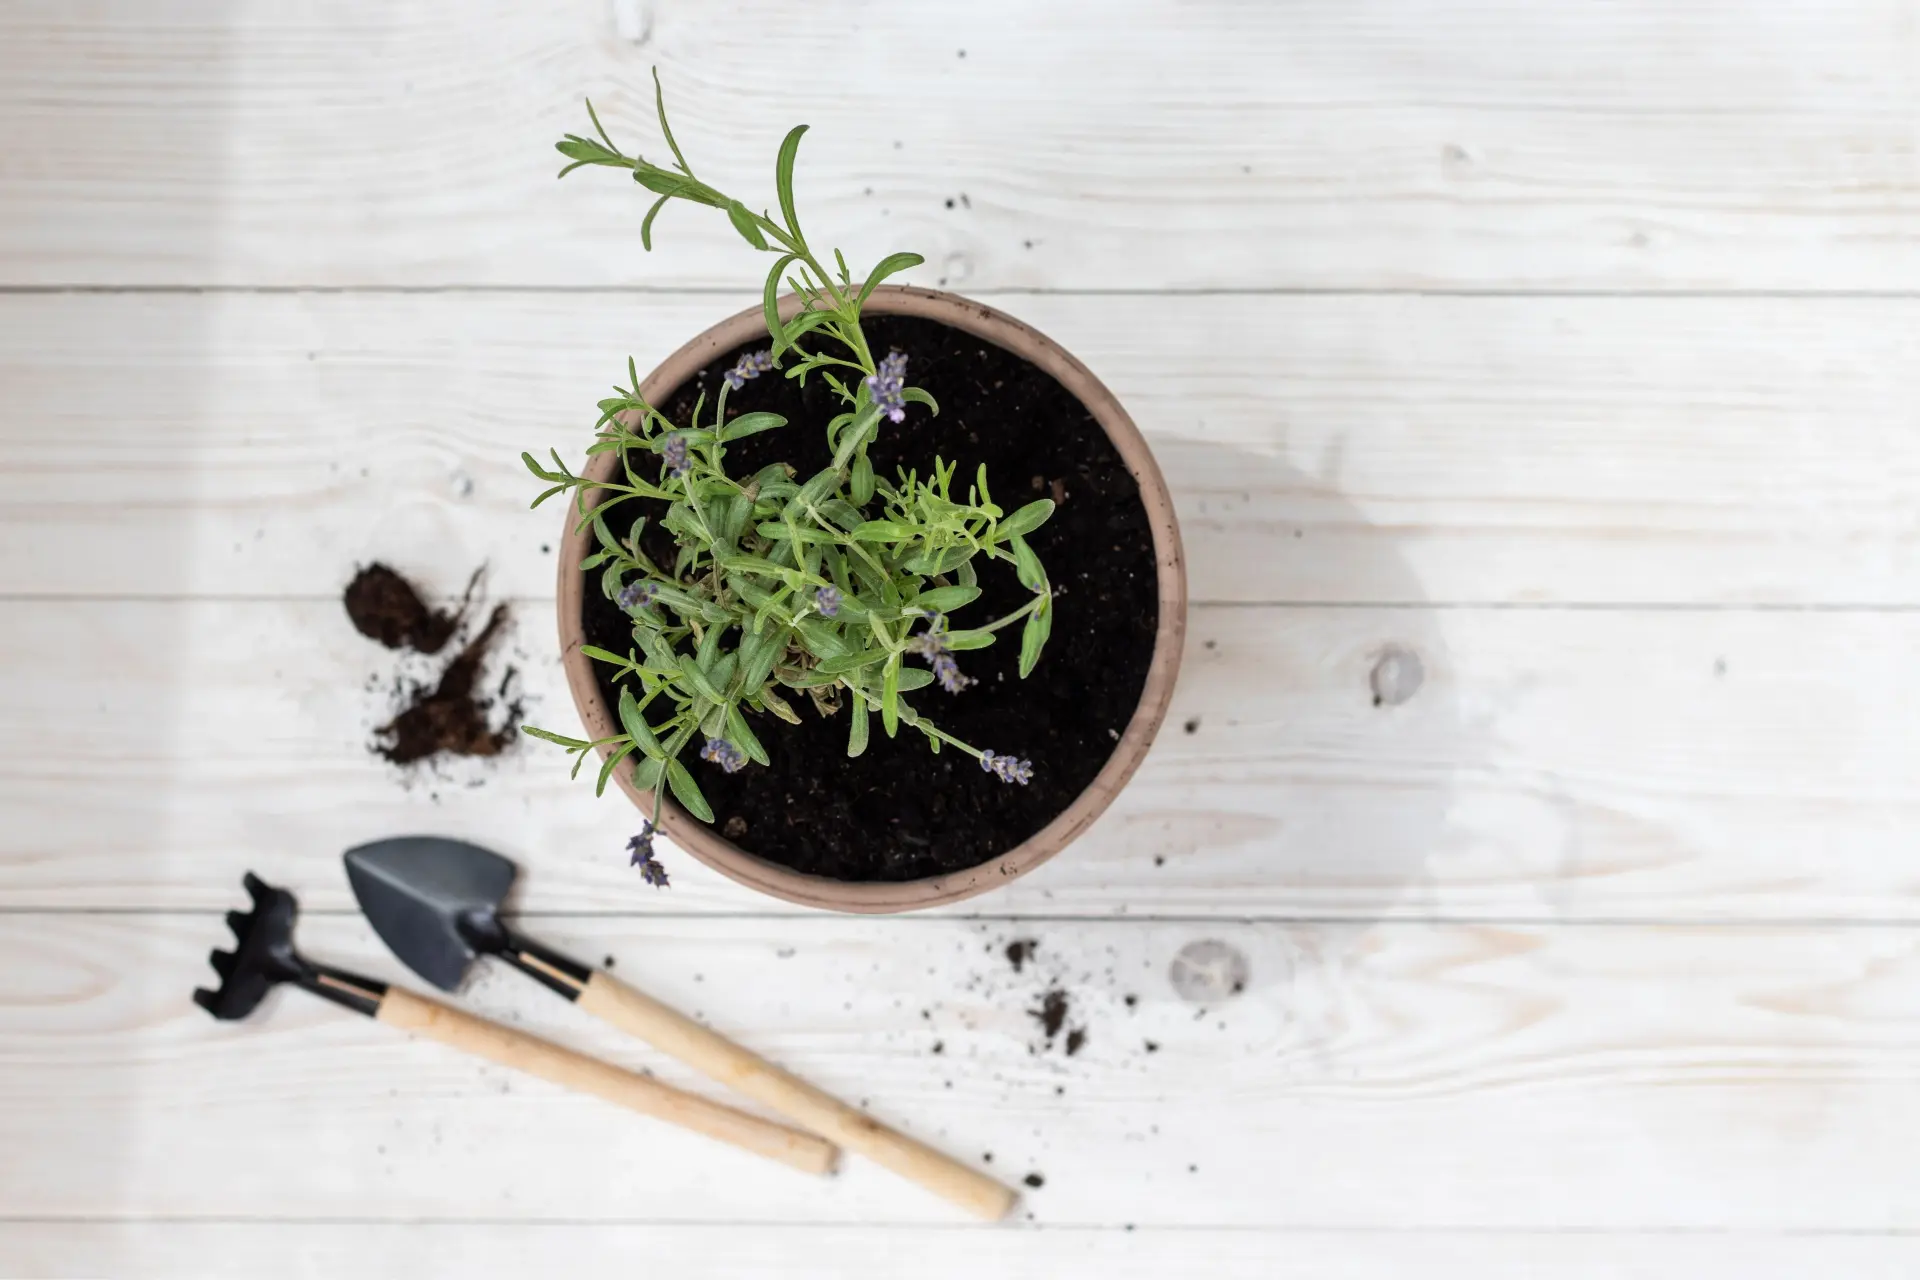
Step 2: Prepare the Planting Area
Creating the right conditions for your lavender seeds to thrive starts with preparing the planting area. Whether you plan to sow the seeds directly in your garden or in containers, proper preparation is key. Follow these steps to ensure your planting area is ready:
- Select a location: Lavender thrives in full sun, so choose a spot in your garden that receives at least 6-8 hours of direct sunlight daily. If you’re planting in containers, place them in a sunny spot or consider using a grow light.
- Prepare the soil: Lavender prefers well-draining soil with a pH level between 6.5 and 7.5. If your soil is heavy or clay-like, amend it with organic matter such as compost or well-rotted manure to improve drainage. Remove any weeds or grass from the planting area.
- Enhance drainage: To further improve soil drainage, consider creating raised beds or mounds. This will help prevent waterlogged soil, which can lead to root rot.
- Avoid excessive fertilization: Lavender doesn’t require heavy fertilization. High levels of nitrogen can cause excessive foliage growth at the expense of flower production. Instead, incorporate a slow-release balanced fertilizer into the soil according to package instructions before planting.
- Space out the planting area: If you’re planting multiple lavender plants, ensure adequate spacing between each plant. This will allow for proper airflow and prevent overcrowding as the plants mature.
- Consider companion planting: Lavender benefits from being planted alongside other insect-repellent plants such as rosemary, thyme, or marigolds. These companion plants can help deter pests and attract beneficial insects to your garden.
- Prepare containers: If you’re planting seeds in containers, ensure they have drainage holes to prevent excess water accumulation. Fill the containers with well-draining potting mix, leaving about an inch of space at the top for watering.
By taking the time to properly prepare the planting area, you create an optimal environment for your lavender seeds to take root and thrive. Once the planting area is ready, you can move on to the exciting part – sowing the lavender seeds.
Step 3: Sow the Lavender Seeds
Now that you have your supplies ready and the planting area prepared, it’s time to sow the lavender seeds. Follow these steps to ensure successful seed planting:
- Moisten the potting mix: Before sowing the seeds, moisten the potting mix in the seed tray or containers. Avoid making it too wet, as excessive moisture can lead to fungal diseases.
- Sow the seeds: Gently distribute the lavender seeds on the surface of the moistened potting mix. Depending on the size of your containers, you can sow multiple seeds in each cell or pot, spacing them about an inch apart.
- Lightly cover the seeds: Lavender seeds are tiny and require minimal covering. Sprinkle a thin layer of fine potting mix or vermiculite over the seeds to lightly cover them. Alternatively, you can gently press the seeds into the potting mix without covering them.
- Label the containers: Use labels or markers to identify the lavender variety and the date of planting. This will help you keep track of your seedlings as they grow.
- Mist with water: Using a mist or spray bottle, lightly mist the surface of the potting mix to provide moisture without dislodging the seeds. Alternatively, you can water gently using a watering can with a fine rose attachment.
- Cover the containers: To create a greenhouse-like environment, cover the seed tray or pots with clear plastic wrap or a clear plastic dome. This helps to trap moisture and heat, speeding up the germination process.
- Place in a warm location: Lavender seeds require warmth to germinate, ideally between 65°F and 75°F (18°C-24°C). Place the covered containers in a warm area, such as on top of a heat mat or near a heat source like a sunny windowsill.
- Monitor for germination: Check the containers regularly for signs of germination. Depending on the lavender variety, germination can take anywhere from 7 to 21 days. Once you see the first sprouts emerging, it’s time to remove the plastic cover.
Remember to keep the potting mix moist but not overly wet during the germination period. As the lavender seedlings grow, they will require proper sunlight and attention to ensure their healthy development. In the next step, we’ll talk about providing proper sunlight to your growing lavender plants.
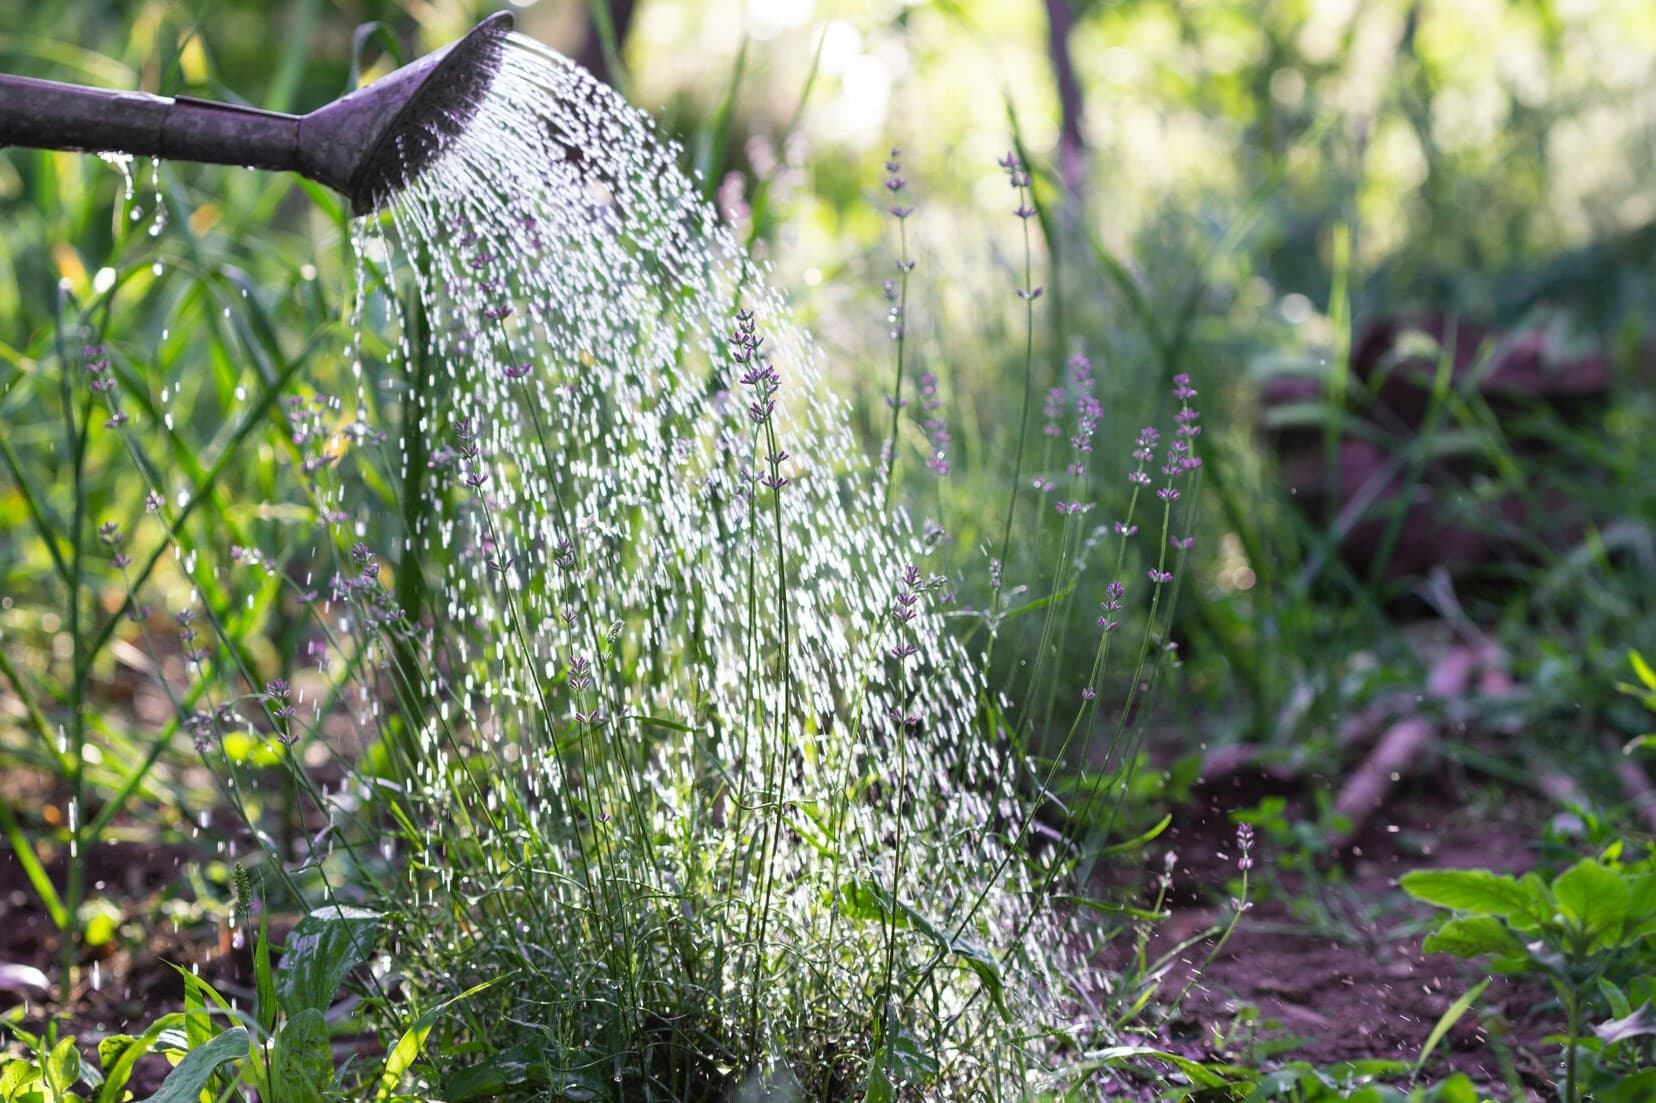
Step 4: Water the Seeds
Proper watering is crucial for the successful germination and growth of lavender seeds. The goal is to provide adequate moisture without saturating the soil. Follow these guidelines to water your lavender seeds effectively:
- Moisten the potting mix: When initially planting the lavender seeds, make sure the potting mix is evenly moist but not waterlogged. This will provide the necessary moisture for seed germination.
- Water gently: Use a mist or spray bottle, or a watering can with a fine rose attachment, to water the seeds gently. Avoid pouring water directly onto the seeds, as this can dislodge them or create waterlogged conditions.
- Monitor soil moisture: Lavender seeds prefer consistent moisture, so check the soil regularly. Avoid letting the potting mix dry out completely, as this could prevent proper seed germination. On the other hand, overwatering can lead to fungal diseases or root rot.
- Water from the bottom: If you’re using a seed tray with drainage holes, consider watering from the bottom. Place the tray in a shallow container filled with water, and allow the potting mix to absorb moisture through the drainage holes. This method ensures that the water reaches the roots without disturbing the seeds.
- Adjust watering as needed: As the lavender seedlings grow, adjust your watering routine. Gradually reduce the frequency of watering, allowing the potting mix to dry out slightly between watering sessions. This will encourage the roots to grow deeper in search of water.
- Avoid overhead watering: Once the lavender seedlings have emerged, avoid watering them from above. Instead, water the plants at the base to prevent wetting the leaves, as this can encourage fungal diseases.
- Observe the plants for signs of overwatering or underwatering: Look out for signs of wilting or yellowing leaves, which may indicate either underwatering or overwatering. Adjust your watering schedule accordingly to maintain proper moisture levels.
- Consider using a self-watering system: If you’re concerned about maintaining consistent moisture levels, you can opt for a self-watering system or drip irrigation that delivers water directly to the roots. This ensures that the plants receive the right amount of moisture without the risk of overwatering.
Remember, finding the right balance when watering your lavender seeds is crucial for their overall health and development. Providing consistent moisture while allowing the potting mix to dry out slightly will encourage strong root growth and set the stage for thriving lavender plants.
Read more: When Do You Plant Lavender Seeds
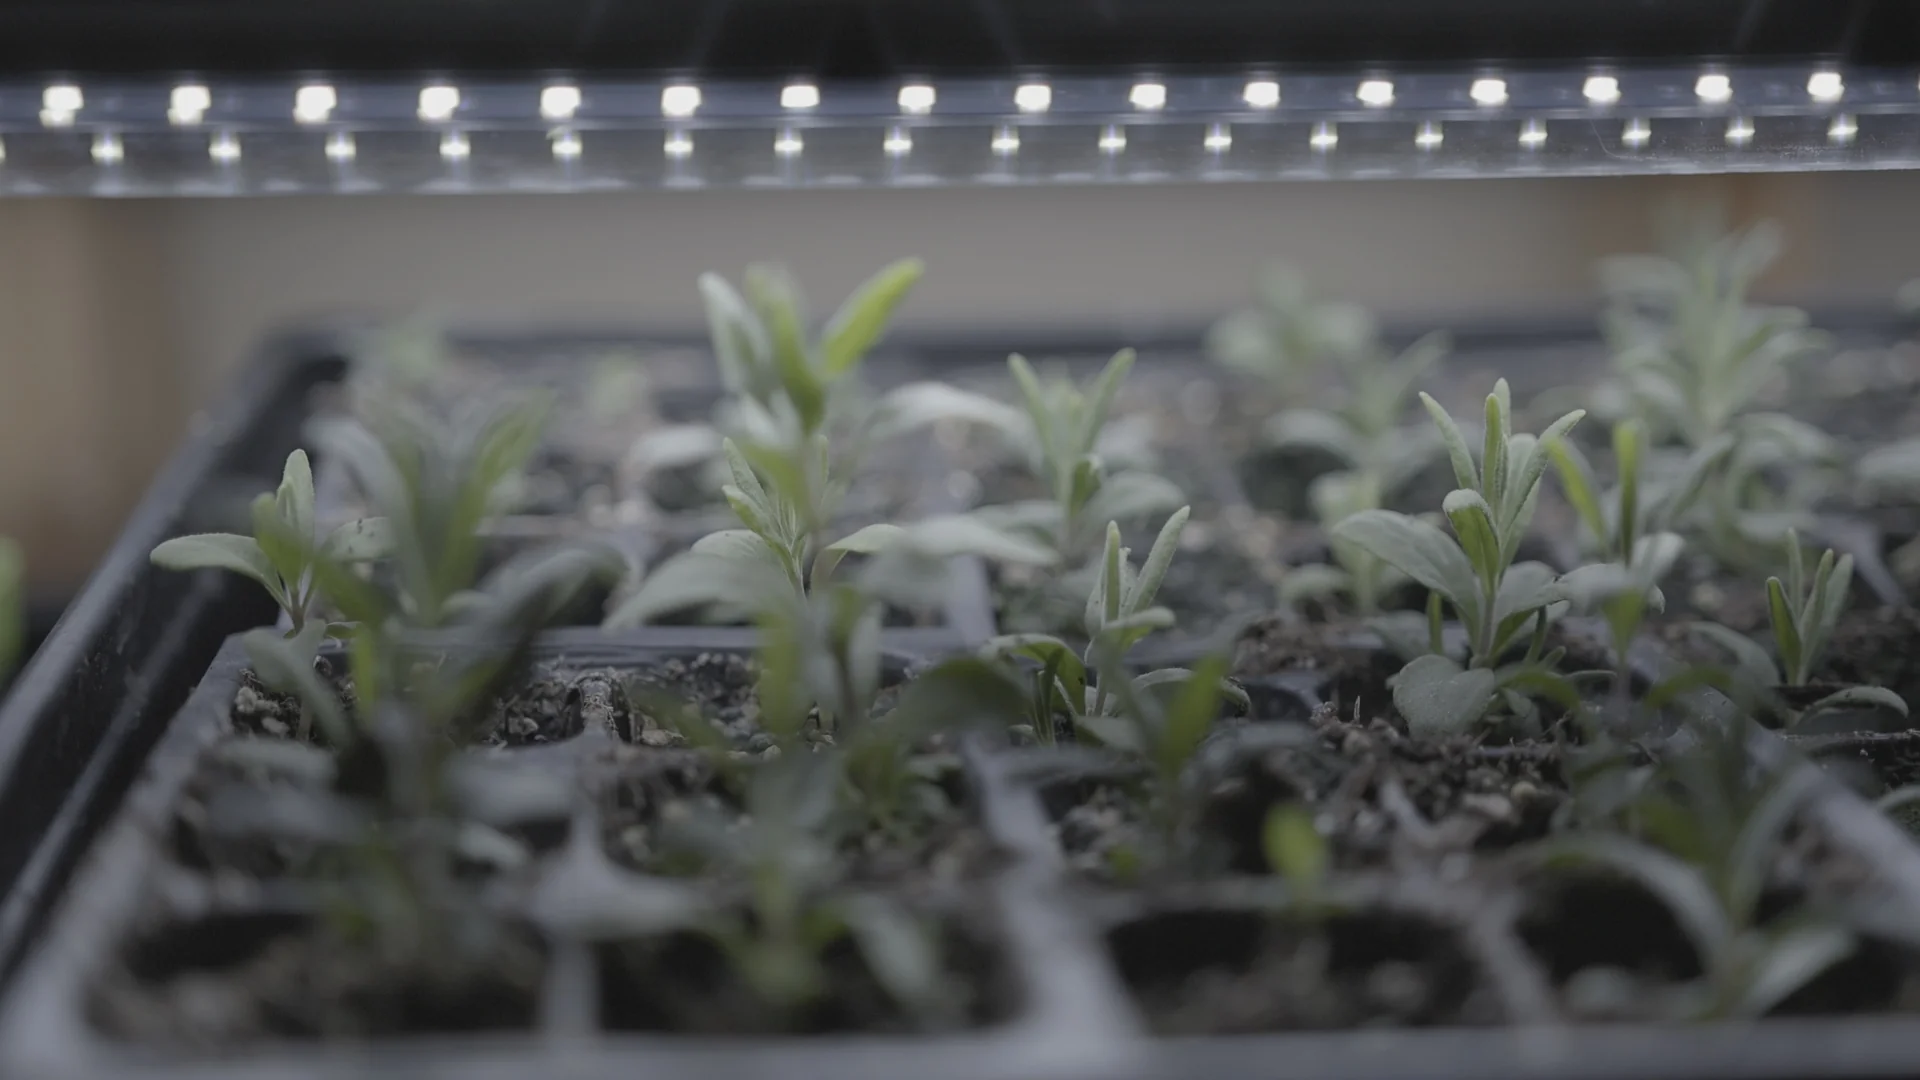
Step 5: Provide Proper Sunlight
Sunlight is essential for the healthy growth and development of lavender plants. Follow these steps to ensure your lavender seedlings receive the proper amount of sunlight:
- Optimal sunlight: Lavender plants thrive in full sun, which means they require at least 6-8 hours of direct sunlight per day. Choose a location in your garden that receives ample sunlight or ensure your containers are placed in a sunny spot.
- Rotate containers: If you’re growing lavender seeds in containers, rotate them every few days to ensure all sides of the seedlings receive equal sunlight. This will help prevent the plants from leaning or bending towards one direction.
- Use grow lights: If you don’t have access to sufficient natural sunlight, you can use grow lights to provide the necessary brightness. Position the lights about 6-12 inches (15-30 cm) above the seedlings and keep them on for 12-16 hours per day.
- Monitor for sunlight exposure: Pay attention to the quality and intensity of sunlight your lavender seedlings are receiving. If they start to appear leggy or stretched, it may indicate insufficient sunlight, and you may need to adjust their location or lighting conditions.
- Gradually acclimate seedlings to outdoor sunlight: If you started your lavender seeds indoors or in a protected environment, gradually expose them to outdoor sunlight. Start by placing them in a shaded area for a few hours each day, gradually increasing their exposure to direct sunlight over several days.
- Protect seedlings from harsh sunlight: While lavender loves sunlight, intense heat and strong rays can be challenging for young seedlings. If your area experiences scorching summers, consider shading the seedlings during the hottest part of the day or providing a temporary shade cloth.
- Observe seedlings for signs of sunburn: Keep an eye on your lavender seedlings for signs of sunburn, such as brown or discolored leaves. If you notice any damage, move the seedlings to a slightly shadier area and gradually reintroduce them to direct sunlight.
By providing the proper amount of sunlight, your lavender seedlings will receive the energy they need for photosynthesis and healthy growth. Regular monitoring and adjustment of their sunlight exposure will ensure strong and vibrant lavender plants in your garden.
Plant lavender seeds in well-draining soil and place in a sunny spot. Keep the soil moist but not waterlogged. Once the seedlings have grown, transplant them to a larger pot or garden bed.
Step 6: Maintain Moisture Levels
Maintaining appropriate moisture levels is crucial for the successful growth of lavender plants. Proper watering practices and monitoring moisture levels will ensure that your lavender seedlings thrive. Here are the steps to maintain optimal moisture levels:
- Check soil moisture: Regularly check the moisture level of the potting mix by inserting your finger about an inch into the soil. If it feels dry at that depth, it’s time to water the seedlings.
- Water deeply: When watering your lavender seedlings, aim to moisten the potting mix thoroughly. Water until you see water draining out of the bottom of the containers or until the soil is evenly moist.
- Avoid overwatering: Lavender plants are susceptible to root rot caused by overwatering. To prevent this, ensure that the potting mix is well-draining and does not hold excess moisture. Only water when the soil has dried out slightly.
- Allow soil to dry out between waterings: After watering, allow the top inch or so of the potting mix to dry out before watering again. This helps prevent waterlogged conditions and allows the roots of the lavender seedlings to breathe.
- Consider using a tray or saucer: To maintain consistent moisture levels, place the seed tray or pot in a tray or saucer filled with water. The potting mix will absorb water from the bottom, ensuring even moisture distribution.
- Monitor for signs of underwatering: Keep an eye out for signs of underwatering such as wilted leaves or drooping seedlings. If you notice these signs, water the seedlings immediately and adjust your watering schedule accordingly.
- Watch for signs of overwatering: Overwatering can lead to yellowing leaves, root rot, or fungus issues. If you notice overly wet or waterlogged soil, reduce your watering frequency and improve drainage.
- Consider using mulch: Applying a layer of organic mulch around the base of your lavender plants can help conserve moisture, regulate soil temperature, and suppress weed growth. Use materials like straw, wood chips, or dried leaves.
- Adjust watering as plants mature: As your lavender seedlings grow into healthy plants, they may require less frequent watering. Gradually increase the time between waterings while still ensuring they receive adequate moisture.
- Observe and adapt: Each environment and growing condition is unique, so it’s crucial to observe and adapt your watering practices accordingly. Pay attention to the specific needs of your lavender seedlings and make adjustments as necessary.
By maintaining optimal moisture levels, you provide a healthy and conducive environment for your lavender seedlings to grow into thriving plants. Remember to strike a balance between proper watering and allowing the soil to dry out slightly between waterings, ensuring the long-term success of your lavender garden.
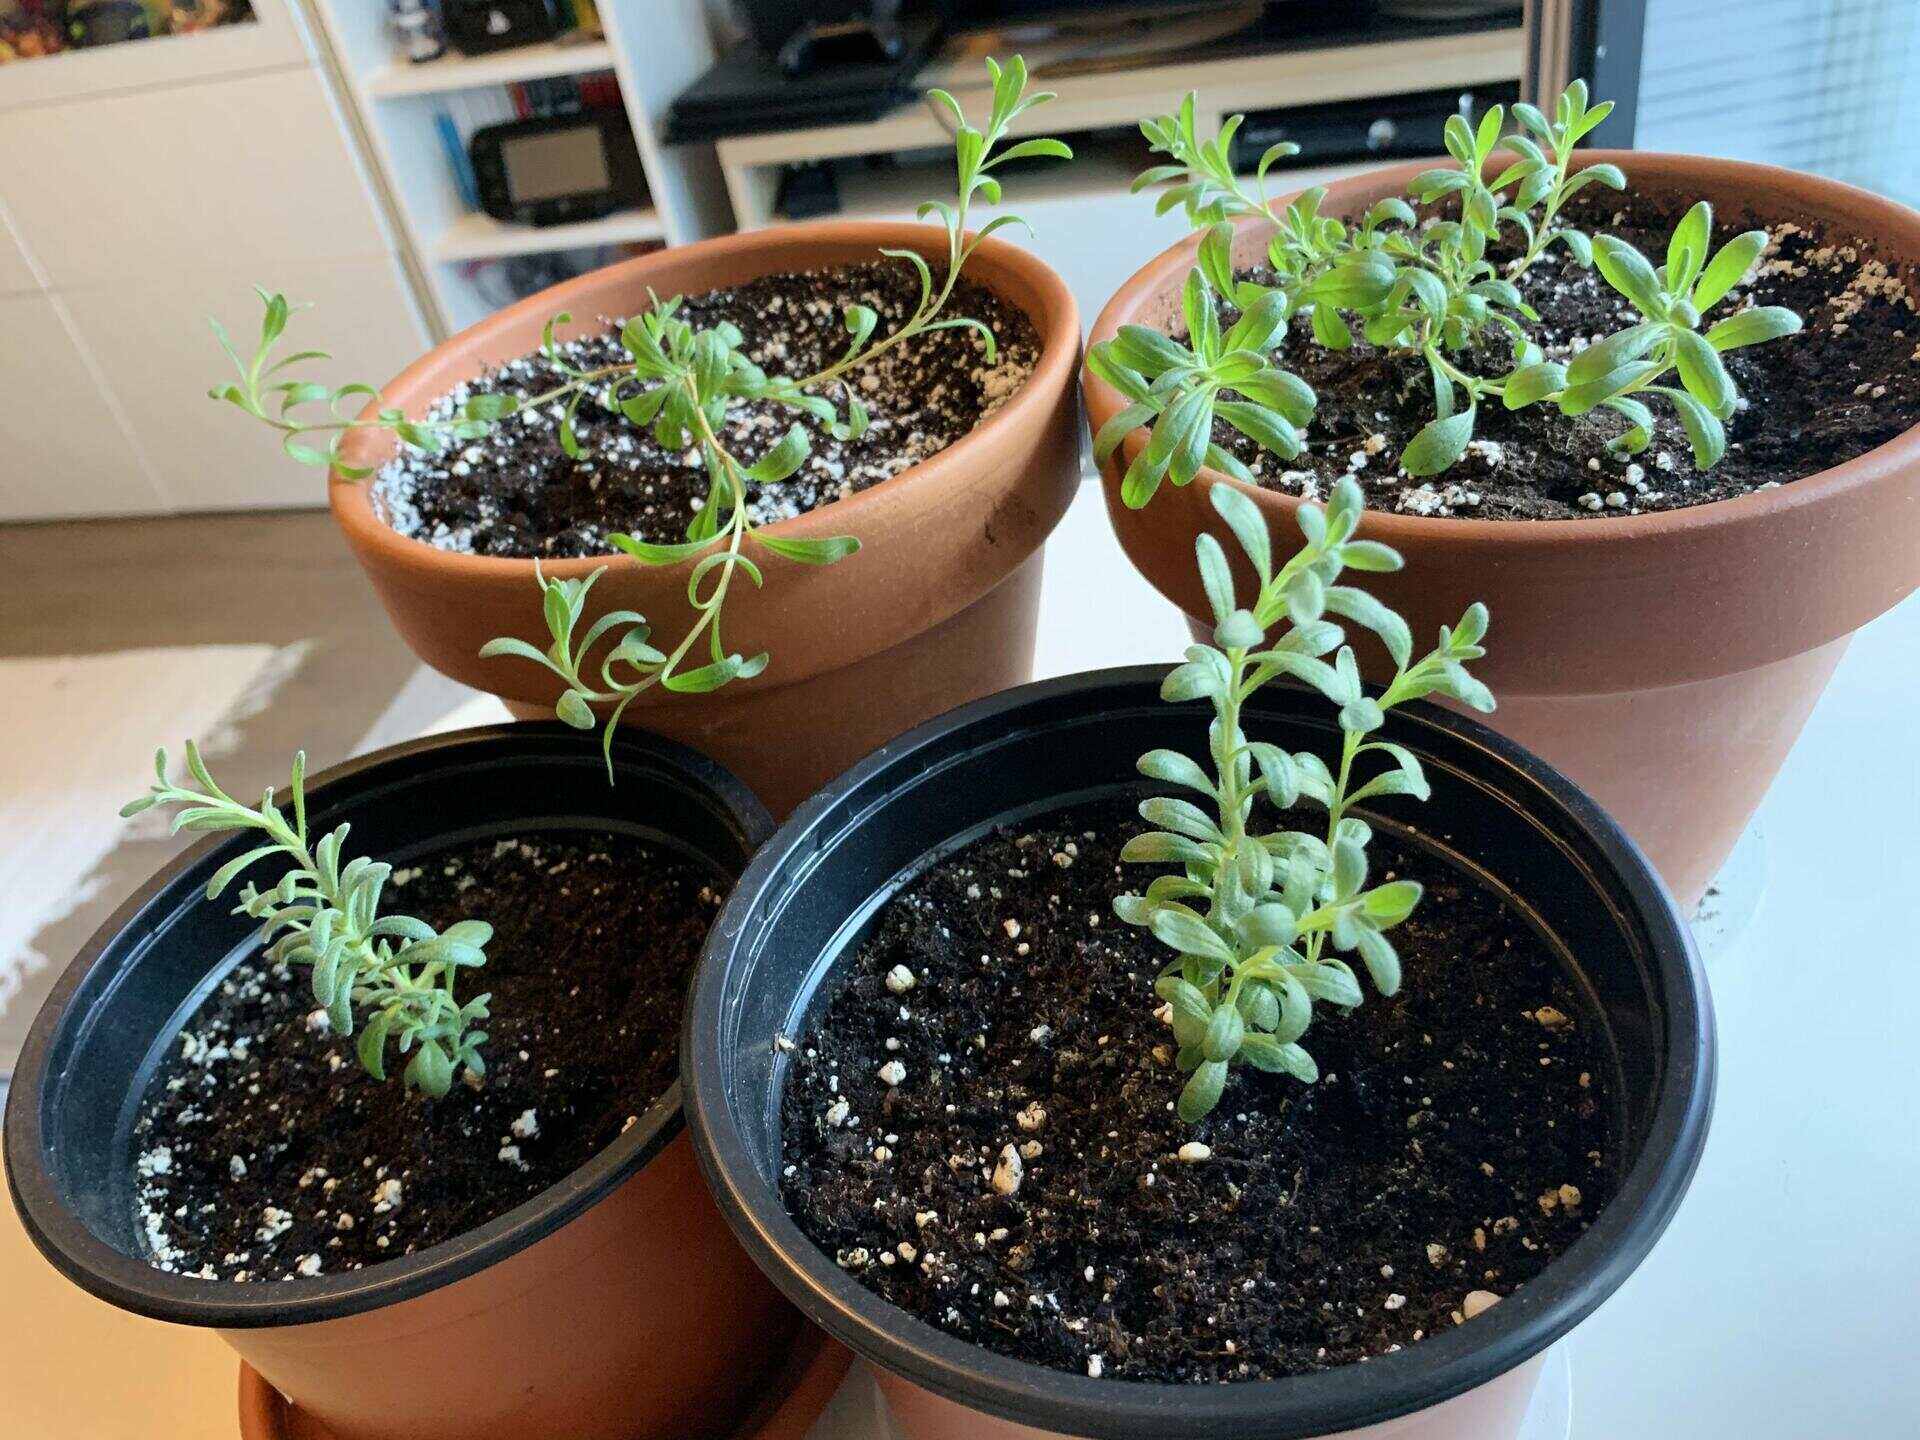
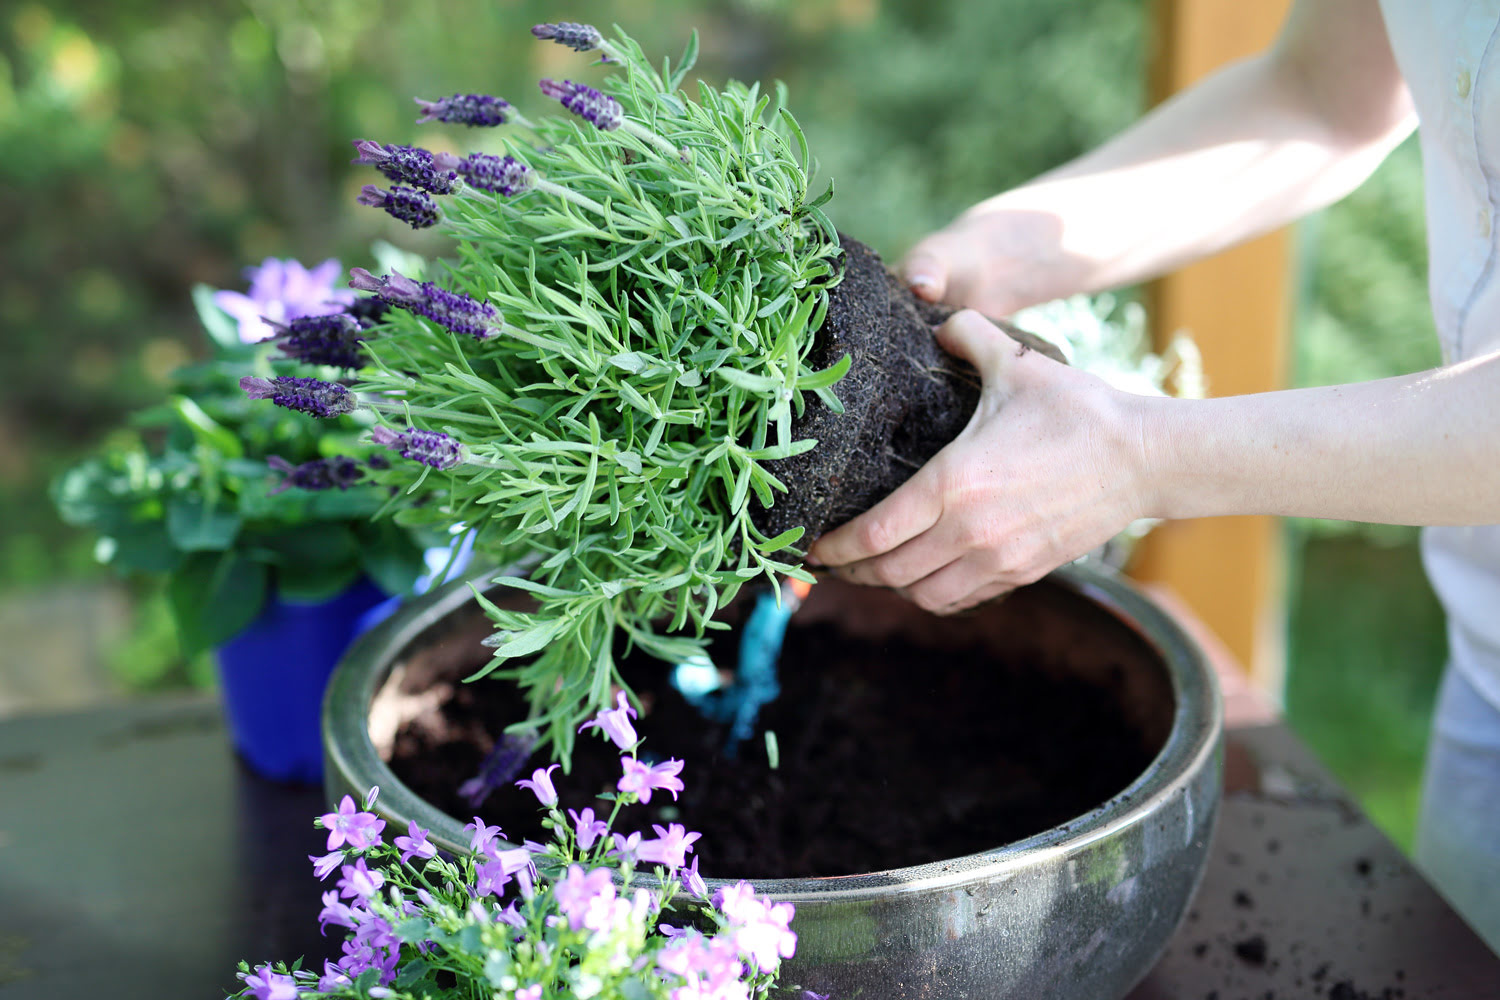
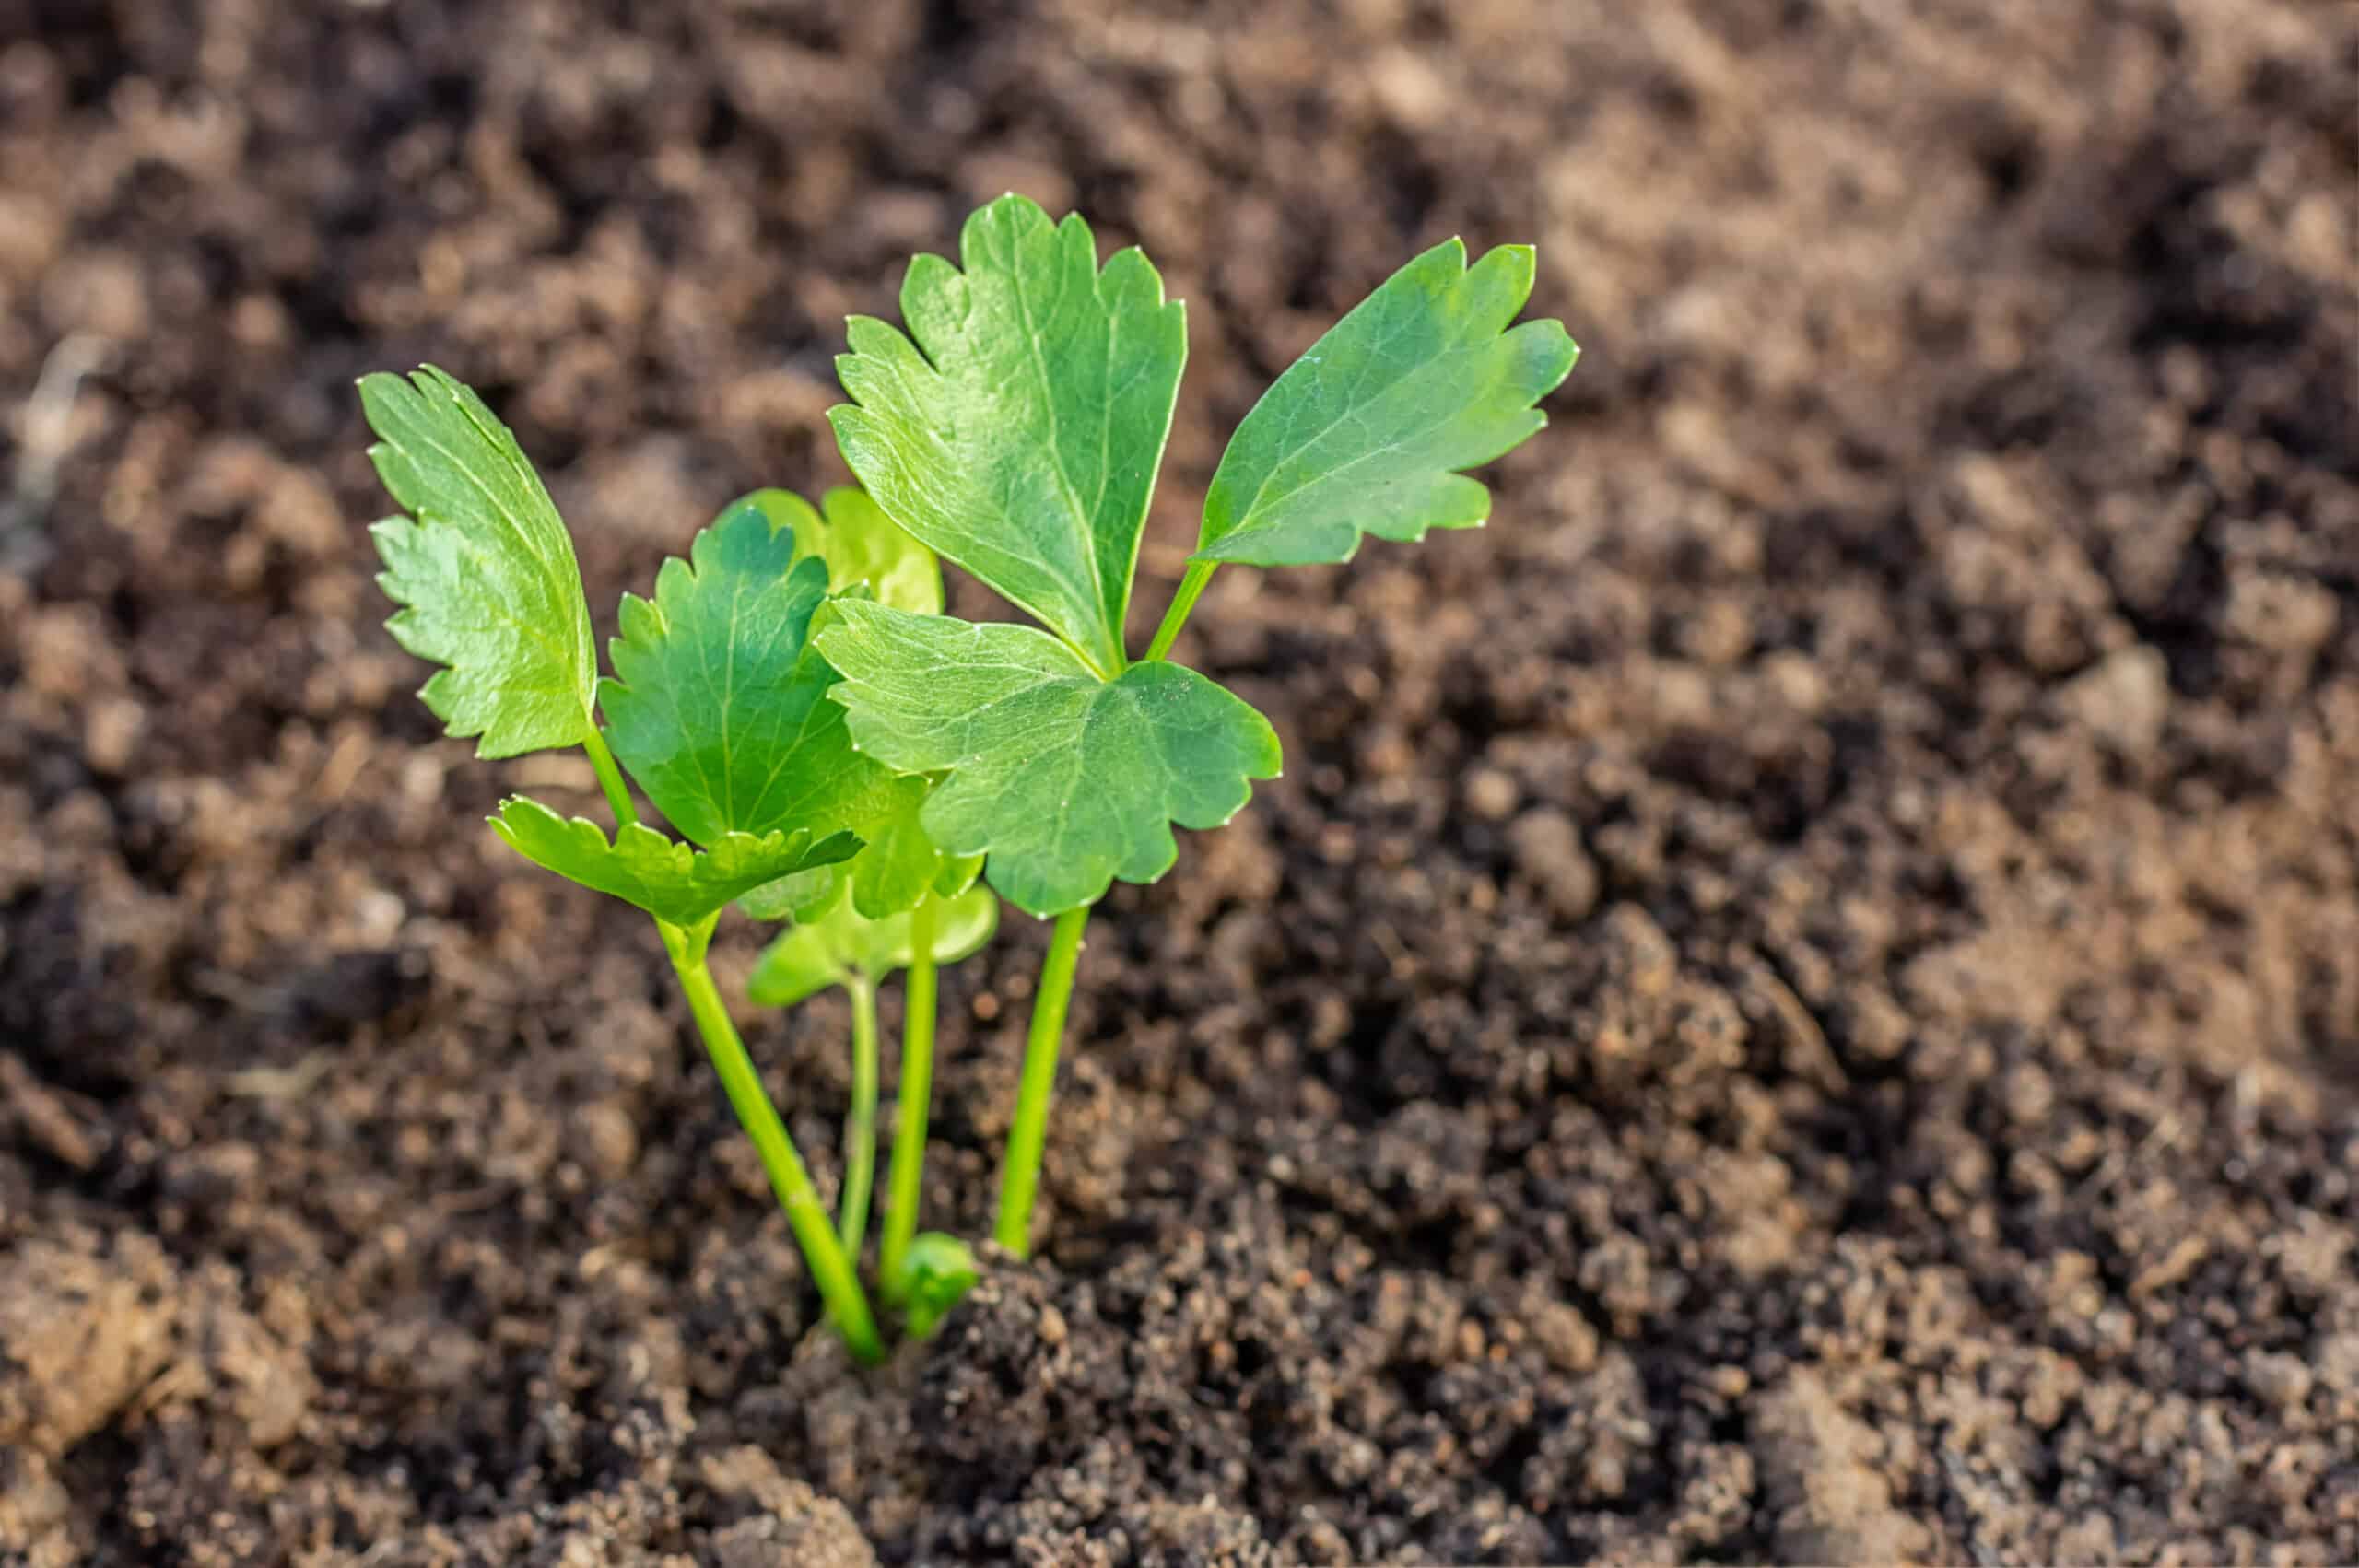
Step 7: Transplant Young Seedlings
Once your lavender seedlings have grown and developed a few sets of true leaves, they will be ready for transplantation. Transplanting young seedlings allows them to establish stronger root systems and gives them more space to grow. Follow these steps to successfully transplant your lavender seedlings:
- Choose the right timing: Aim to transplant your lavender seedlings when they are around 2-3 inches tall and have developed several sets of true leaves. This typically occurs around 6-8 weeks after germination.
- Select the planting location: Choose a planting location in your garden that provides full sun exposure and has well-draining soil. Lavender plants prefer soil with a pH level between 6.5 and 7.5.
- Prepare the transplant holes: Dig holes in the planting area that are slightly larger than the root ball of the seedlings. Ensure that the holes are spaced at least 12-18 inches apart to provide adequate airflow and room for growth.
- Water the seedlings: Water the seedlings thoroughly a few hours before transplantation. Moistened soil will help ease the transition and reduce the stress on the plants.
- Gently remove the seedlings: Carefully loosen the soil around the base of the seedlings to avoid damaging the delicate roots. Use a small trowel or your hands to lift the seedlings from the seed tray or containers.
- Plant at the same depth: Place each lavender seedling in the prepared holes at the same depth they were previously growing. The crown of the plant, where the stem meets the roots, should sit just above the soil surface.
- Backfill and firm the soil: Fill the holes with soil, gently tamping around the base of each seedling to ensure good soil-to-root contact. Avoid packing the soil tightly, as lavender plants prefer loose, well-aerated soil.
- Water gently after transplantation: After transplanting, water the seedlings gently but thoroughly. This will help settle the soil around the roots and provide moisture for the plants to establish themselves in their new location.
- Apply mulch: Mulching around the base of the seedlings with a layer of organic mulch, such as straw or wood chips, will help conserve moisture, suppress weed growth, and regulate soil temperature.
- Monitor and provide care: Keeping a close eye on your newly transplanted lavender seedlings is crucial. Ensure they receive adequate sunlight, water when needed, and protect them from extreme weather conditions.
Transplanting your lavender seedlings allows them to flourish, ensuring they have the space and resources they need to grow into healthy, mature plants. With proper care and attention, your lavender garden will soon be thriving with beautiful aromatic blooms.
Step 8: Weed and Mulch the Area
Maintaining a weed-free and well-mulched planting area is essential for the healthy growth of your lavender plants. Weeds compete with lavender for nutrients and can inhibit their growth, while mulch helps conserve moisture, regulate soil temperature, and suppress weed growth. Follow these steps to effectively weed and mulch the area:
- Weed the planting area: Prior to mulching, remove any weeds or unwanted plant growth from the area surrounding your lavender plants. Use a hand tool or garden hoe to carefully remove weeds, being mindful not to disturb the lavender’s root system.
- Apply a layer of mulch: Once the area is weed-free, apply a layer of organic mulch around the base of your lavender plants. Use materials such as straw, wood chips, or dried leaves to create a protective layer about 2-3 inches deep.
- Avoid direct contact with lavender stems: Ensure that the mulch is not in direct contact with the stems of the lavender plants. Leave a small space around the base of each plant to allow for proper airflow and prevent excessive moisture or rotting.
- Benefits of mulching: Mulch provides numerous benefits for your lavender plants. It helps to conserve moisture by reducing evaporation from the soil, which is particularly important during hot summer months. Mulch also helps regulate soil temperature, keeping it cooler in the summer and warmer in the winter.
- Suppress weed growth: A layer of mulch acts as a barrier against weed growth, preventing unwanted plants from taking root and competing for nutrients with your lavender plants. This reduces the need for frequent weeding and keeps your lavender garden looking neat and tidy.
- Monitor for mulch degradation: Over time, organic mulch will decompose and break down. Periodically monitor the mulch layer and replenish it as needed to maintain its thickness and effectiveness.
- Adjust mulching with plant growth: As your lavender plants grow larger, you may need to adjust the mulch layer around them. Make sure the mulch covers the soil surface around the plants to a sufficient extent, but avoid piling it too close to the stems.
- Remove any invasive weeds: Regularly inspect the mulched area and promptly remove any invasive weeds that manage to penetrate the mulch layer. Taking quick action will prevent them from spreading and competing with your lavender plants.
Maintaining a weed-free and mulched area around your lavender plants not only promotes their healthy growth but also eases maintenance and enhances the overall appearance of your garden. Regularly tending to the weed and mulch management will ensure your lavender plants can thrive without hindrance.
Read more: How To Grow Lavender From Seed
Step 9: Prune and Care for Growing Lavender Plants
Proper pruning and care are crucial for maintaining the health, shape, and longevity of your growing lavender plants. Regular pruning encourages bushier growth, enhances air circulation, and promotes vibrant blooms. Follow these steps to effectively prune and care for your lavender plants:
- Timing for pruning: Lavender plants should be pruned in early spring or after they have finished blooming. Avoid pruning in late fall or winter when the plants are dormant.
- Remove spent blooms: After the lavender plants have finished flowering, trim off the spent blooms to encourage additional blooms and prevent energy loss in seed production. Cut just above a pair of leaves or above the woody stem.
- Prune for shape and compactness: To maintain a compact and bushy shape, prune the outermost tips of the lavender plants. Trim back about one-third of the plant’s overall height, focusing on removing leggy or straggly growth.
- Avoid pruning into woody stems: Be cautious not to cut into the woody stems of lavender plants, as this can inhibit new growth. Trim only the green, leafy parts of the plant.
- Adjust pruning for older plants: As lavender plants age, they may develop woody stems at the base. In these cases, remove a larger portion of the woody growth to encourage new shoots from the base of the plant.
- Maintain airflow: Pruning helps maintain good air circulation and reduces the risk of disease or pest infestations. Removing excess growth and opening up the center of the plant allows air to flow freely, preventing moisture buildup.
- Fertilize sparingly: Lavender plants do not require heavy fertilization. In early spring, before new growth begins, apply a slow-release organic balanced fertilizer according to package instructions. Avoid over-fertilizing, as it can lead to excessive foliage growth at the expense of flowers.
- Watering: Lavender plants are drought-tolerant and prefer slightly drier conditions. Water deeply but infrequently, allowing the top 1-2 inches of the soil to dry out before watering again. Avoid overwatering, as lavender plants are susceptible to root rot.
- Protect from extreme weather: If your area experiences severe frost or freezing temperatures, cover lavender plants with a frost cloth or bring potted plants indoors. Lavender is hardy, but a little protection can help during harsh winters.
- Monitor for pests and diseases: Keep an eye out for common pests such as aphids, spider mites, or fungal diseases like gray mold or root rot. If detected, treat the issue promptly with organic insecticides or fungicides.
- Divide and rejuvenate: Every few years, consider dividing mature lavender plants to rejuvenate them. Dig up the plant, carefully separate the root ball into several clumps, and replant them in well-prepared soil.
By regularly pruning and caring for your growing lavender plants, you will encourage healthy growth, maintain their shape, and enjoy an abundance of fragrant blooms. Remember to adjust your pruning techniques based on the age and condition of the plants, while also addressing their specific watering and protection needs. Your attention and care will ensure a thriving lavender garden for years to come.
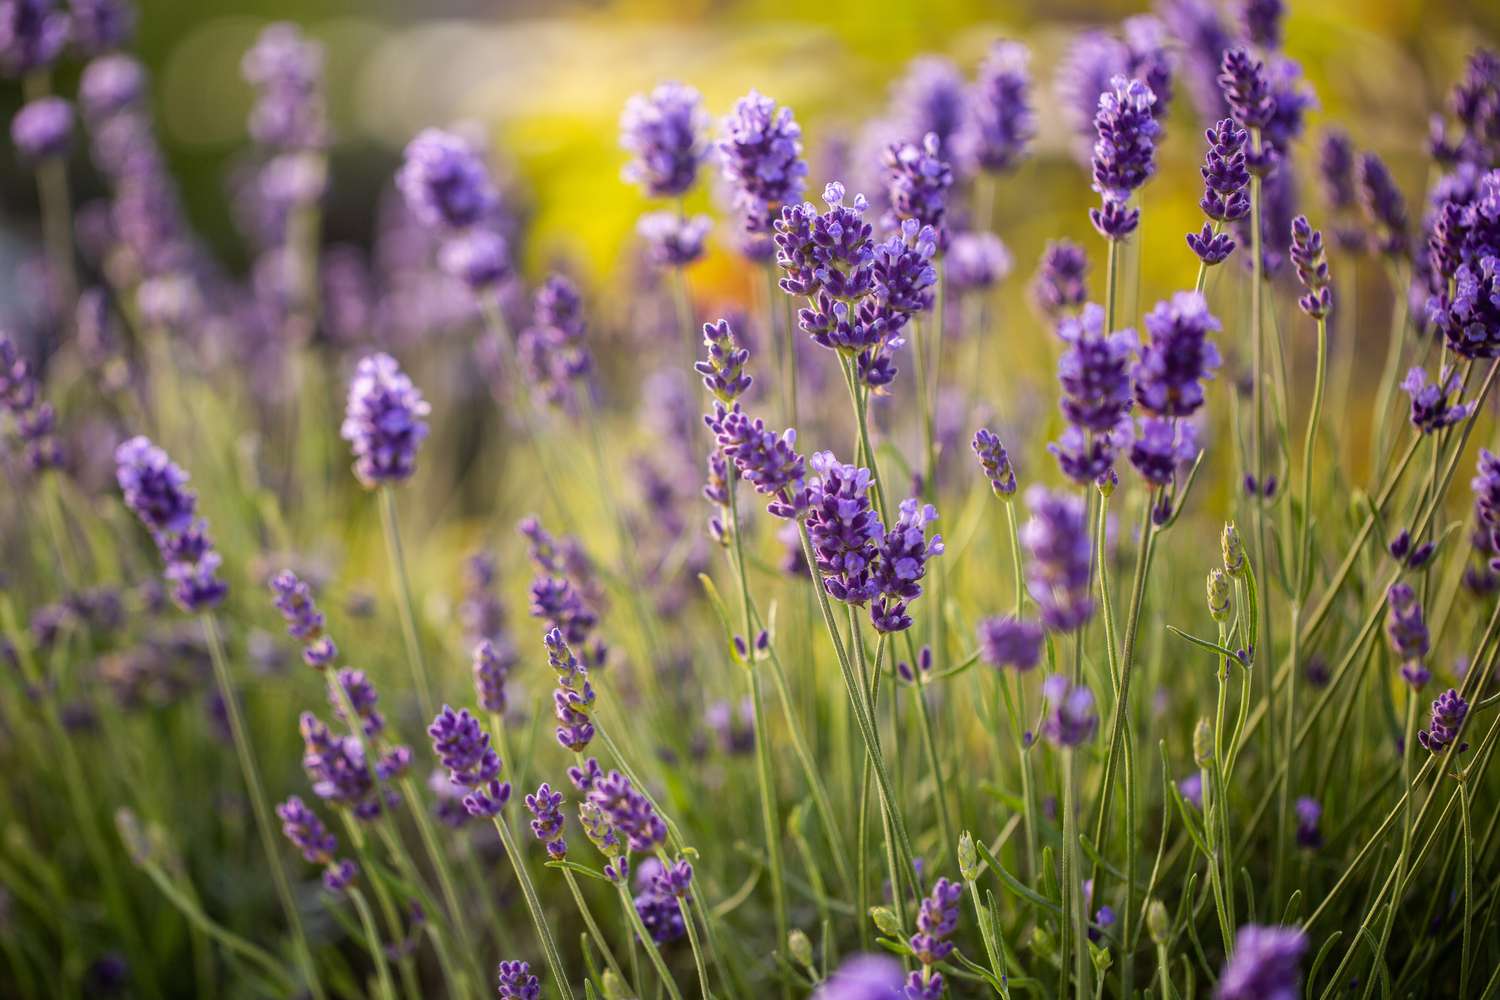
Step 10: Harvest Lavender Blossoms
The culmination of your hard work and patience is the sweet reward of harvesting lavender blossoms. Knowing the right time to harvest and how to properly collect and store the blossoms will ensure their fragrance and beauty last long after they have been picked. Follow these steps to harvest and enjoy your lavender blossoms:
- Choose the right time: Harvest lavender blossoms when they are in their prime. The best time to pick them is when the flowers have fully opened but are not yet starting to decline.
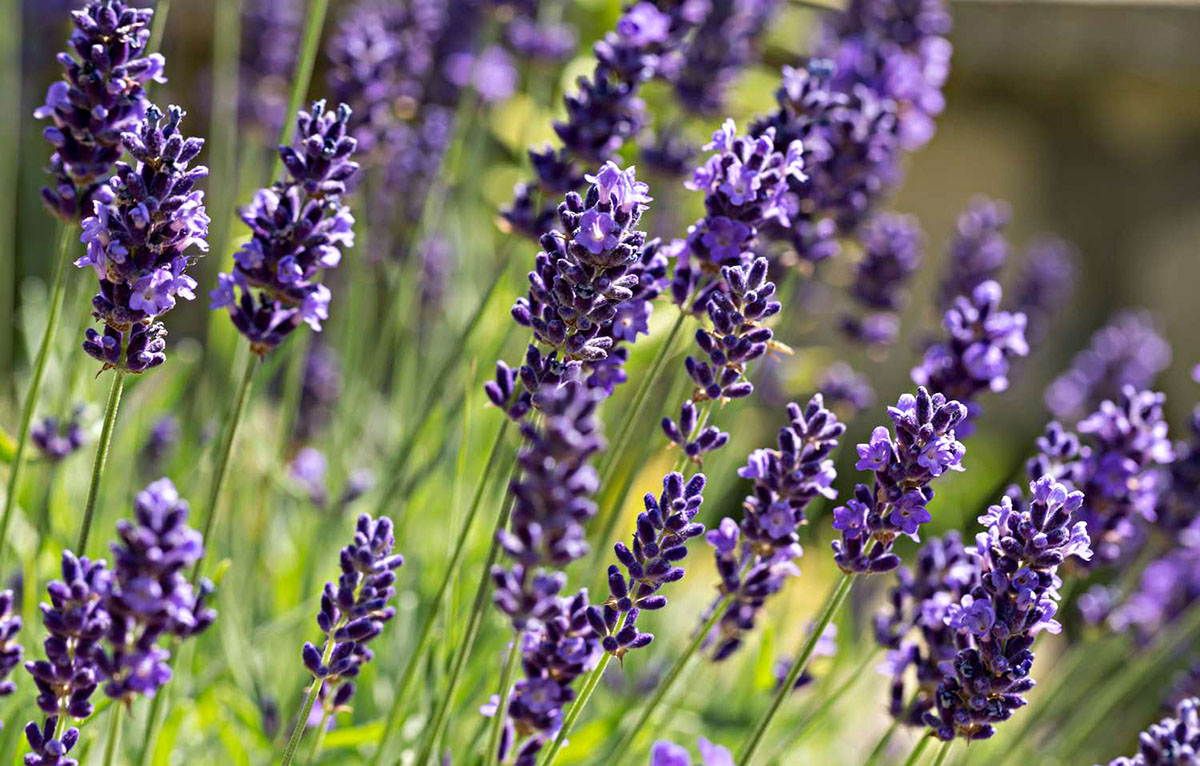
- Watch for color: Lavender flowers typically reach their peak color right before they fully open. Look for vibrant shades of purple, blue, or white, depending on the lavender variety you are growing.
- Use sharp pruning shears or scissors: To harvest the blossoms, use clean and sharp pruning shears or scissors. This will ensure clean cuts and minimize damage to the plant.
- Begin with the lower stems: Start harvesting from the lower stems of the lavender plant. Cut the stems just above the swollen part, known as the woody stem. Avoid cutting into the woody stem itself.
- Work your way up the plant: Move upward, harvesting the blooms from the lower stems to the upper stems. Select the “freshest” and most vibrant flowers for harvesting.
- Leave some blossoms: To maintain the look and health of the lavender plant, leave a few blossoms on each stem, especially towards the top. This will allow the plant to continue to attract pollinators and produce new growth.
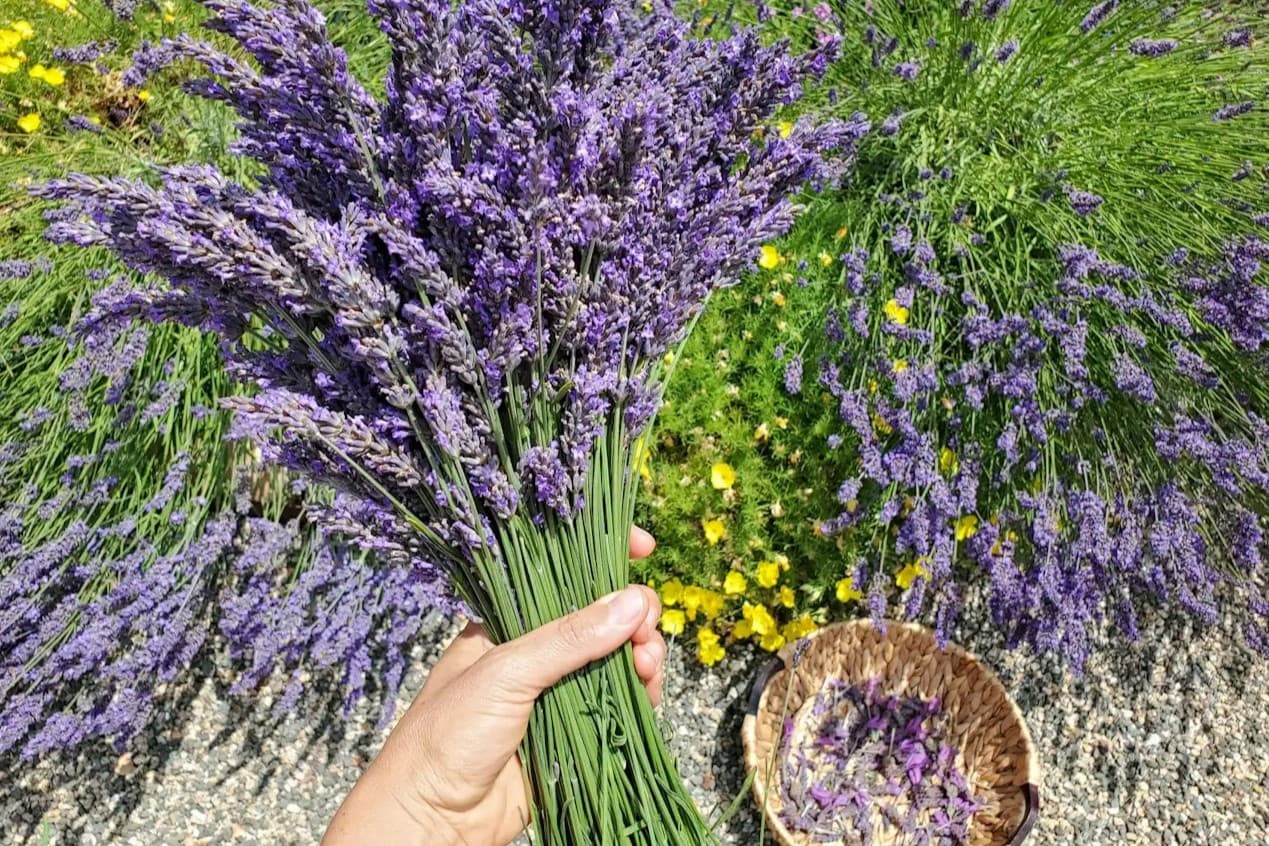
- Bundle the stems: Collect a handful of harvested stems and tie them together with a rubber band or twine near the cut ends. This will create a compact bundle for drying and further processing.
- Dry the bundles: Hang the bundled lavender stems upside down in a dry, warm, and well-ventilated location. Keep them away from direct sunlight to prevent color fading. The drying process typically takes 1-2 weeks.
- Store dried blossoms: Once the lavender stems are fully dried, remove the flowers from the stems by gently rubbing them off. Store the dried blossoms in an airtight container, such as a glass jar, in a cool and dark place.
- Enjoy your lavender blossoms: Lavender blossoms can be used in a myriad of ways, such as making potpourri, sachets, essential oils, or for culinary purposes in tea, baking, or seasoning. Let your creativity guide you in exploring the many delightful uses of lavender.
Harvesting lavender blossoms not only allows you to enjoy their beauty but also provides an opportunity to indulge in their delightful aroma and numerous applications. Always remember to harvest with care, ensuring the health of the lavender plant and preserving the essence of these wonderful flowers. Now, sit back, relax, and savor the wonders of your lavender harvest.
Conclusion
Congratulations! You have now learned the essential steps to successfully plant lavender seeds and nurture them into thriving plants. From gathering the necessary supplies to harvesting the fragrant blossoms, your journey into the world of lavender gardening has been a rewarding one.
By following these steps, you have ensured that your lavender plants receive the proper care, including preparing the planting area, sowing the seeds, providing adequate sunlight and moisture, and pruning and caring for the growing plants. Through each stage, you have embraced the beauty and intricacies of gardening, discovering the joy of watching your lavender seeds transform into magnificent blooms.
As you tend to your lavender garden, always be mindful of the specific needs of these charming plants. Lavender requires full sun, well-draining soil, and infrequent but deep watering to thrive. Regular pruning and care will help maintain the shape and health of your lavender plants, while proper harvesting and storage techniques will ensure that you can enjoy the lovely fragrance and versatility of lavender for months to come.
Remember to adapt these instructions to your unique gardening conditions and tailor your approach based on the specific lavender variety you are nurturing. Gardening is a continuous learning experience, and as you gain more knowledge and experience, you will become even more adept at successful lavender cultivation.
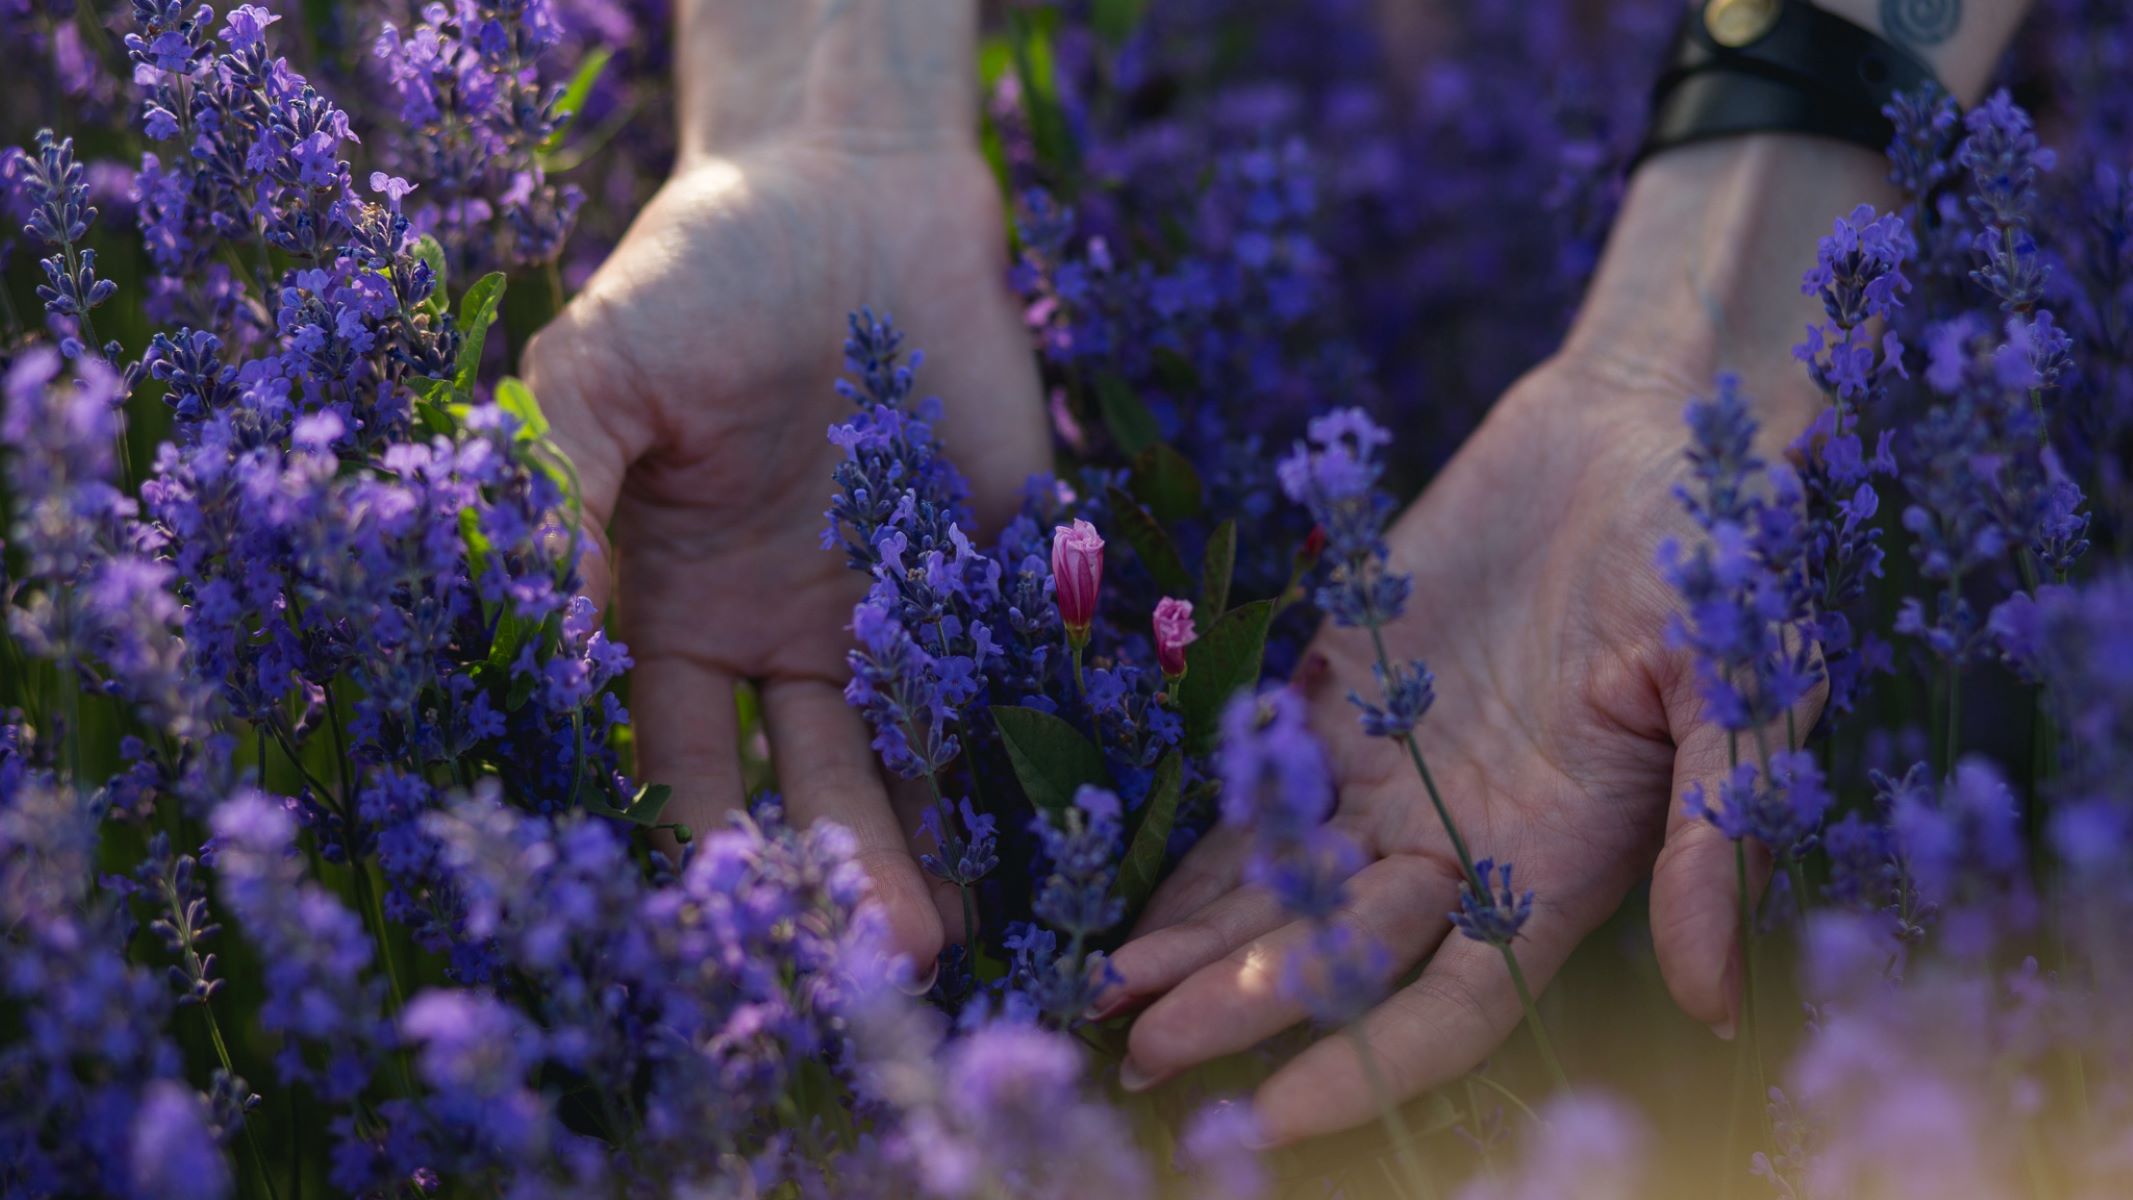
So go ahead, immerse yourself in the beauty and serenity of your lavender garden. Breathe in the relaxing aroma, marvel at the vibrant colors, and savor the delightful uses of lavender in crafts, cooking, and well-being. Your hard work and dedication have created a haven of beauty and tranquility that will bring joy to your life for years to come.
Happy gardening!
Frequently Asked Questions about How To Plant Lavender Seeds
Was this page helpful?
At Storables.com, we guarantee accurate and reliable information. Our content, validated by Expert Board Contributors, is crafted following stringent Editorial Policies. We're committed to providing you with well-researched, expert-backed insights for all your informational needs.


0 thoughts on “How To Plant Lavender Seeds”