Home>Garden Essentials>How Long To Grow Lavender From Seed
Garden Essentials
How Long To Grow Lavender From Seed
Modified: October 19, 2024
Learn how long it takes to grow lavender from seed in your garden. Discover tips and tricks for successful lavender cultivation and enjoy the beauty and fragrance of this versatile plant.
(Many of the links in this article redirect to a specific reviewed product. Your purchase of these products through affiliate links helps to generate commission for Storables.com, at no extra cost. Learn more)
Introduction
Growing lavender from seed can be a rewarding and gratifying experience for any garden enthusiast. With its delicate flowers and aromatic fragrance, lavender adds beauty and charm to any garden. While it may seem intimidating to start from seed, with the right knowledge and care, you can successfully grow your own lavender plants from scratch.
In this article, we will guide you through the process of growing lavender from seed, from selecting the right seeds to caring for the plants and harvesting the fragrant flowers. So, roll up your sleeves, grab your gardening tools, and let’s get started on our lavender-growing adventure!
Key Takeaways:
- Growing lavender from seed is a rewarding journey that starts with selecting the right seeds and preparing the soil for optimal growth. With patience and care, you can enjoy the beauty and fragrance of your own lavender garden.
- Harvesting lavender flowers at their peak freshness and fragrance allows you to enjoy their delightful aroma throughout the year. Drying and using the flowers for various purposes adds a touch of lavender to your culinary and creative endeavors.
Read more: How To Grow Lavender From Seed
Selecting Lavender Seeds
When it comes to selecting lavender seeds, it’s important to choose the right variety that suits your climate and preferences. There are many different types of lavender, each with its own unique characteristics and requirements.
Firstly, consider the hardiness zone of your garden. Lavender is generally a hardy plant, but certain varieties may thrive better in specific climates. Check your USDA hardiness zone to determine which lavender varieties are best suited for your region.
Next, consider the specific qualities you desire in your lavender plants. Some varieties are prized for their compact growth habit, making them ideal for containers or small gardens. Others may have longer blooming periods or more intense fragrances. Take these factors into account when selecting your lavender seeds.
It’s also worth noting that lavender seeds can be purchased both online and at local garden centers. When purchasing seeds, look for reputable sellers who specialize in quality seeds. This will ensure that you’re starting with viable and reliable seeds for optimal germination.
To increase your chances of success, it’s recommended to choose fresh seeds. Fresher seeds have higher germination rates, meaning they are more likely to sprout and grow into healthy plants. Check the packaging or ask the seller about the seed’s freshness date to make an informed decision.
Lastly, consider the specific cultivars or varieties you find most appealing. Lavender cultivars come in various colors, including shades of purple, pink, and white. Each color brings its own beauty and charm to your garden. Research different varieties and read reviews to find ones that align with your aesthetic preferences.
By carefully selecting the right lavender seeds for your garden, you’re setting yourself up for success in growing healthy and vibrant lavender plants.
Preparing the Soil
Before sowing lavender seeds, it’s essential to prepare the soil to provide a suitable environment for the seeds to germinate and the plants to thrive. Here are some important steps to follow when preparing the soil for your lavender:
- Choose a Well-Draining Location: Lavender plants prefer soil that is well-draining. They don’t thrive in soggy or waterlogged conditions, as this can lead to root rot. Select a location in your garden that has good drainage to avoid any issues.
- Loosen the Soil: Use a garden fork or tiller to loosen the soil in the selected area. Lavender plants prefer loose, crumbly soil, so ensure that it’s not compacted. This will provide ample room for the plant’s roots to spread out and access nutrients and water.
- Remove Weeds and Debris: Clear the area of any weeds or debris that may compete with the lavender plants for nutrients and water. This will help prevent weed growth and ensure that the lavender gets the necessary resources to grow and thrive.
- Amend the Soil: Lavender plants prefer slightly alkaline soil with a pH level between 6.5 and 7.5. If your soil is acidic, you can add lime to raise the pH level and make it more alkaline. Additionally, you can enrich the soil by adding organic matter, such as compost or well-rotted manure, to improve its fertility.
- Level and Smooth the Soil: After amending the soil, use a rake to level and smooth the surface. This will provide an even bed for sowing the lavender seeds and help with water distribution.
By taking the time to properly prepare the soil, you’re creating a favorable environment for your lavender plants to establish and flourish. This will increase their chances of healthy growth and vibrant blooms in the future.
Sowing Lavender Seeds
Once you have prepared the soil, it’s time to sow your lavender seeds. Here’s a step-by-step guide to help you successfully sow lavender seeds:
- Timing: Lavender seeds should be sown indoors at least 8-12 weeks before the last frost date in your area. This will give the plants sufficient time to grow before being transplanted outdoors.
- Seed Trays/Pots: Fill seed trays or small pots with a well-draining seed starting mix. Ensure that the containers have drainage holes to prevent waterlogged soil.
- Moisten the Soil: Before sowing the seeds, lightly moisten the soil in the containers. This will create a favorable environment for germination.
- Sow the Seeds: Sprinkle the lavender seeds evenly on the surface of the soil, pressing them lightly into the soil or covering them with a thin layer of vermiculite. Avoid burying the seeds too deep, as lavender seeds require light to germinate.
- Provide Bottom Heat: Lavender seeds germinate best with a bit of warmth. Consider using a seedling heat mat or placing the containers on top of a warm surface to provide bottom heat.
- Cover and Label: Cover the containers with a clear plastic dome or plastic wrap to create a mini greenhouse effect. This will help retain moisture and create a humid environment for germination. Don’t forget to label each container with the variety and date of sowing.
- Place in a Bright Location: Place the seed trays or pots in a bright location, preferably near a south-facing window or under grow lights. Lavender seeds need ample sunlight to germinate and grow strong.
- Water with Care: Keep the soil consistently moist but not waterlogged. Use a spray bottle or misting wand to water gently, as excessive watering can cause the seeds to rot.
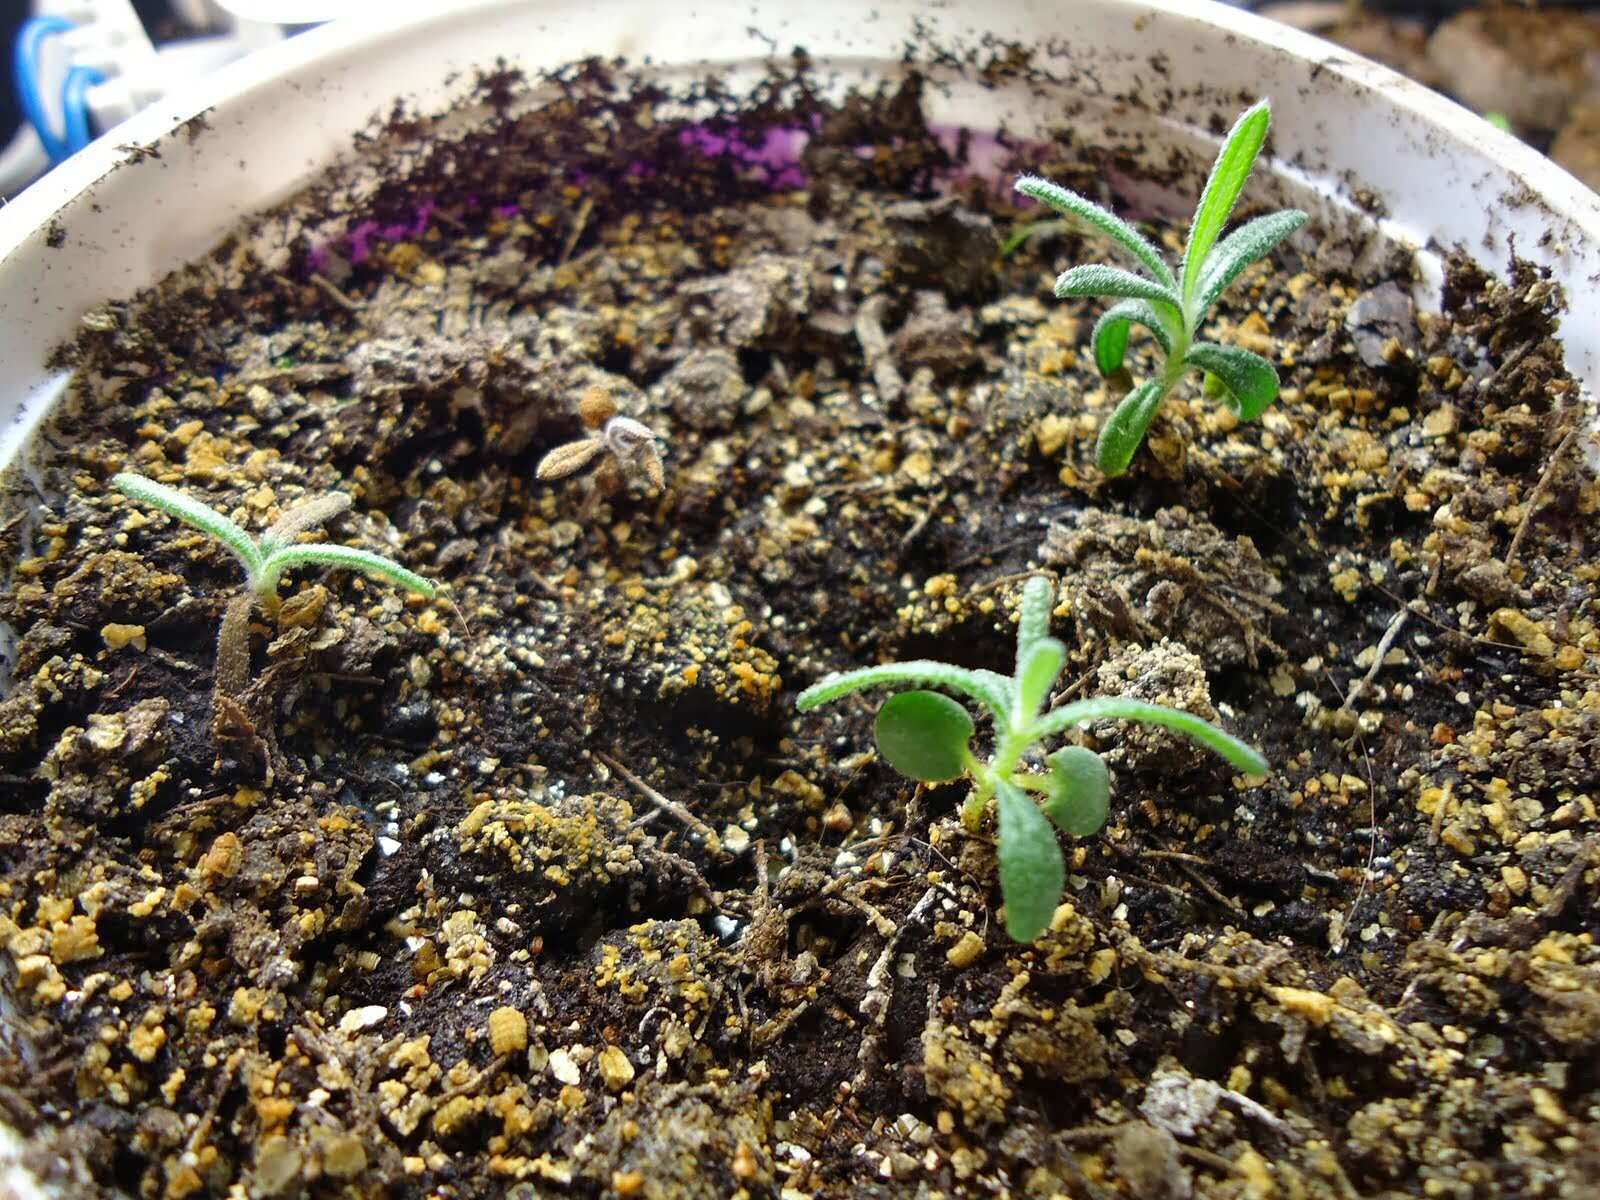
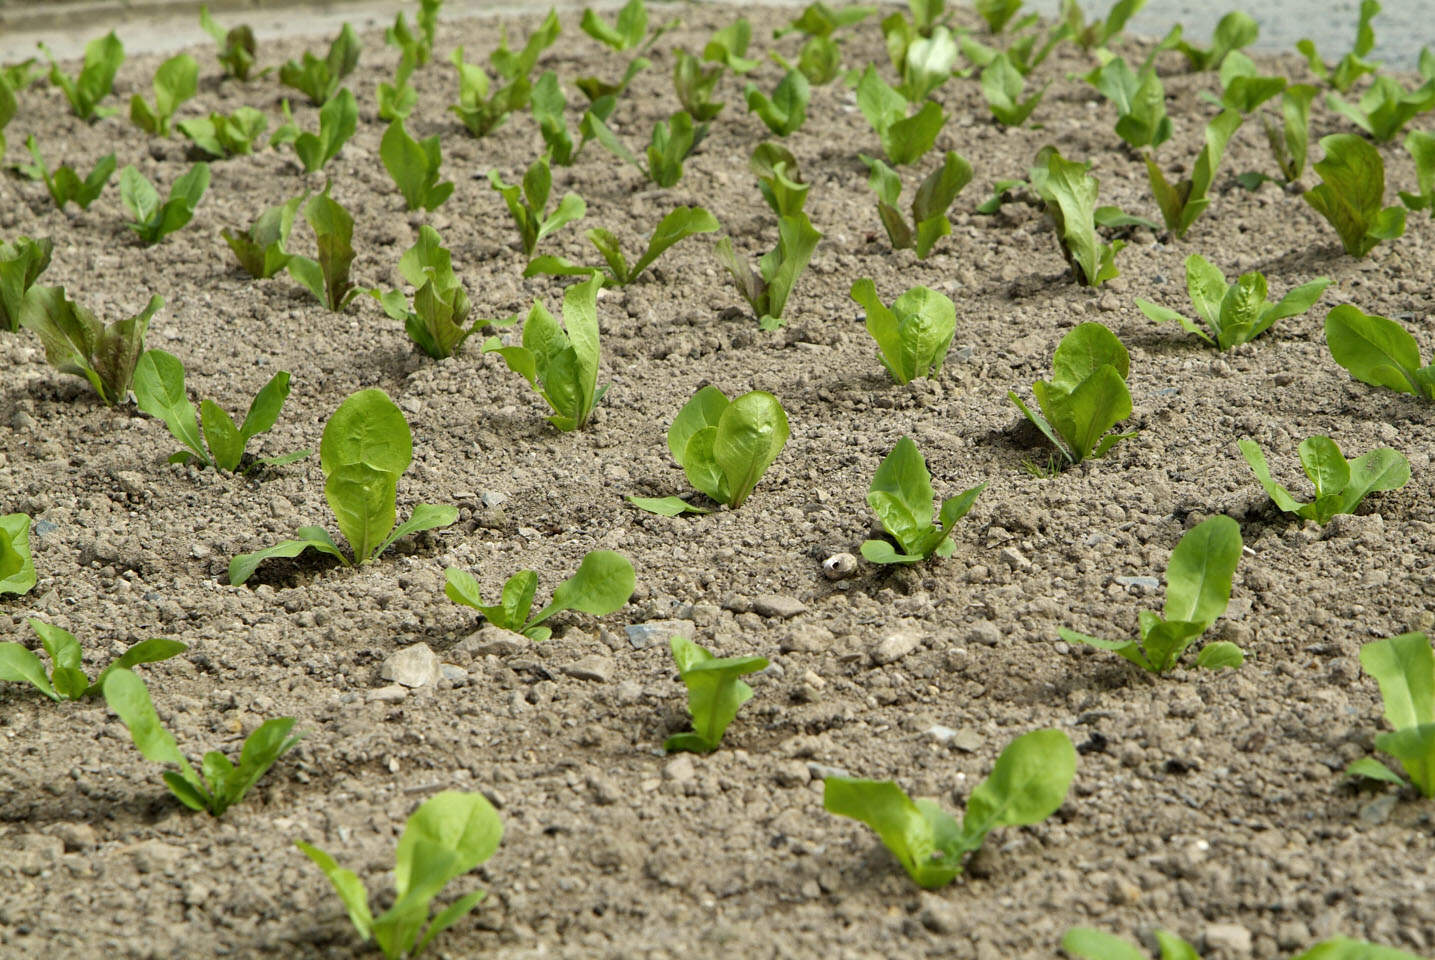
- Be Patient: It can take anywhere from 2 to 4 weeks for lavender seeds to germinate. Be patient and wait for the tiny seedlings to emerge.
By following these steps, you are giving your lavender seeds the best chance of germination and healthy growth. Soon, you will have a batch of fragrant lavender seedlings ready for the next stage of their journey.
Providing Optimal Growing Conditions
Once your lavender seedlings have emerged and are actively growing, it’s important to provide them with optimal growing conditions to ensure their continued health and vigor. Here are some key factors to consider when caring for your lavender plants:
- Sunlight: Lavender thrives in full sun, so make sure to place your plants in a location where they will receive at least 6-8 hours of direct sunlight each day. This is crucial for proper growth and flower production.
- Watering: While lavender is a drought-tolerant plant, it still needs regular watering, especially during its first year. The key is to strike a balance – avoid overwatering, which can lead to root rot, but also avoid letting the plants dry out completely. Water deeply and thoroughly, allowing the soil to slightly dry out between waterings.
- Soil Conditions: Lavender plants prefer soil that is well-draining and sandy, with a pH level between 6.5 and 7.5. Avoid heavy clay soils that can retain moisture. Consider amending the soil with sand or gravel to improve drainage if needed.
- Fertilization: Lavender is a low-maintenance plant and does not require heavy fertilization. In fact, an excess of nitrogen can lead to excessive foliage growth and diminish flower production. Use a slow-release or organic fertilizer sparingly, or opt for compost or well-rotted manure to provide nutrients in a more natural way.
- Mulching: Applying a layer of organic mulch around the base of your lavender plants can help conserve moisture, suppress weed growth, and protect the plant’s roots. Use materials such as straw, wood chips, or dried leaves, and keep the mulch a few inches away from the main stem to prevent excess moisture around the base.
- Air Circulation: Lavender plants benefit from good air circulation to prevent the buildup of moisture, which can lead to fungal diseases. Avoid planting them too closely together, and consider pruning to maintain an open and airy growth habit.
- Winter Protection: Depending on your climate, lavender plants may need protection during the winter months. In colder regions, consider covering the plants with a layer of mulch or burlap to insulate them from harsh temperatures and freezing winds.
By providing your lavender plants with these optimal growing conditions, you will help them thrive and reach their full potential. With proper care and attention, you can enjoy a garden full of lush and fragrant lavender blooms for years to come.
Lavender seeds can take 2-3 weeks to germinate and 3-4 months to grow into mature plants. Provide well-draining soil, plenty of sunlight, and water sparingly to help them thrive.
Read more: How Long For Lavender To Germinate
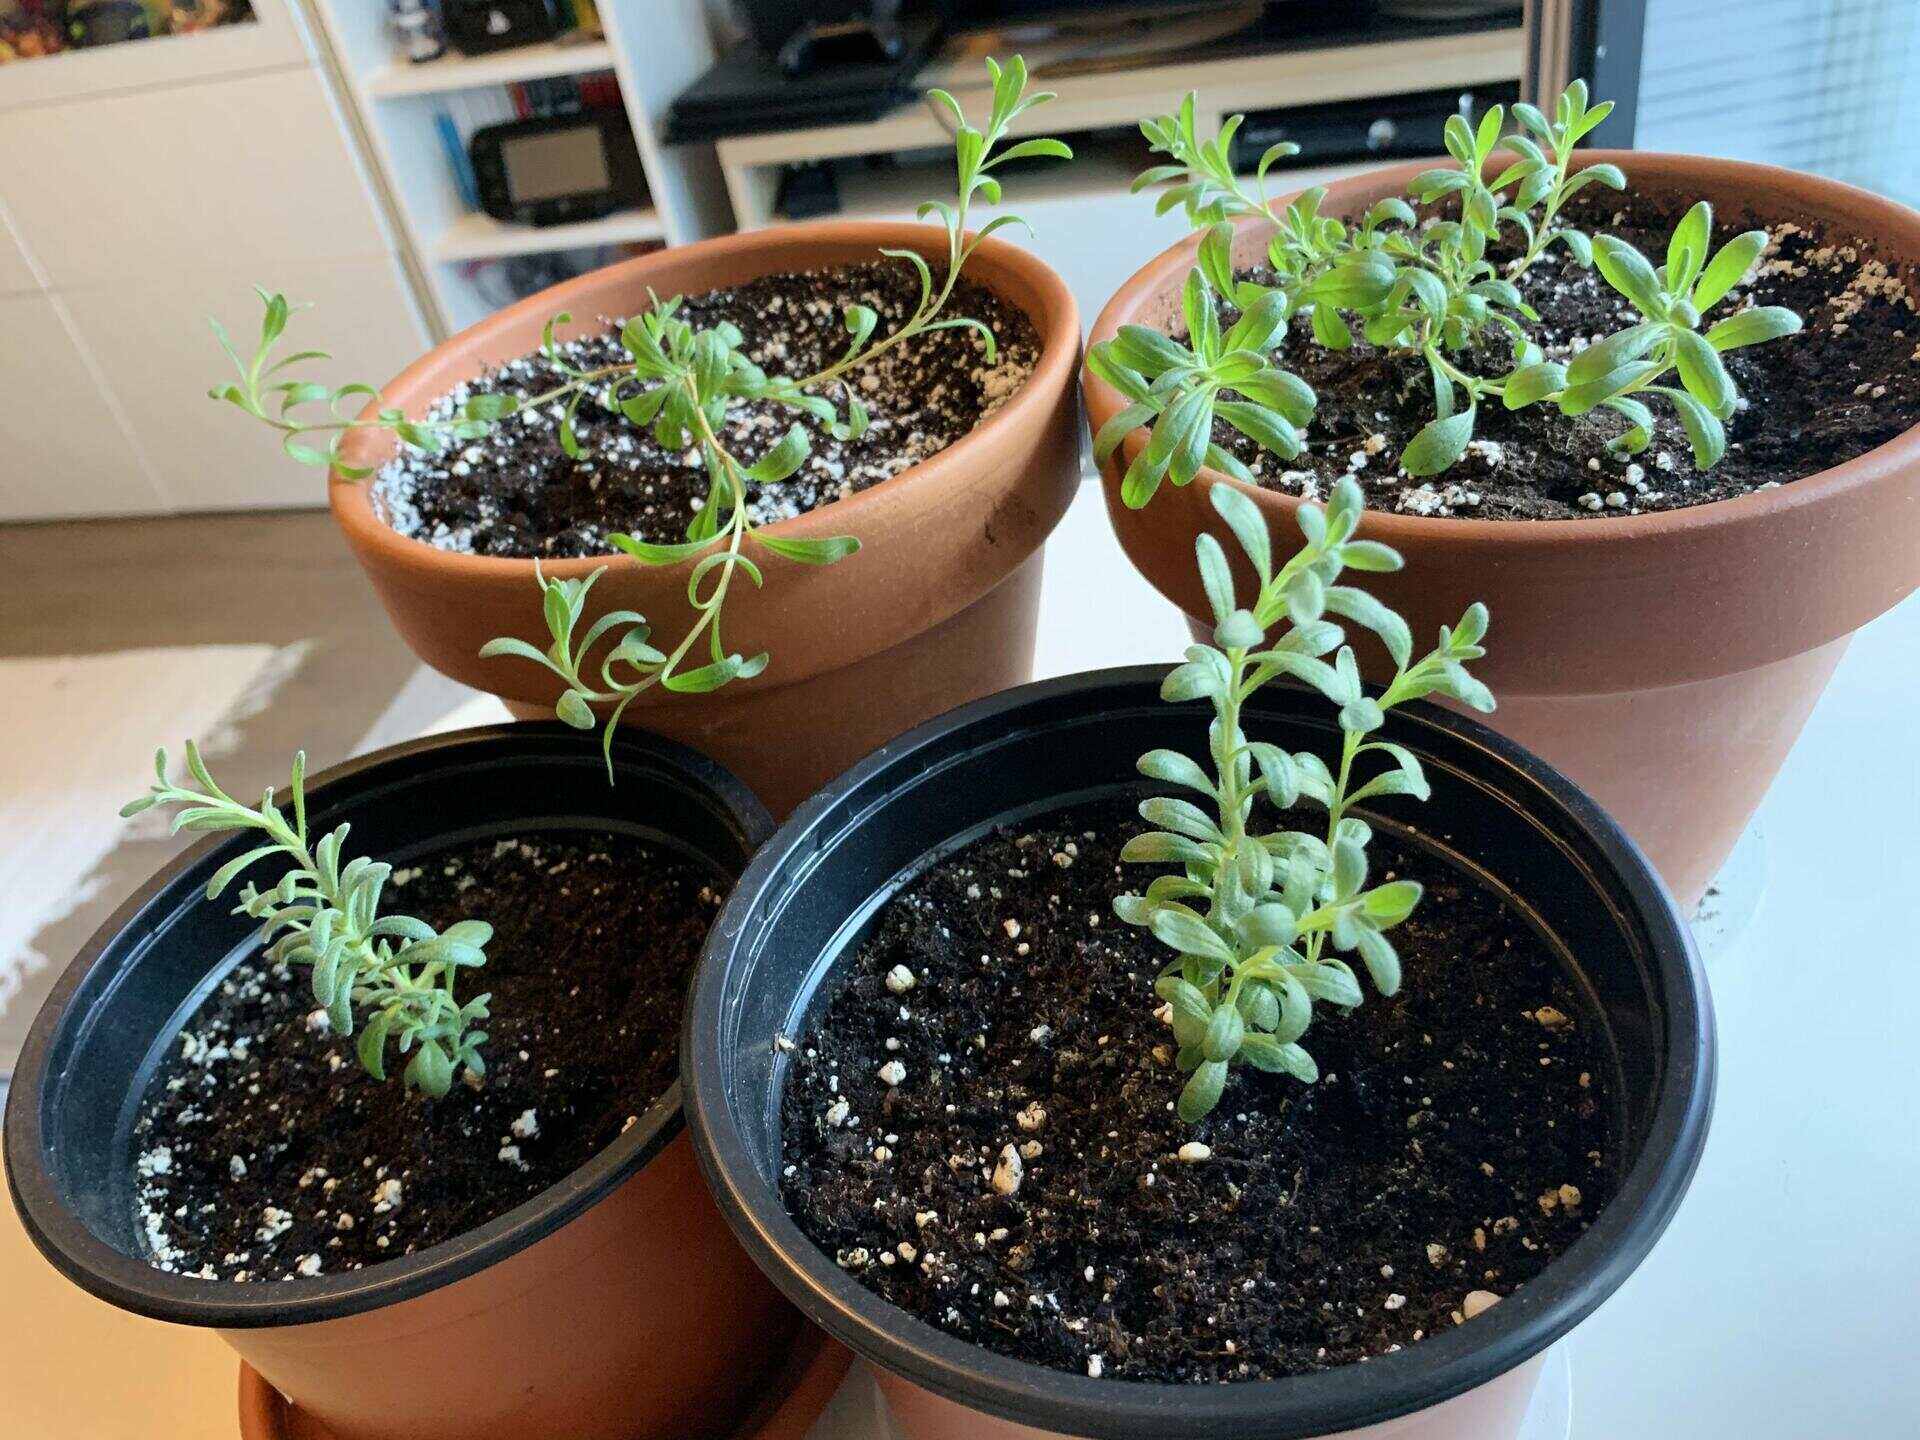
Caring for Lavender Seedlings
Lavender seedlings require attentive care in their early stages to ensure healthy growth and development. Here are some key tips for caring for your lavender seedlings:
- Watering: Keep the soil evenly moist, but be cautious not to overwater. Lavender seedlings prefer slightly drier conditions, so ensure that the soil has good drainage to prevent waterlogged roots. Water at the base of the plant to avoid wetting the leaves, as this can lead to fungal issues.
- Thinning: If you have sown multiple seeds in the same container, it’s important to thin out the weaker seedlings to allow the stronger ones to thrive. Gently remove the excess seedlings, leaving only the healthiest and most robust ones in each container.
- Harden Off: Before transplanting your lavender seedlings outdoors, gradually acclimate them to outdoor conditions through a process called hardening off. Start by placing them outdoors for a few hours each day, gradually increasing the time and exposure to sunlight over a week or two. This will help the seedlings adjust to the different environmental factors.
- Transplanting: When the lavender seedlings have grown to a sturdy and established stage, with several sets of true leaves, it’s time to transplant them into their permanent location. Choose a sunny spot with well-draining soil, and ensure that there is adequate space for the mature plants to grow and spread out.
- Protecting from Pests: Lavender is generally resistant to pests and diseases, but seedlings can be vulnerable. Monitor your seedlings regularly and take action at the first sign of pest damage. You can use organic insecticidal soap or neem oil to treat common pests, such as aphids or spider mites.
- Support: As the lavender plants grow taller, they may benefit from some support to prevent bending or breaking. Use bamboo stakes or plant supports to gently prop up the plants, especially if they are in a windy location.
- Continued Care: Provide ongoing care for your lavender plants by watering them as needed, applying mulch to conserve moisture, and monitoring for any signs of stress or disease. Regularly prune your lavender plants to promote bushier growth and ensure good air circulation.
By following these care tips, your lavender seedlings will develop into healthy and resilient plants, ready to fill your garden with their delightful fragrance and beauty. With a little patience and attention, you’ll soon be enjoying the rewards of your efforts.
Transplanting Lavender Seedlings
Once your lavender seedlings have reached a sturdy and established stage, it’s time to transplant them into their permanent location in the garden. Transplanting lavender seedlings requires careful handling to ensure their successful transition. Here are some steps to follow:
- Choose the Right Time: Select a day to transplant your lavender seedlings when the weather is mild and the soil is moist. Avoid transplanting during hot summer days or during periods of extreme weather.
- Prepare the Planting Holes: Dig individual planting holes that are slightly larger than the root ball of each seedling. Space the holes at least 12-18 inches apart to provide enough room for the mature plants to grow and spread out.
- Amend the Soil: Prior to planting, amend the soil in the planting holes with a small amount of compost or well-rotted manure. This will help enrich the soil and provide essential nutrients for the growing lavender plants.
- Water the Seedlings: Before removing the seedlings from their containers, thoroughly water them. This will help keep the root ball intact and make it easier to transplant without damaging the delicate roots.
- Remove Seedlings from Containers: Carefully remove the lavender seedlings from their containers, gently teasing apart any tangled or circling roots. Handle the seedlings by their leaves or root ball to minimize damage to the stems.
- Plant at the Right Depth: Place each lavender seedling in a planting hole, ensuring that the top of the root ball is level with or just slightly above the soil surface. Avoid planting too deeply, as this can cause root rot.
- Backfill and Firm the Soil: Fill in the planting hole with soil, gently firming it around the seedling to eliminate air pockets. Avoid compacting the soil too tightly, as lavender prefers well-draining soil.
- Water Thoroughly: After planting, give the lavender seedlings a good soak to settle the soil around the roots. Ensure that the soil is moist but not waterlogged. Water deeply and then allow the soil to dry out slightly between waterings.
- Provide Sun and Protection: Place the transplanted lavender seedlings in a sunny location where they will receive at least 6-8 hours of direct sunlight per day. Protect the seedlings from strong winds, and consider using a light shade cloth during the hottest part of the day to prevent stress.
- Mulch and Monitor: Apply a layer of organic mulch, such as straw or wood chips, around the base of the transplanted lavender seedlings. This will help conserve moisture, suppress weed growth, and maintain an even soil temperature. Monitor the plants closely for any signs of stress or pest damage.
By taking care and following these steps, you can ensure a successful transplantation of your lavender seedlings. With time and proper care, they will establish themselves in their new home and grow into beautiful, fragrant lavender plants that will bring joy to your garden.
Pruning and Maintaining Lavender Plants
To keep your lavender plants healthy, vibrant, and in optimal condition, regular pruning and maintenance are essential. Proper pruning not only promotes bushier growth but also helps extend the lifespan of the plants. Here are some guidelines to follow when pruning and maintaining your lavender:
- Timing: Lavender plants should be pruned at the right time to encourage new growth without sacrificing flower production. The best time to prune lavender is in early spring, just as new growth begins to emerge. Avoid pruning in late fall or early winter, as this can leave the plants vulnerable to cold weather damage.
- Remove Old Growth: Start by removing any dead or woody stems from the lavender plant. These can be identified by their gray or brown coloration. Using sharp pruning shears, cut back the stems to the base or to just above new growth if present.
- Shape and Size: To maintain a compact and well-rounded shape, lightly trim the lavender plant to remove any leggy or overgrown stems. Aim to maintain a balanced appearance and avoid cutting back more than one-third of the plant’s total height at once.
- Prune After Bloom: If your lavender has finished blooming, prune it immediately to maintain its shape and prevent the plant from becoming straggly. Cut back the spent flower stalks to just above a set of healthy leaves to encourage further growth and potential reblooming.
- Avoid Cutting Into Old Wood: When pruning lavender, be cautious not to cut into old wood or the bare stems below the foliage. The plants may struggle to regenerate new growth from these areas, leading to unsightly gaps in the plant’s structure.
- Regular Deadheading: As the lavender plants continue to bloom, regularly deadhead the faded flowers by cutting them back to a new set of leaves or buds. This will help redirect the plant’s energy toward producing new blooms rather than seed production.
- Proper Watering: Lavender plants are drought-tolerant once established, but they still require regular watering during dry periods. Water deeply, but infrequently, allowing the soil to dry out slightly between waterings. Avoid overwatering, as it can lead to root rot and other issues.
- Weeding: Keep the area around your lavender plants free from weeds, as they can compete for nutrients and water. Regularly remove any weeds that appear, being careful not to disturb the shallow root system of the lavender plants.
- Monitor for Pests and Diseases: Keep an eye out for any signs of pest infestations or disease. Lavender plants are generally resistant to pests, but they may occasionally fall victim to aphids, spider mites, or fungal infections. Treat any issues promptly with organic pest control methods or appropriate fungicides.
By following these pruning and maintenance practices, you can ensure that your lavender plants remain healthy, robust, and full of aromatic blooms. Regular care and attention will reward you with a garden filled with the beauty and fragrance of lavender.
Harvesting Lavender Flowers
The moment you’ve been waiting for has finally arrived – it’s time to harvest your lavender flowers! Knowing when and how to harvest lavender will ensure that you preserve the flowers at their peak freshness and fragrance. Here are some tips to guide you through the lavender harvesting process:
- Timing: Harvest lavender flowers when they are in full bloom, usually during the summer months. Choose a day when the weather is dry, preferably in the morning after the dew has evaporated. This will prevent the flowers from wilting and minimize the chance of mold or mildew formation.
- Lavender Variety: Different lavender varieties may bloom at slightly different times, so pay attention to the specific variety you are growing. Harvesting time can also vary based on personal preference – some prefer to harvest when the flowers have just begun to open, while others prefer to wait until the flowers are more fully developed.
- Inspect the Flowers: Before harvesting, inspect the lavender flowers for overall health and quality. Ensure that the flowers are fully open and free from any signs of disease or pest damage. Select flowers that are vibrant and have a strong fragrance.
- Harvesting Method: To harvest lavender, use sharp pruning shears or scissors to cut the flower stems. Aim to cut the stems just above the leaves, leaving a small portion of stem attached. This will encourage new growth and potential reblooming.
- Bunching and Drying: Gather a handful of harvested lavender stems and tie them together with twine or a rubber band. Create small bundles, roughly 8-12 stems per bundle, to facilitate the drying process. Hang the bundles upside down in a cool, dark, and well-ventilated area, like a dry attic or a covered porch. Avoid direct sunlight, as it can cause the flowers to lose their vibrant color.
- Drying Time: Lavender flowers typically take 1-2 weeks to dry completely. Check the bundles regularly to ensure that the flowers are drying evenly and to prevent any mold or mildew formation. Once the flowers are dry, gently remove them from the stems and store them in airtight containers away from light and moisture.
- Uses for Dried Lavender: Dried lavender flowers have a multitude of uses. They can be used for culinary purposes, such as infusing in tea or baking, as well as for creating fragrant sachets, potpourri, or homemade beauty products like soaps or bath salts. The possibilities are endless!
- Pruning for Future Harvests: After harvesting, don’t forget to lightly prune your lavender plants to encourage new growth and maintain their shape. This will ensure that you have a bountiful supply of fresh lavender flowers for years to come.
Harvesting lavender flowers is not only a rewarding experience, but it also allows you to enjoy the delightful aroma and beauty of lavender throughout the year. So, grab your shears and get ready to immerse yourself in the wonderful world of lavender harvest!
Read more: How To Get Seeds From Lavender
Conclusion
Growing lavender from seed can be a fulfilling and rewarding journey, from selecting the right seeds to caring for the plants and ultimately harvesting the fragrant flowers. With the proper knowledge and attention to detail, you can successfully cultivate your own lavender garden and enjoy its beauty and benefits.
During the process, remember the importance of selecting the right lavender seeds that are suited for your climate and preferences. Prepare the soil properly to provide a well-draining and fertile environment for the seeds to germinate and the plants to thrive. When sowing lavender seeds, ensure they receive adequate sunlight, water, and bottom heat for successful germination.
As the lavender seedlings grow, provide optimal growing conditions, including full sun, well-draining soil, and proper watering techniques. Prune the plants regularly to maintain their shape and encourage bushier growth. Watch out for pests and diseases and treat them promptly to keep your lavender plants healthy.
When the time comes, harvest the lavender flowers at their peak freshness and fragrance. Dry them properly and explore the various uses for dried lavender, from culinary delights to aromatic home decor and beauty products.
Throughout your lavender-growing journey, remember to enjoy the process and be patient. Lavender requires time and care to reach its full potential, but the reward is well worth it.
So, whether you’re a seasoned gardener or just starting out, don’t hesitate to embark on the adventure of growing lavender from seed. With a little knowledge, dedication, and love for the plant, you can create a beautiful and fragrant lavender oasis in your very own garden. Happy gardening!
Once you've mastered growing lavender from seed, why not spruce up your garden's look and feel? Diving into our next guide on creative barrier solutions could inspire your next project. From simple DIY options to elaborate designs, our collection of garden fence ideas is perfect for any gardener looking to enhance their outdoor space. Whether seeking privacy, security, or just adding a touch of aesthetic appeal, you'll find plenty of options to suit your tastes. So, don’t wait; check out our inspiring suggestions and transform your garden into a stunning haven today!
Frequently Asked Questions about How Long To Grow Lavender From Seed
Was this page helpful?
At Storables.com, we guarantee accurate and reliable information. Our content, validated by Expert Board Contributors, is crafted following stringent Editorial Policies. We're committed to providing you with well-researched, expert-backed insights for all your informational needs.


0 thoughts on “How Long To Grow Lavender From Seed”