Home>Garden Essentials>How To Get Seeds From Lavender
Garden Essentials
How To Get Seeds From Lavender
Modified: August 27, 2024
Learn how to get seeds from lavender and grow your own garden with this comprehensive guide.
(Many of the links in this article redirect to a specific reviewed product. Your purchase of these products through affiliate links helps to generate commission for Storables.com, at no extra cost. Learn more)
Introduction
Welcome to the world of lavender, a versatile and aromatic herb that brings beauty and tranquility to gardens and homes alike. While many gardeners are familiar with growing lavender from established plants, did you know that you can also propagate lavender from seeds? In this article, we will explore the process of harvesting and planting lavender seeds, allowing you to expand your lavender collection and experience the joy of growing this enchanting plant from scratch.
Lavender, scientifically known as Lavandula, is a popular flowering herb that is native to the Mediterranean region. Its fragrant flowers and silvery-green foliage make it a favorite among gardeners, and its essential oil is widely used in aromatherapy and culinary applications. Despite its reputation as a finicky plant, growing lavender from seeds can be a rewarding and cost-effective way to add this beloved herb to your garden.
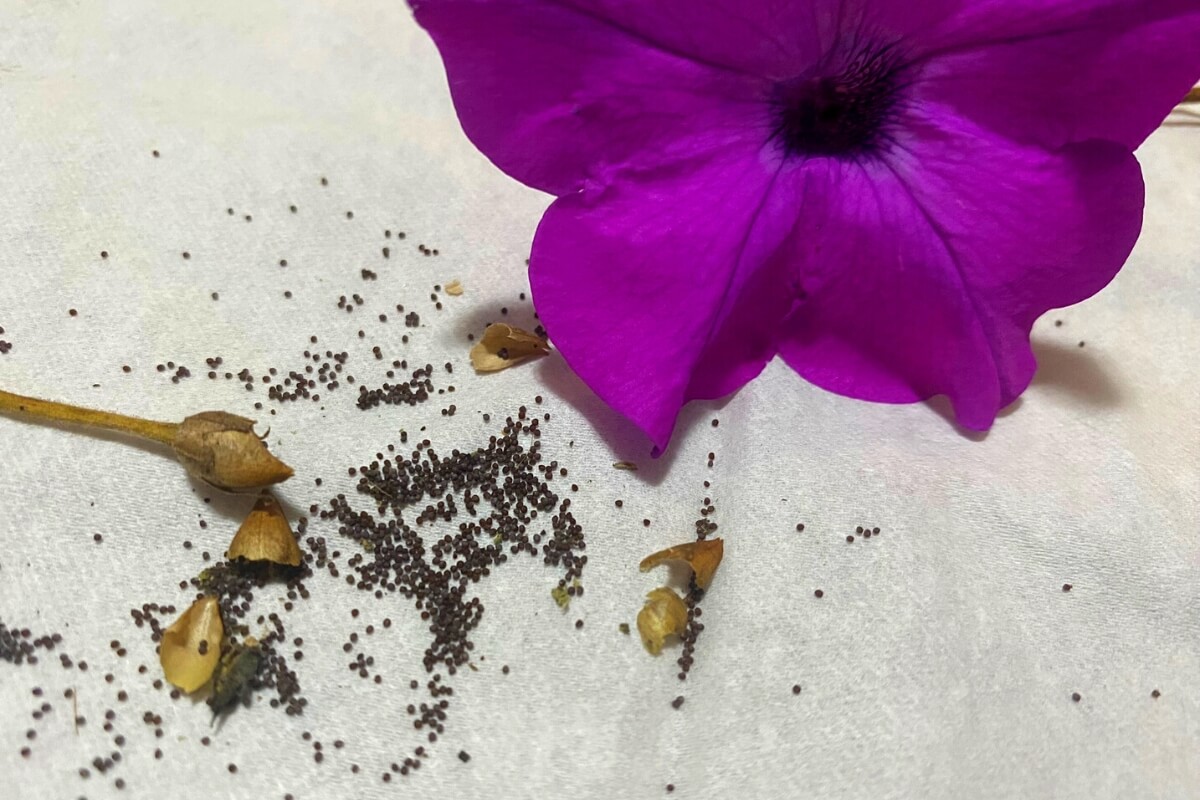
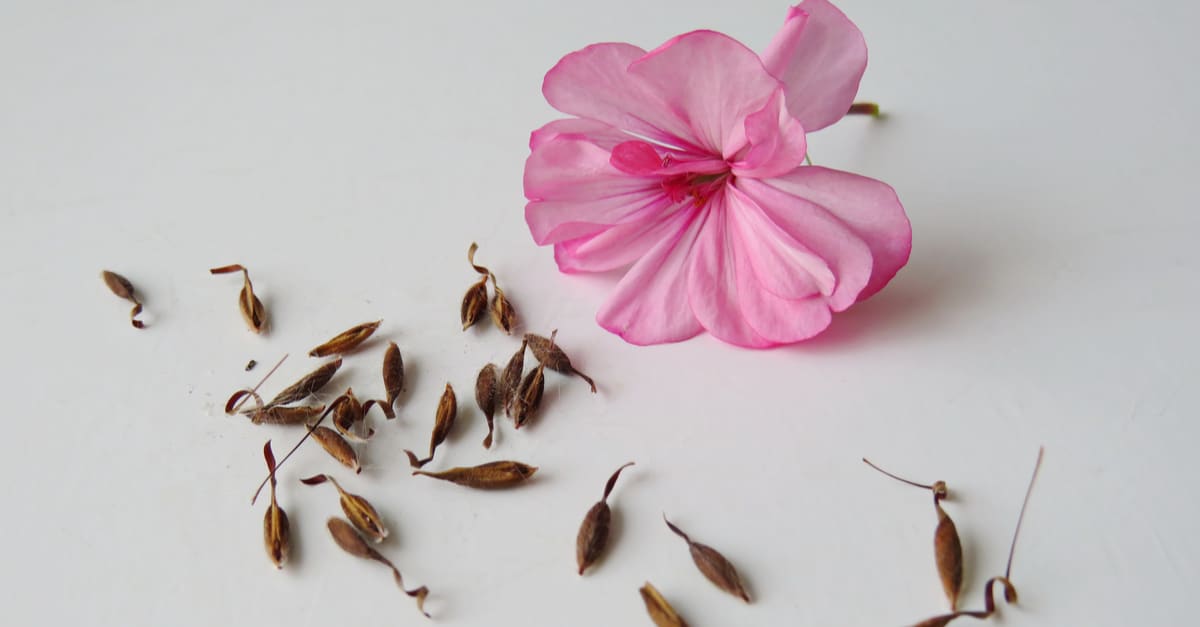
Before we dive into the process of harvesting lavender seeds, let’s first understand what lavender seeds are and how they develop. Lavender seeds are tiny, dark brown to black ovoid structures that form within the dried flowers of the lavender plant. Each seed contains the genetic information necessary for germination and can give rise to a new lavender plant.
Now that we have a basic understanding of lavender seeds, let’s explore when and how to harvest them.
Key Takeaways:
- 1. Harvesting and planting lavender seeds is a delicate process that requires patience and attention to detail. By understanding the structure and characteristics of lavender seeds, you can successfully grow your own enchanting lavender garden from scratch.
- 2. Properly drying and storing harvested lavender seeds is crucial for maintaining their viability. With the right care and attention, you can nurture your lavender seedlings into thriving plants, enjoying the beauty and fragrance they bring to your garden.
Read more: How To Grow Lavender From Seed
Understanding Lavender Seeds
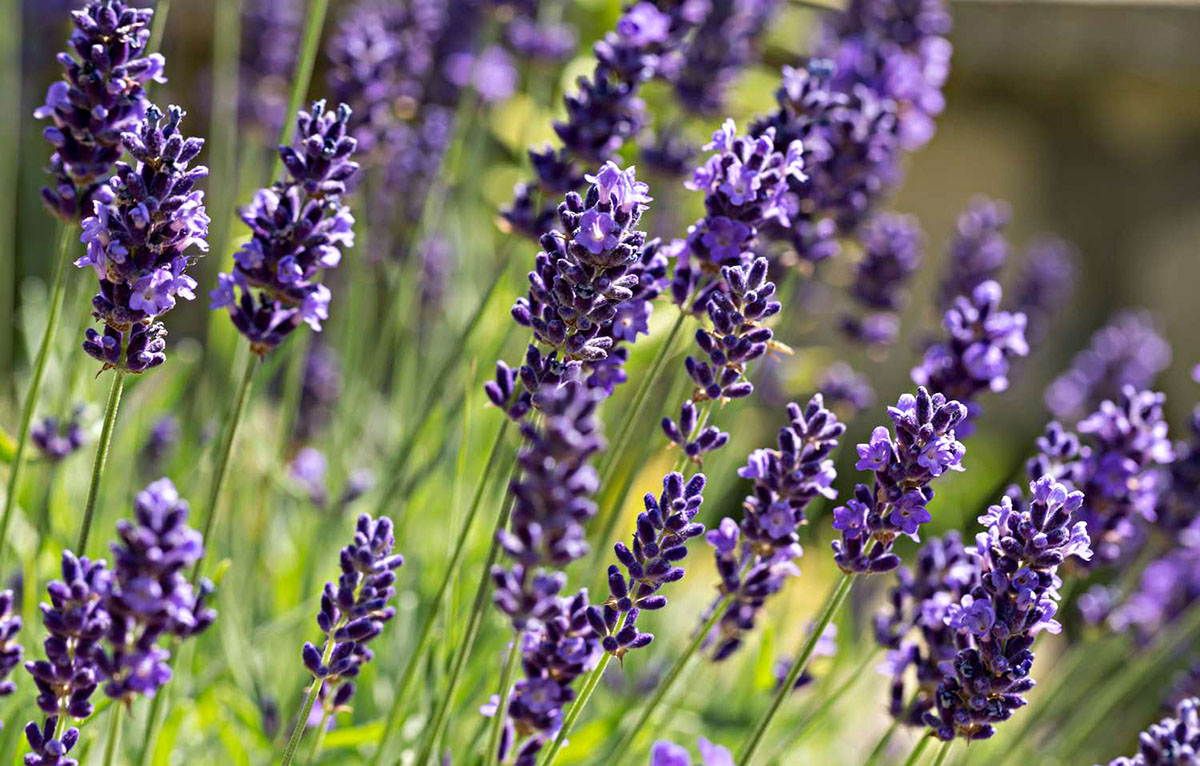
Before embarking on the journey of harvesting lavender seeds, it’s essential to have a clear understanding of the structure and characteristics of these tiny marvels of nature. Lavender seeds are the result of the pollination process, where the pollen from the male part (stamens) of the lavender flower fertilizes the female part (pistils) to form seeds.
Once pollination occurs, the lavender flower slowly withers and dries out, forming small brown seed pods at the base of the flower spike. These seed pods contain numerous small, oval-shaped lavender seeds. The seeds are typically dark brown to black in color and have a slightly shiny appearance.
It’s important to note that not every flower on a lavender plant will produce viable seeds. Some flowers may not be fully pollinated or may not contain fertile pollen. Therefore, it’s crucial to select flowers that have achieved full bloom and show signs of seed development.
Another essential characteristic of lavender seeds is their viability, which refers to the ability of the seeds to germinate and grow into healthy lavender plants. Lavender seeds have a relatively short lifespan, with their viability gradually decreasing over time. Freshly harvested seeds generally have the highest chance of germination, while older seeds may have reduced viability.
Understanding the growth requirements of lavender seeds is also crucial for successful germination. Lavender seeds are small and contain limited energy reserves. They require warm temperatures, moisture, and proper soil conditions to germinate and establish themselves. If the seeds are exposed to conditions that are too cold, wet, or unfavorable, they may not germinate or may be susceptible to fungal diseases.
By familiarizing yourself with the structure, characteristics, viability, and growth requirements of lavender seeds, you’ll be equipped with the knowledge necessary to harvest and care for them successfully. In the next section, we will delve into the ideal time for harvesting lavender seeds.
Knowing When to Harvest Lavender Seeds
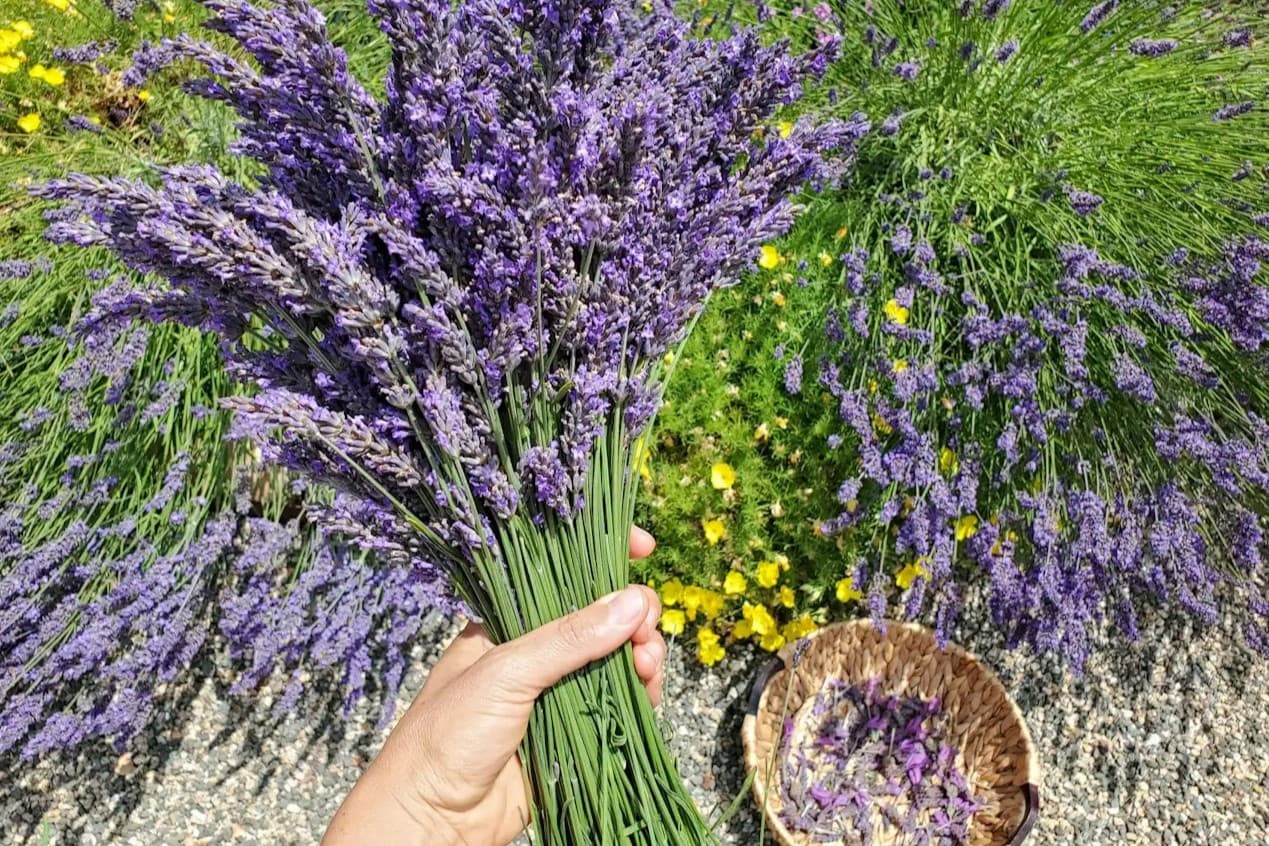
Harvesting lavender seeds at the right time is crucial for their viability and successful germination. The ideal time to harvest lavender seeds is when the flowers have completely dried out on the plant and the seed pods have turned brown. This usually occurs towards the end of the flowering season, typically in late summer or early fall, depending on your region.
One way to determine if the lavender seeds are ready for harvest is by gently shaking the dried flower spike. If the seed pods rattle and release some seeds, it’s a good indication that they are mature and ready to be collected. You can also inspect the seed pods visually – they should appear dry and papery, and the color should be brown or tan.
Timing is crucial when it comes to harvesting lavender seeds. It’s important to harvest the seeds before they are fully dispersed from the seed pods, as this can lead to loss and difficulty in collecting them. However, if you wait too long, the seed pods may start opening on their own and the seeds may scatter in the wind, making it challenging to collect a sufficient amount.
Weather conditions can also play a role in determining the optimal time for seed harvest. It’s best to avoid harvesting lavender seeds during periods of high humidity or immediately after rainfall, as excess moisture can affect seed viability. It’s recommended to choose a dry and sunny day for seed harvesting to ensure the best chance of success.
Overall, the key indicators for determining when to harvest lavender seeds are the dried appearance of the flower spike, the brown color and dry texture of the seed pods, and the ability to easily shake out some seeds from the pods. By keeping an eye on these factors and considering your local climate conditions, you can determine the perfect time to gather your precious lavender seeds.
In the next section, we will explore the process of harvesting lavender seeds in detail, providing you with step-by-step instructions to ensure a successful seed collection.
Harvesting Lavender Seeds
Harvesting lavender seeds is a delicate process that requires precision and attention to detail. By following these step-by-step instructions, you can successfully collect your own lavender seeds for future propagation:
- Choose a dry and sunny day for seed harvesting. It’s important to ensure that the lavender plants are completely dry to prevent moisture from affecting the seed quality.
- Carefully inspect the lavender flower spikes and select those that have dried out and turned brown. These are the signs that the seeds are mature and ready for harvest.
- Hold the flower spike gently at the base and shake it to release the mature seed pods. Be cautious not to apply too much force, as the seeds may scatter in the wind.
- Place a clean cloth or tray beneath the flower spike to catch any falling seeds. This will help prevent loss and make it easier to collect the seeds.
- Gently break open the seed pods to extract the lavender seeds. This can be done by using your fingers or a small tool. Be careful not to crush the seeds while extracting them.
- Once the seeds are removed from the seed pods, place them in a clean and dry container. Avoid using plastic or metal containers, as they may trap moisture. A paper envelope or a glass jar with a tight-fitting lid works well for storing lavender seeds.
- Label the container with the date of seed harvest and the variety of lavender, if known. This will help you keep track of the seeds and ensure you use them within their viable period.
It’s essential to handle the harvested lavender seeds with care, as they are delicate and can easily be damaged. Avoid exposing them to excessive moisture, heat, or direct sunlight, as these factors can reduce their viability.
Once the harvesting process is complete, it’s time to move on to the next step: drying the lavender seeds. In the following section, we will explore the proper techniques for drying lavender seeds to preserve their quality and maximize their germination potential.
Drying Lavender Seeds
Drying lavender seeds is a crucial step in the seed harvesting process to preserve their quality and ensure successful germination. Properly dried seeds have a higher chance of viability and help prevent mold or fungal growth. Follow these steps to dry your freshly harvested lavender seeds:
- Transfer the harvested lavender seeds from the collection container onto a paper towel or a fine-mesh sieve. Spread them out in a single layer to allow for proper air circulation.
- Place the seeds in a well-ventilated area away from direct sunlight. Sunlight can heat up the seeds and potentially affect their viability.
- Allow the seeds to air dry for a minimum of two weeks. It’s crucial to ensure that the seeds are completely dry before moving on to the next step.
- Periodically check the seeds during the drying process to ensure there is no moisture present. If you notice any signs of moisture, let them dry for a few more days.
- Once the seeds are fully dried, gently rub them between your fingers to remove any remaining chaff or plant debris. Be careful not to crush the seeds while doing this.
- If desired, you can further clean the seeds by using a fine-mesh sieve or a seed cleaning screen. This step can help remove any remaining small particles and improve seed purity.
- After the seeds are cleaned, store them in a cool, dry, and dark place until you are ready to plant them. Airtight glass containers or paper envelopes work well for seed storage.
Properly dried lavender seeds can be stored for up to 2 years, but it’s best to use them within the first year for the highest germination success. Label the storage container with the date of seed harvest and the variety of lavender for easy identification.
Now that you have successfully harvested and dried your lavender seeds, it’s time to move on to the next phase: storing the seeds. In the following section, we will discuss the best practices for storing lavender seeds to maintain their viability.
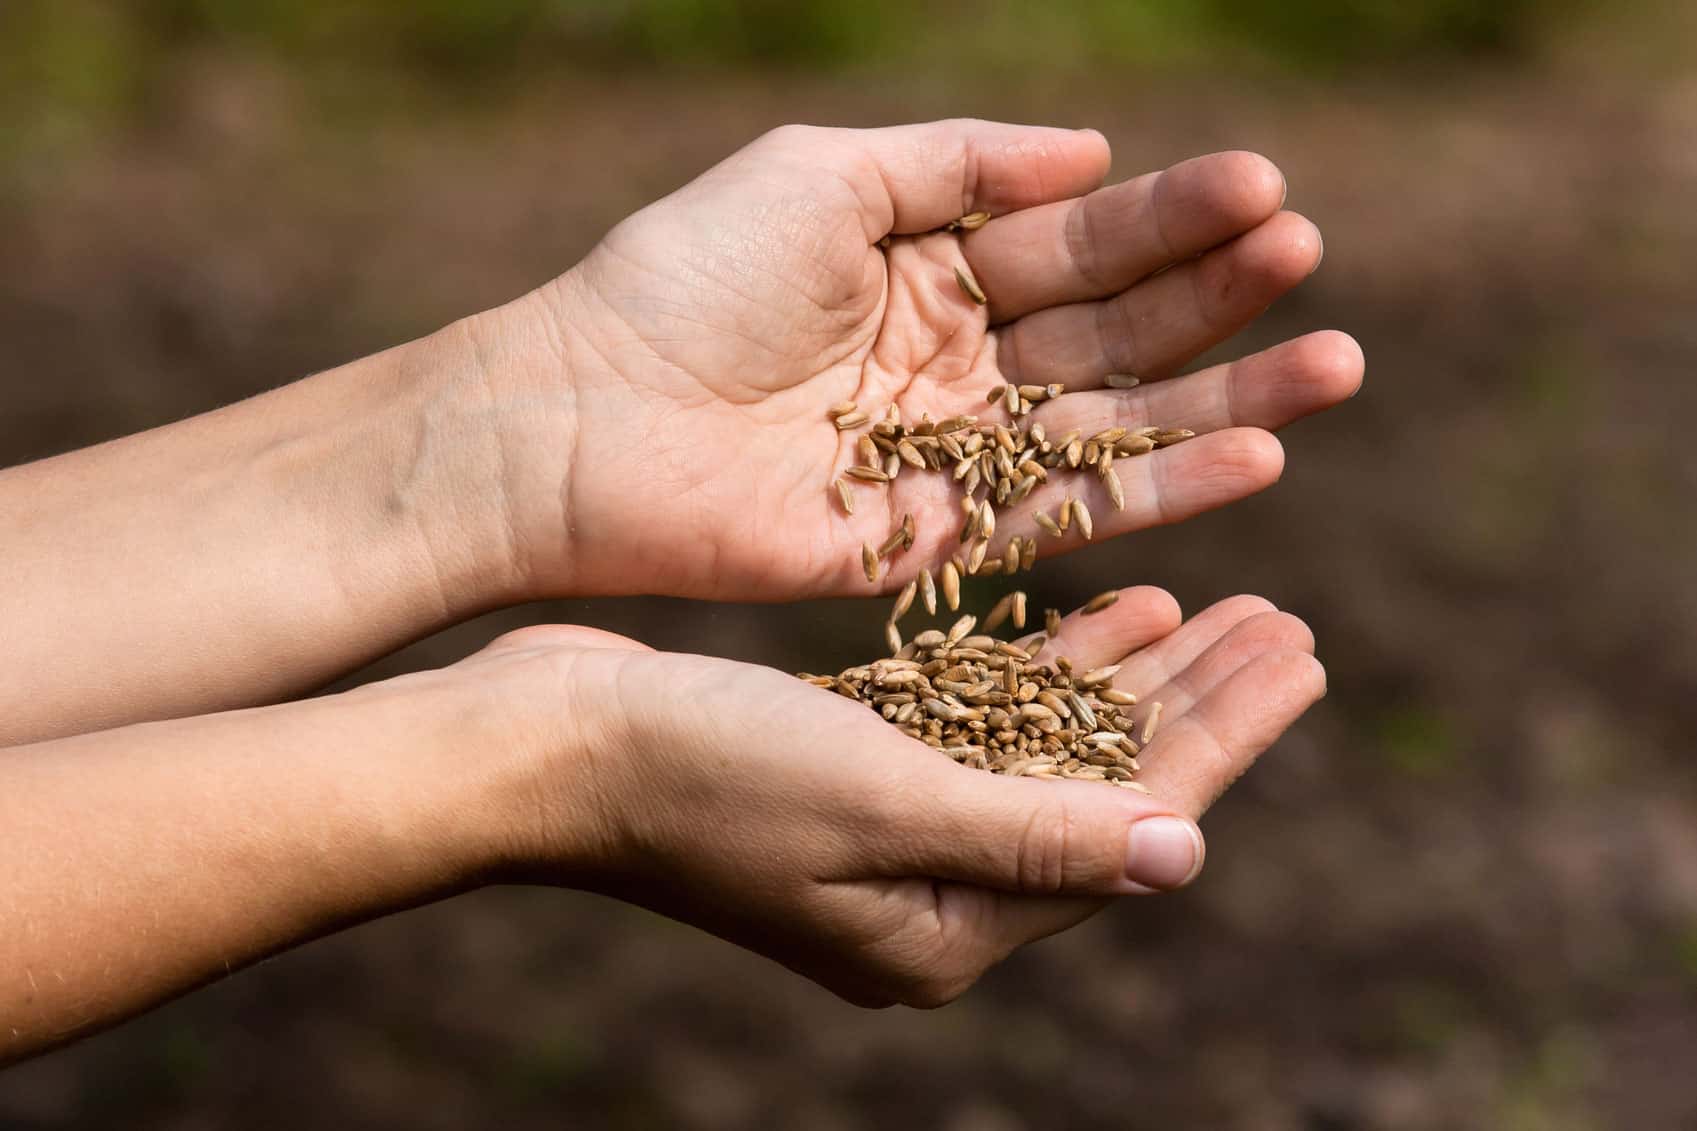
After the flowers have dried on the lavender plant, gently shake the stems to release the seeds. Collect the seeds and store them in a cool, dry place until you are ready to plant them.
Read more: How Long To Grow Lavender From Seed
Storing Lavender Seeds
Proper storage is essential to maintain the viability and germination potential of lavender seeds. By following these guidelines, you can ensure that your harvested seeds remain in optimal condition for future planting:
- Choose a storage container that is clean, dry, and airtight. Glass jars with tight-fitting lids or paper envelopes are ideal for seed storage. Avoid using plastic containers, as they can trap moisture and lead to mold or fungal growth.
- Before placing the seeds in the storage container, ensure that they are completely dry. Any remaining moisture can quickly deteriorate the seeds and reduce their viability.
- Label the storage container with the date of seed harvest and the variety of lavender, if known. This helps you track the age of the seeds and ensures that you use them within their viable period, which is generally within 1-2 years.
- Store the seed container in a cool, dry, and dark place. Excessive heat, humidity, and exposure to light can reduce seed viability. A cool and dark environment, such as a pantry or a basement, is ideal for seed storage.
- Check on the seeds periodically to monitor their condition. If you notice any signs of mold or mildew, discard those seeds immediately to prevent contamination of the rest of the batch.
- If you wish to save seeds from different lavender varieties, store them in separate containers to maintain their purity and prevent cross-pollination.
It’s important to note that the viability of lavender seeds may decrease over time. Therefore, it’s recommended to use the stored seeds within 1-2 years for the best germination success. If you plan to save seeds for an extended period, consider saving a fresh batch every year to ensure a continuous and reliable supply.
Now that you have learned how to properly store lavender seeds, it’s time to move on to the exciting part – planting your seeds and watching them grow into beautiful lavender plants! In the next section, we will dive into the process of planting lavender seeds and caring for the seedlings.
Planting Lavender Seeds
Planting lavender seeds and watching them grow into beautiful, fragrant plants is a rewarding experience. Follow these steps to successfully plant your harvested lavender seeds:
- Select the right time for planting. Lavender seeds can be sown indoors or outdoors, depending on your preference and climate. If you choose to start indoors, begin 8-10 weeks before the last frost date in your region.
- Prepare a seed tray or small pots. Fill them with a well-draining seed starting mix or a mixture of peat moss and perlite. Moisten the soil lightly before sowing the seeds.
- Sow the lavender seeds on the soil surface, spacing them about an inch apart. Gently press the seeds into the soil but avoid covering them completely, as lavender seeds need exposure to light for germination.
- Place a clear plastic cover or a plastic bag over the seed tray to create a mini greenhouse effect and promote moisture retention. This will help facilitate germination. Alternatively, you can cover the tray with a sheet of glass.
- Place the seed tray in a warm location with indirect sunlight. Lavender seeds prefer temperatures around 70-75°F (21-24°C) for germination. Check the moisture level of the soil regularly and mist with water if needed to keep it lightly damp.
- Germination can take anywhere from 2-4 weeks, although it may vary depending on the variety and growing conditions. Once the seedlings emerge, remove the plastic cover and place the tray in a bright location with direct sunlight.
- When the seedlings have developed their first true leaves, it’s time to transplant them into individual pots. Use a well-draining potting mix and gently lift the seedlings, being careful not to damage their delicate roots. Plant each seedling in a separate pot.
- Continue to provide adequate sunlight, water, and air circulation for the seedlings. Be careful not to overwater, as lavender prefers drier soil conditions once established.
- When all chances of frost have passed and the seedlings have grown to a suitable size, usually around 3-4 inches (7-10 cm) tall, you can transplant them into your garden or larger containers. Choose a sunny spot with well-draining soil for optimum growth.
Remember to space your lavender plants appropriately, as they can spread and become quite bushy. Depending on the variety, space them 12-18 inches (30-45 cm) apart to allow for airflow and prevent overcrowding.
Congratulations! By following these planting guidelines, you are well on your way to enjoying a successful lavender garden. In the next section, we will delve into the care and maintenance required for growing lavender seedlings into thriving plants.
Caring for Lavender Seedlings
Caring for lavender seedlings is crucial to ensure their healthy growth and development into robust plants. Here are some essential tips to help you provide the right care for your lavender seedlings:
- Watering: Lavender seedlings prefer well-draining soil and are susceptible to root rot if they are kept in excessively moist conditions. Water the seedlings deeply but infrequently, allowing the soil to dry out slightly between waterings. Aim for a balance, providing enough moisture to keep the soil lightly damp without causing waterlogged conditions.
- Sunlight: Lavender plants thrive in full sunlight. Ensure that your seedlings receive at least six to eight hours of direct sunlight each day. If you are growing them indoors, place them near a south-facing window or use supplemental grow lights to provide sufficient light.
- Soil and Fertilizer: Lavender prefers a well-draining soil mixture, so make sure the soil is loose and loamy. Avoid heavy or clay soils, as they can lead to root rot. Fertilizing lavender seedlings is not typically necessary, as excessive nutrients can negatively impact their growth. However, if you choose to fertilize, use a low-nitrogen fertilizer sparingly, as too much nitrogen can encourage lush foliage at the expense of flower production.
- Pruning: Once your lavender seedlings have established themselves and reached a suitable size, you can start shaping them through light pruning. Pinch back the tips of the stems to promote bushier growth and prevent them from becoming leggy. Avoid heavy pruning, especially during the first year of growth, as this can hinder their overall development.
- Pest and Disease Control: Lavender is generally a hardy plant with few pest or disease problems. However, keep an eye out for common garden pests such as aphids, spider mites, or fungal diseases like powdery mildew. Treat any signs of pests or diseases promptly to prevent them from spreading and damaging your seedlings.
- Winter Protection: Lavender is a perennial plant, but its cold tolerance varies depending on the variety. If you live in a region with harsh winters, provide some winter protection for your lavender seedlings. Apply a layer of mulch around the base of the plants to insulate the roots and protect them from extreme temperature fluctuations.
By providing the right care and attention, your lavender seedlings will flourish into beautiful, fragrant plants. Be patient, as it may take a year or two for your lavender plants to reach their full potential and produce abundant blooms.
Now that you have learned the key aspects of caring for lavender seedlings, it’s time to get your hands dirty and start growing your own enchanting lavender garden. In the concluding section, we will wrap up our journey and summarize the essential points to remember.
Conclusion
Congratulations! You have now learned the process of harvesting lavender seeds, drying them, storing them properly, and planting them to grow into beautiful lavender plants. Growing lavender from seeds allows you to experience the joy of nurturing a plant from the very beginning and witnessing its transformation into a fragrant and stunning addition to your garden.
Throughout this article, we explored the intricacies of lavender seeds, understanding their structure, characteristics, and viability. We discovered the perfect timing to harvest lavender seeds, ensuring they are mature and ready for collection. Then, we learned the careful process of harvesting the seeds, allowing us to gather them with precision and minimize any loss.
Properly drying the harvested lavender seeds was the next crucial step, ensuring that they remain in optimal condition for storage. By following the instructions for drying lavender seeds, you can prevent mold or fungal growth and maintain their viability for future use.
Storing lavender seeds in suitable containers and providing the right conditions help preserve their freshness and extend their shelf life. With proper storage, you can ensure that your lavender seeds remain viable for a longer period, ready to be planted when the time comes.
When it’s time to plant your lavender seeds, careful preparation and thoughtful care will promote their germination and healthy growth. From sowing the seeds to transplanting the seedlings, providing adequate light, water, and nutrients will help your lavender plants thrive and flourish.
As your lavender seedlings grow into mature plants, continue to maintain their health through proper watering, pruning, and monitoring for pests and diseases. With attentive care, you will be rewarded with a stunning display of vibrant lavender blooms and the delightful fragrance that this herb is renowned for.
Remember, growing lavender from seeds is a journey that requires patience and dedication. Embrace the process, learn from your experiences, and enjoy the process of nurturing your lavender plants. Soon enough, you will have a garden filled with the beauty and tranquility that lavender brings.
So, arm yourself with the knowledge you have gained, put on your gardening gloves, and embark on your lavender-seed-growing adventure. Happy planting!
Frequently Asked Questions about How To Get Seeds From Lavender
Was this page helpful?
At Storables.com, we guarantee accurate and reliable information. Our content, validated by Expert Board Contributors, is crafted following stringent Editorial Policies. We're committed to providing you with well-researched, expert-backed insights for all your informational needs.

0 thoughts on “How To Get Seeds From Lavender”