Home>Garden Essentials>How To Plant Mint Seeds

Garden Essentials
How To Plant Mint Seeds
Modified: March 15, 2024
Learn how to plant mint seeds in your garden and enjoy fresh mint leaves all season long. Step-by-step guide for successful mint seed planting.
(Many of the links in this article redirect to a specific reviewed product. Your purchase of these products through affiliate links helps to generate commission for Storables.com, at no extra cost. Learn more)
Introduction
Growing your own herbs can be a rewarding and enjoyable experience, especially when it comes to mint. With its fresh aroma and versatile use in culinary dishes, mint is a popular addition to any garden. Whether you have a sprawling backyard or a small balcony, planting mint can be easily accomplished with a few simple steps.
In this article, we will guide you through the process of planting mint seeds and provide some useful tips for successful cultivation. From choosing the right seeds to harvesting and using your fresh mint, you’ll have all the information you need to start your own mint garden.
So, grab your gardening tools and get ready to embark on a journey of growing fragrant mint plants!
Key Takeaways:
- Choose the right mint seeds by considering flavor, reputable suppliers, and local climate. Look for organic or non-GMO seeds for a healthy and rewarding gardening experience.
- Prepare the soil, sow the seeds, and provide proper care to grow healthy mint plants. Harvest and use fresh mint in culinary and medicinal ways for a delightful homegrown experience.
Read more: How Deep To Plant Mint Seeds
Choosing the Right Mint Seeds
When it comes to choosing mint seeds, there are several factors to consider. Firstly, decide on the variety of mint you want to grow. There are many different types of mint available, including spearmint, peppermint, chocolate mint, and more. Each variety has its own unique flavor and aroma, so choose the one that appeals to you the most.
Next, look for reputable seed suppliers or nurseries that offer high-quality mint seeds. It’s important to ensure that the seeds are fresh and viable, as this will greatly affect their germination and success rate. Read reviews, ask fellow gardeners for recommendations, and choose a supplier with a good reputation.
Consider whether you want to grow mint from seeds or opt for established seedlings. While seeds offer the satisfaction of starting from scratch and experiencing the complete growth cycle, seedlings provide a head start and faster results. The choice depends on your preference and patience.
It’s also important to take into account your local climate and growing conditions. Mint is generally a hardy plant, but some varieties may prefer specific climates or soil types. Research the requirements of the specific mint variety you choose to ensure it will thrive in your area.
Lastly, check for any special certifications or labels indicating organic or non-GMO seeds, if that is a priority for you. These seeds are produced without the use of synthetic pesticides or genetically modified organisms, which can be beneficial for both your health and the environment.
By taking the time to choose the right mint seeds, you’ll set the foundation for a successful and rewarding gardening experience.
Preparing the Soil
The first step in planting mint seeds is to prepare the soil. Mint thrives in well-draining soil that is rich in organic matter. Here’s how you can ensure your soil is ready for planting:
- Choose a location: Mint plants prefer full sun to partial shade, so select a spot in your garden that receives at least 4-6 hours of direct sunlight per day.
- Clear the area: Remove any weeds, rocks, or debris from the chosen location. This will provide a clean and clutter-free space for your mint plants to grow.
- Loosen the soil: Use a garden fork or a tiller to loosen the soil to a depth of about 8-10 inches. This will help improve aeration and drainage, which are important for the overall health of the plants.
- Add organic matter: Mix in compost, well-rotted manure, or other organic matter into the soil. This will enrich the soil with nutrients, improve its texture, and promote healthy root growth.
- Test the pH level: Mint plants prefer a slightly acidic to neutral soil pH ranging from 6.0 to 7.0. You can use a soil testing kit to determine the pH level and make any necessary adjustments by adding lime to raise the pH or sulfur to lower it.
By taking these steps to prepare the soil, you’ll create an ideal environment for your mint seeds to germinate and thrive.
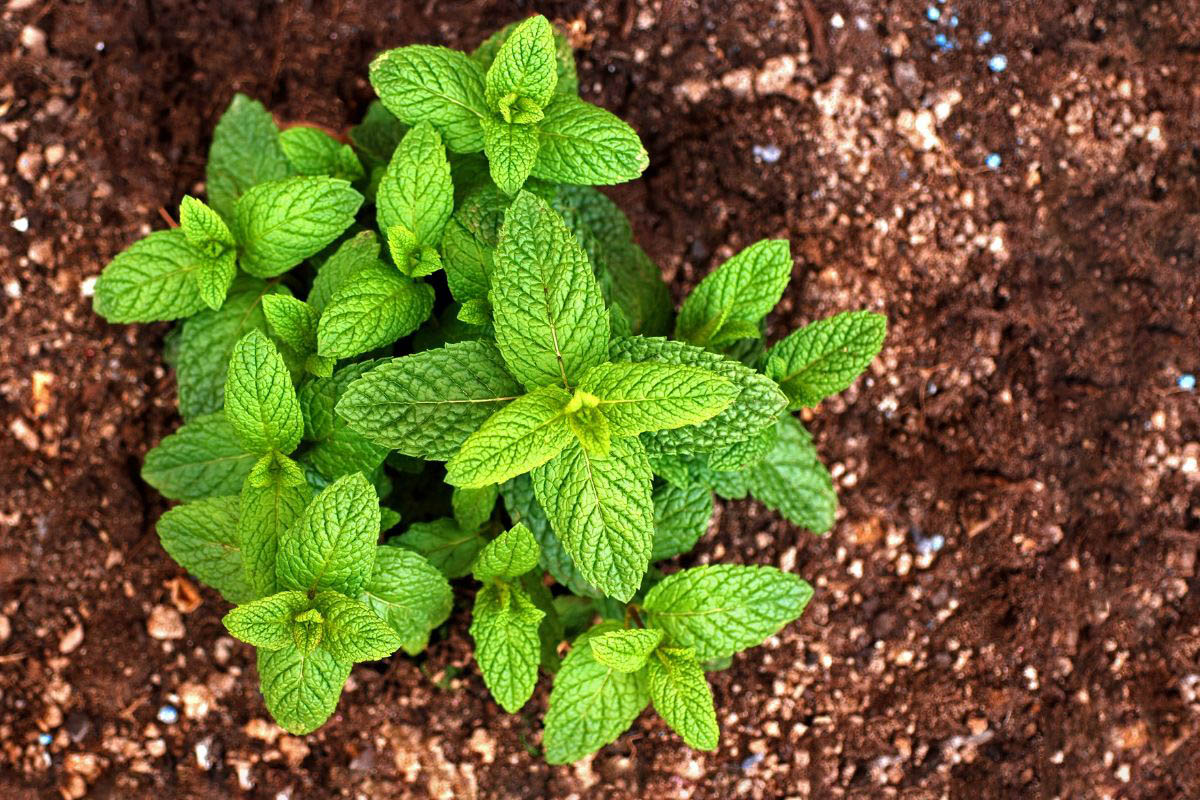
Sowing Mint Seeds
Now that you have chosen the right mint seeds and prepared the soil, it’s time to sow the seeds. Follow these steps to ensure successful germination:
- Timing: Mint seeds can be sown directly in the garden in spring when the soil temperature reaches around 60°F (15°C). This usually happens a few weeks after the last frost date in your area.
- Spacing: Dig small holes or furrows in the soil, about 1/4 inch deep. Space the holes or furrows approximately 12 to 18 inches apart to allow enough room for the mint plants to spread. Alternatively, if you prefer to grow mint in containers, choose a pot that is at least 8-10 inches deep and wide.
- Seed placement: Place 2-3 mint seeds in each hole or along the furrow, keeping them evenly spaced. Gently cover the seeds with soil, ensuring they are not buried too deeply. Lightly tamp down the soil to secure the seeds in place.
- Watering: After sowing the seeds, water the soil gently but thoroughly. Maintaining proper moisture is essential for germination. You may need to water the seeds regularly to keep the soil consistently damp until the seedlings emerge.
- Germination: Mint seeds usually germinate within 7-14 days. Once the seedlings appear, thin them out, keeping only the healthiest and strongest seedling in each planting hole or furrow.
Remember to label your mint plants to keep track of the mint variety that you planted. This will be helpful when it comes to harvesting and using the mint later on.
Now that you have sown the mint seeds, it’s time to provide them with proper care to ensure healthy growth.
Plant mint seeds in well-draining soil in a sunny spot. Sow the seeds 1/4 inch deep and keep the soil consistently moist. Mint seeds typically germinate in 10-15 days.
Providing Proper Watering
Watering is a crucial aspect of caring for mint plants, as they require consistent moisture for optimal growth. Here are some tips for providing proper watering:
- Watering frequency: Mint plants prefer consistently moist soil, so it’s important to water them regularly. Depending on the weather conditions and soil drainage, you may need to water them every 2-3 days, or even daily during hot and dry spells.
- Deep watering: When you water mint, make sure to water deeply, allowing the water to penetrate the soil and reach the plant’s root system. Shallow watering can result in shallow root growth and weaker plants. Water until the soil is evenly moist, but not waterlogged.
- Water in the morning: It’s best to water mint plants in the morning, allowing the foliage to dry out throughout the day. This helps prevent the development of fungal diseases that can thrive in damp conditions.
- Water at the base: When watering mint, aim to water at the base of the plants rather than sprinkling water over the leaves. This helps minimize the risk of leaf diseases and ensures that the water reaches the roots where it is needed.
- Monitor soil moisture: Check the soil moisture regularly by sticking your finger about an inch into the soil. If it feels dry, it’s time to water. However, if the soil feels consistently wet or waterlogged, reduce the watering frequency to avoid over-saturation.
Keep in mind that mint plants have shallow root systems, and excessive or inadequate watering can harm their growth. Strive for a balance by providing consistent moisture without waterlogging the soil.
Now that you know how to water your mint plants properly, let’s move on to maintaining their overall health.
Read more: How To Start Mint Seeds
Maintaining the Mint Plants
Mint plants are relatively low-maintenance, but they still require some care to ensure their healthy growth. Here are some essential tips for maintaining your mint plants:
- Fertilization: Mint plants benefit from regular feeding to promote lush foliage and robust growth. Apply a balanced organic fertilizer, following the package instructions, once every 4-6 weeks during the growing season. Avoid over-fertilizing, as it can lead to excessive leaf growth and a less intense flavor.
- Weed control: Keep the area around your mint plants free from weeds, as they can compete for nutrients and water. Regularly remove any weeds by hand or use a shallow cultivation tool to prevent them from taking hold.
- Pruning: As mint plants grow, they tend to spread rapidly and can become invasive. To control their growth and maintain a more compact shape, it’s recommended to prune the plants regularly. Pinch off the stems just above a leaf node to encourage bushier growth. You can also trim back any leggy or overgrown stems to maintain a tidy appearance.
- Pest management: Mint plants are generally resistant to most pests; however, they can occasionally be susceptible to common garden pests like aphids or spider mites. Monitor your plants regularly and take prompt action if you notice any pest infestation. You can use organic insecticidal soap or neem oil to control the pests and prevent further damage.
- Dividing the plants: Over time, mint plants can become crowded and may need to be divided to maintain their vigor. Every 2-3 years, carefully dig up the plants and separate them into smaller clumps. Replant the divided clumps in fresh soil, ensuring they have enough space to grow and spread.
By following these maintenance practices, you can keep your mint plants healthy and thriving throughout the growing season.
Now that you’ve successfully cared for your mint plants, it’s time to reap the rewards of your efforts by harvesting and using the fresh mint in various ways.
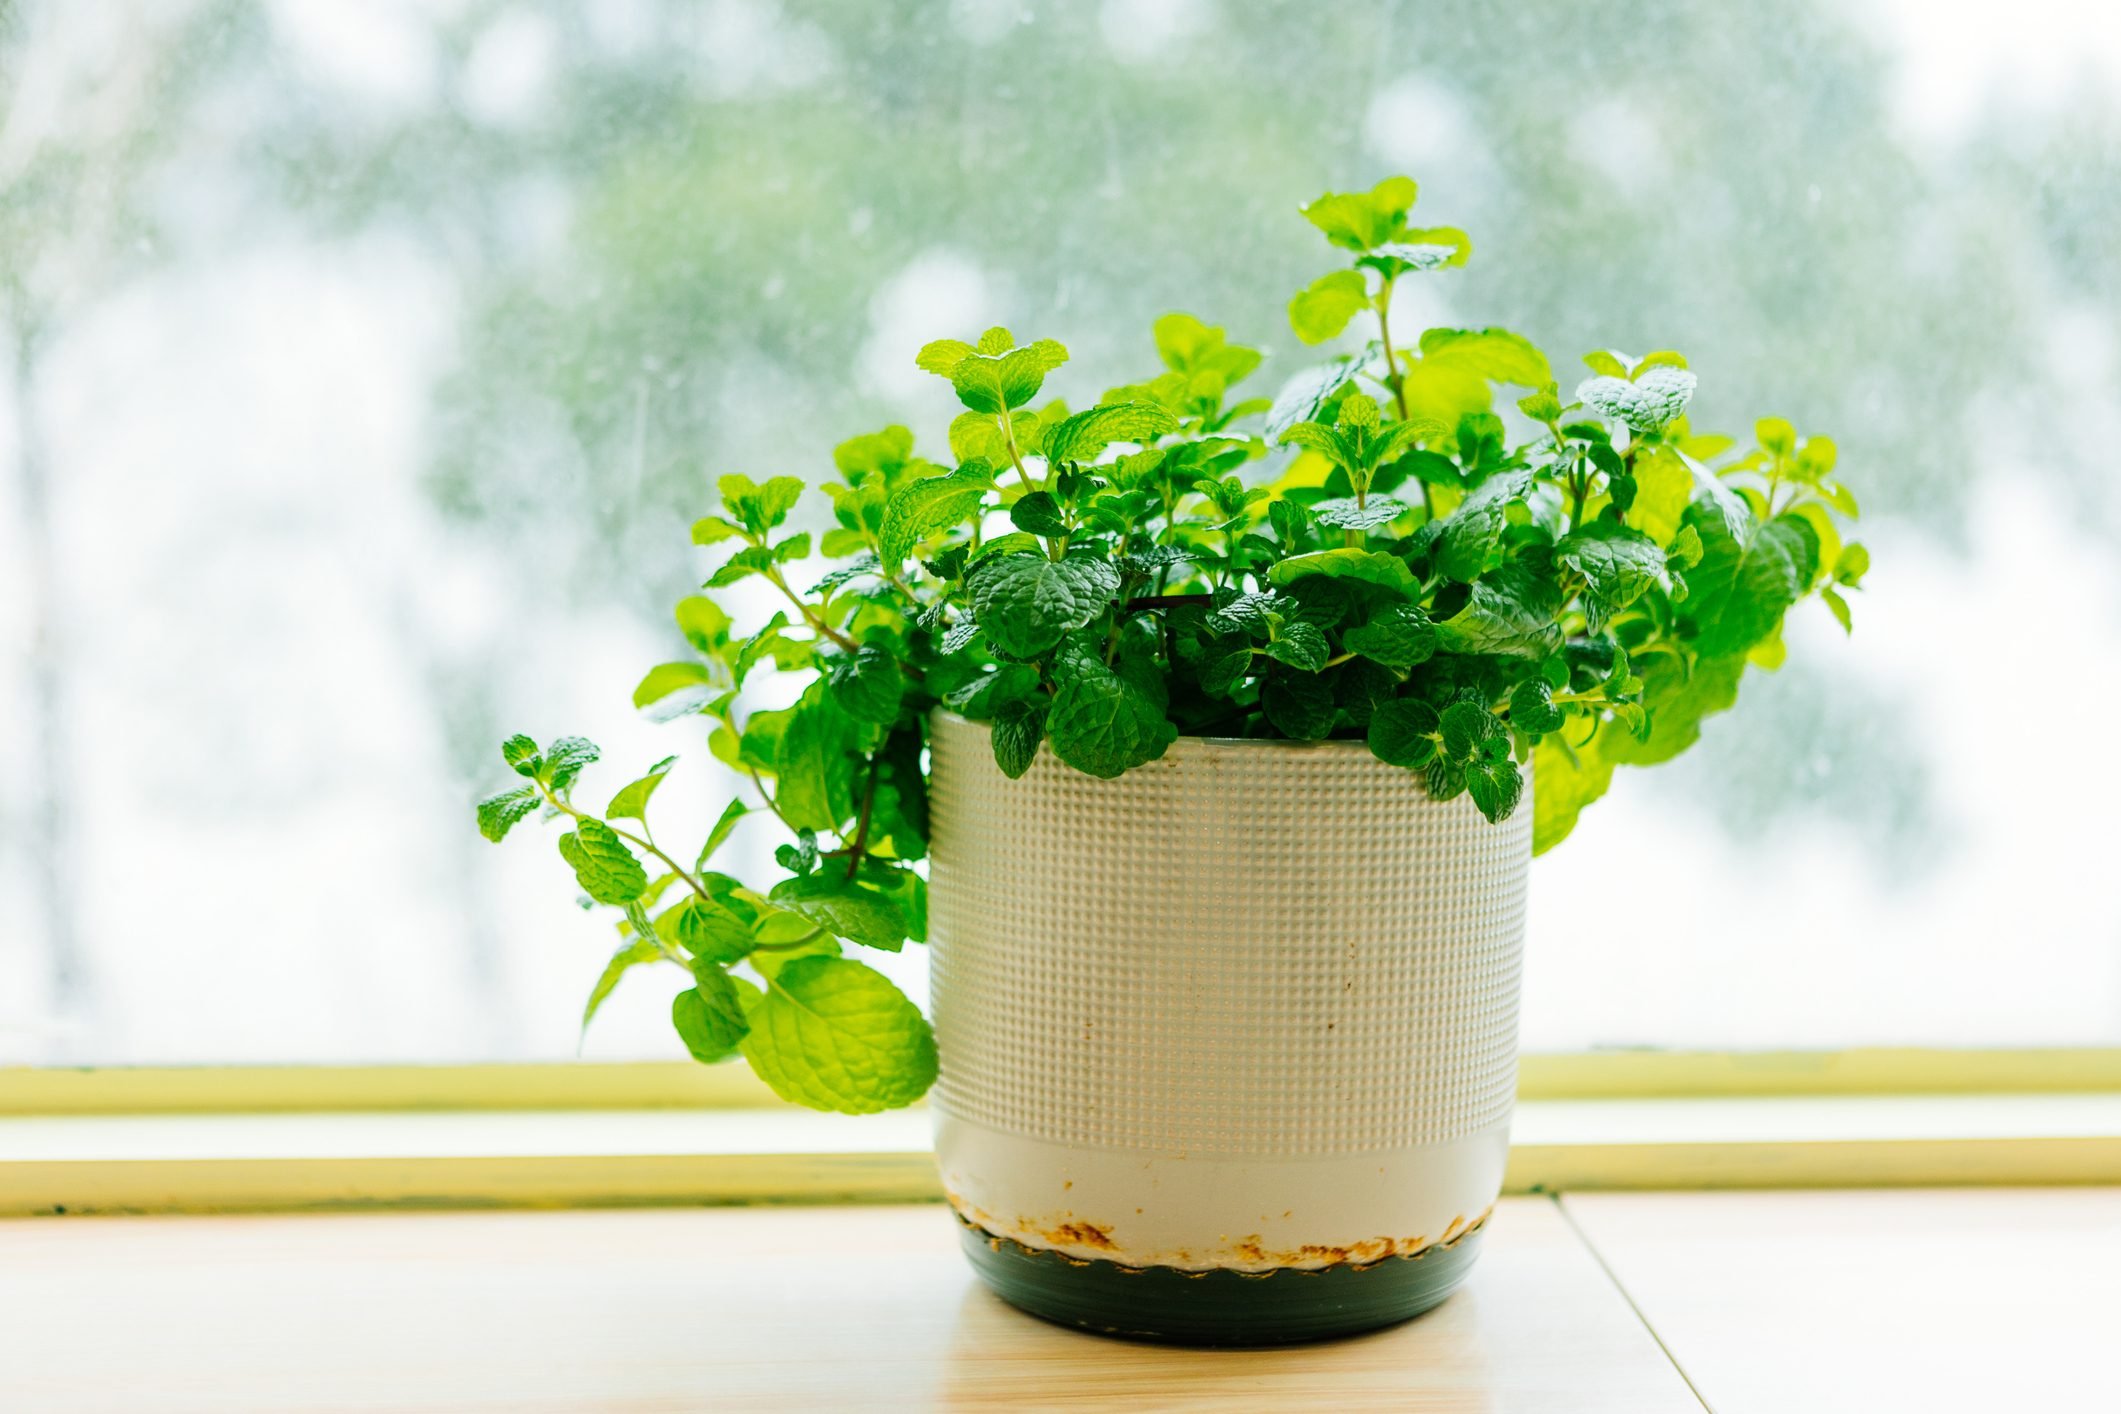
Harvesting and Using Fresh Mint
One of the greatest joys of growing mint is being able to harvest and use the fresh leaves in a variety of ways. Here are some tips for harvesting and using fresh mint:
- Timing: Mint leaves can be harvested once the plants have reached a sufficient height and have developed several sets of leaves. Avoid harvesting more than one-third of the plant at a time, as this can weaken the plant. Regular harvesting actually encourages mint to produce more leaves.
- Harvesting method: To harvest mint leaves, simply pinch or snip off the desired amount of leaves from the stems. You can use your fingers or a pair of clean pruning shears. Opt for younger leaves, as they tend to have a more vibrant flavor.
- Preservation methods: If you have more mint leaves than you can use at once, there are several ways to preserve them for future use. You can dry the leaves by hanging bunches upside down in a cool, well-ventilated area. Alternatively, you can freeze the leaves by placing them in airtight containers or freezing them in ice cube trays with water or oil.
- Culinary uses: Fresh mint is incredibly versatile in the kitchen. It can be used to infuse flavor into salads, teas, cocktails, desserts, and savory dishes. Add mint leaves to fruit salads, blend them into smoothies, muddle them in mojitos, or use them to garnish soups and curries.
- Medicinal uses: Mint has been used for centuries for its medicinal properties. It is known for its soothing and calming effects on the digestive system. Brew fresh mint leaves into a tea to relieve an upset stomach or brew it with other herbs for a refreshing and aromatic herbal infusion.
- DIY beauty products: Mint leaves can also be used in homemade beauty treatments. Make a mint-infused facial toner by steeping fresh leaves in witch hazel or make a cooling mint foot scrub by mixing crushed leaves with sea salt and olive oil. The possibilities are endless!
Enjoy the fresh flavors and aromas of your homegrown mint by incorporating it into your culinary creations and self-care routines.
With these tips and techniques, you’re well on your way to becoming a successful mint gardener. Remember to experiment, have fun, and savor the joys and benefits of growing your own fresh mint!
Frequently Asked Questions about How To Plant Mint Seeds
Was this page helpful?
At Storables.com, we guarantee accurate and reliable information. Our content, validated by Expert Board Contributors, is crafted following stringent Editorial Policies. We're committed to providing you with well-researched, expert-backed insights for all your informational needs.


0 thoughts on “How To Plant Mint Seeds”