Home>Garden Essentials>When Germinating Seeds In Paper Towel
Garden Essentials
When Germinating Seeds In Paper Towel
Modified: March 15, 2024
Learn how to germinate seeds in a paper towel for your garden. Get step-by-step instructions and tips for successful seed germination.
(Many of the links in this article redirect to a specific reviewed product. Your purchase of these products through affiliate links helps to generate commission for Storables.com, at no extra cost. Learn more)
Introduction
Gardening enthusiasts and plant lovers rejoice! If you’ve ever wondered how to germinate seeds using a simple and effective method, look no further. In this article, we will guide you through the process of germinating seeds using the paper towel method. This tried and true technique is not only easy to follow but also ensures a high germination rate for your precious seeds.
Germinating seeds in a paper towel offers several advantages. Firstly, it provides a controlled environment for the seeds, promoting optimal germination conditions. Secondly, it allows you to easily monitor the progress of each seed, ensuring you don’t miss the crucial moment of transferring them to soil. Finally, it is a great way to kickstart your gardening journey and witness the magic of life unfolding right before your eyes.
So, let’s gather our materials and get started on this exciting and rewarding endeavor!
Key Takeaways:
- Witness the magic of life by germinating seeds in a paper towel. It’s a simple, rewarding process that allows you to nurture and grow vibrant plants from tiny seeds.
- Choose high-quality seeds, provide optimal conditions, and transfer germinated seeds to soil for successful gardening. Embrace the journey and enjoy the beauty of nature unfolding before your eyes.
Read more: How To Germinate With Paper Towel
Materials Needed
Before we dive into the step-by-step process, let’s gather the materials needed to germinate seeds using the paper towel method. Luckily, you won’t need any fancy equipment or hard-to-find items. Here’s a list of what you’ll need:
- Seeds of your choice
- High-quality paper towel
- Water spray bottle
- Plastic zipper bag or container with a lid
- A warm and dark place
When choosing the seeds, consider what type of plants you want to grow and the specific growing conditions they require. Whether you’re starting with flowers, vegetables, or herbs, make sure to select high-quality seeds from a reputable source to ensure a successful germination process.
As for the paper towel, it’s important to choose a brand that doesn’t contain any dyes or harmful chemicals. Opt for a thick, absorbent paper towel that can retain moisture without disintegrating.
A water spray bottle will come in handy to moisten the paper towel without over-saturating it. This allows for proper moisture control, which is vital for seed germination.
A plastic zipper bag or a container with a lid will create a mini greenhouse effect, providing the seeds with consistent moisture and warmth. Look for a transparent or translucent one so you can easily observe the progress of your seeds.
Lastly, find a warm and dark place in your home where you can place the paper towel and seeds while they germinate. This could be a cupboard, drawer, or any area where the temperature remains relatively stable.
Now that we have all our materials ready, let’s move on to the exciting part: germinating our seeds using the paper towel method!
Step 1: Choosing the Seeds
The first step in germinating seeds using the paper towel method is selecting the seeds you want to grow. This is an exciting opportunity to choose from a wide variety of plants, whether it’s vibrant flowers, nutritious vegetables, or aromatic herbs.
When choosing seeds, consider your climate, the available space for gardening, and your personal preferences. Determine whether you want to grow annuals or perennials, and select seeds that are suitable for your region’s growing conditions.
It’s also essential to consider the specific requirements of the plants you wish to grow. Some plants prefer full sun, while others thrive in partial shade. Take note of the recommended soil type, watering needs, and any other unique conditions that will contribute to their successful growth.
If you’re a beginner gardener, it’s wise to start with seeds that are known to be easy to grow and maintain. This will increase your chances of success and provide you with a confidence boost in your gardening journey.
Furthermore, ensure that you obtain high-quality seeds from a reputable source. This ensures that the seeds are healthy, viable, and free from diseases. Look for seeds packaged for the current year to ensure freshness and optimal germination rates.
Whether you choose to purchase seeds online, from a local nursery, or even save and harvest seeds from existing plants, make sure to research and understand the specific germination requirements for your chosen seeds. This knowledge will guide you in providing the ideal conditions for successful seed germination.
Once you’ve selected your desired seeds, it’s time to gather the rest of the materials and move on to the next step of the germination process: preparing the paper towel.
Step 2: Preparing the Paper Towel
With your chosen seeds in hand, it’s time to prepare the paper towel for the germination process. The paper towel will serve as a medium to provide the seeds with moisture, while also allowing you to easily monitor their progress.
Start by taking a sheet of high-quality, unbleached paper towel and folding it in half, creating a smaller square. This smaller size will make it easier to handle and fit into your chosen container.
If the paper towel is too thick, you can gently separate the layers to create a thinner sheet. However, be cautious not to tear or damage the paper towel in the process.
Next, dampen the paper towel by lightly misting it with water from the spray bottle. Be careful not to oversaturate the paper towel as excessive moisture can lead to mold or rot. The goal is to create a slightly moist environment that will encourage seed germination.
Ensure that the entire surface of the paper towel is evenly damp, but not dripping wet. You can test the moisture level by gently pressing your finger on the paper towel to see if it feels slightly damp.
Once the paper towel is sufficiently moistened, unfold it and lay it flat inside your plastic zipper bag or container. Ensure that it covers the entire bottom surface of the container, providing ample space for the seeds to be placed.
Now that the paper towel is prepared, it’s time for the exciting part: placing the seeds onto the paper towel and initiating the germination process.
Before we move on to the next step, double-check that you have all your materials ready and that the paper towel is properly set up. With everything in place, we’re ready to proceed with step 3: placing the seeds on the paper towel.
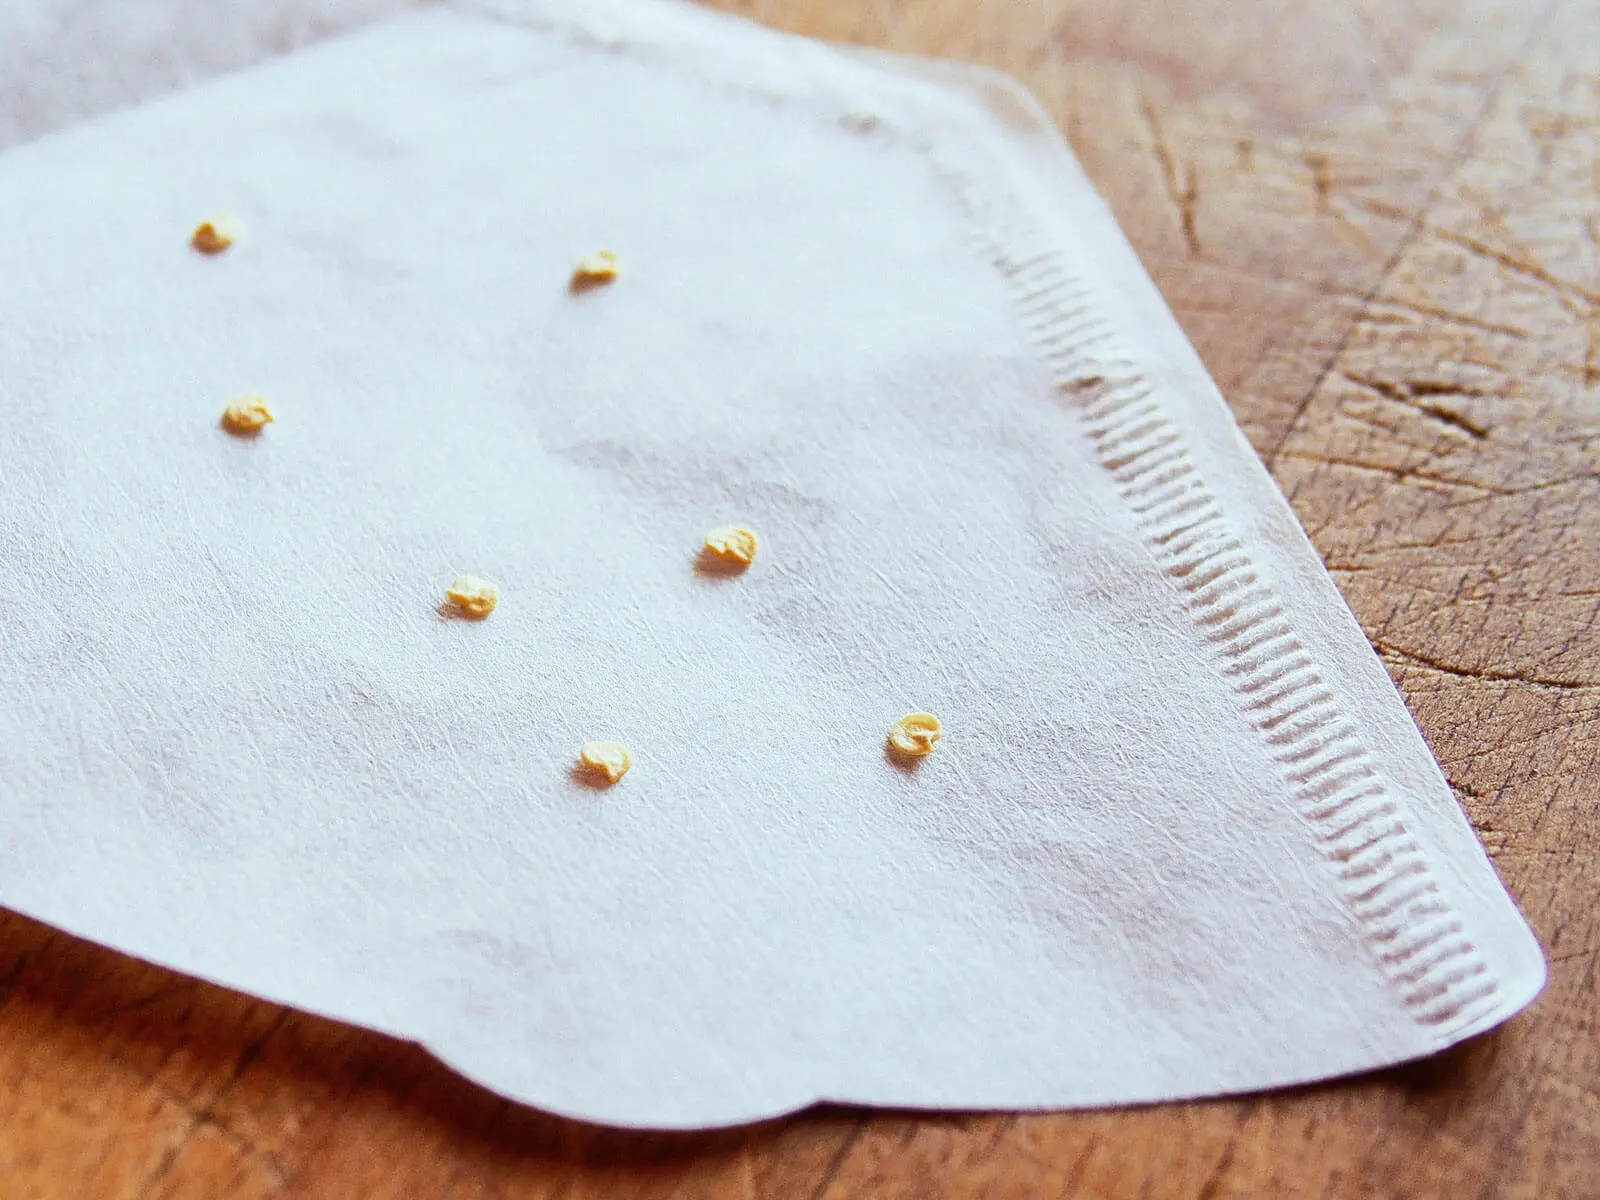
Step 3: Placing the Seeds on the Paper Towel
Now that the paper towel is properly prepared, it’s time to carefully place the seeds onto the damp surface. This step ensures that the seeds have direct contact with the moist environment, allowing them to absorb water and initiate the germination process.
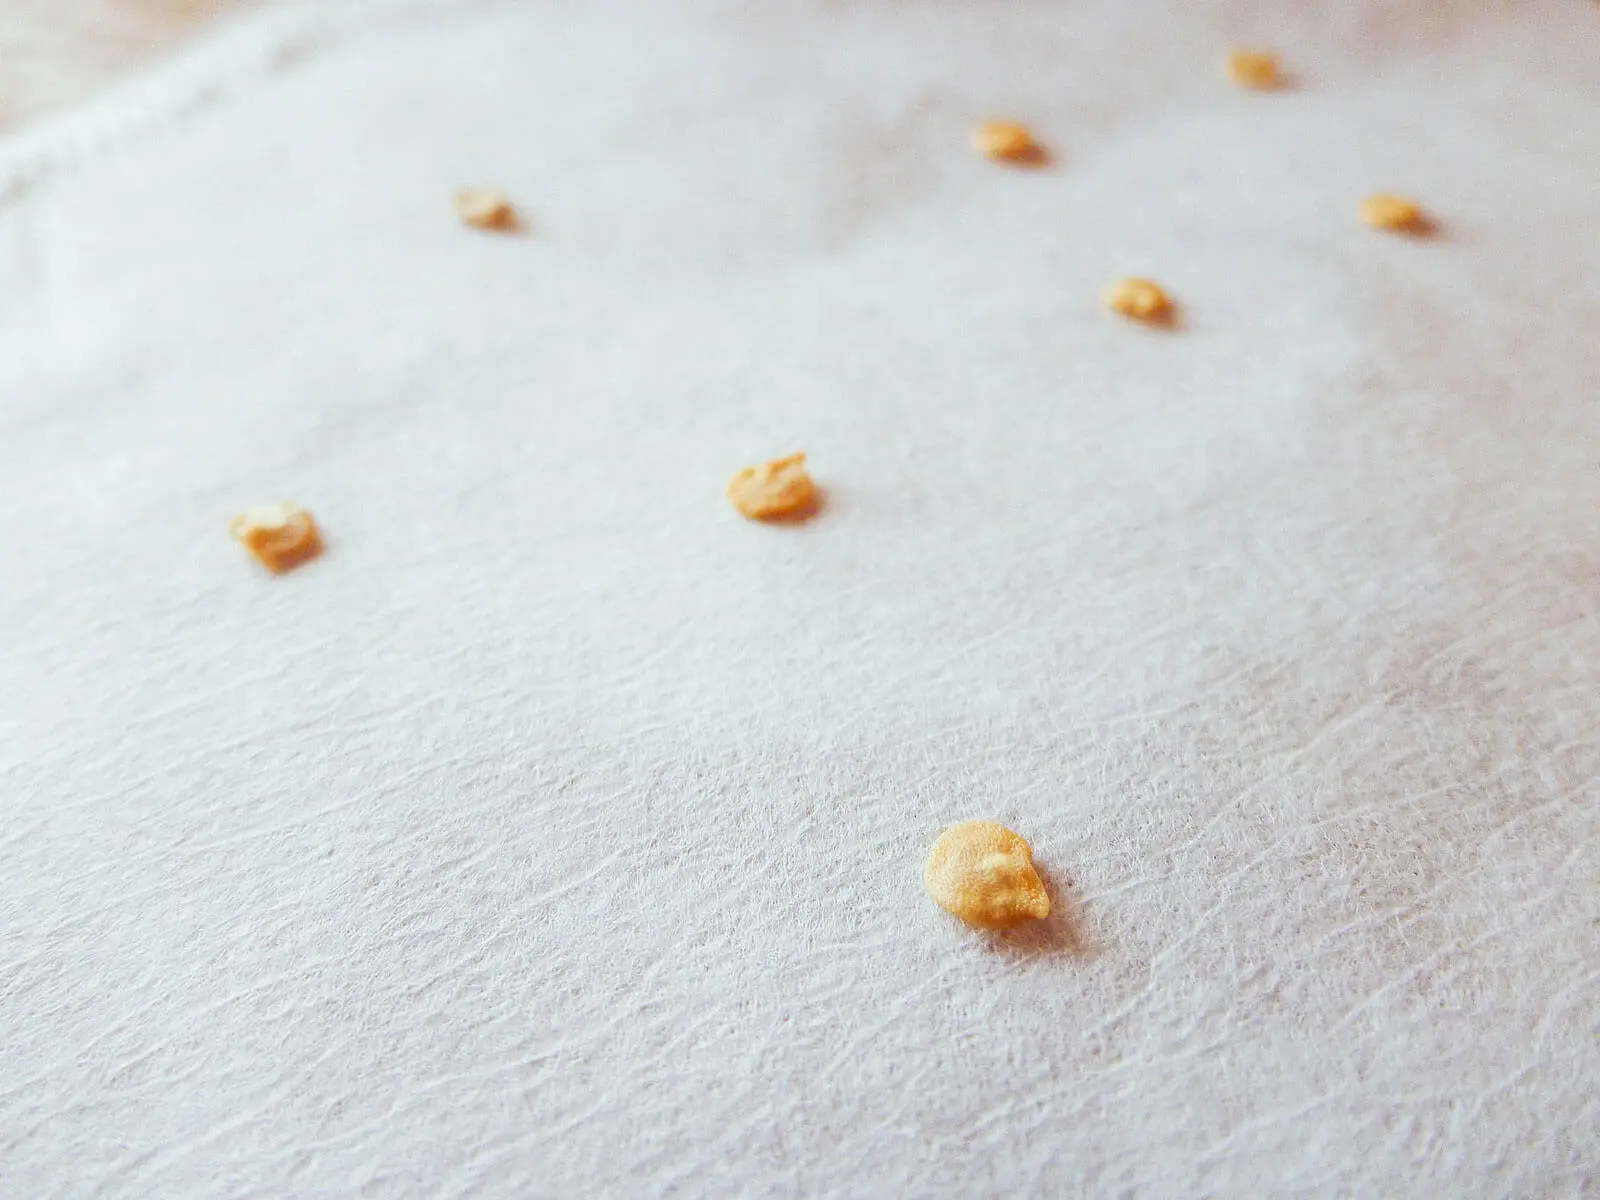
Start by taking your selected seeds and placing them evenly spaced on the center of the paper towel. Depending on the size of the seeds, you may choose to place multiple seeds in a single row or space them out individually.
If you’re working with larger seeds, such as beans or sunflower seeds, it’s best to place them with a generous amount of space in between. This ensures that each seed has adequate room to expand and grow without overcrowding.
For smaller seeds, such as lettuce or marigold seeds, you can place them closer together while still maintaining a slight gap between each seed. This allows for sufficient air circulation and prevents the seeds from becoming overcrowded during the germination process.
Gently press the seeds onto the surface of the paper towel, ensuring they are in direct contact with the moistened area. This contact will facilitate the absorption of water and trigger the germination process as the seeds awaken from their dormant state.
Once all the seeds are placed, inspect the paper towel to ensure that each seed is visible and not covered by excess folds or creases. This allows you to monitor their progress and observe any signs of growth.
Remember to handle the seeds with care, especially if they are particularly delicate or small. This will prevent any damage or accidental displacement during the process.
Now that the seeds are securely placed on the paper towel, it’s time to move on to the next step: moistening the paper towel to provide the ideal conditions for germination.
Keep the paper towel moist but not soaking wet, and place it in a warm, dark place. Check the seeds daily for signs of germination and transfer them to soil once they have sprouted.
Read more: How To Germinate A Seed In Paper Towel
Step 4: Moistening the Paper Towel
After placing the seeds on the paper towel, it’s important to ensure that the environment remains sufficiently moist for successful germination. In this step, we will discuss the proper technique to moisten the paper towel without over saturating it.
Using a water spray bottle, gently mist the surface of the paper towel. Begin by spraying a light layer of water evenly across the entire surface. It’s important not to drench the paper towel, as excessive moisture can lead to mold or rot.
The goal is to create a slightly damp environment that will promote seed germination. You can test the moisture level by touching the paper towel with clean hands. It should feel slightly damp, but not dripping wet.
If you notice any areas that are excessively dry, target those regions with a few extra spritzes of water. Conversely, if you notice any areas that are overly wet, use a clean cloth or paper towel to gently absorb the excess moisture.
Remember to be gentle when handling the paper towel to avoid damaging the seeds or disturbing their placement. The delicate balance of moisture will provide the seeds with the necessary hydration for germination.
Once you’ve ensured that the paper towel is properly moistened, seal the plastic zipper bag or container with a lid. This will create a mini greenhouse effect, trapping moisture and heat inside. The enclosed environment helps maintain a consistent moisture level and creates an ideal condition for seed germination.
Now that the paper towel is moistened and enclosed, it’s time to provide the optimal conditions for germination. In the next step, we will discuss how to achieve and maintain these conditions to support the growth of the germinating seeds.
Step 5: Providing Optimal Conditions for Germination
Once the seeds are securely placed on the moistened paper towel, it’s crucial to provide them with the optimal conditions for germination. By creating the right environment, you can maximize the chances of successful seed sprouting and growth.
The first key factor to consider is temperature. Most seeds germinate best in warm temperatures, typically between 65°F (18°C) and 80°F (27°C). It’s important to place the container with the paper towel in a warm location where the temperature remains consistent.
Avoid exposing the seeds to extreme temperature fluctuations or direct sunlight, as this can negatively impact their germination. Instead, find a warm spot in your home, such as on top of a refrigerator or near a heating vent.
The next important factor is darkness. While some seeds require light for germination, many seeds, especially those planted in soil, prefer a dark environment. After placing the seeds on the paper towel and sealing the container, ensure that it is kept in a dark area.
During the germination process, it’s crucial to maintain a consistent level of moisture. Monitor the paper towel regularly to ensure it remains slightly damp. If you notice it drying out, use the spray bottle to mist the paper towel with a light layer of water.
However, be cautious not to overwater the paper towel, as excessive moisture can lead to fungal growth or rotting of the seeds. Strike a balance by providing enough moisture to keep the paper towel slightly damp, but not soaking wet.
The enclosed environment created by the plastic zipper bag or container helps retain moisture and create a humid atmosphere. This is beneficial for the seeds, as it mimics the natural conditions of a greenhouse and encourages quick germination.
As the seeds germinate, it’s important to resist the temptation to open the container frequently to check on their progress. Opening the container may disrupt the humidity and temperature levels, which can hinder the germination process.
Now that you have created the optimal conditions for seed germination, it’s time to monitor the progress of the seeds. In the next step, we will discuss how to effectively monitor the seeds and know when it’s time to transfer them to soil.
Step 6: Monitoring Progress
Once you have set up the optimal conditions for seed germination, it’s time to closely monitor the progress of your seeds. Regular monitoring allows you to track their growth and identify any potential issues that may arise.
It’s essential to resist the urge to constantly open the container and check on the seeds, as this can disrupt the environment and potentially hinder germination. Instead, aim to observe the seeds once or twice a day.
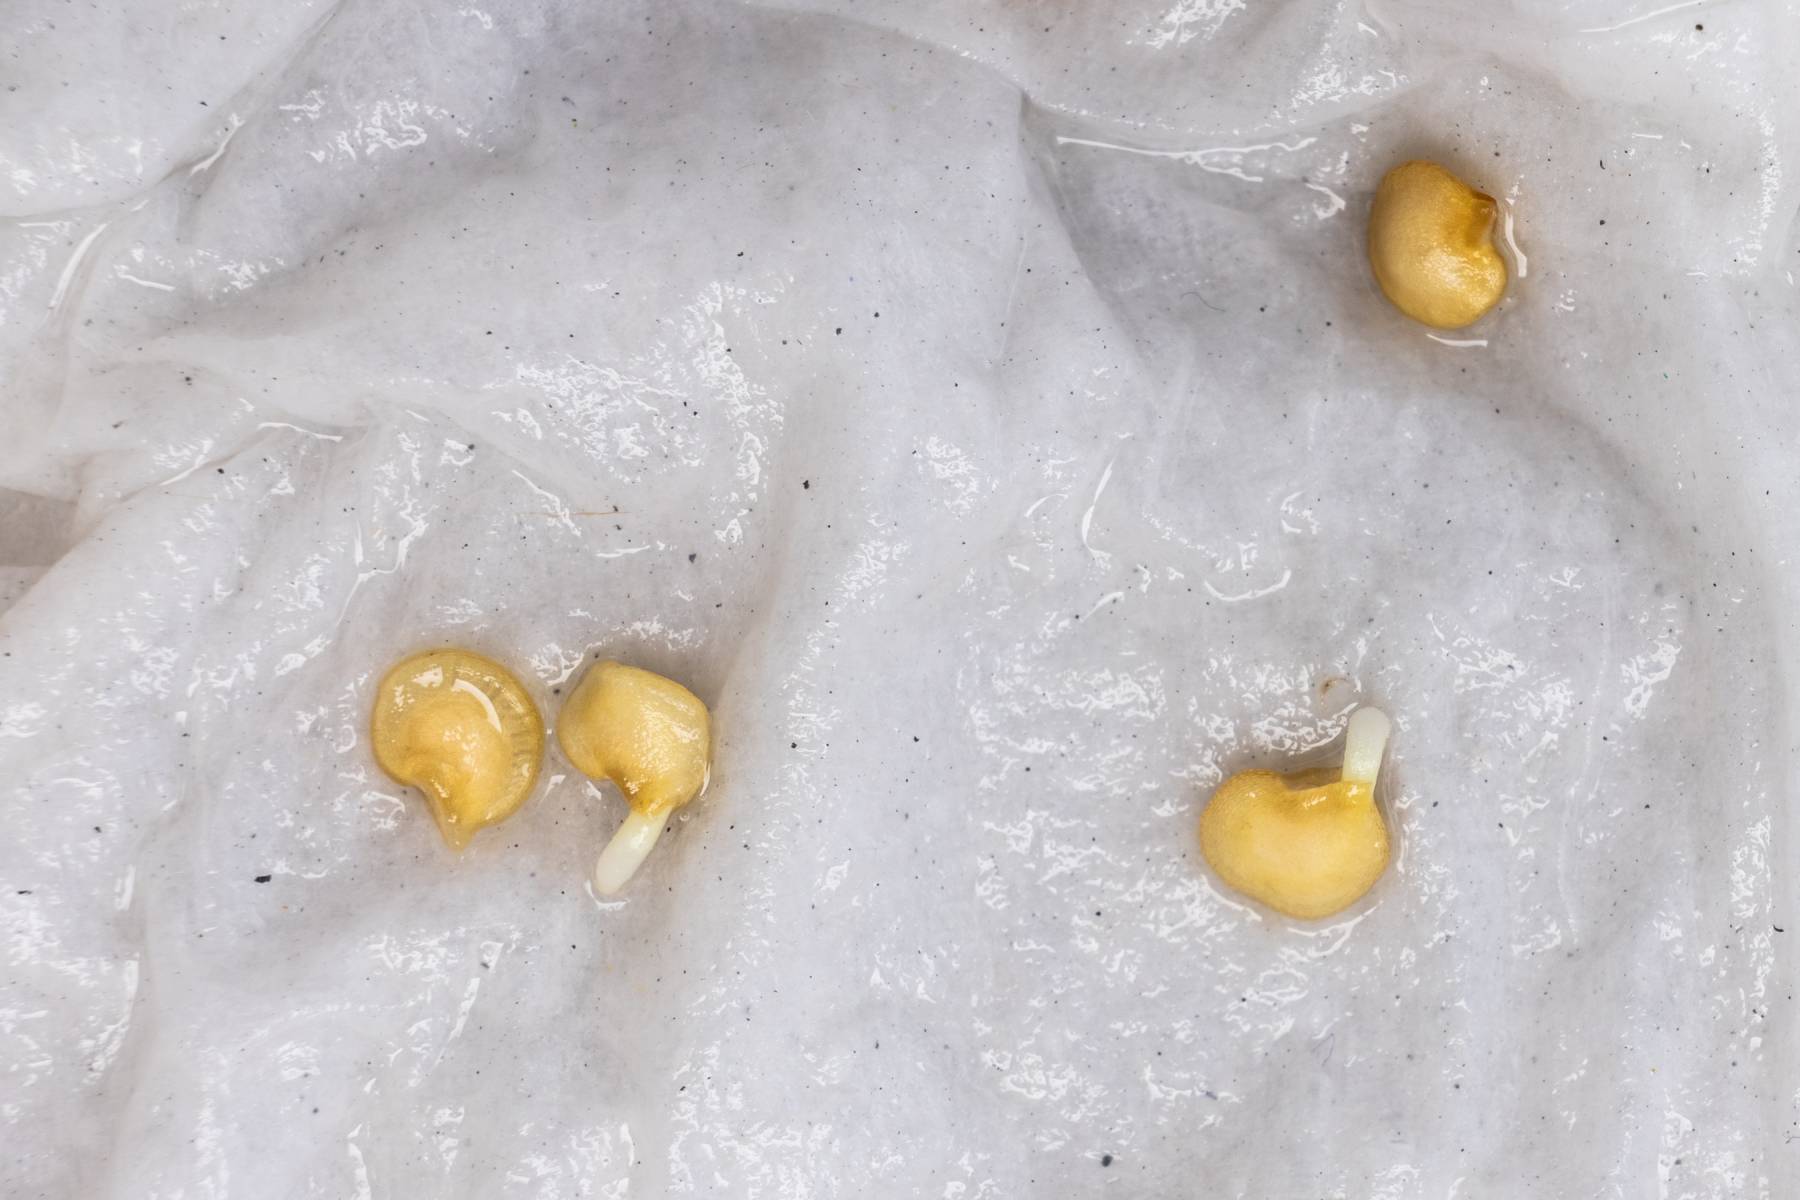
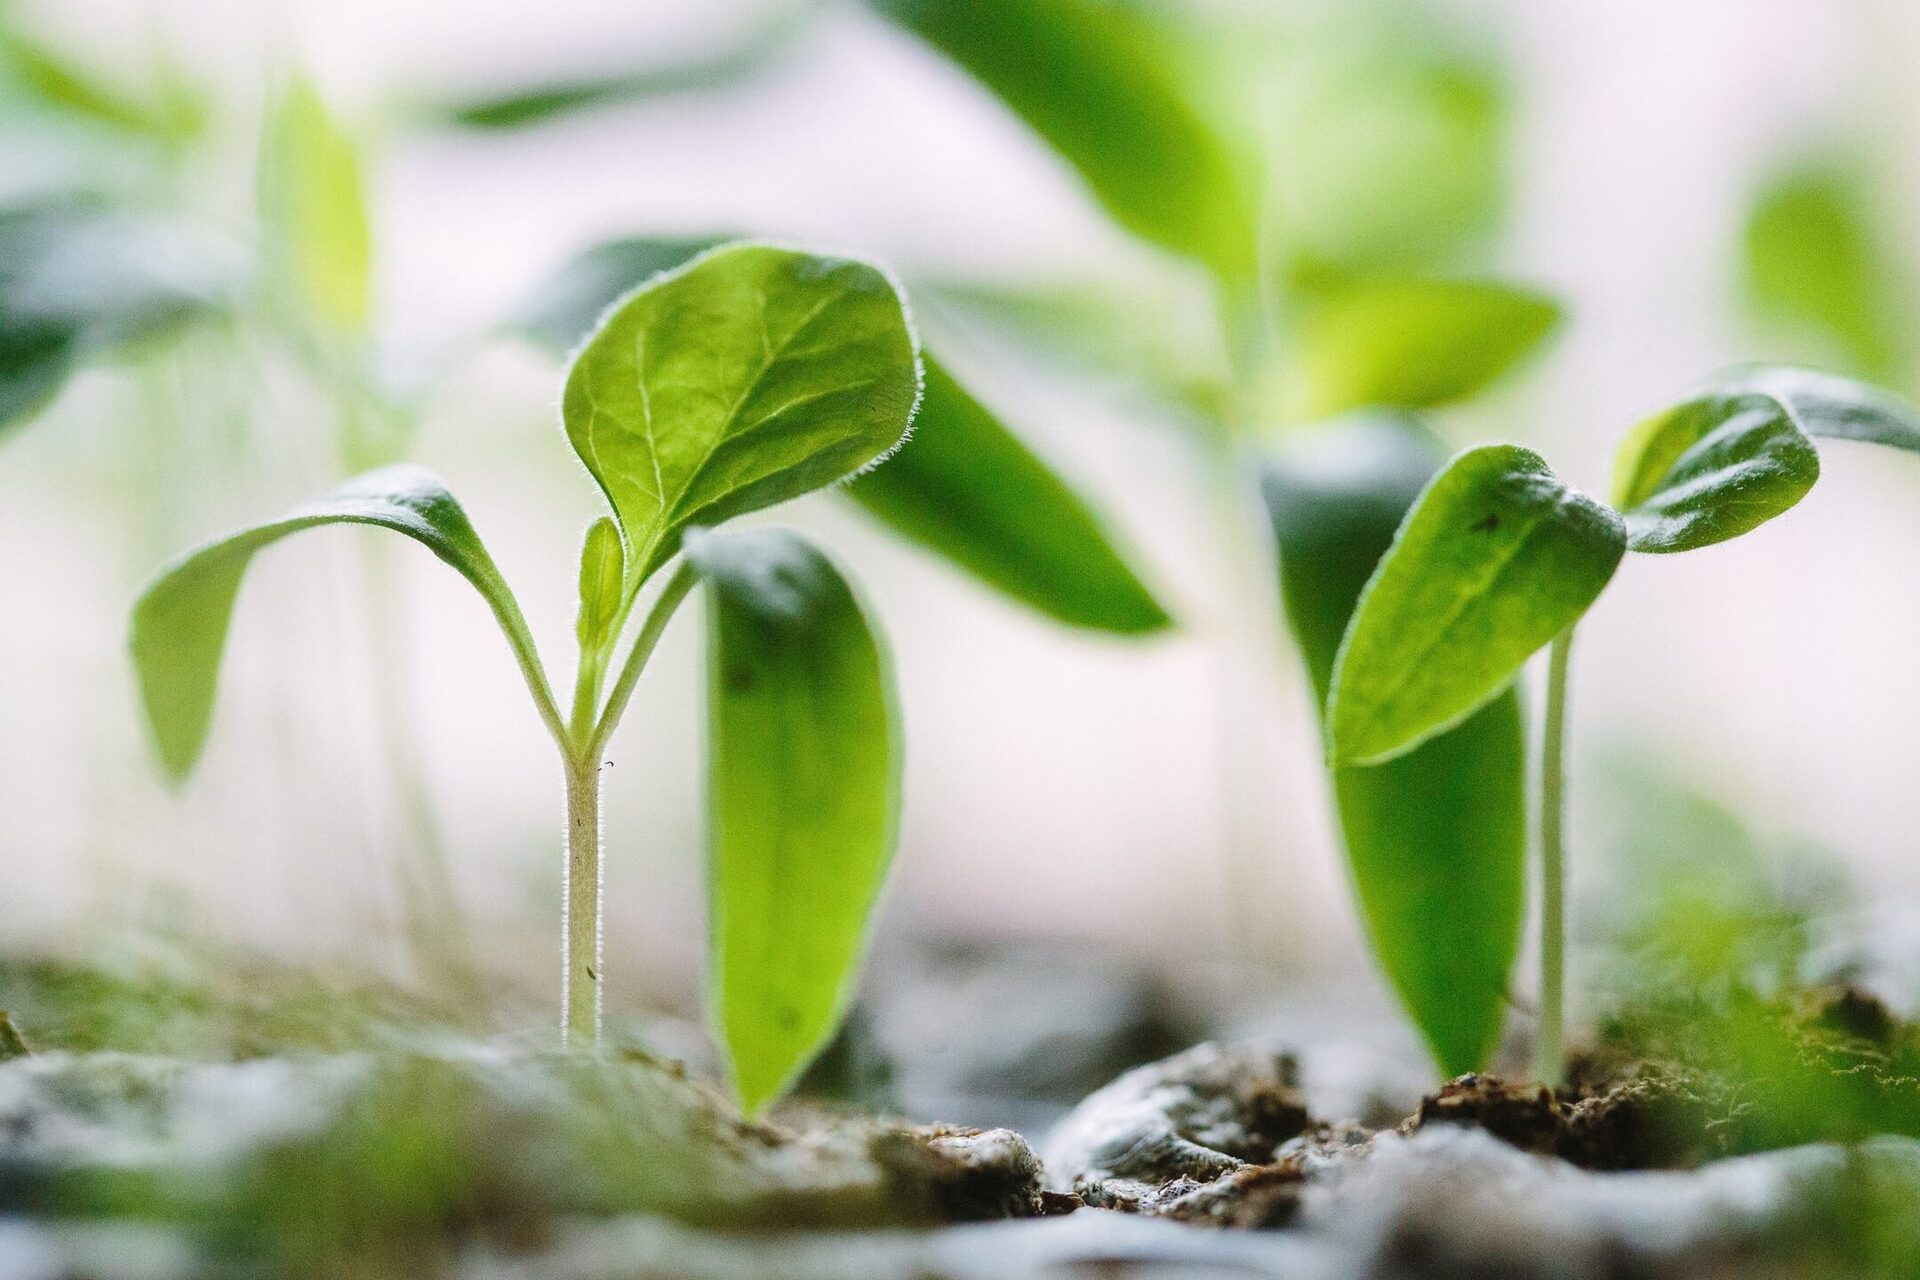
During your observations, look for signs of germination such as the seeds cracking open, tiny sprouts emerging, or the appearance of root growth. It’s an exciting moment to witness the seeds coming to life!
If you notice any seeds that have not germinated after a week or so, you can gently inspect them to see if they are viable. Carefully remove the ungerminated seeds and examine them for any signs of rot or damage. Discard any unsuccessful seeds and focus on the ones showing signs of life.
It’s important to keep the paper towel moist throughout the monitoring process. If you find that the paper towel is drying out, lightly mist it with water using the spray bottle to maintain the desired level of moisture.
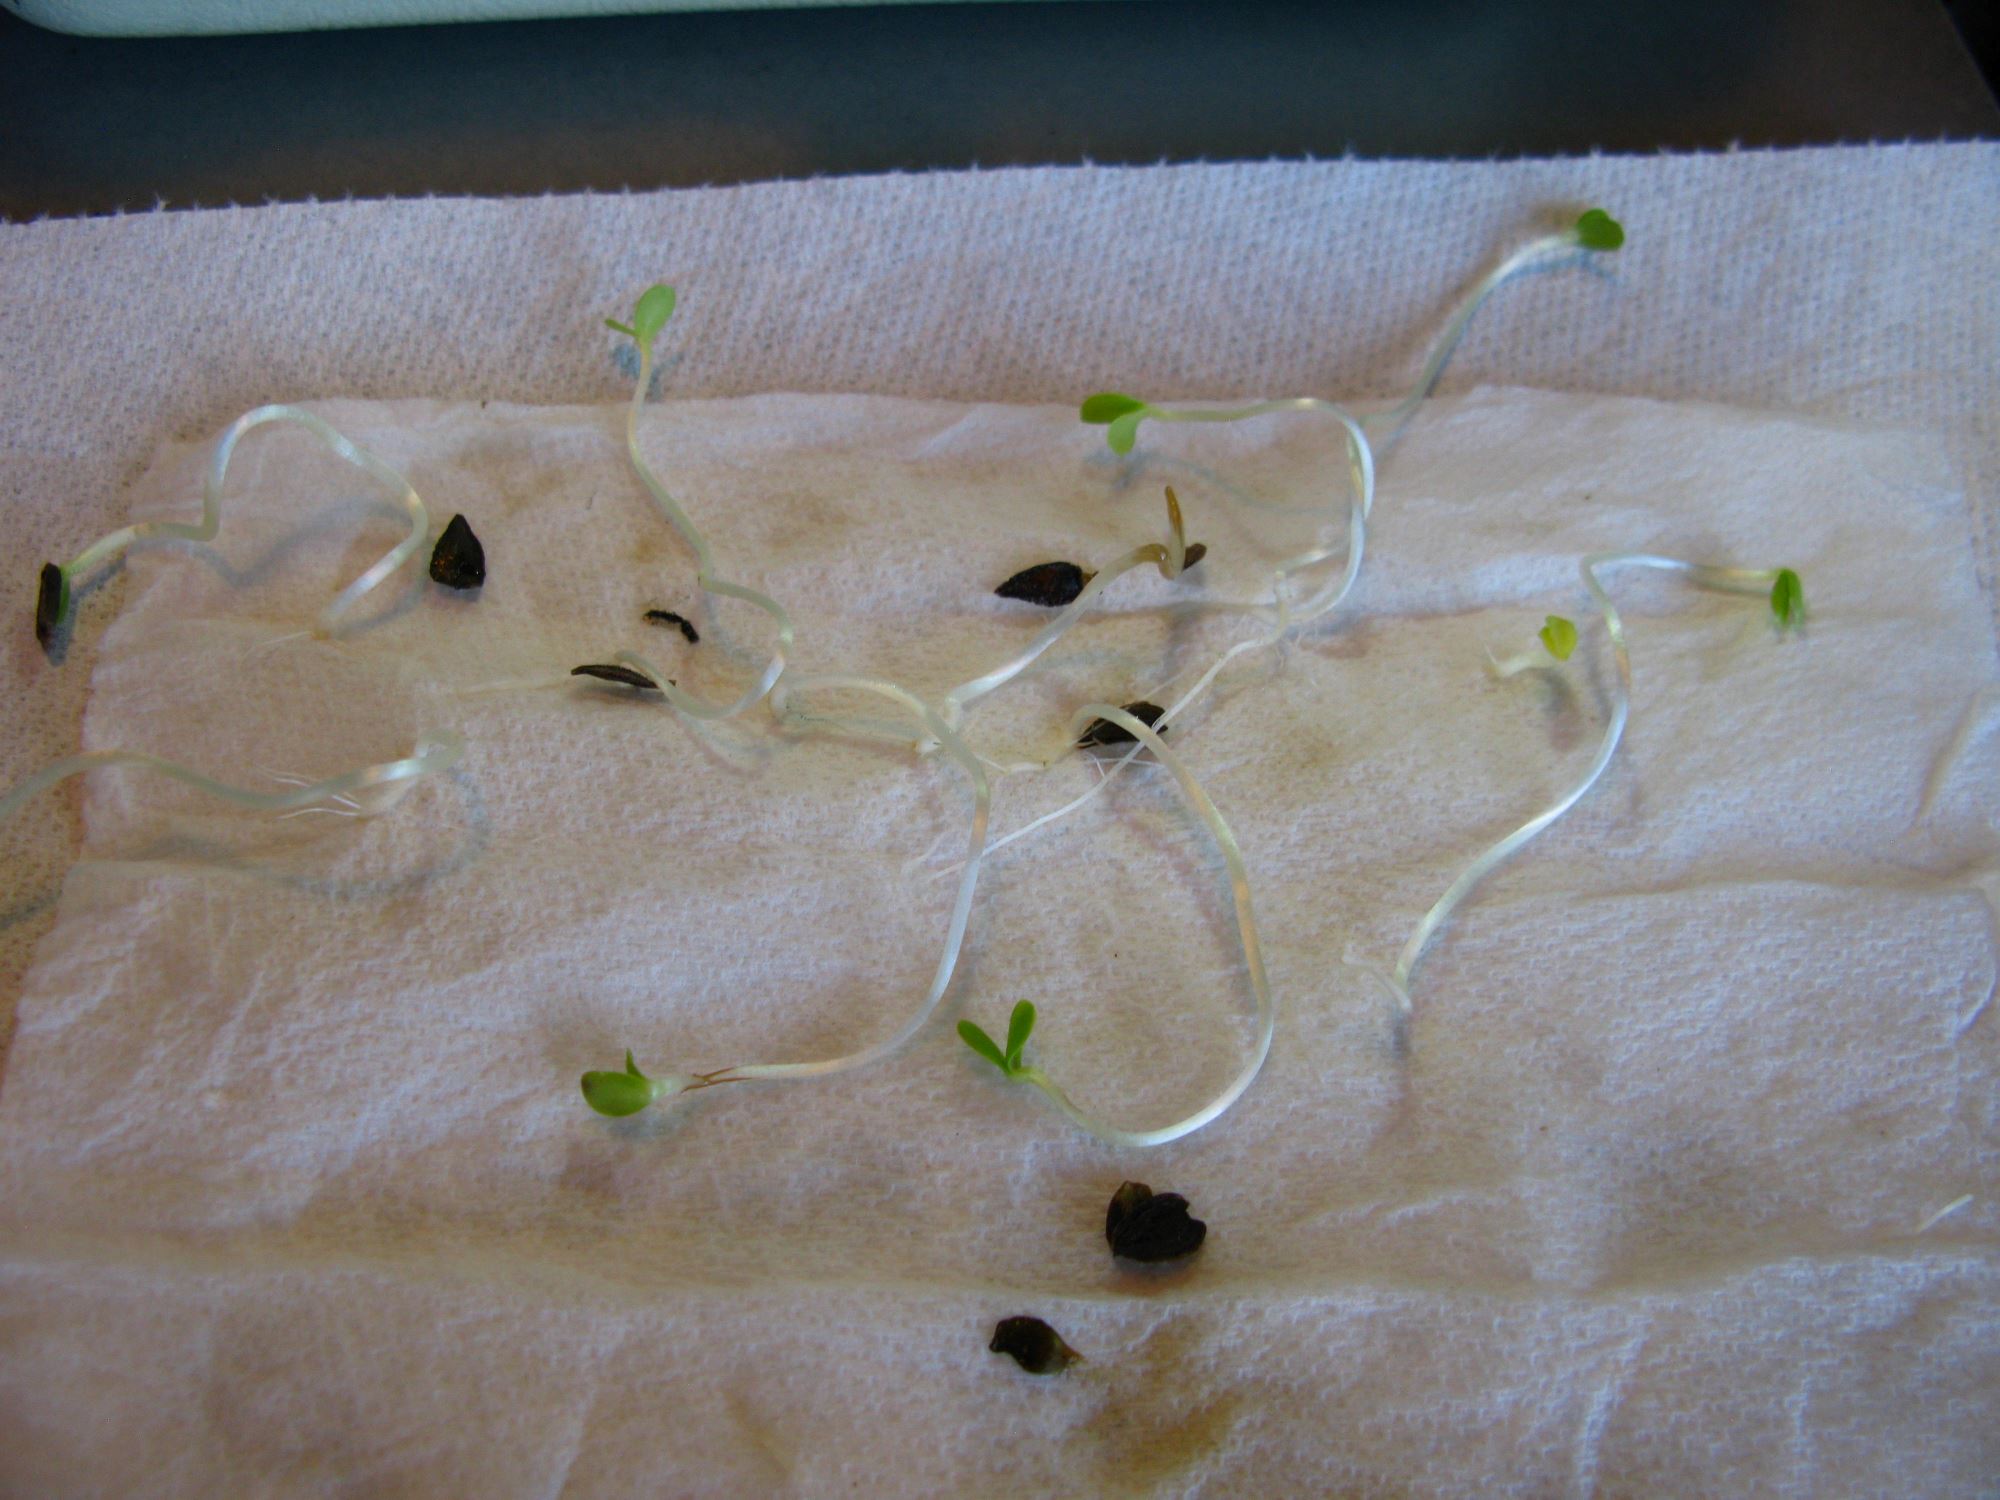
As the seeds continue to germinate and show signs of growth, they will soon outgrow the paper towel. It’s crucial to be attentive and transfer the germinated seeds to soil at the right time to ensure their continued development.
With a keen eye and proper monitoring, you will be able to witness the incredible transformation from a tiny seed to a sprouting plant. Now, let’s proceed to the final step: transferring the germinated seeds to soil.
Step 7: Transferring Germinated Seeds to Soil
After diligently monitoring the progress of your germinated seeds, it’s time to transfer them to soil. This step is crucial for the continued growth and development of your plants. Here’s how to successfully transplant the germinated seeds:
Prepare your chosen planting containers or garden beds with well-draining soil that is suitable for the specific plants you are growing. Ensure the soil is loose and free from any clumps or debris.
Gently remove the germinated seeds from the paper towel, being careful not to damage the delicate roots that have formed. You can use fine-tipped tweezers or your fingertips to handle the seeds with care.
Create a small hole in the soil that is just deep enough to accommodate the seedling. Place the germinated seed into the hole, making sure the roots are spread out and the seed is covered with a thin layer of soil.
Water the newly transplanted seedling gently, providing enough moisture to help it settle into its new home. Avoid over-watering, as this can lead to root rot. Maintain consistent moisture in the soil as the seedling establishes itself.
Place the containers or garden beds in an area that provides the appropriate amount of sunlight for the specific plants you are growing. Some plants thrive in full sun, while others prefer partial shade. Follow the recommended guidelines for each type of plant.
Continue to care for your newly transplanted seedlings by watering them regularly, providing the necessary nutrients, and protecting them from extreme weather conditions or pests.
With time, patience, and proper care, your germinated seeds will flourish and grow into healthy, thriving plants. Enjoy the journey of nurturing your seedlings into full-grown plants and relish in the beauty and joy they bring.
Congratulations on successfully germinating and transplanting your seeds! Your gardening efforts have paid off, and you are well on your way to cultivating a beautiful and bountiful garden!
Now that you have completed all the steps, take a moment to appreciate the magic of nature and the incredible transformation from a tiny seed to a flourishing plant. Happy gardening!
Conclusion
Germinating seeds in a paper towel is a simple, effective, and exciting method that allows you to witness the miracle of life unfolding right before your eyes. By following the step-by-step process outlined in this article, you can successfully germinate a variety of seeds and kickstart your gardening journey.
From choosing the right seeds to preparing the paper towel, providing optimal conditions for germination, and transferring the germinated seeds to soil, each step plays a vital role in ensuring the success of your plants.
Remember to select high-quality seeds, use an absorbent paper towel, and maintain the right temperature, darkness, and moisture levels. By closely monitoring the progress of your seeds, you can intervene if necessary and provide the necessary care to ensure their healthy growth.
Transferring the germinated seeds to soil is a moment of great satisfaction, as it marks the beginning of nurturing your plants to maturity. Continue to care for them with water, nutrients, sunlight, and protection from harsh conditions.
As your plants thrive and blossom, you will experience the joy and fulfillment that gardening brings. Whether you have a small balcony garden or a sprawling backyard, the process of seed germination and plant cultivation can be immensely rewarding.
So, gather your materials, pick your favorite seeds, and embark on the journey of germinating seeds in a paper towel. Get ready to witness the awe-inspiring transformation of tiny seeds into vibrant plants that will flourish and bring beauty to your indoor or outdoor space.
Remember, gardening is not just about growing plants; it’s about connecting with nature, nurturing life, and finding solace in the beauty that surrounds us. Embrace the process, learn from each gardening experience, and enjoy the many benefits that come with fostering a green thumb.
Get your hands dirty, let your passion for gardening bloom, and let the magic of seed germination inspire you to create a lush and thriving garden of your own!
Frequently Asked Questions about When Germinating Seeds In Paper Towel
Was this page helpful?
At Storables.com, we guarantee accurate and reliable information. Our content, validated by Expert Board Contributors, is crafted following stringent Editorial Policies. We're committed to providing you with well-researched, expert-backed insights for all your informational needs.


0 thoughts on “When Germinating Seeds In Paper Towel”