Home>Garden Essentials>What Do You Do After Germinating Seeds In Paper Towels
Garden Essentials
What Do You Do After Germinating Seeds In Paper Towels
Modified: March 15, 2024
Discover the essential steps to take after germinating garden seeds in paper towels. Maximize your success with our helpful guide and expert tips.
(Many of the links in this article redirect to a specific reviewed product. Your purchase of these products through affiliate links helps to generate commission for Storables.com, at no extra cost. Learn more)
Introduction
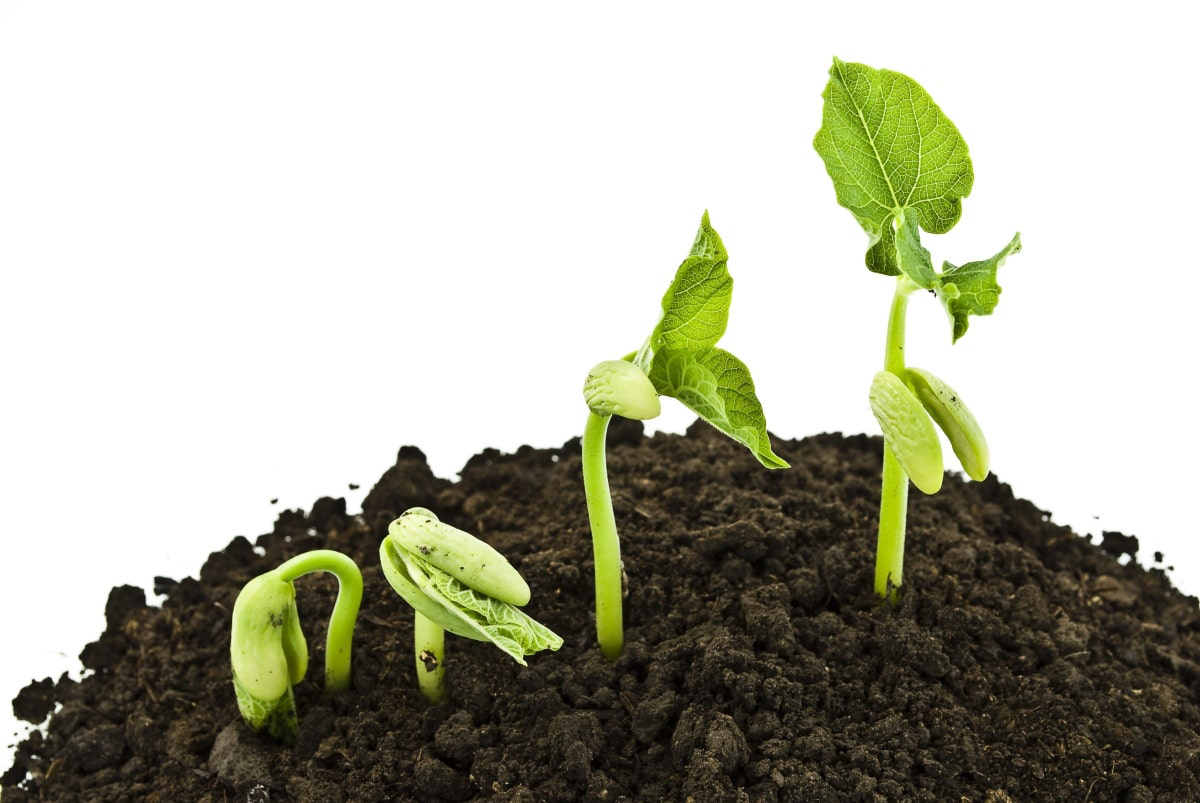
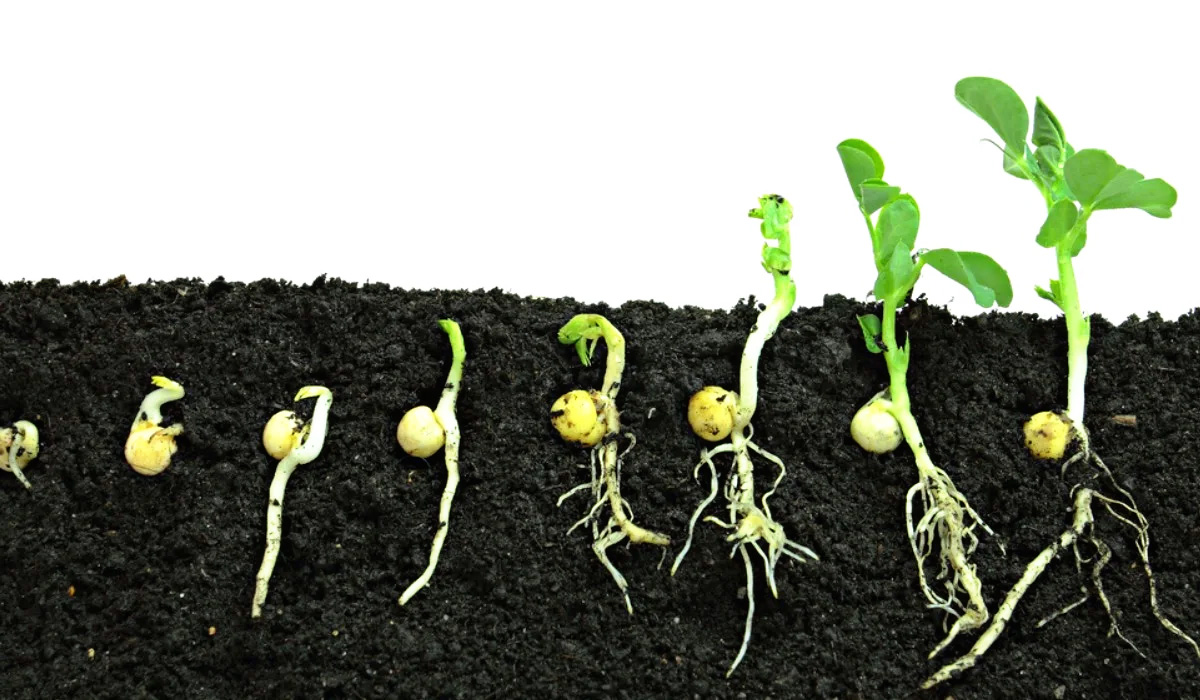
Growing plants from seeds can be an exciting and rewarding experience for gardeners. After successfully germinating seeds in paper towels, the next step is to transplant the germinated seeds into a suitable growing environment. This crucial step sets the foundation for healthy seedlings that will eventually thrive into robust plants.
In this article, we will explore what to do after germinating seeds in paper towels. We will discuss the materials needed, as well as the necessary steps to ensure the seedlings’ successful growth. From providing adequate light and water to monitoring temperature and fertilizing, each step plays a vital role in nurturing the young seedlings. Let’s dive in and discover how to continue the journey from germination to healthy plant growth!
Key Takeaways:
- After germinating seeds in paper towels, carefully transplant them into containers with potting mix, provide adequate light, water, and monitor temperature for healthy seedling growth.
- Thinning and separating seedlings, and eventually transplanting them to larger containers, are crucial steps to ensure each plant has enough space and resources to thrive.
Read more: How To Germinate With Paper Towel
Materials Needed
Before you start transplanting your germinated seeds, make sure you have the following materials handy:
- Seedling trays or containers: These will serve as the initial homes for your seedlings as they continue to grow.
- Potting mix: Choose a high-quality potting mix that provides good drainage and nutrient-rich soil for the seedlings.
- Grow lights or a sunny window: Seedlings require adequate light to grow, so make sure you have a suitable light source.
- Watering can or spray bottle: You’ll need a gentle method of watering the seedlings to prevent damage.
- Fertilizer: Depending on the specific plant’s needs, choose a balanced fertilizer or a fertilizer specifically formulated for seedlings.
- Small gardening tools: These include a small trowel, gardening gloves, and a plant label or markers.
- Misting bottle: A misting bottle can help keep the seedlings moist without overwatering them.
Having these materials ready will ensure a smooth transition for your germinated seeds as they continue their growth journey.
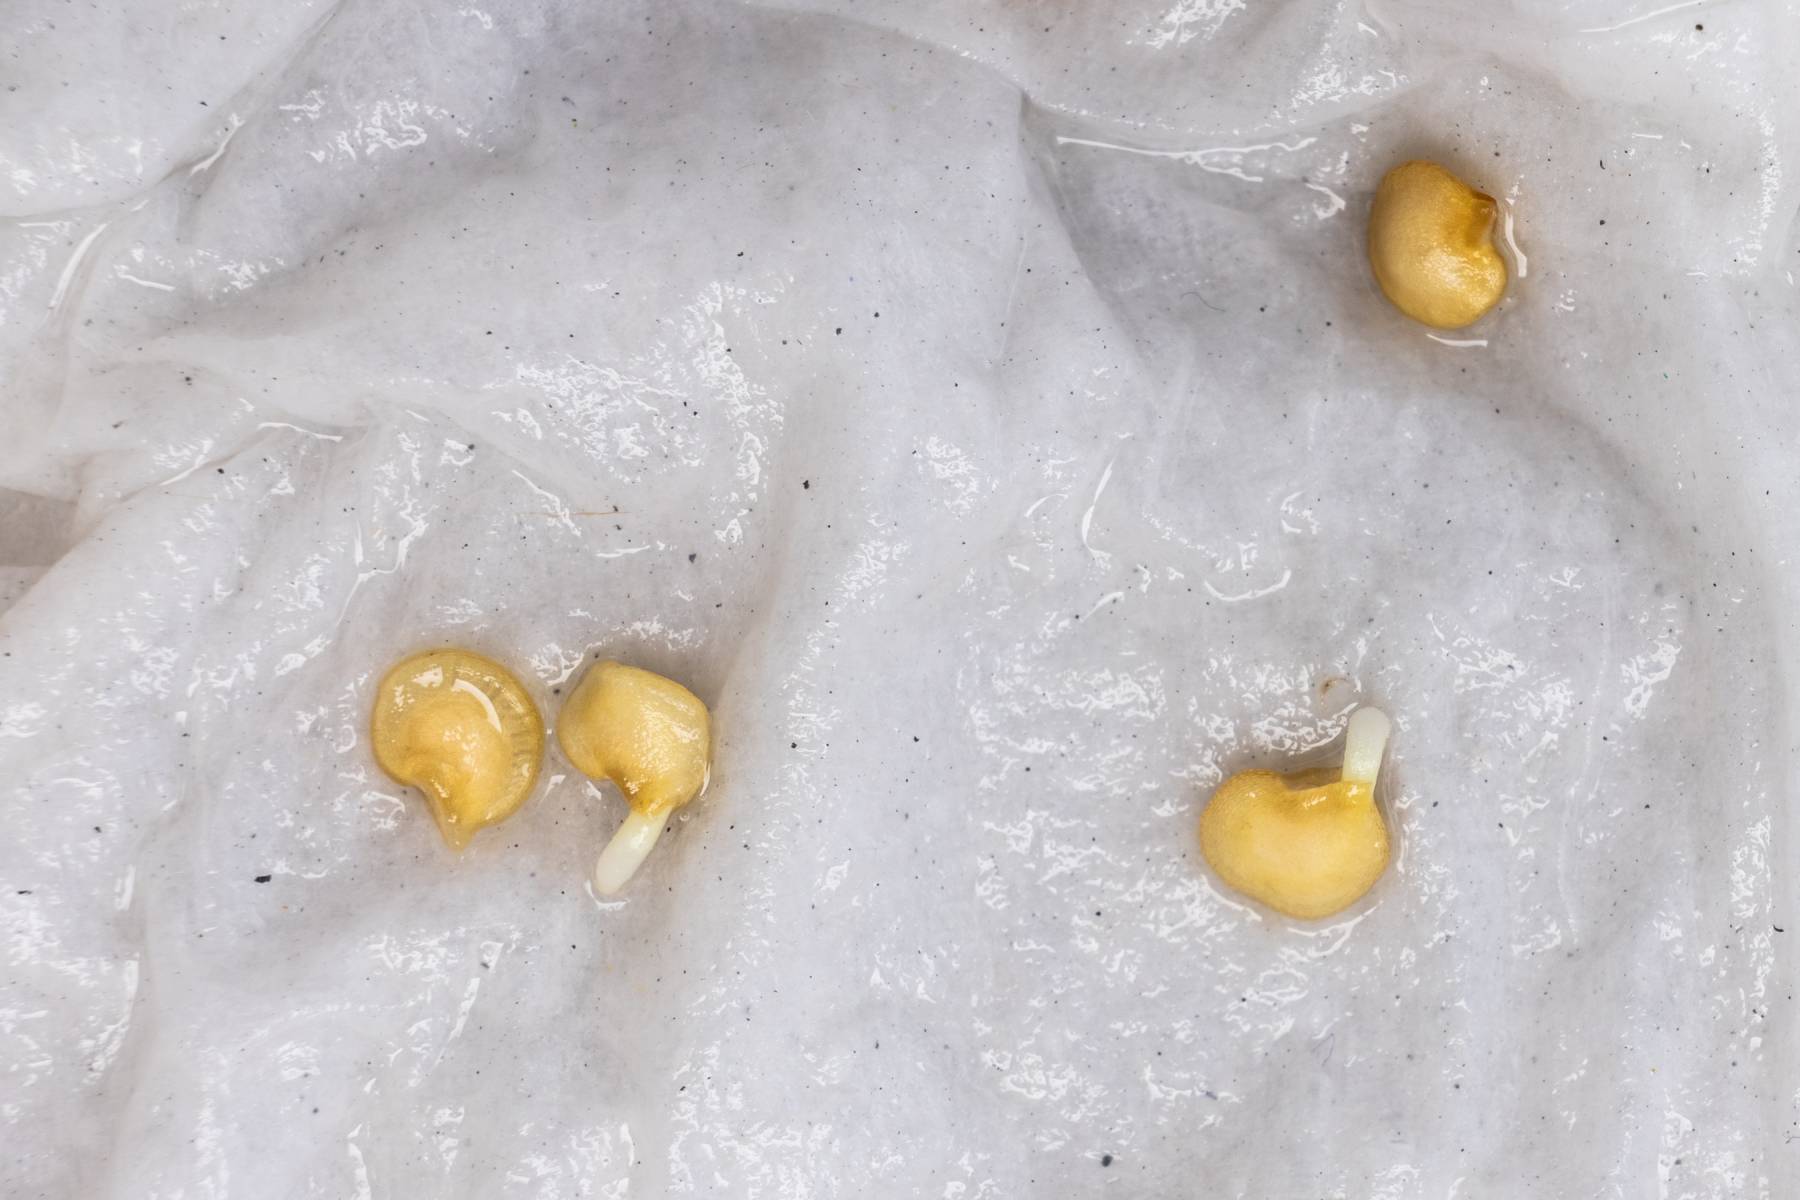
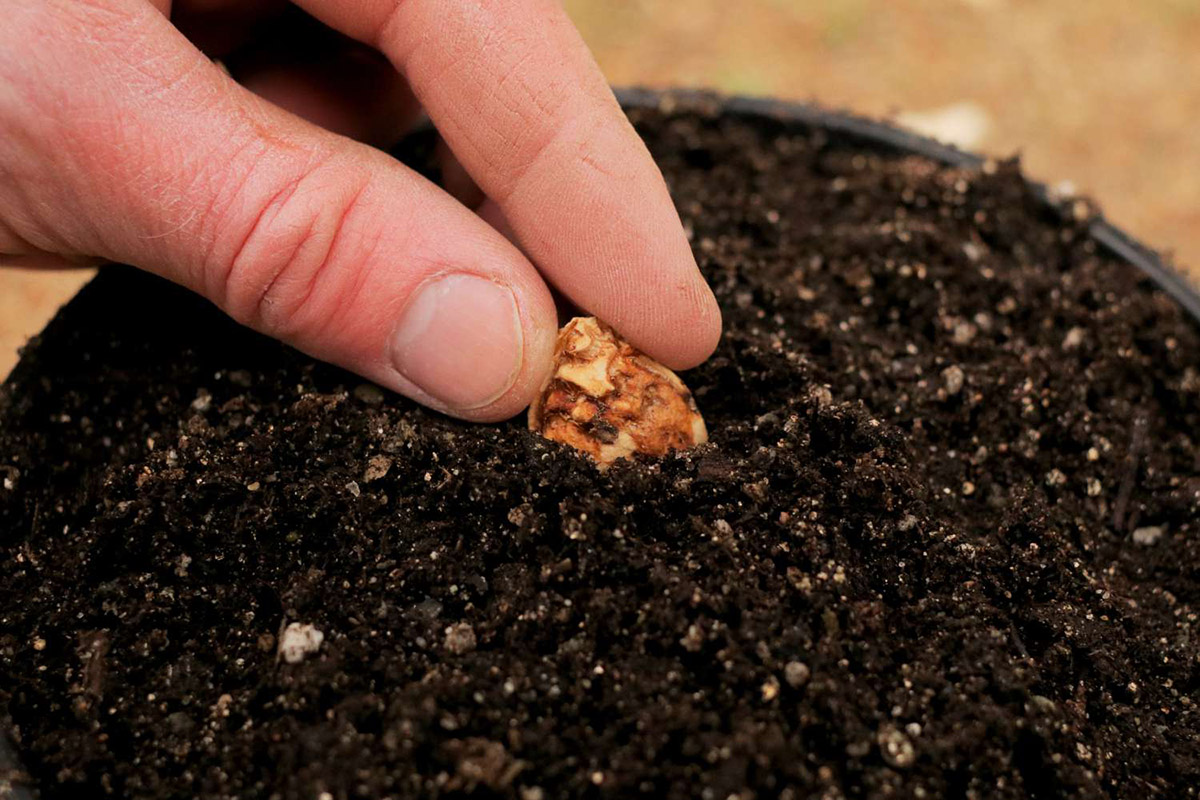
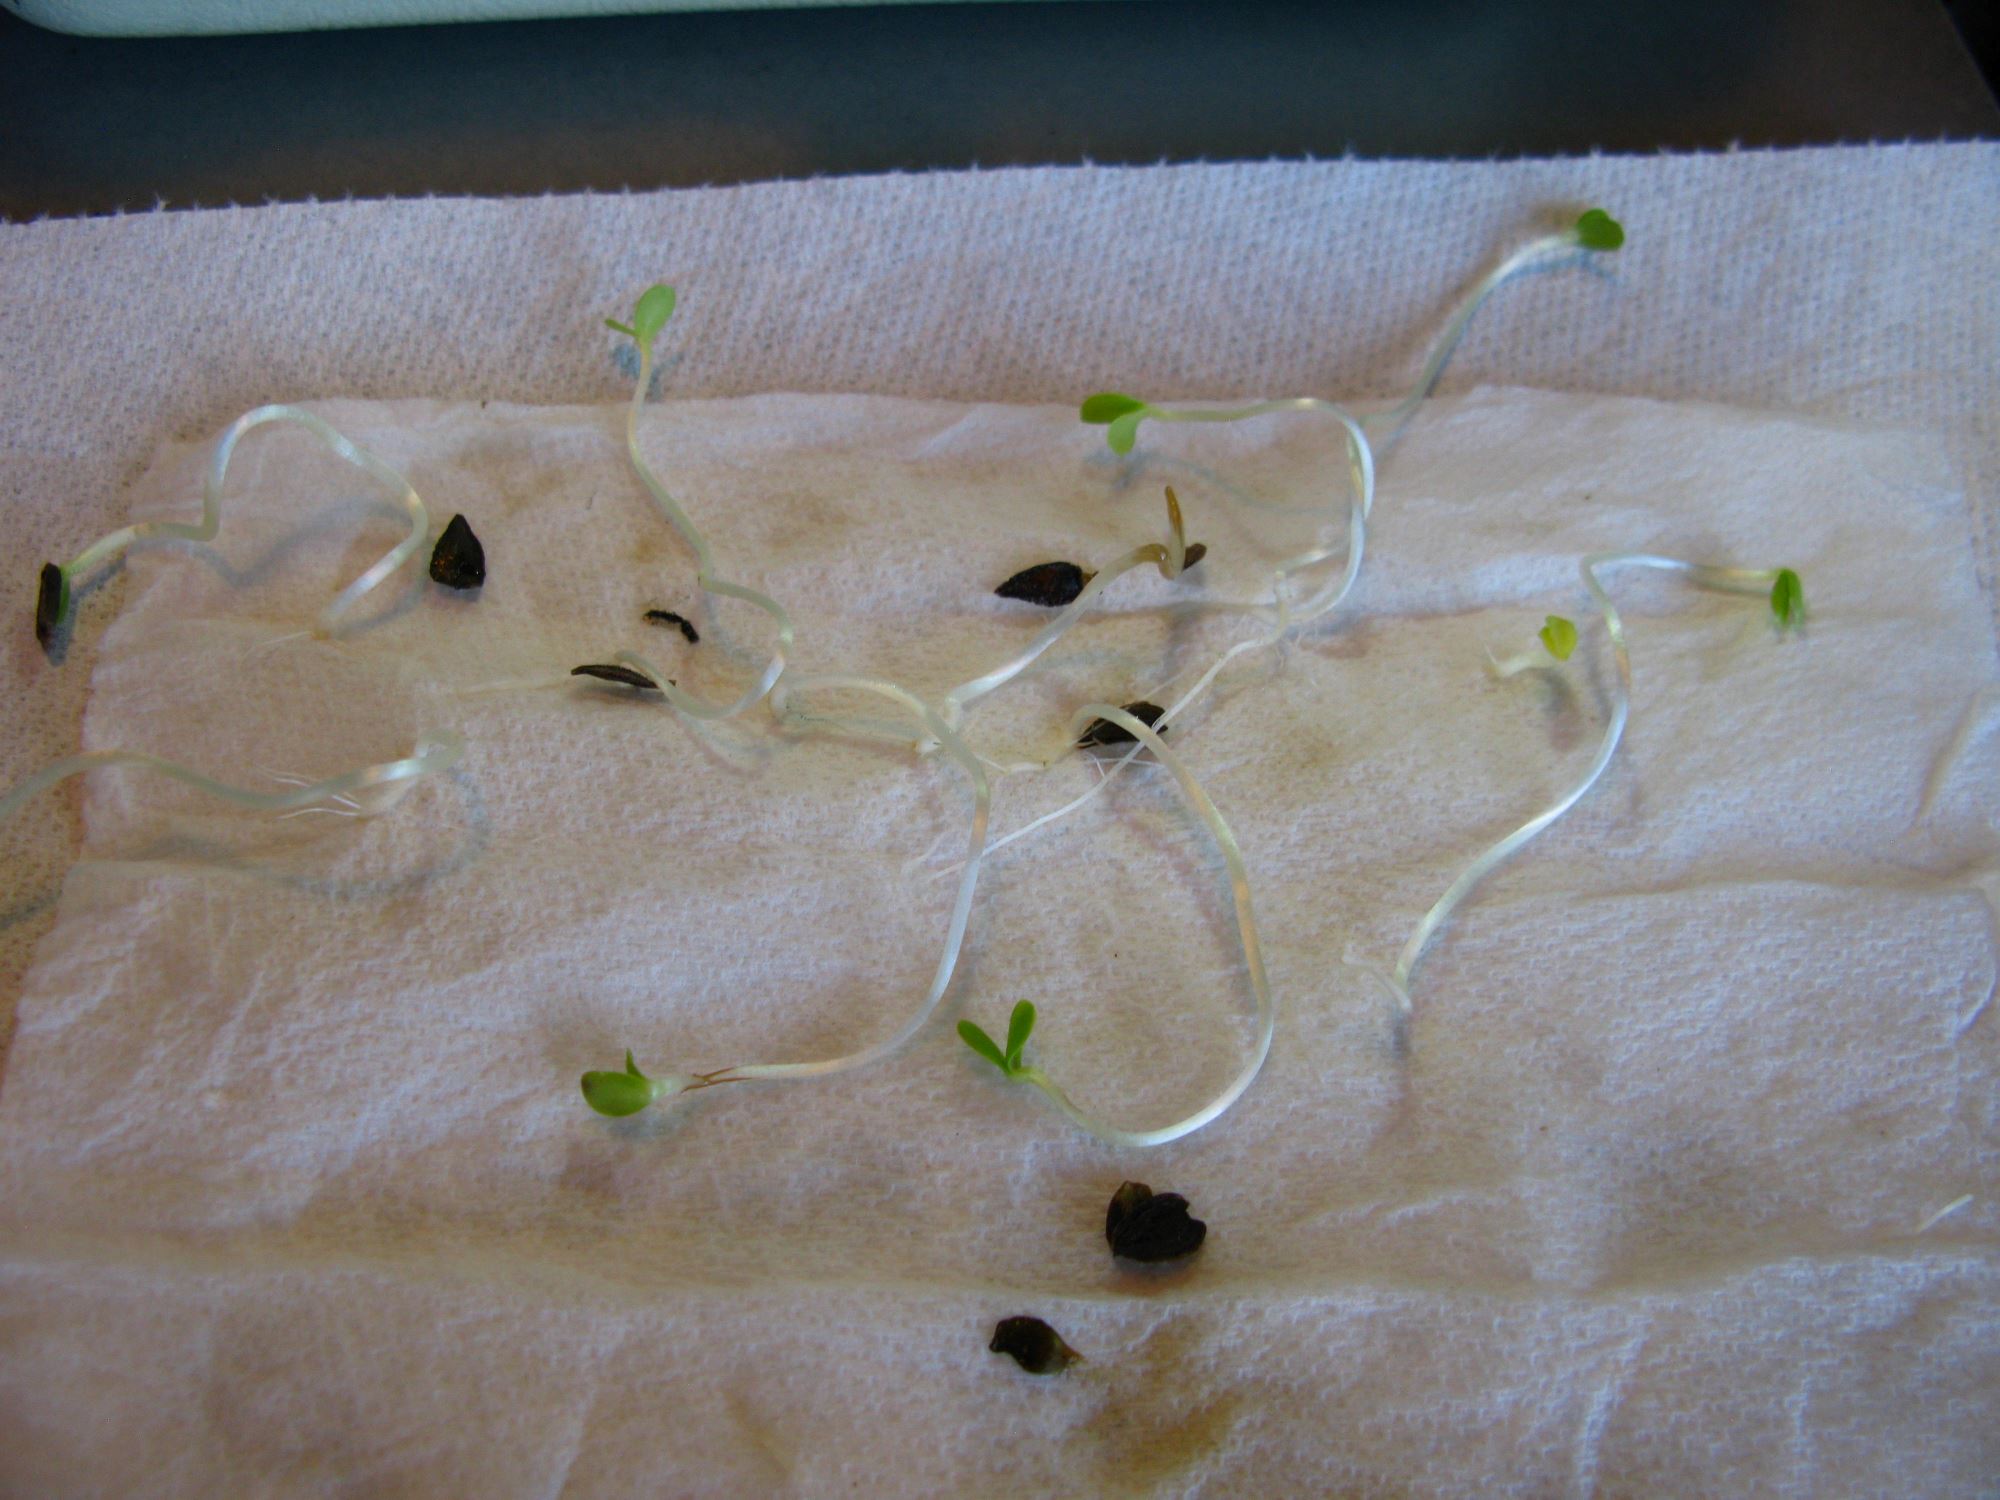
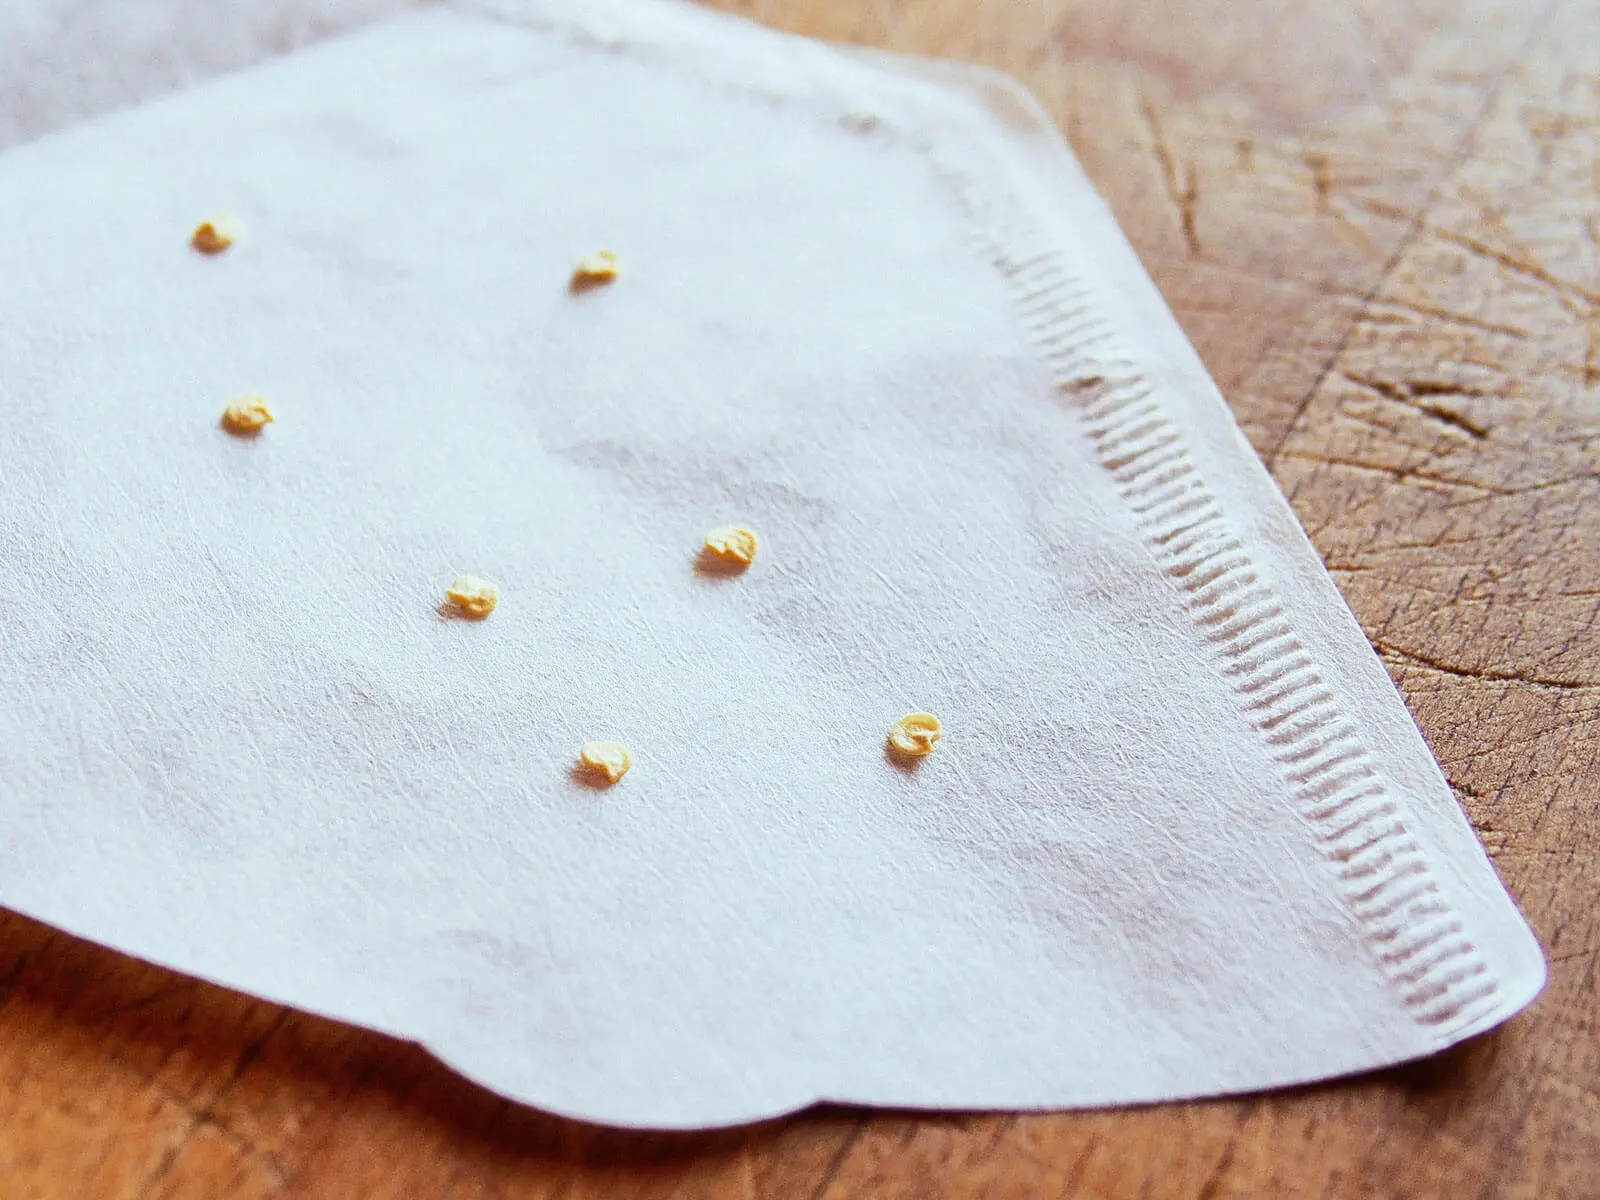
Step 1: Transplanting the Germinated Seeds
Once your seeds have successfully germinated in the paper towels, it’s time to carefully transplant them into their new growing containers. Follow these steps:
- Prepare the containers: Fill seedling trays or small pots with potting mix, leaving about half an inch of space at the top.
- Make a hole for the seedling: Use your finger or a small tool to create a hole in the potting mix, deep enough to accommodate the roots of the germinated seedling.
- Gently transfer the seedling: Carefully remove the germinated seedling from the paper towel, gripping it by the leaves or using a pair of tweezers. Be cautious not to damage the delicate roots.
- Place the seedling into the hole: Lower the seedling into the hole, ensuring that the roots are fully buried in the potting mix. Lightly press the mix around the base of the seedling to stabilize it.
- Repeat for other seedlings: If you have multiple germinated seeds, repeat the process for each one, spacing them adequately in the container.
- Label the containers: Use plant labels or markers to identify the type of seedlings you have planted in each container. This will help you keep track of their growth progress.
Transplanting the germinated seeds is a delicate process, so handle the seedlings with care to avoid any damage. Ensure that the roots are properly covered with potting mix to provide them with the necessary support and nutrients.
Step 2: Providing Adequate Light
Proper lighting is essential for the healthy growth of seedlings. After transplanting the germinated seeds, it’s important to provide them with adequate light to ensure their development. Here are some tips:
- Choose the right light source: If you’re using natural sunlight, place the seedlings in a south-facing window where they can receive several hours of direct sunlight each day. Alternatively, you can use artificial grow lights specifically designed for plant growth. Position the lights a few inches above the seedlings and adjust the height as the seedlings grow.
- Provide consistent lighting: Seedlings require around 12-16 hours of light per day. If using natural sunlight, make sure they receive enough sunlight throughout the day. If using grow lights, set up a timer to provide consistent light for the recommended duration.
- Avoid heat stress: If the light source generates excessive heat, it can cause damage to the seedlings. Keep an eye on the temperature and ensure proper ventilation to prevent heat stress.
- Rotate the containers: To ensure even growth, rotate the containers every couple of days. This will prevent the seedlings from leaning towards the light source and promote balanced development.
By providing adequate light, you are giving the seedlings the energy they need for photosynthesis and healthy growth. Monitor their progress closely, and make adjustments as necessary to ensure optimal light exposure.
Step 3: Watering the Seedlings
Watering is a critical aspect of caring for seedlings, as they have delicate root systems that require proper moisture levels. Here’s how you can ensure you’re watering your seedlings correctly:
- Observe the moisture level: Check the moisture level of the potting mix by inserting your finger about an inch deep into the soil. If it feels dry, it’s time to water the seedlings.
- Water gently: Use a watering can with a fine spout or a spray bottle to water the seedlings. This will help prevent overwatering and ensure a gentle distribution of water.
- Water through the base: Direct the water towards the base of the seedlings. This helps avoid wetting the foliage excessively, which can lead to fungal diseases.
- Avoid waterlogging: Allow the excess water to drain out from the bottom of the container. Avoid letting the seedlings sit in standing water, as this can cause root rot.
- Monitor soil moisture: Regularly check the soil moisture level to maintain a consistent level of moisture. Avoid letting the potting mix dry out completely or becoming waterlogged.
It’s important to strike a balance when it comes to watering seedlings. Providing adequate moisture ensures their growth and prevents them from wilting, while avoiding overwatering helps prevent root rot and other diseases. Monitor the moisture level of the potting mix and adjust your watering routine accordingly.
After germinating seeds in paper towels, carefully transfer the sprouted seeds to a small pot with moist soil. Plant them about 1/4 inch deep and keep the soil consistently moist. Place the pot in a warm, sunny spot and watch your seedlings grow!
Step 4: Monitoring and Adjusting Temperature
The temperature plays a crucial role in the healthy growth of seedlings. It’s essential to monitor and maintain the appropriate temperature to ensure their well-being. Here’s how you can do it:
- Identify the ideal temperature range: Different plants have different temperature preferences, so it’s important to research the specific requirements of the seedlings you are growing. Generally, most seedlings thrive in temperatures between 65°F and 75°F (18°C – 24°C).
- Provide consistent temperatures: Maintain a relatively stable temperature for the seedlings. Avoid sudden fluctuations or extreme temperatures, as they can stress the seedlings.
- Consider using a heat mat: If the ambient temperature in your environment is below the ideal range, you can use a heat mat placed underneath the seedling tray to provide gentle bottom warmth for the seedlings. This can promote faster and more consistent growth.
- Monitor temperature changes: Keep an eye on the temperature fluctuations in the growing area, especially during the night or in colder months. Adjust the placement of the seedlings if necessary to ensure they are not exposed to drafts or extreme temperatures.
- Watch for signs of stress: If the temperature is not suitable for the seedlings, they may exhibit signs of stress such as yellowing leaves or stunted growth. Adjust the temperature accordingly to alleviate any stress on the seedlings.
By monitoring and adjusting the temperature, you create an optimal environment for your seedlings to thrive. Remember to consider the specific requirements of the plants you are growing and make adjustments accordingly to promote healthy growth.
Step 5: Fertilizing the Seedlings
Fertilizing seedlings provides them with the necessary nutrients for healthy growth and development. Here’s how you can effectively fertilize your seedlings:
- Choose the right fertilizer: Select a balanced liquid fertilizer or a fertilizer specifically formulated for seedlings. Ensure that the fertilizer provides essential nutrients such as nitrogen, phosphorus, and potassium.
- Follow the instructions: Read the instructions on the fertilizer package carefully, as different products may have varying application rates and frequencies. Follow the recommended guidelines to avoid over-fertilizing, which can damage the seedlings.
- Start fertilizing at the right time: Typically, seedlings require fertilization after they have developed their first true leaves. True leaves are the leaves that appear after the seedling’s initial cotyledon or seed leaves.
- Apply the fertilizer gently: Dilute the fertilizer according to the instructions and apply it to the soil around the base of the seedlings. Be careful not to splash the fertilizer onto the foliage, as this can potentially burn or damage the leaves.
- Fertilize on a regular schedule: Establish a regular fertilizing schedule, usually every two weeks or as recommended by the product instructions. This ensures a steady supply of nutrients for the growing seedlings.
- Watch for signs of nutrient deficiencies: Monitor the seedlings for any signs of nutrient deficiencies, such as yellowing leaves or stunted growth. Adjust your fertilization routine or consult a gardening expert if you notice any issues.
By providing the right nutrients through proper fertilization, you promote strong and healthy growth in your seedlings. Pay attention to the timing, frequency, and application techniques to ensure the best results.
Step 6: Thin and Separate Seedlings (if necessary)
As your seedlings continue to grow, they may become crowded in their containers. Thinning and separating the seedlings is an important step to ensure that each plant has enough space and resources to thrive. Here’s how you can do it:
- Wait for the right time: It’s best to thin and separate seedlings when they have developed their first set of true leaves. This usually occurs a few weeks after germination.
- Identify the weaker seedlings: Carefully inspect each container and identify seedlings that appear weaker or smaller compared to the others. These seedlings may not grow as robustly and can hinder the growth of the healthier ones if left unattended.
- Choose the strongest seedlings: Select the healthiest and strongest seedlings to keep in the container. Look for sturdy stems, vibrant leaves, and overall vigorous growth.
- Carefully remove the excess seedlings: Gently grasp the unwanted seedlings at the base near the soil level and carefully pull them out, taking care not to disturb the roots of the remaining seedlings.
- Transplant the separated seedlings: If you have enough space and containers available, you can transplant the separated seedlings into their own individual pots or seedling trays. Ensure that each seedling has enough room for its roots to spread and grow.
- Keep the transplanted seedlings well-watered: After separating and transplanting the seedlings, water them gently to help them establish in their new containers. Continue providing proper care, including adequate light, water, and nutrients.
Thinning and separating seedlings allow the healthier ones to have ample space, sunlight, and nutrients. This process helps promote optimal growth and minimizes competition, leading to stronger and more successful plants.
Step 7: Transplanting Seedlings to Larger Containers
As your seedlings continue to grow and develop, they will eventually outgrow their initial containers and need to be transplanted into larger ones. Here’s how you can successfully transplant your seedlings:
- Choose the right timing: Transplant your seedlings to larger containers when they have become rootbound or when they have outgrown their current space. Look for visible signs such as roots poking out from the bottom or roots tightly circling the inside of the container.
- Prepare larger containers: Select containers that are one to two sizes larger than the current ones. Fill the new containers with fresh potting mix, leaving enough space at the top to accommodate the seedlings.
- Gently remove the seedlings: Carefully loosen the soil around the roots of the seedlings with a small trowel or your fingers. Hold the seedling by the leaves and gently lift it out of the old container, taking care not to damage the delicate roots.
- Plant the seedlings in the new containers: Dig a hole in the center of the new container, deep enough to accommodate the roots of the seedling. Place the seedling into the hole and gently fill in the surrounding area with potting mix. Press the mix lightly to secure the seedling in place.
- Water the transplanted seedlings: Give the newly transplanted seedlings a thorough watering to help settle the soil and ensure good moisture contact with the roots. Avoid overwatering, as excessive moisture can lead to root rot.
- Provide appropriate care: Place the transplanted seedlings in a suitable location with adequate light and temperature. Continue to water and fertilize them as needed, monitoring their growth and adjusting care accordingly.
Transplanting seedlings to larger containers allows their roots to continue growing and provides them with more space and nourishment. Carefully follow the transplanting process to minimize stress on the seedlings and promote their successful growth.
Read more: How Do You Germinate An Olive Pit?
Conclusion
Congratulations! By following the steps outlined in this guide, you are well on your way to successfully nurturing your germinated seeds into healthy and thriving plants. Transplanting the germinated seeds, providing adequate light, watering appropriately, monitoring temperature, fertilizing, thinning and separating, and eventually transplanting to larger containers are all essential steps in the growth process.
Remember to choose the right materials, be gentle when handling the seedlings, and provide them with the optimal growing conditions. Regularly monitor the progress of your seedlings, watching for any signs of stress or nutrient deficiencies. Make adjustments as necessary to ensure their well-being.
Each step in the process contributes to the overall health and success of your seedlings. Pay attention to their needs and provide the care they require, and you will be rewarded with robust and vibrant plants.
Watching your seedlings grow into mature plants and eventually enjoying the fruits of your labor is a fulfilling experience. So, put your knowledge into practice, be patient and attentive, and enjoy the journey of growing your own garden from germinated seeds.
Frequently Asked Questions about What Do You Do After Germinating Seeds In Paper Towels
Was this page helpful?
At Storables.com, we guarantee accurate and reliable information. Our content, validated by Expert Board Contributors, is crafted following stringent Editorial Policies. We're committed to providing you with well-researched, expert-backed insights for all your informational needs.


0 thoughts on “What Do You Do After Germinating Seeds In Paper Towels”