Home>Garden Essentials>How To Grow Chia Seeds In Water

Garden Essentials
How To Grow Chia Seeds In Water
Modified: August 16, 2024
Learn how to grow chia seeds in water and create your own garden with this step-by-step guide. Boost your health and nutrition with a simple, sustainable gardening practice.
(Many of the links in this article redirect to a specific reviewed product. Your purchase of these products through affiliate links helps to generate commission for Storables.com, at no extra cost. Learn more)
Introduction
Growing chia seeds in water is a simple and nutritious way to add a fresh, homegrown addition to your diet. Chia seeds are packed with essential nutrients such as fiber, protein, omega-3 fatty acids, and antioxidants. They have gained popularity in recent years due to their numerous health benefits.
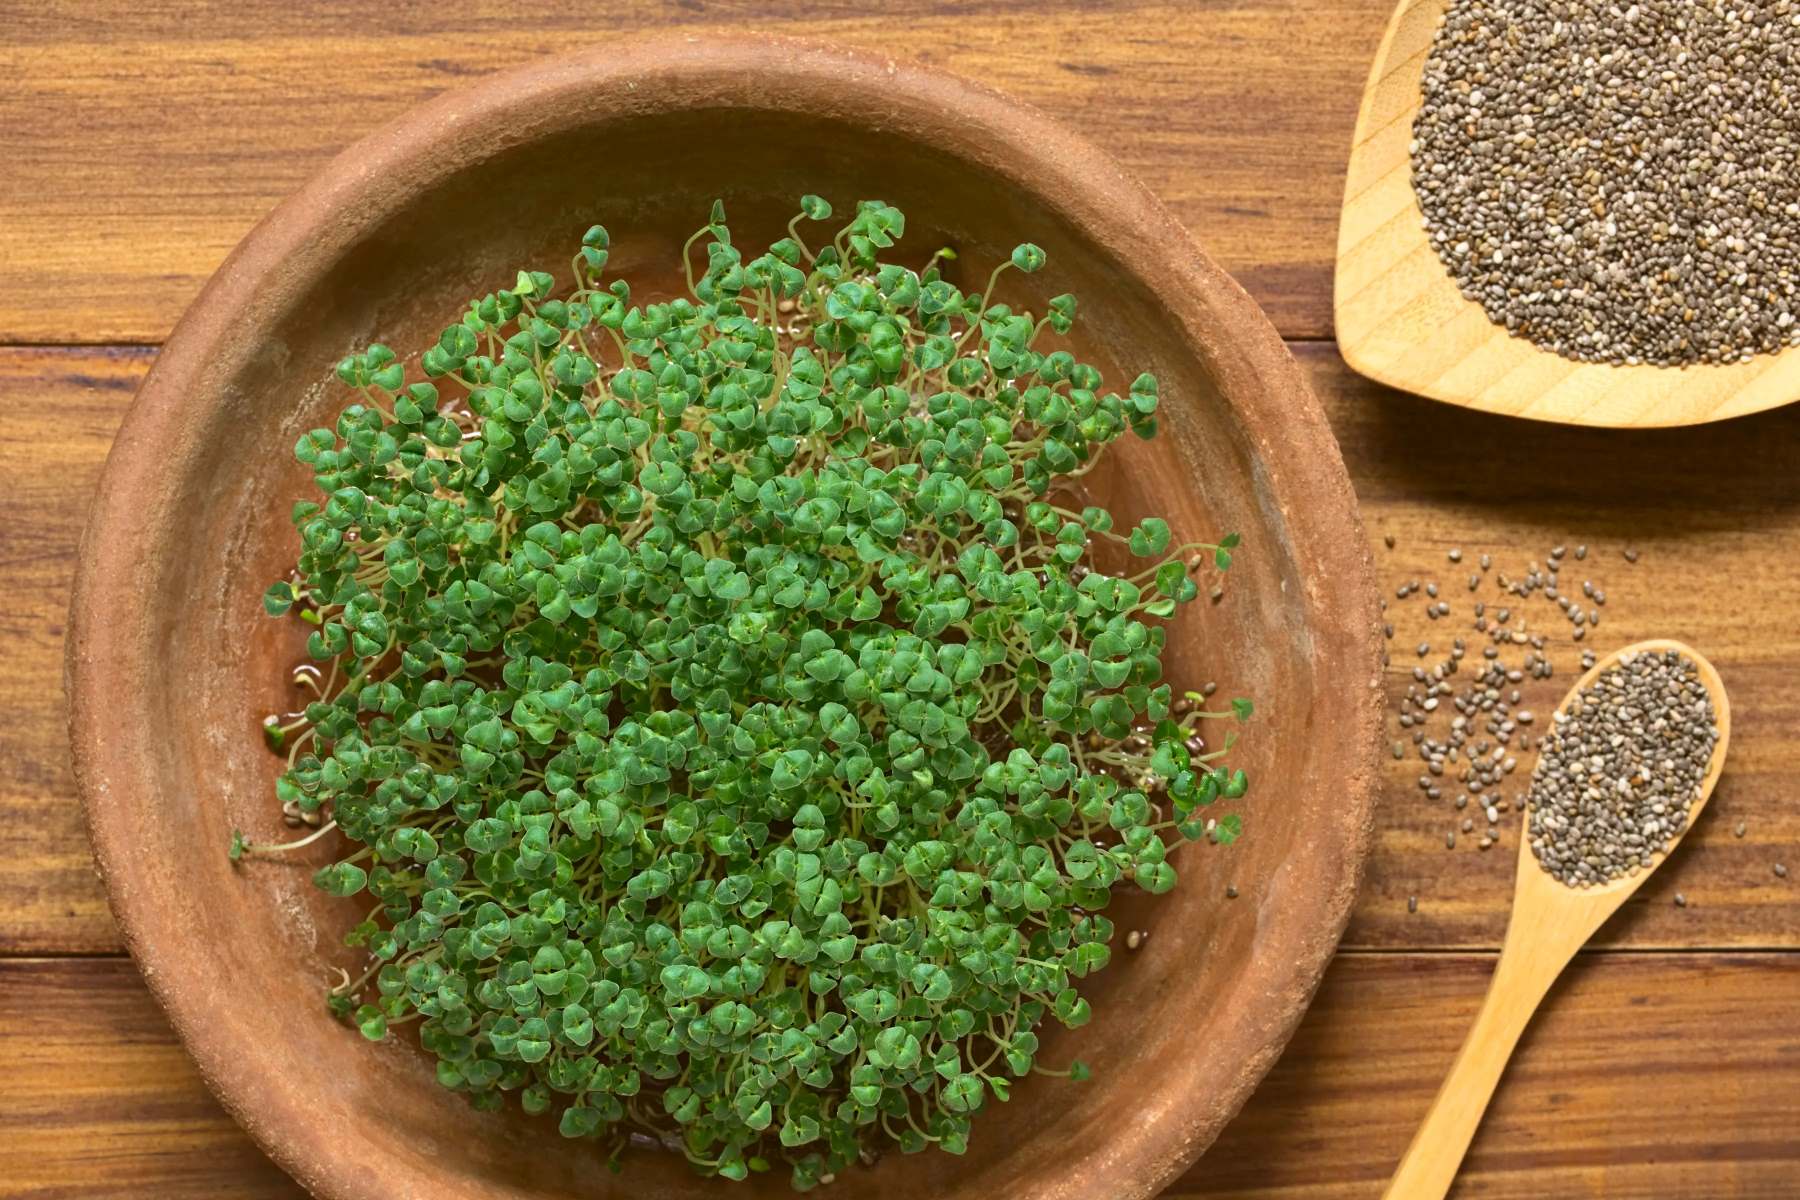
One of the easiest and most cost-effective ways to grow chia seeds is by growing them in water. This method allows you to witness the sprouting process and enjoy the vibrant green chia sprouts in just a matter of days. Whether you are a seasoned gardener or a beginner, growing chia seeds in water is a fun and rewarding activity that can be done indoors, all year round.
In this article, we will guide you through the process of growing chia seeds in water, from choosing the right seeds to harvesting and using the chia sprouts. So, let’s dive in and discover how you can grow your very own chia sprouts at home!
Key Takeaways:
- Growing chia seeds in water is a fun and rewarding activity that can be done indoors, all year round. It’s a simple way to witness the sprouting process and enjoy fresh, homegrown chia sprouts in just a few days.
- Chia sprouts offer a burst of freshness and nutrition, making them a versatile ingredient to incorporate into salads, sandwiches, smoothies, and more. Experiment with different recipes and let your culinary imagination soar!
Read more: How Chia Seeds Grow
Choosing the Right Chia Seeds
When it comes to growing chia seeds in water, selecting the right seeds is crucial for a successful sprouting process. Here are a few tips to help you choose the best chia seeds:
- Opt for organic and high-quality seeds: It’s always recommended to choose organic chia seeds to ensure that they are free from harmful chemicals and pesticides. Look for reputable brands or suppliers that offer high-quality seeds.
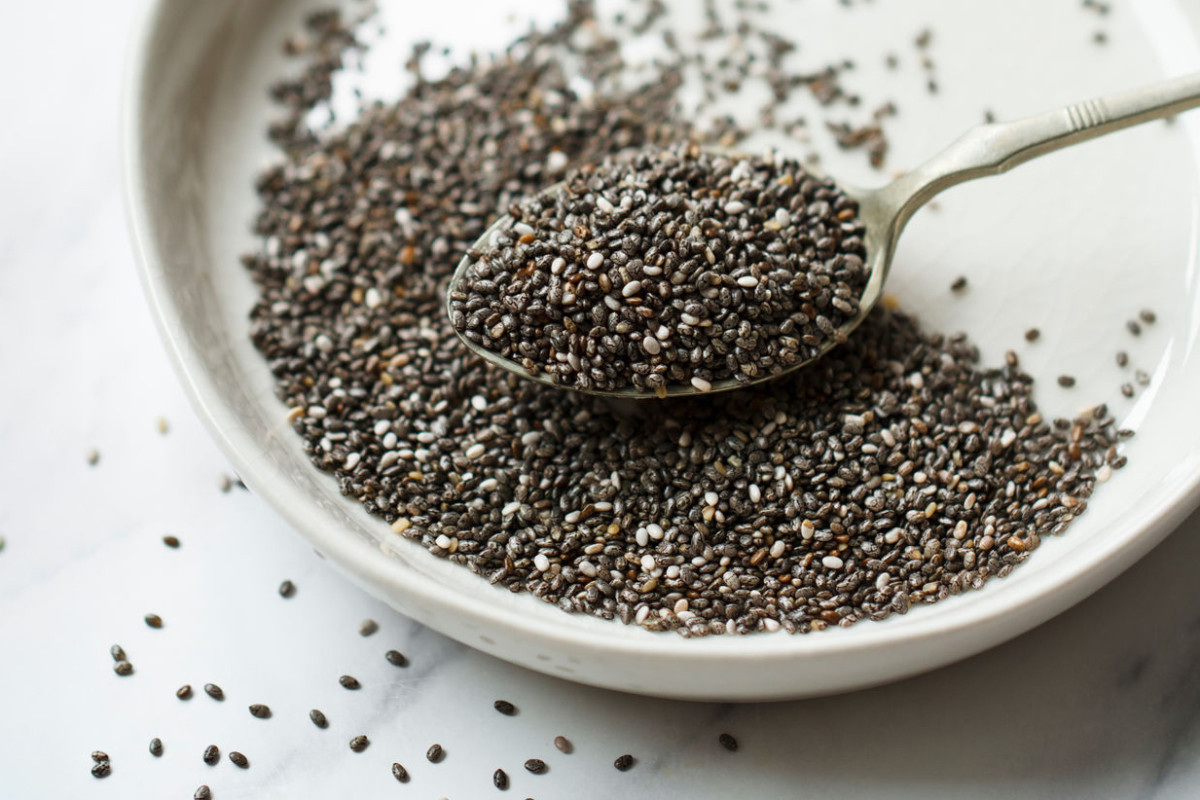
- Choose whole chia seeds: Whole chia seeds are preferable over ground or powdered chia seeds for sprouting. Whole seeds have a higher sprouting rate and are less likely to clump together during the sprouting process.
- Check the freshness: Chia seeds, like any other seeds, have a shelf life. Check the expiration date or purchase seeds from a reliable source to ensure their freshness. Fresh seeds have a higher germination rate, leading to better sprouting results.
- Consider the color: Chia seeds come in various colors, including white, black, and brown. While the nutritional content remains the same, some people prefer certain colors for aesthetic reasons. Choose the color that appeals to you the most.
- Read reviews: Before making a purchase, take the time to read reviews from other gardeners or sprout enthusiasts. Pay attention to the germination rate and overall satisfaction of the customers to make an informed decision.
Remember, choosing high-quality chia seeds is the first step towards successful sprouting. By following these guidelines, you can ensure that you have the best seeds for growing chia sprouts in water.
Preparing the Water
Now that you have selected the perfect chia seeds, it’s time to prepare the water for sprouting. The water you use plays a significant role in the growth and development of chia sprouts. Here are some important steps to prepare the water:
- Filtered water: It is recommended to use filtered water for sprouting chia seeds. Tap water may contain chlorine, fluoride, or other chemicals that can hinder the growth of the sprouts. Filtered water ensures a clean and chemical-free environment for your plants to thrive.
- Room temperature water: Chia seeds sprout best in room temperature water. Avoid using cold or hot water, as extreme temperatures can negatively affect the germination process. Allow the water to come to room temperature before proceeding.
- Clean container: Choose a clean and transparent container for sprouting the chia seeds. A glass jar or a shallow dish works well for this purpose. Make sure the container has proper drainage holes to prevent waterlogging.
- Sanitize the container: Before adding the water, sanitize the container by washing it thoroughly with mild soap and warm water. Rinse it well to remove any residue that may hinder the growth of the chia sprouts.
- Add water to the container: Fill the container with enough filtered water to submerge the chia seeds completely. Avoid overcrowding the container as this can lead to clumping and hinder the sprouting process.
- Allow water to settle: Let the water sit for a few hours to allow any chlorine or other chemicals to dissipate. This step helps create a more natural environment for the chia seeds to sprout.
By following these steps, you can ensure that the water is clean, toxin-free, and at the optimal temperature for successfully sprouting your chia seeds.
Soaking the Chia Seeds
With the water prepared, it’s time to move on to the next step: soaking the chia seeds. Soaking the seeds helps to kickstart the sprouting process and ensure that they have enough moisture to germinate. Follow these steps to soak chia seeds properly:
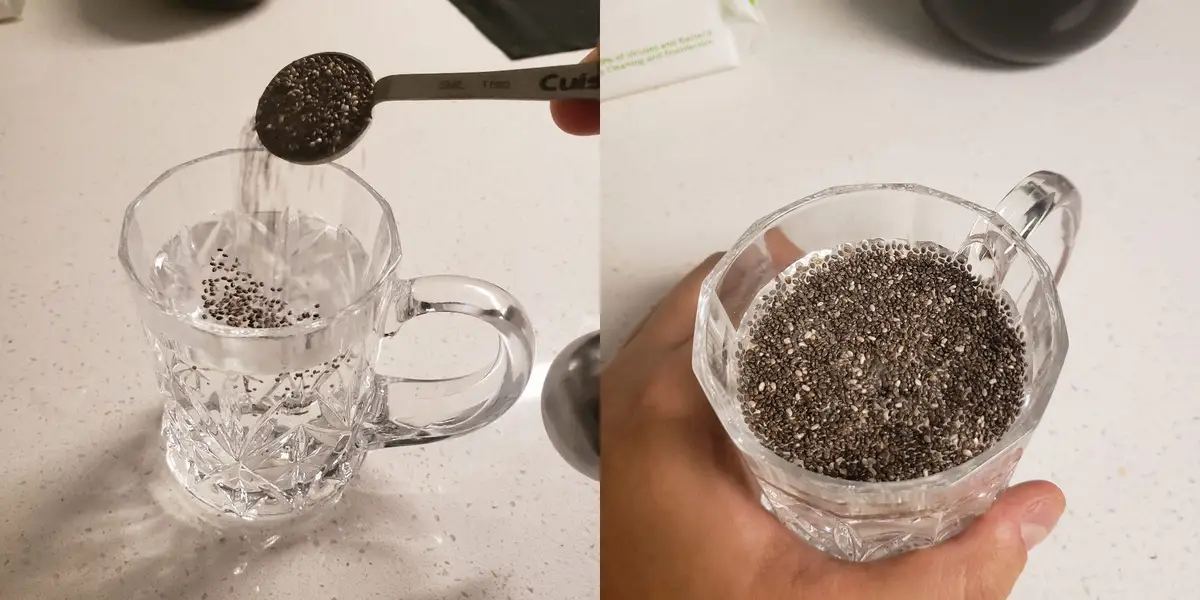
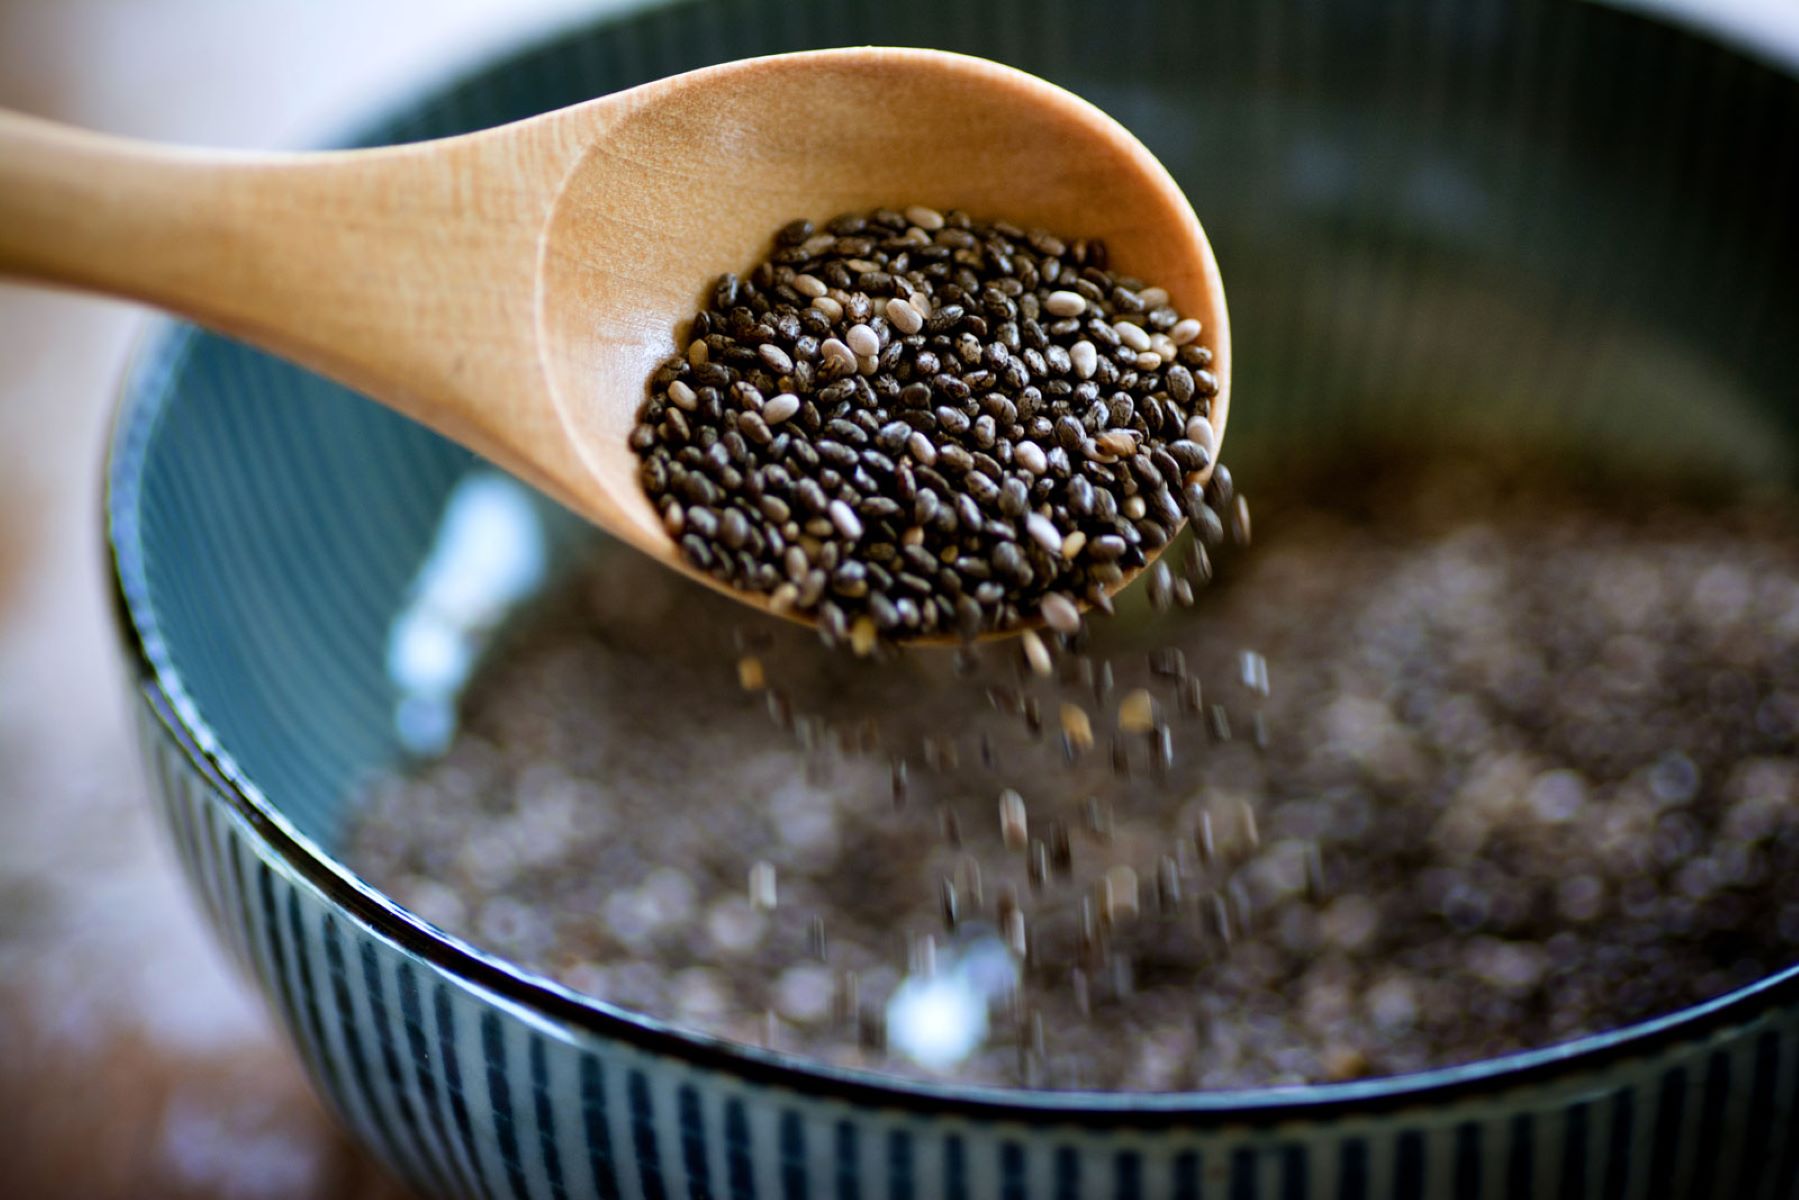
- Measure the chia seeds: Determine the amount of chia seeds you want to sprout. Start with a small batch if you’re new to growing chia sprouts. A tablespoon or two of chia seeds is generally sufficient for home sprouting.
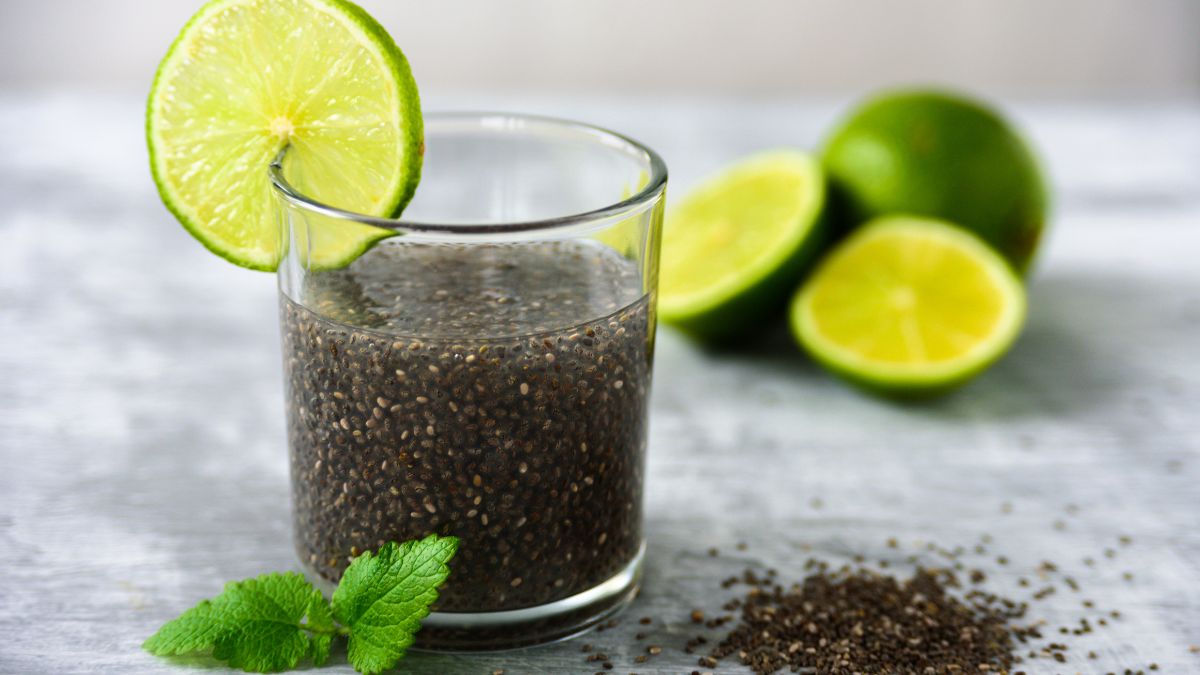
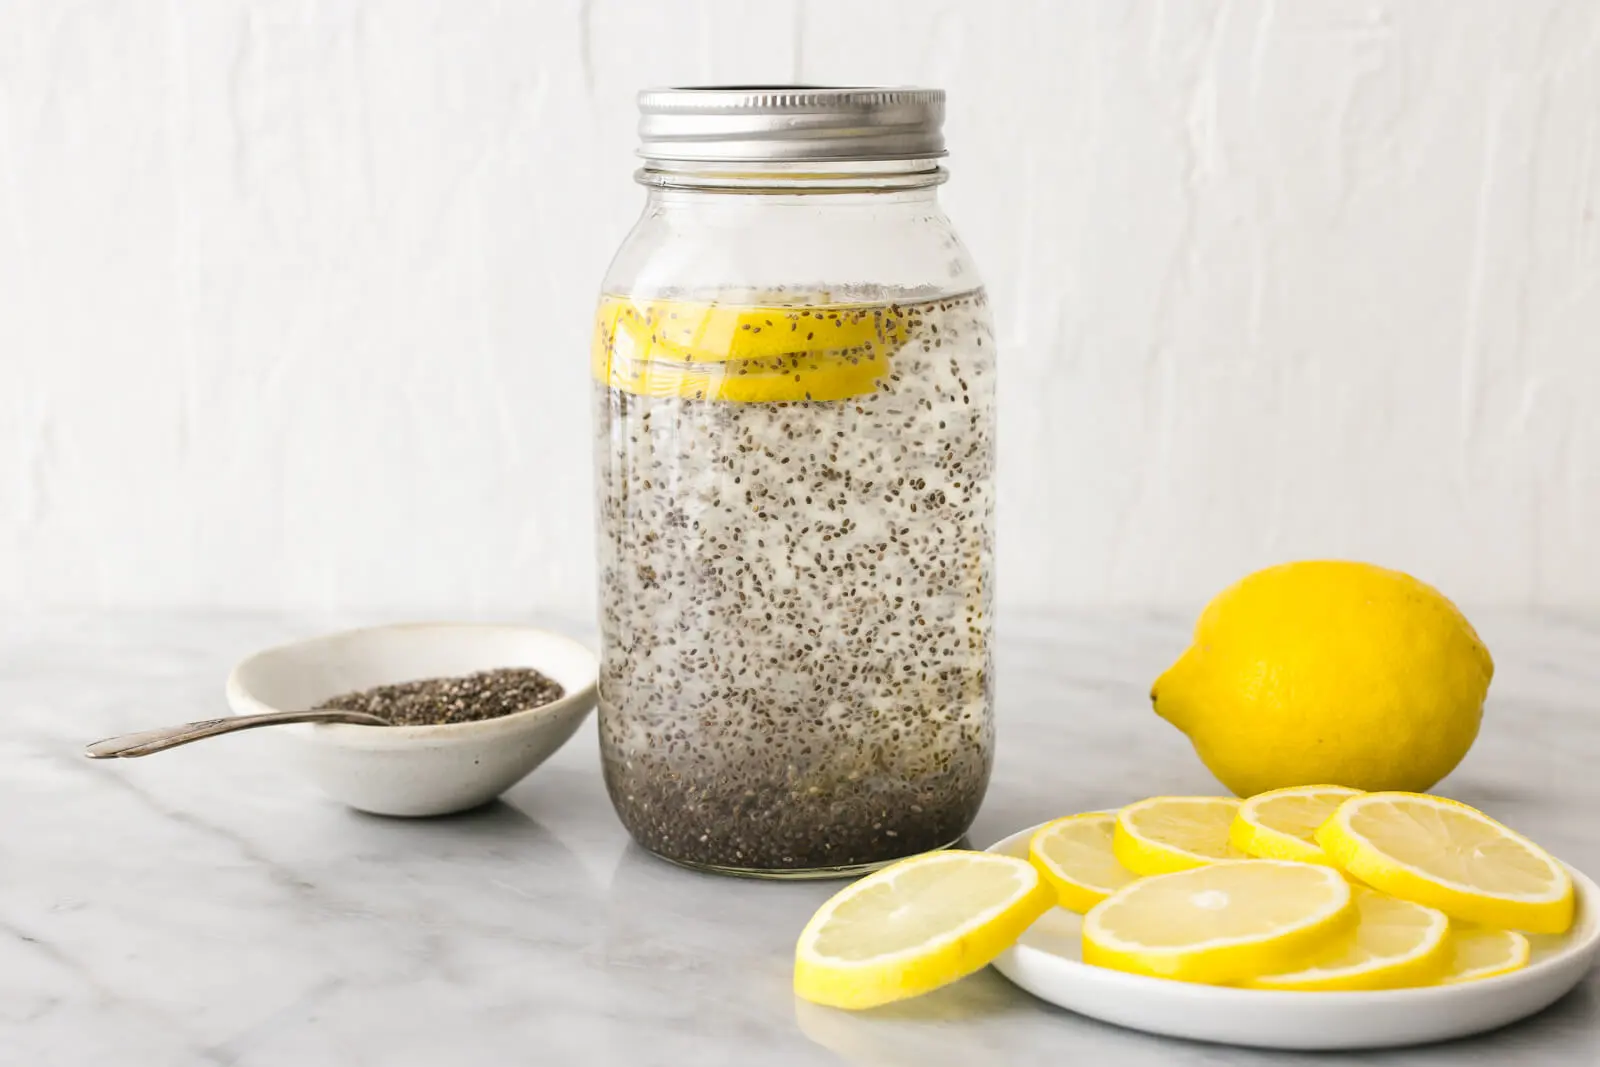
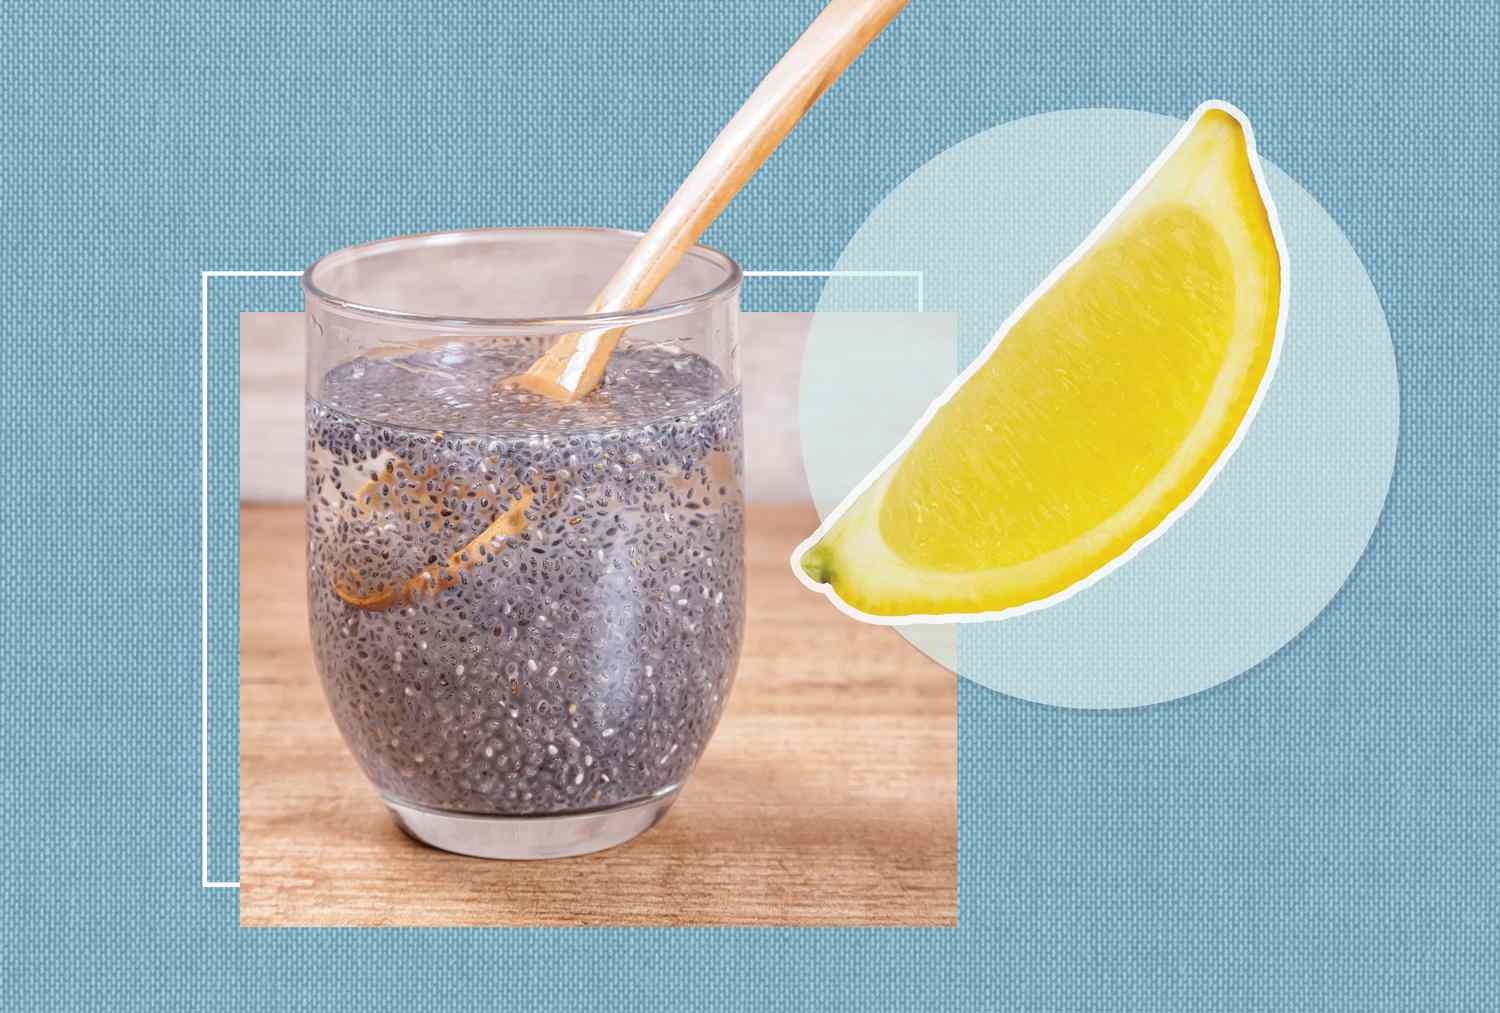
- Add chia seeds to the water: Gently sprinkle the measured chia seeds onto the surface of the water. Stir the seeds lightly with a spoon to ensure that they are evenly distributed in the container.
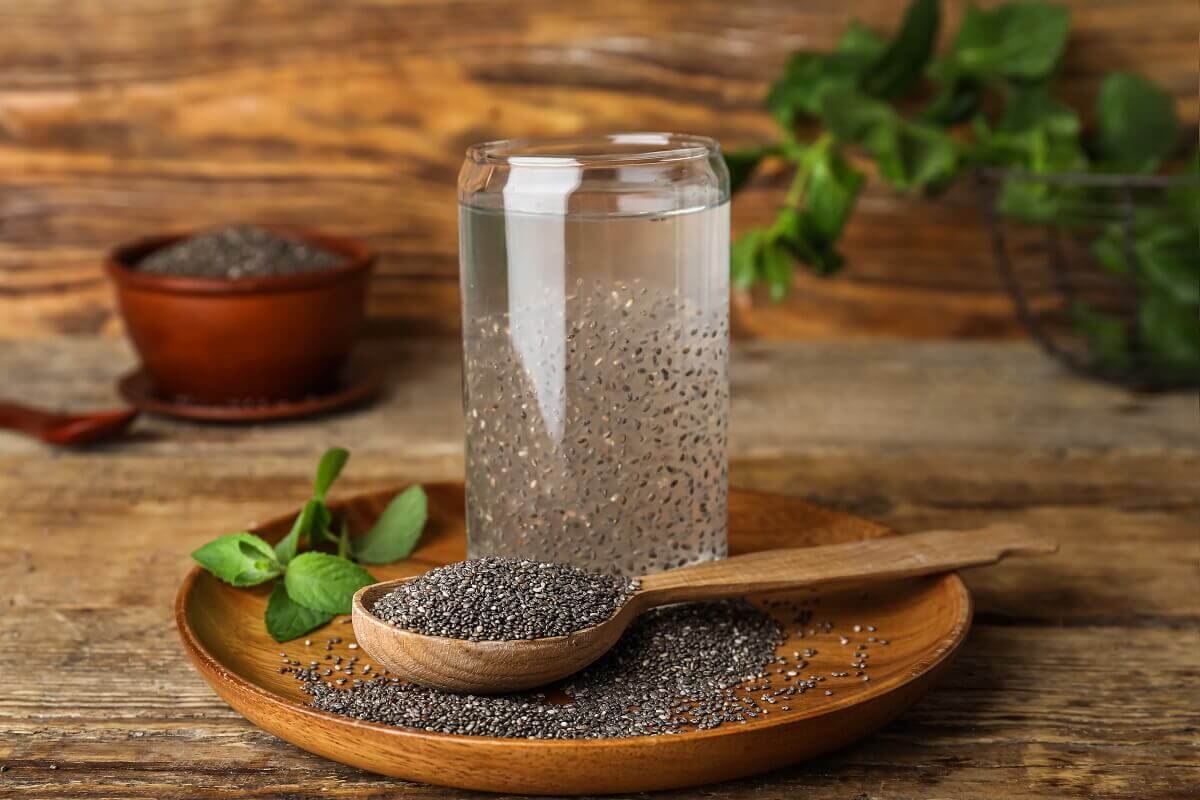
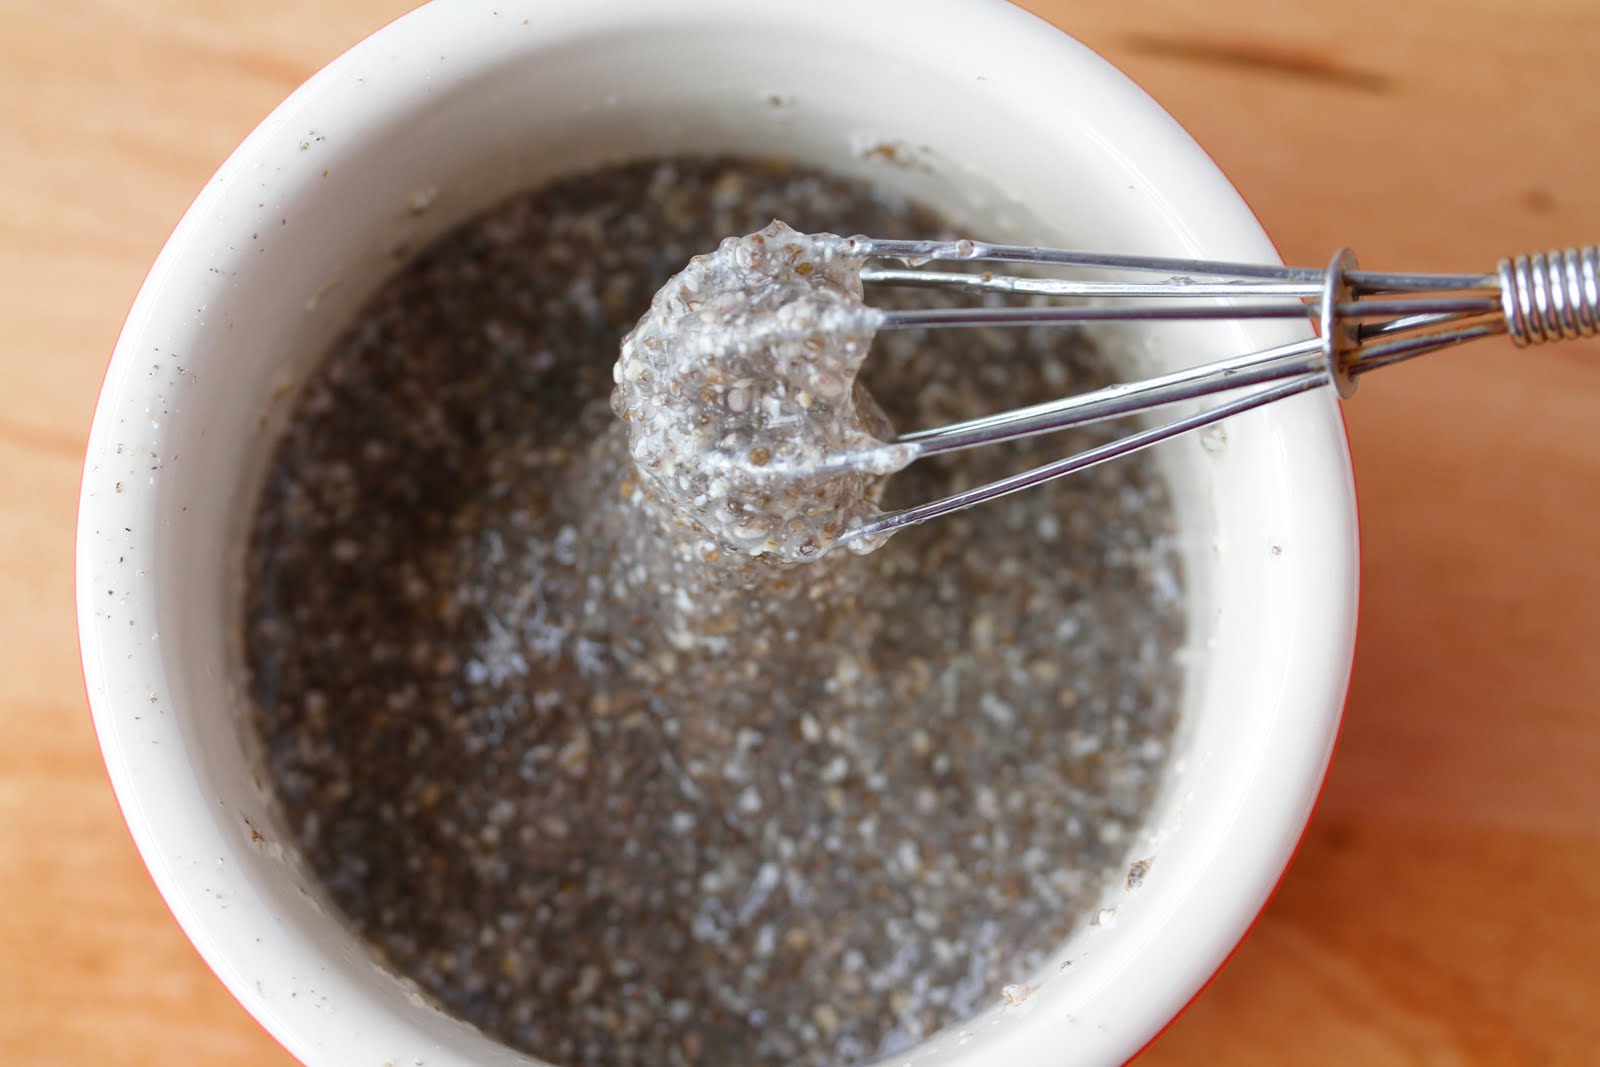
- Allow seeds to soak: Let the chia seeds soak in the water for about 10-15 minutes. During this time, the seeds will start absorbing water and expanding.
- Give it a stir: After the initial soaking period, stir the chia seeds again to prevent clumping. This step helps to ensure that all the seeds have access to water and can sprout evenly.
- Leave the seeds to soak overnight: Cover the container with a breathable cloth or plastic wrap and let the chia seeds continue soaking overnight. This extended soaking period allows the seeds to absorb enough moisture and initiate the germination process.
Remember to check the water level in the container from time to time. If the water level drops significantly, add a small amount of filtered water to maintain the required moisture for sprouting.
Soaking the chia seeds is a crucial step in the sprouting process, as it provides the seeds with the necessary hydration to begin germination. Once the seeds have soaked overnight, you can move on to the next step: caring for the chia sprouts!
To grow chia seeds in water, use a shallow container and fill it with water. Spread a layer of chia seeds on top and place in a sunny spot. Keep the water level consistent and change every few days. Harvest the chia sprouts when they are about 2 inches tall.
Caring for the Chia Seeds
Once the chia seeds have finished soaking and are on their way to sprouting, it’s important to provide them with proper care to ensure healthy growth. Here are some essential tips to care for your chia sprouts:
- Place the container in a well-lit area: Chia sprouts require adequate sunlight or bright indirect light to thrive. Find a spot near a window where the sprouts can receive 6-8 hours of light daily. If natural light is limited, you can also use a grow light to supplement the needed brightness.
- Keep an eye on the moisture: Regularly check the moisture level in the container. Chia sprouts prefer a consistently moist environment, so mist the sprouts with filtered water using a spray bottle as needed. Avoid overwatering to prevent waterlogged conditions.
- Avoid direct heat or drafts: Chia sprouts are sensitive to extreme temperatures. Keep the container away from direct heat sources such as radiators or heat vents. Additionally, avoid placing the sprouts in areas with strong drafts, as it can cause the soil or seeds to dry out too quickly.
- Rinse the sprouts: After a day or two of sprouting, gently rinse the chia sprouts with water to remove any debris or excess seeds. This step helps to keep the sprouts fresh and prevent mold or fungal growth.
- Rotate the container: To ensure even growth, rotate the container every day or two. This helps the chia sprouts receive equal exposure to light and prevents the sprouts from leaning towards the light source.
- Monitor and remove any mold: While rare, mold can sometimes develop on chia sprouts. Monitor the sprouts closely and if you notice any signs of mold, remove the affected sprouts immediately to prevent it from spreading.
By following these care tips, you can provide a nurturing environment for your chia sprouts to thrive and grow. With patience and attention, you will be rewarded with healthy and vibrant chia sprouts in no time!
Read more: How To Grow Chia Seeds In Terracotta
Harvesting the Chia Sprouts
After several days of care and growth, your chia sprouts will be ready for harvesting. Harvesting chia sprouts is a simple and satisfying process. Here’s how to do it:
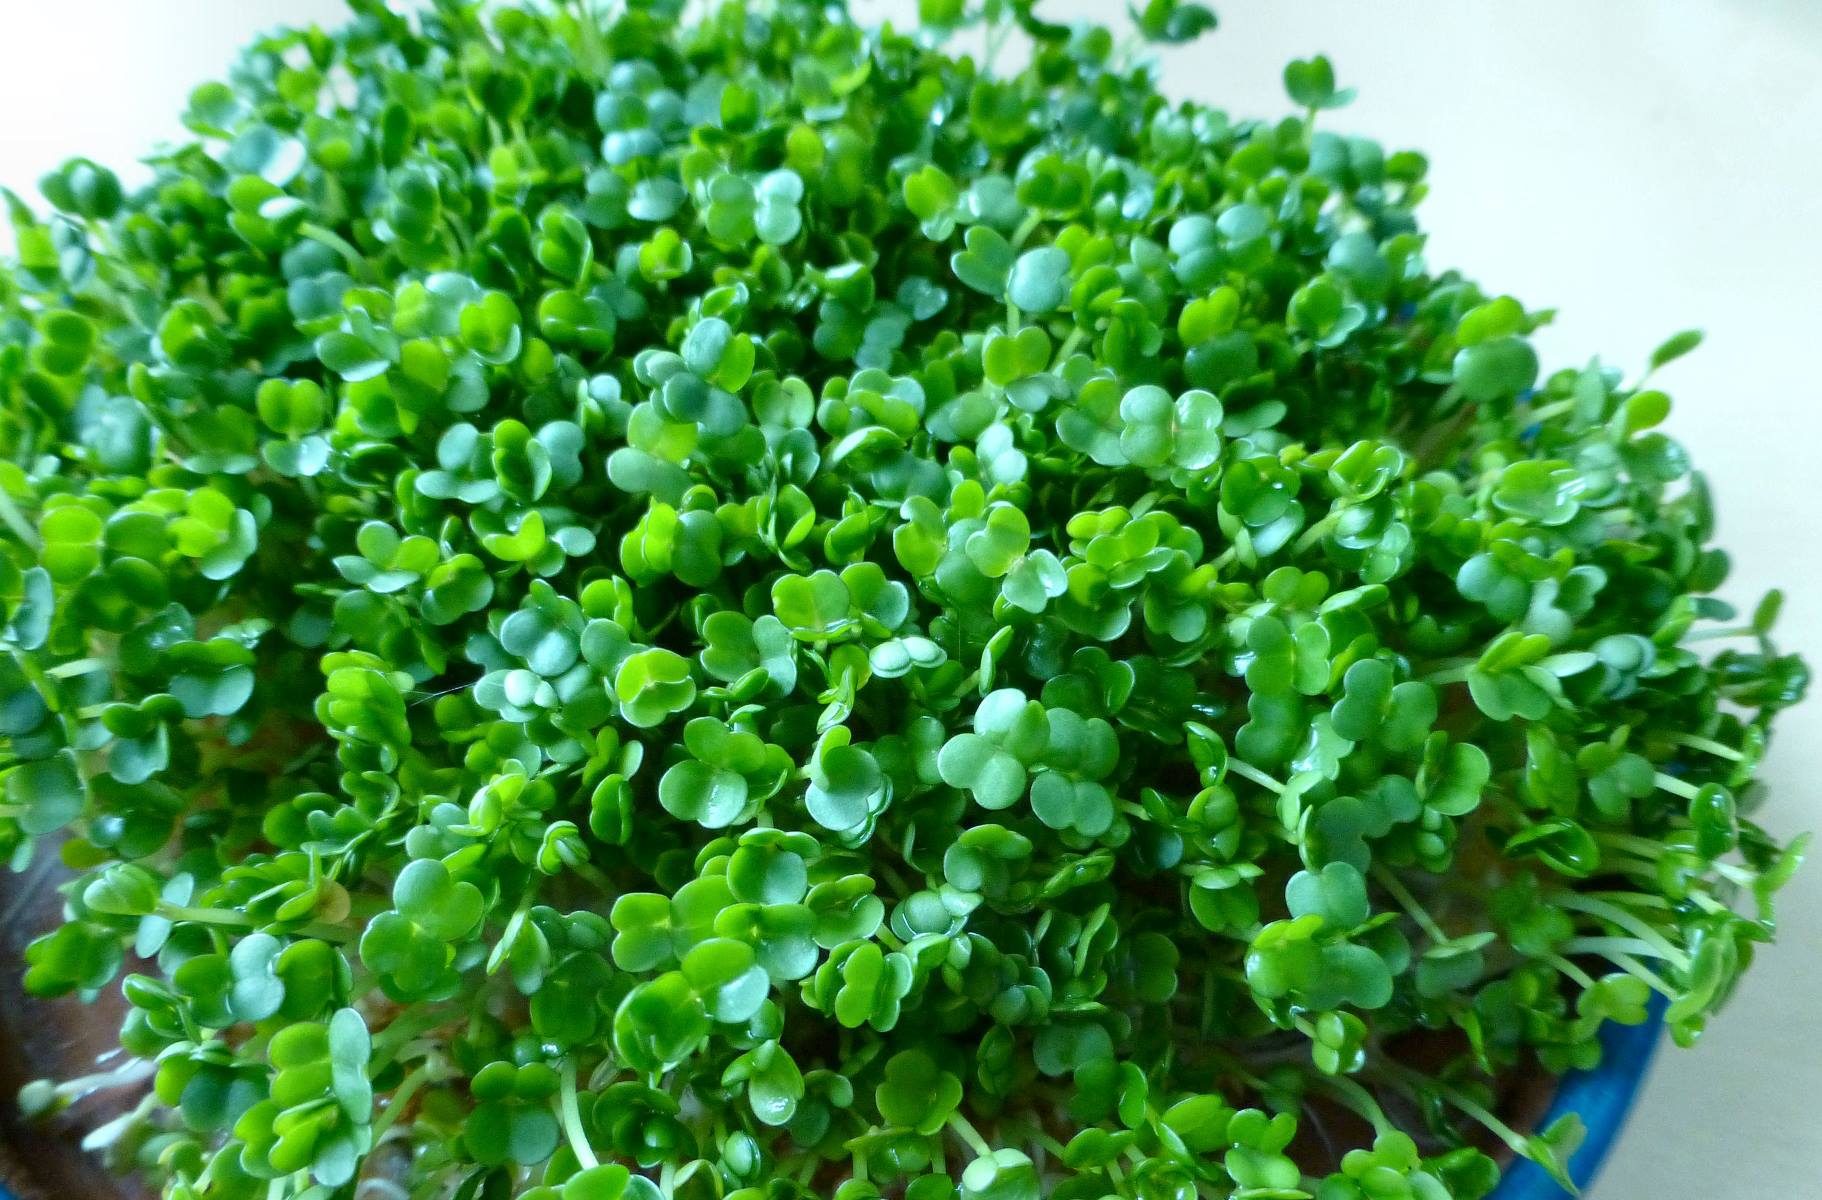
- Inspect the sprouts: After a few days of growth, the chia sprouts should have reached a desirable length of around 2-3 inches. Inspect the sprouts to ensure they have developed a vibrant green color and healthy foliage.
- Prepare a clean surface: Before harvesting, lay a clean surface such as a cutting board or tray to collect the harvested sprouts. This will make it easier to transfer the sprouts and ensure cleanliness.
- Gently remove the sprouts: Carefully lift the chia sprouts from the container, ensuring that you grasp the base of the sprouts near the soil line. Use a gentle twisting motion to detach the sprouts from the soil or growing medium.
- Collect the harvested sprouts: Place the harvested chia sprouts onto the clean surface, arranging them neatly. Gently pat them dry with a paper towel, if needed, to remove excess moisture.
- Discard any unwanted or damaged sprouts: As you harvest, discard any sprouts that appear damaged, discolored, or slimy. This helps maintain the quality and freshness of the harvested chia sprouts.
- Store or use immediately: Once harvested, you can choose to store the chia sprouts in an airtight container in the refrigerator. They can stay fresh for up to a week. Alternatively, you can use the sprouts immediately in your favorite recipes or salads to enjoy their fresh flavor and nutritional benefits.
Harvesting chia sprouts at the right time ensures that you enjoy them at their peak freshness and flavor. With a little practice, you’ll become adept at harvesting and can enjoy the fruits of your labor in no time!
Using Chia Sprouts
Chia sprouts offer a burst of freshness and nutrition, making them a versatile ingredient to incorporate into your meals. Here are some creative and delicious ways to use chia sprouts:
- Add to salads: Chia sprouts make a fantastic addition to salads, adding a refreshing crunch and a mild nutty flavor. Toss them with your favorite greens, vegetables, and dressings for a nutritious boost.
- In sandwiches or wraps: Layer chia sprouts in sandwiches or wraps to add texture and flavor. They work well with various fillings, such as avocado, cucumber, and grilled chicken.
- Garnish for soups or stews: Sprinkle chia sprouts on top of warm soups or stews just before serving. They not only add visual appeal but also provide a fresh element to the dish.
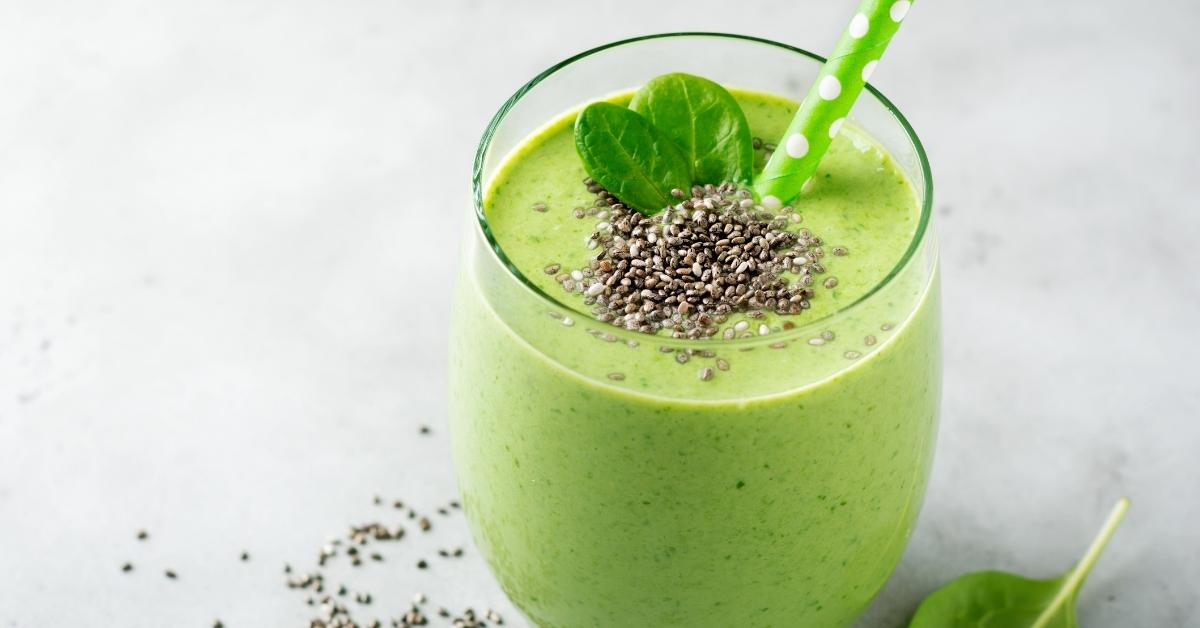
- Blend into smoothies: For an extra nutritious kick, blend chia sprouts into your favorite smoothies. They add a subtle earthy taste and contribute to the overall nutritional content of the beverage.
- Top on grain bowls: Create a nourishing grain bowl by layering cooked grains, roasted vegetables, and protein of your choice. Finish it off with a handful of chia sprouts for added freshness and a delightful crunch.
- Incorporate into dips or spreads: Blend chia sprouts into creamy dips or spreads, such as hummus or guacamole. They not only enhance the flavor but also boost the nutritional value.
- Experiment with chia sprout recipes: Get creative in the kitchen and explore recipes specifically designed for chia sprouts. From chia sprout salads to chia sprout sushi rolls, there are plenty of innovative ideas to try.
Remember, chia sprouts are best enjoyed raw or lightly cooked. Experiment with different recipes and let your culinary imagination soar!
Now that you know how to grow and use chia sprouts, you can enjoy their fresh flavor and nutritional benefits in your everyday meals. Have fun exploring the versatility of chia sprouts and reap the rewards of your homegrown goodness!
Ready to dive deeper into the world of chia? Find out which varieties will give you the lushest sprouts in our guide on selecting Chia Seeds. Curious about the sprouting timeline? Our article on Seed Germination explains how swiftly you can expect sprouts to emerge, setting you on the fast track to enjoying these nutritious gems.
Frequently Asked Questions about How To Grow Chia Seeds In Water
Was this page helpful?
At Storables.com, we guarantee accurate and reliable information. Our content, validated by Expert Board Contributors, is crafted following stringent Editorial Policies. We're committed to providing you with well-researched, expert-backed insights for all your informational needs.

0 thoughts on “How To Grow Chia Seeds In Water”