Home>Garden Essentials>How To Grow A Lemon Tree From Seed In Water

Garden Essentials
How To Grow A Lemon Tree From Seed In Water
Modified: August 23, 2024
Learn how to grow a lemon tree from seed in water and create a beautiful garden filled with fresh citrus fruits. Start your gardening journey today!
(Many of the links in this article redirect to a specific reviewed product. Your purchase of these products through affiliate links helps to generate commission for Storables.com, at no extra cost. Learn more)
Introduction
Welcome to the world of gardening, where you can turn a tiny seed into a thriving lemon tree! Growing a lemon tree from a seed is not only a rewarding experience but also a great way to add a touch of freshness to your garden or indoor space. Plus, it’s a wonderful project that you can enjoy with the whole family.
One of the easiest methods to grow a lemon tree from a seed is by germinating it in water. This method allows you to witness the magic of seed germination and see the roots develop before transplanting the seedling into soil. With a bit of patience and care, you can watch your lemon tree grow from a small seedling into a beautiful, fruit-bearing tree.
Before you get started, let’s gather all the materials you’ll need for this project.
Key Takeaways:
- Growing a lemon tree from a seed in water is a fun and rewarding project that requires patience and care. It’s a magical journey from a tiny seed to a flourishing tree bearing juicy lemons.
- By following simple steps like preparing the seeds, germinating them in water, and transplanting the seedlings into soil, you can experience the joy of watching your lemon tree grow and thrive.
Read more: How Do You Grow A Lemon Tree From A Seed
Gathering Materials
Before embarking on your lemon tree growing journey, it’s important to ensure you have all the necessary materials ready. Here’s a checklist of items you’ll need:
- A fresh, healthy lemon: Look for a ripe lemon with seeds, preferably organic, as they may have a higher chance of germination.
- A sharp knife: Use a knife to carefully cut the lemon and extract the seeds. Ensure the knife is clean to prevent any contamination.
- A bowl of water: You’ll need a container filled with room temperature water to soak the seeds during the germination process.
- A small planting pot: Once the seed germinates and develops roots, you’ll need a small pot to transfer the seedling to.
- Well-draining soil: Prepare a potting mix that allows for proper drainage to prevent root rot. You can mix equal parts of potting soil, perlite, and compost.
- A spray bottle: A spray bottle filled with water will come in handy during the seedling care process.
- A sunny location: Lemon trees thrive in full sun, so choose a sunny spot either outdoors or near a south-facing window if you plan to keep it indoors.
- Optional: Fertilizer: You can use a balanced citrus fertilizer to provide essential nutrients to the growing lemon tree.
Once you have gathered all the necessary materials, you’re ready to move on to the next step: preparing the lemon seeds for germination.
Preparing the Lemon Seeds
Before you start germinating your lemon seeds, it’s important to prepare them properly to increase the chances of successful germination. Here’s what you need to do:
- Extract the seeds from a fresh lemon: Start by cutting a ripe lemon and carefully removing the seeds. Choose the largest and healthiest-looking seeds for better results.
- Clean the seeds: Rinse the seeds under running water to remove any pulp or residue. Gently rub them with your fingers to ensure they are clean.
- Scarify the seeds: Take a fine-grit sandpaper and gently rub the surface of each seed. This process, known as scarification, helps to break the seed coat and promote germination.
- Soak the seeds: Fill a glass or container with room temperature water and place the seeds in it. Let them soak for 24 hours to soften the seed coat and encourage germination.
Once the seeds have soaked for the recommended time, it’s time to transfer them to a water-filled container for further germination. Let’s move on to the next step.
Germinating the Seeds
Now that you’ve prepared your lemon seeds, it’s time to start the germination process. Follow these steps to ensure successful germination:
- Fill a container with water: Take a clean glass or container and fill it with room temperature water. Leave about an inch of space at the top.
- Place the prepared seeds in the water: Carefully transfer the soaked lemon seeds into the container of water. Make sure the seeds are fully submerged.
- Find a warm and bright location: Place the container in a warm spot with indirect sunlight. A windowsill or a spot near a bright, sunny window works well.
- Wait for seed germination: Now comes the patience part. It may take anywhere from 1 to 3 weeks for the lemon seeds to germinate. During this time, monitor the water level and ensure it doesn’t go below the seeds.
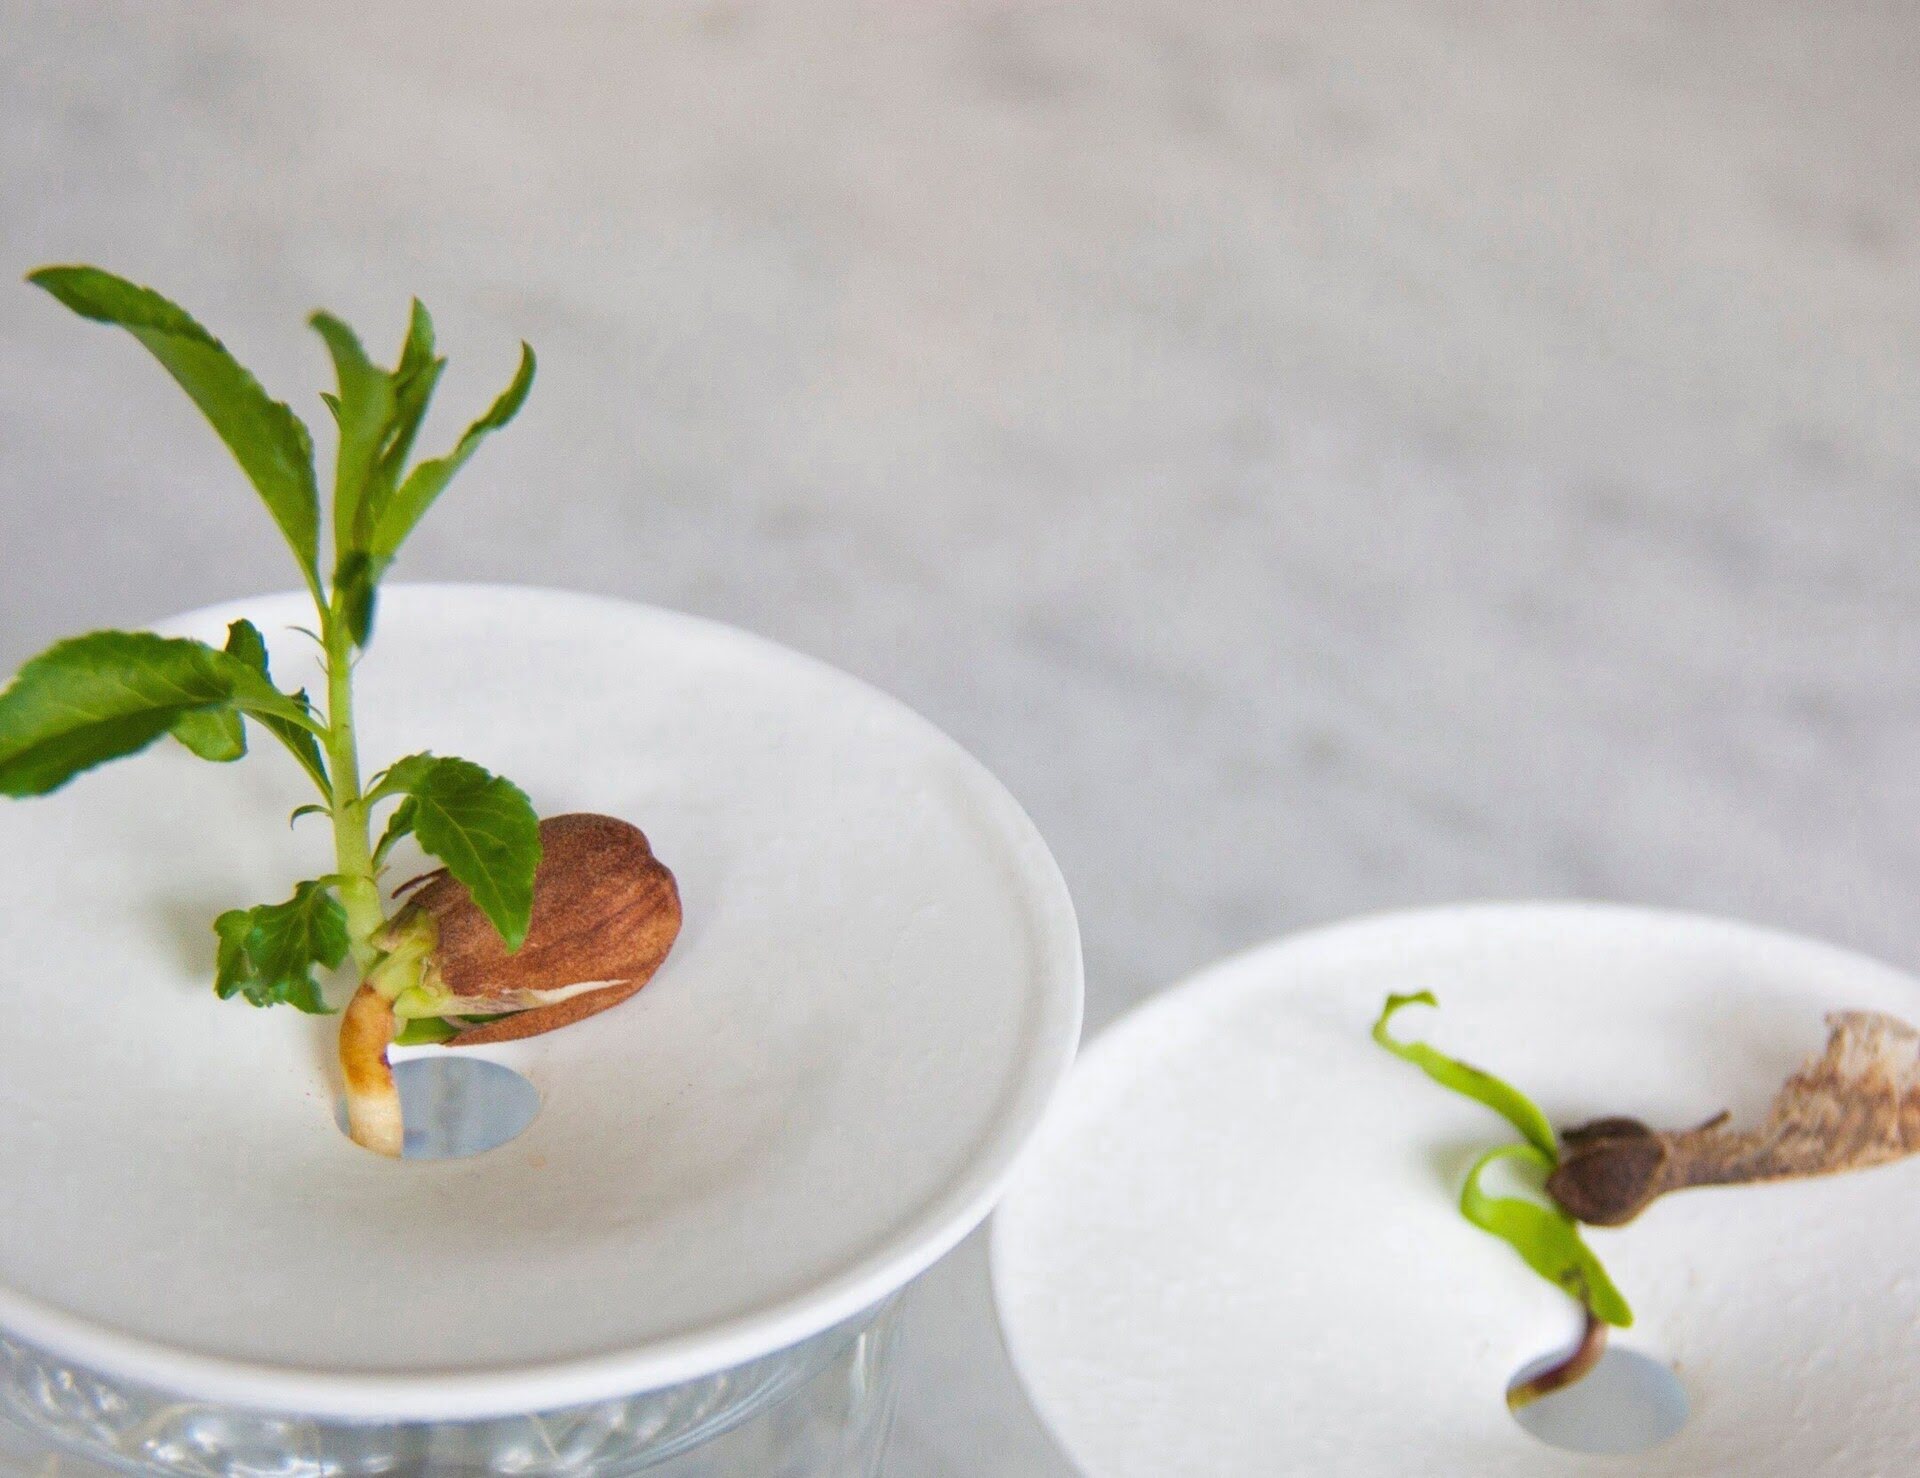
- Observe the sprouting process: As the seeds germinate, you’ll notice small white roots emerging from the seeds. These are the beginnings of your lemon tree!
Keep in mind that not all seeds may germinate, so it is a good idea to start with a few extra seeds to increase your chances of success. Once you see significant root growth, it’s time to transfer the seeds to water to continue their growth. We’ll cover that in the next step.
After removing the seeds from a lemon, soak them in water for a few days to soften the outer shell. Then plant them in a small pot with well-draining soil, and keep the soil consistently moist. Place the pot in a warm, sunny spot and wait for the seeds to sprout.
Transferring the Seeds to Water
Once your lemon seeds have successfully germinated and developed small roots, it’s time to transfer them to water. This step allows the roots to grow further and helps the seedling become stronger before being planted in soil. Follow these steps to transfer the seeds:
- Prepare a clean container: Get a new container filled with room temperature water. Make sure the container is deep enough to accommodate the growth of the roots.
- Gently remove the seeds: Carefully lift each germinated seed from the original container and place it into the new container of water. Be cautious not to disturb the delicate roots.
- Position the seeds in the water: Submerge the roots of the seedling in the water, leaving the top of the sprout exposed. The water level should cover the roots without touching the leaves or stem.
- Find a suitable location: Place the container in a location that receives bright, indirect sunlight. Ensure the seedlings are protected from extreme temperature fluctuations.
- Change the water regularly: Every 2-3 days, change the water in the container. Fresh water helps to prevent the growth of bacteria and keeps the roots healthy.
As the seedlings continue to grow in the water, you’ll notice the roots becoming longer and stronger. This process typically takes a few weeks. Once the roots have developed and are well-established, it’s time to prepare for the next step: transplanting the seedlings into soil. We’ll cover that in detail in the following section.
Read more: How To Start A Lemon Tree From Seed
Caring for the Seedling
Now that your lemon seedlings are growing in water and developing strong roots, it’s important to provide them with proper care to ensure their healthy growth. Here are some tips to follow:
- Monitor water levels: Check the water level in the container regularly and ensure it covers the roots without submerging the leaves or stem. If the water level drops, add more room temperature water to maintain the proper level.
- Provide sunlight: Lemon trees thrive in bright, indirect sunlight. Place the container in a location where the seedlings can receive at least 6 hours of sunlight daily. Rotate the container regularly to ensure even sun exposure.
- Maintain a warm environment: Lemon trees prefer a warm climate. Keep the room temperature between 70-80°F (21-27°C) to promote healthy growth.
- Mist the leaves: Lemon trees appreciate slightly higher humidity levels. Use a spray bottle filled with water to mist the leaves and create a humid environment around the seedlings. Do this once or twice a day.
- Be patient: During this stage, your seedlings will continue to grow and develop. It may take several weeks or even months before the seedlings are ready to be planted in soil. Be patient and continue to provide proper care.
- Optional: Fertilize sparingly: If you notice slow growth or pale leaves, you can use a diluted citrus fertilizer once a month to provide nutrients. Follow the instructions on the fertilizer package and avoid overfertilizing, as it can harm the seedlings.
With the right care and attention, your lemon seedlings will thrive and prepare for the next exciting step: transplantation into soil. We’ll discuss that in the next section.
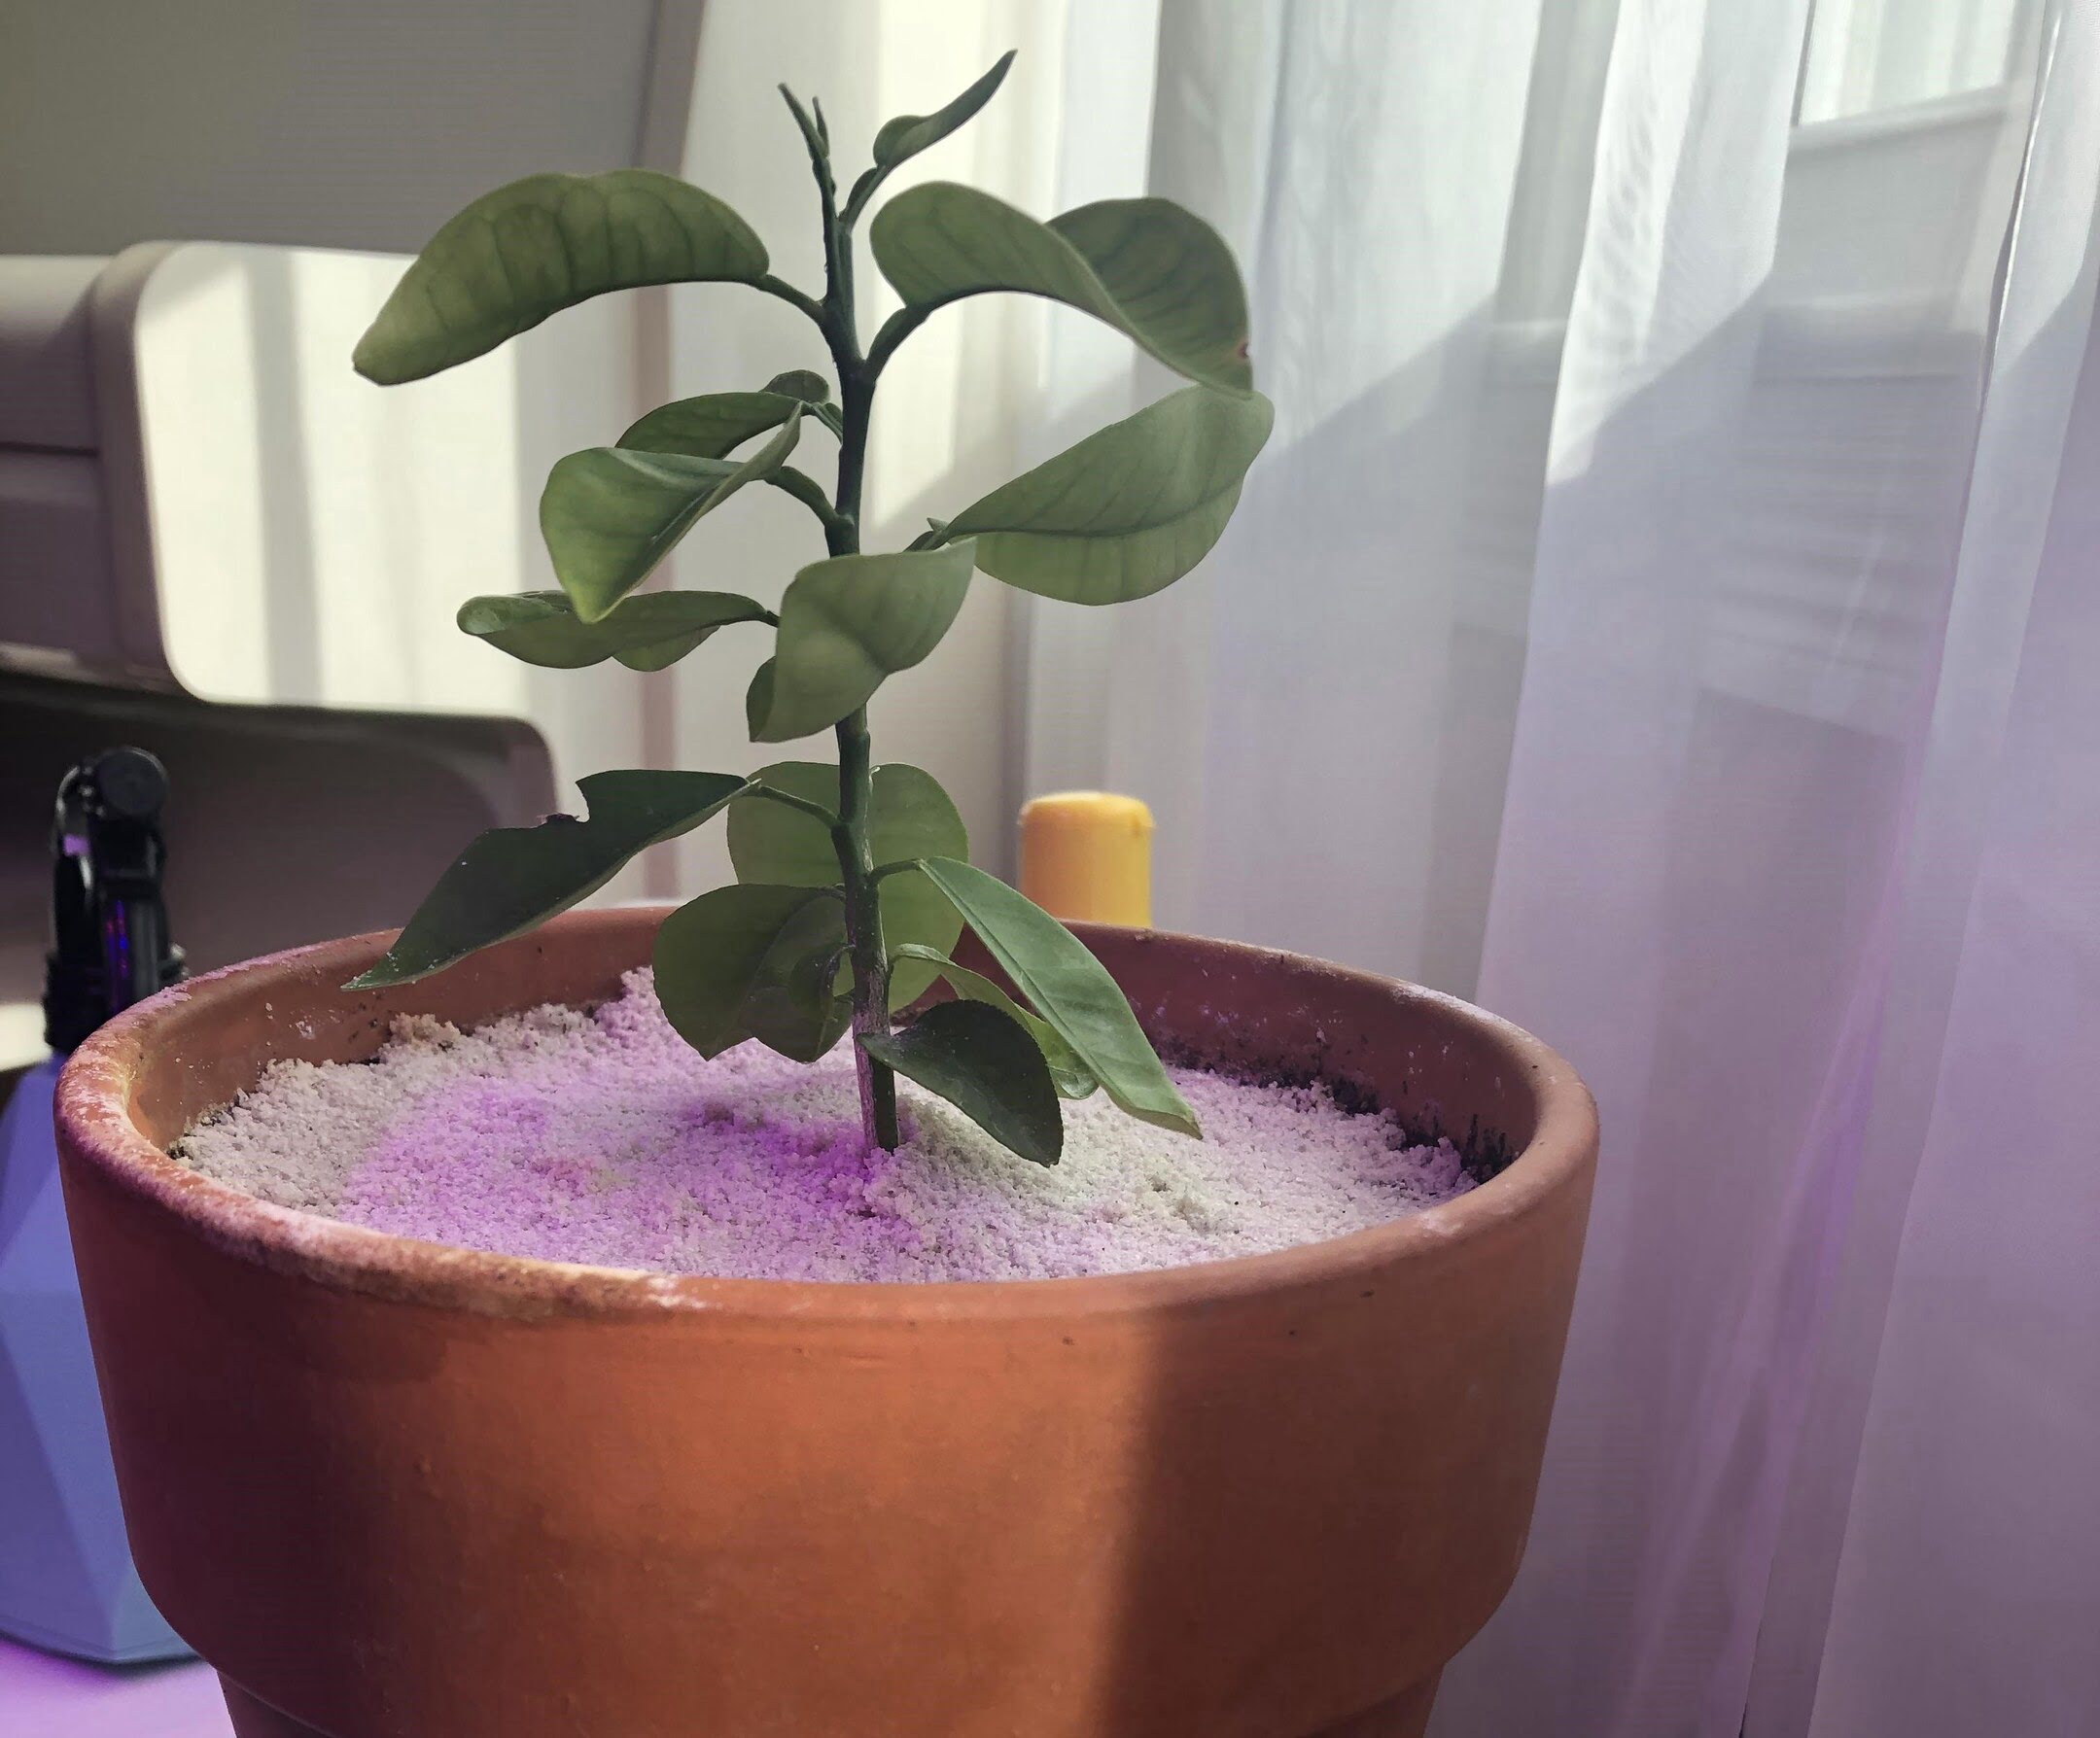
Transplanting the Seedling to Soil
Congratulations on reaching the final step of growing a lemon tree from seed! Transplanting your seedlings into soil is a crucial step in their journey towards becoming robust, fruit-bearing trees. Follow these steps to ensure a successful transplantation:
- Select a suitable pot: Choose a planting pot that is at least 12 inches (30 cm) in diameter and has drainage holes at the bottom. This will allow excess water to drain out and prevent root rot.
- Prepare the potting mix: Use a well-draining potting mix for your lemon tree. You can create your own mix by combining equal parts of potting soil, perlite, and compost. This will provide the necessary nutrients and ensure good drainage.
- Fill the pot with the potting mix: Fill the pot about halfway with the potting mix. Ensure there is enough space to accommodate the roots of the seedling.
- Remove the seedling from water: Carefully lift the seedling from the water container. Gently rinse off any excess water from the roots.
- Plant the seedling: Make a small hole in the center of the potting mix and gently place the seedling in it. Press the soil gently around the seedling to secure it in place.
- Add more potting mix: Fill the pot with more potting mix, making sure to cover the roots completely. Leave about an inch of space from the top of the pot to prevent overflow during watering.
- Water the seedling: Give the newly transplanted seedling a thorough watering until you see water draining out of the bottom drainage holes. This will help settle the soil and ensure good root contact.
- Find a sunny location: Place the pot in a sunny spot where the lemon tree can receive at least 6-8 hours of sunlight per day. If you’re growing the tree indoors, choose a south-facing window or use grow lights.
- Continue care: Maintain regular watering, ensuring the soil remains moist but not waterlogged. Allow the top inch of soil to dry before watering again. Monitor the growth and provide periodic fertilization as needed.
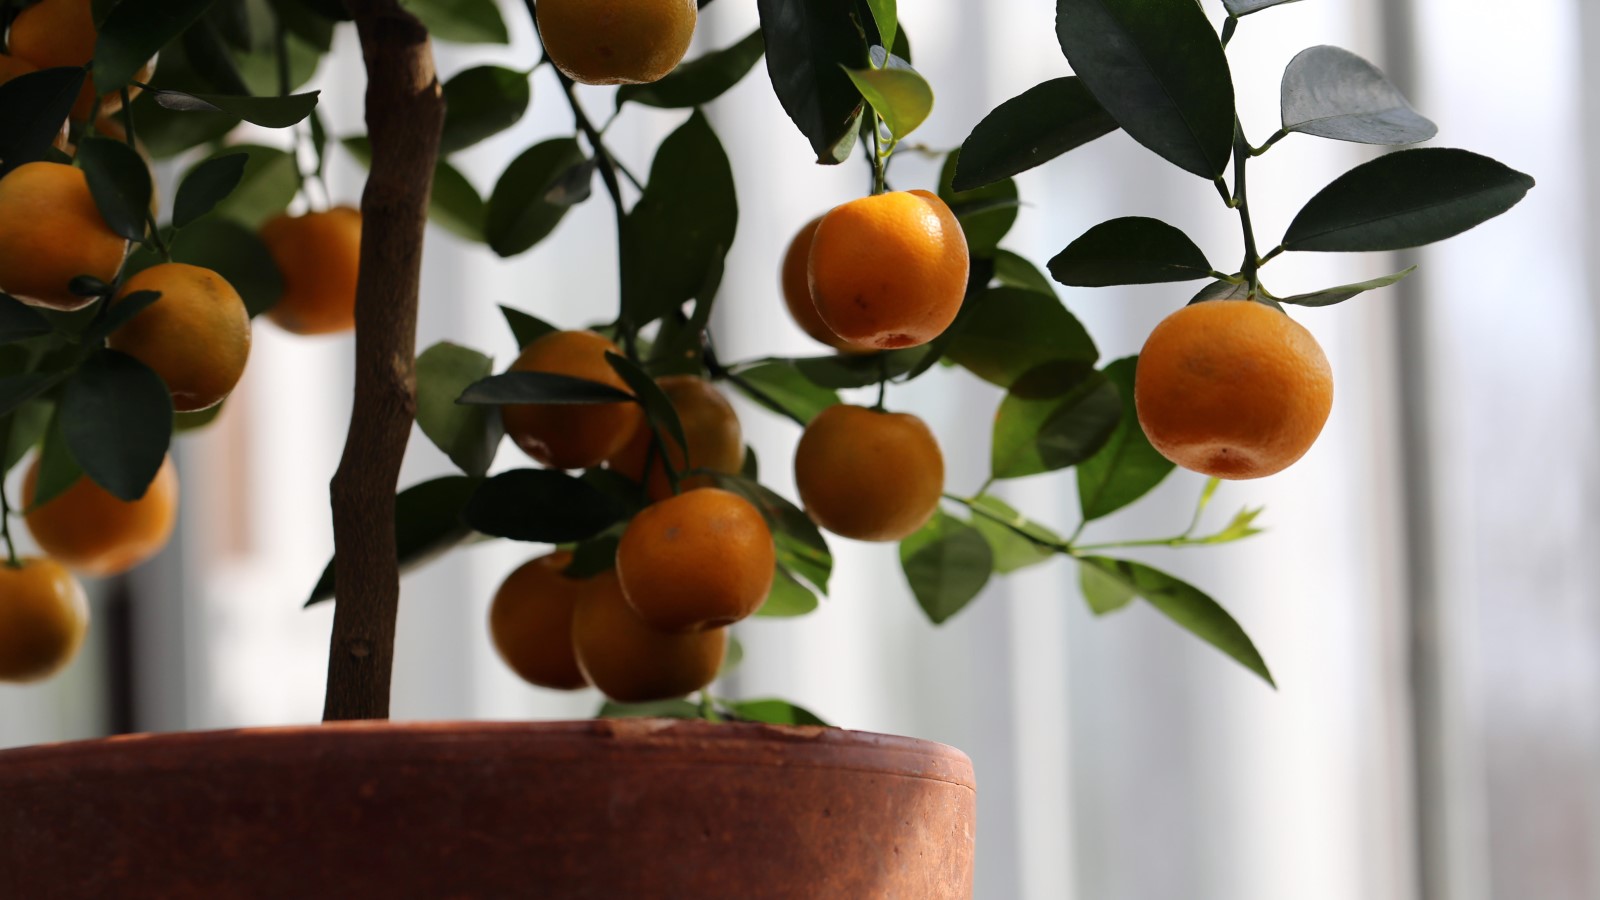
Remember, it will take time for your lemon tree to grow and start bearing fruit, but with patience and proper care, you’ll be rewarded with beautiful lemon trees that enhance your garden or indoor space. Enjoy the process and the journey of watching your lemon tree thrive!
Conclusion
Congratulations! You have successfully learned how to grow a lemon tree from a seed in water. Through the process of gathering materials, preparing the lemon seeds, germinating them, transferring them to water, caring for the seedlings, and finally transplanting them into soil, you’ve embarked on a fulfilling gardening journey.
By following the steps outlined in this guide, you can experience the magic of seed germination and witness the growth of your lemon tree from a tiny seedling to a flourishing tree that bears fragrant, juicy lemons.
Remember, growing a lemon tree from a seed requires patience, regular care, and attention to detail. The journey from seed to tree may take several months, but the rewards are well worth it. As you care for your lemon tree, you’ll develop a deeper understanding of the natural world and connect with the joys of gardening.
Now that you have the knowledge and skills to grow a lemon tree from a seed, it’s time to put that knowledge into practice. Grab some fresh lemons, gather your materials, and embark on this exciting and rewarding gardening project.
Enjoy the process, embrace the beauty of nature, and savor the taste of homegrown lemons from your very own lemon tree.
Frequently Asked Questions about How To Grow A Lemon Tree From Seed In Water
Was this page helpful?
At Storables.com, we guarantee accurate and reliable information. Our content, validated by Expert Board Contributors, is crafted following stringent Editorial Policies. We're committed to providing you with well-researched, expert-backed insights for all your informational needs.


0 thoughts on “How To Grow A Lemon Tree From Seed In Water”