Home>Furniture & Design>Outdoor Furniture>How To Install Wyze Camera Outdoor

Outdoor Furniture
How To Install Wyze Camera Outdoor
Published: January 13, 2024
Learn how to easily install Wyze Camera Outdoor to enhance your outdoor space. Get expert tips on setting up your outdoor furniture and design for a seamless experience. Discover the best practices for optimizing your outdoor camera installation.
(Many of the links in this article redirect to a specific reviewed product. Your purchase of these products through affiliate links helps to generate commission for Storables.com, at no extra cost. Learn more)
Introduction
Welcome to the world of smart outdoor security with the Wyze Camera Outdoor. Whether you're a tech enthusiast, a homeowner looking to enhance your property's security, or someone who simply loves innovative gadgets, the Wyze Camera Outdoor is designed to meet your needs. This compact yet powerful device offers a seamless way to monitor your outdoor spaces, providing peace of mind and convenience.
In this comprehensive guide, we'll walk you through the process of installing and setting up your Wyze Camera Outdoor. From unboxing the camera to adjusting its settings, we'll cover each step in detail to ensure that you can make the most of this cutting-edge technology. By the end of this tutorial, you'll be ready to enjoy the benefits of having a reliable outdoor camera system that seamlessly integrates with your smart home ecosystem.
So, let's dive in and get started with the exciting journey of setting up your Wyze Camera Outdoor. Whether you're a seasoned tech pro or a beginner in the world of smart home devices, this guide is designed to be easy to follow, ensuring that you can start using your Wyze Camera Outdoor with confidence. Let's embark on this adventure together and unlock the full potential of your outdoor security solution.
Key Takeaways:
- Setting up your Wyze Camera Outdoor is a breeze! From unboxing to mounting and testing, the process is straightforward and user-friendly, ensuring you can enjoy enhanced outdoor security with ease.
- The Wyze Camera Outdoor seamlessly integrates with your smart home, offering advanced features like motion detection and night vision. Stay connected and monitor your outdoor spaces with confidence and convenience.
Read more: How To Mount Wyze Outdoor Camera
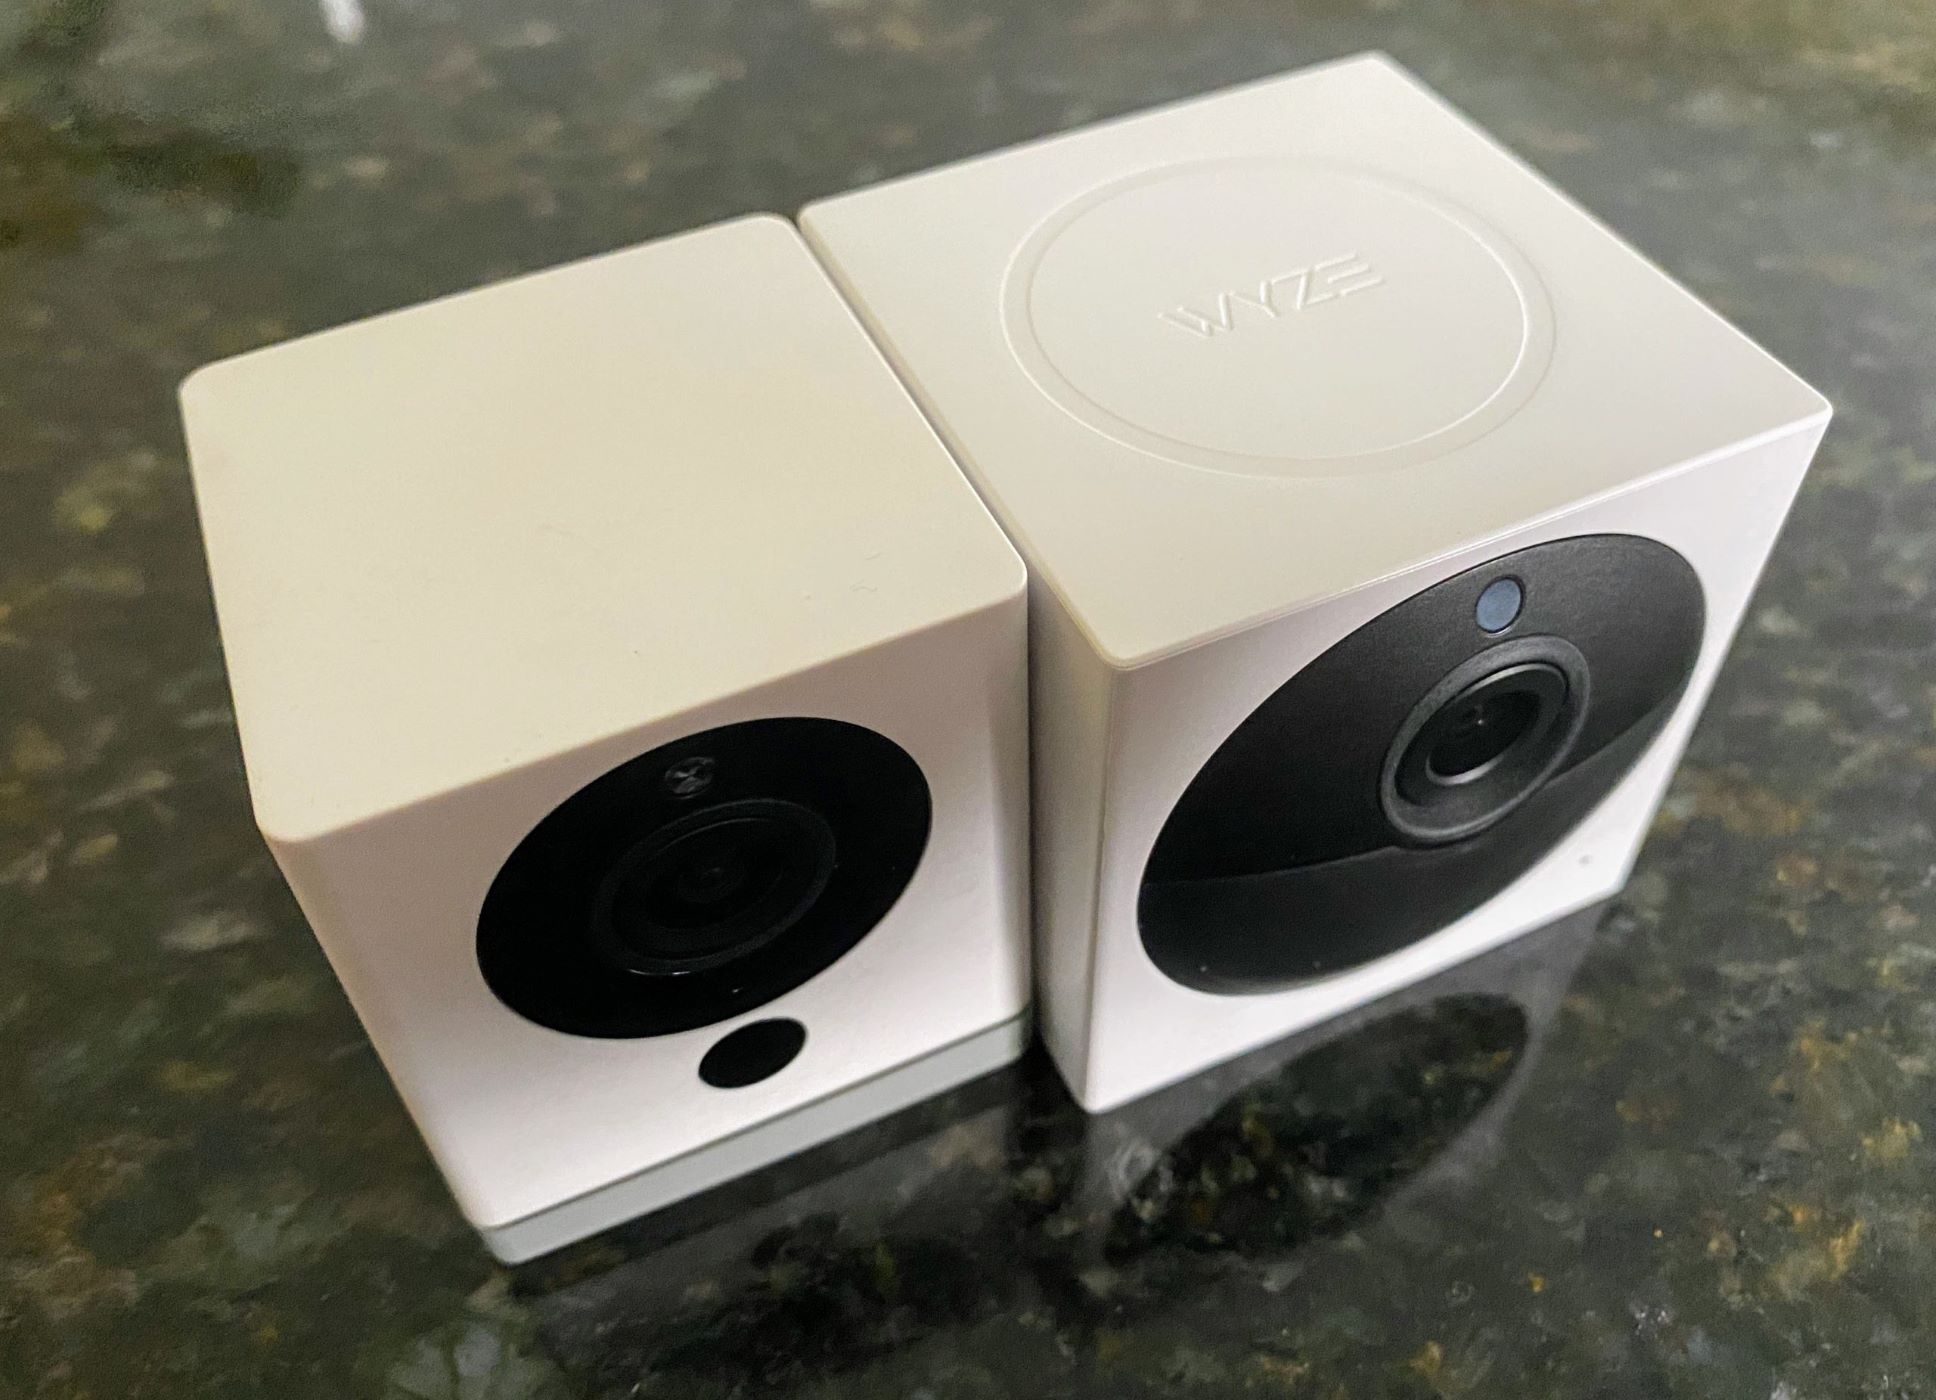
Step 1: Unpack the Wyze Camera Outdoor
Before diving into the installation process, it’s essential to start by unpacking your Wyze Camera Outdoor. The packaging is designed to ensure that you have all the necessary components and accessories to set up your camera seamlessly. Here’s what you can expect to find in the box:
- The Wyze Camera Outdoor
- Mounting Base
- Micro USB Cable
- Quick Start Guide
- Screws and Anchors
- Weather-resistant USB Cable
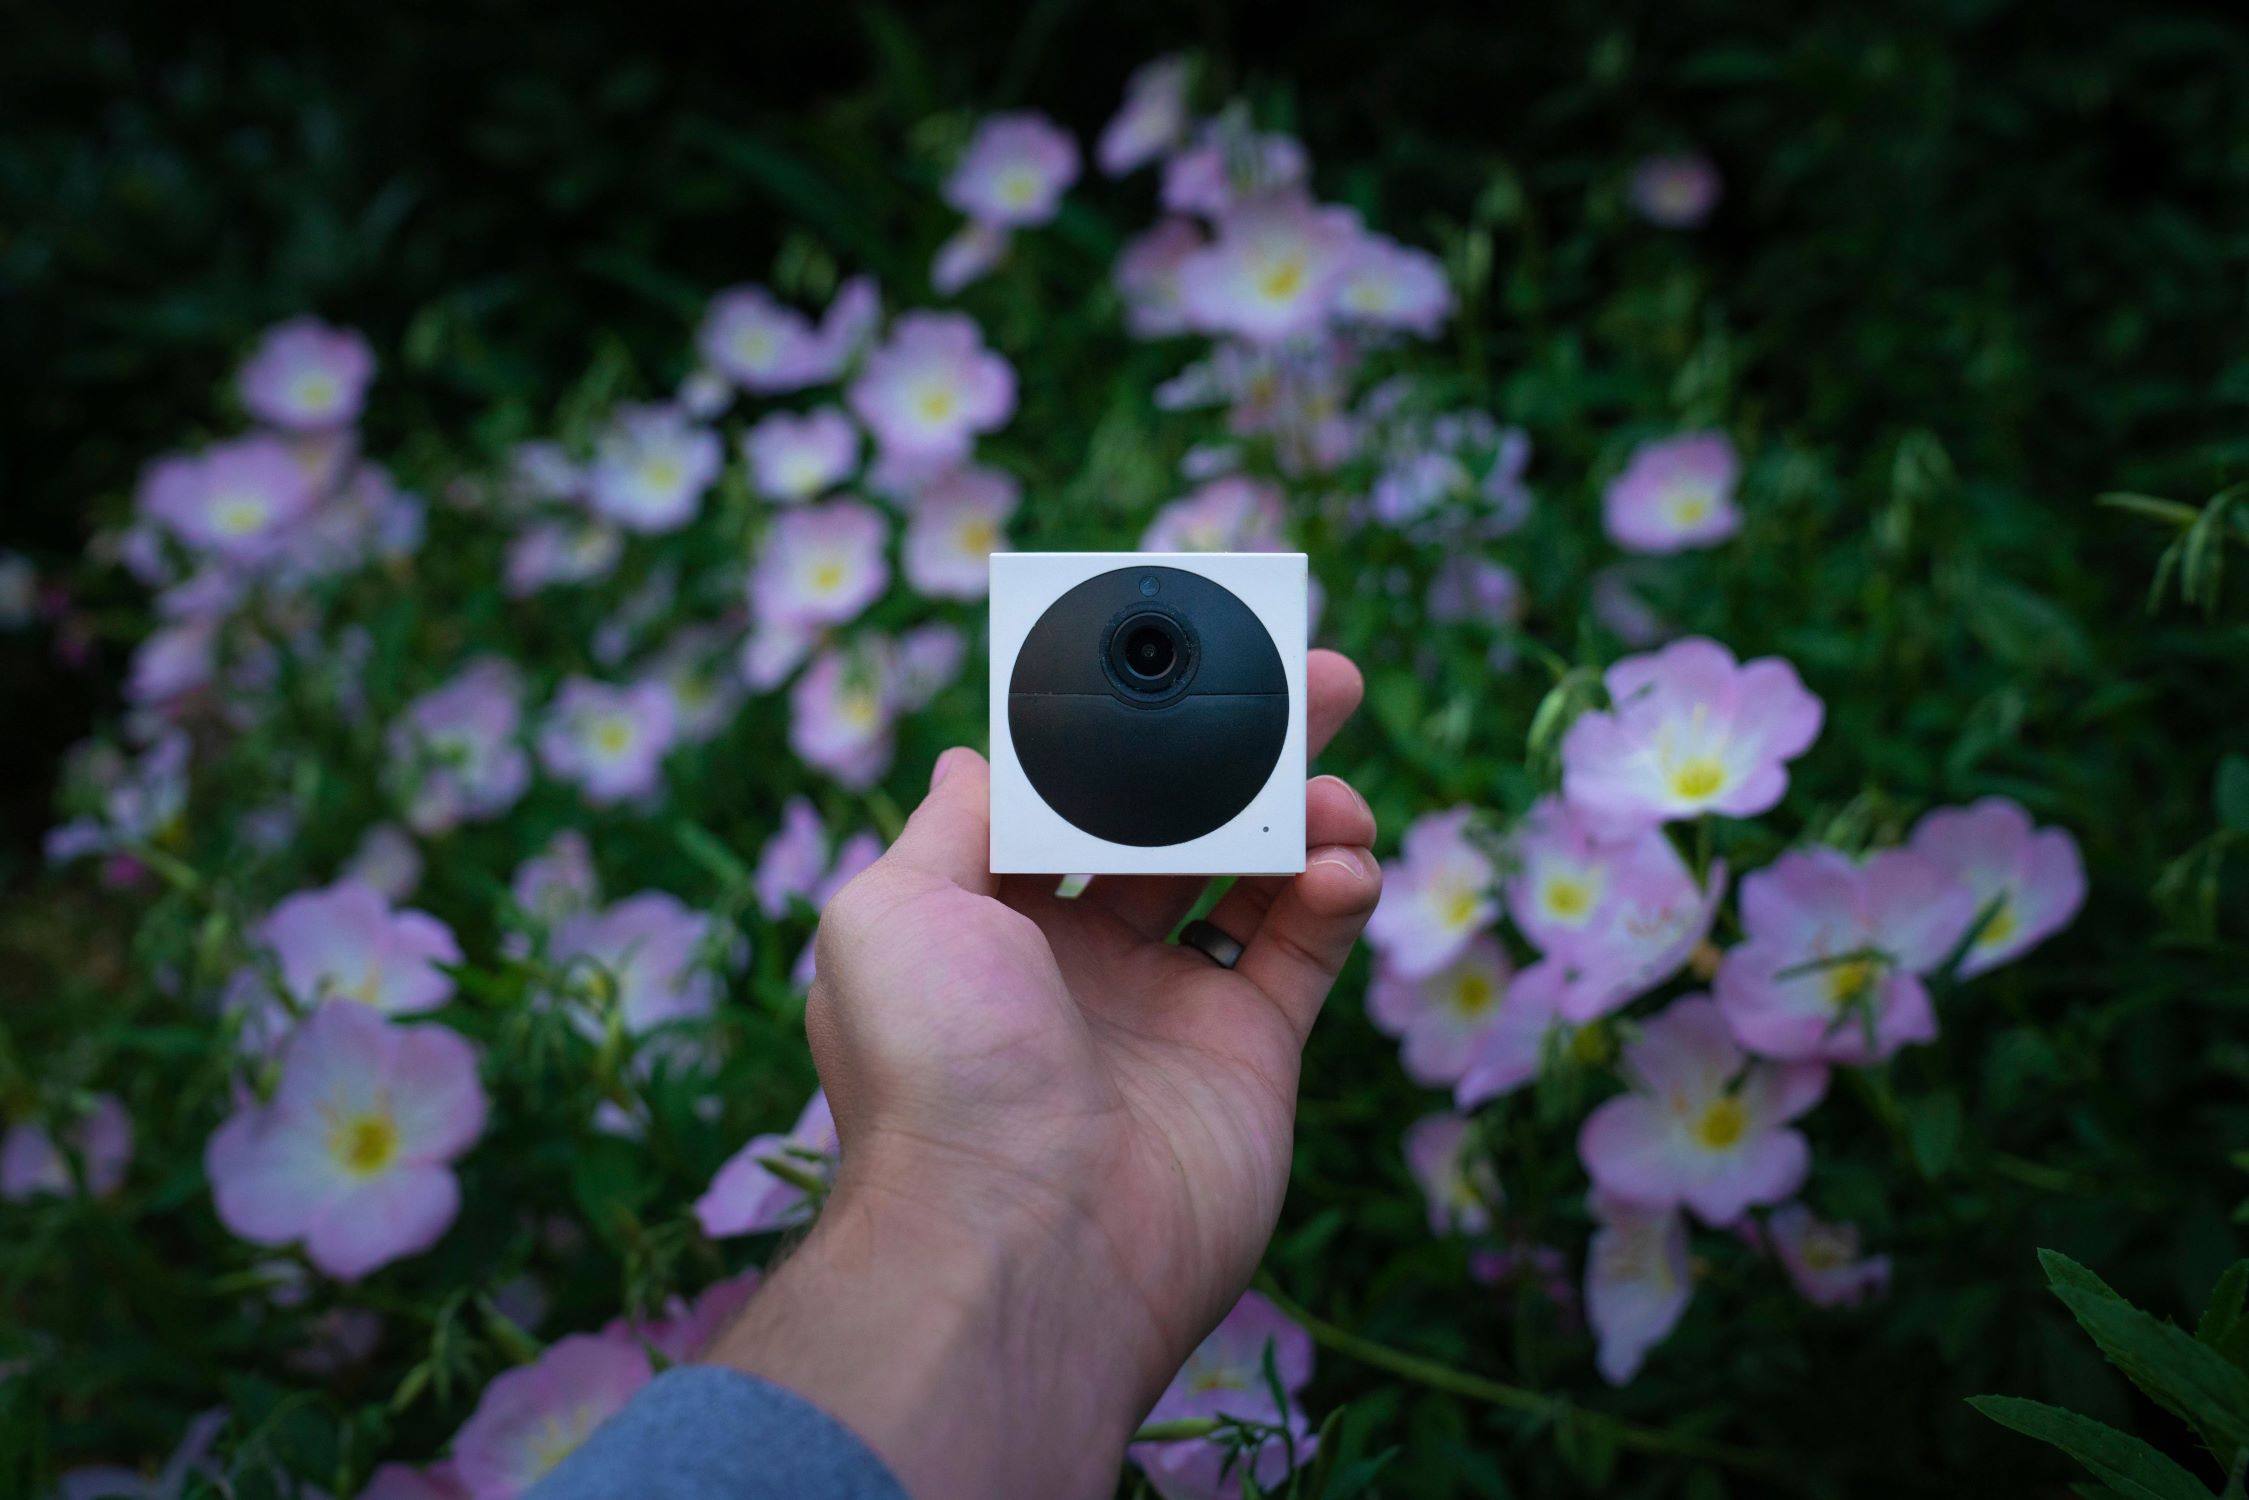
Once you’ve unpacked the contents, take a moment to familiarize yourself with the components. The Wyze Camera Outdoor boasts a sleek and durable design, engineered to withstand various outdoor conditions while delivering exceptional performance. The mounting base and weather-resistant USB cable are specifically crafted to ensure easy installation and long-term reliability.
As you unpack the camera, inspect each component to ensure that everything is in good condition. If you notice any damage or missing parts, it’s advisable to reach out to Wyze customer support for assistance. By thoroughly inspecting the contents and ensuring that everything is intact, you can proceed with confidence to the next steps of the installation process.
Unboxing the Wyze Camera Outdoor sets the stage for a smooth and successful installation experience. With the components in hand, you’re ready to move on to the next step: downloading the Wyze app, which is essential for setting up and managing your camera.
Step 2: Download the Wyze App
Now that you have unpacked the Wyze Camera Outdoor, the next crucial step is to download the Wyze app onto your smartphone or tablet. The Wyze app serves as the central hub for managing all your Wyze devices, offering a user-friendly interface and seamless connectivity to your camera. Here’s how you can get started:
- Visit the App Store or Google Play Store: Depending on your device’s operating system, navigate to the respective app store on your smartphone or tablet.
- Search for the Wyze App: In the app store’s search bar, enter “Wyze” and look for the official Wyze app. Ensure that the developer is listed as Wyze Labs, Inc. to download the authentic app.
- Download and Install the App: Once you’ve located the Wyze app, proceed to download and install it on your device. The app is free to download, and the installation process typically takes just a few moments.
After successfully installing the Wyze app, launch it to begin the setup process. The app will guide you through the necessary steps to create an account and add your Wyze Camera Outdoor to your device list. By leveraging the intuitive features of the Wyze app, you can effortlessly configure and control your camera from the convenience of your smartphone or tablet.
The Wyze app is designed to streamline the setup and management of your Wyze Camera Outdoor, offering a host of functionalities such as live streaming, motion detection settings, and cloud storage options. With the app installed and ready to use, you’re now prepared to move on to the next step: powering on the camera and initiating the setup process within the app.
Step 3: Power On the Camera
With the Wyze app successfully installed on your smartphone or tablet, it’s time to power on your Wyze Camera Outdoor. This step involves ensuring that the camera is supplied with power to initiate the setup process and establish a connection with the Wyze app. Here’s how you can power on the camera:
- Locate a Power Source: Identify a suitable power source near the chosen installation location for your Wyze Camera Outdoor. The camera can be powered using the included weather-resistant USB cable and a compatible power adapter or power bank.
- Connect the USB Cable: Plug the weather-resistant USB cable into the port located on the bottom of the camera. Ensure that the connection is secure to prevent any power interruptions during the setup process.
- Power On the Camera: Once the USB cable is securely connected, proceed to power on the camera. The camera will initiate its startup sequence, indicated by LED lights and potentially audible cues, signaling that it’s ready to be added to the Wyze app.
By following these simple steps, you can ensure that your Wyze Camera Outdoor is powered on and ready to be configured within the Wyze app. The power-on process sets the stage for seamlessly connecting the camera to your smart home ecosystem, enabling you to monitor and secure your outdoor spaces with ease.
With the camera powered on, you’re now set to proceed to the next step: connecting the camera to the Wyze app and initiating the setup process to integrate it into your smart home environment.
Step 4: Connect the Camera to the Wyze App
Now that your Wyze Camera Outdoor is powered on, it’s time to establish a seamless connection between the camera and the Wyze app. This step is pivotal in integrating the camera into your smart home ecosystem, allowing you to monitor and manage it conveniently from your smartphone or tablet. Here’s how you can connect the camera to the Wyze app:
- Open the Wyze App: Launch the Wyze app on your smartphone or tablet. If you don’t have an existing Wyze account, you’ll be prompted to create one. If you already have an account, simply log in to proceed.
- Add a New Device: Within the Wyze app, navigate to the “Add a Product” section or a similar option that allows you to add a new device to your account. Select the Wyze Camera Outdoor from the list of available devices.
- Follow the Setup Instructions: The app will guide you through the setup process, which typically involves scanning a QR code located on the camera or its packaging. This step establishes a secure connection between the camera and your Wyze account.
- Configure Camera Settings: Once the camera is successfully added to your Wyze account, you can customize its settings within the app. This includes options such as motion detection sensitivity, alert notifications, and video recording preferences.
By following these steps, you can seamlessly connect your Wyze Camera Outdoor to the Wyze app, unlocking a host of features that enhance your outdoor security and monitoring capabilities. The intuitive interface of the Wyze app ensures that you can effortlessly manage and control your camera, providing peace of mind and convenience.
With the camera successfully connected to the Wyze app, you’re now prepared to move on to the next step: mounting the camera in your desired outdoor location to begin monitoring your surroundings effectively.
When installing a Wyze Camera Outdoor, make sure to mount it in a location with a strong Wi-Fi signal and use the included mounting kit for a secure installation.
Read more: How To Playback On Wyze Outdoor Camera
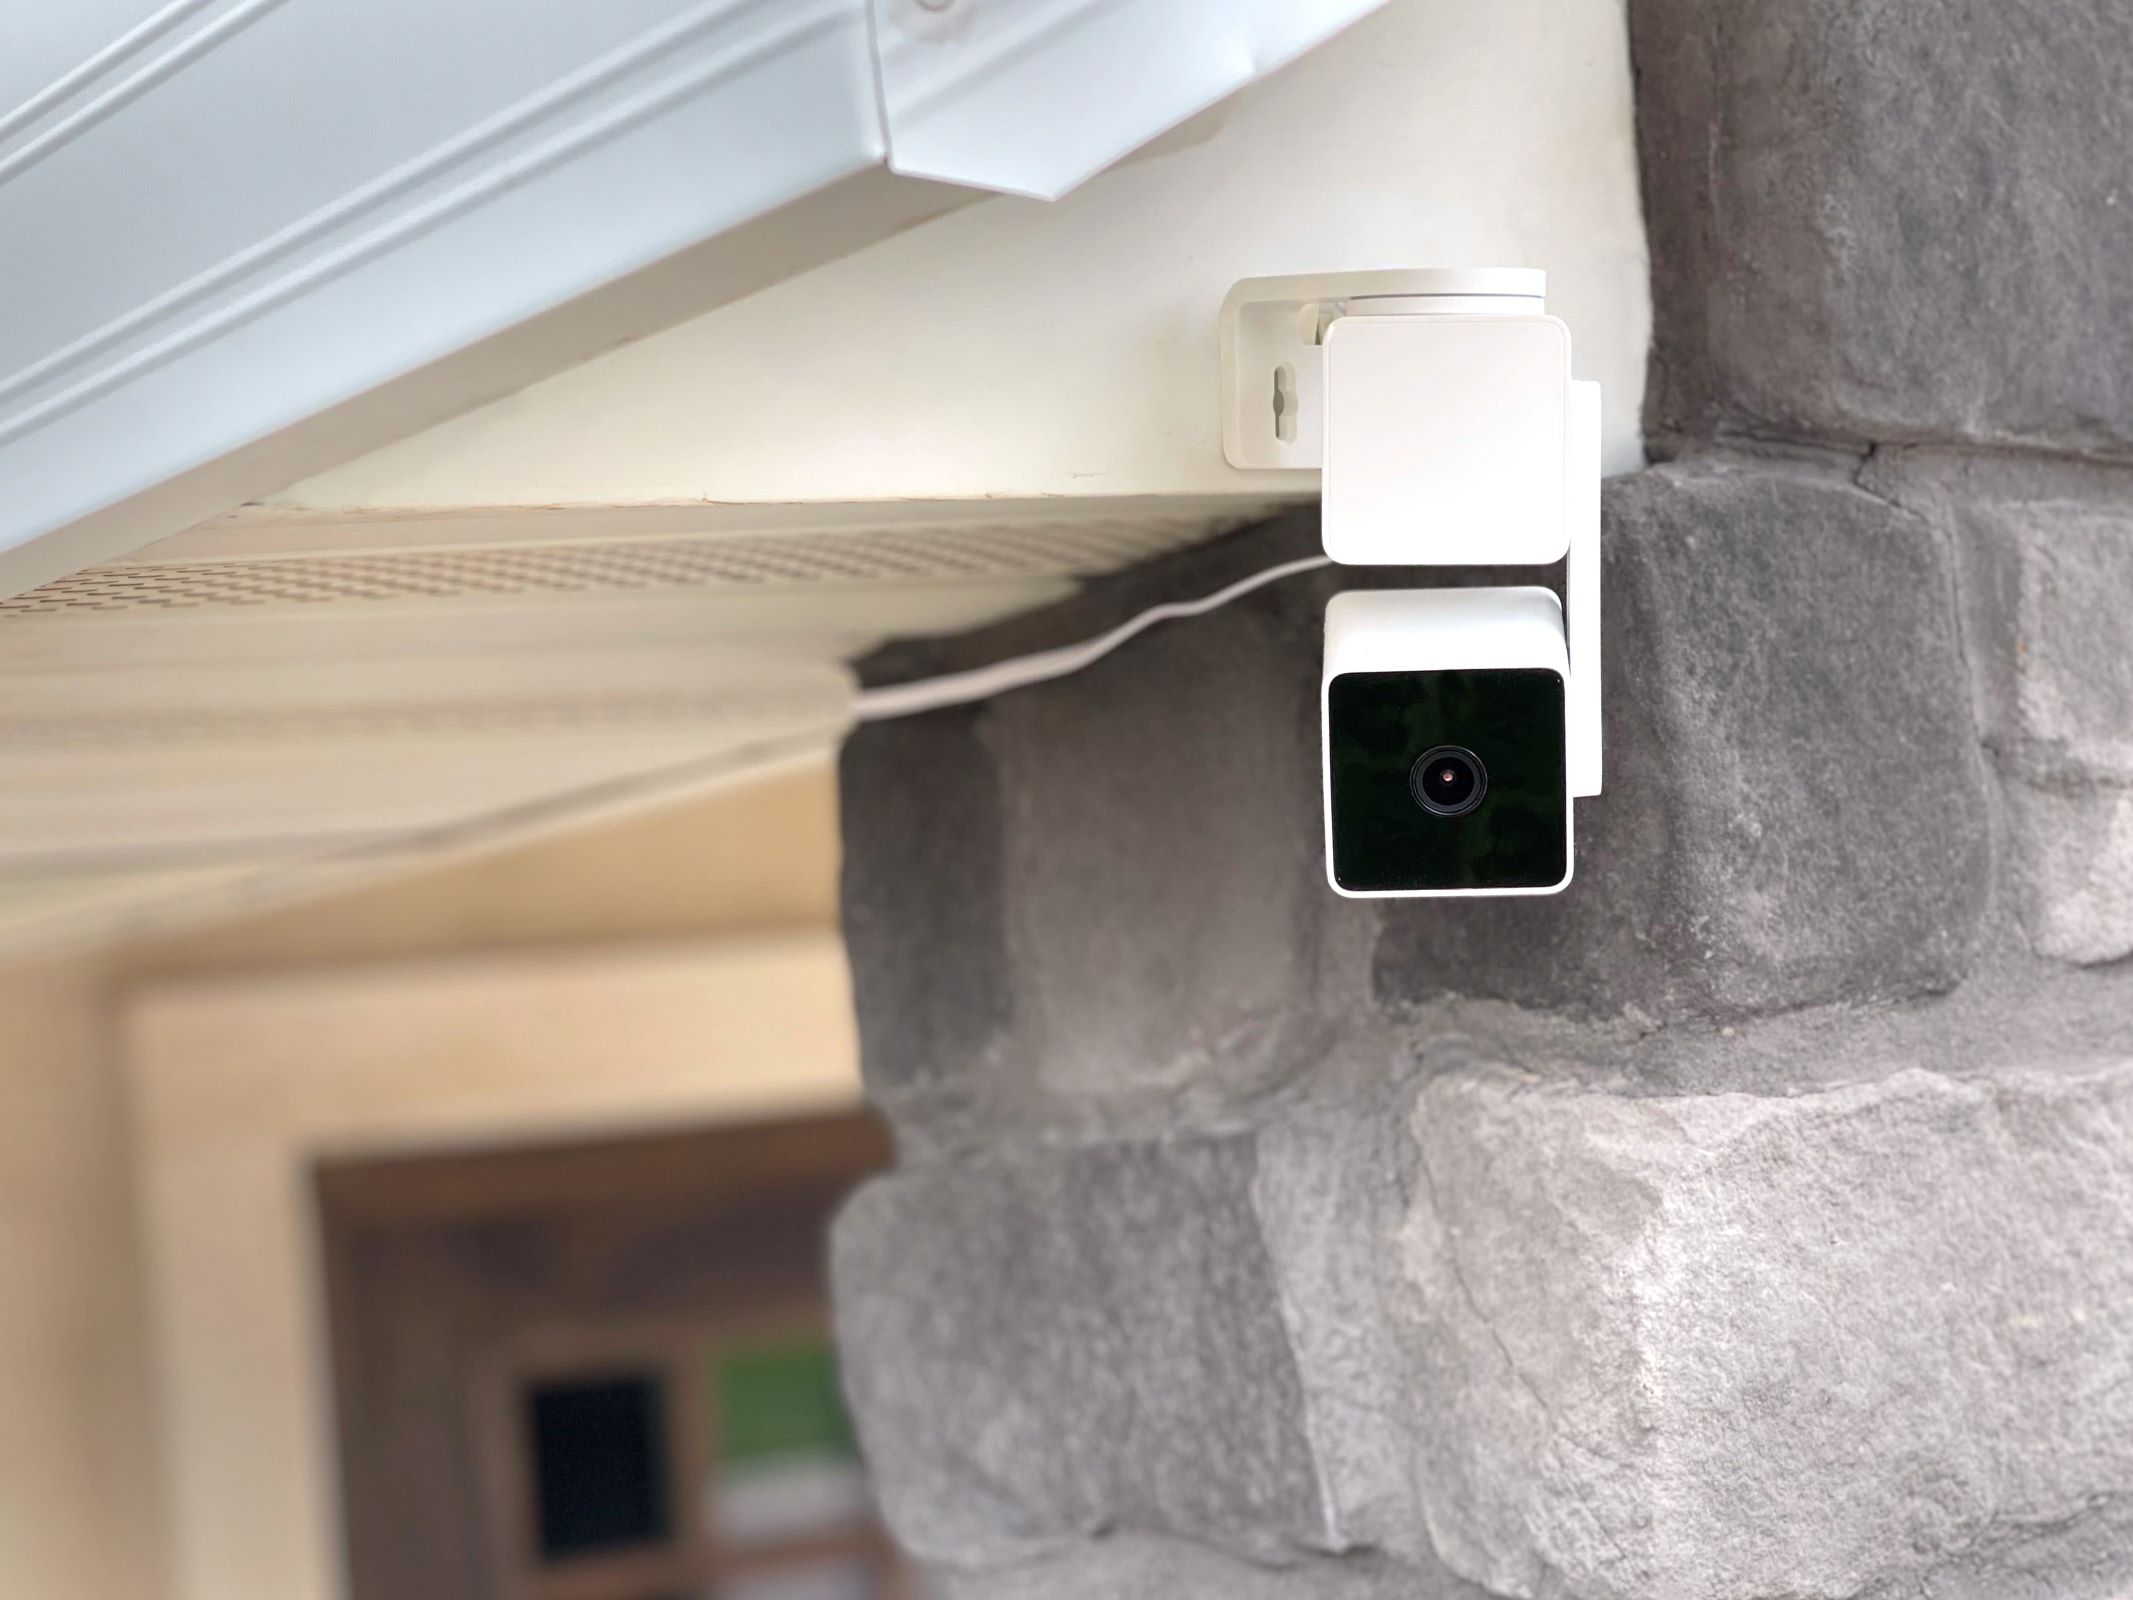
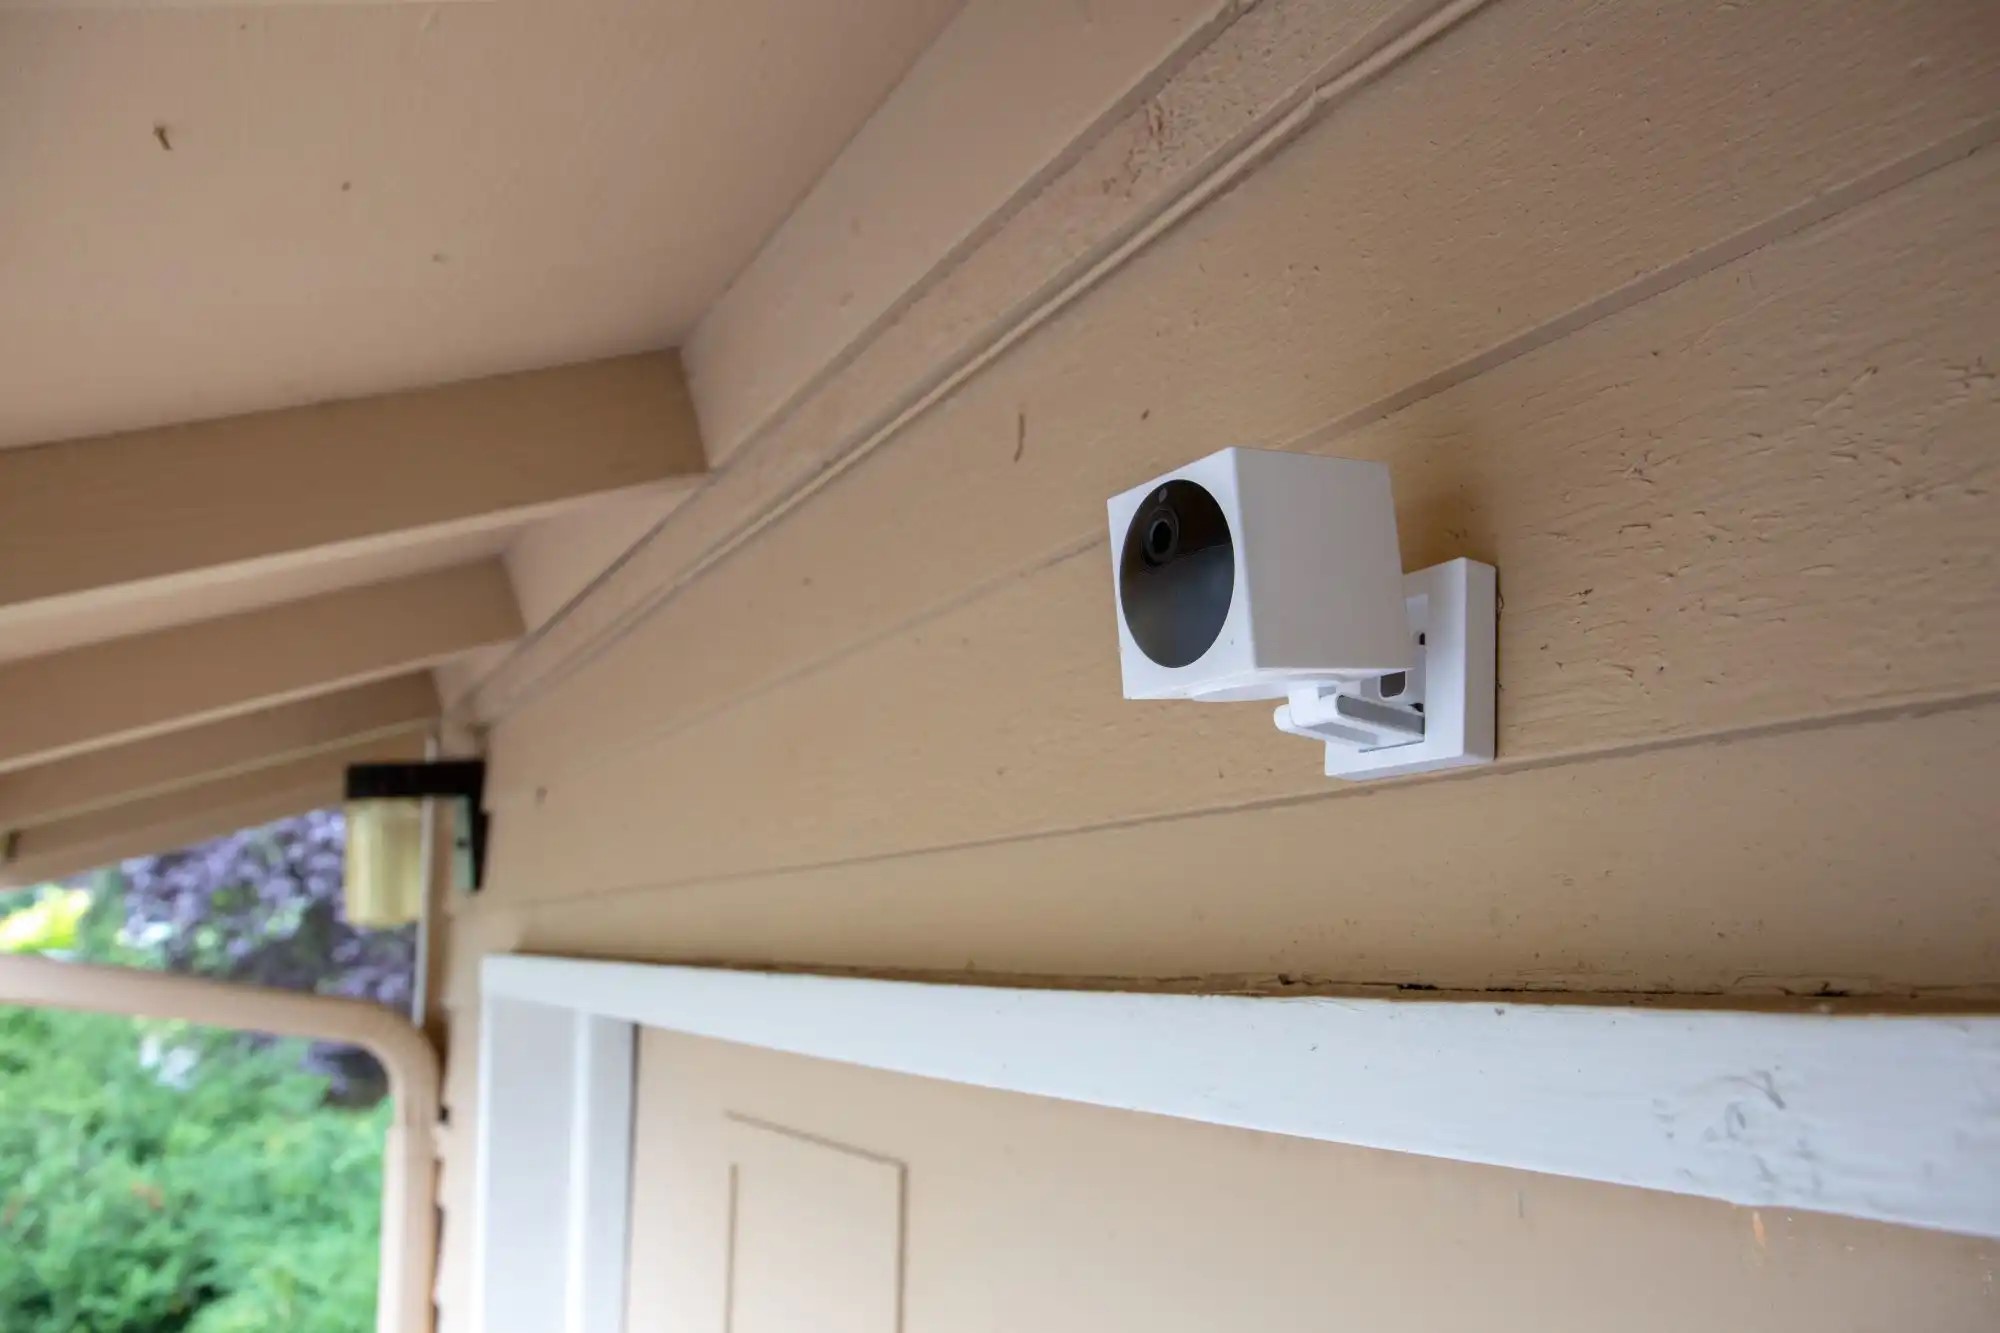
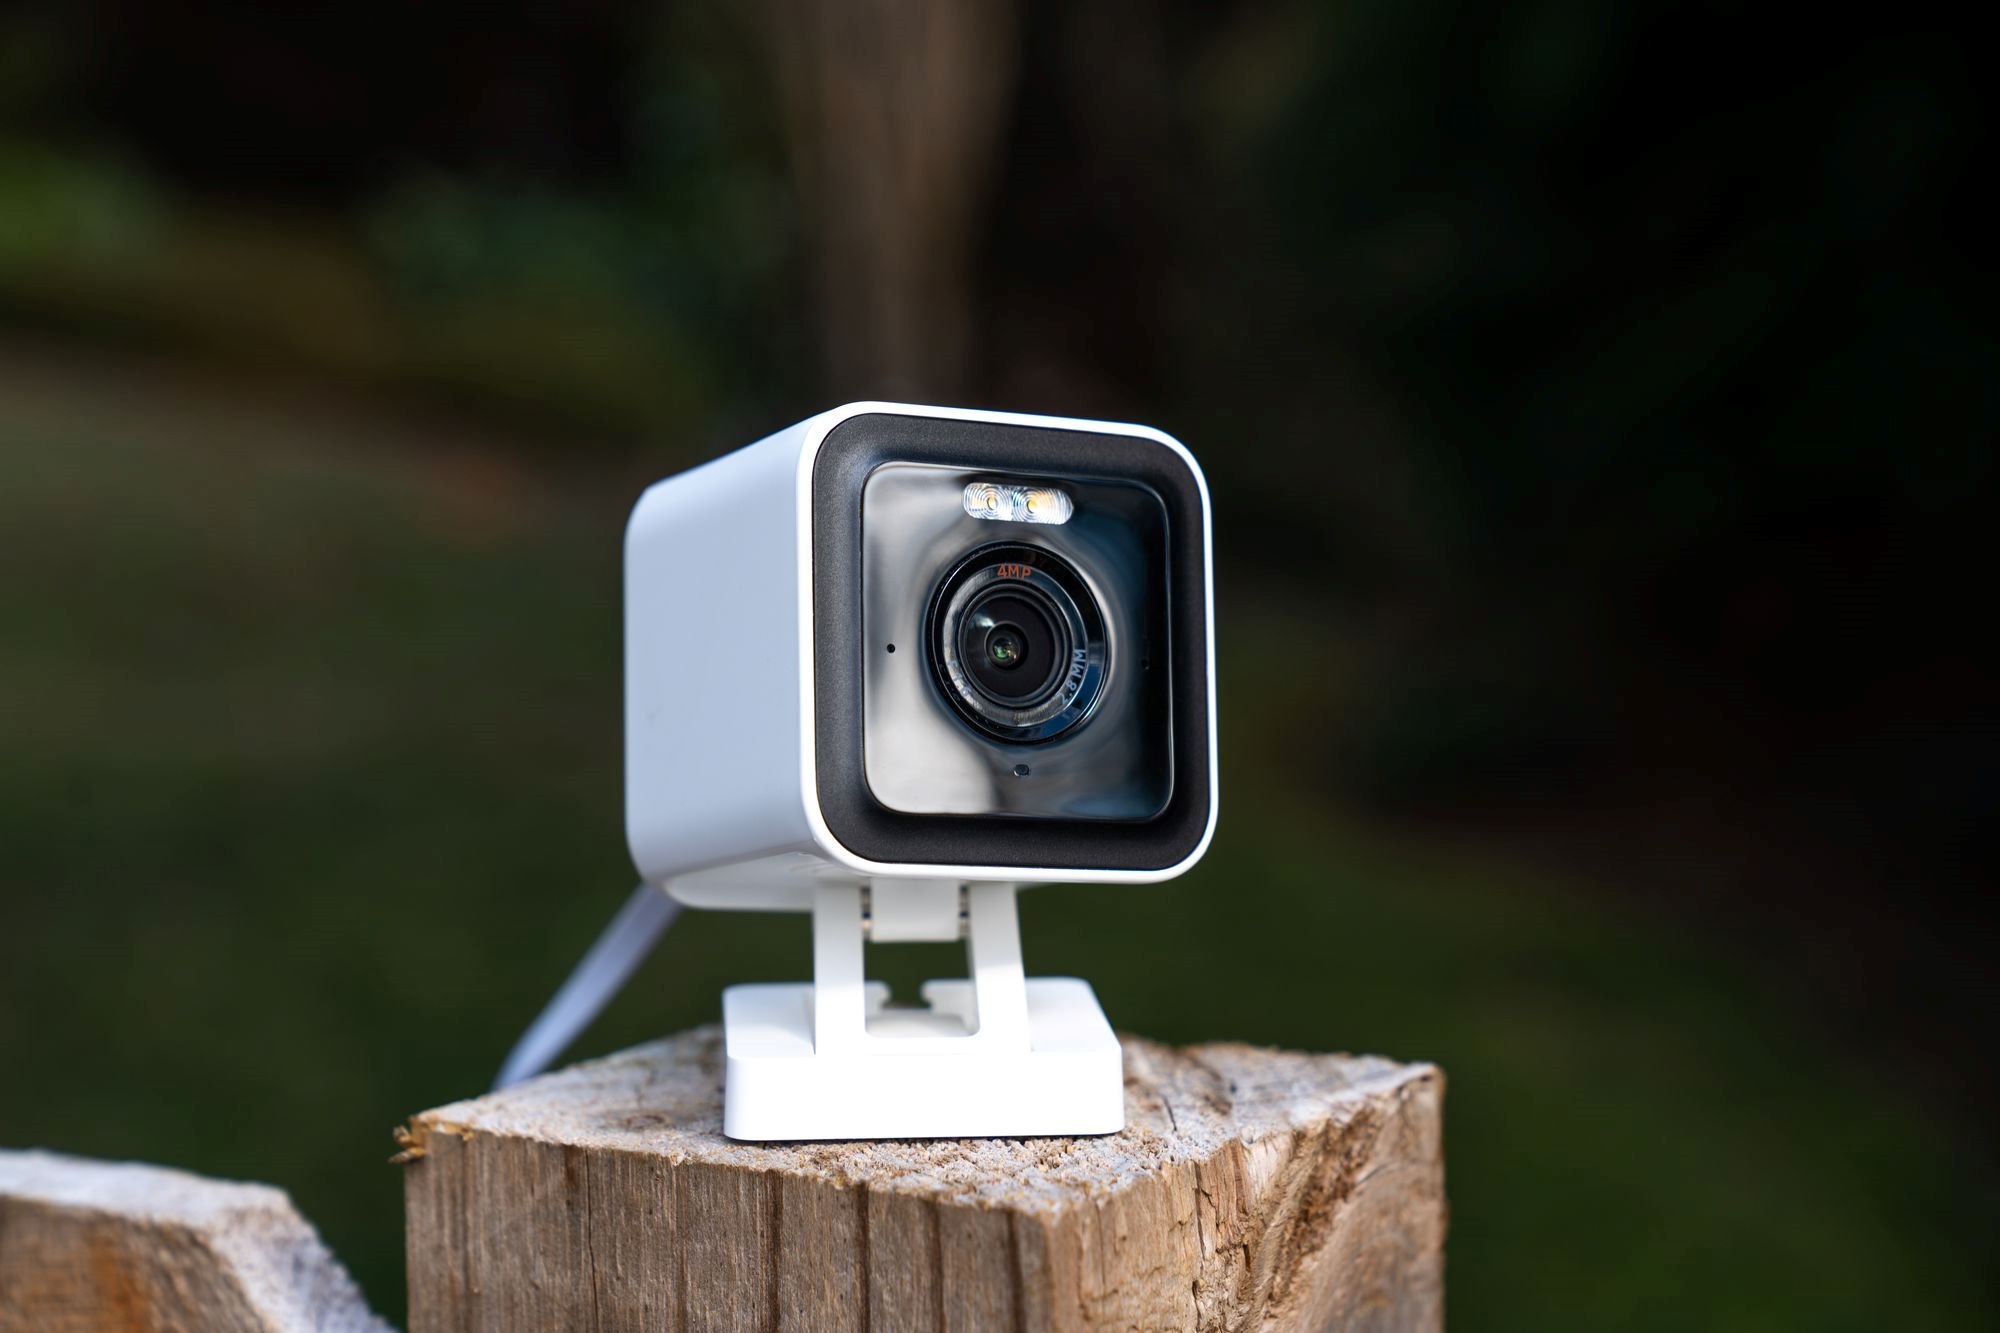
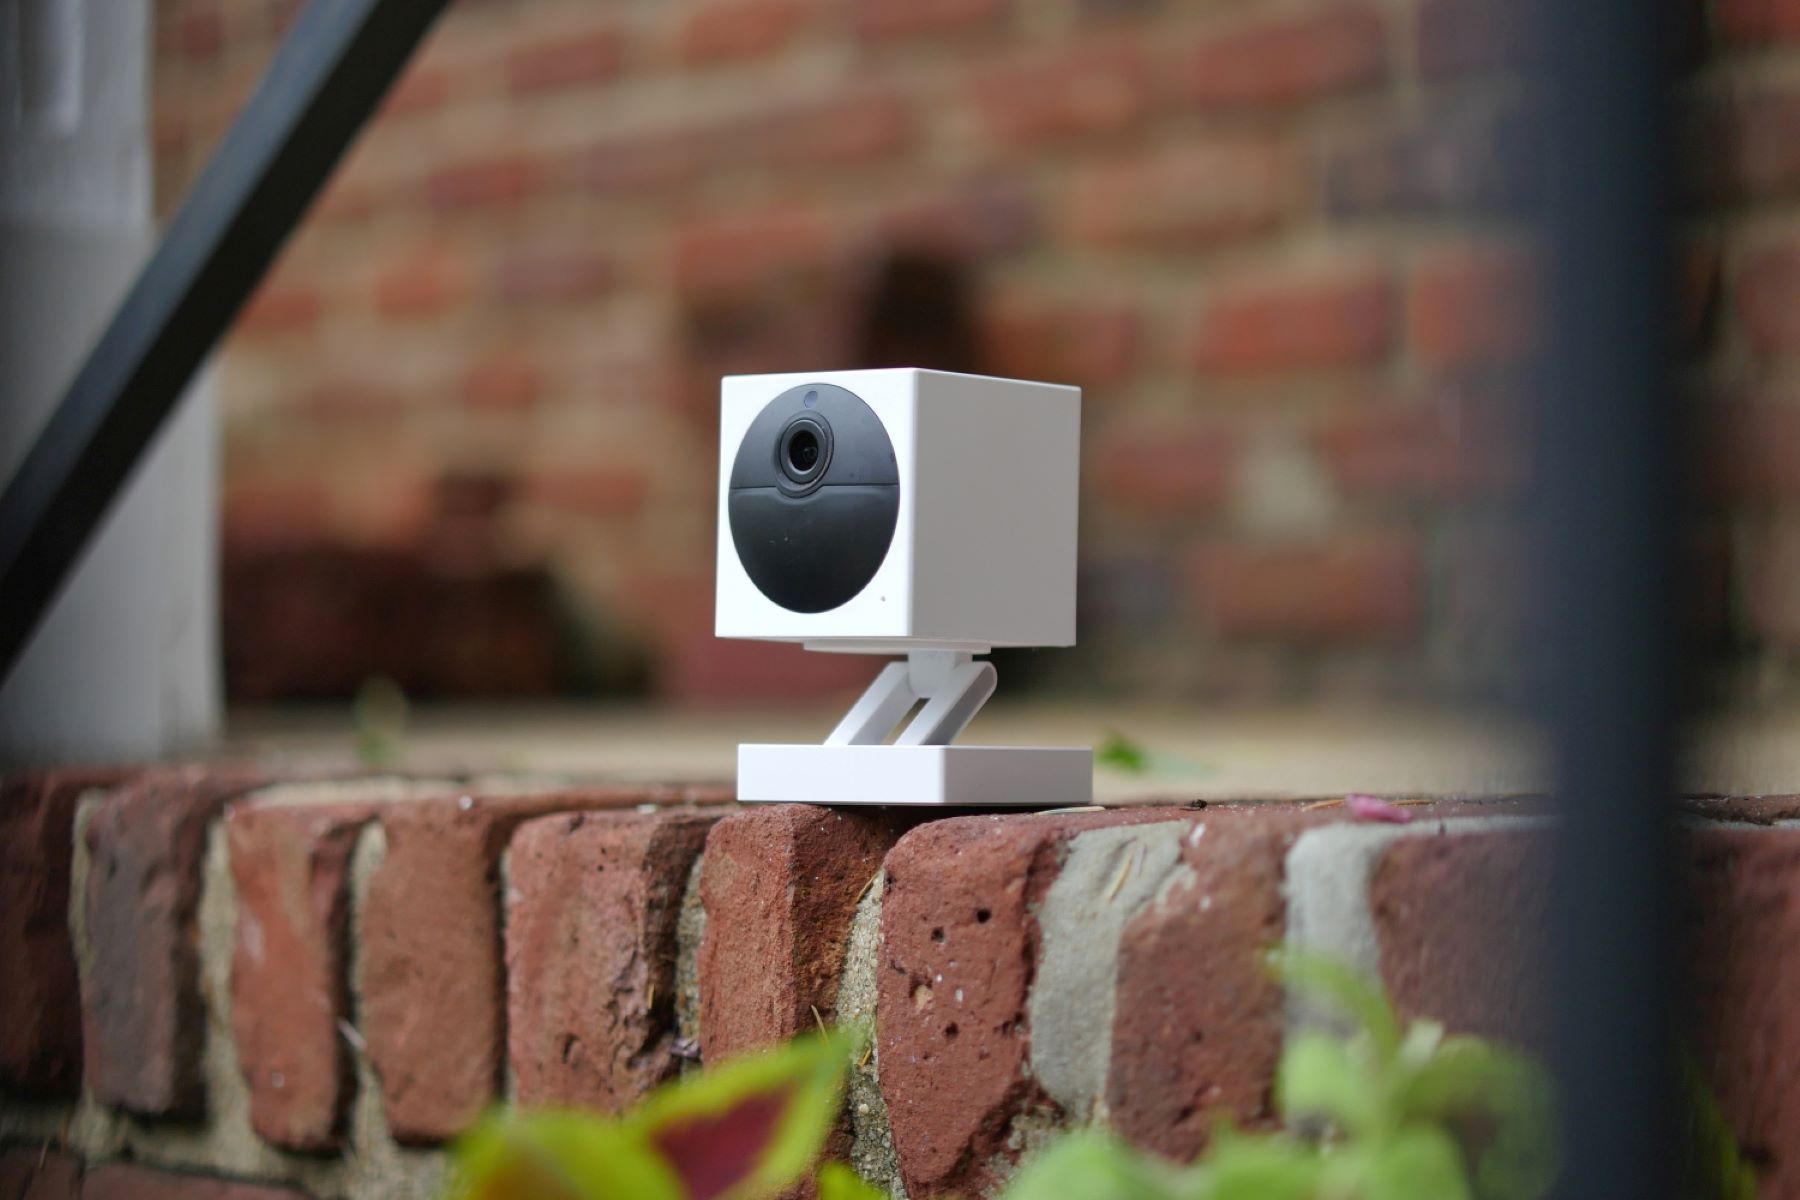
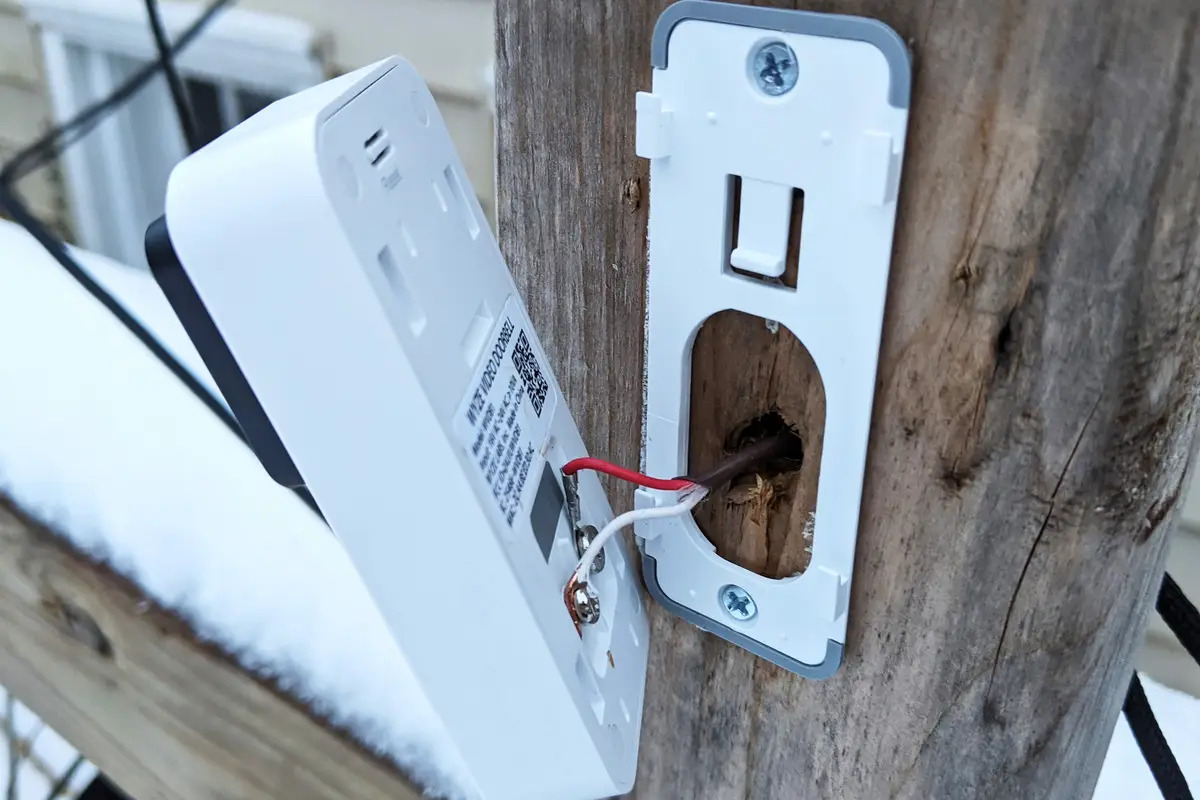
Step 5: Mount the Camera
With your Wyze Camera Outdoor successfully connected to the Wyze app, it’s time to proceed with mounting the camera in your desired outdoor location. Proper mounting ensures optimal coverage of the area you intend to monitor, providing enhanced security and surveillance capabilities. Here’s a guide to mounting your Wyze Camera Outdoor:
- Select the Installation Location: Choose a suitable location for mounting the camera, ensuring that it offers a clear view of the outdoor area you wish to monitor. Consider factors such as optimal vantage points and potential obstructions.
- Attach the Mounting Base: Using the included screws and anchors, securely attach the mounting base to the chosen location. Ensure that the base is firmly fixed to provide a stable platform for the camera.
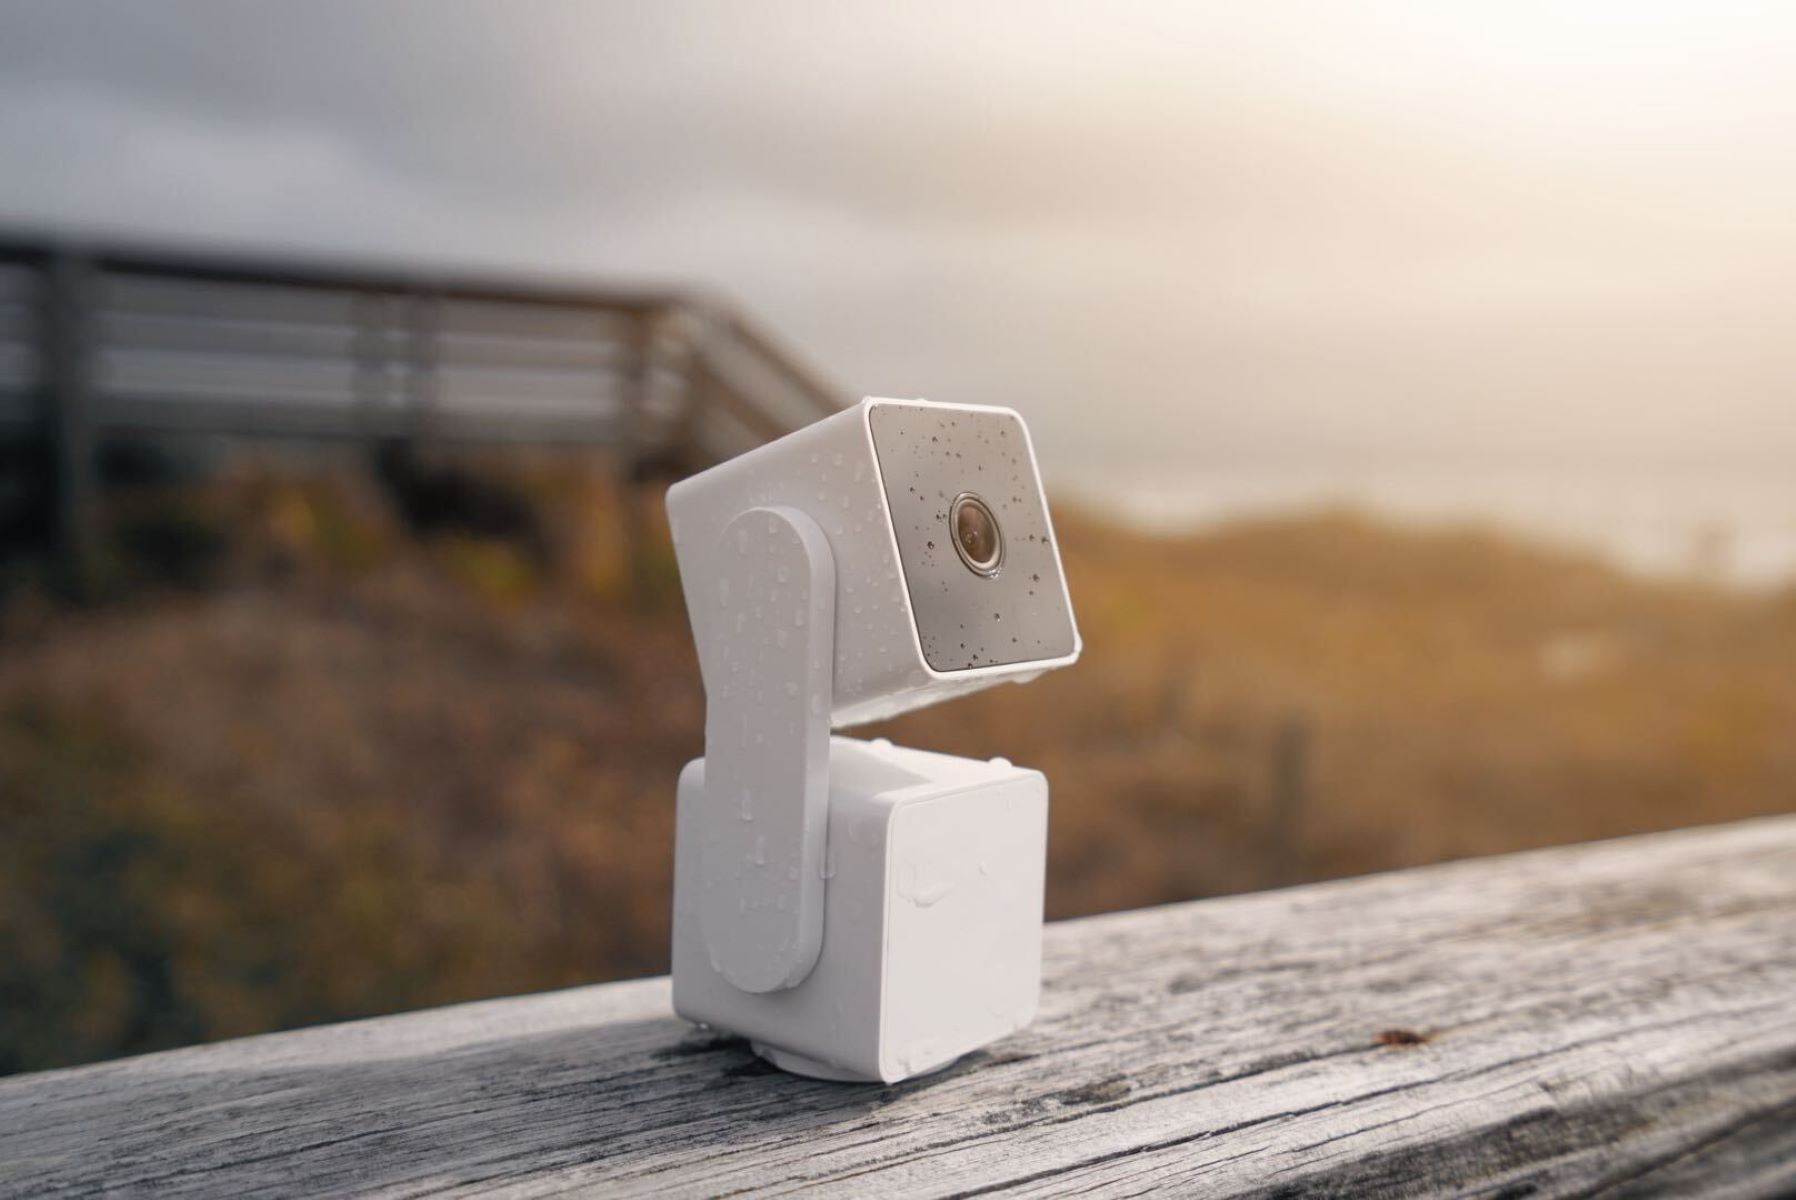
- Position the Camera: Place the Wyze Camera Outdoor onto the mounting base, aligning it to achieve the desired viewing angle. The camera’s adjustable design allows you to position it for optimal coverage.
- Secure the Camera: Once the camera is positioned correctly, secure it in place using the provided hardware. Double-check that the camera is firmly attached to the mounting base to prevent any potential movement due to environmental factors.
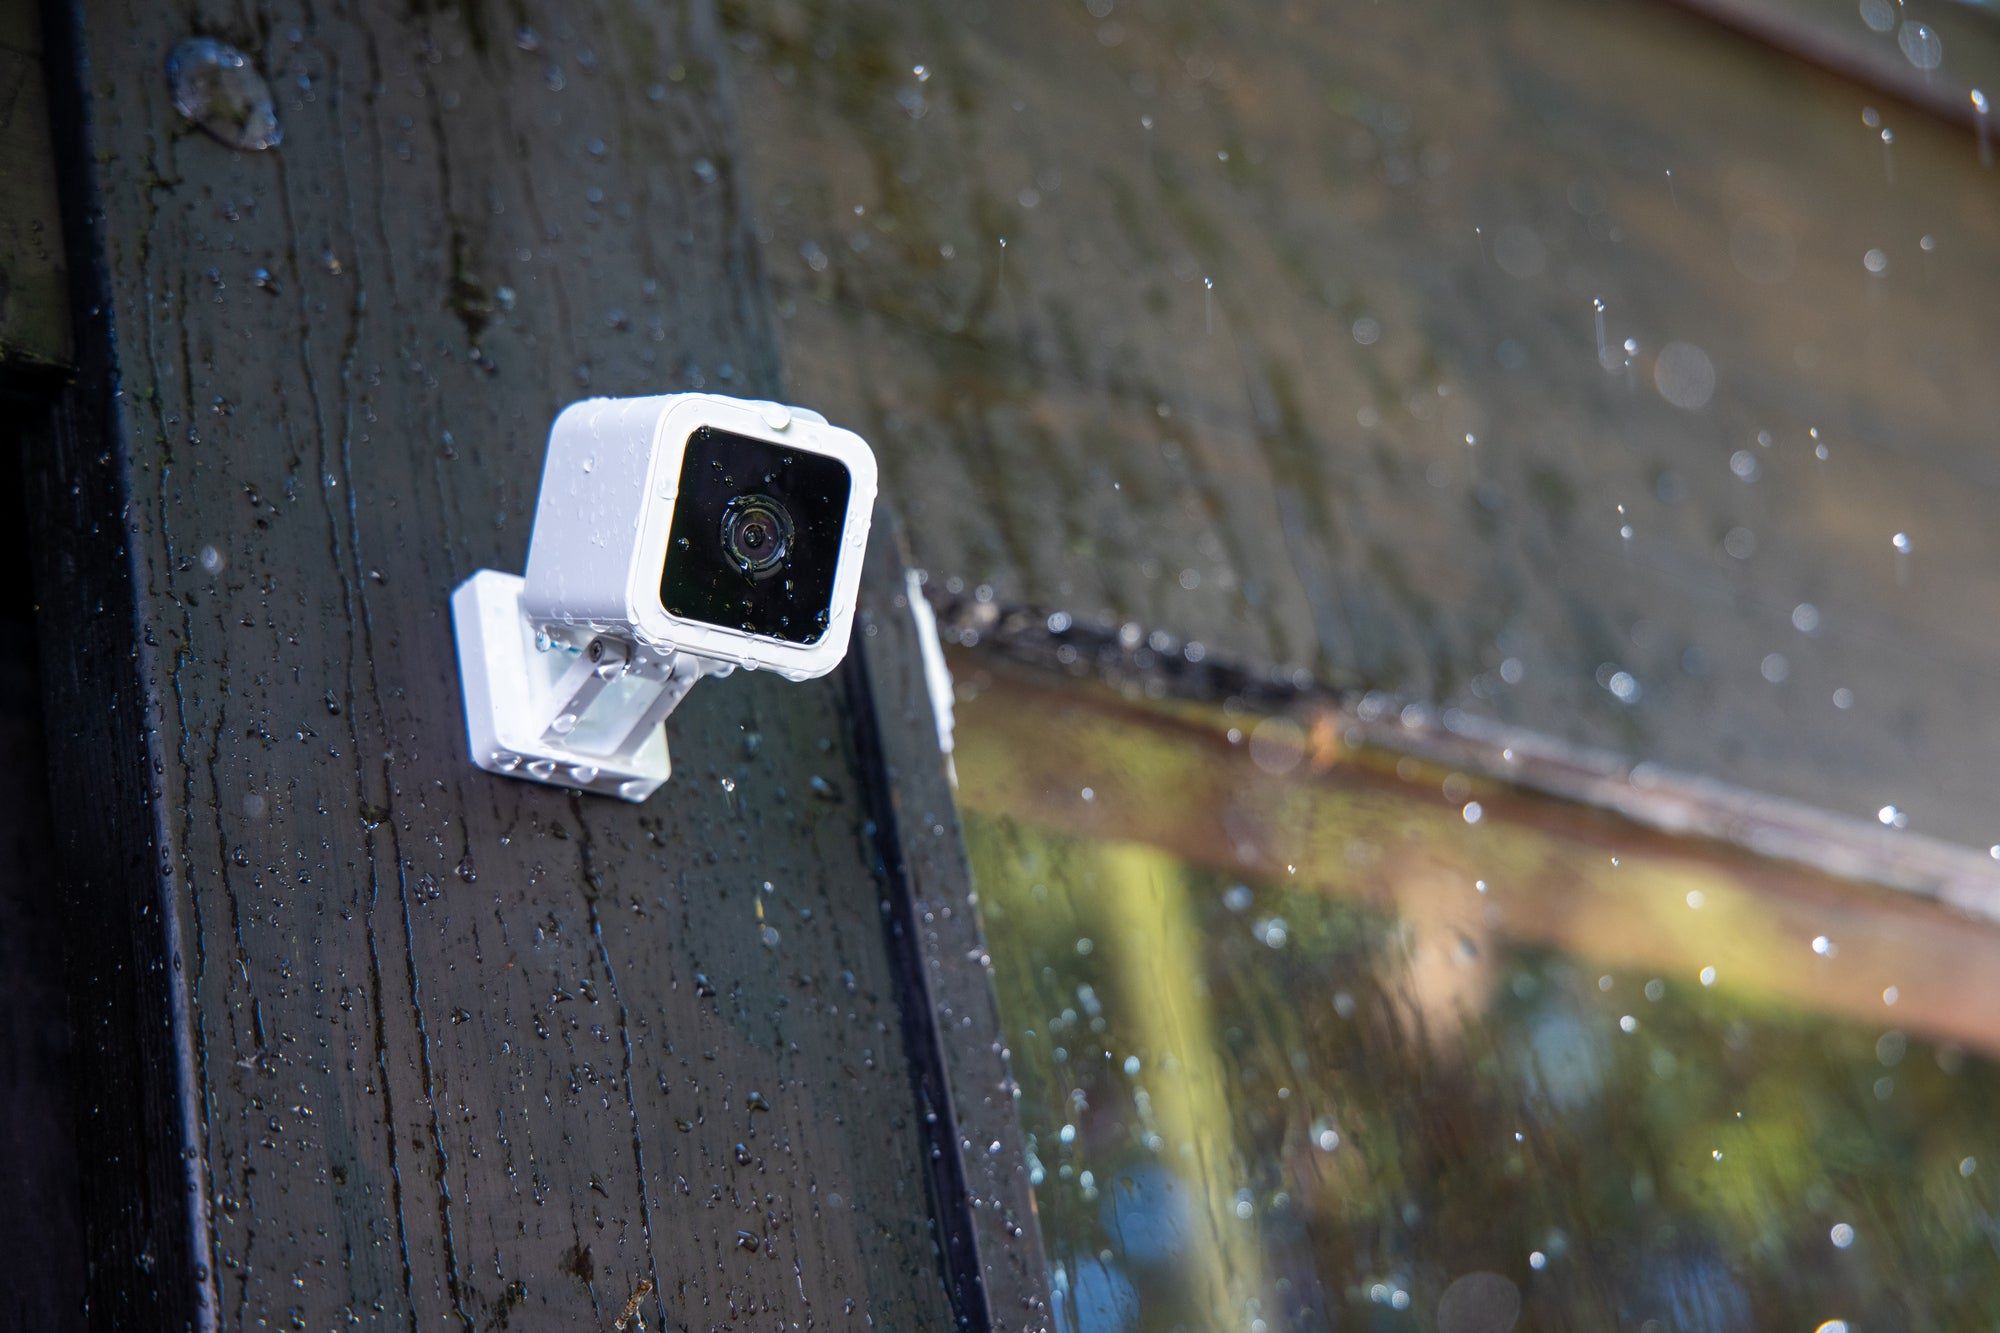
By following these steps, you can ensure that your Wyze Camera Outdoor is securely mounted, ready to monitor your outdoor spaces effectively. The durable and weather-resistant design of the camera, coupled with its flexible mounting options, ensures that you can rely on it to deliver consistent performance in various outdoor conditions.
With the camera securely mounted in your chosen location, you’re now prepared to move on to the next step: adjusting the camera settings within the Wyze app to tailor its functionality to your specific monitoring needs.
Step 6: Adjust Camera Settings
After mounting your Wyze Camera Outdoor, it’s essential to customize its settings within the Wyze app to align its functionality with your specific monitoring requirements. The camera settings allow you to fine-tune its performance, enabling features such as motion detection, night vision, and video recording. Here’s how you can adjust the camera settings to optimize its functionality:
- Access the Camera Settings: Within the Wyze app, navigate to the settings menu and select the Wyze Camera Outdoor from the list of connected devices. This will provide access to a range of customizable options tailored to the camera’s capabilities.
- Configure Motion Detection: Enable and adjust the sensitivity of the camera’s motion detection feature to ensure that it effectively captures relevant events while minimizing false alerts. Fine-tuning this setting is crucial for optimizing the camera’s surveillance capabilities.
- Activate Night Vision: If your monitoring needs extend into low-light or nighttime conditions, ensure that the camera’s night vision feature is activated. This allows the camera to capture clear and detailed footage even in challenging lighting environments.
- Set Recording Preferences: Customize the camera’s recording preferences, including options for continuous recording, event-triggered recording, and storage settings. This ensures that the camera captures and stores footage according to your specific requirements.
By adjusting the camera settings to align with your monitoring needs, you can maximize the effectiveness of your Wyze Camera Outdoor in safeguarding your outdoor spaces. The intuitive interface of the Wyze app simplifies the process of customizing the camera’s functionality, offering a seamless way to tailor its performance to your preferences.
With the camera settings adjusted to your specifications, you’re now ready to proceed to the final step: testing the camera to ensure that it delivers the desired surveillance and security capabilities for your outdoor environment.
Step 7: Test the Camera
As you near the completion of setting up your Wyze Camera Outdoor, it’s crucial to conduct a thorough test to ensure that the camera is functioning as intended and effectively monitoring your outdoor space. Testing the camera allows you to verify its performance, including motion detection, live streaming, and video recording capabilities. Here’s a comprehensive guide to testing your Wyze Camera Outdoor:
- Live Stream Verification: Initiate a live stream from the Wyze app to verify that the camera provides a clear and reliable feed of the monitored area. This allows you to assess the camera’s real-time streaming performance and image quality.
- Motion Detection Test: Trigger motion in the camera’s field of view to verify that the motion detection feature effectively captures and records relevant events. This test ensures that the camera responds appropriately to motion within its monitored area.
- Night Vision Assessment: If applicable to your monitoring needs, test the camera’s night vision capabilities in low-light or dark conditions. This allows you to confirm that the camera delivers clear and detailed footage during nighttime surveillance.
- Recording Validation: Verify that the camera accurately records and stores footage based on your configured preferences. This includes confirming the storage location and reviewing recorded footage to ensure that it meets your surveillance requirements.
By conducting a comprehensive test of your Wyze Camera Outdoor, you can gain confidence in its ability to monitor and secure your outdoor environment effectively. The test allows you to identify any potential issues and make adjustments to the camera’s settings as needed, ensuring that it delivers reliable performance in various scenarios.
Upon successfully completing the camera test, you can rest assured that your Wyze Camera Outdoor is ready to fulfill its role as a dependable outdoor security solution. With the setup process and testing phase complete, you can now enjoy the peace of mind that comes with having a robust surveillance system in place.
Conclusion
Congratulations on successfully setting up your Wyze Camera Outdoor and embarking on the journey of enhancing your outdoor security and surveillance capabilities. By following this comprehensive guide, you’ve navigated through each step of the installation process, from unboxing the camera to conducting thorough testing to ensure its optimal performance. As a result, you’re now equipped with a reliable and feature-rich outdoor camera system that seamlessly integrates with your smart home ecosystem.
The Wyze Camera Outdoor offers a myriad of benefits, including advanced motion detection, night vision capabilities, and convenient remote access via the intuitive Wyze app. Whether you’re monitoring your front yard, backyard, or any other outdoor space, this versatile camera is designed to meet your specific surveillance needs while providing peace of mind and convenience.
As you continue to utilize your Wyze Camera Outdoor, consider exploring its additional features, such as cloud storage options, two-way audio communication, and customizable alert notifications. These features further enhance the camera’s functionality, empowering you to stay connected with your outdoor environment and respond to potential events effectively.
It’s important to periodically review and adjust the camera’s settings based on your evolving monitoring requirements. Whether you seek to fine-tune motion detection sensitivity, expand storage capabilities, or explore new firmware updates, staying engaged with the camera’s settings ensures that it continues to deliver optimal performance over time.
With your Wyze Camera Outdoor seamlessly integrated into your outdoor environment, you can enjoy the benefits of enhanced security, real-time monitoring, and the convenience of accessing your camera’s feed from anywhere, at any time. Whether you’re at home, at work, or traveling, the Wyze Camera Outdoor empowers you to stay connected with your outdoor spaces, providing a valuable layer of protection and awareness.
Thank you for entrusting us with guiding you through the installation and setup process of your Wyze Camera Outdoor. We hope this guide has provided valuable insights and actionable steps to ensure that you can make the most of this innovative outdoor security solution. As you continue to explore the possibilities of smart home technology, we wish you a seamless and rewarding experience with your Wyze Camera Outdoor.
Frequently Asked Questions about How To Install Wyze Camera Outdoor
Was this page helpful?
At Storables.com, we guarantee accurate and reliable information. Our content, validated by Expert Board Contributors, is crafted following stringent Editorial Policies. We're committed to providing you with well-researched, expert-backed insights for all your informational needs.


0 thoughts on “How To Install Wyze Camera Outdoor”