Home>Garden Essentials>How To Grow Water Lily Seeds
Garden Essentials
How To Grow Water Lily Seeds
Modified: October 20, 2024
Learn the secrets of growing water lily seeds in your garden. Follow our step-by-step guide and enjoy the beauty of these stunning aquatic plants in your own backyard.
(Many of the links in this article redirect to a specific reviewed product. Your purchase of these products through affiliate links helps to generate commission for Storables.com, at no extra cost. Learn more)
Introduction
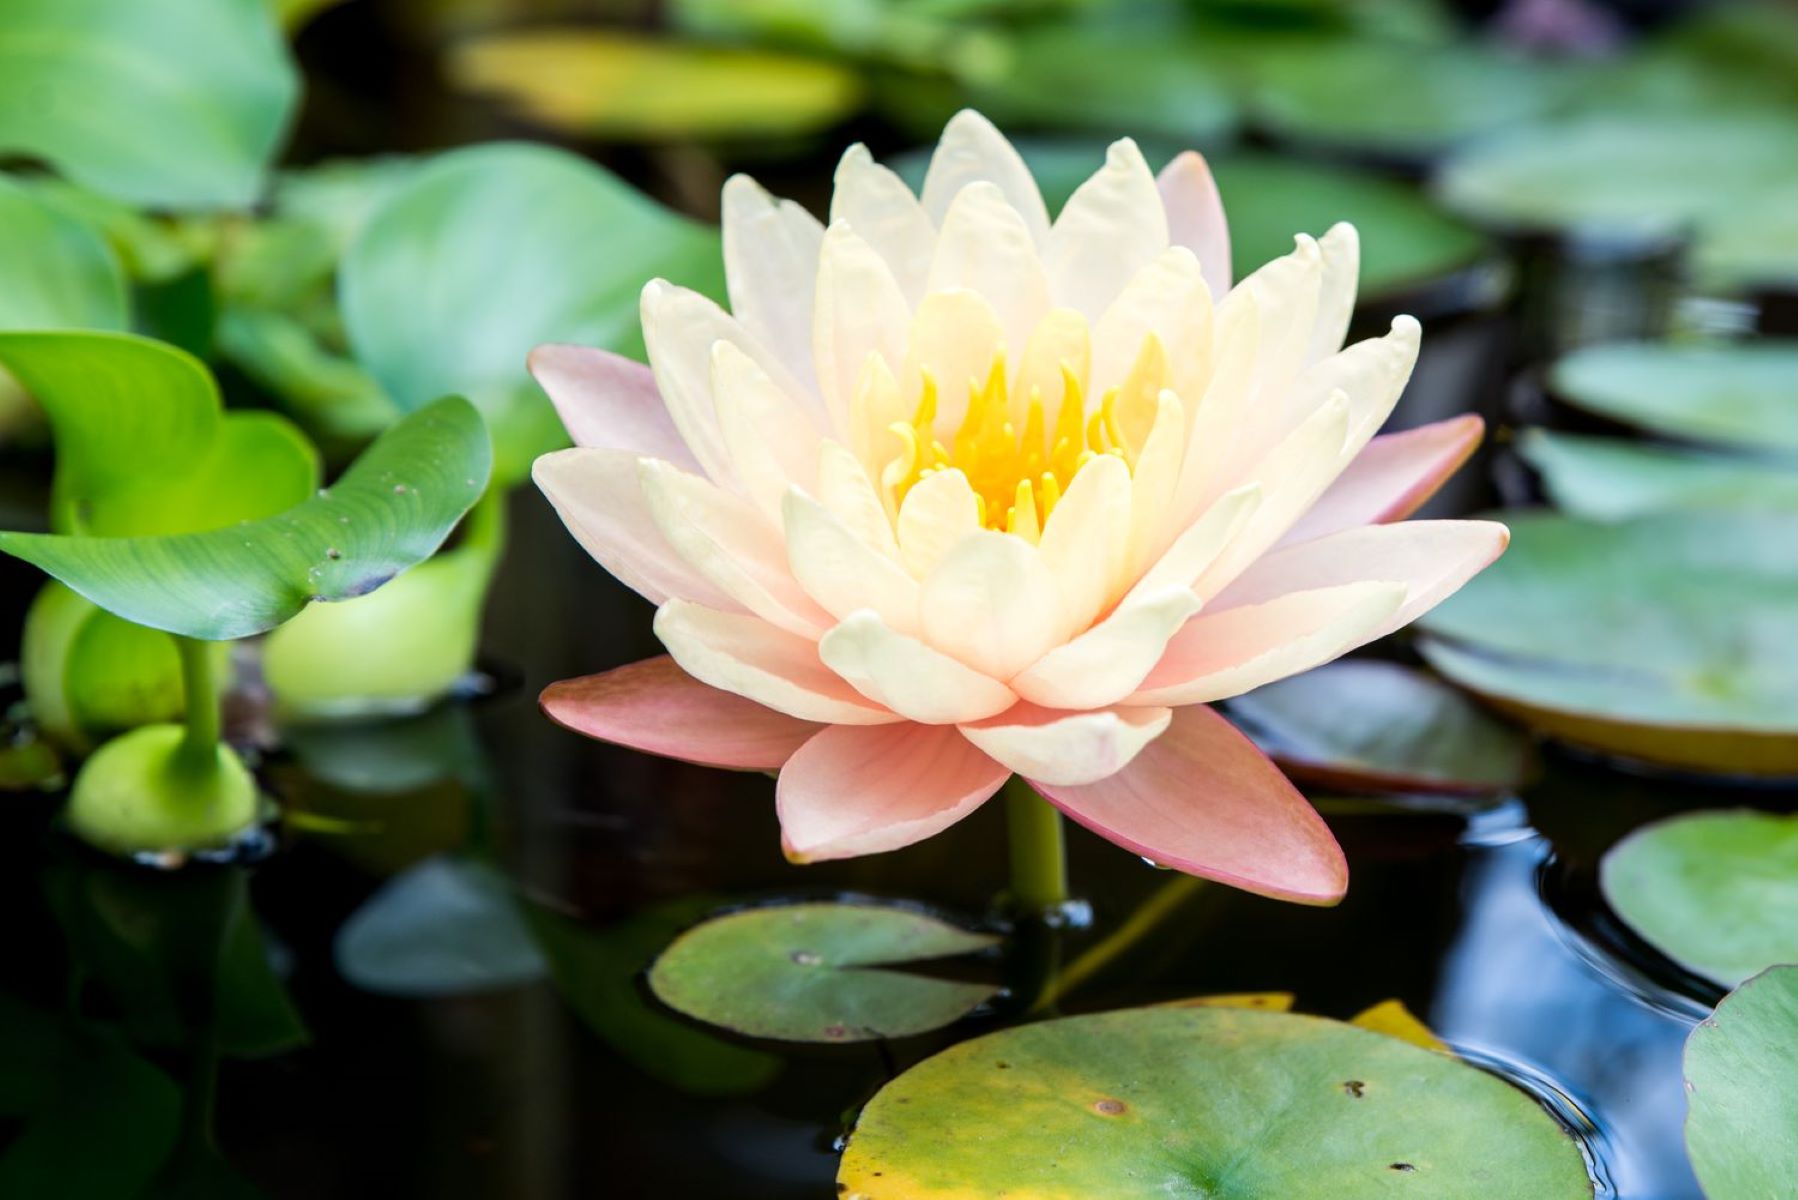
Water lilies are among the most enchanting and captivating plants you can have in your garden. With their attractive floating leaves and vibrant blooms, they add a touch of elegance and serenity to any outdoor space. While many people opt to purchase established water lily plants, growing them from seeds can be a rewarding and cost-effective option.
In this article, we will guide you through the process of growing water lily seeds and help you create your very own water lily paradise. From choosing the right seeds to nurturing the seedlings and ensuring their proper care, we will cover all the steps to help you achieve success in growing water lilies.
So, let’s dive in and learn how to grow water lily seeds!
Key Takeaways:
- Choose fresh, plump water lily seeds in colors and sizes that complement your garden. Prepare a wide, shallow container with soil and aquatic compost for successful germination.
- After germination, transplant the seedlings to a sunny location with proper water depth. Regularly test water quality, provide sunlight, and address common issues for thriving water lilies.
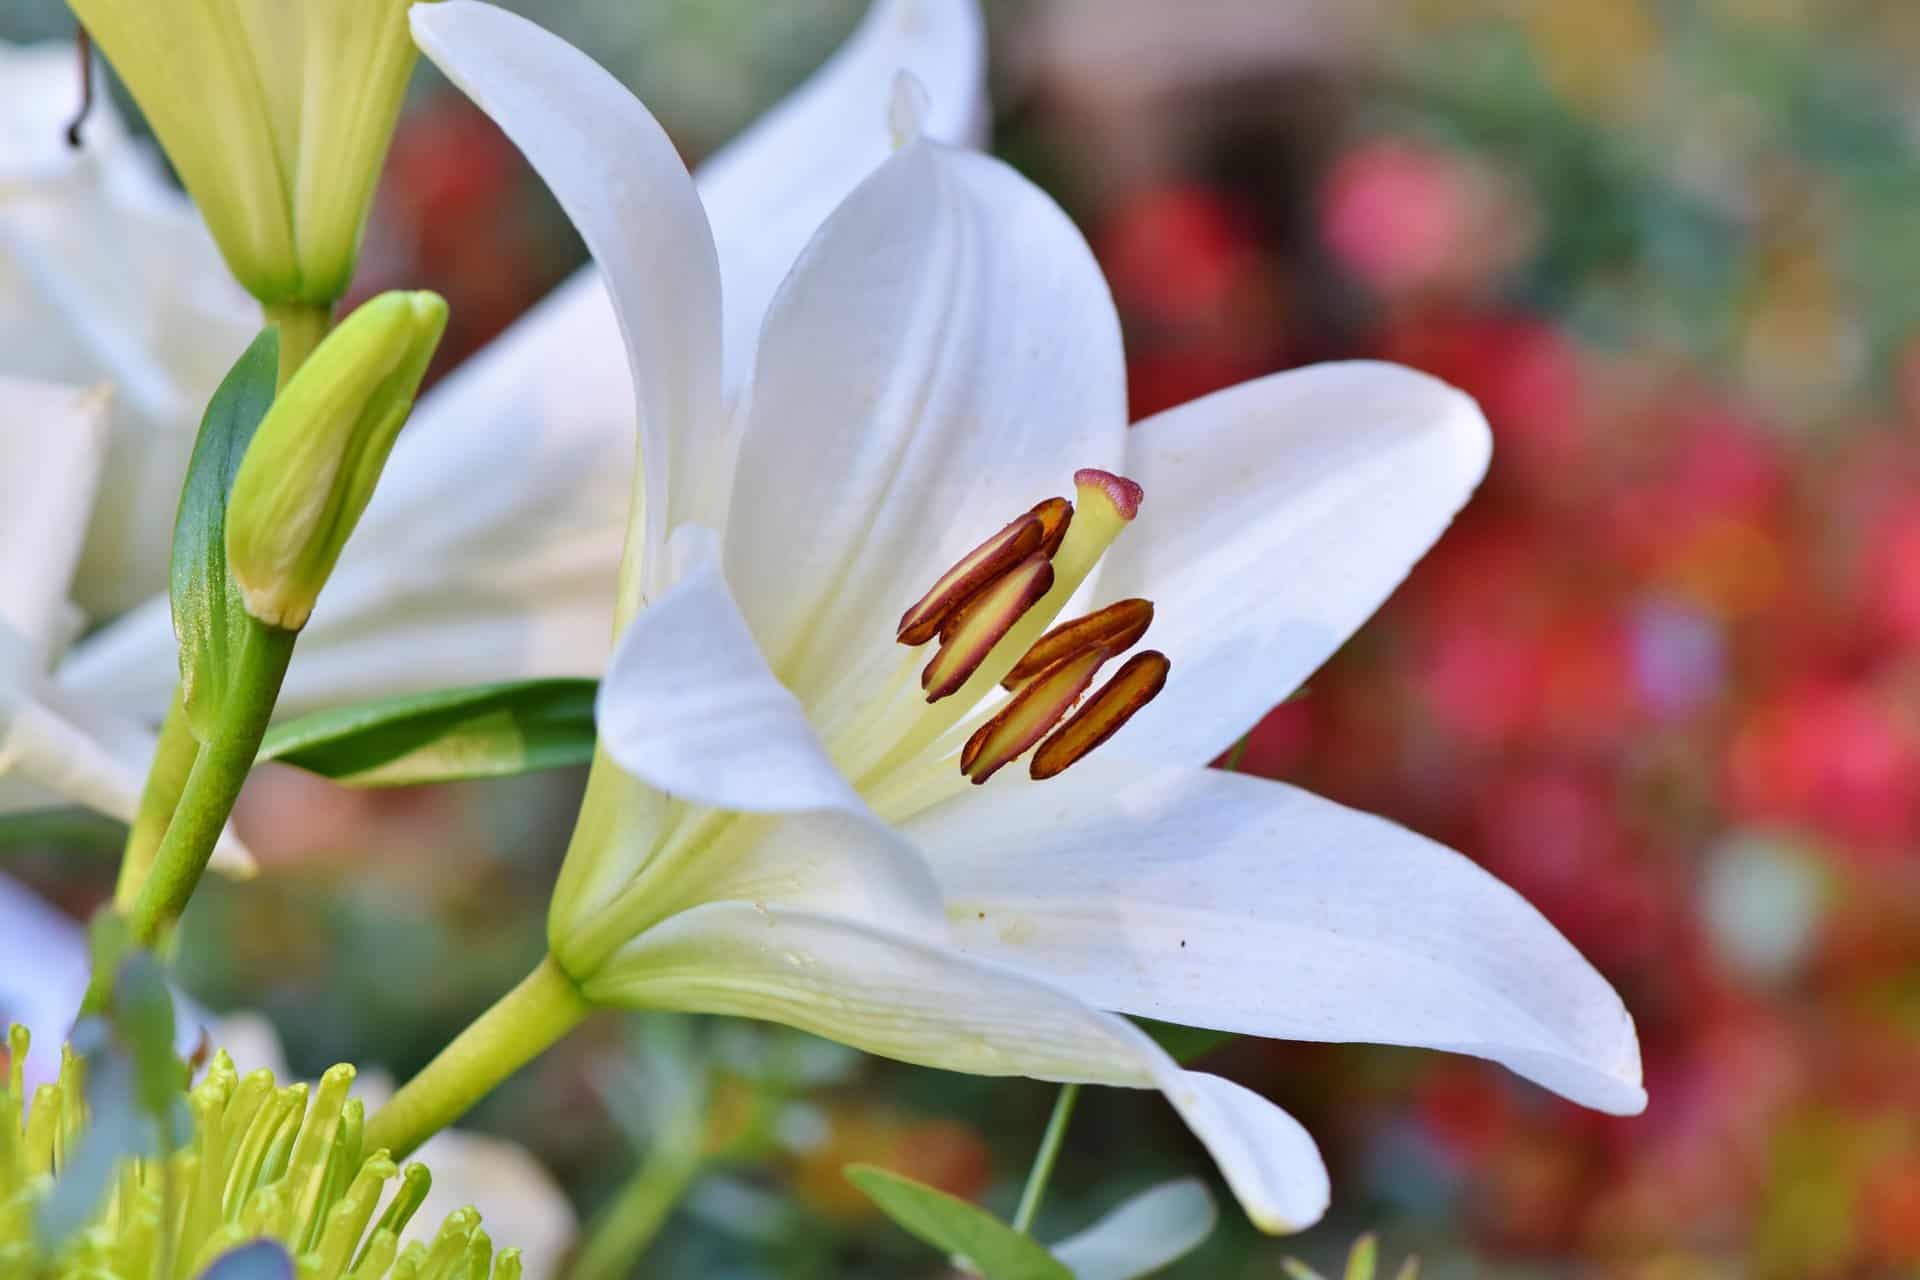
Read more: How To Grow Lily Seeds
Choosing the Right Water Lily Seeds
When it comes to choosing water lily seeds, there are a few important factors to consider. The first step is to decide on the type of water lily you want to grow. There are two main categories: hardy water lilies (Nymphaea) and tropical water lilies (Nymphaea). Hardy water lilies can survive in colder climates and can be grown in a wide range of zones, while tropical water lilies thrive in warmer climates and require a minimum temperature of 70°F.
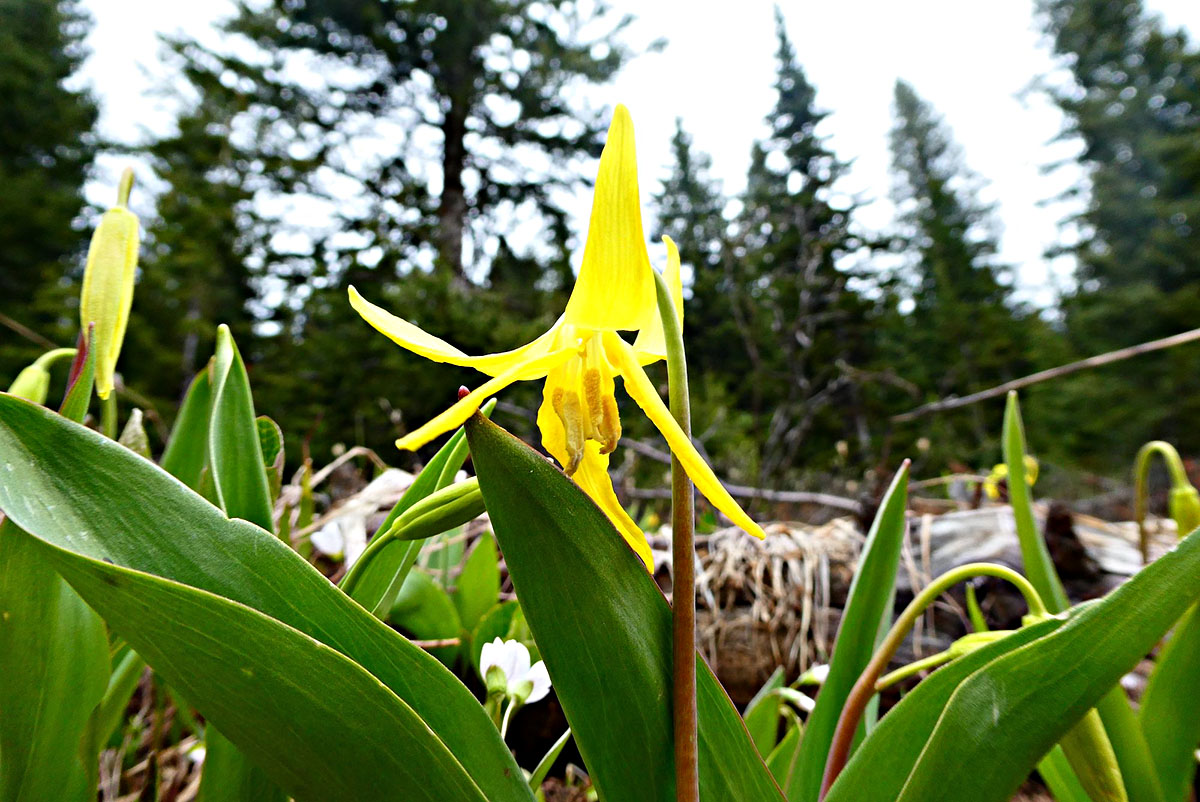
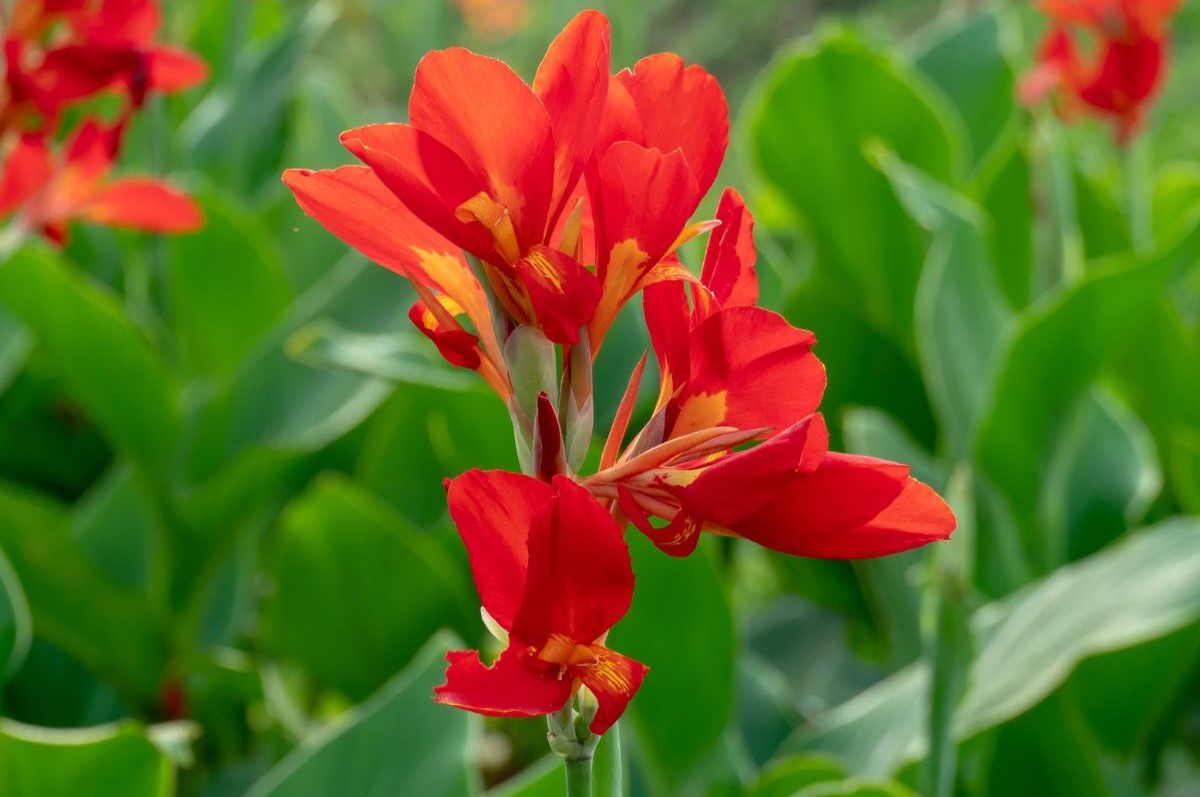
Next, consider the color and size of the water lily blooms you prefer. Water lilies come in a variety of colors, including white, yellow, pink, and red, and they range in size from petite miniatures to large majestic blooms. Choose a color and size that will complement your garden and personal preferences.
It’s also important to select fresh and viable water lily seeds. Look for seeds that are plump, firm, and free from mold or discoloration. Avoid seeds that appear shriveled or damaged, as they may not germinate successfully.
If you’re unsure about where to find water lily seeds, check with local nursery centers, garden clubs, or online seed suppliers. They can provide you with a wide selection of water lily seeds and offer guidance on which varieties are best suited for your climate and growing conditions.
Once you have chosen your water lily seeds, it’s time to prepare the growing container and create the optimal environment for germination.
Prepping the Growing Container
Creating the right environment for water lily seed germination is crucial for their successful growth. The first step is to choose a suitable growing container. A plastic or clay container with a wide and shallow design is ideal for water lilies, as it allows the roots to spread out and the leaves to float on the surface.
Ensure that the container is clean and free from any residue or contaminants. Rinse it thoroughly with water to remove any potential harmful substances that could hinder the growth of the seeds.
Next, fill the container with a mixture of garden soil and aquatic compost. This will provide the necessary nutrients and support for the water lily seeds to germinate and develop. The soil should be rich in organic matter and have good drainage to prevent waterlogging.
Before placing the soil mixture in the container, consider adding a layer of pea gravel or small stones at the bottom. This will help with drainage and prevent soil from escaping through the drainage holes.
Once the container is prepared, fill it with the soil mixture, leaving a space of about one inch below the rim to allow for the addition of water later on. Smooth out the surface of the soil and gently press it down to create a flat and even surface for the seeds.
Now that your growing container is prepped and ready, it’s time to move on to the exciting process of germinating water lily seeds.
Germinating Water Lily Seeds
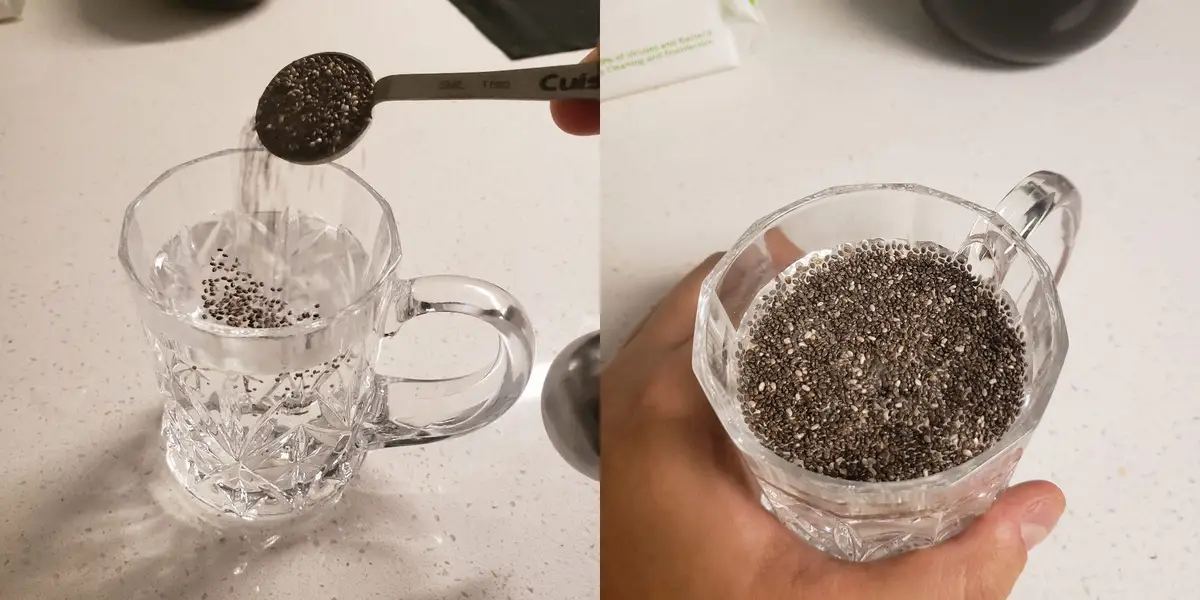
Germinating water lily seeds can be a fascinating and rewarding experience. To start the germination process, you will need to scarify the seeds. This involves gently nicking or filing the hard outer layer of the seed to help water penetrate and initiate germination. You can use a small file or sandpaper to carefully scrape the seed surface or even soak them in warm water for a few hours to soften the outer coating.
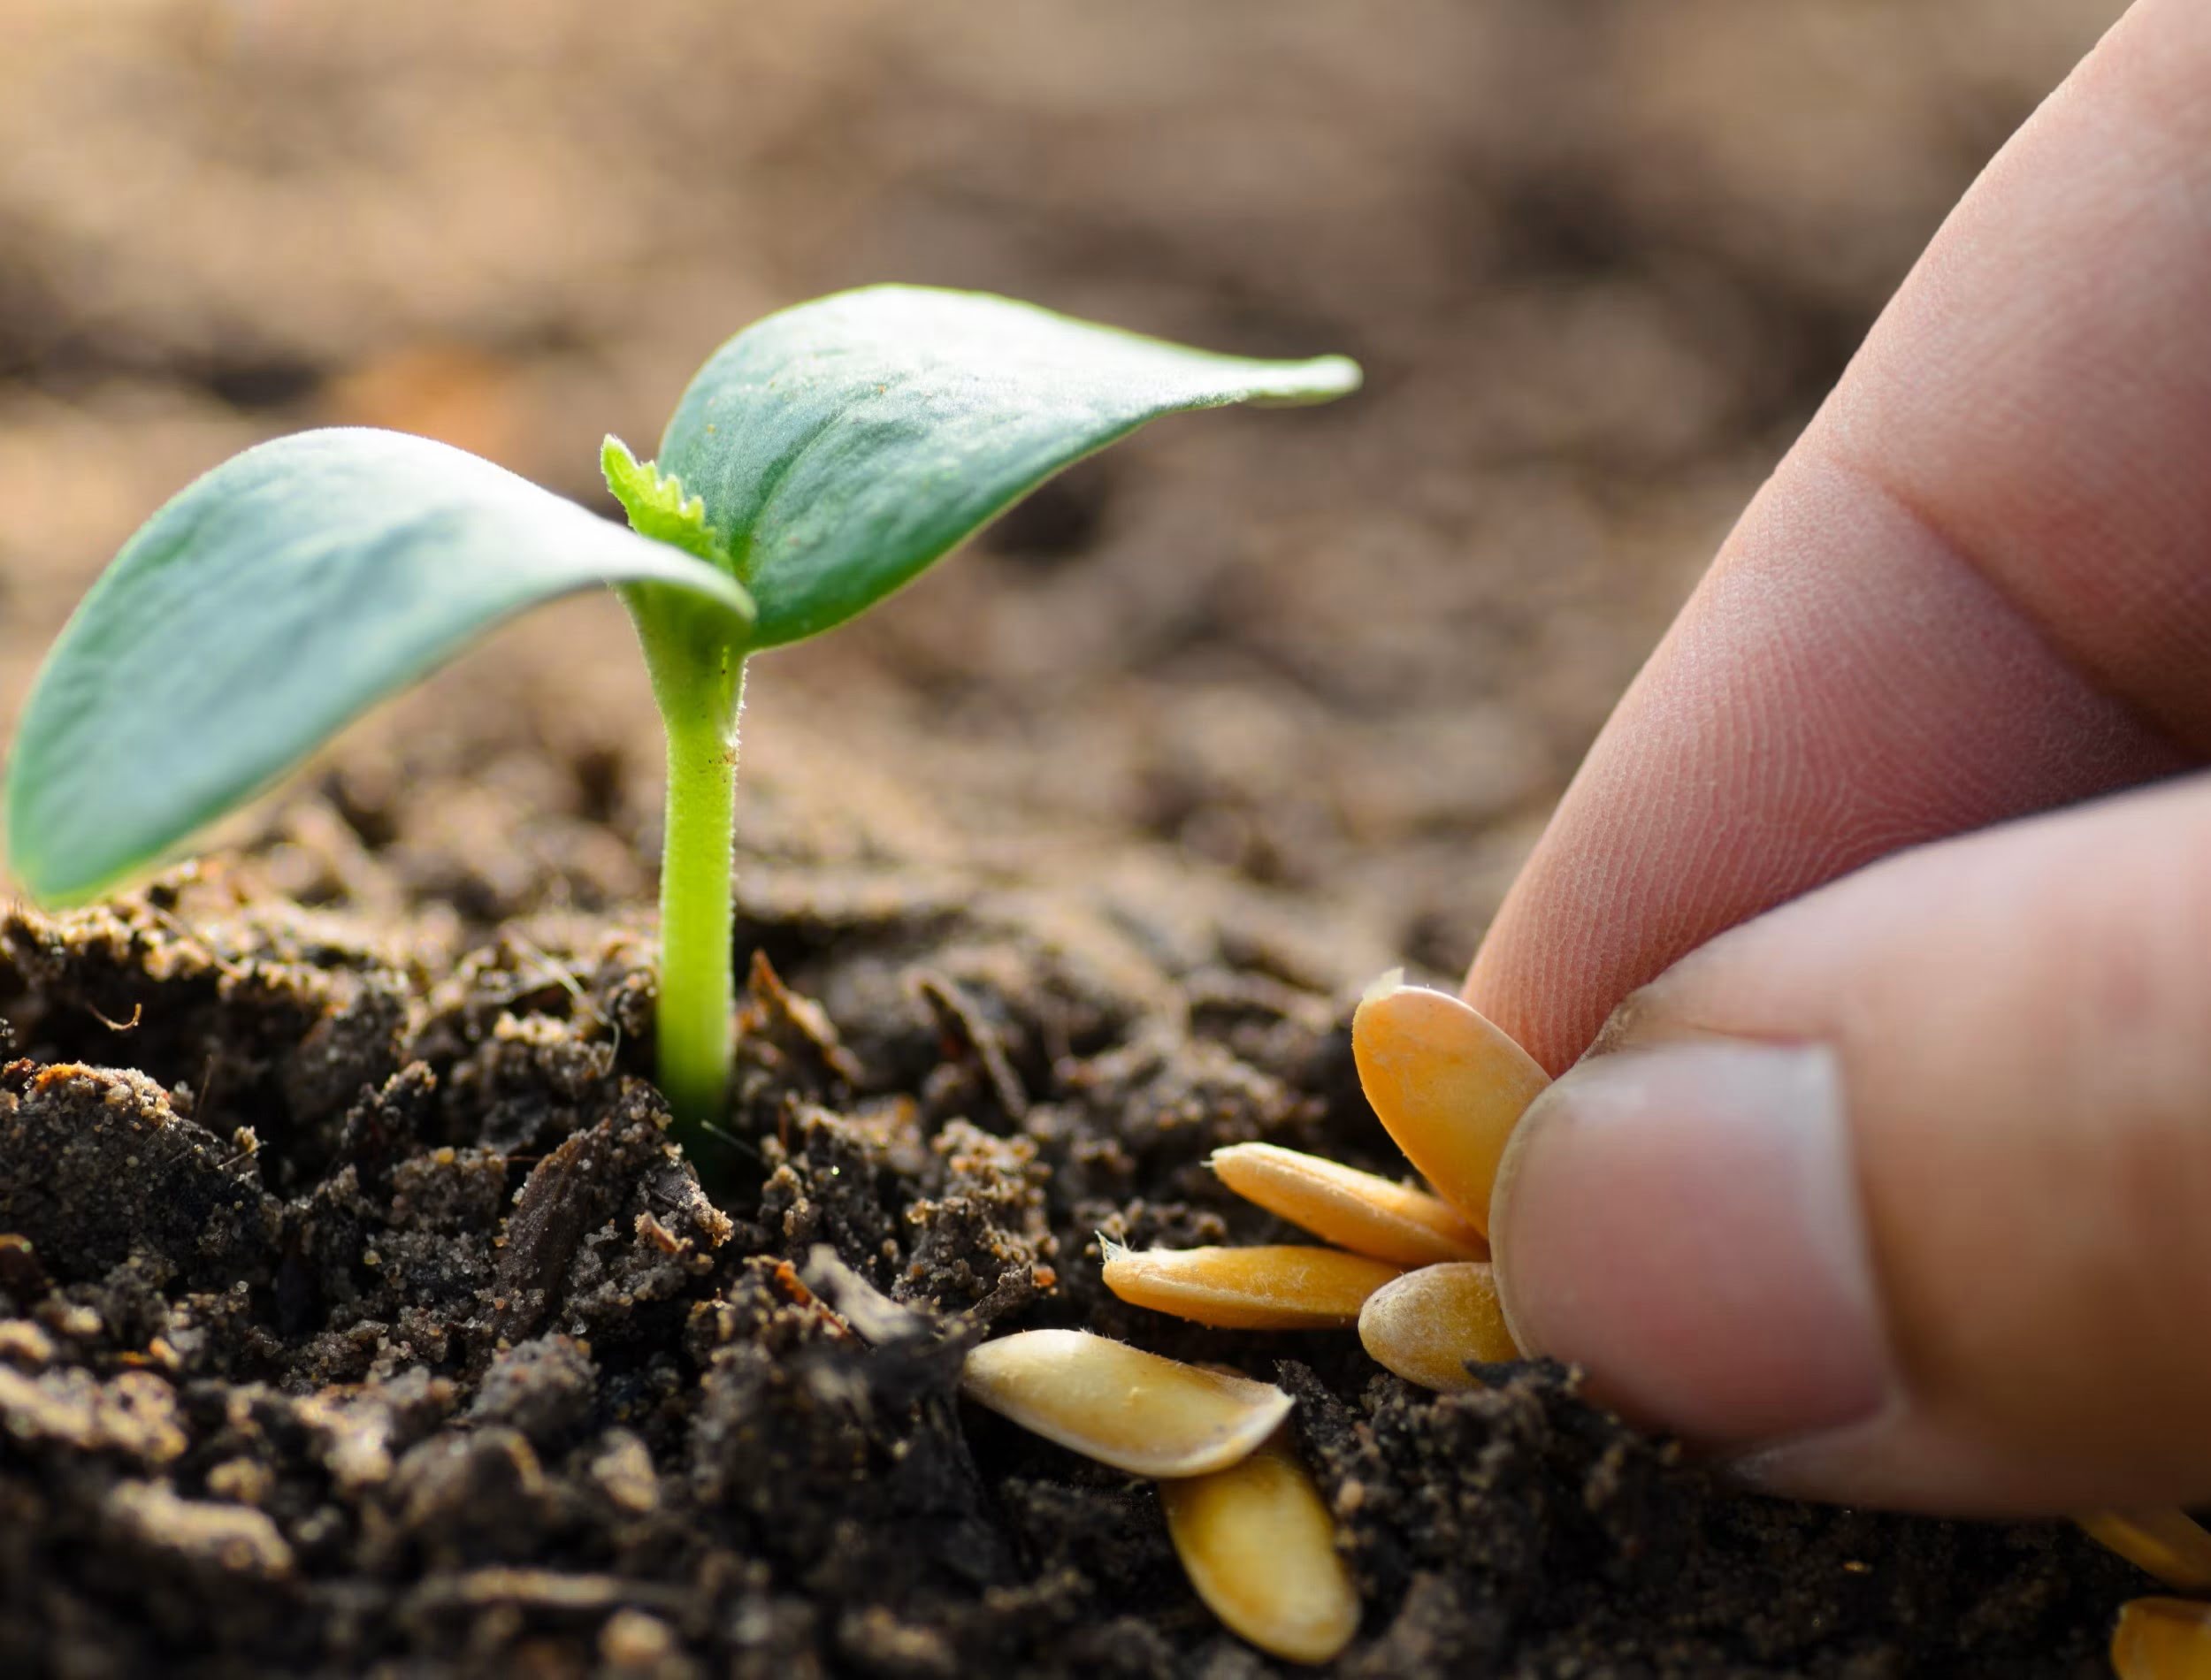
Once the seeds have been scarified, it’s time to sow them in the prepared growing container. Place the seeds on the surface of the soil, spacing them evenly apart to give each seedling room to grow. Lightly press the seeds into the soil to ensure good contact between the seeds and the growing medium.
After sowing the seeds, it’s important to maintain a consistent moisture level. Fill the container with water to submerge the soil and seeds entirely, but avoid covering them completely with water. Place the container in a sunny location or under grow lights to provide the necessary warmth and light for germination.
During the germination process, it’s essential to monitor the moisture level closely. The soil should always be moist but not waterlogged. If you notice excess water accumulating, gently tilt the container to drain off the excess and prevent the seeds from rotting.
Germination time varies depending on the water lily variety and growing conditions. In general, it can take anywhere from a few days to several weeks for the seeds to germinate. Be patient and continue to provide the optimal growing conditions while awaiting the emergence of the seedlings.
As the seedlings begin to appear, you may notice the development of two types of leaves: floating leaves and submerged leaves. The floating leaves will eventually reach the surface of the water, while the submerged leaves help with nutrient absorption and establish the root system.
Once the seedlings have grown sufficiently, it’s time to transplant them into their permanent home. We will explore the process of transplanting water lily seedlings in the next section.
To grow water lily seeds, start by placing the seeds in a container of warm water and let them soak for 24 hours. Then, plant the seeds in a pot with rich soil and place it in a sunny spot. Keep the soil moist and the pot in a warm environment to encourage germination.
Transplanting the Seedlings
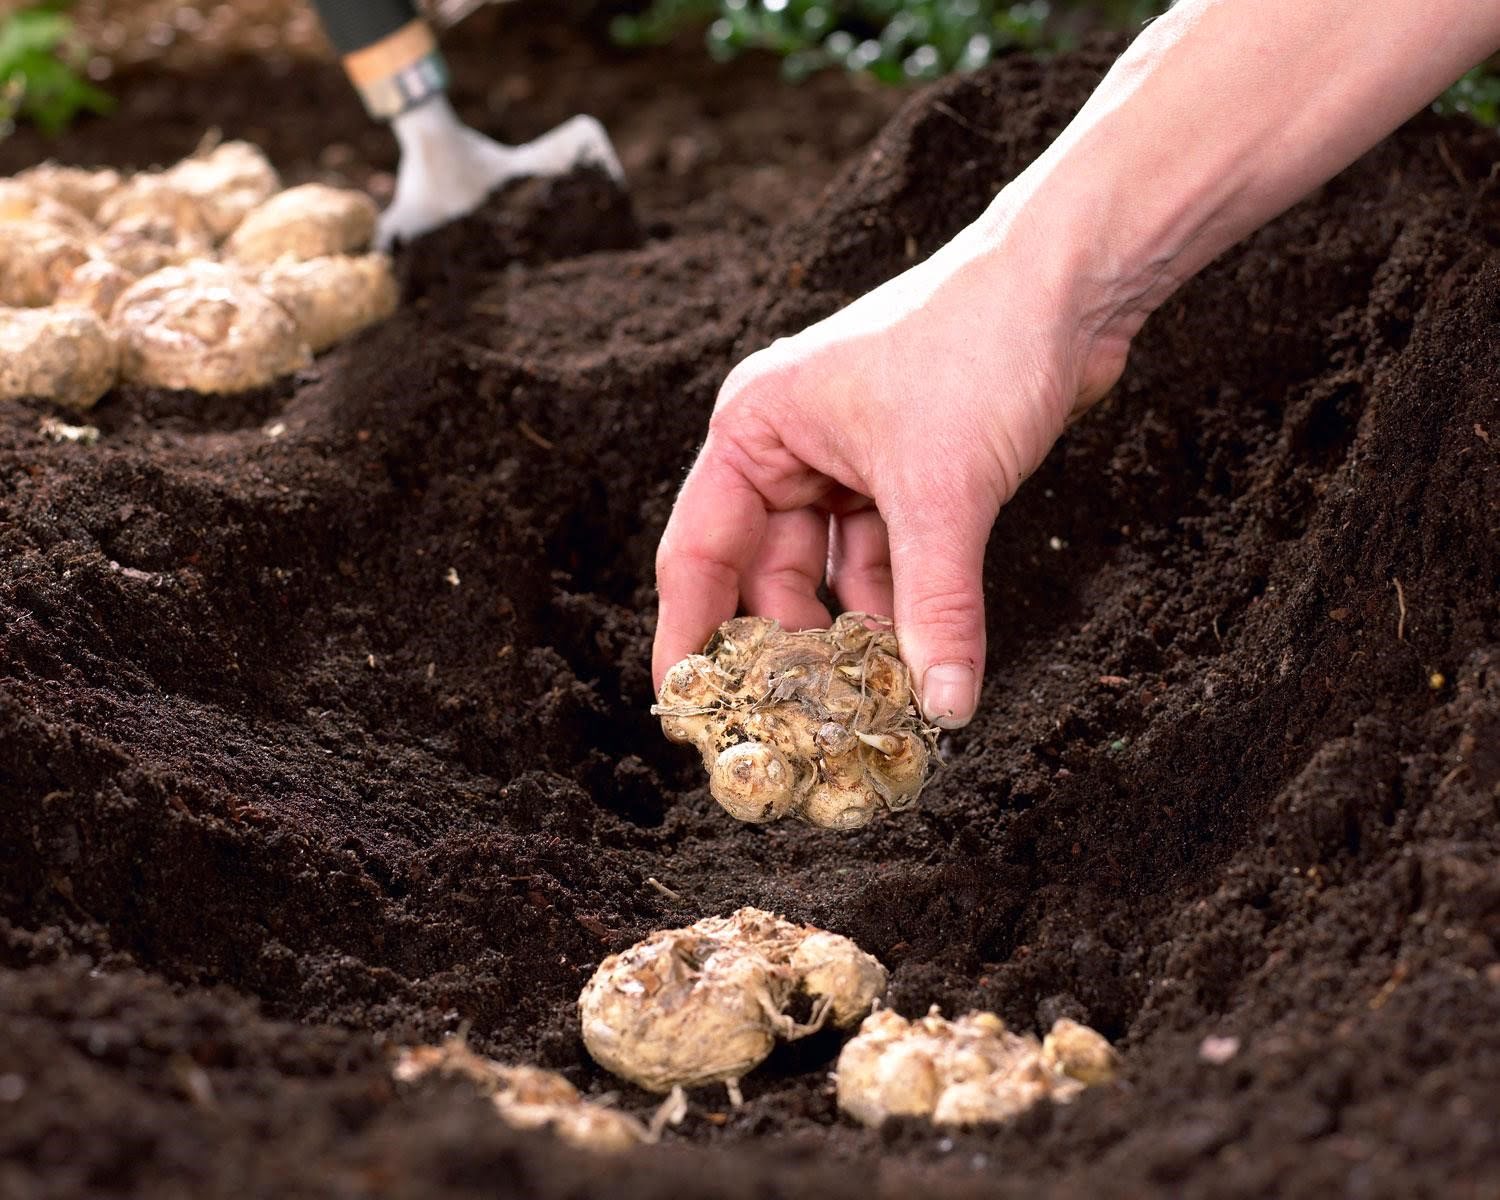
After the water lily seedlings have grown to a suitable size, it’s time to transplant them into their permanent location, such as a pond, water garden, or a large container. Transplanting is an important step in the journey of growing water lilies, as it allows the roots to establish themselves in a more spacious environment.
Begin by selecting a suitable location for your water lilies. Choose an area that receives at least 5-6 hours of sunlight each day. Ensure that the water is at the appropriate depth for the specific water lily variety you have chosen. Most water lilies prefer a depth of about 12-24 inches, but be sure to check the specific requirements for your chosen variety.
If you are planting the water lilies in a pond, make sure there is a proper planting shelf or pot to hold the container. If you are using a large container, place it in the desired location before proceeding with the transplanting process.
To transplant the seedlings, carefully lift them from the growing container, making sure to avoid damaging the delicate roots. Gently remove any excess soil from the roots, being careful not to disturb the young plants too much.
Place the seedlings in their new growing medium, whether it’s a pot, pond shelf, or container. Gently press the roots into the soil or aquatic compost, making sure they are securely anchored. You can add a layer of pea gravel or small stones on top of the soil to help prevent it from floating away.
Once the seedlings are transplanted, immerse the container or pot in the water, ensuring that the leaves are floating on the surface. If you are planting in a pond, carefully lower the pot onto the planting shelf at the appropriate depth.
After transplanting, it’s important to monitor the water level and provide regular maintenance to ensure the health and growth of your water lilies. Proper care and maintenance will be discussed in the following section.
Now that your water lily seedlings are comfortably settled into their new home, let’s explore how to provide them with the care they need to flourish.
Read more: How To Grow Calla Lily Seeds
Proper Care and Maintenance
To ensure the optimal growth and well-being of your water lilies, it’s important to provide them with proper care and maintenance. Here are some essential tips to help you keep your water lilies thriving:
- Water Quality: Regularly test the water quality in your pond or container to ensure it is within the ideal range for water lilies. Keep the water pH between 6.5 and 7.5 and maintain a good level of oxygenation. Avoid using harmful chemicals or pesticides in the water.
- Lighting: Water lilies require ample sunlight to promote healthy growth and abundant blooms. Ensure they receive at least 5-6 hours of direct sunlight each day. If necessary, trim back any overhanging branches or foliage that may shade the plants.
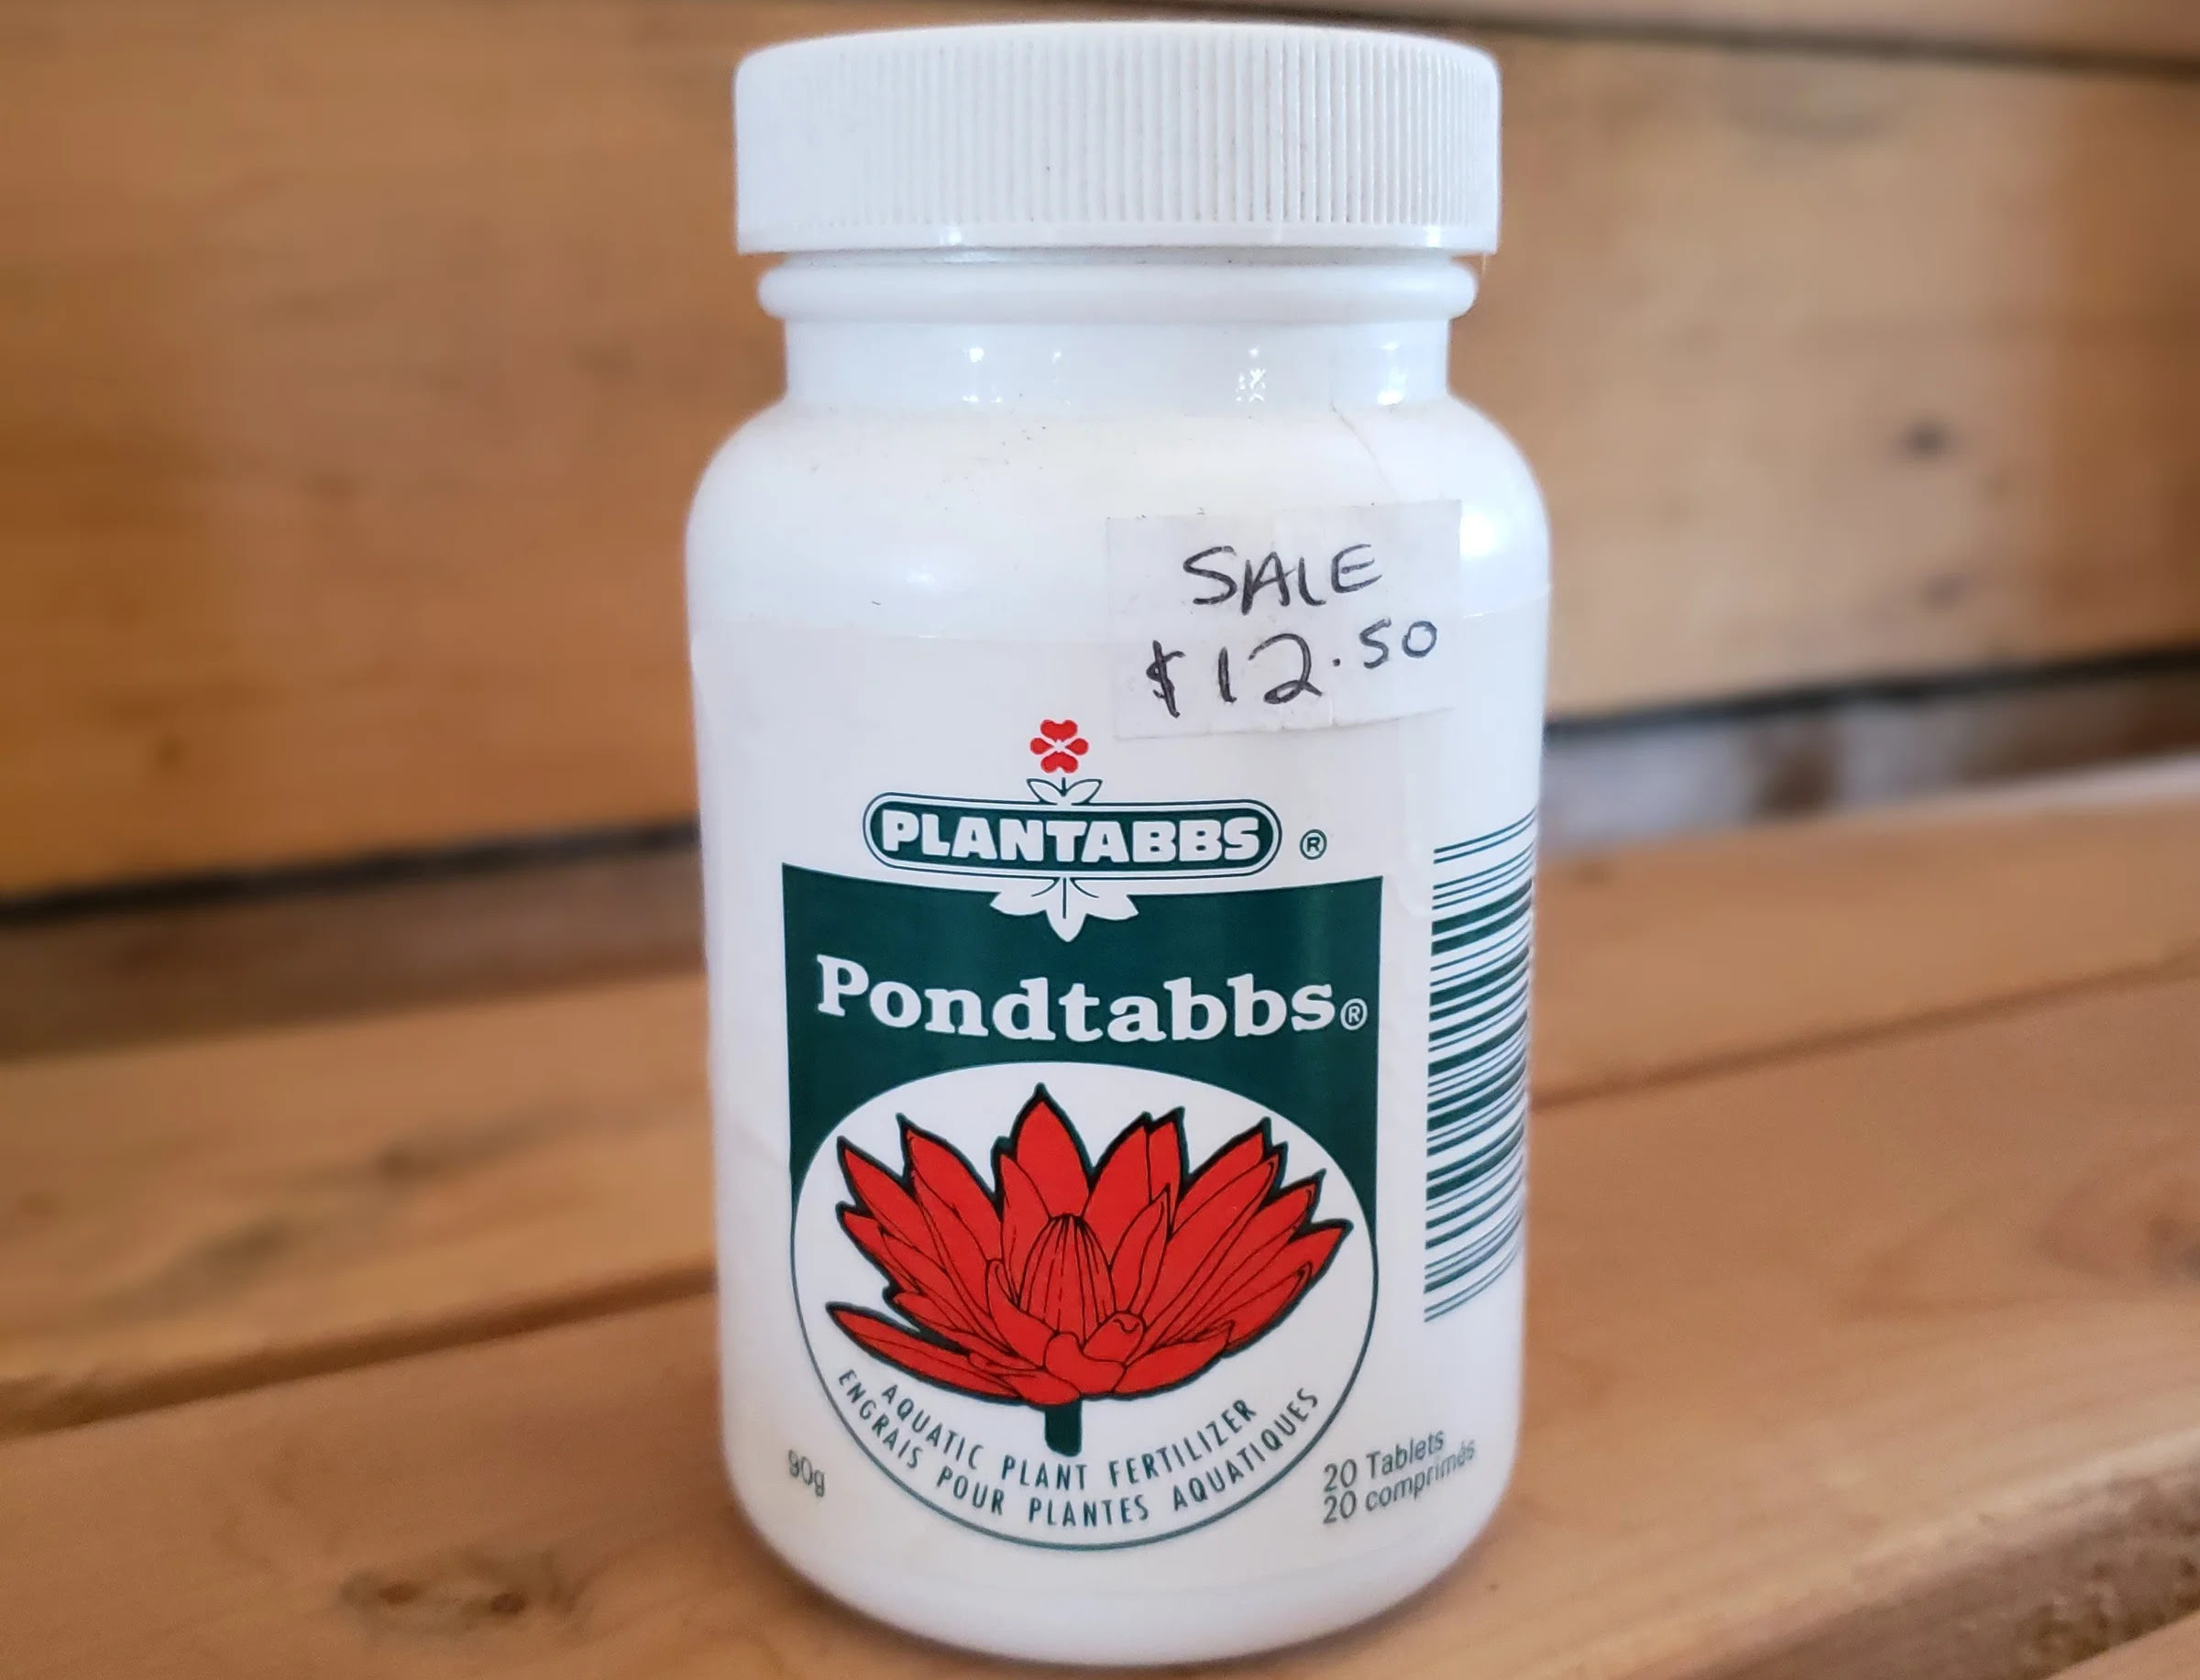
- Fertilization: Regularly fertilize your water lilies to provide them with the necessary nutrients. Use a slow-release aquatic fertilizer specifically formulated for water plants. Apply the fertilizer according to the instructions on the package but avoid over-fertilizing, as this can lead to algae growth.
- Pruning: Remove any dead or dying foliage from your water lilies to maintain a clean and healthy appearance. Prune back excessive growth to prevent overcrowding and allow for better air circulation. Be cautious not to damage the main stems or rhizomes when pruning.
- Water Depth: Check the water depth regularly and adjust as needed to ensure it is suitable for your water lily variety. Some water lilies prefer shallow water, while others thrive in deeper depths. Maintain the water level within the recommended range to support optimal growth.
- Water Temperature: Monitor the water temperature, especially if you have tropical water lilies. They require warm water, ideally around 70°F to 85°F. Consider using a water heater or moving the plants to a warmer location if needed.
- Pest Control: Keep an eye out for any pests or diseases that may affect your water lilies. Remove any pests manually or use organic pest control methods to protect your plants. Inspect the leaves regularly for signs of damage or discoloration.
By following these care guidelines and providing the right conditions, your water lilies will thrive and reward you with stunning blooms throughout the growing season.
However, it’s important to be aware of any potential issues or challenges that may arise. Let’s explore some common problems and how to troubleshoot them in the next section.
Troubleshooting Common Issues
While water lilies are relatively low-maintenance plants, they may encounter some common issues. Here are a few common problems you may encounter and some troubleshooting tips to help you address them:
- Yellowing Leaves: If you notice yellowing leaves on your water lilies, it could be a sign of nutrient deficiency or poor water quality. Test the water and adjust the pH level if necessary. Consider fertilizing the plants with a water lily-specific fertilizer to provide the needed nutrients.
- Algae Growth: Excessive algae growth can all but smother your water lilies. This issue is often caused by an imbalance of nutrients or too much sunlight. Control algae growth by ensuring proper filtration, reducing excess nutrients, and adding shade to the water surface if needed.
- Leaf Spot or Rot: If you notice black or brown spots on the leaves or rotting foliage, it could be a sign of fungal or bacterial infection. Remove affected leaves and treat the water lilies with an appropriate aquatic plant fungicide or bactericide. Improve water circulation to prevent stagnant conditions.
- Lack of Blooms: If your water lilies aren’t producing blooms, it could be due to insufficient sunlight, improper nutrient levels, or overcrowding. Ensure the plants are receiving enough direct sunlight, adjust fertilization if necessary, and thin out overcrowded plantings to promote better airflow and light penetration.
- Root Crown Exposed: Over time, the root crown of water lilies may become exposed due to erosion or settling of soil. Cover the exposed root crown with additional soil or aquatic compost to protect it and promote healthy growth.
Regular observation, maintenance, and prompt addressing of any issues will help keep your water lilies healthy and thriving.
After all the hard work and care you’ve invested in growing your water lilies, it’s time to sit back, relax, and enjoy the beauty they bring to your garden.
Conclusion
Congratulations! You have now learned how to grow water lily seeds and create your own stunning water lily paradise. By carefully selecting the right seeds, prepping the growing container, germinating the seeds, transplanting the seedlings, and providing proper care and maintenance, you can enjoy the beauty and serenity of water lilies in your garden.
Remember, choosing the right water lily seeds is the first step. Consider the type, color, and size of the water lilies you prefer. Preparing the growing container with suitable soil and ensuring proper drainage is crucial for successful germination. Scarify the seeds, sow them on the soil surface, and maintain consistent moisture throughout the germination process.
Transplanting the seedlings to their permanent location, providing the right water depth, and ensuring adequate sunlight and nutrient levels are essential for the continued growth and blooming of your water lilies. Regular maintenance, including pruning, fertilizing, and addressing common issues such as yellowing leaves or algae growth, will help keep your water lilies healthy and vibrant.
Don’t forget to enjoy the rewards of your hard work. Sit back and take in the enchanting blooms and calming presence of your water lilies. Whether they adorn a pond, water garden, or a large container, water lilies are sure to add a touch of elegance and tranquility to any outdoor space.
So go ahead and get started on your water lily journey. With patience, care, and a little gardening magic, you’ll be rewarded with the beauty and grace of these remarkable aquatic plants.
Frequently Asked Questions about How To Grow Water Lily Seeds
Was this page helpful?
At Storables.com, we guarantee accurate and reliable information. Our content, validated by Expert Board Contributors, is crafted following stringent Editorial Policies. We're committed to providing you with well-researched, expert-backed insights for all your informational needs.


0 thoughts on “How To Grow Water Lily Seeds”