Home>Garden Essentials>How To Grow Lettuce Seeds
Garden Essentials
How To Grow Lettuce Seeds
Modified: August 28, 2024
Learn how to grow lettuce seeds in your garden and enjoy fresh, homegrown greens. Get expert tips and advice for a successful lettuce harvest.
(Many of the links in this article redirect to a specific reviewed product. Your purchase of these products through affiliate links helps to generate commission for Storables.com, at no extra cost. Learn more)
Introduction
Growing lettuce from seeds is a rewarding and satisfying experience for garden enthusiasts. Not only does it allow you to have a constant supply of fresh, crisp greens throughout the growing season, but it also gives you the freedom to choose from a wide variety of lettuce types. From the classic iceberg lettuce to the vibrant and flavorful leafy greens, there is a lettuce variety to suit every palate.
In this article, we will guide you through the step-by-step process of growing lettuce seeds, from selecting the right variety to harvesting the leaves. So, grab your gardening tools and get ready to embark on a journey that will yield delicious and nutritious results.
Before we dive into the specifics, it is important to note that lettuce is a cool-season crop, preferring moderate temperatures ranging from 45°F to 75°F (7°C to 24°C). It grows best in well-drained soil with a pH between 6.0 and 7.0. With this in mind, let’s jump right into the first step: choosing the right lettuce variety.
Key Takeaways:
- Choose the right lettuce variety based on your climate and space. Fast-growing options like ‘Black-seeded Simpson’ are perfect for short growing seasons and small gardens. Experiment with different types for diverse flavors and colors.
- Prepare the soil with nutrient-rich amendments and proper pH levels for successful lettuce growth. Starting lettuce seeds indoors gives you a head start, and transplanting seedlings outdoors ensures they have enough space and sunlight.
Step 1: Choosing the right lettuce variety
Lettuce comes in various forms, including loose-leaf, romaine, butterhead, and crisphead. Each variety has its own unique characteristics, flavors, and growing requirements. When selecting the right lettuce variety for your garden, consider factors such as your climate, available space, and personal preferences.
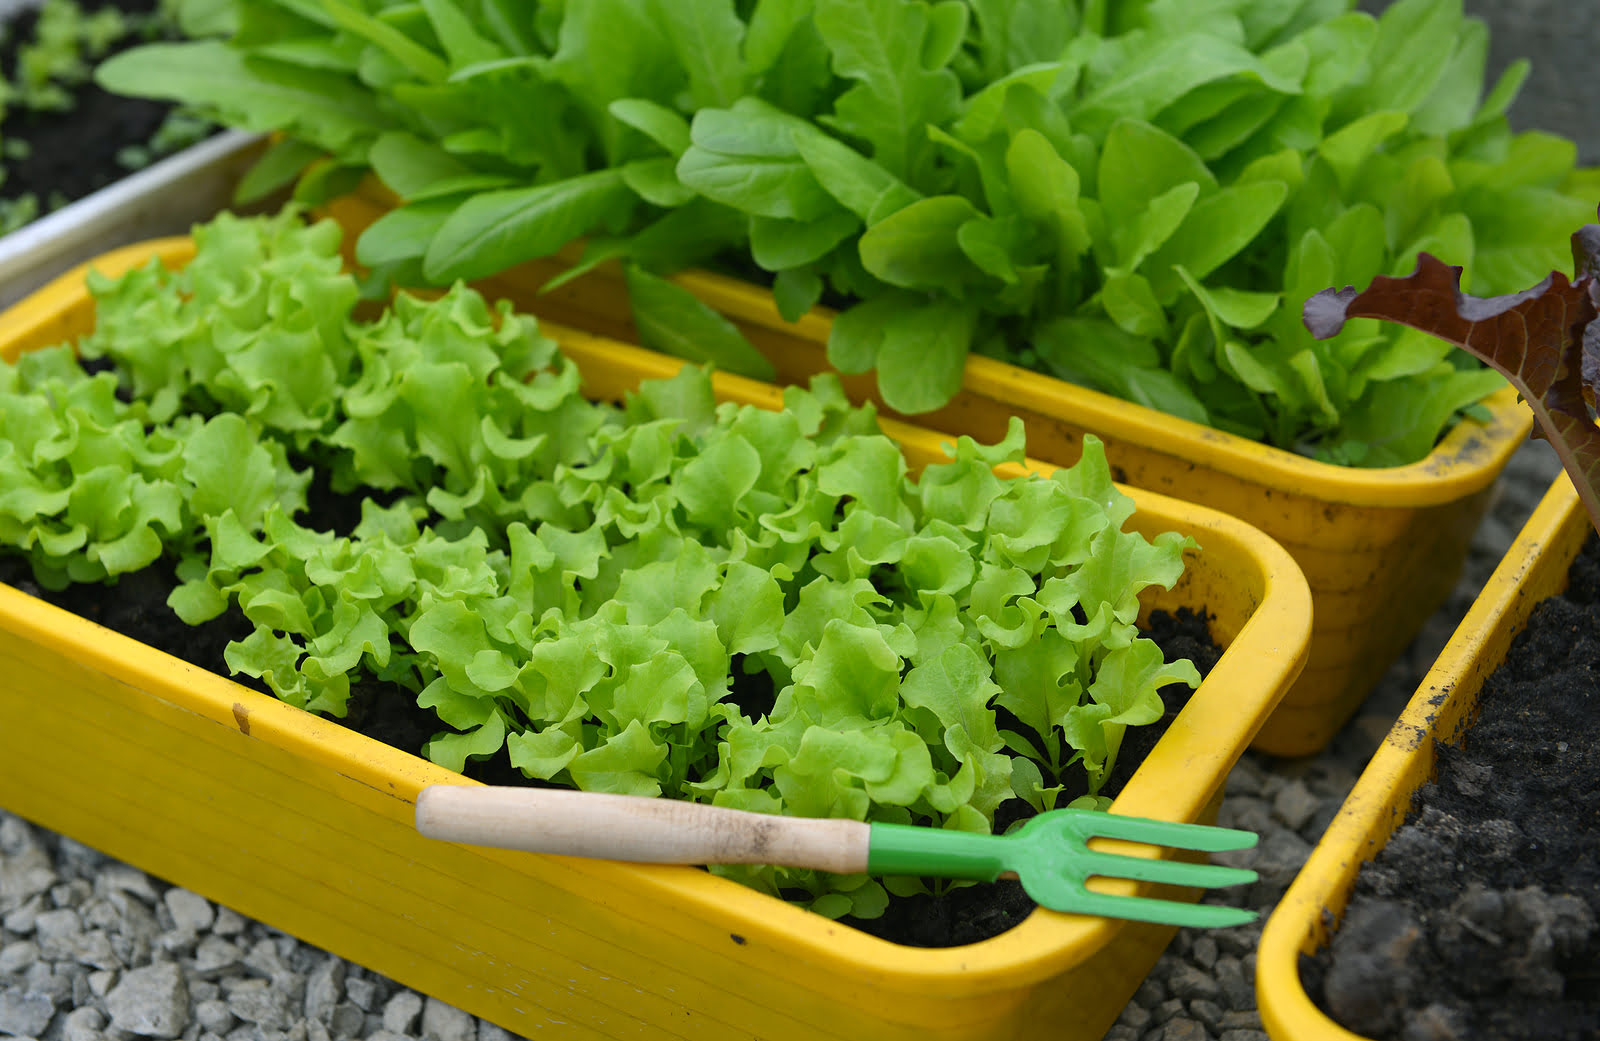
If you live in a region with a short growing season or have limited space, consider opting for fast-growing lettuce varieties such as ‘Black-seeded Simpson’ or ‘Mesclun Mix.’ These varieties mature quickly and can be harvested in as little as 40 to 45 days from sowing. They also thrive in containers and raised beds, making them perfect for small gardens or balcony gardening.
If you prefer a crunchy texture and mild flavor, go for crisphead lettuce varieties like ‘Iceberg’ or ‘Great Lakes.’ These varieties form tight, compact heads and are the classic choice for salads and sandwiches. However, they require a longer growing season and cooler temperatures to develop properly.
Romaine lettuce, also known as Cos lettuce, is another popular choice among gardeners. It has elongated leaves and a slightly bitter taste. Romaine varieties such as ‘Parris Island’ and ‘Valmaine’ are known for their excellent heat tolerance and resistance to bolting, making them suitable for warmer climates.
Butterhead lettuce, with its tender and buttery leaves, is a favorite among home gardeners for its delicious flavor. Varieties like ‘Bibb’ and ‘Buttercrunch’ form loose heads and are perfect for picking individual leaves as you need them.
Consider experimenting with different lettuce varieties to enjoy a diverse range of flavors, colors, and textures in your salads. Remember to check the seed packet or catalog for specific information about each variety’s growing requirements.
Once you have selected the lettuce varieties you want to grow, it’s time to move on to the next step: preparing the soil.
Step 2: Preparing the soil
The key to successful lettuce growth lies in having nutrient-rich, well-drained soil. Lettuce plants thrive in soil that is loose, fertile, and has excellent drainage. Follow these steps to prepare the soil for optimal lettuce growth:
- Clear the area: Start by clearing the area where you plan to grow your lettuce. Remove any weeds, rocks, or debris that may hinder growth and compete for nutrients.
- Loosen the soil: Using a garden fork or tiller, loosen the soil to a depth of at least 6 inches. This will improve aeration, drainage, and root penetration. Avoid working the soil when it is wet, as it can lead to compaction.
- Amend the soil: Depending on the quality of your soil, you may need to amend it with organic matter. Incorporate well-rotted compost, aged manure, or other organic materials to enrich the soil and provide essential nutrients. Work the amendments into the top layer of soil.
- Test the pH: Lettuce prefers a slightly acidic to neutral soil pH ranging from 6.0 to 7.0. Use a soil testing kit to determine the pH level of your soil. If necessary, make adjustments by adding lime to raise the pH or sulfur to lower it. Aim for a pH level that falls within the optimal range for lettuce growth.
- Level and smooth the soil: Once the amendments and pH adjustments have been made, level and smooth the soil surface using a rake. This will provide a uniform growing environment for your lettuce seeds.
By taking the time to properly prepare the soil, you create a favorable environment for lettuce seed germination and root development. Nutrient-rich soil will also contribute to the overall health and productivity of your lettuce plants.
Now that the soil is ready, it’s time to move on to the next step: starting lettuce seeds indoors.
Step 3: Starting lettuce seeds indoors
Starting lettuce seeds indoors gives you a head start on the growing season, allowing you to enjoy fresh lettuce leaves earlier. Follow these steps to successfully start lettuce seeds indoors:
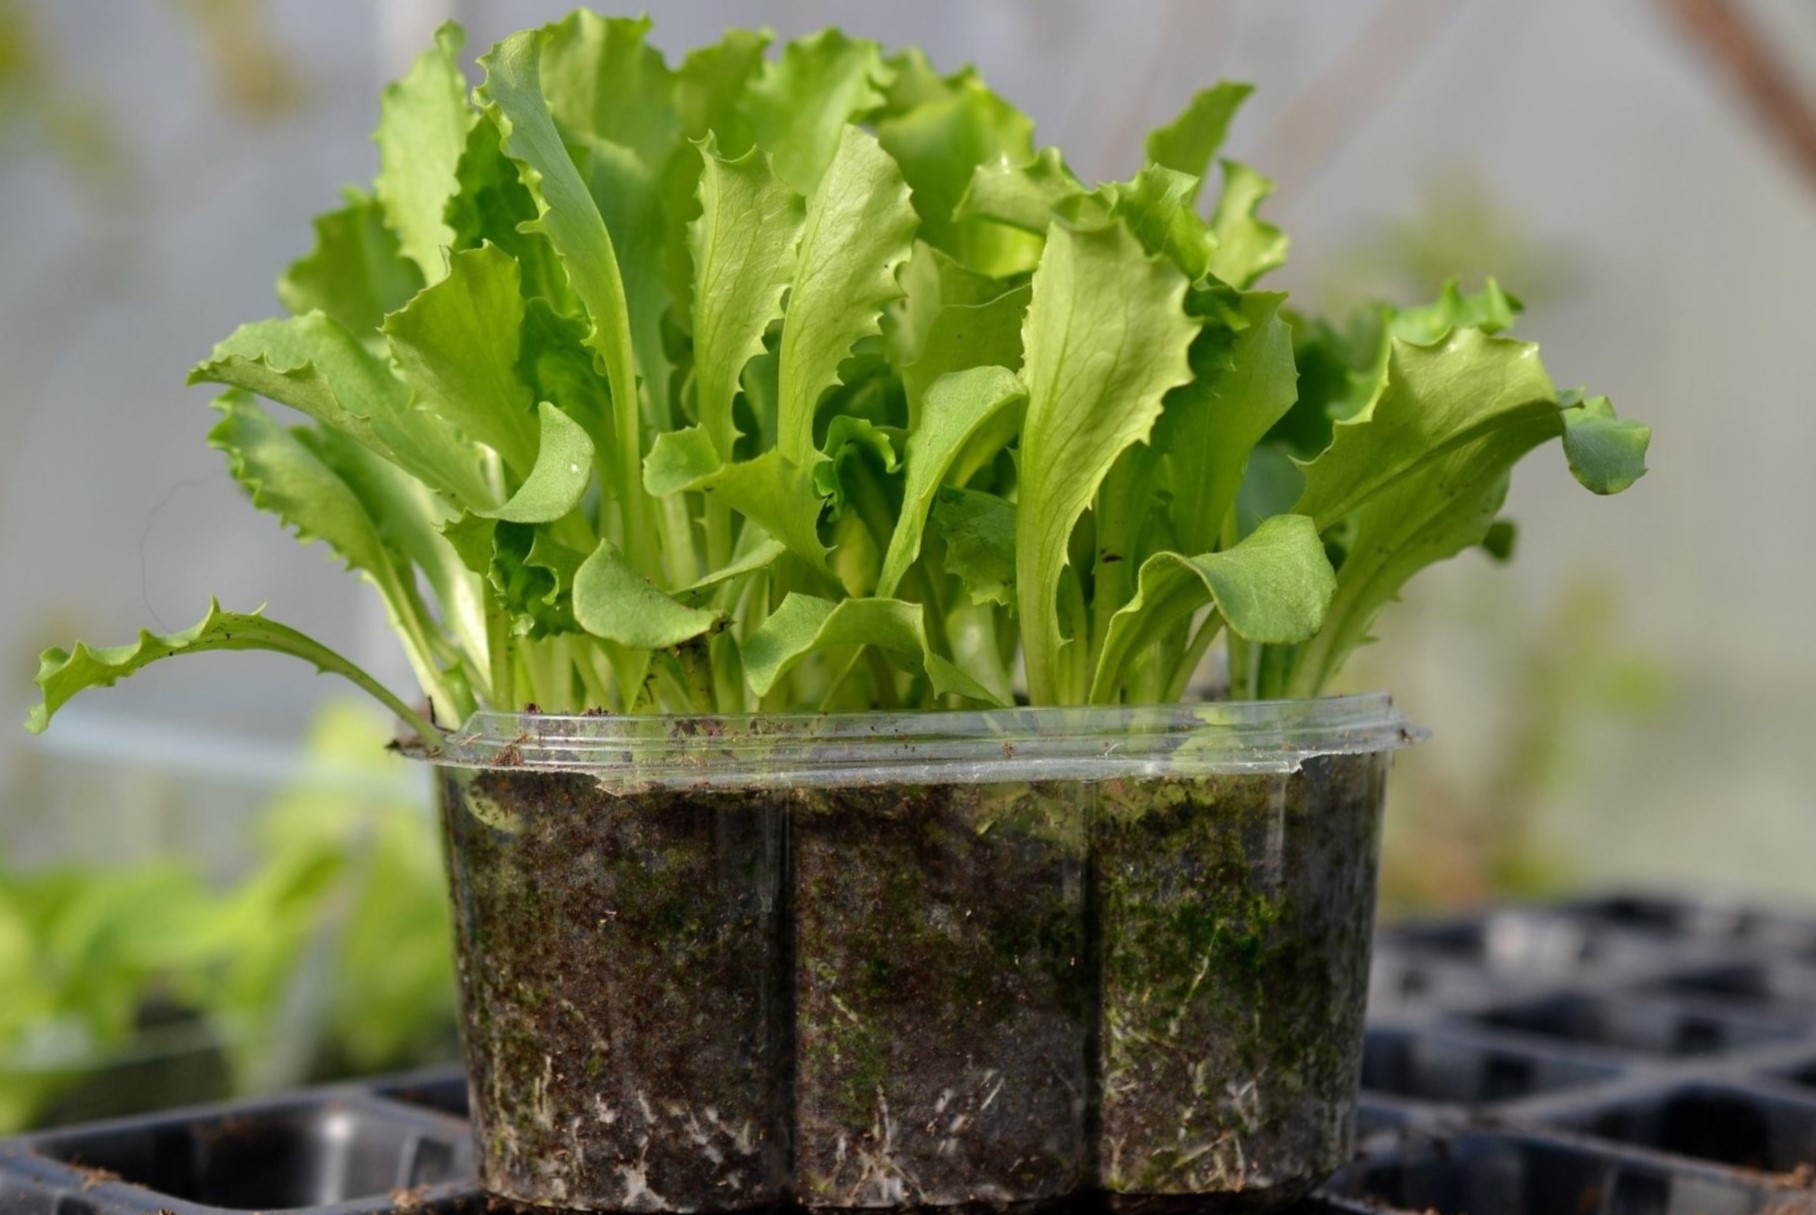
- Choose containers: Select containers with drainage holes, such as seed trays or small pots. Fill them with a well-draining seed starting mix or a combination of peat moss, vermiculite, and perlite.
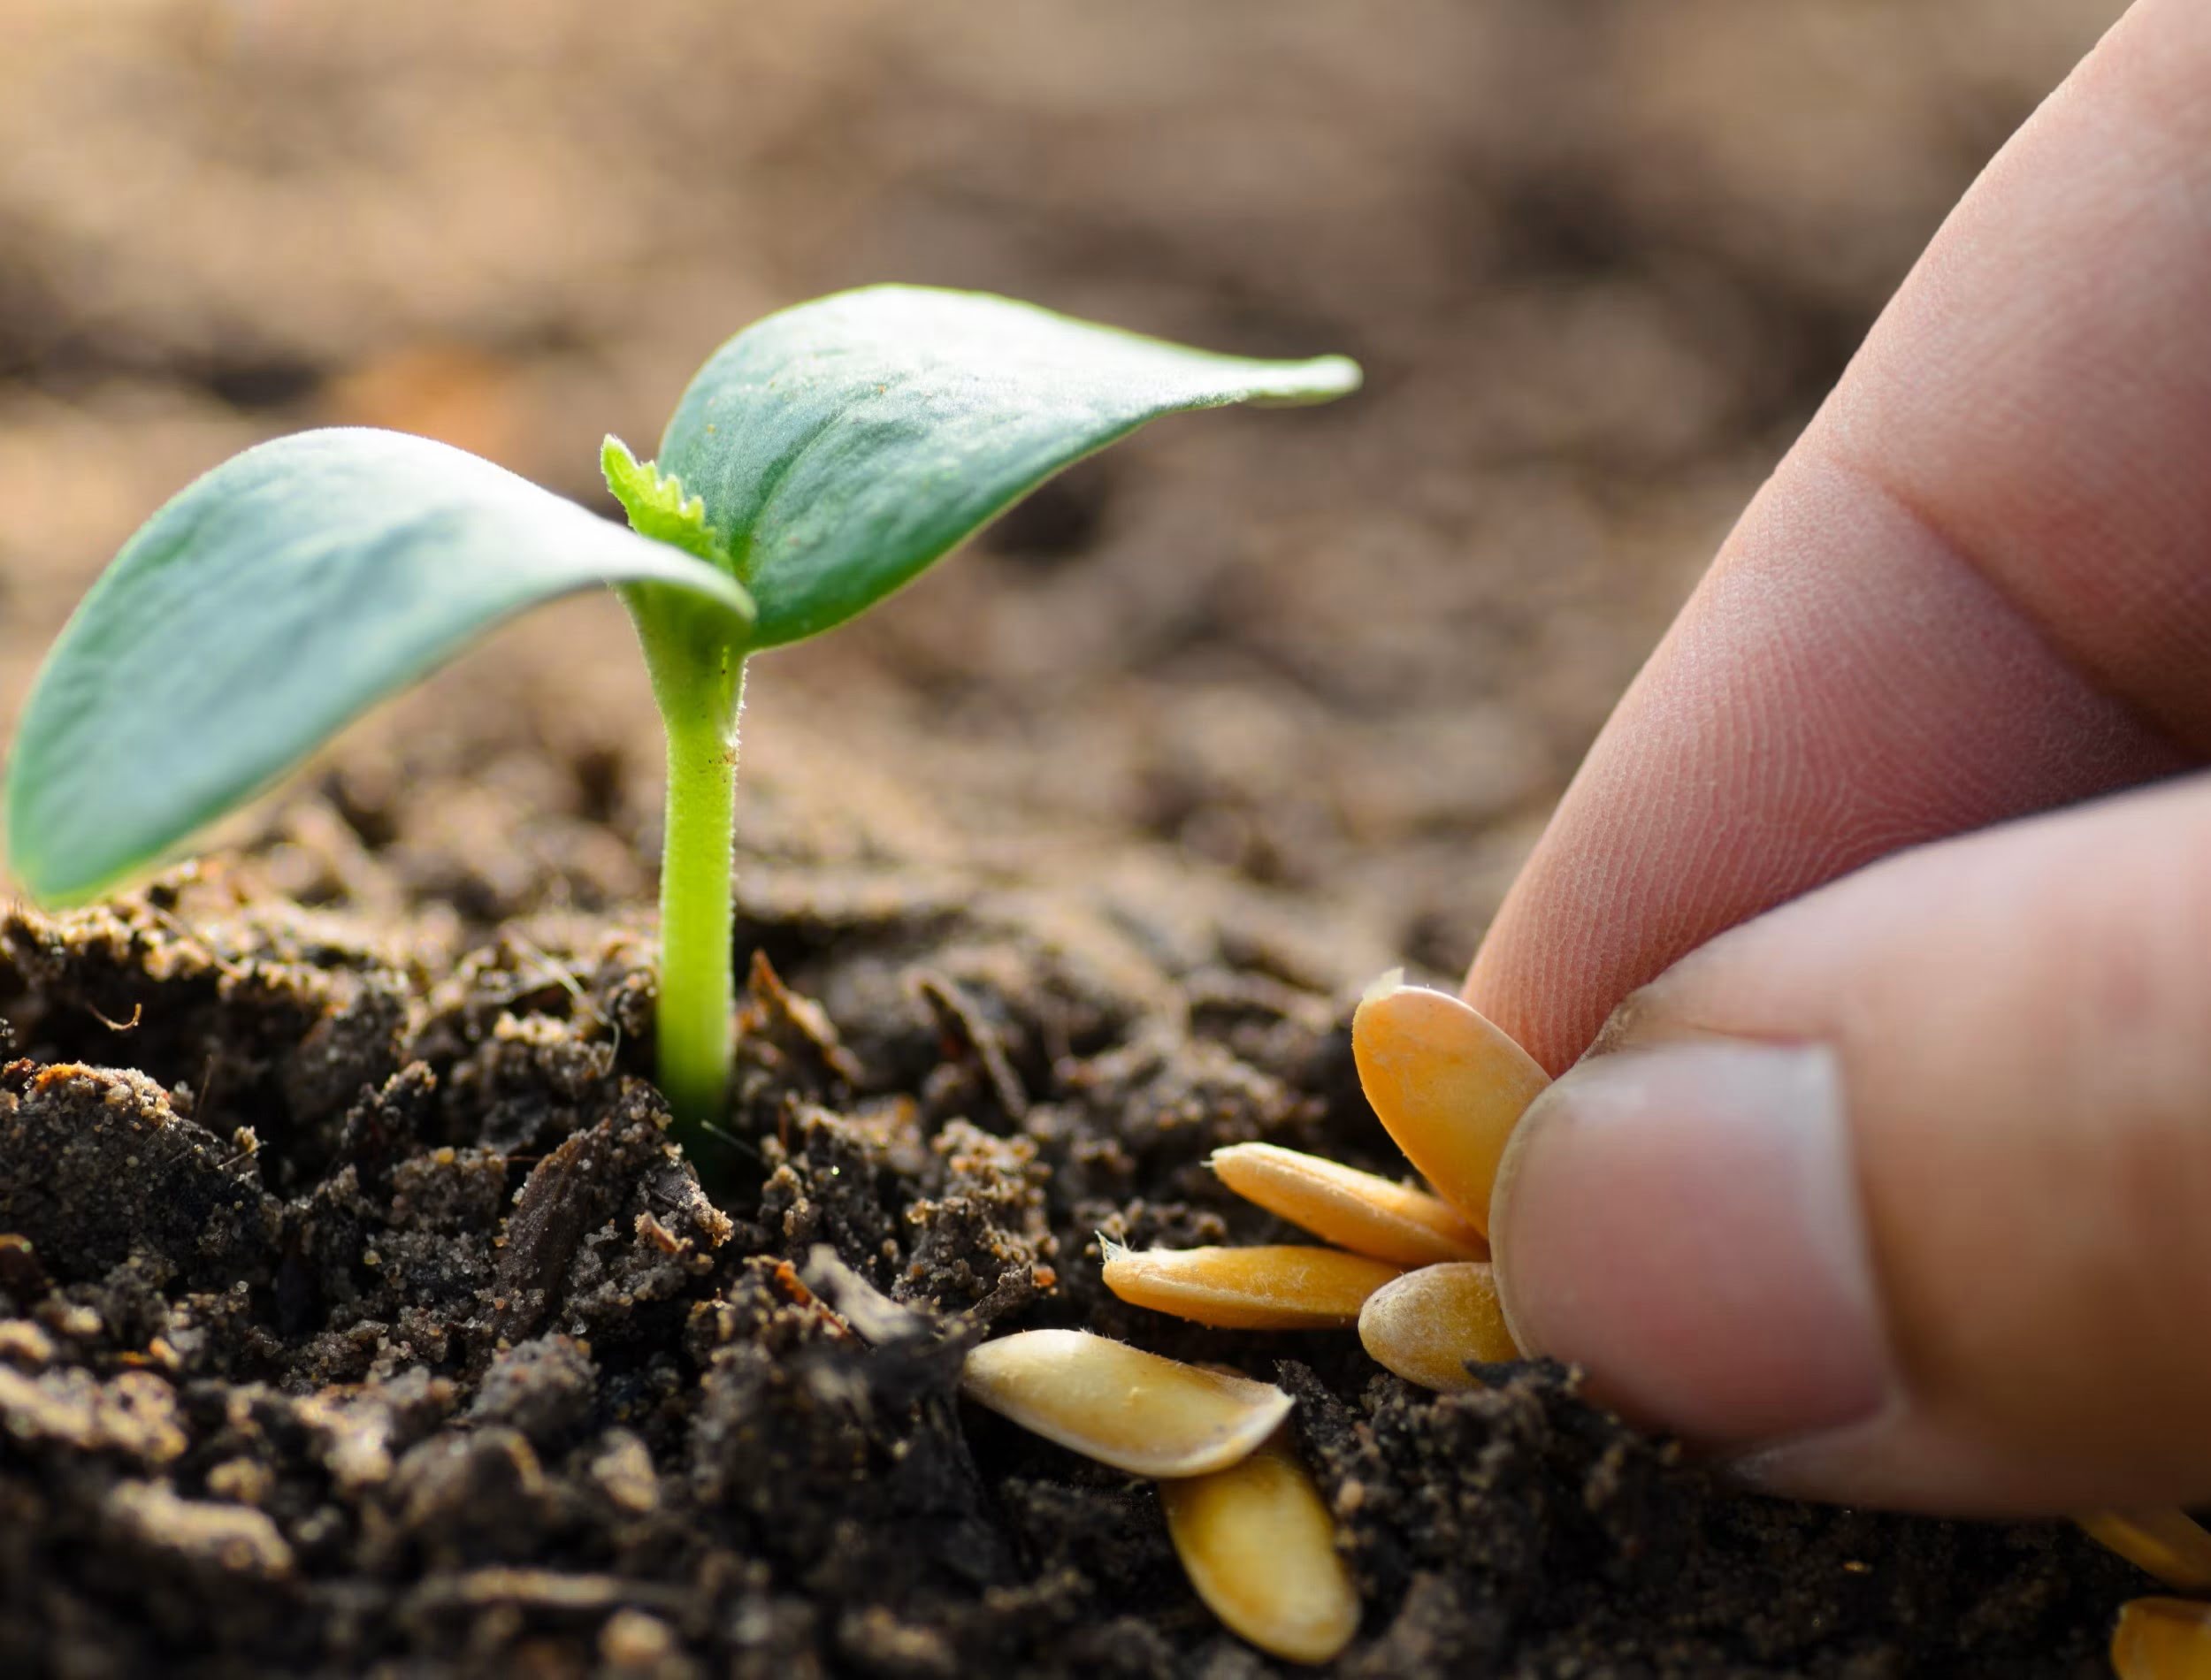
- Sow the seeds: Sprinkle the lettuce seeds on top of the soil surface. Space them evenly, leaving about an inch between each seed. Lightly press the seeds into the soil, making sure they are in good contact with the growing medium.
- Moisten the soil: Use a spray bottle or a gentle stream of water to moisten the soil without saturating it. Let the excess water drain out of the containers.
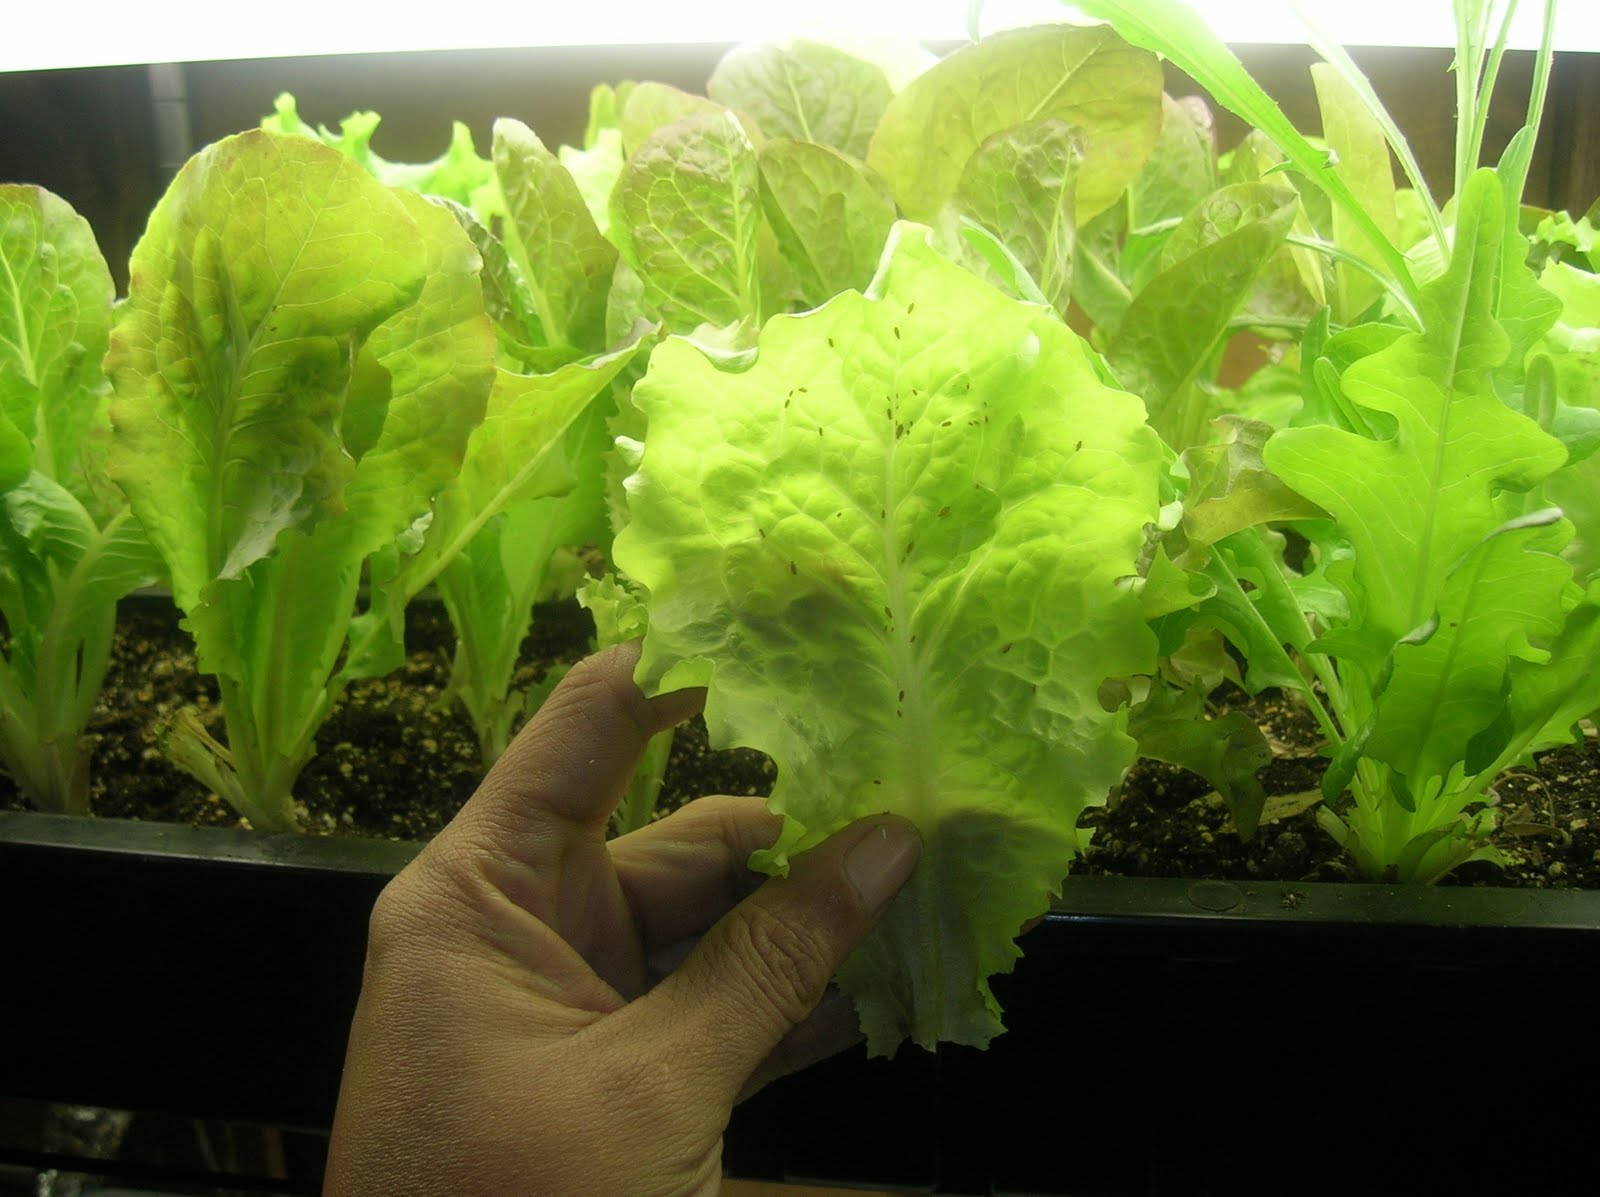
- Provide warmth and light: Place the containers in a warm location with indirect sunlight or use a seedling heat mat to maintain a temperature of around 70°F (21°C). Once the seeds germinate and seedlings emerge, move them to a location with bright, indirect light or use grow lights to provide adequate illumination.
- Water properly: Keep the soil evenly moist throughout the germination and seedling stage. Avoid overwatering, as it can lead to damping-off disease or root rot. Use a misting bottle or a watering can with a fine nozzle to water the seedlings gently.
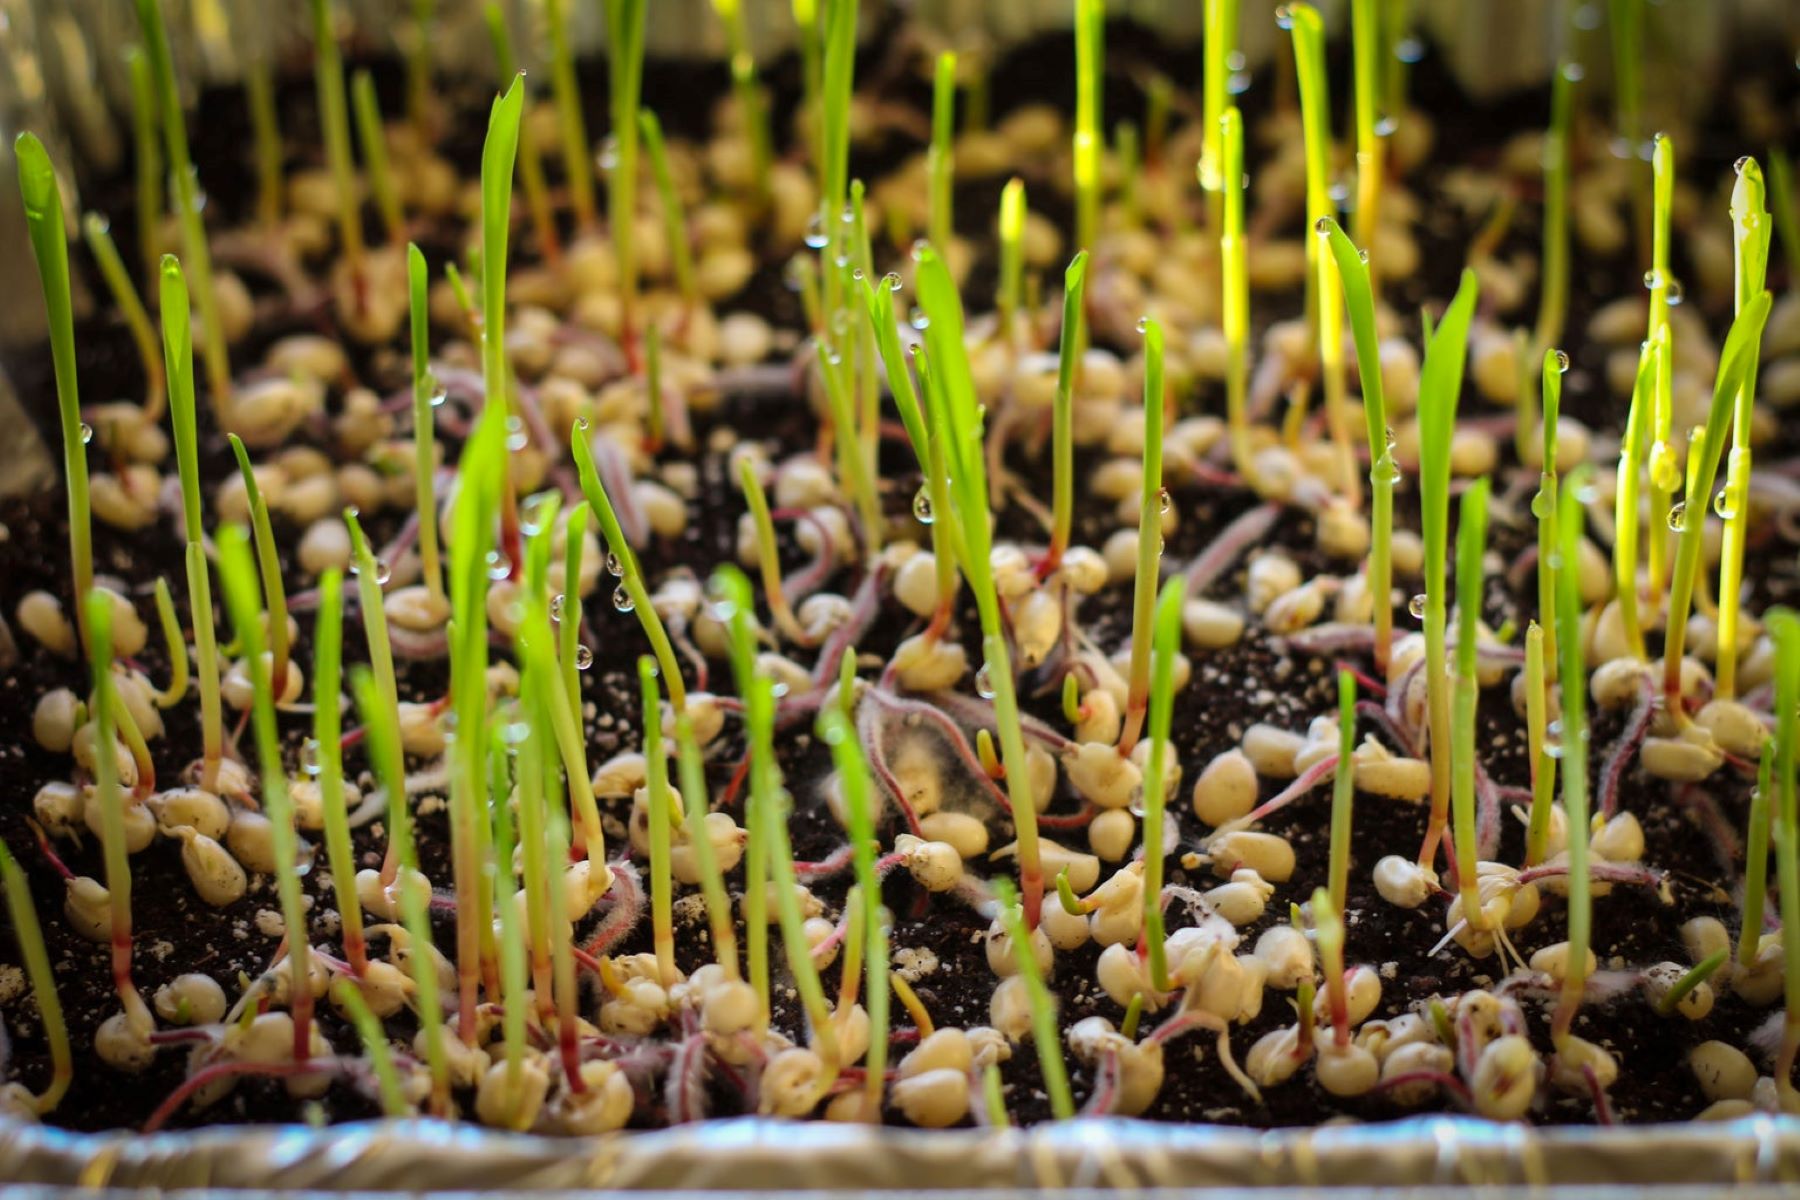
- Thin out the seedlings: Once the seedlings have developed their first set of true leaves, thin them out by removing the weaker seedlings, leaving only the strongest ones. This ensures that each seedling has enough space to grow and prevents overcrowding.
By starting lettuce seeds indoors, you can control the growing conditions and maximize the germination rate. Once the seedlings have matured and the outdoor temperatures have warmed up, it’s time to transplant them into the garden. We’ll cover that in the next step: transplanting seedlings outdoors.
Step 4: Transplanting seedlings outdoors
Transplanting lettuce seedlings from indoor containers to the garden is a crucial step in the growing process. Proper transplanting ensures that the seedlings have enough space to grow, access to sunlight, and access to nutrients from the soil. Follow these steps to successfully transplant lettuce seedlings:
- Choose the right time: Wait until the threat of frost has passed and the soil has warmed up before transplanting lettuce seedlings. Typically, this is around 2 to 4 weeks after the last frost date in your area. Check your local frost dates to determine the best time for transplanting.
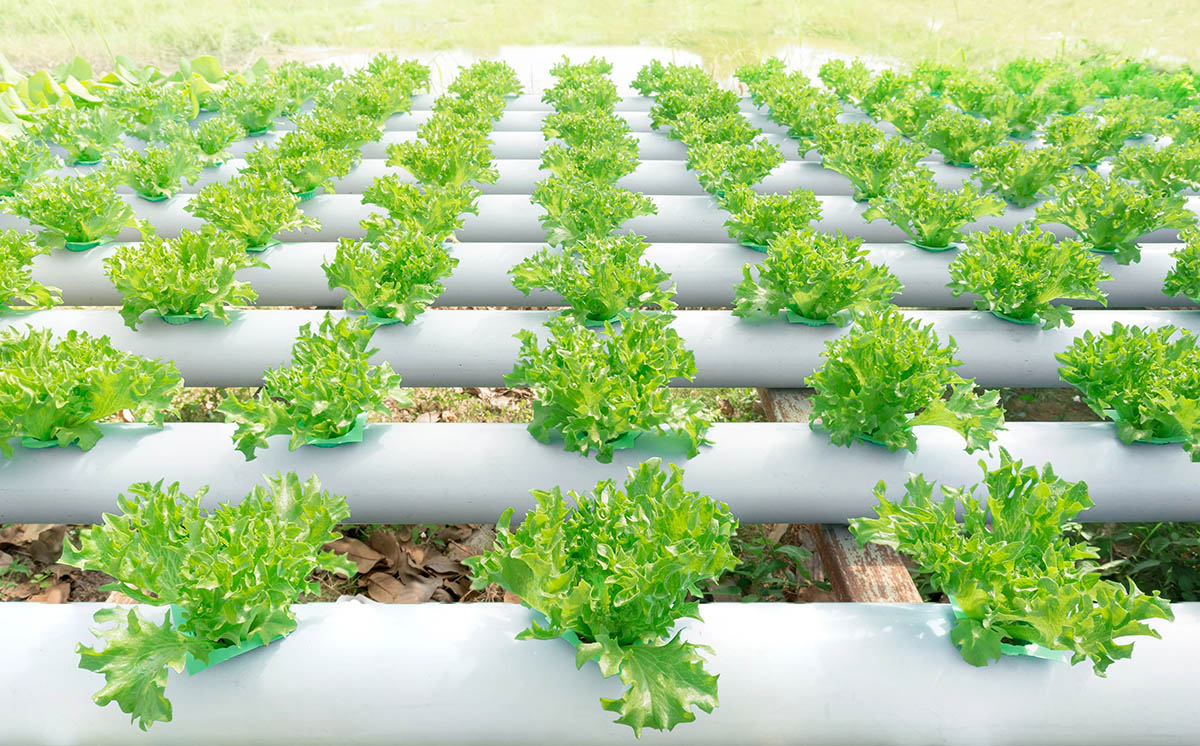
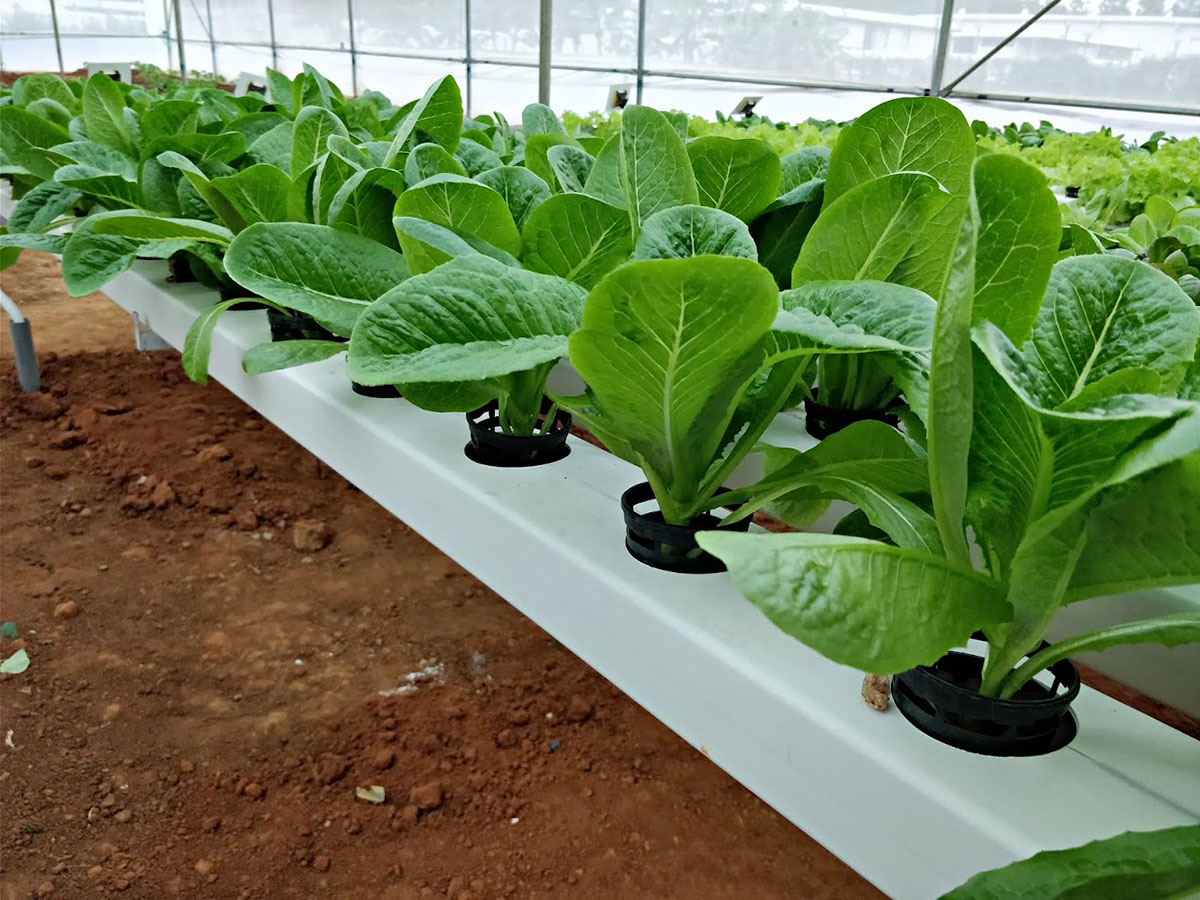
- Prepare the planting site: Select a sunny location in your garden that receives at least 6 hours of direct sunlight per day. Ensure that the soil is moist, well-drained, and has been prepared by following the soil preparation steps mentioned earlier in this article.
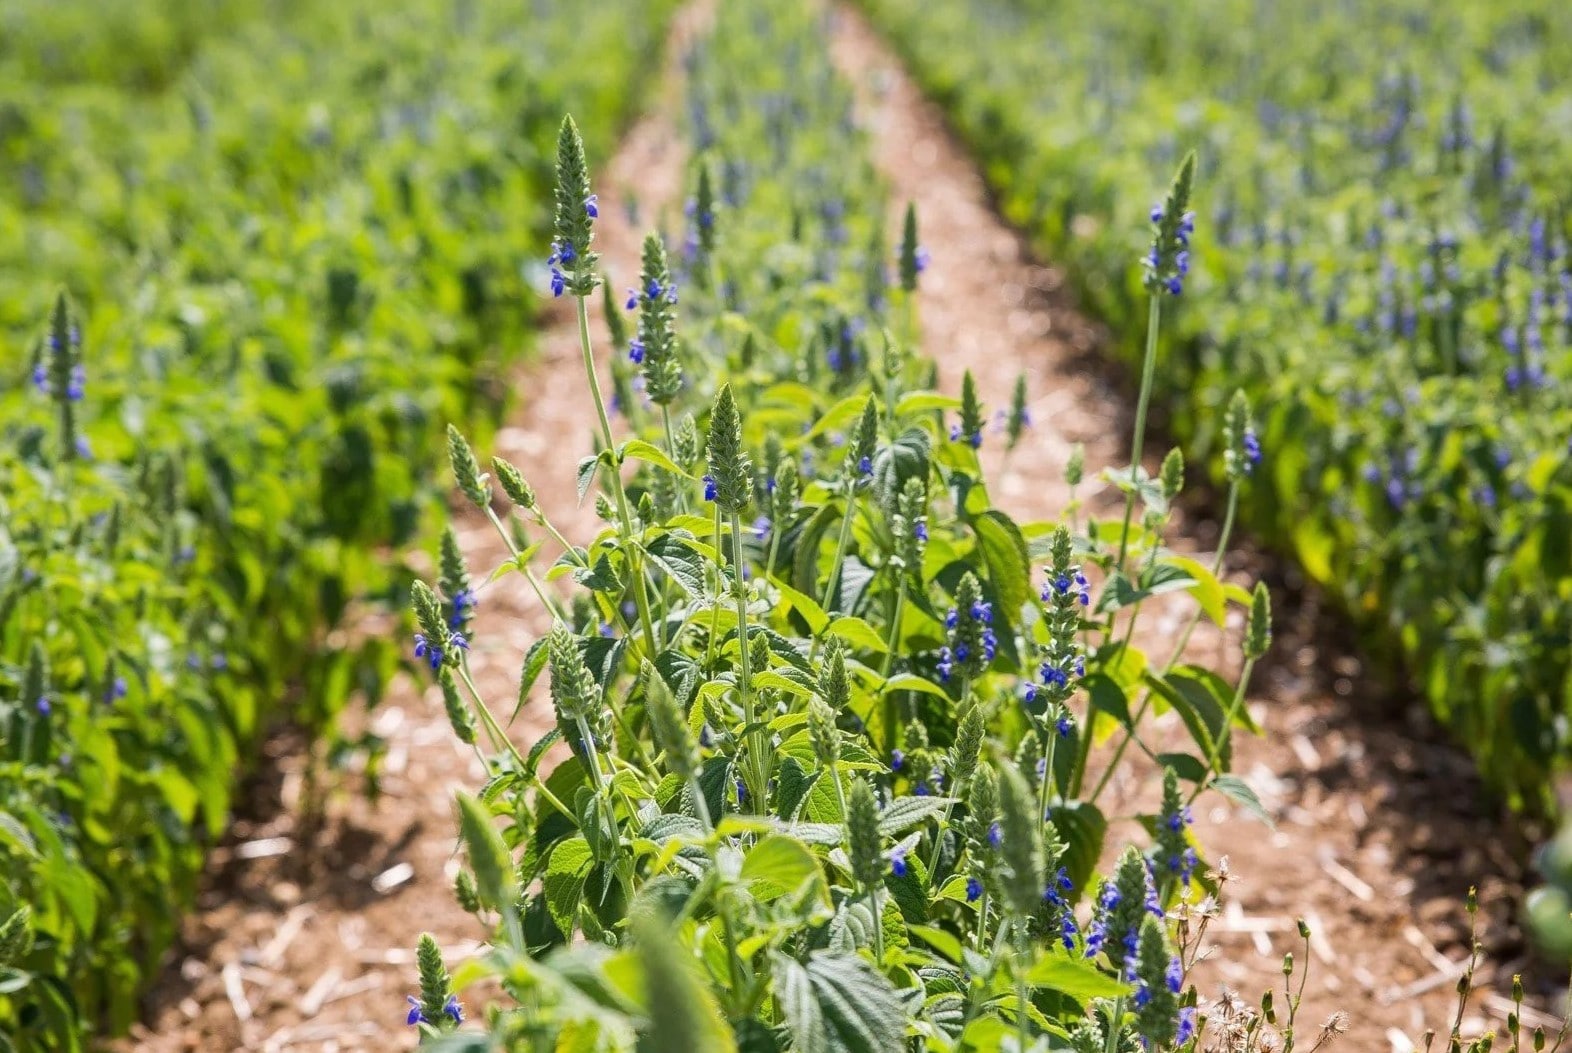
- Space the seedlings: Dig holes in the prepared soil that are large enough to accommodate the root ball of each lettuce seedling. Space the holes at least 6 to 12 inches apart, depending on the lettuce variety you are growing. This allows enough room for the plants to spread and prevents overcrowding.
- Transplant carefully: Gently remove the lettuce seedlings from their containers, taking care not to damage the delicate roots. Place each seedling into a hole and backfill with soil, ensuring that the seedling is at the same depth it was in the container. Press the soil lightly around the base of each seedling to secure it in place.
- Water thoroughly: After transplanting, water the seedlings thoroughly to settle the soil and provide hydration to the roots. Avoid watering the leaves to minimize the risk of disease. Maintain regular watering throughout the growing season, keeping the soil evenly moist but not waterlogged.
- Mulch the soil: Apply a layer of organic mulch around the base of the transplanted seedlings. Mulching helps conserve moisture, suppress weeds, and regulate soil temperature. Use materials such as straw, shredded leaves, or compost, spreading them 2 to 3 inches thick around the plants.
By following these steps, you can ensure a smooth transition for your lettuce seedlings from indoor containers to the outdoor garden. With proper care and maintenance, your lettuce plants will flourish and provide you with a bountiful harvest. Next, we’ll delve into step 5: watering and fertilizing lettuce plants.
Plant lettuce seeds in loose, well-draining soil and keep them consistently moist. Provide plenty of sunlight and thin out seedlings to allow for proper spacing as they grow.
Read more: How To Plant Lettuce Seeds
Step 5: Watering and fertilizing lettuce plants
Proper watering and fertilization are essential for the healthy growth and development of lettuce plants. Lettuce has shallow roots, so it’s important to provide consistent moisture and nutrients. Follow these guidelines to ensure your lettuce plants thrive:
- Watering: Lettuce plants require regular watering to keep the soil evenly moist. Water deeply, aiming for at least 1 inch of water per week, either through rainfall or irrigation. Avoid overwatering, as it can lead to root rot and disease. Use your finger to check the soil moisture level, and water when the top inch feels dry.
- Watering technique: To prevent water from directly hitting the leaves, which can increase the risk of disease, water at the base of the plants or use a drip irrigation system. Mulching around the plants helps retain moisture and reduces the frequency of watering.
- Fertilizing: Lettuce plants benefit from regular fertilization to ensure proper growth and development. Apply a balanced, time-release fertilizer or organic compost before planting. Additionally, you can supplement with a nitrogen-rich fertilizer once or twice during the growing season to encourage leafy growth.
- Organic fertilizers: If you prefer organic options, consider using compost, well-rotted manure, or organic liquid fertilizers. These help improve soil fertility and provide a slow-release source of nutrients for your lettuce plants.
- Fertilizer application: Follow the package instructions and recommended dosage for synthetic fertilizers. For organic fertilizers, apply them according to the product instructions or incorporate them into the soil before planting. Be cautious not to over-fertilize, as it can lead to excessive leaf growth and poor flavor.
By ensuring proper watering and fertilization, you provide your lettuce plants with the necessary resources for healthy growth and abundant harvest. Next, let’s move on to step 6: providing proper sunlight and temperature for your lettuce plants.
Step 6: Providing proper sunlight and temperature
Proper sunlight and temperature are crucial for the successful growth of lettuce plants. Lettuce is a cool-season crop that thrives in moderate temperatures. Follow these guidelines to ensure your lettuce plants receive the right amount of sunlight and temperature:
- Sunlight: Lettuce plants require at least 6 hours of direct sunlight per day. Choose a location in your garden that receives ample sunlight, especially during the cooler parts of the day. If you have limited sunlight in your garden, consider growing lettuce in containers that can be moved to sunnier spots as needed.
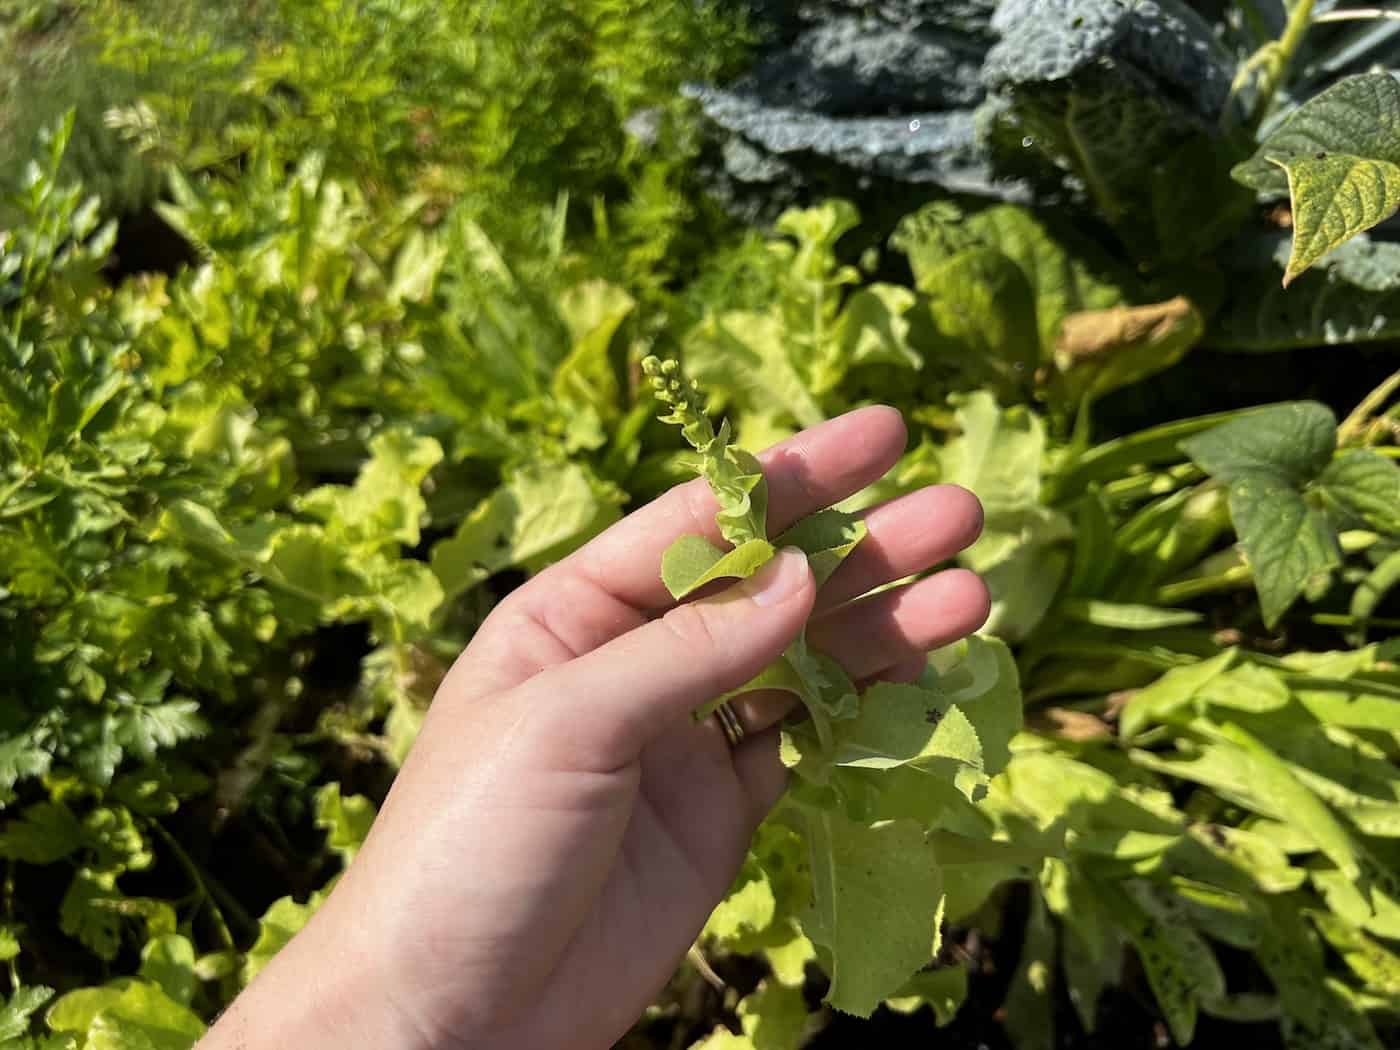
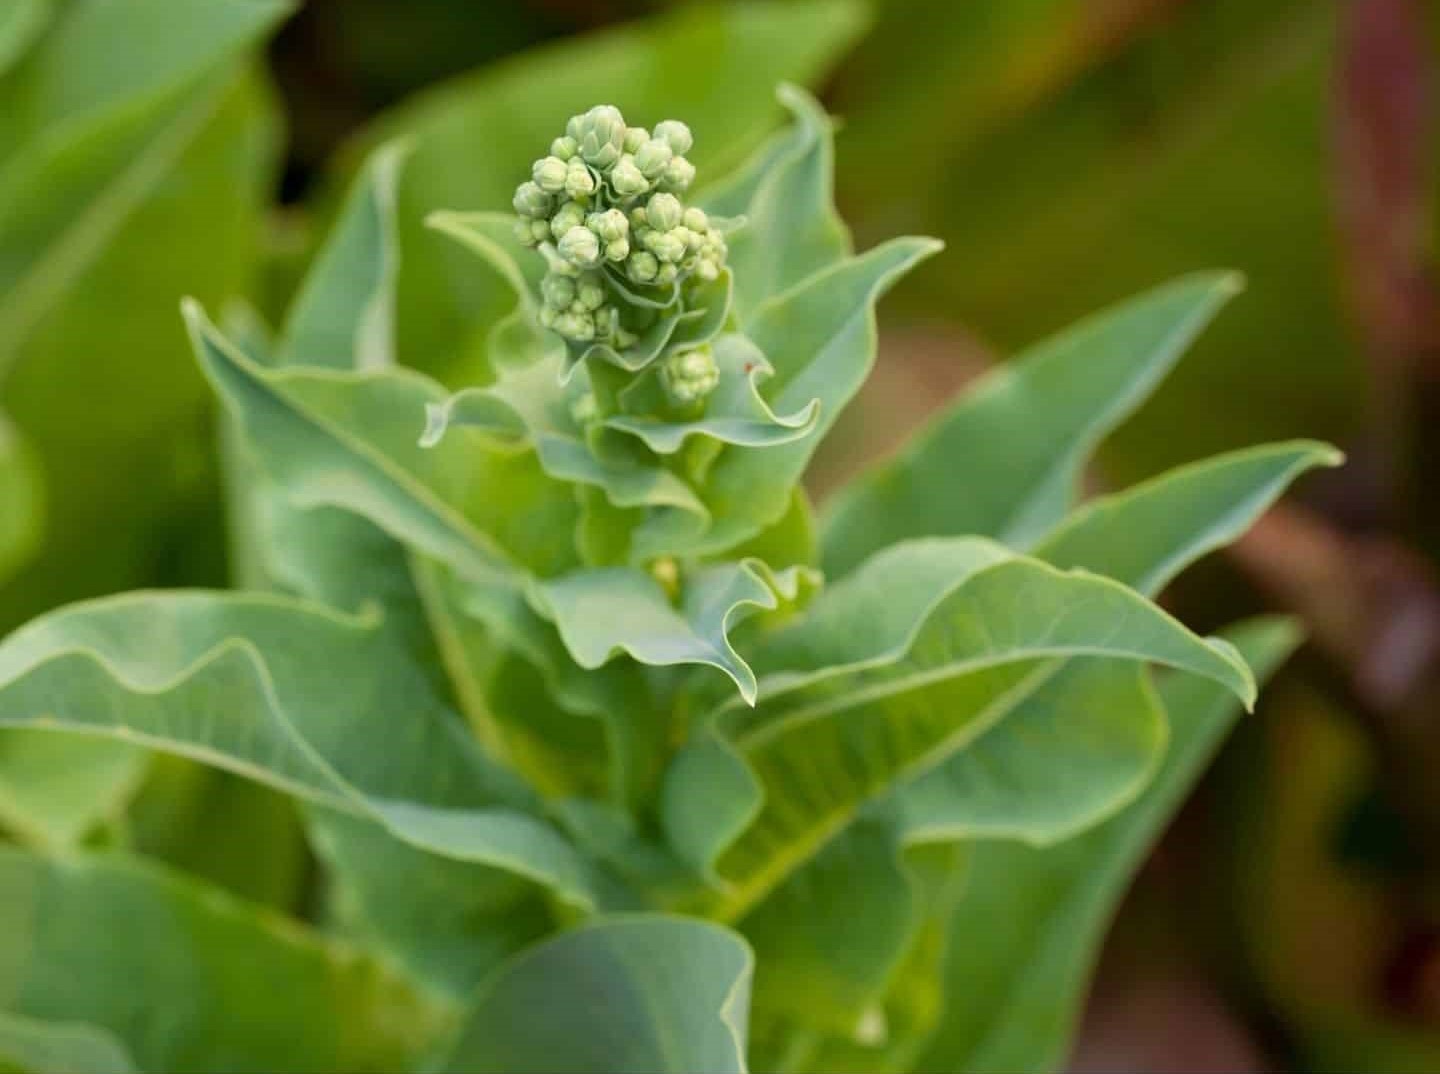
- Temperature: Lettuce prefers cool temperatures ranging from 45°F to 75°F (7°C to 24°C). It tends to bolt and become bitter in hot weather. Therefore, it’s best to sow lettuce seeds in early spring or late summer when temperatures are cooler. If you’re growing lettuce in the heat of summer, choose heat-tolerant varieties or provide shade to protect the plants from direct sunlight.
- Shade cloth: If you live in an area with high temperatures, you can use a shade cloth to provide some relief to lettuce plants during the hottest part of the day. Install the shade cloth or create a temporary shade structure that blocks a portion of the intense sunlight, helping to keep the temperature lower.
- Microclimates: Take advantage of natural microclimates in your garden. Certain areas may be more sheltered or have slightly different temperature and sunlight levels. Observe your garden to identify these microclimates and choose the best spots for growing lettuce accordingly.
- Season extension techniques: To extend the lettuce growing season, you can use season extension techniques such as cold frames or row covers. These structures help protect the plants from frost and provide additional insulation, allowing you to enjoy fresh lettuce well into the colder months.
By providing the appropriate amount of sunlight and maintaining the ideal temperature range, you can ensure that your lettuce plants grow vigorously and produce high-quality leaves. In the next step, we’ll discuss how to protect your lettuce plants from pests and diseases.
Step 7: Protecting lettuce plants from pests and diseases
Pests and diseases can pose a threat to the health and productivity of your lettuce plants. It is important to take preventive measures and promptly address any issues that arise. Follow these guidelines to protect your lettuce plants from common pests and diseases:
- Monitor regularly: Regularly inspect your lettuce plants for any signs of pest infestation or disease. Look for chewed leaves, holes, discoloration, wilting, or unusual growth.
- Practice crop rotation: Rotate your lettuce crops each year to prevent the buildup of pests and diseases in the soil. Avoid planting lettuce in the same spot or any other closely related crops, such as spinach or kale.
- Use row covers and netting: Cover your lettuce plants with row covers or netting to protect them from pests like aphids, flea beetles, and caterpillars. Ensure the covers are properly secured and allow enough air circulation for the plants.
- Employ companion planting: Plant companion plants that act as natural repellents or attract beneficial insects. Nasturtiums, marigolds, and dill, for example, help deter pests and attract beneficial insects like ladybugs and lacewings.
- Handpick pests: If you notice pests on your lettuce plants, such as slugs or snails, handpick them and remove them from the garden. You can also create beer traps or lay down diatomaceous earth as organic pest control methods.
- Maintain good hygiene: Keep your garden clean and free of debris to minimize hiding places for pests and diseases. Remove any infected or damaged plants from the garden to prevent the spread of diseases.
- Practice proper watering: Overhead watering can promote the growth of fungal diseases. Water at the base of the plants or use a drip irrigation system to keep the leaves dry and reduce the risk of diseases.
By being vigilant, implementing preventive measures, and taking prompt action when needed, you can protect your lettuce plants from pests and diseases. This will ensure a healthy and thriving garden. In the next step, we’ll discuss how to harvest lettuce leaves for optimal freshness and flavor.
Step 8: Harvesting lettuce leaves
Harvesting lettuce leaves at the right time is crucial to enjoying their optimal flavor and texture. Lettuce leaves can be harvested at various stages, depending on your preferences. Follow these guidelines to harvest lettuce leaves:
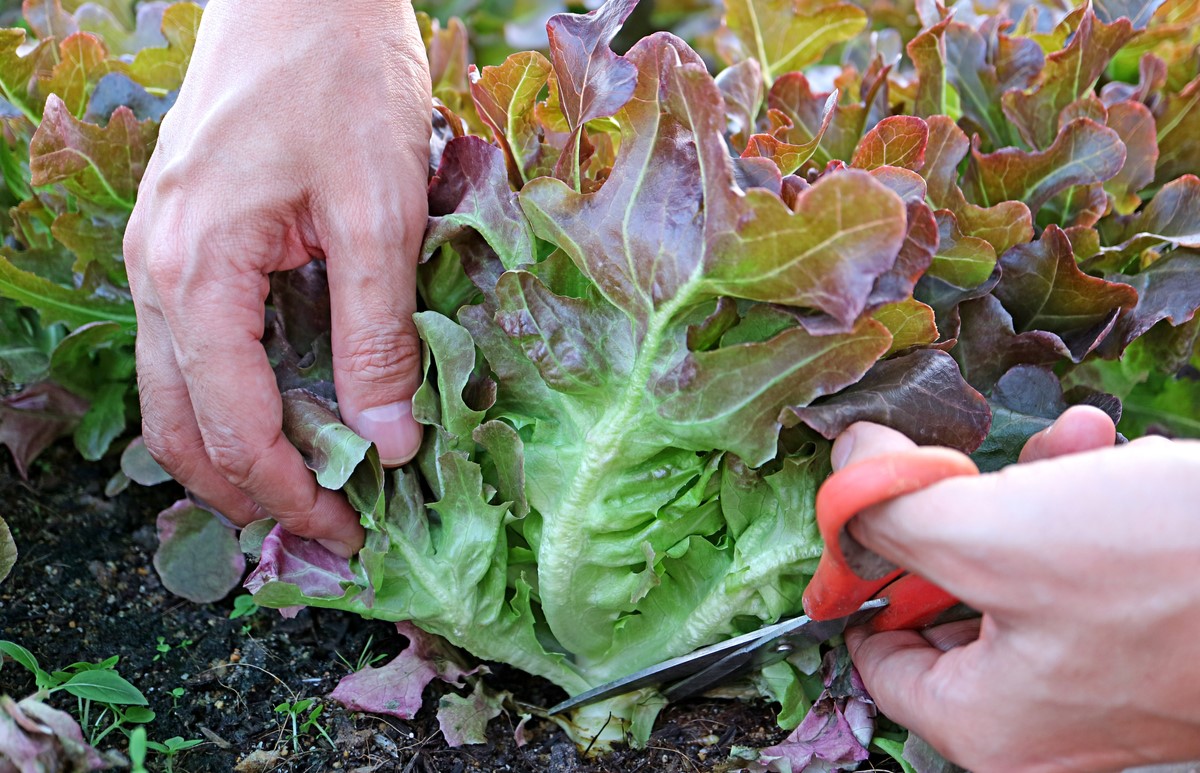
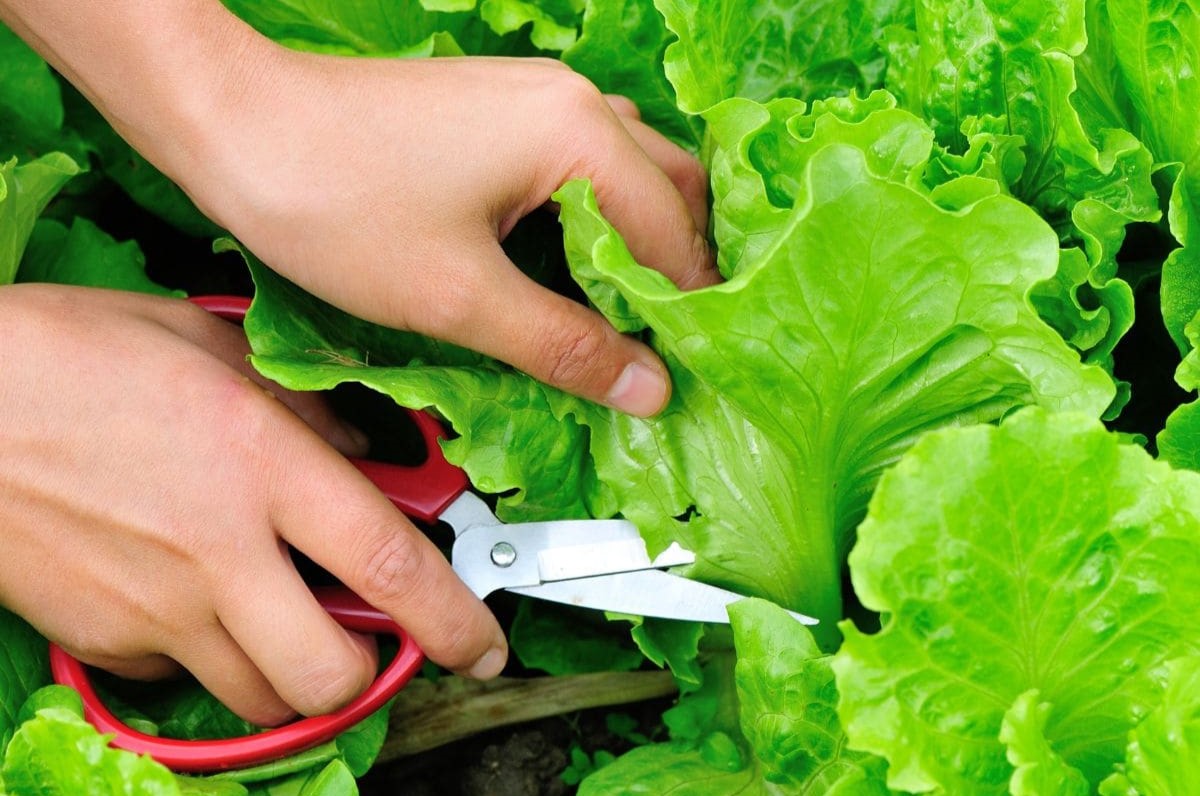
- Leaf lettuce: For leaf lettuce varieties, you can start harvesting leaves when they have reached the desired size, typically 3 to 4 inches long. Harvest individual outer leaves by using a sharp pair of scissors or a knife, cutting them near the base of the plant. Leave the inner leaves to continue growing, allowing for multiple harvests over time.
- Romaine lettuce: Romaine lettuce is harvested by cutting the entire head at the base when it has reached full maturity. Alternatively, you can harvest outer leaves as they mature, similar to leaf lettuce.
- Butterhead lettuce: Butterhead lettuce forms loose heads, and you can harvest individual leaves or cut the entire head at the base. Harvest outer leaves when they are large enough to use and leave the inner leaves to continue growing.
- Crisphead lettuce: Crisphead lettuce, like iceberg lettuce, forms tight heads. Harvest the entire head by cutting it at the base when it is fully matured and feels firm. If you prefer smaller heads, harvest when they reach the desired size.
When harvesting lettuce leaves, it’s important to handle them with care to avoid bruising or damaging the leaves. Rinse the harvested leaves thoroughly and pat them dry before storing or using them in salads, sandwiches, or other dishes.
Remember, lettuce leaves are best enjoyed when they are still young and tender. As the plants mature, the leaves may become bitter or develop a tougher texture. Harvesting on a regular basis ensures a continuous supply of fresh and delicious lettuce leaves throughout the growing season.
With these steps, you’re now equipped with the knowledge to successfully grow and harvest lettuce. Enjoy the rewards of your hard work and savor the flavors of your homegrown lettuce leaves!
Happy gardening!
Read more: How To Sprout Lettuce Seeds
Conclusion
Growing lettuce from seeds is a rewarding experience that allows you to enjoy fresh and crisp greens right from your garden. By following these step-by-step guidelines, you can ensure successful lettuce cultivation and a bountiful harvest.
Choosing the right lettuce variety that suits your preferences and growing conditions sets the foundation for a thriving garden. Preparing the soil with proper amendments and ensuring good drainage creates a favorable environment for lettuce seed germination and growth.
Starting lettuce seeds indoors gives you a head start and allows for better control over the growing conditions. Transplanting seedlings outdoors ensures they have adequate space and access to sunlight. With proper watering and fertilization, lettuce plants receive the necessary moisture and nutrients for optimal growth.
Providing the right amount of sunlight and maintaining suitable temperatures are critical for lettuce plants, which thrive in cooler conditions. Protecting lettuce plants from pests and diseases through monitoring, companion planting, and proper hygiene safeguards their health.
Knowing when and how to harvest lettuce leaves at various stages ensures the best flavor and texture. With careful harvesting and storage, you can enjoy a continuous supply of fresh lettuce throughout the growing season.
Whether you’re a beginner or an experienced gardener, growing lettuce seeds can be a rewarding and enjoyable endeavor. So, roll up your sleeves, grab your gardening tools, and embark on the journey of growing your own delicious and nutritious lettuce.
Happy gardening and bon appétit!
Frequently Asked Questions about How To Grow Lettuce Seeds
Was this page helpful?
At Storables.com, we guarantee accurate and reliable information. Our content, validated by Expert Board Contributors, is crafted following stringent Editorial Policies. We're committed to providing you with well-researched, expert-backed insights for all your informational needs.


0 thoughts on “How To Grow Lettuce Seeds”