Home>Garden Essentials>How To Start Lettuce Seeds Indoors
Garden Essentials
How To Start Lettuce Seeds Indoors
Modified: August 27, 2024
Learn how to start lettuce seeds indoors and create a thriving garden. Discover expert tips and techniques for successful lettuce seed germination.
(Many of the links in this article redirect to a specific reviewed product. Your purchase of these products through affiliate links helps to generate commission for Storables.com, at no extra cost. Learn more)
Introduction
Welcome to the wonderful world of gardening! If you’re a beginner, starting with lettuce seeds indoors is a great way to kickstart your gardening journey. Growing lettuce from seeds is a rewarding and cost-effective way to enjoy fresh, crisp greens right in the comfort of your own home.
Starting lettuce seeds indoors allows you to get a head start on the growing season, giving your seedlings ample time to develop before transplanting them outdoors. It also allows you to have control over the growing conditions, ensuring optimal germination and growth.
In this article, we will guide you through the step-by-step process of starting lettuce seeds indoors. From gathering supplies to transplanting the seedlings, we will cover everything you need to know to successfully grow lettuce from seeds.
So, let’s roll up our sleeves and get started on this exciting gardening adventure!

Key Takeaways:
- Starting lettuce seeds indoors allows for control over growing conditions, earlier harvests, and the satisfaction of growing fresh, nutritious greens right at home.
- Proper care, including watering, fertilizing, and pest management, is essential for successful lettuce seedling growth and a bountiful harvest.
Read more: How To Start Pepper Seeds Indoors
Step 1: Gather Supplies
Before you begin sowing lettuce seeds, it’s essential to gather all the necessary supplies. Having everything on hand will ensure a smooth and efficient planting process. Here’s a list of supplies you’ll need:
- Seed Trays or Containers: Choose shallow trays or containers with drainage holes. These will provide ample space for the seeds to germinate and grow.
- Seed Starting Mix: Use a high-quality seed starting mix that is light, well-draining, and rich in organic matter. Avoid using regular garden soil, as it may contain pathogens that can harm the young seedlings.
- Lettuce Seeds: Select the lettuce varieties you want to grow. Consider factors such as taste, color, and growth habits to make your choices.
- Watering Can or Spray Bottle: Choose a watering can or spray bottle with a fine mist setting to avoid disturbing the delicate seeds.
- Labels: Use labels or markers to identify the different lettuce varieties you’re planting. This will help you keep track of their growth and harvest them when the time comes.
- Grow Lights or Sunny Window: If you don’t have access to sufficient natural light, consider investing in fluorescent grow lights to provide supplemental lighting for your seedlings.
- Thermometer: Keep a thermometer handy to monitor the temperature in the growing area. Lettuce seeds germinate best at temperatures between 60°F (15°C) and 70°F (21°C).
Gathering these supplies beforehand will ensure that you have everything you need to start your lettuce seeds indoors. With your tools in hand, you’ll be well-prepared for the next step: preparing the seed trays.
Step 2: Prepare the Seed Trays
Now that you have your supplies gathered, it’s time to prepare the seed trays for sowing your lettuce seeds. Follow these steps to ensure the best conditions for germination:
- Clean and Sterilize: Before using the seed trays, make sure to clean and sterilize them to prevent the growth of pathogens. Wash the trays with warm, soapy water, and rinse them thoroughly. You can also use a diluted bleach solution for sterilization. Rinse again to remove any traces of bleach.
- Add Drainage: Good drainage is crucial for the healthy development of lettuce seedlings. Fill the bottom of the seed trays with a layer of small stones or perlite to facilitate proper drainage.
- Fill with Seed Starting Mix: Fill the seed trays with the seed starting mix, leaving about a ½ inch (1.3 cm) space from the top. Gently tamp down the soil to remove any air pockets.
- Moisten the Soil: Before sowing the lettuce seeds, moisten the seed starting mix evenly. Be careful not to oversaturate the soil, as excessively wet conditions can lead to fungal diseases.
By preparing the seed trays properly, you create an environment that promotes the healthy growth of lettuce seeds. The next step is to sow the seeds and give them the best start for germination. Let’s move on to Step 3: Sowing the Lettuce Seeds.
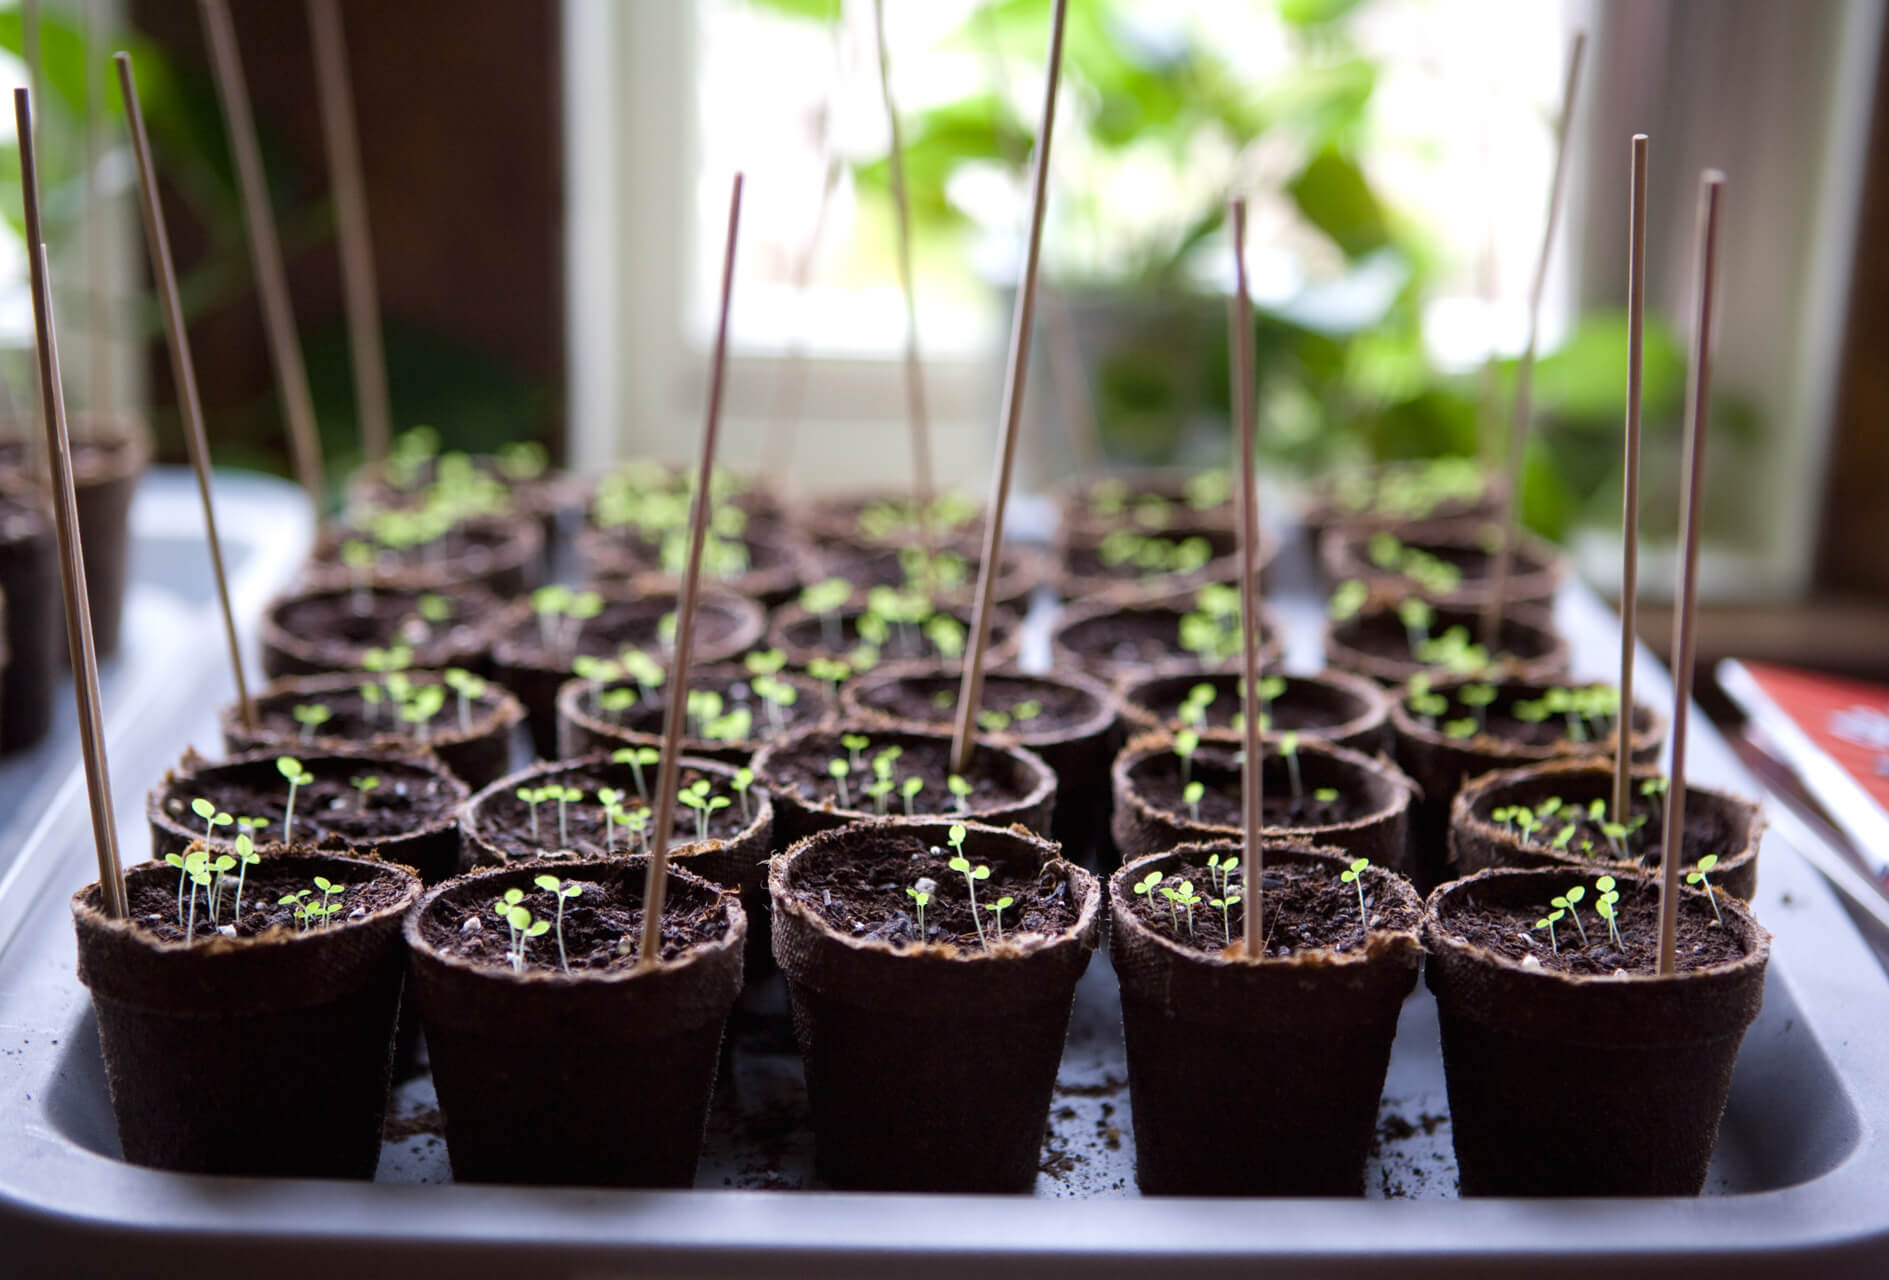
Step 3: Sowing the Lettuce Seeds
With your seed trays prepared, it’s time to sow the lettuce seeds. Follow these steps to ensure successful germination:
- Read the Seed Packet: Before sowing the lettuce seeds, carefully read the instructions on the seed packet. It will provide helpful information regarding optimal planting depth and spacing.
- Sow the Seeds: Using your finger or a small dibber, create shallow furrows in the seed starting mix. Place the lettuce seeds in the furrows, following the recommended spacing on the seed packet. Cover the seeds lightly with additional seed starting mix.
- Label the Trays: It’s important to label the trays with the lettuce variety and the date of sowing. This will enable you to keep track of their progress as they grow.
- Water the Seeds: Gently water the trays using a fine mist or a watering can with a rose attachment. Ensure that the soil stays moist but not waterlogged. Avoid spraying the seeds too aggressively, as it may displace them.
After sowing the lettuce seeds, cover the seed trays with a clear plastic dome or plastic wrap to create a mini greenhouse effect. This will help maintain humidity levels and promote germination. Place the trays in a warm location with indirect light, such as near a sunny window or under grow lights.
Now that your lettuce seeds are sown, it’s time to move on to Step 4: Providing Adequate Light and Temperature. Let’s continue our journey toward successful lettuce seedlings!
Step 4: Providing Adequate Light and Temperature
Light and temperature are key factors for the healthy growth of lettuce seedlings. In this step, we’ll explore how to provide the ideal conditions for optimal germination and growth:
Light: Lettuce seedlings require bright, indirect light to thrive. If you’re using natural light, place the trays near a south-facing window where they can receive at least 8 hours of sunlight per day. If natural light is limited, consider using fluorescent grow lights. Position the lights about 3-6 inches (7-15 cm) above the seed trays and keep them on for 12-16 hours a day. Adjust the height of the lights as the seedlings grow to maintain an optimal distance.
Temperature: Lettuce seeds germinate best in temperatures ranging from 60°F (15°C) to 70°F (21°C). Once the seeds have germinated, slightly lower temperatures can encourage sturdy growth. Aim for a temperature range of 55°F (13°C) to 65°F (18°C) during the day and slightly cooler temperatures at night. Use a thermometer to monitor the temperature in the growing area and make adjustments as needed.
Remember to maintain consistent light and temperature conditions throughout the germination and seedling stages. This will provide the lettuce seedlings with the necessary energy to develop strong roots and leaves.
In the next step, we’ll discuss how to properly water the lettuce seeds to ensure healthy growth. Let’s move on to Step 5: Watering the Seeds.
When starting lettuce seeds indoors, use a seed starting mix and plant the seeds 1/4 inch deep. Keep the soil moist and provide plenty of light for healthy seedling growth.
Read more: When To Start Foxglove Seeds Indoors
Step 5: Watering the Seeds
Proper watering is crucial for the successful germination and growth of lettuce seeds. Here are some guidelines to follow when watering your indoor lettuce seeds:
Watering Method: Use a gentle watering technique to avoid disturbing the delicate seeds. You can either use a fine mist spray bottle or a watering can with a rose attachment. Be mindful not to overwater or create puddles on the seed trays, as this can lead to damping-off disease and other moisture-related issues.
Watering Schedule: It’s important to keep the seed starting mix consistently moist, but not soaking wet. Check the moisture level regularly by lightly pressing your finger on the soil surface. If it feels dry, it’s time to water. Water the trays gently, allowing the soil to absorb the moisture evenly.
Avoid Waterlogging: Drainage is crucial to prevent waterlogging. Ensure that the seed trays have proper drainage holes and that excess water can freely flow out. You can place the trays on a tray or saucer with pebbles to raise them slightly above any accumulated water.
Watering from Below: Alternatively, you can water the seed trays from below by adding water to the tray or saucer. The soil will absorb the water through the drainage holes, keeping the seeds adequately moist without the risk of overwatering.
Remember, consistency is key when it comes to watering lettuce seeds. Aim to keep the seed starting mix evenly moist throughout the germination and early growth stages. With proper watering practices, your lettuce seeds will have the best chance of developing into healthy seedlings.
Now that you’ve mastered the art of watering, it’s time for Step 6: Transplanting the Seedlings. Let’s continue our journey toward a thriving lettuce garden!
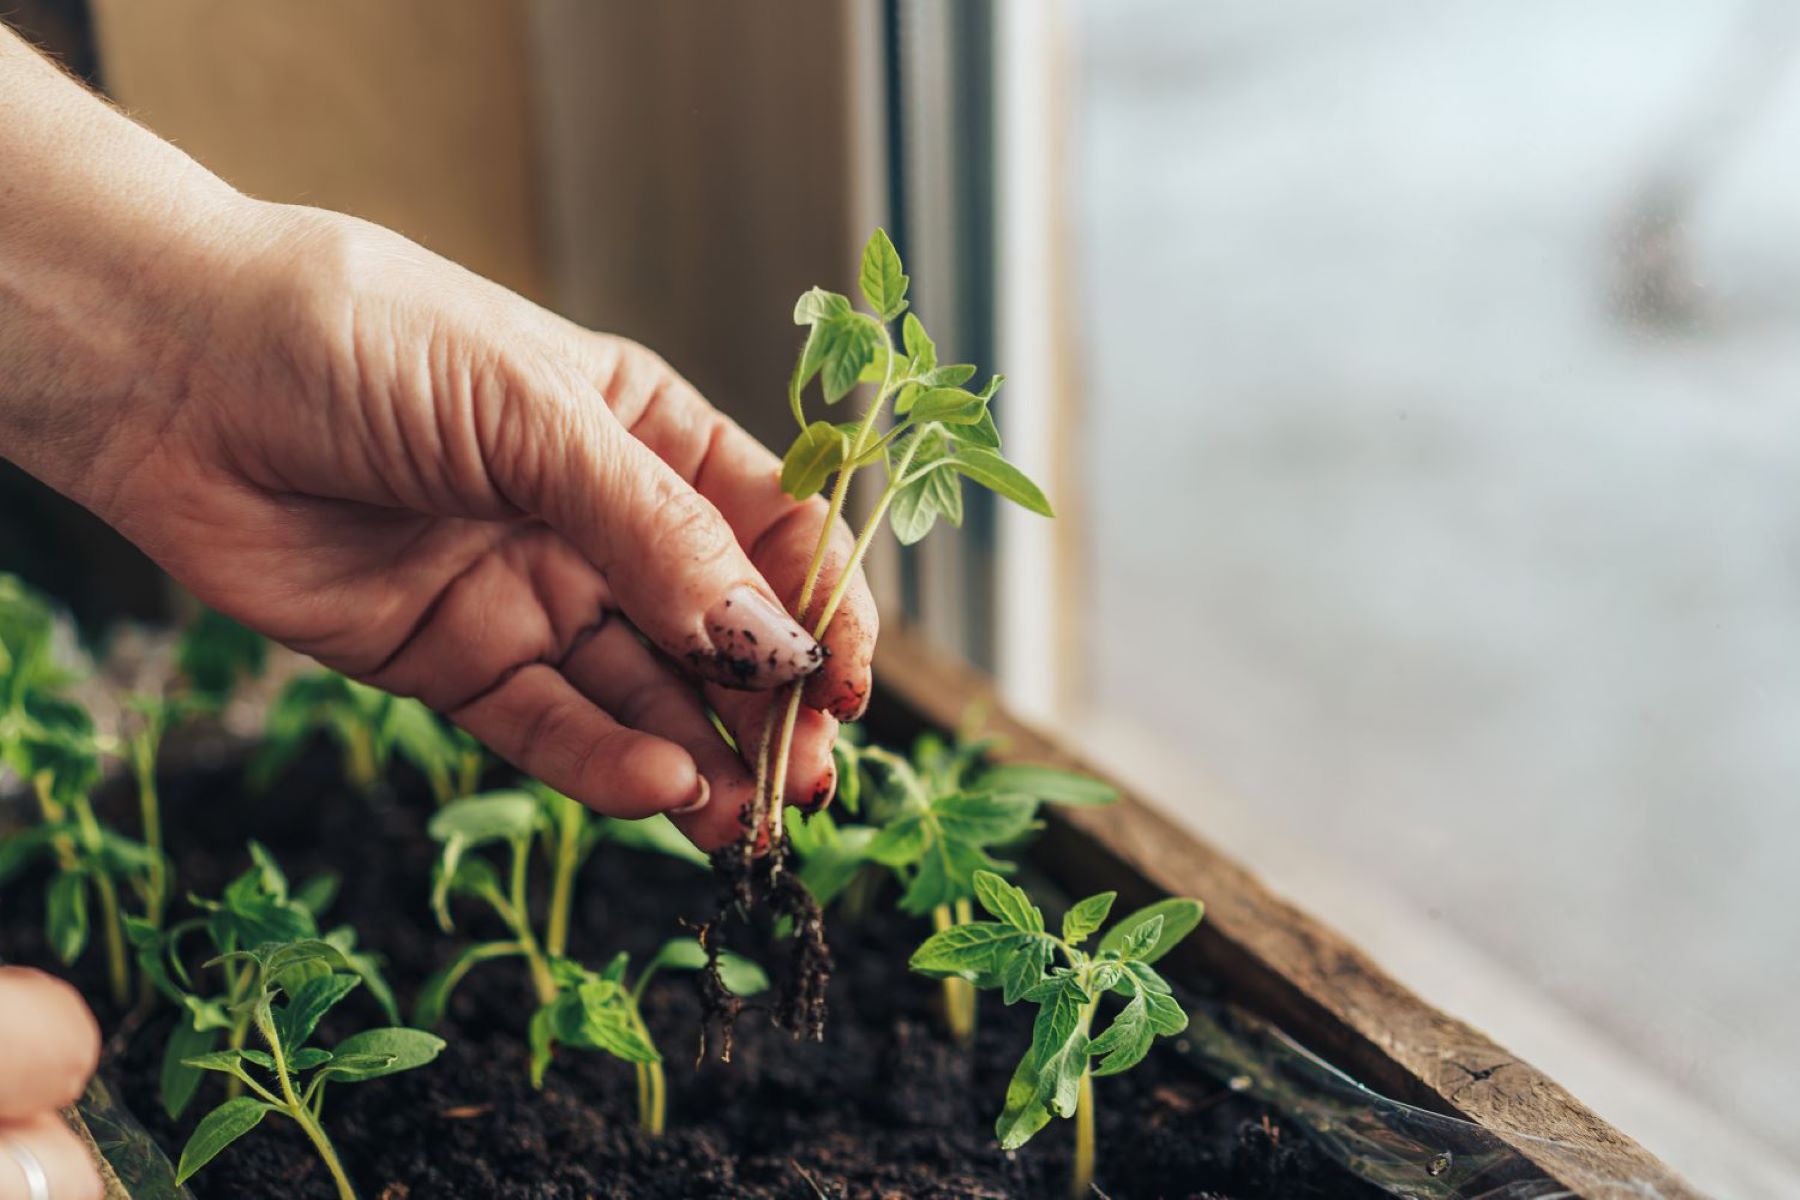
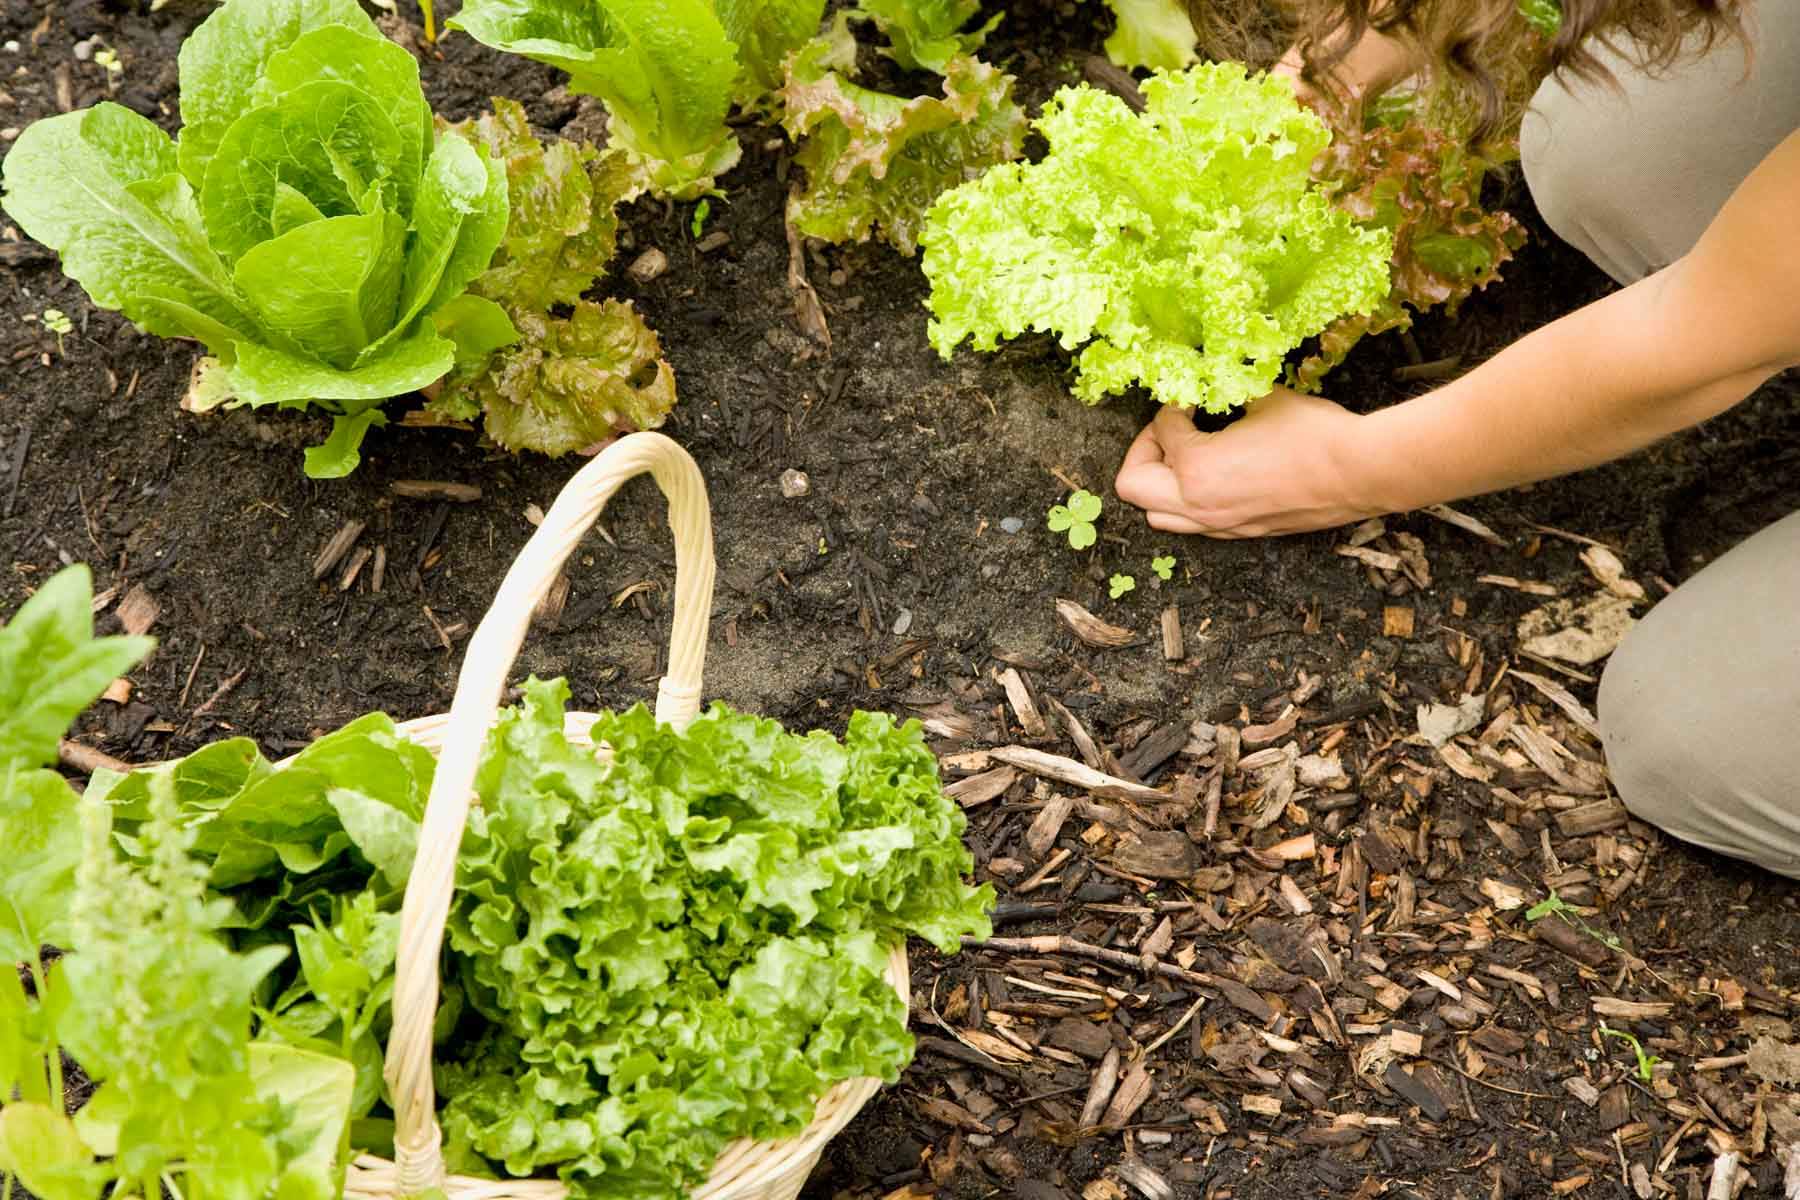
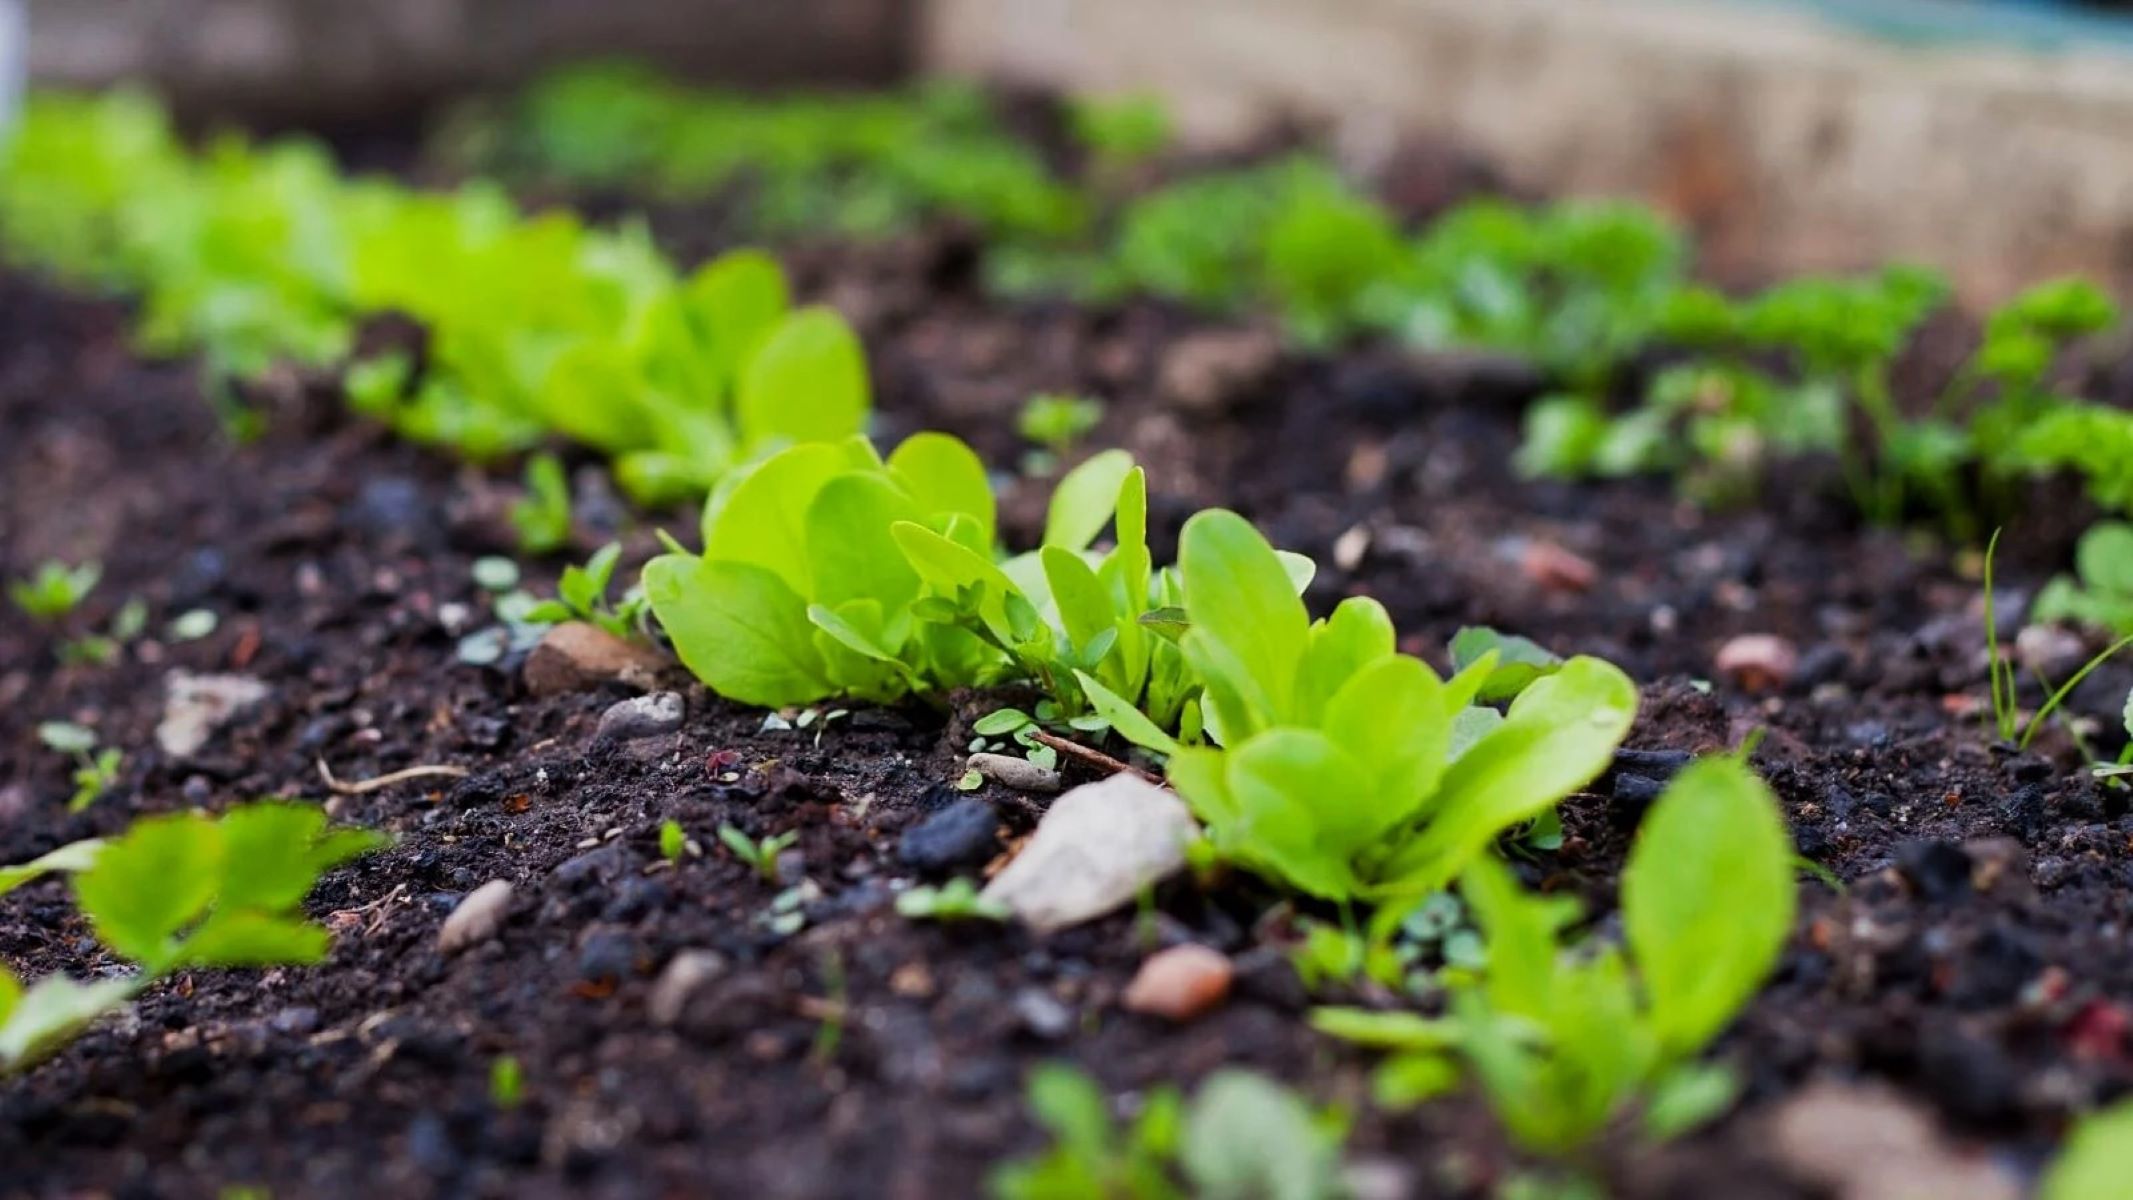
Step 6: Transplanting the Seedlings
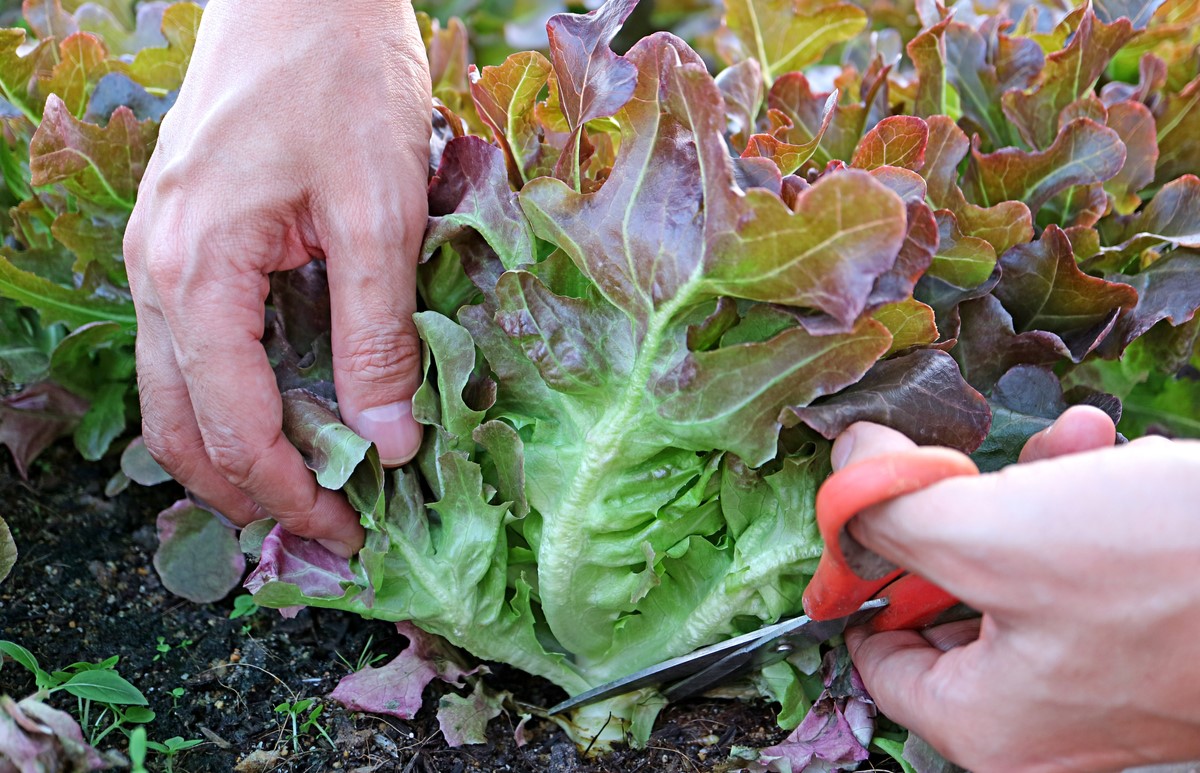
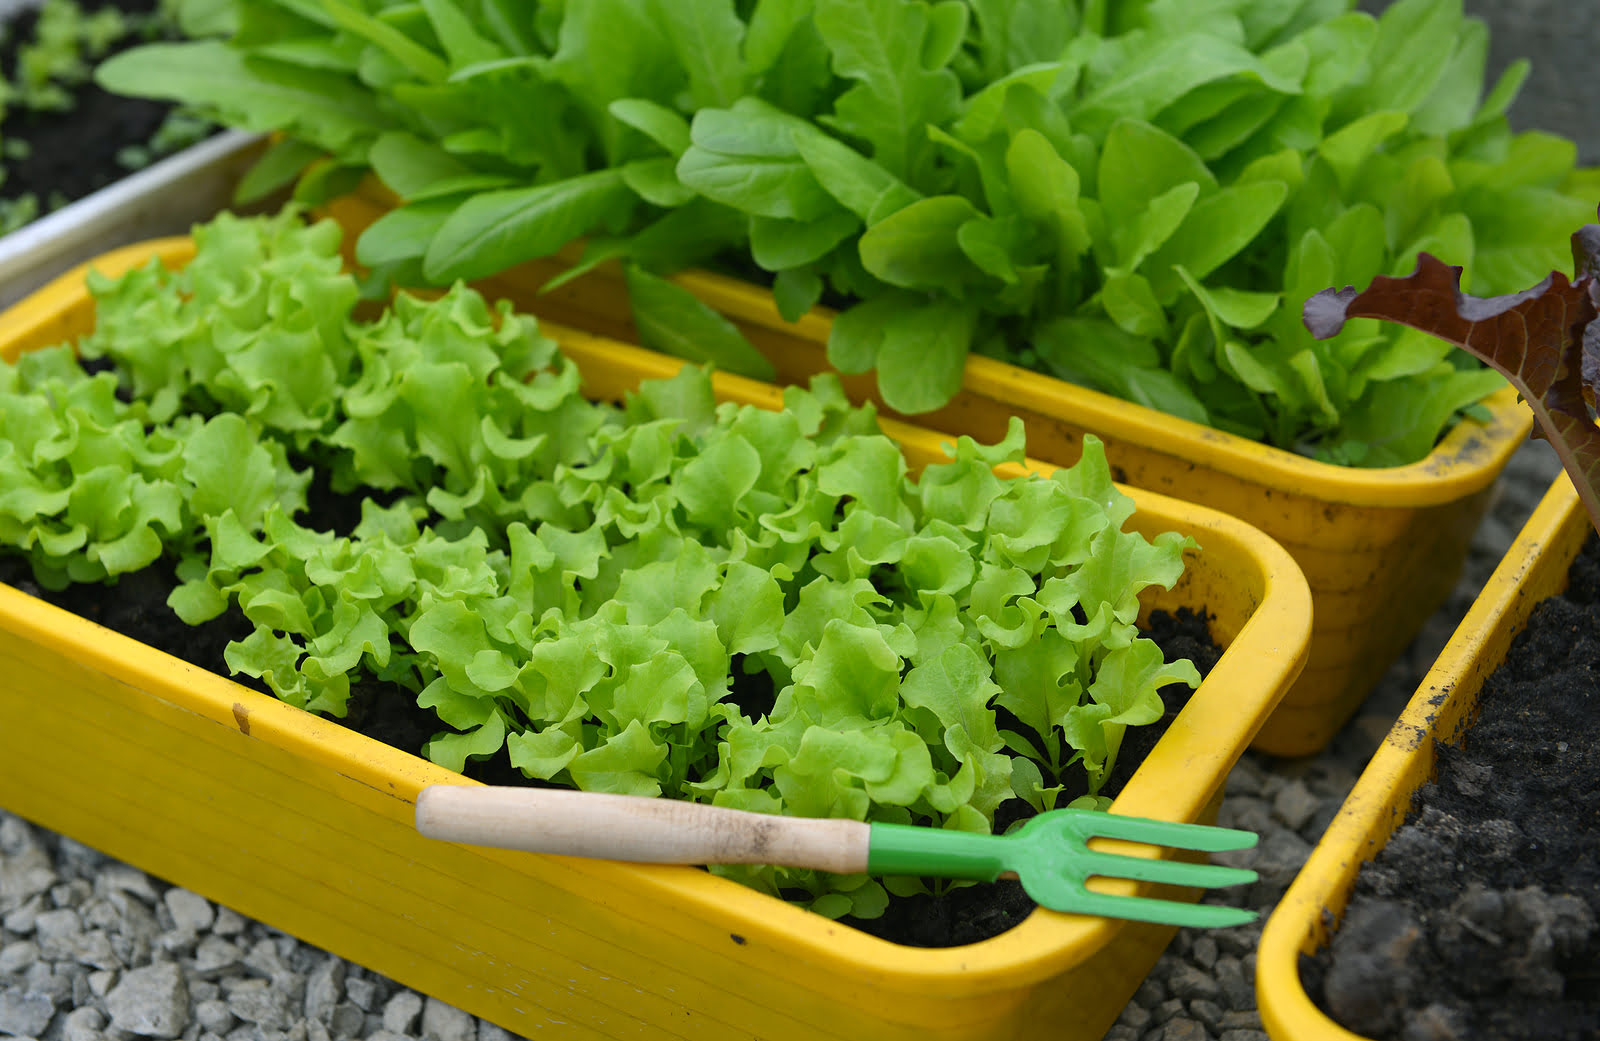
Once your lettuce seedlings have developed their first true leaves and are about 2-3 inches (5-7.5 cm) tall, it’s time to transplant them into larger containers or your outdoor garden. Follow these steps to ensure a smooth and successful transplanting process:
- Prepare the Transplanting Containers: Choose containers that are at least 4-6 inches (10-15 cm) deep and have drainage holes. Fill the containers with a quality potting mix or well-amended garden soil.
- Water the Seedlings: Before transplanting, water the seed trays gently. This will help loosen the soil and make it easier to remove the seedlings without damaging their delicate roots.
- Loosen the Seedlings: Carefully remove the seedlings from the seed tray, holding them by the leaves and avoiding touching the fragile stems. Use a small spoon or your fingers to gently loosen the roots from the soil.
- Plant the Seedlings: Dig a hole in the transplanting containers or garden bed that is deep enough to accommodate the root system of the seedling. Place the seedling in the hole and gently firm the soil around it. Space the seedlings according to the recommended spacing for the specific lettuce variety.
- Water the Transplanted Seedlings: After transplanting, give the seedlings a thorough watering to help them settle in their new environment. Keep the soil consistently moist during the initial period to promote root establishment.
When transplanting lettuce seedlings into your outdoor garden, choose a location with full sun or partial shade, depending on the lettuce variety. Ensure that the soil is well-draining and enriched with organic matter.
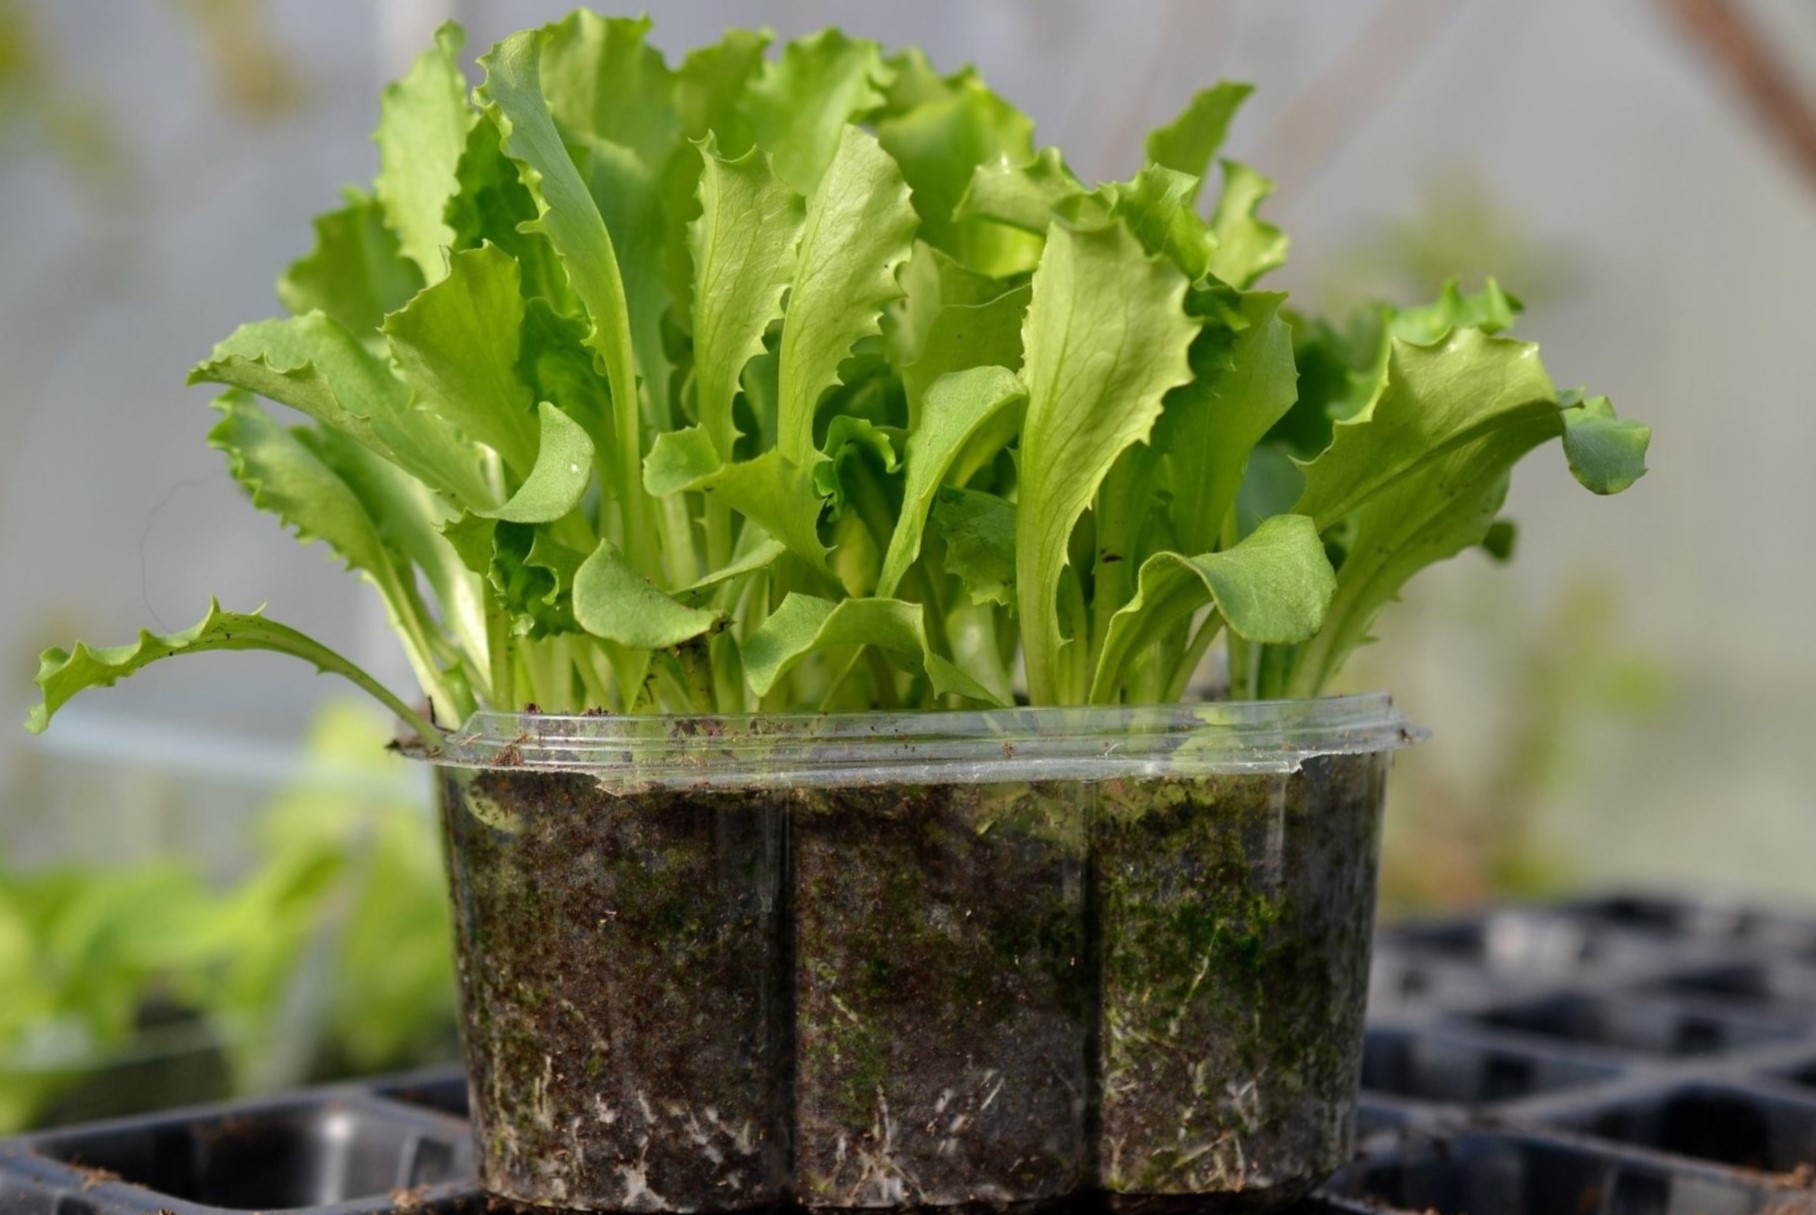
Transplanting allows the lettuce seedlings to spread their roots and continue their growth journey. With proper care and maintenance, your transplanted lettuce seedlings will flourish and provide you with an abundant harvest.
Now that your lettuce seedlings are in their new homes, it’s time to move on to Step 7: Caring for Indoor Lettuce Seedlings. Let’s continue nurturing our plants for optimal growth!
Step 7: Caring for Indoor Lettuce Seedlings
Now that your lettuce seedlings are transplanted, it’s important to provide them with the proper care to ensure healthy growth and development. Follow these essential tips to care for your indoor lettuce seedlings:
Watering: Lettuce plants require consistent moisture for optimal growth. Keep the soil evenly moist, but avoid overwatering to prevent root rot. Water the plants thoroughly whenever the top inch (2.5 cm) of soil feels dry. Be sure to water at the base of the plants, avoiding the leaves to minimize the risk of fungal diseases.
Fertilizing: Feed your indoor lettuce seedlings with a balanced liquid fertilizer or a slow-release granular fertilizer. Follow the product instructions for dosage and application frequency. Start fertilizing a few weeks after transplanting and continue at regular intervals to provide the necessary nutrients for healthy growth.
Light Exposure: Place your indoor lettuce seedlings in a location that receives bright, indirect light. If using grow lights, adjust the height and duration of lighting to mimic natural sunlight conditions. Aim for 12-16 hours of light per day. Proper light exposure will promote strong growth and prevent leggy seedlings.
Temperature and Humidity: Lettuce thrives in cooler temperatures ranging between 60°F (15°C) and 70°F (21°C). Maintain a consistent temperature and avoid extreme fluctuations, as it can stress the plants. Adequate air circulation is important to prevent fungal diseases, so ensure there is proper ventilation in the growing area.
Pruning and Thinning: As the lettuce seedlings continue to grow, you may need to thin them out to provide enough space for each plant to develop. Remove weaker or overcrowded seedlings, leaving the healthiest ones to thrive. Occasional pruning of yellow or damaged leaves will promote better airflow and overall plant health.
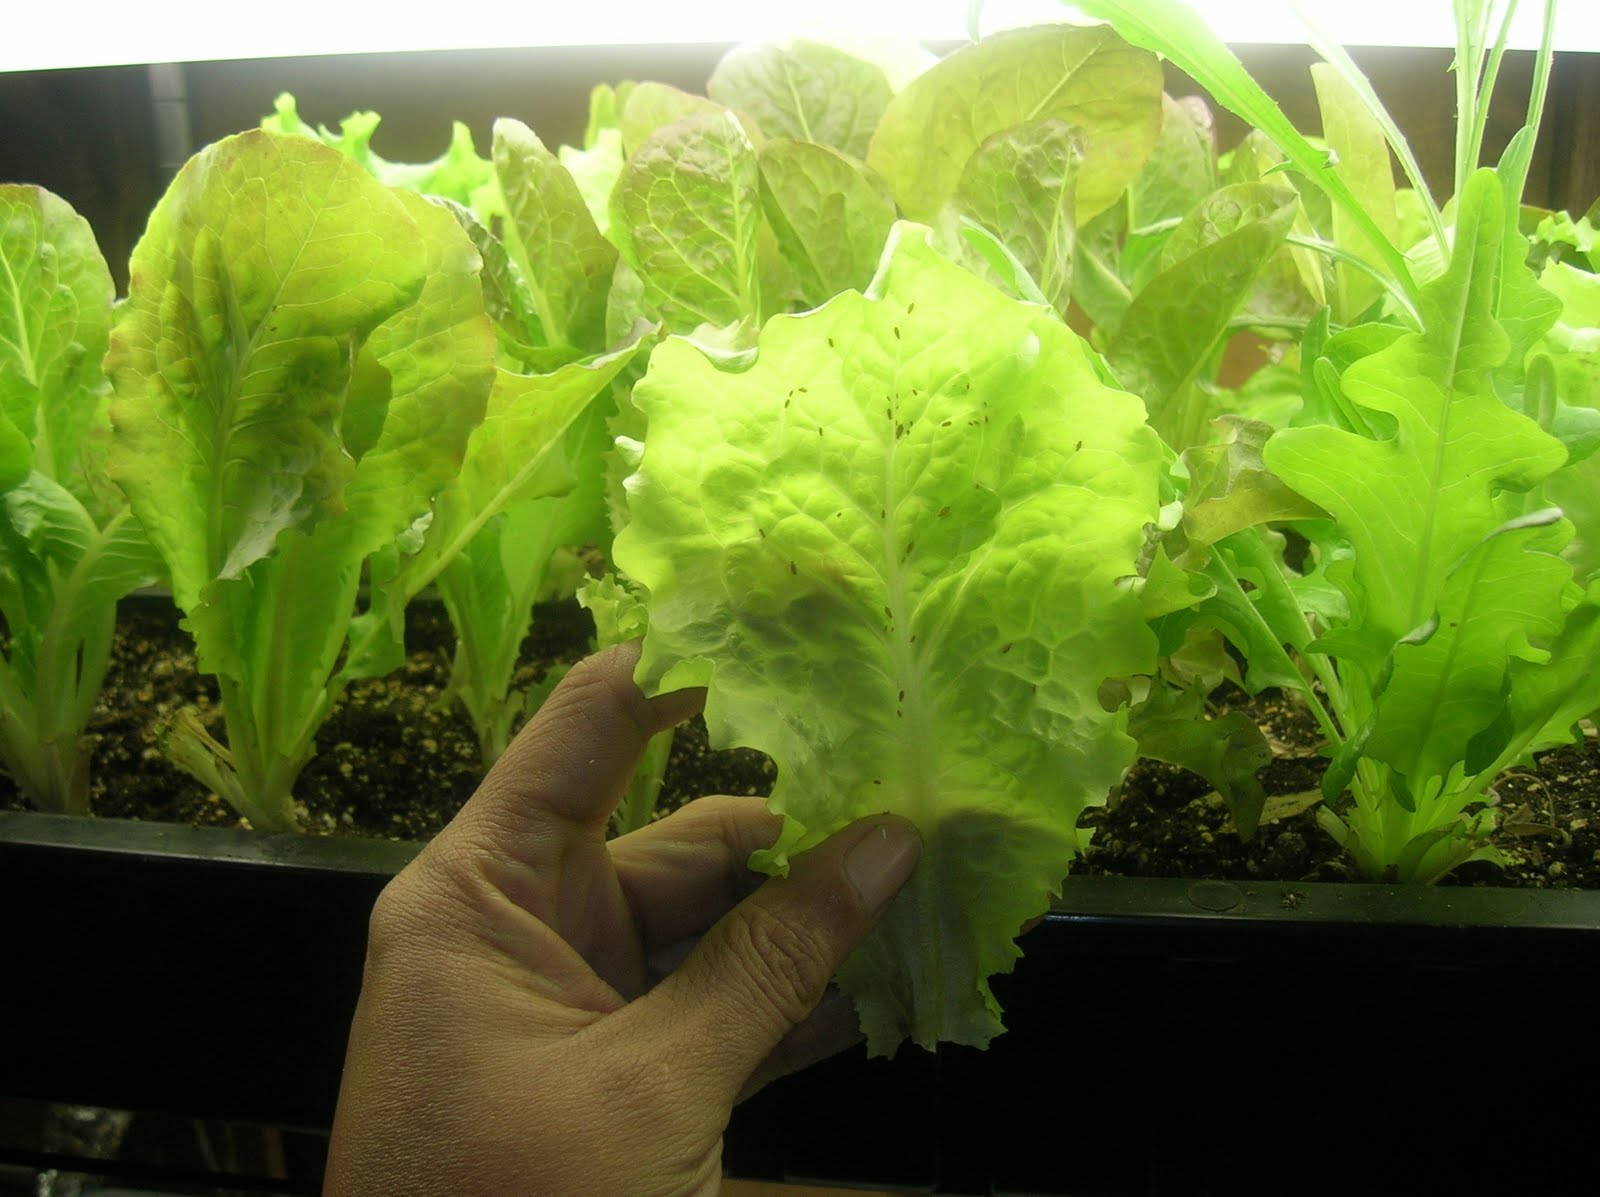
Pest and Disease Management: Monitor your indoor lettuce seedlings regularly for any signs of pests or diseases. Aphids, slugs, and fungal diseases like powdery mildew can be common problems. Use organic pest control methods or natural remedies to tackle pests, and take preventive measures like spacing plants correctly and providing proper ventilation to minimize disease issues.
With proper care and attention, your indoor lettuce seedlings will grow into strong and healthy plants. Stay vigilant and provide the right conditions to ensure a bountiful lettuce harvest.
Now let’s move on to the next step: Step 8: Hardening Off and Planting Outdoors. It’s time to prepare your lettuce seedlings for the great outdoors!
Step 8: Hardening Off and Planting Outdoors
As your indoor lettuce seedlings grow stronger, it’s crucial to gradually acclimate them to outdoor conditions before transplanting them permanently. This process, known as hardening off, prepares the seedlings for the outdoor environment. Follow these steps to ensure a successful transition:
- Choose the Right Time: Wait until the threat of frost has passed and the soil has warmed up before starting the hardening off process. Typically, this is around 1-2 weeks before your intended planting date.
- Begin Gradual Exposure: Start by placing your seedlings outdoors in a protected area for a few hours each day. Choose a spot with partial shade and shelter from strong winds.
- Extend Exposure Time: Over the course of 7-10 days, gradually increase the amount of time the seedlings spend outdoors. Progressively expose them to more direct sunlight and natural elements, such as gentle breezes.
- Monitor Temperature: Keep an eye on temperature fluctuations during the hardening off period. If frost is forecasted, bring the seedlings indoors or cover them with a light cloth or garden fabric.
- Protect from Pests: As the seedlings become more accustomed to outdoor conditions, be vigilant about protecting them from pests. Use organic pest control methods as needed.
- Transplanting Outdoors: Once the seedlings have successfully completed the hardening off process, they are ready to be transplanted into your outdoor garden. Choose a location that receives full sun or partial shade, depending on the lettuce variety.
- Prepare the Soil: Ensure that your soil is well-draining, loose, and enriched with organic matter. Remove any weeds or debris, and loosen the soil to create a favorable environment for root growth.
- Space and Plant: Dig holes in the garden bed that are wide and deep enough to accommodate the roots of the lettuce seedlings. Space the plants according to the recommended spacing for the specific lettuce variety.
- Water and Mulch: After transplanting, water the seedlings thoroughly to settle the soil around the roots. Apply a layer of organic mulch, such as straw or shredded leaves, to help conserve moisture and suppress weeds.
By following these steps, your indoor lettuce seedlings will successfully adapt to the outdoor environment and have a higher chance of thriving in your garden. Remember to continue providing regular care, including adequate water, sunlight, and pest management, for optimal lettuce growth and a delicious harvest.
Congratulations! You have completed all the steps to start lettuce seeds indoors and successfully transplant them outdoors. Enjoy the journey of cultivating your own fresh and flavorful lettuce!

If you have any other gardening questions or need further assistance, feel free to reach out. Happy gardening!
Conclusion
Congratulations on successfully starting and transplanting your lettuce seeds indoors! By following the step-by-step process outlined in this guide, you have set a strong foundation for a thriving lettuce garden. Starting lettuce seeds indoors allows you to have control over the growing conditions, ensure earlier harvests, and enjoy the satisfaction of growing your own fresh and nutritious greens.
From gathering supplies and preparing the seed trays to sowing the seeds, providing adequate light and temperature, watering, transplanting, and caring for the seedlings, you have learned the essential techniques needed for successful lettuce seedling growth. Additionally, the process of hardening off and planting outdoors is crucial for acclimating the seedlings to their new environment and ensuring their long-term health and productivity.
Remember to continue nurturing your lettuce plants, providing proper watering, fertilizing, and pest management. Regularly monitor their growth, and enjoy the process of watching your lettuce flourish into beautiful, leafy greens.
Gardening is a journey that offers a continuous learning experience. As you gain more experience and confidence, you can explore different lettuce varieties, experiment with different growing techniques, and even expand your indoor gardening endeavors to other vegetables and herbs.
So, embrace the joy of gardening, savor the flavors of your homegrown lettuce, and share your knowledge and experiences with fellow gardeners. Whether you have a small balcony garden or a spacious backyard, the satisfaction of growing your own food and connecting with nature is truly rewarding.
Happy gardening and may your lettuce garden continue to thrive!
Frequently Asked Questions about How To Start Lettuce Seeds Indoors
Was this page helpful?
At Storables.com, we guarantee accurate and reliable information. Our content, validated by Expert Board Contributors, is crafted following stringent Editorial Policies. We're committed to providing you with well-researched, expert-backed insights for all your informational needs.

0 thoughts on “How To Start Lettuce Seeds Indoors”