Home>Garden Essentials>How To Make Seeds Grow
Garden Essentials
How To Make Seeds Grow
Modified: October 20, 2024
Discover effective methods for making seeds in your garden thrive with our comprehensive guide on how to make seeds grow.
(Many of the links in this article redirect to a specific reviewed product. Your purchase of these products through affiliate links helps to generate commission for Storables.com, at no extra cost. Learn more)
Introduction
Gardening is a fulfilling hobby that allows you to bring life and beauty to your outdoor space. Whether you have a spacious yard or a tiny balcony, growing plants from seeds can be a rewarding experience. Watching a tiny seed transform into a thriving plant is truly magical.
However, getting seeds to grow successfully requires more than just planting them in the ground and hoping for the best. It involves careful planning, preparation, and proper care throughout the growing process. In this article, we will guide you through the steps to make your seeds grow into healthy and flourishing plants.
So, grab your gardening tools and put on your green thumbs, because we’re about to dive into the wonderful world of seed germination and plant growth!
Key Takeaways:
- Choose seeds that match your climate and garden type for successful growth. Consider heirloom vs. hybrid seeds and space availability before planting.
- Prepare the soil with organic matter, test pH levels, and water seeds gently. Monitor sunlight, protect from pests, and maintain regular care for healthy plants.
Read more: How To Make A Mango Seed Grow
Choosing the Right Seeds
When it comes to growing plants from seeds, selecting the right seeds is crucial. You want to ensure that you choose seeds that are suitable for your growing conditions and the type of garden you have.
Start by considering the climate in your area. Certain plants thrive in specific temperature ranges, so it’s important to choose seeds that are suited to your local climate. If you live in a region with cold winters, opt for cold-hardy seeds that can withstand frost. Conversely, if you reside in a hot climate, choose heat-tolerant seeds.
Next, think about the type of garden you have. Do you have a vegetable garden, a flower bed, or a herb garden? Determine what plants you want to grow and select the corresponding seeds. Pay attention to the different varieties available, as certain plants have various cultivars that offer different flavors, colors, or growth habits.
Another factor to consider is whether you want to grow plants from heirloom or hybrid seeds. Heirloom seeds are open-pollinated and produce plants that closely resemble the parent plant. They can be saved and replanted year after year, maintaining the characteristics of the original plant. Hybrid seeds, on the other hand, are a cross between two different varieties. They often exhibit desirable traits, such as disease resistance or higher yields, but cannot be saved and replanted with consistent results.
Lastly, take into account the space you have available. If you have a small garden or limited space, look for seeds of compact varieties that won’t overcrowd your garden. If space is not a concern, you have the flexibility to choose larger plants that can spread out.
Before purchasing seeds, read the seed packet or catalog carefully. It typically contains valuable information such as the plant’s growth requirements, expected size, and days to maturity. This will help you determine if the plant is a good fit for your garden and if you have the time and resources to dedicate to its growth.
By selecting the right seeds for your specific growing conditions and garden type, you set yourself up for success right from the start. Your plants will have the best chance of thriving and producing bountiful harvests or vibrant blooms.
Preparing the Soil
Before you start planting your seeds, it’s essential to prepare the soil properly. Good soil preparation creates the foundation for healthy, productive plants.
Begin by removing any weeds or existing vegetation from the planting area. Weeds compete with your plants for nutrients and water, so it’s crucial to eliminate them before you start. Use a garden hoe or hand tools to carefully remove weeds, ensuring that you remove the roots to prevent regrowth.
Once the weeds are cleared, it’s time to amend the soil. Most plants thrive in well-draining soil that is rich in organic matter. You can enhance the quality of your soil by incorporating compost, aged manure, or other organic amendments. These materials improve soil structure, increase nutrient content, and promote beneficial soil organisms.
Spread a layer of compost or organic matter over the planting area and use a garden fork or tiller to incorporate it into the soil. Work the organic matter into the top 6-8 inches of soil, breaking up any clumps and ensuring an even distribution.
Additionally, it’s important to test the pH of your soil. The pH level influences nutrient availability to plants. Most vegetables and flowers prefer slightly acidic to neutral soil, with a pH range of 6.0-7.0. You can purchase a soil pH test kit from a local garden center or use a soil testing service to determine your soil’s pH level. If the pH is too high or too low, you can adjust it by adding the appropriate amendments, such as lime to raise pH or sulfur to lower pH.
After amending the soil, it’s a good idea to rake the surface smooth, removing any rocks or debris. This provides a level planting bed and helps seeds make good contact with the soil.
By taking the time to properly prepare the soil, you create a fertile and favorable environment for your seeds to grow. The amended soil provides essential nutrients, proper drainage, and a healthy microbial community that benefits plant growth. Remember, a little extra effort at the beginning will pay off with robust and thriving plants in the long run.
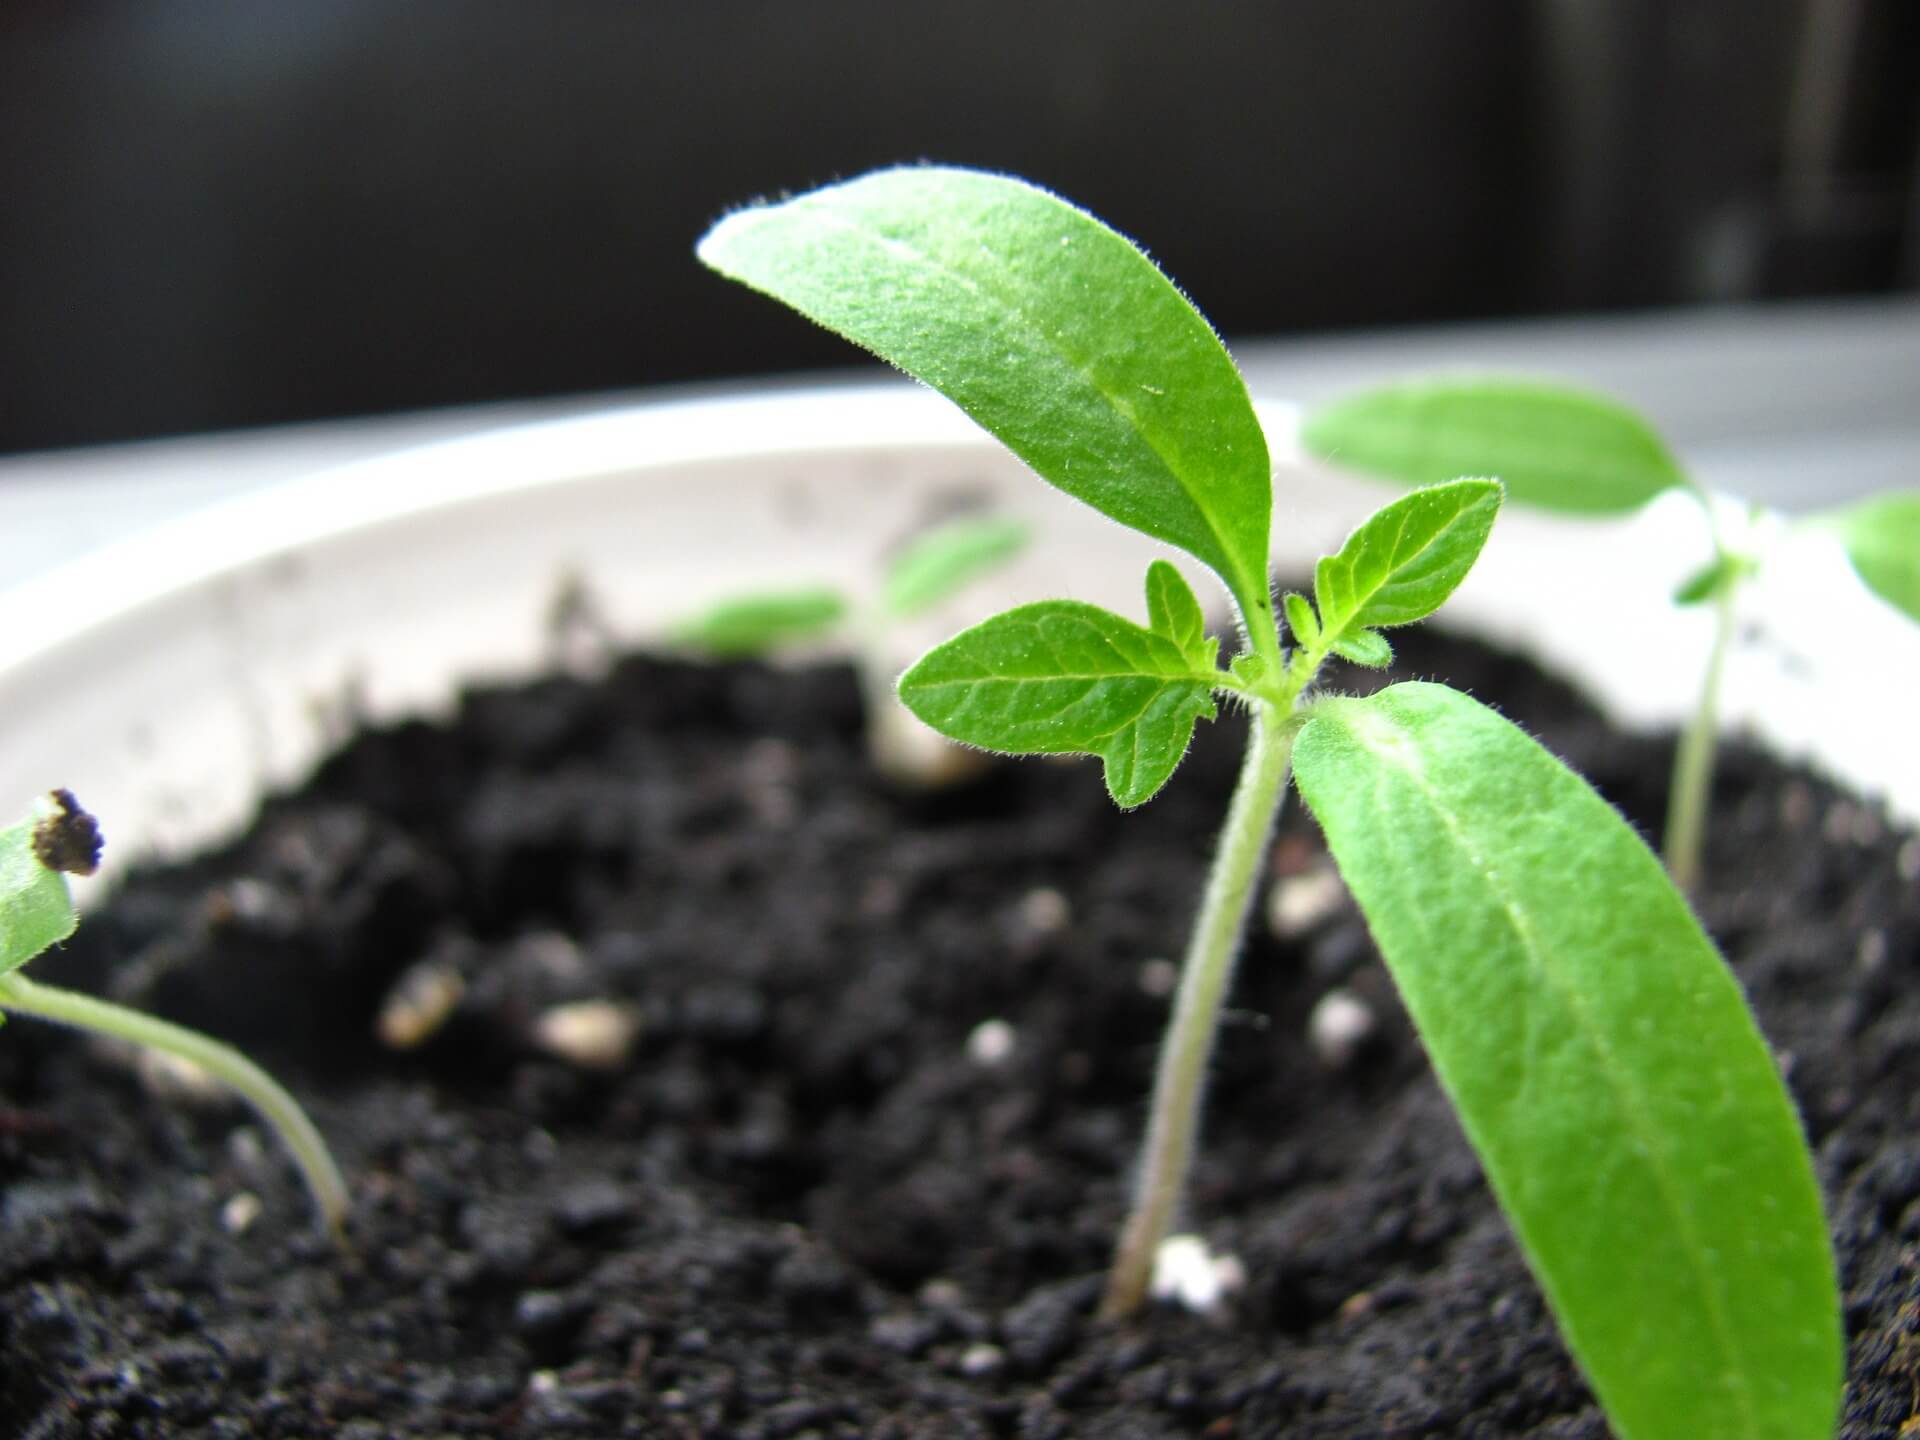
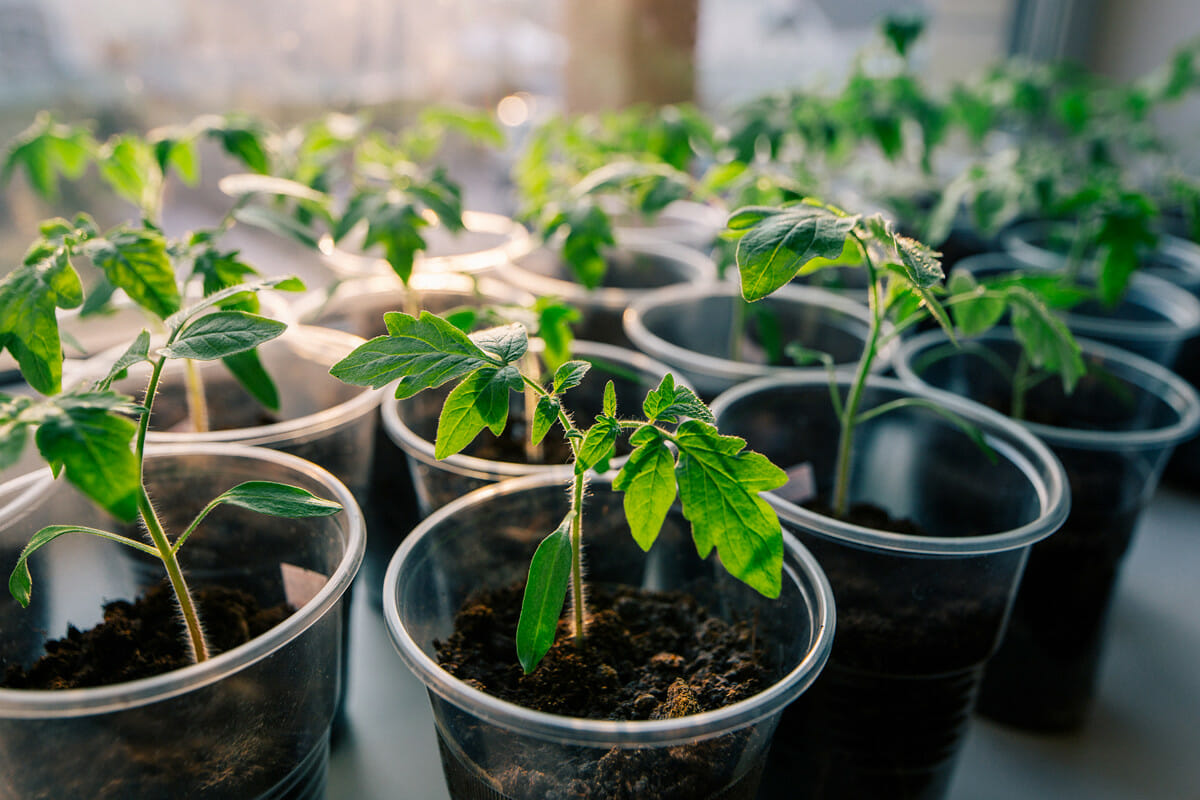
Planting the Seeds
Now that you have chosen the right seeds and prepared the soil, it’s time to sow your seeds. Proper planting techniques will help give your seeds the best chance of germinating and growing into healthy plants.
Before you begin, refer to the seed packet or catalog for specific planting instructions, as different seeds may have unique requirements.
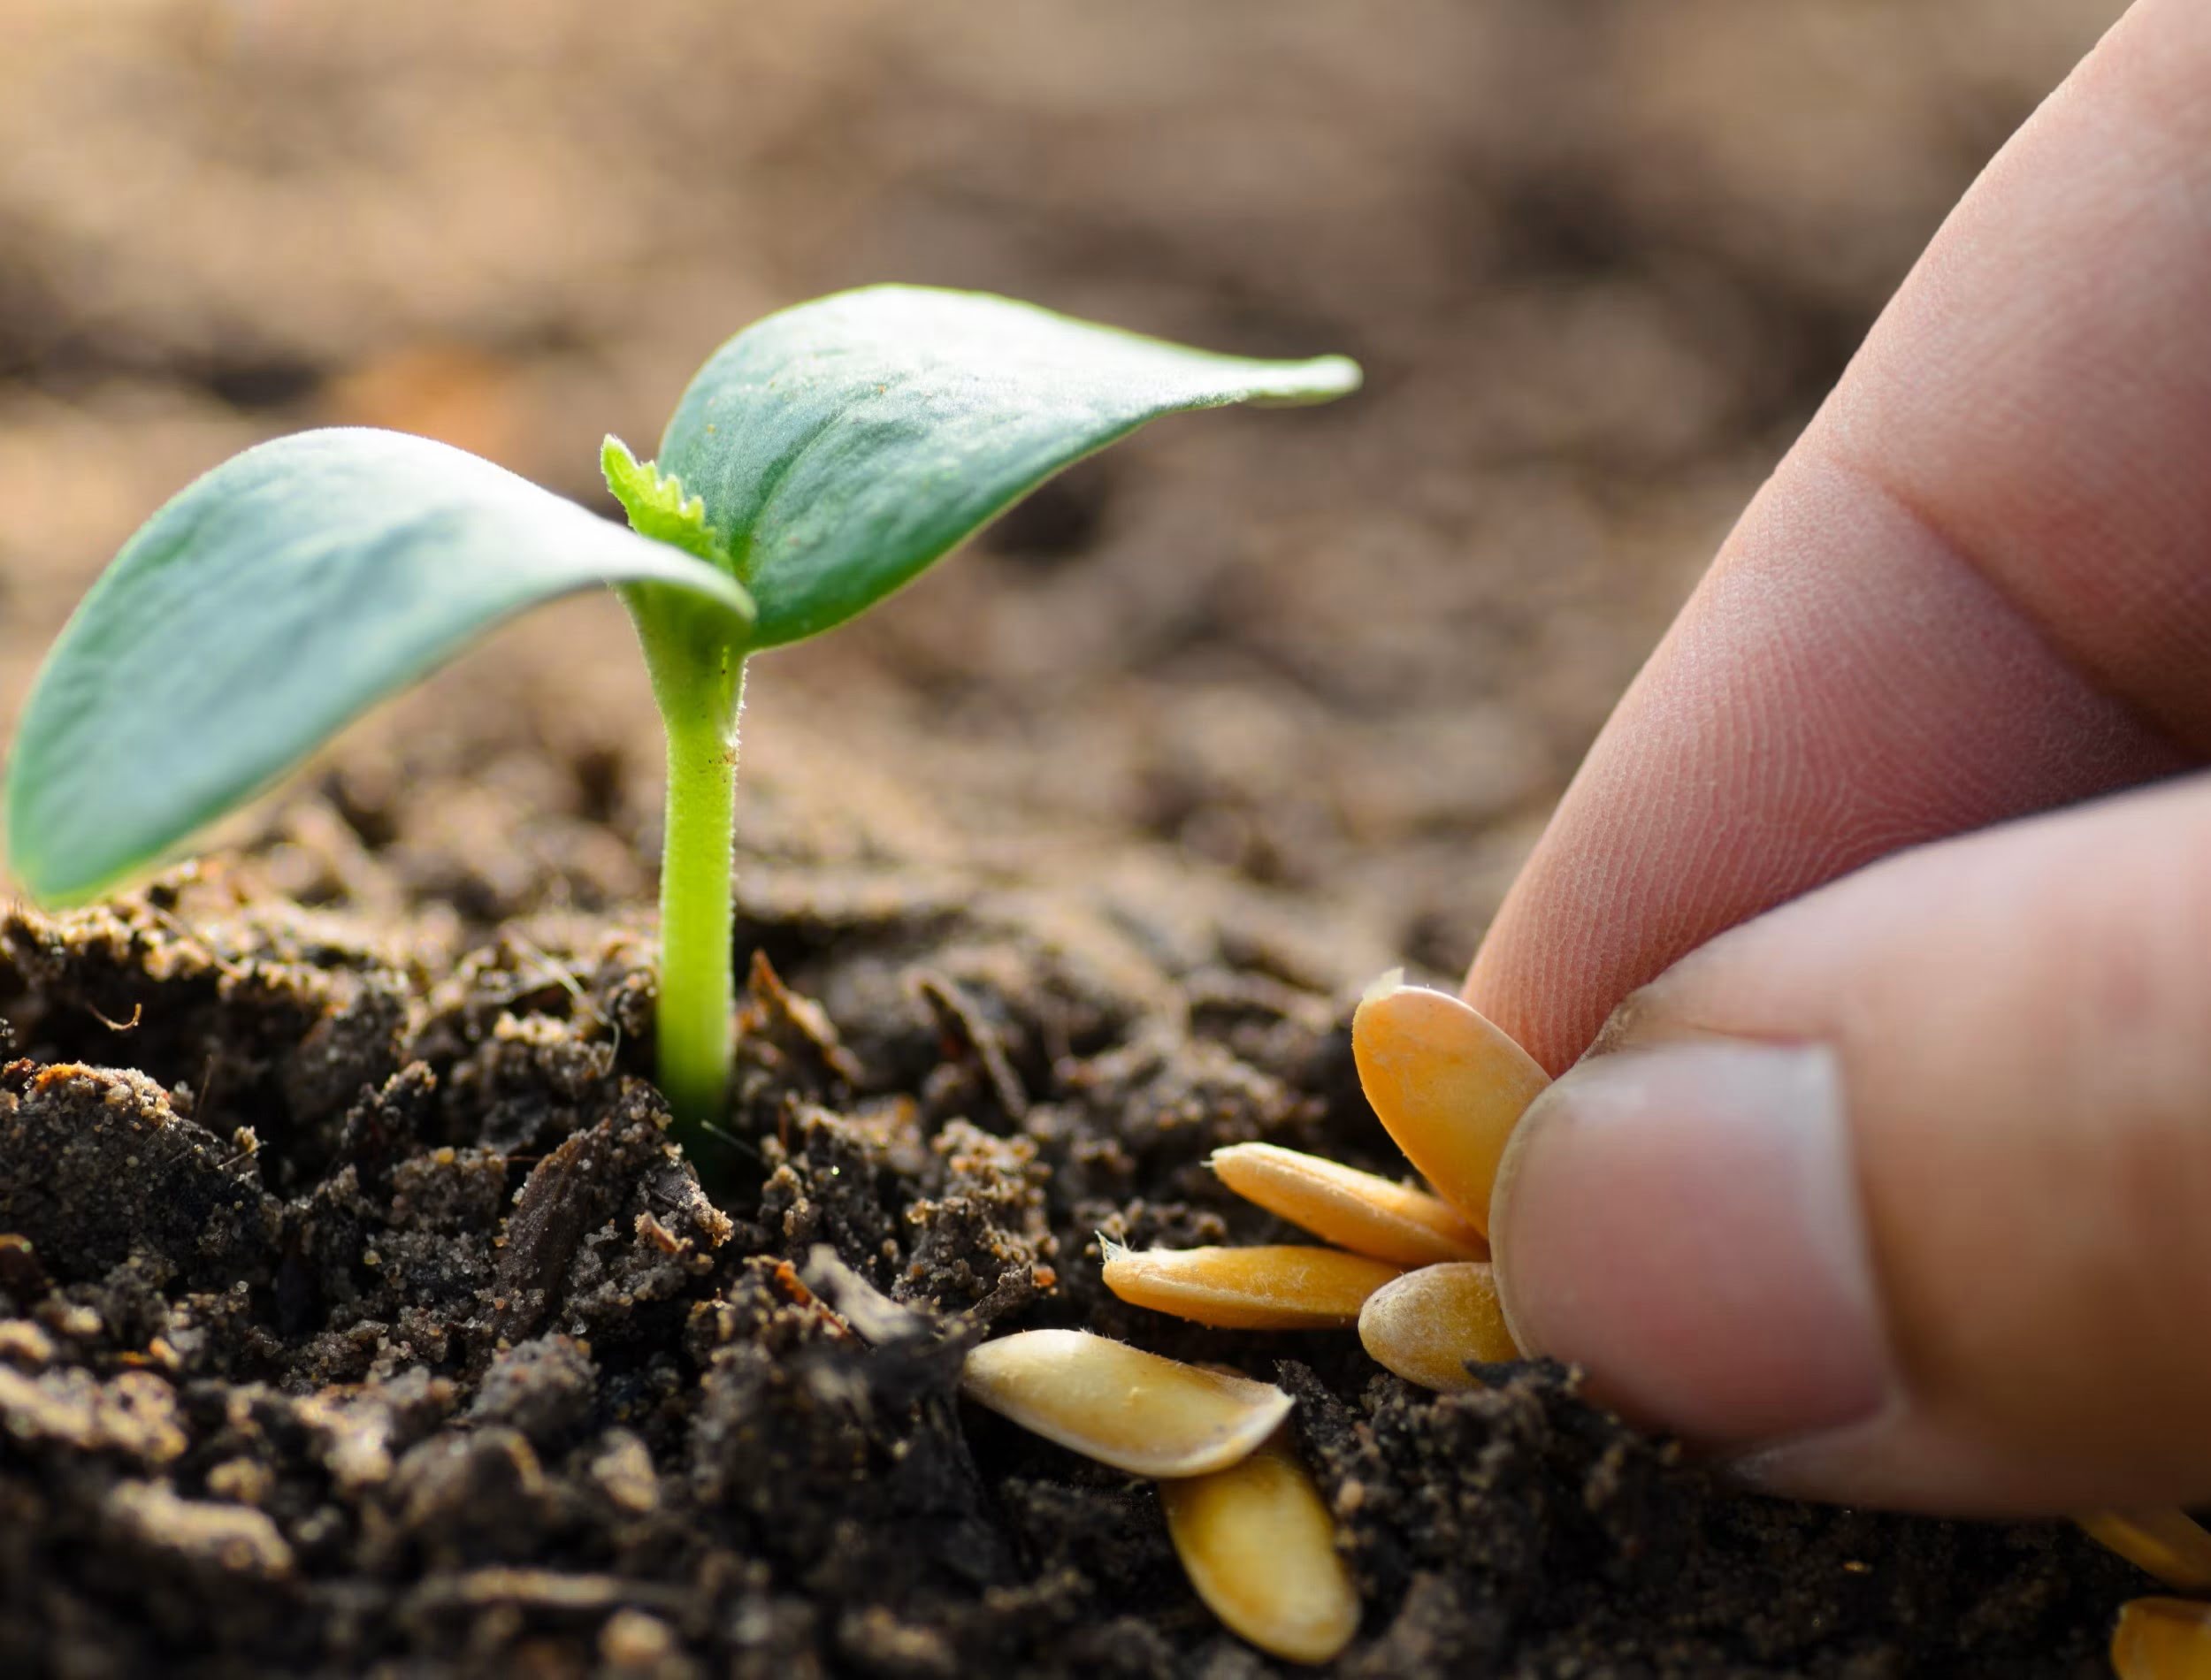
First, create furrows or small holes in the soil according to the recommended planting depth for your seeds. You can use the edge of a trowel, your finger, or a specialized seeding tool to make the holes. Avoid planting the seeds too shallow or too deep, as it can affect germination.
Next, carefully place the seeds into the holes or furrows, spacing them according to the seed packet instructions. It’s important not to overcrowd the seeds, as this can lead to competition for resources and poor growth.
Once the seeds are in place, gently cover them with soil, ensuring they are adequately covered but not buried too deeply. Lightly pat the soil to secure the seeds in place.
Water the newly planted seeds gently but thoroughly. A fine mist or a watering can with a fine nozzle is ideal to avoid displacing the seeds. Keep the soil evenly moist throughout the germination period to facilitate seed sprouting.
Consider providing protection for your newly planted seeds. You can use a floating row cover, a cold frame, or a makeshift greenhouse to create a controlled microclimate that promotes germination. This also helps protect the seeds from pests, extreme weather conditions, and excessive moisture loss.
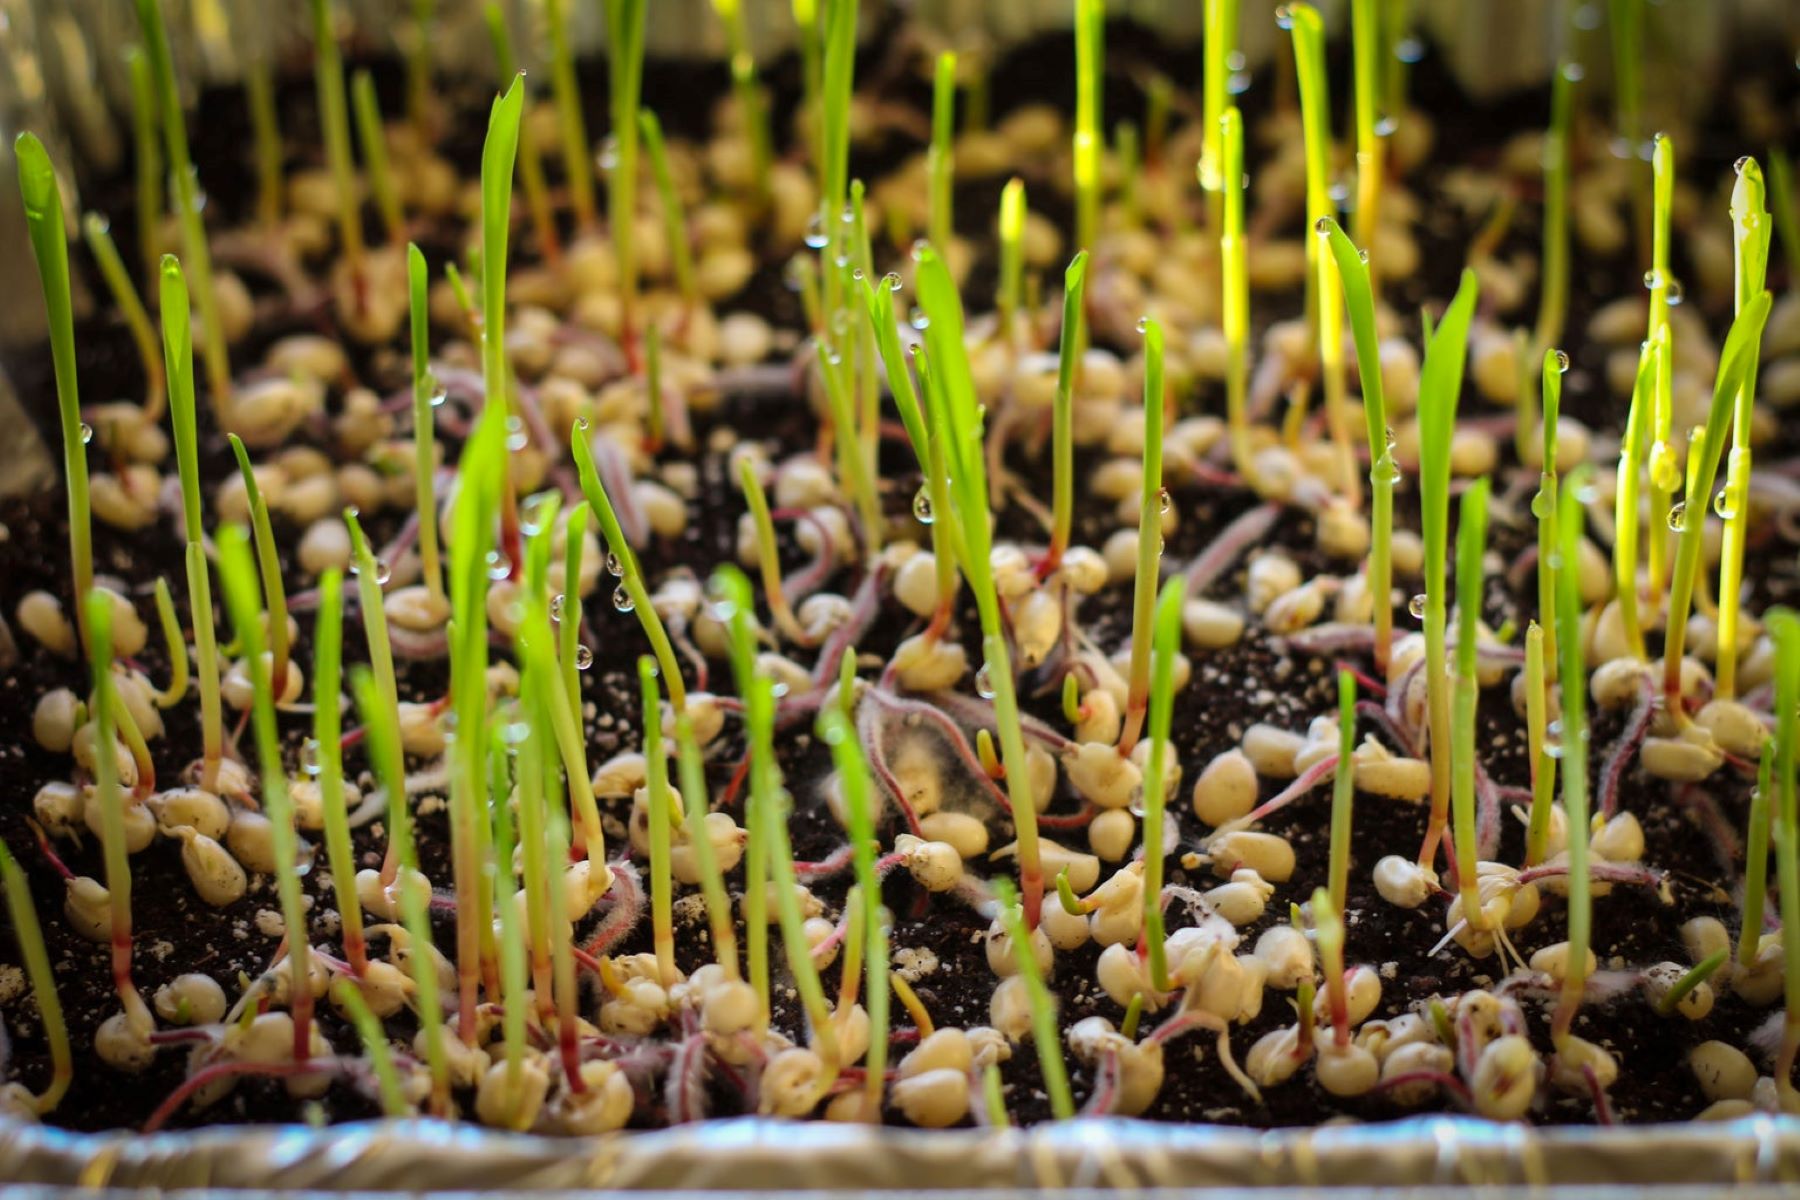
As the seeds germinate and seedlings emerge, thin them out if necessary. Crowded plants can compete for resources and result in stunted growth. Follow the recommended spacing guidelines to allow each plant enough room to thrive.
Be patient and keep an eye on the soil moisture levels and emerging seedlings. With time, care, and attention, you will soon see your seeds growing into healthy plants, ready to flourish in your garden.
Providing Adequate Watering
Water is a vital element for the growth and development of plants, and providing adequate watering is essential to ensure their health and productivity.
When it comes to watering seeds, it’s important to keep the soil consistently moist, but not waterlogged. The moisture level should be sufficient to support germination and seedling growth without causing rot or fungal diseases.
After planting the seeds, water them gently but thoroughly. Use a watering can or a fine mist setting on a hose nozzle to avoid disturbing the soil or dislodging the seeds. Make sure to water the entire planting area evenly.
As the seeds germinate and seedlings emerge, continue to monitor the soil moisture. Check the moisture levels regularly by inserting your finger into the soil up to the first knuckle. If it feels dry, it’s time to water.
Water in the mornings or evenings when the temperatures are cooler. This allows the plants to absorb the moisture before the heat of the day evaporates it. Watering during the heat of the day can lead to excessive evaporation and water wastage.
Avoid overwatering, as it can drown the plants and lead to root rot and disease. On the other hand, underwatering can cause stress and hinder proper growth. Finding the right balance is important.
Adjust your watering frequency and duration based on the weather conditions. During hot and dry periods, you may need to water more frequently to keep the soil moist. Conversely, during cooler and rainy spells, you may need to reduce watering to prevent waterlogged soil.
Consider using mulch around your plants to help retain soil moisture. Mulch acts as a protective layer, preventing water evaporation from the soil surface and reducing weed growth. Organic mulches like straw, shredded leaves, or wood chips also improve soil fertility as they break down over time.
Lastly, be mindful of the specific water needs of different plants. Some plants, such as succulents or cacti, require less water and prefer drier conditions. Research the watering requirements of the plant varieties you are growing to ensure you provide the appropriate amount of water.
Remember, proper watering is key to the success of your plants. By ensuring they receive adequate moisture without overdoing it, you will create an optimal environment for healthy growth and abundant yields or blooms.
To make seeds grow, provide them with the right conditions: sunlight, water, and good soil. Follow the instructions on the seed packet for best results.
Read more: How To Make A Vertical Garden With Grow Bags
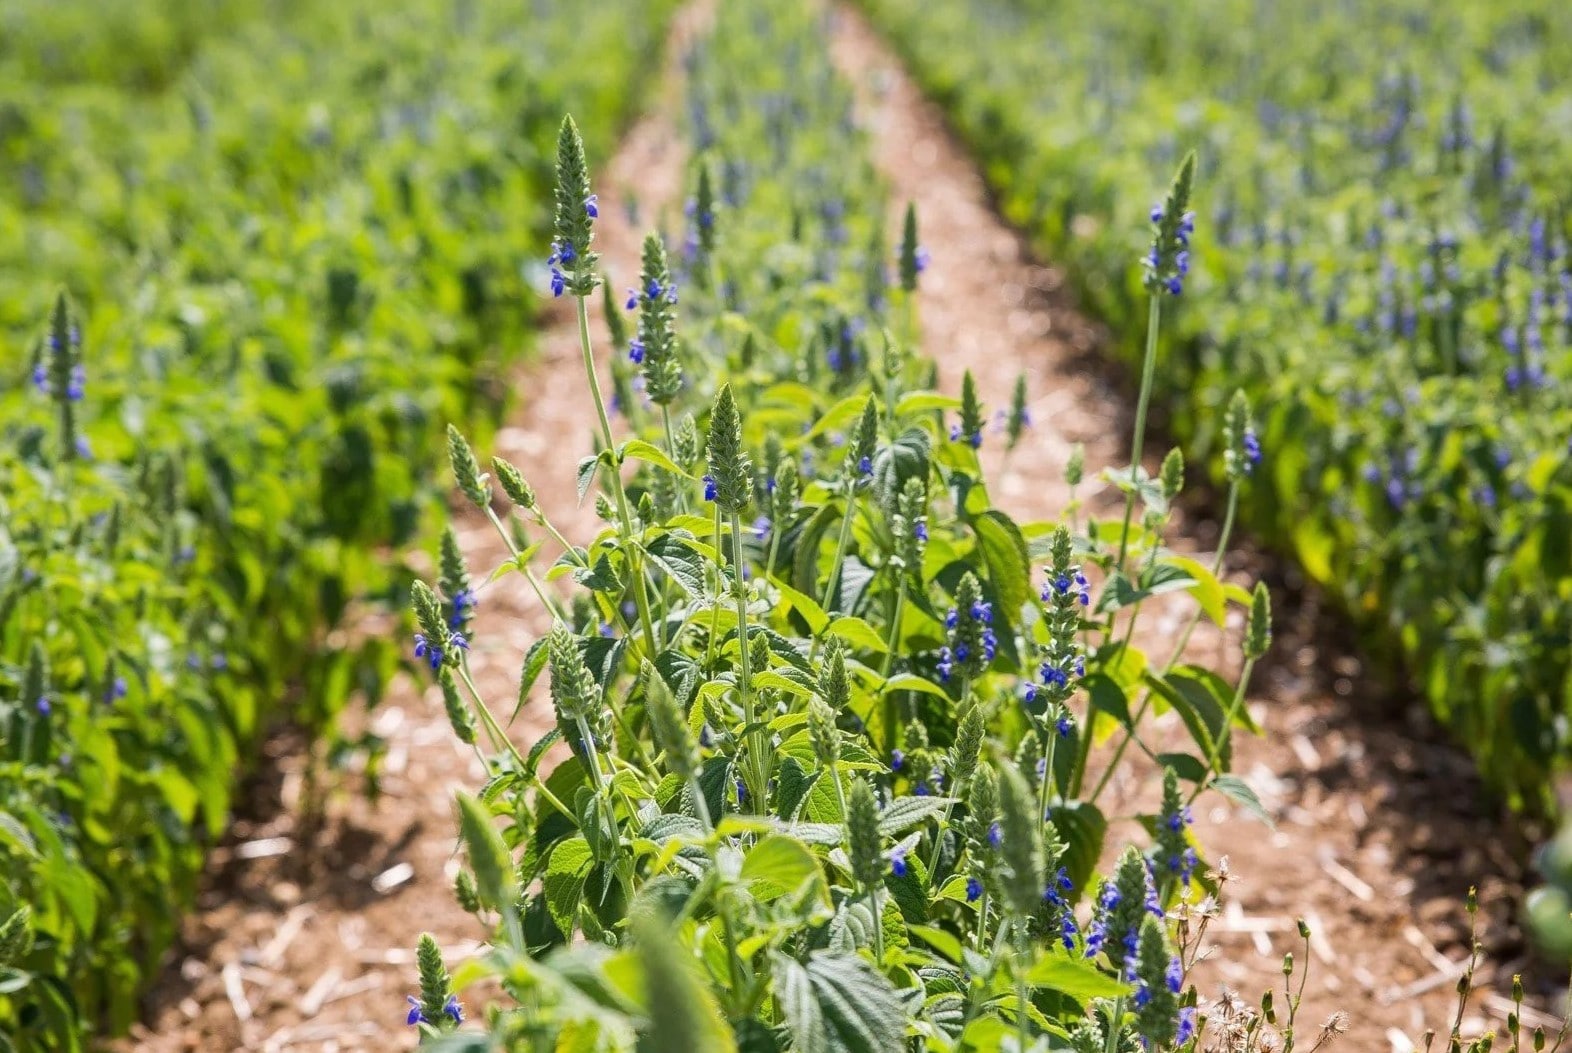
Ensuring Proper Sunlight
Sunlight plays a vital role in the growth and development of plants. It is essential for photosynthesis, the process by which plants convert sunlight into energy. To ensure the health and vitality of your seeds, it’s important to provide them with proper sunlight.
Most plants require at least 6 hours of direct sunlight each day to thrive. However, different plants have varying sunlight requirements, so it’s important to consider the specific needs of the plant varieties you are growing.
When choosing a location for your garden or plant containers, observe the sunlight patterns in your outdoor space. Observe which areas receive the most sunlight throughout the day and which areas are shaded by trees, buildings, or other structures.
For plants that require full sun, choose a location that receives at least 6-8 hours of direct sunlight every day. This is especially important for vegetable gardens, as many edible crops rely on ample sunlight to produce bountiful harvests.
On the other hand, if you plan to grow plants that prefer partial shade or shade, select an area that receives filtered sunlight or a few hours of direct sunlight in the morning or late afternoon. This is common for many flowering plants and some leafy greens.
Monitor the sunlight in your chosen location throughout the growing season, as the angle and intensity of the sun change with the seasons. Observe any potential obstructions that may cast shadows on your plants and adjust accordingly.
If you’re limited in garden space or don’t have access to an area with sufficient sunlight, consider container gardening. You can use pots or raised beds that can be moved around to capture the best sunlight throughout the day.
In some cases, you may need to supplement natural sunlight with artificial lighting. This is commonly done when starting seeds indoors or growing plants in low-light indoor environments. Use grow lights that provide the appropriate spectrum of light for optimal plant growth.
Remember, proper sunlight is crucial for the health and productivity of your plants. By providing them with the right amount of sunlight according to their requirements, you set the stage for strong, thriving plants that can withstand the demands of the growing season.
Protecting From Pests and Diseases
Pests and diseases can wreak havoc on your garden, damaging or even destroying your plants. To ensure the success of your seedlings, it’s important to take preventive measures and protect them from these common garden threats.
One of the most effective ways to ward off pests is by promoting a healthy garden ecosystem. Healthy plants are more resilient and less susceptible to pest infestations. Start by providing proper soil nutrients and maintaining good soil health through regular organic matter additions.
Another preventive measure is practicing good garden hygiene. Remove any dead or decaying plant material, as it can attract pests and harbor diseases. Regularly clean up fallen leaves, decaying fruits, and other debris that could provide a breeding ground for pests.
Consider using physical barriers to protect your plants from pests. For small seedlings, use row covers or netting to create a barrier that prevents insects from reaching the plants. This is especially beneficial when dealing with pests like aphids, caterpillars, or beetles.
Employ companion planting techniques to repel pests and attract beneficial insects. Some plants have natural insect-repelling properties or attract predators that feed on common garden pests. For example, planting marigolds can help deter nematodes, while attracting ladybugs and other beneficial insects that prey on aphids.
Regularly inspect your plants for signs of pest infestation or disease. Look out for chewed leaves, discolored foliage, distorted growth, or presence of insects. Early detection allows you to take prompt action and prevent the problem from escalating.
If you notice pests, try using organic pest control methods first. This can include handpicking insects, using insecticidal soaps or neem oil, or introducing beneficial insects like ladybugs or praying mantises that feed on common pests.
For diseases, practice good sanitation practices to prevent the spread of fungal or bacterial infections. Remove infected plant parts immediately and dispose of them properly to prevent the disease from spreading.
Rotate your crops each season to prevent the buildup of disease pathogens in the soil. Different plants have different susceptibilities to specific diseases, so rotating crops helps break the disease cycle.
Finally, consider using organic fungicides or disease-resistant varieties if needed. These can help protect your plants from common fungal and bacterial infections.
By implementing these preventative measures and taking prompt action when necessary, you can protect your seedlings from pests and diseases. This will greatly increase their chances of growing into strong, healthy plants that will provide a bountiful harvest or eye-catching blooms.
Regular Maintenance and Care
Maintaining and caring for your plants on a regular basis is crucial for their overall health and productivity. By providing proper care, you can ensure that your seedlings thrive and reach their full potential.
Regular watering is essential to keep the soil moist and provide your plants with the necessary hydration. Monitor the soil moisture regularly and adjust the watering schedule depending on the weather conditions and the specific needs of your plants.
Consistent weeding is important to prevent weeds from competing with your seedlings for nutrients, water, and sunlight. Remove any unwanted plants that pop up in your garden beds or pots to keep your plants healthy and allow them to grow without hindrance.
Applying organic fertilizers can provide a boost of nutrients to your plants. Choose a balanced, slow-release fertilizer or opt for compost tea, which is a nutrient-rich liquid fertilizer. Follow the package instructions or adjust the feeding schedule based on the specific needs of your plants.
Keep an eye out for any signs of nutrient deficiencies in your plants, such as yellowing leaves or stunted growth. Adjust your fertilization approach accordingly to address any deficiencies and promote healthy growth.
Support and stake your plants as needed. Some plants, like tomatoes or climbing vines, require support to prevent them from falling over or getting damaged. Use stakes, trellises, or cages to provide structural support and keep your plants upright.
Paying attention to pest and disease control is an ongoing task. Regularly inspect your plants for any signs of pests or diseases and take appropriate measures to address them. This can include natural pest control methods, organic sprays, or seeking guidance from a local gardening expert.
Pruning and trimming are important maintenance practices to shape and maintain the overall health of your plants. Remove dead or damaged branches, promote air circulation, and control the size and shape of your plants as necessary. Pruning stimulates growth and helps maintain the vigor of your plants.
Keep an eye on the weather conditions and provide appropriate protection when needed. Extreme heat or cold, strong winds, or heavy rain can stress your plants and affect their growth. Use shade cloth, frost blankets, or temporary coverings to shield your plants from unfavorable conditions.
Regularly monitor the growth of your plants and make adjustments as necessary. Some plants may require thinning to allow for adequate airflow and prevent overcrowding. Additionally, perform any necessary transplanting or repotting to give your plants enough space for their roots to spread.
Lastly, enjoy spending time in your garden and observing the growth and progress of your seedlings. Take the opportunity to connect with nature, relax, and appreciate the beauty of your plants as they develop and flourish.
By implementing these regular maintenance and care practices, you will provide the optimal conditions for your seedlings to thrive. The result will be strong, healthy plants that will reward you with an abundance of delicious harvests or stunning blooms.
Harvesting and Seed Saving
The ultimate reward of growing plants from seeds is the joy of harvesting the fruits of your labor. Not only can you enjoy the delicious flavors or stunning beauty of your plants, but you can also save seeds for future plantings. Follow these steps to successfully harvest and save seeds from your plants.
Timing is crucial when it comes to harvesting. Different plants have different indicators of readiness, such as color, size, or firmness. Refer to gardening resources or seed packets for specific guidance on when to harvest your particular plants.
For vegetables and herbs, harvesting them at their peak ripeness ensures the best flavor and texture. Harvesting too early may result in underdeveloped or tasteless produce, while delaying the harvest may lead to overripe or woody plants.
When it’s time to harvest, use clean and sharp gardening tools to minimize damage to the plants. Cut or gently twist the stems to remove the fruits or vegetables from the plant. Be careful not to bruise or crush the produce.
Once you’ve harvested your plants, you may choose to save the seeds for future plantings. Seed saving allows you to preserve the characteristics of your favorite plants, save money on buying new seeds, and contribute to seed diversity.
For seed-saving, select only seeds from open-pollinated or heirloom varieties, as hybrid seeds may not produce true-to-type offspring. Choose healthy, disease-free fruits or flowers with the best characteristics to ensure the quality of the seeds.
Extracting the seeds depends on the type of plants you’re dealing with. For many vegetables, you can simply scoop out the seeds and rinse them to remove any pulp or flesh. For flowers, allow the seed heads or pods to fully dry on the plant before harvesting them.
Once the seeds are extracted, dry them thoroughly to prevent mold or rot. Place them in a well-ventilated area out of direct sunlight and allow them to air dry for a few weeks. Stir or flip the seeds occasionally to ensure even drying.
After the seeds are completely dry, store them in a cool, dry place. Small envelopes or glass jars with airtight lids work well for seed storage. Label each container with the plant variety and the date of harvest to maintain proper records.
Remember to avoid storing seeds in areas with high humidity or extreme temperature fluctuations. This can reduce the viability and longevity of the seeds.
When properly stored, many seeds can remain viable for several years, allowing you to grow new plants in the seasons to come.
So, as you enjoy the fruits of your labor, consider saving some seeds for future plantings. Seed saving is a rewarding and sustainable practice that connects you to the lineage of your plants and allows you to continue the cycle of growth and regeneration.
Read more: How To Make Grass Seed Grow Faster
Conclusion
Congratulations! You have now learned the essential steps to make your seeds grow into healthy and flourishing plants. From choosing the right seeds to providing adequate watering, ensuring proper sunlight, and protecting from pests and diseases, each aspect plays a crucial role in the success of your garden.
By carefully considering the climate, type of garden, and space available, you can select the perfect seeds for your needs. Preparing the soil with organic amendments creates a fertile environment for your seeds to establish their roots and thrive. Planting the seeds at the correct depth and providing proper watering sets the stage for successful germination and growth.
Ensuring adequate sunlight and protecting your plants from pests and diseases are vital to their overall health and productivity. Regular maintenance and care, including watering, weeding, fertilizing, and pruning, keep your plants in peak condition throughout the growing season.
Finally, as you enjoy the fruits of your labor, consider saving seeds for future plantings. Capturing the essence of your favorite plants allows you to maintain their unique characteristics and contribute to seed diversity.
Gardening is a journey that requires patience, perseverance, and a deep connection with nature. It offers a rewarding and fulfilling experience as you witness the transformation of tiny seeds into thriving plants that bring beauty and nourishment to your outdoor space.
So, don your gardening gloves, grab your trusty tools, and let your green thumb guide you. Embrace the wonders of growing plants from seeds and enjoy the bountiful harvests or breathtaking blooms that await you. Happy gardening!
Frequently Asked Questions about How To Make Seeds Grow
Was this page helpful?
At Storables.com, we guarantee accurate and reliable information. Our content, validated by Expert Board Contributors, is crafted following stringent Editorial Policies. We're committed to providing you with well-researched, expert-backed insights for all your informational needs.

0 thoughts on “How To Make Seeds Grow”