Home>Garden Essentials>How To Plant Lettuce Seeds
Garden Essentials
How To Plant Lettuce Seeds
Modified: March 16, 2024
Learn how to plant lettuce seeds in your garden with our step-by-step guide. Start growing fresh, crisp lettuce today!
(Many of the links in this article redirect to a specific reviewed product. Your purchase of these products through affiliate links helps to generate commission for Storables.com, at no extra cost. Learn more)
Introduction
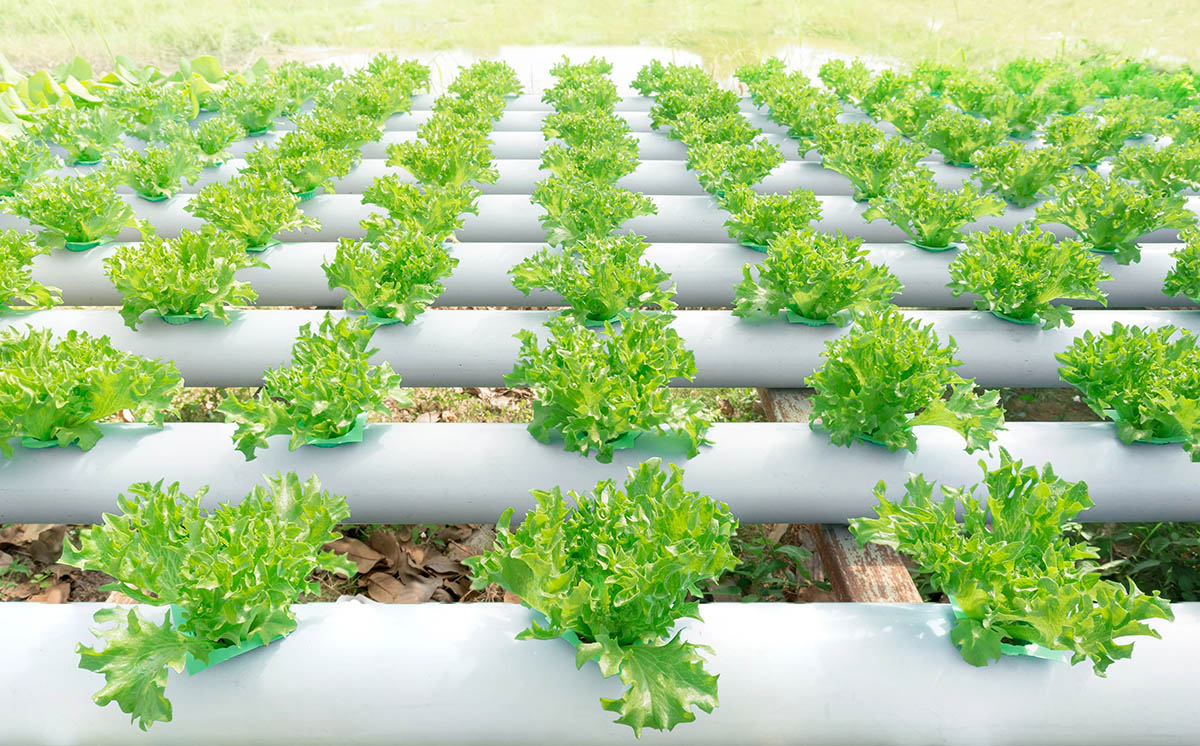
Welcome to the wonderful world of gardening! Whether you’re a seasoned green thumb or just starting out, planting lettuce seeds is a great way to kickstart your garden and reap the rewards of fresh and nutritious greens right at home. Lettuce is a versatile leafy vegetable that can be grown in containers, raised beds, or traditional garden plots. It’s a cool-season crop that thrives in spring and fall, making it an ideal choice for gardeners looking to maximize their harvest.
In this article, we will guide you through the process of planting lettuce seeds, from selecting the right variety to harvesting the delicious leaves. So grab your gardening gloves and let’s get started!
Key Takeaways:
- Choose the right lettuce variety based on your growing season, flavor preference, and resistance to pests. Experiment with different types to find your favorites and enjoy a bountiful harvest.
- Proper soil preparation, seed sowing, and care for sunlight, water, and pests are crucial for growing healthy lettuce. Harvest leaves when they reach the desired size for fresh and delicious salads.
Read more: How To Plant Lettuce From Seed
Step 1: Selecting the right variety of lettuce seeds
When it comes to lettuce, there are numerous varieties to choose from, each with its own unique flavor, texture, and growth habit. Selecting the right variety of lettuce seeds is crucial to ensure a successful and bountiful harvest. Here are a few factors to consider when choosing your lettuce seeds:
- Growing season: Lettuce comes in three main types based on their growing season – cool-season, warm-season, and all-season. Cool-season lettuce varieties are best suited for spring and fall planting when temperatures are mild. Warm-season varieties can tolerate higher temperatures, making them suitable for summer growing. All-season lettuce varieties are adaptable and can be grown year-round in moderate climates.
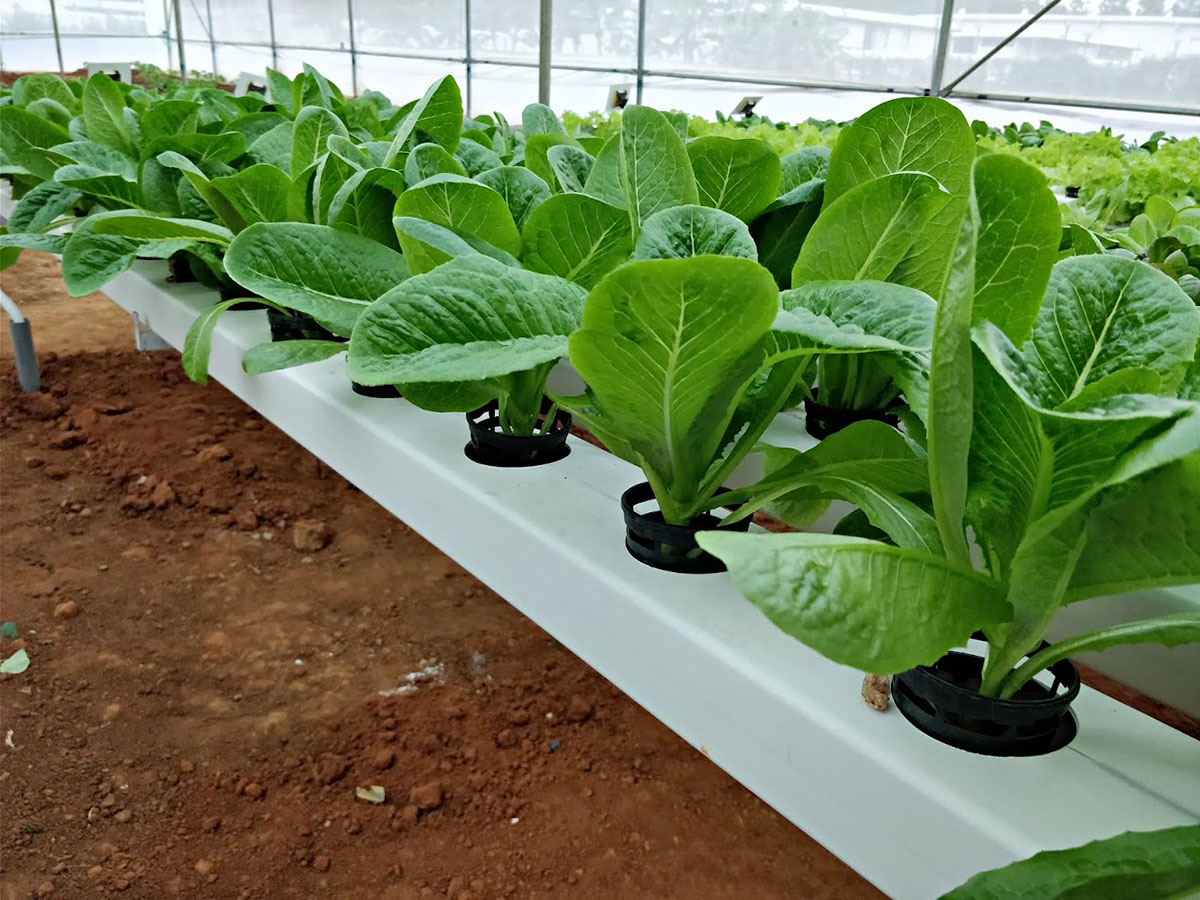
- Growth habit: Lettuce can have different growth habits, including loose-leaf, romaine, and head lettuce. Loose-leaf varieties have tender leaves that can be harvested as needed, while romaine varieties produce elongated heads with crisp leaves. Head lettuce forms a tight, compact head and is commonly used for salads.
- Flavor and texture: Lettuce can vary in flavor, from mild and buttery to tangy and slightly bitter. Consider your personal preferences when selecting a variety. Additionally, take note of the texture of the leaves, whether they are smooth, crinkled, or frilly.
- Resistance to pests and diseases: Some lettuce varieties are bred to be resistant to common pests and diseases, such as downy mildew and aphids. If you want to minimize the use of pesticides in your garden, opt for disease-resistant varieties.
Visit your local garden center or browse online seed catalogs to explore the wide range of lettuce varieties available. Don’t be afraid to experiment and try different types to find your favorites. Once you’ve selected your lettuce seeds, you’re ready to move on to the next step: preparing the soil.
Step 2: Preparing the soil for planting
Before sowing your lettuce seeds, it’s important to prepare the soil to create the optimal growing conditions for your plants. Lettuce thrives in well-draining soil rich in organic matter. Follow these steps to prepare your soil:
- Clear the area: Remove any weeds, rocks, or debris from the planting area. This will prevent competition for nutrients and give your lettuce seeds a better chance to grow.
- Loosen the soil: Use a garden fork or tiller to loosen the soil to a depth of 6-8 inches. This will improve aeration and drainage, allowing the lettuce roots to penetrate easily.
- Amend the soil: If your soil is heavy or clay-like, mix in organic matter such as compost or well-rotted manure. This will improve soil structure, fertility, and moisture retention.
- Test the soil: Consider getting a soil test to determine the pH level and any nutrient deficiencies. Lettuce prefers a slightly acidic soil with a pH range of 6.0 to 7.0. Adjust the pH if necessary by adding organic amendments or lime.
- Level and smooth the soil: Rake the soil to create a smooth and even surface. This will make it easier to sow the lettuce seeds and ensure uniform germination.
By taking the time to properly prepare your soil, you provide a healthy foundation for your lettuce plants to grow and thrive. Once the soil is prepared, it’s time to move on to the next step: sowing the lettuce seeds.
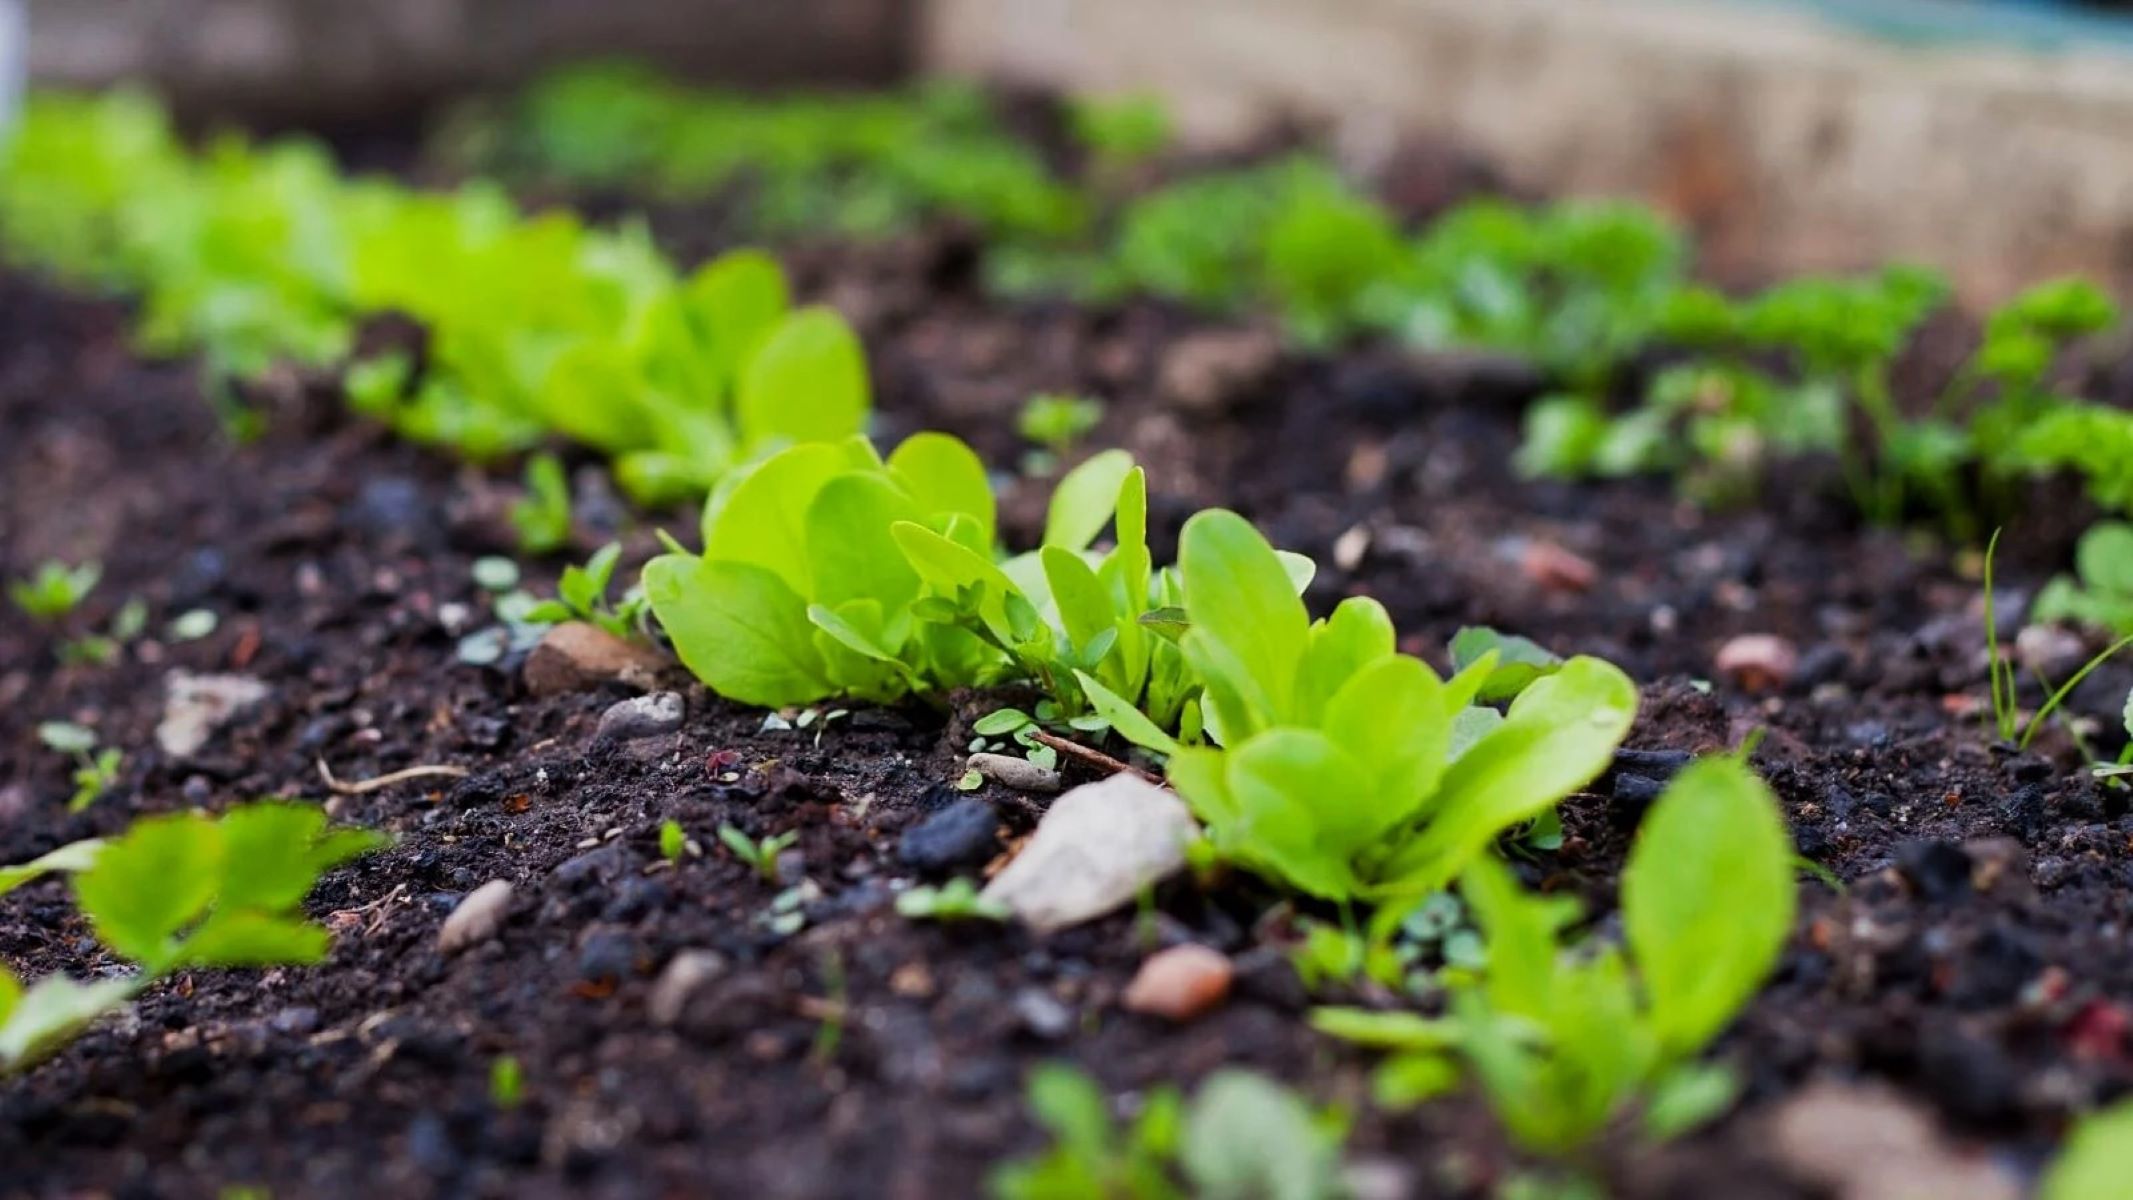
Step 3: Sowing the lettuce seeds
Now that you have prepared the soil, it’s time to sow your lettuce seeds. Follow these steps to ensure successful seed sowing:
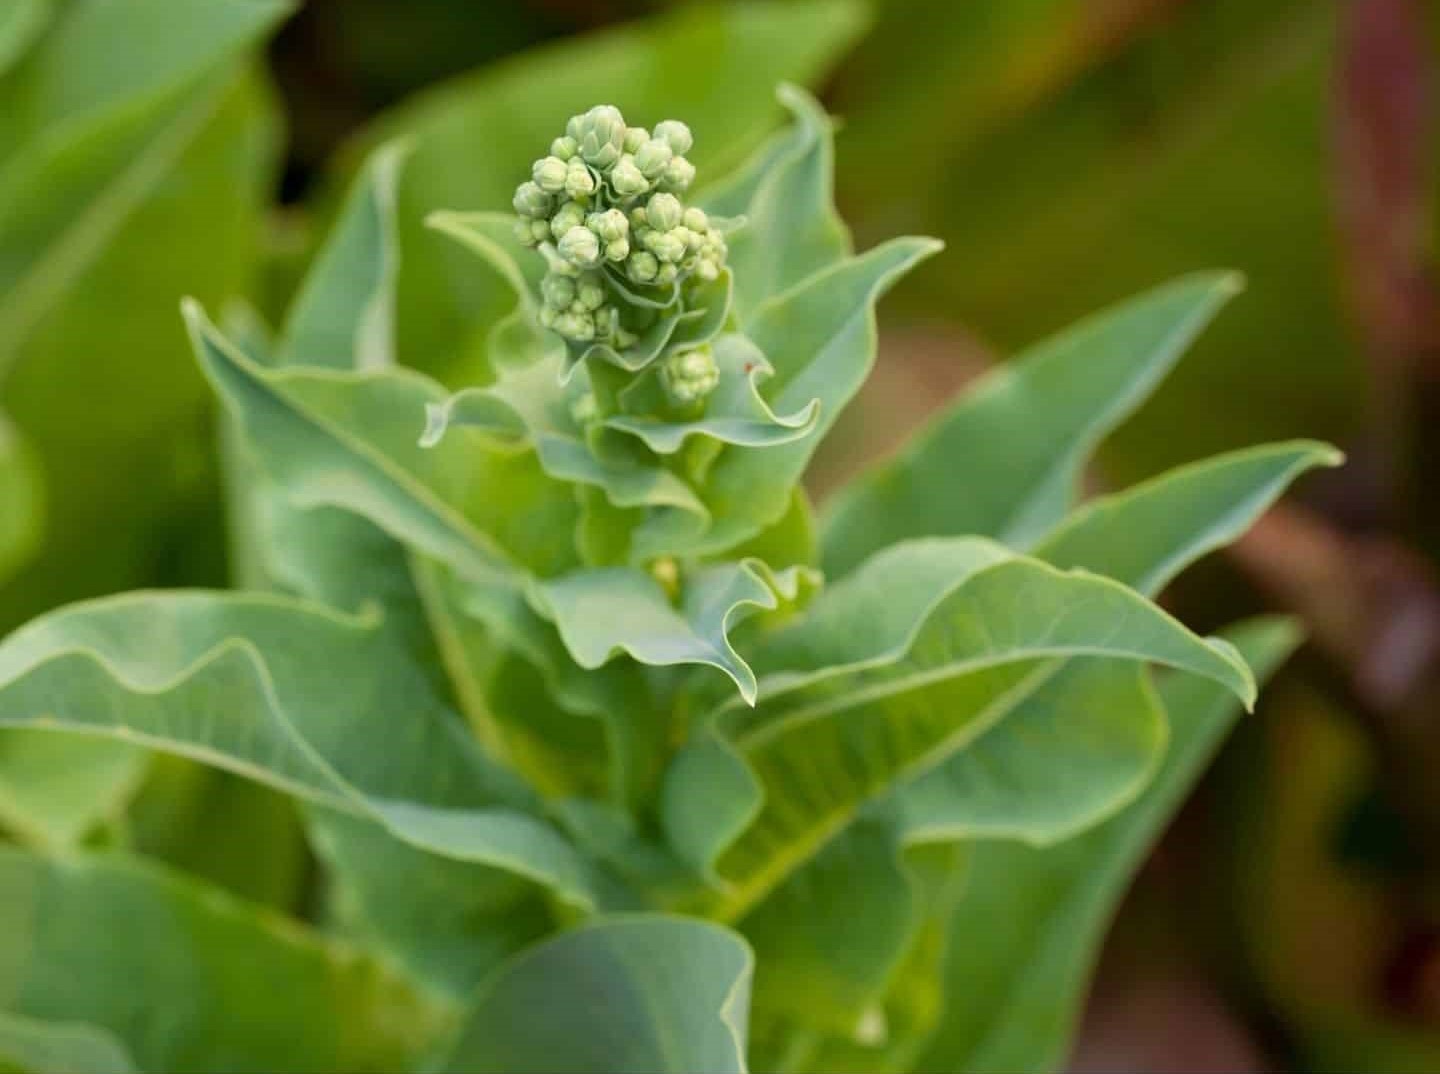
- Choose the right time: Lettuce is a cool-season crop, so it’s best to sow the seeds in early spring or late summer/early fall when temperatures are cooler. Avoid sowing during the hot summer months, as lettuce tends to bolt and become bitter in high temperatures.
- Sow the seeds: Create shallow furrows in the soil, about 1/4 to 1/2 inch deep. Spacing between rows should be around 12 to 18 inches, depending on the lettuce variety. Carefully sprinkle the lettuce seeds along the furrows, following the recommended spacing on the seed packet. Cover the seeds with a thin layer of soil or vermiculite.
- Water gently: After sowing, water the area gently to settle the soil and ensure good seed-to-soil contact. Be careful not to wash away the seeds. Keep the soil consistently moist during the germination process.
- Thin the seedlings: Once the lettuce seedlings emerge and grow to a few inches tall, thin them to maintain proper spacing and allow the remaining plants to develop fully. Aim for 6-8 inches of space between each lettuce plant.
Remember to label the rows or use different colored plant markers to keep track of the lettuce varieties you’ve sown. This will help you identify and differentiate the different types once they start growing. With your lettuce seeds sown, you’re now ready to provide the proper sunlight and water in the next step.
Step 4: Providing proper sunlight and water
Proper sunlight and water are essential for the healthy growth of your lettuce plants. Here’s what you need to do:
- Sunlight: Lettuce plants thrive in cool temperatures and prefer partial shade to full sun. Provide them with at least 6 hours of sunlight per day. If you live in a hotter climate, consider providing some shade during the hottest part of the day to prevent wilting and bolting.
- Water: Lettuce has shallow roots, so it’s important to keep the soil consistently moist. Water your lettuce plants regularly, aiming for about 1 inch of water per week. Avoid overwatering as it can lead to root rot and other diseases. Mulching around the plants can help retain moisture and reduce weed growth.
- Watering methods: To prevent leaf diseases, it’s best to water your lettuce plants at the base rather than overhead. Drip irrigation or soaker hoses are great options as they deliver water directly to the soil, minimizing moisture on the leaves.
- Signs of overwatering/underwatering: Pay attention to your lettuce plants and adjust your watering accordingly. Overwatered plants may have yellowing leaves, stunted growth, and wilting. Underwatered plants may have dry and brittle leaves. It may take some trial and error to find the right watering schedule for your specific growing conditions.
By providing the right amount of sunlight and water, you’ll ensure that your lettuce plants stay healthy and productive. In the next step, we’ll discuss how to thin the seedlings to give the remaining plants enough space to thrive.
Plant lettuce seeds in well-draining soil, about 1/4 inch deep. Keep the soil consistently moist and provide plenty of sunlight. Thin out seedlings to give them space to grow.
Read more: How To Get Lettuce Seeds From Plant
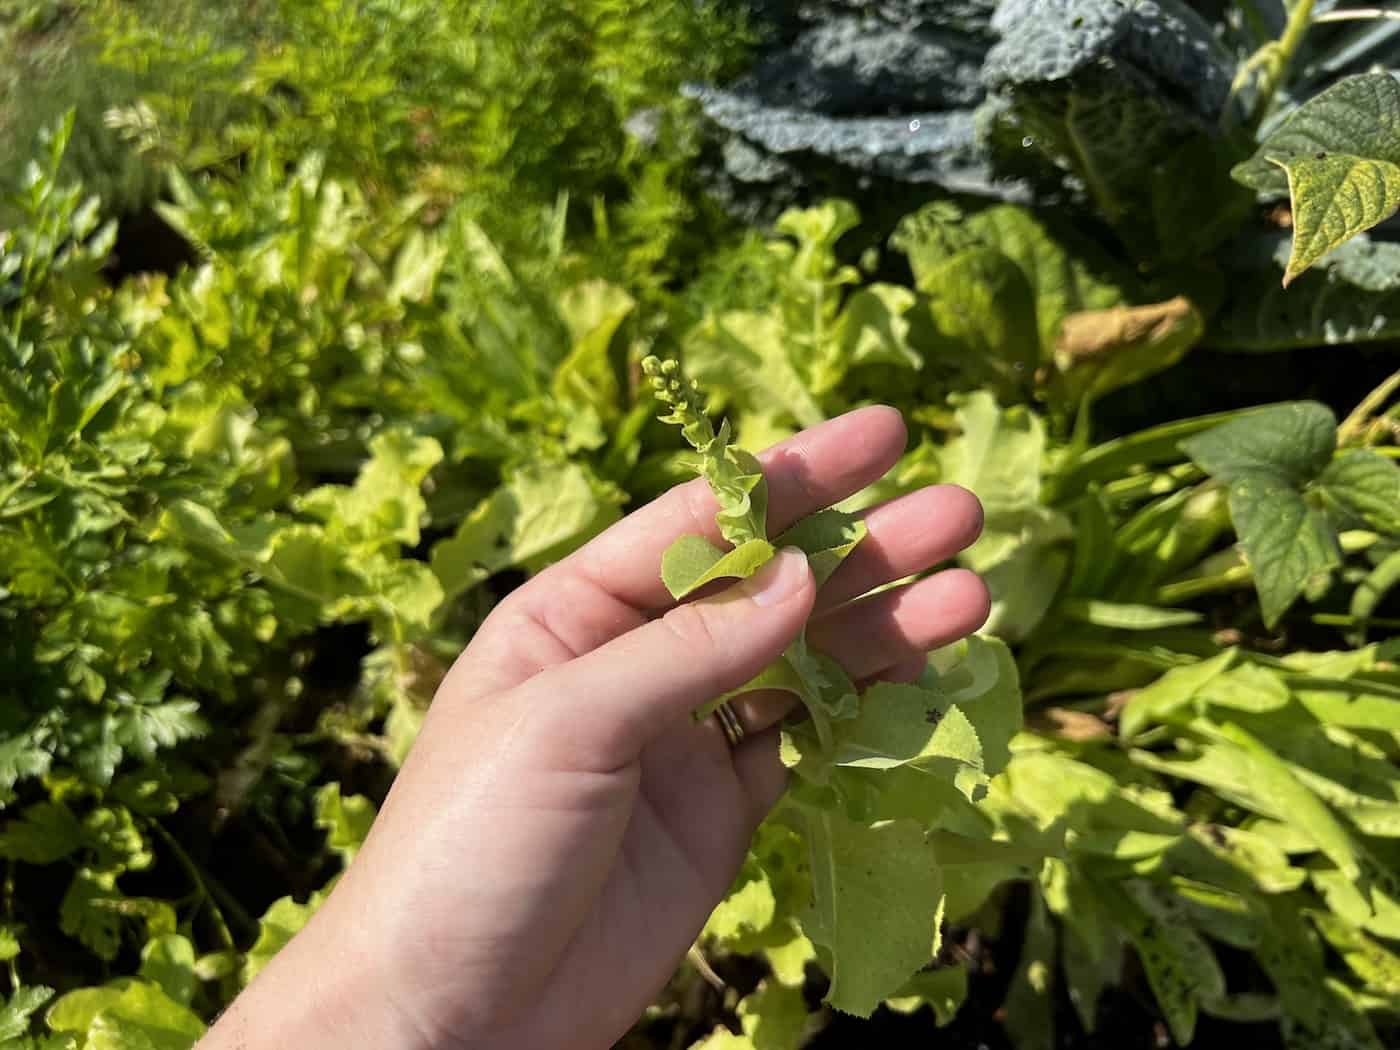
Step 5: Thinning the seedlings
Thinning the seedlings is an important step to ensure proper spacing and allow your lettuce plants to grow to their full potential. Here’s how to effectively thin your lettuce seedlings:
- Wait for seedlings to grow: Allow the lettuce seedlings to grow for a couple of weeks until they have developed their first true leaves. This will make it easier to identify which seedlings to thin.
- Choose which seedlings to remove: Look for overcrowded areas and carefully select which seedlings to remove. Aim for a spacing of 6-8 inches between plants to allow each lettuce plant enough space to grow and receive adequate nutrients.
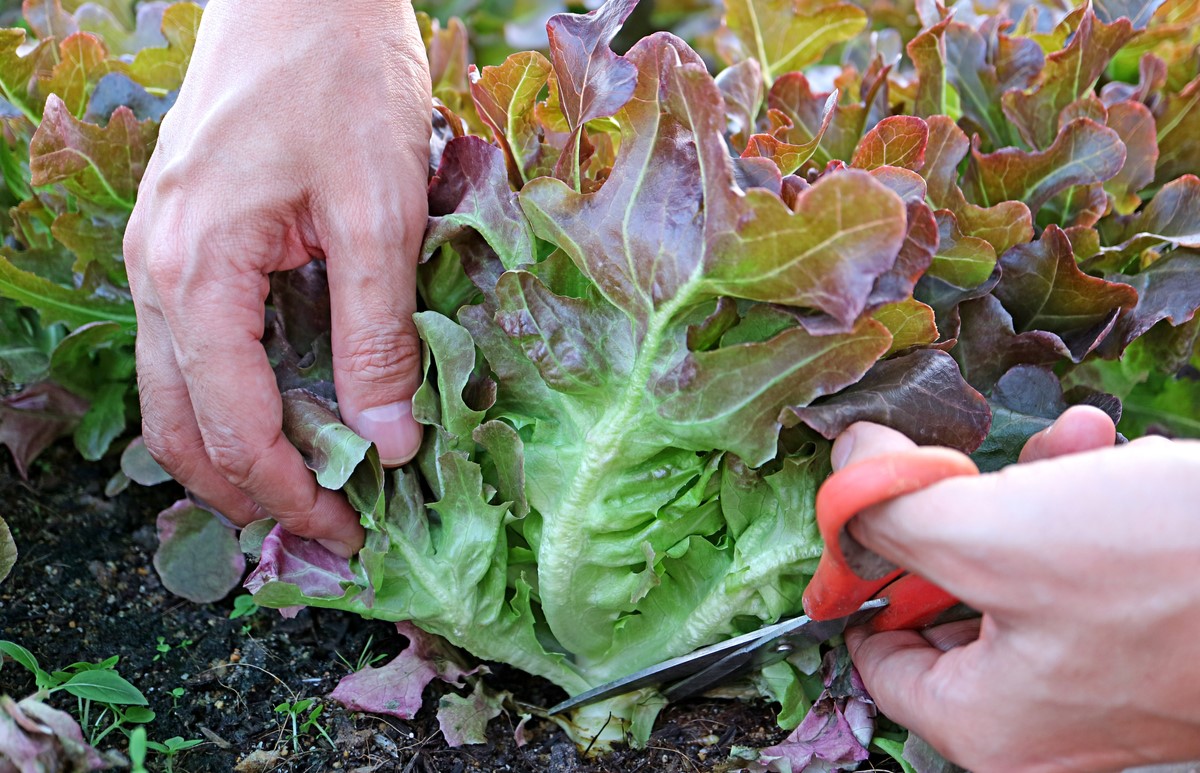
- Gently remove unwanted seedlings: Use a pair of scissors or garden shears to cut the unwanted seedlings at the soil level. Avoid pulling them out, as this can disturb the roots of the remaining plants.
- Dispose of removed seedlings: Remove the thinned seedlings from the garden bed and compost them or discard them in the appropriate manner.
Thinning the seedlings may seem counterintuitive, but it’s an important step to prevent overcrowding and competition for resources. It allows the remaining lettuce plants to grow stronger and healthier. With your seedlings thinned, it’s time to nourish your lettuce plants with the next step: fertilizing.
Step 6: Fertilizing the lettuce plants
While lettuce doesn’t require heavy fertilization, providing some nutrients can promote healthy growth and improve the flavor of the leaves. Here’s what you need to know about fertilizing your lettuce plants:
- Soil testing: Before fertilizing, it’s a good idea to test your soil to determine its nutrient content. This will help you understand if any specific nutrients are lacking and adjust your fertilization accordingly.
- Organic options: Organic fertilizers are ideal for lettuce plants as they provide slow-release nutrients without the risk of burning the delicate leaves. Compost, well-rotted manure, and organic liquid fertilizers are great options to consider.
- Application: Apply the fertilizer according to the package instructions or follow the guidelines provided by a soil test. Generally, you can side-dress the plants by spreading the fertilizer around the base of the plants, being careful not to let it touch the leaves. Water the plants after fertilization to help the nutrients reach the root zone.
- Frequency: Lettuce plants benefit from a light fertilization every 3-4 weeks, especially if you’re growing them in containers or raised beds where nutrients can leach easily.
- Avoid over-fertilization: Be cautious not to over-fertilize your lettuce plants, as this can lead to excessive leaf growth and a less desirable flavor. Stick to recommended application rates and don’t be tempted to add more fertilizer than necessary.
Remember, lettuce is a relatively fast-growing plant, so it’s important to provide proper nutrition to support its growth. With your lettuce plants fertilized, it’s time to address any potential pests or diseases in the next step.
Step 7: Controlling pests and diseases
Pests and diseases can pose a threat to your lettuce plants, affecting their growth and reducing your harvest. Taking preventive measures and promptly addressing any issues can help maintain a healthy crop. Here are some tips for controlling pests and diseases:
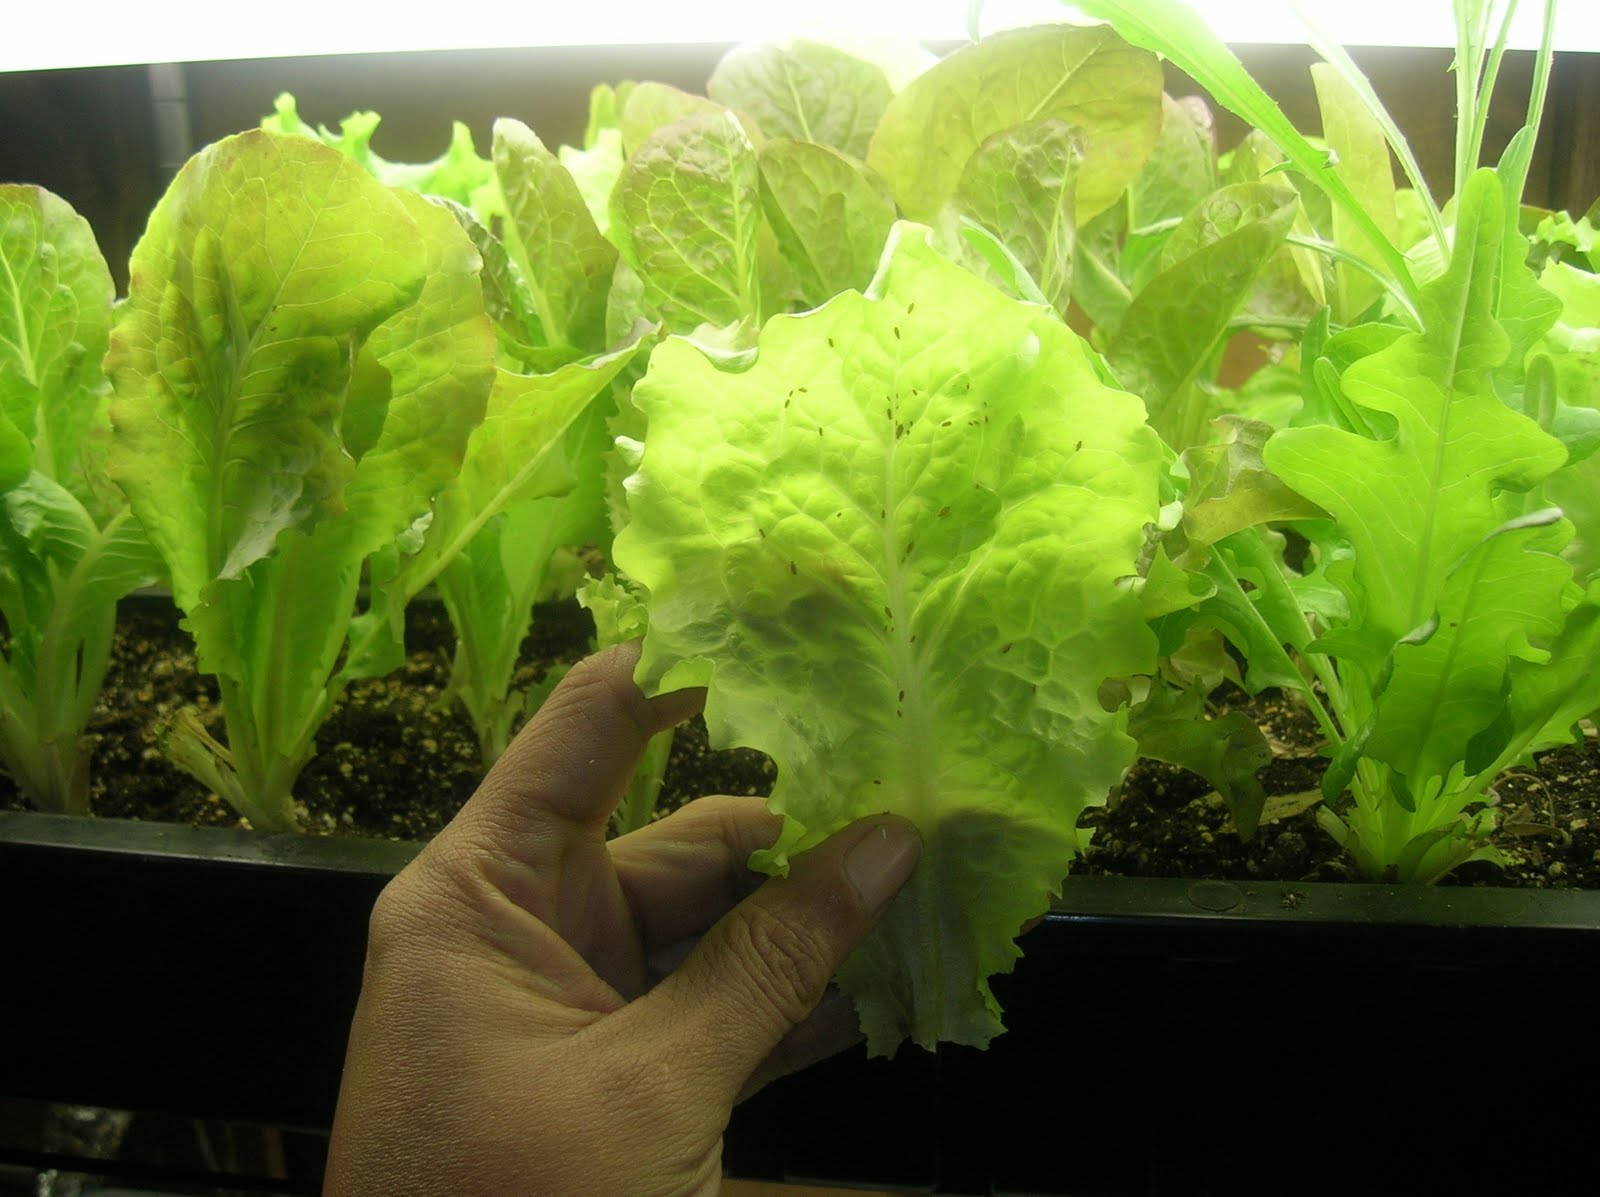
- Monitor regularly: Regularly inspect your lettuce plants for any signs of pests or diseases. Look for chewed leaves, discoloration, wilting, or the presence of insects.
- Handpick pests: If you notice any pests on your plants, such as aphids or caterpillars, carefully handpick them off and destroy them. For larger infestations, you can use organic insecticidal soaps or neem oil as a natural pest control method.
- Practice crop rotation: Rotate your lettuce crops each season to prevent the buildup of pests and diseases in the soil. Avoid planting lettuce or other related crops in the same spot year after year.
- Provide proper spacing: Adequate spacing between lettuce plants allows for better air circulation, reducing the risk of fungal diseases. It also makes it easier to spot and address any issues.
- Use floating row covers: Covering your lettuce plants with floating row covers can protect them from pests like cabbage worms or flea beetles. The row covers allow sunlight and water to reach the plants while keeping pests at bay.
- Remove diseased plants: If you notice any signs of disease, such as leaf spots or wilting, remove the affected plants immediately to prevent the spread to healthy plants.
By being vigilant and taking proactive measures, you can minimize the impact of pests and diseases on your lettuce plants. With pests and diseases under control, it’s time to move on to the final step: harvesting your lettuce leaves.
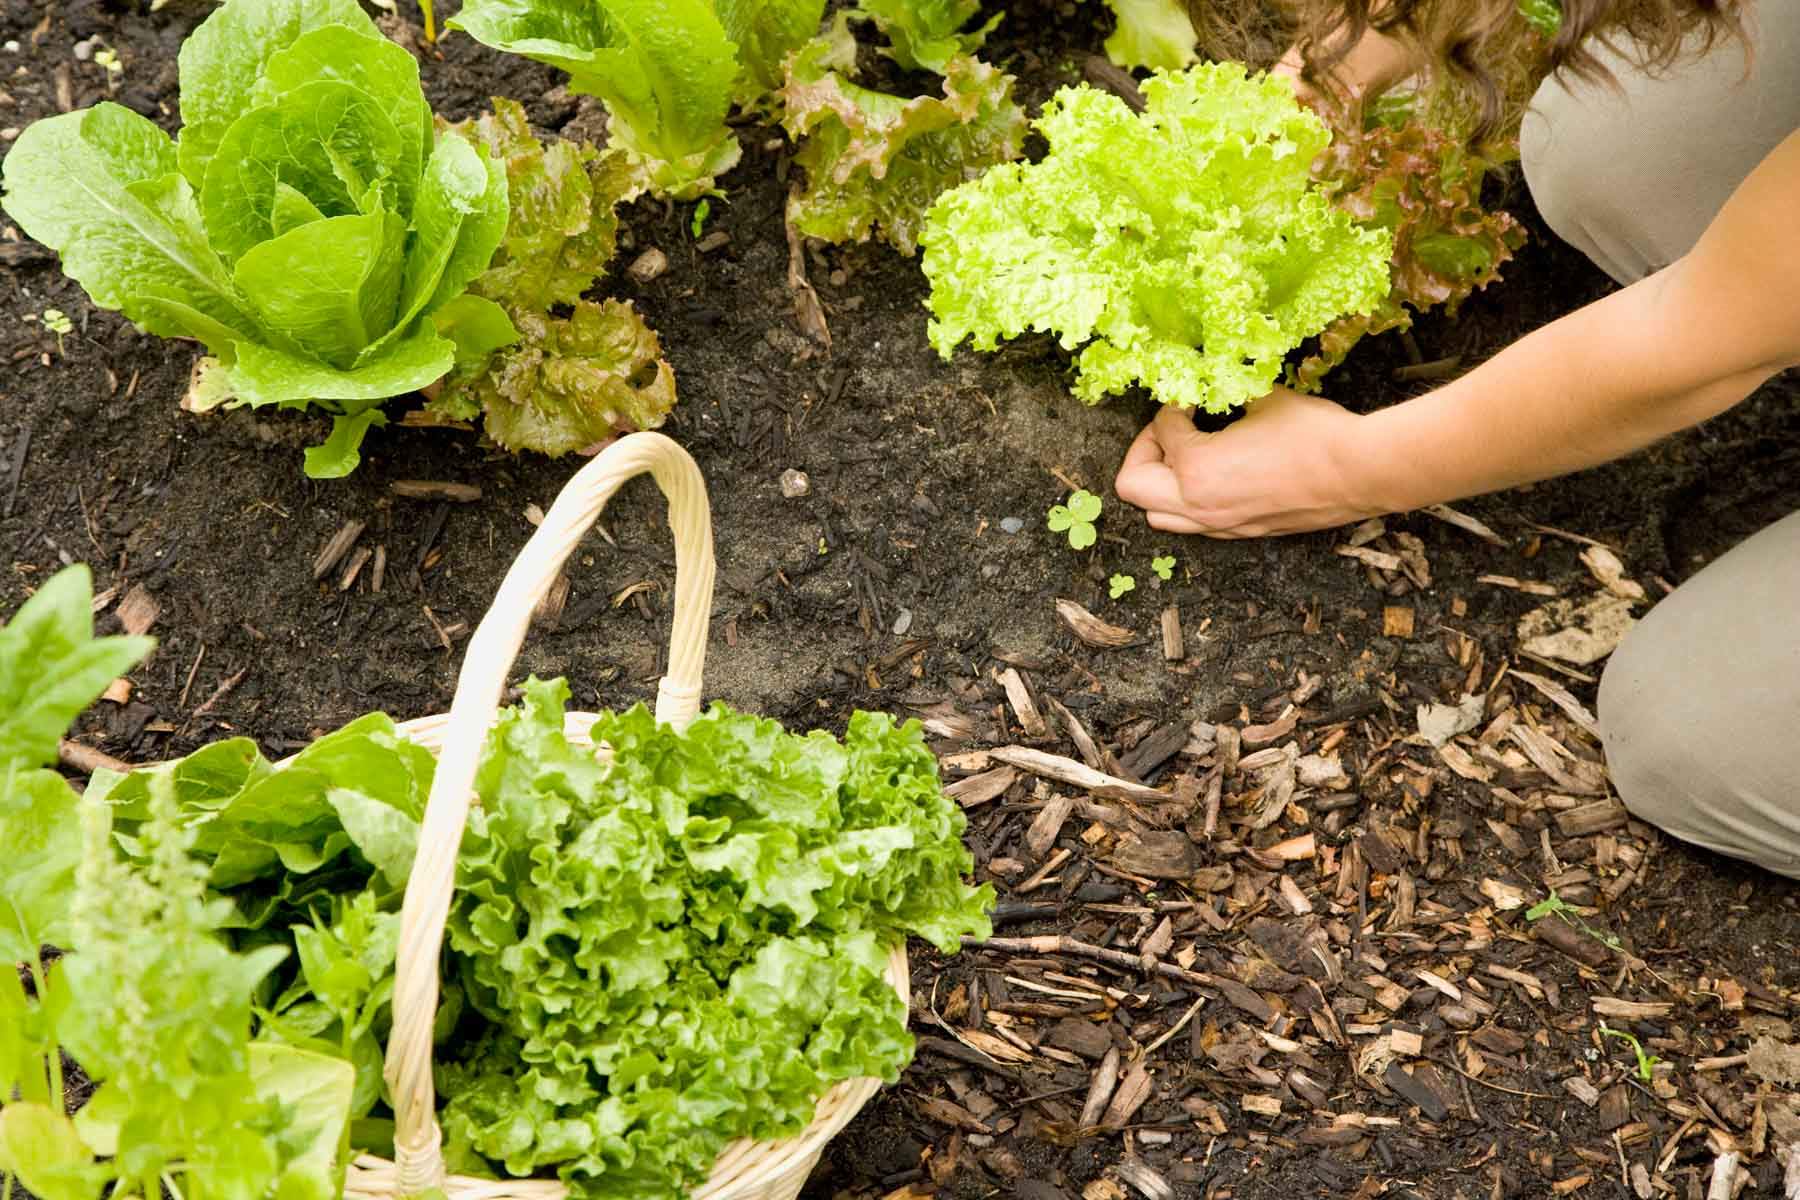
Step 8: Harvesting lettuce leaves
One of the most rewarding moments in gardening is when you get to harvest the fruits of your labor. Lettuce leaves are best harvested when they reach a desirable size and texture. Here’s how to harvest your lettuce leaves:
- Leaf lettuce: For leaf lettuce varieties, you can begin harvesting leaves when they reach about 3-4 inches in length. Simply cut the outer leaves about an inch above the soil level, leaving the inner leaves intact for continued growth.
- Romaine lettuce: Romaine lettuce forms tight heads, and you can harvest by either cutting the entire head at the base or by removing outer leaves from the bottom, allowing the inner leaves to grow larger.
- Head lettuce: Head lettuce forms compact heads, and you can harvest by carefully cutting the head at the base, being cautious not to damage the surrounding leaves.
- Harvesting tips: Harvest lettuce leaves in the morning when they are crisp and full of moisture. Use a sharp knife or pair of scissors for clean cuts. Avoid tearing or bruising the leaves, as this can lead to faster spoilage.
As you harvest your lettuce leaves, be sure to wash them thoroughly before consuming. Freshly harvested lettuce leaves are a delightful addition to salads, sandwiches, or as a base for other colorful vegetables. Remember to harvest only what you need, allowing the remaining plants to continue growing and producing.
Congratulations! You have successfully completed all the steps to plant, nurture, and harvest your lettuce. By following these guidelines, you can enjoy a continuous supply of fresh and delicious lettuce throughout the growing season. Happy gardening!
Read more: How To Grow Lettuce Seeds
Conclusion
Congratulations on completing your journey to plant and harvest lettuce from seed! By following the steps outlined in this guide, you have learned how to select the right variety of lettuce seeds, prepare the soil, sow the seeds, provide proper sunlight and water, thin the seedlings, fertilize the plants, control pests and diseases, and finally, harvest the fresh lettuce leaves.
Gardening is not only a rewarding hobby but also a way to connect with nature and enjoy the satisfaction of growing your own food. Lettuce, with its vibrant colors, crisp textures, and delightful flavors, is a versatile and nutritious addition to any garden or plate.
Remember to experiment with different lettuce varieties to discover your personal favorites. From the tender and delicate leaf lettuce to the crunchy romaine or the compact heads of head lettuce, there are endless possibilities to explore in your garden.
As you continue on your gardening journey, don’t forget to observe and learn from your experiences. Each season brings new challenges and opportunities for growth. Stay vigilant in pest and disease management, adapt to changing weather conditions, and be open to trying new techniques or varieties.
Empowered with your newfound knowledge of lettuce cultivation, you are now equipped to enjoy the fresh flavors of homegrown lettuce year-round. So, get your hands dirty, enjoy the sun on your face, and revel in the satisfaction of nurturing your own garden. Happy gardening!
Frequently Asked Questions about How To Plant Lettuce Seeds
Was this page helpful?
At Storables.com, we guarantee accurate and reliable information. Our content, validated by Expert Board Contributors, is crafted following stringent Editorial Policies. We're committed to providing you with well-researched, expert-backed insights for all your informational needs.


0 thoughts on “How To Plant Lettuce Seeds”