Home>Garden Essentials>How To Harvest Strawberry Seeds
Garden Essentials
How To Harvest Strawberry Seeds
Modified: March 15, 2024
Learn how to harvest strawberry seeds in your garden and start growing your own delicious strawberries. Follow our step-by-step guide for success.
(Many of the links in this article redirect to a specific reviewed product. Your purchase of these products through affiliate links helps to generate commission for Storables.com, at no extra cost. Learn more)
Introduction
Strawberries are delicious, juicy fruits that are a favorite among many gardeners. Whether you grow strawberries in your backyard or purchase them from the local market, you may be surprised to learn that you can harvest and save the seeds for future planting. Not only is this a cost-effective way to grow more strawberries, but it also allows you to preserve unique varieties and experiment with different techniques. In this article, we will guide you through the process of harvesting strawberry seeds and provide handy tips along the way.
Before we dive into the steps, it’s important to understand the basics of strawberry plants. Strawberries are a member of the Rosaceae family and are typically grown as perennials in temperate regions. Each strawberry fruit is made up of numerous tiny black seeds on the outer surface, and these seeds have the potential to grow into new plants.
While strawberries can be propagated through runners, saving and planting strawberry seeds can be a viable option for gardeners who want to grow different varieties or experiment withcross-breeding. A word of caution, though: strawberries are not true-to-type from seed, meaning that the offspring may not be identical to the parent plant. However, this can open up exciting possibilities for discovering unique strawberry varieties!
In the following steps, we will show you how to properly harvest, clean, dry, and store strawberry seeds to ensure their viability and successful germination. Let’s jump right in!
Key Takeaways:
- Harvesting strawberry seeds is a fun and cost-effective way to grow more delicious strawberries in your garden. Choose ripe, disease-free strawberries and follow the steps to extract, clean, dry, and store the seeds for future planting.
- By carefully preparing, extracting, cleaning, and storing strawberry seeds, you can continue to grow an abundance of delicious strawberries in your garden for years to come. Enjoy the rewarding process of expanding your garden with your favorite strawberry varieties!
Step 1: Choosing the Right Strawberry
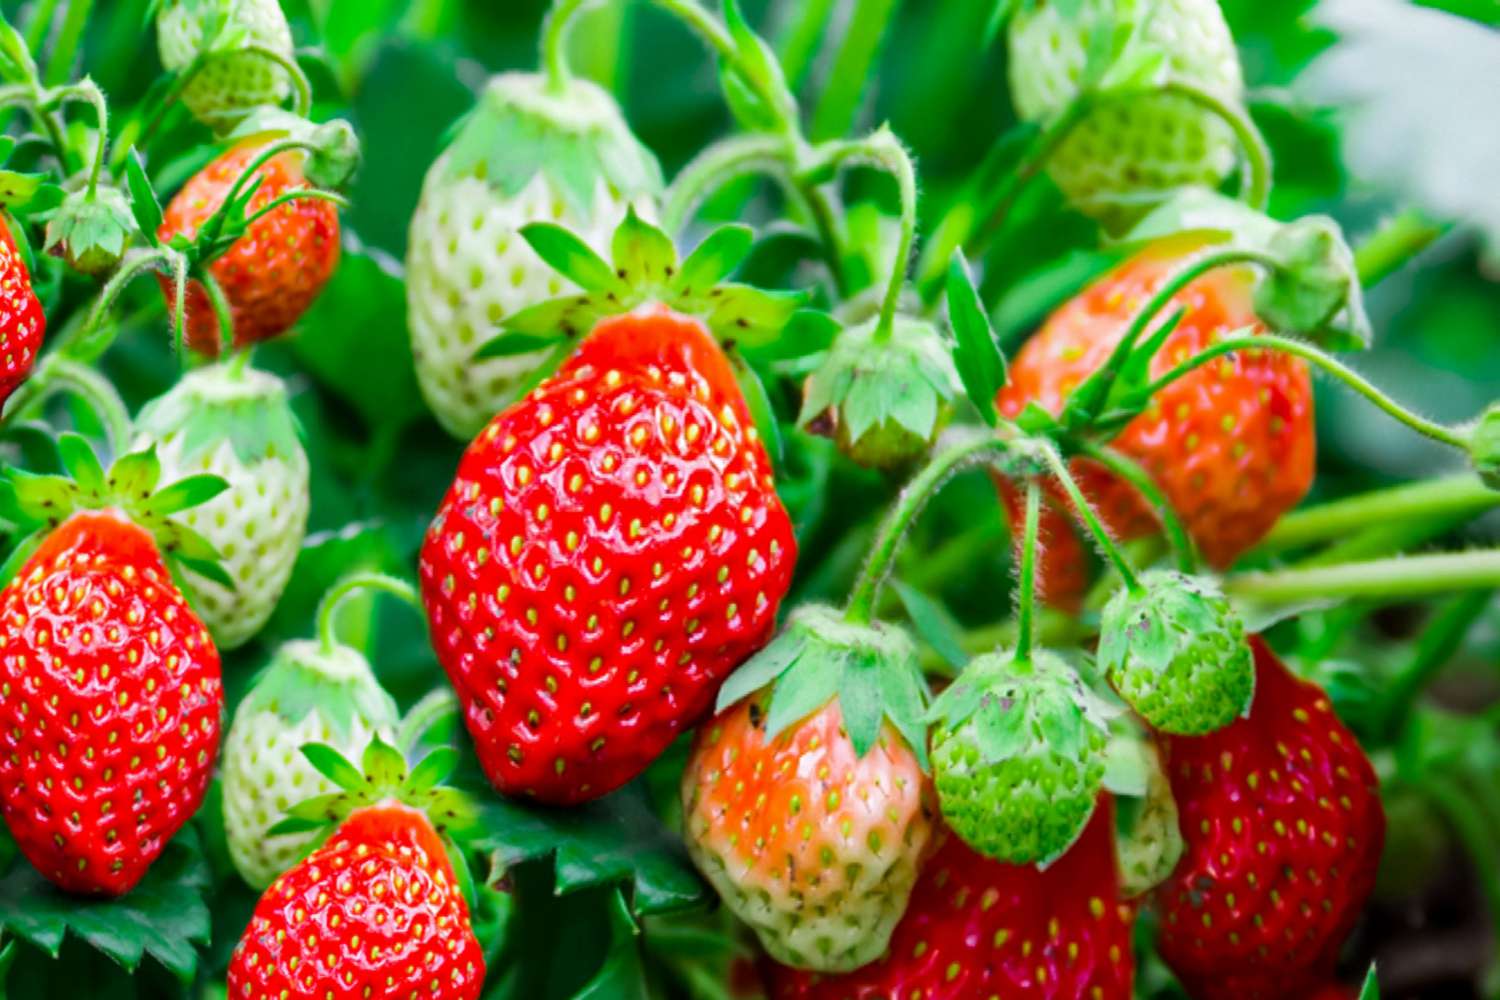
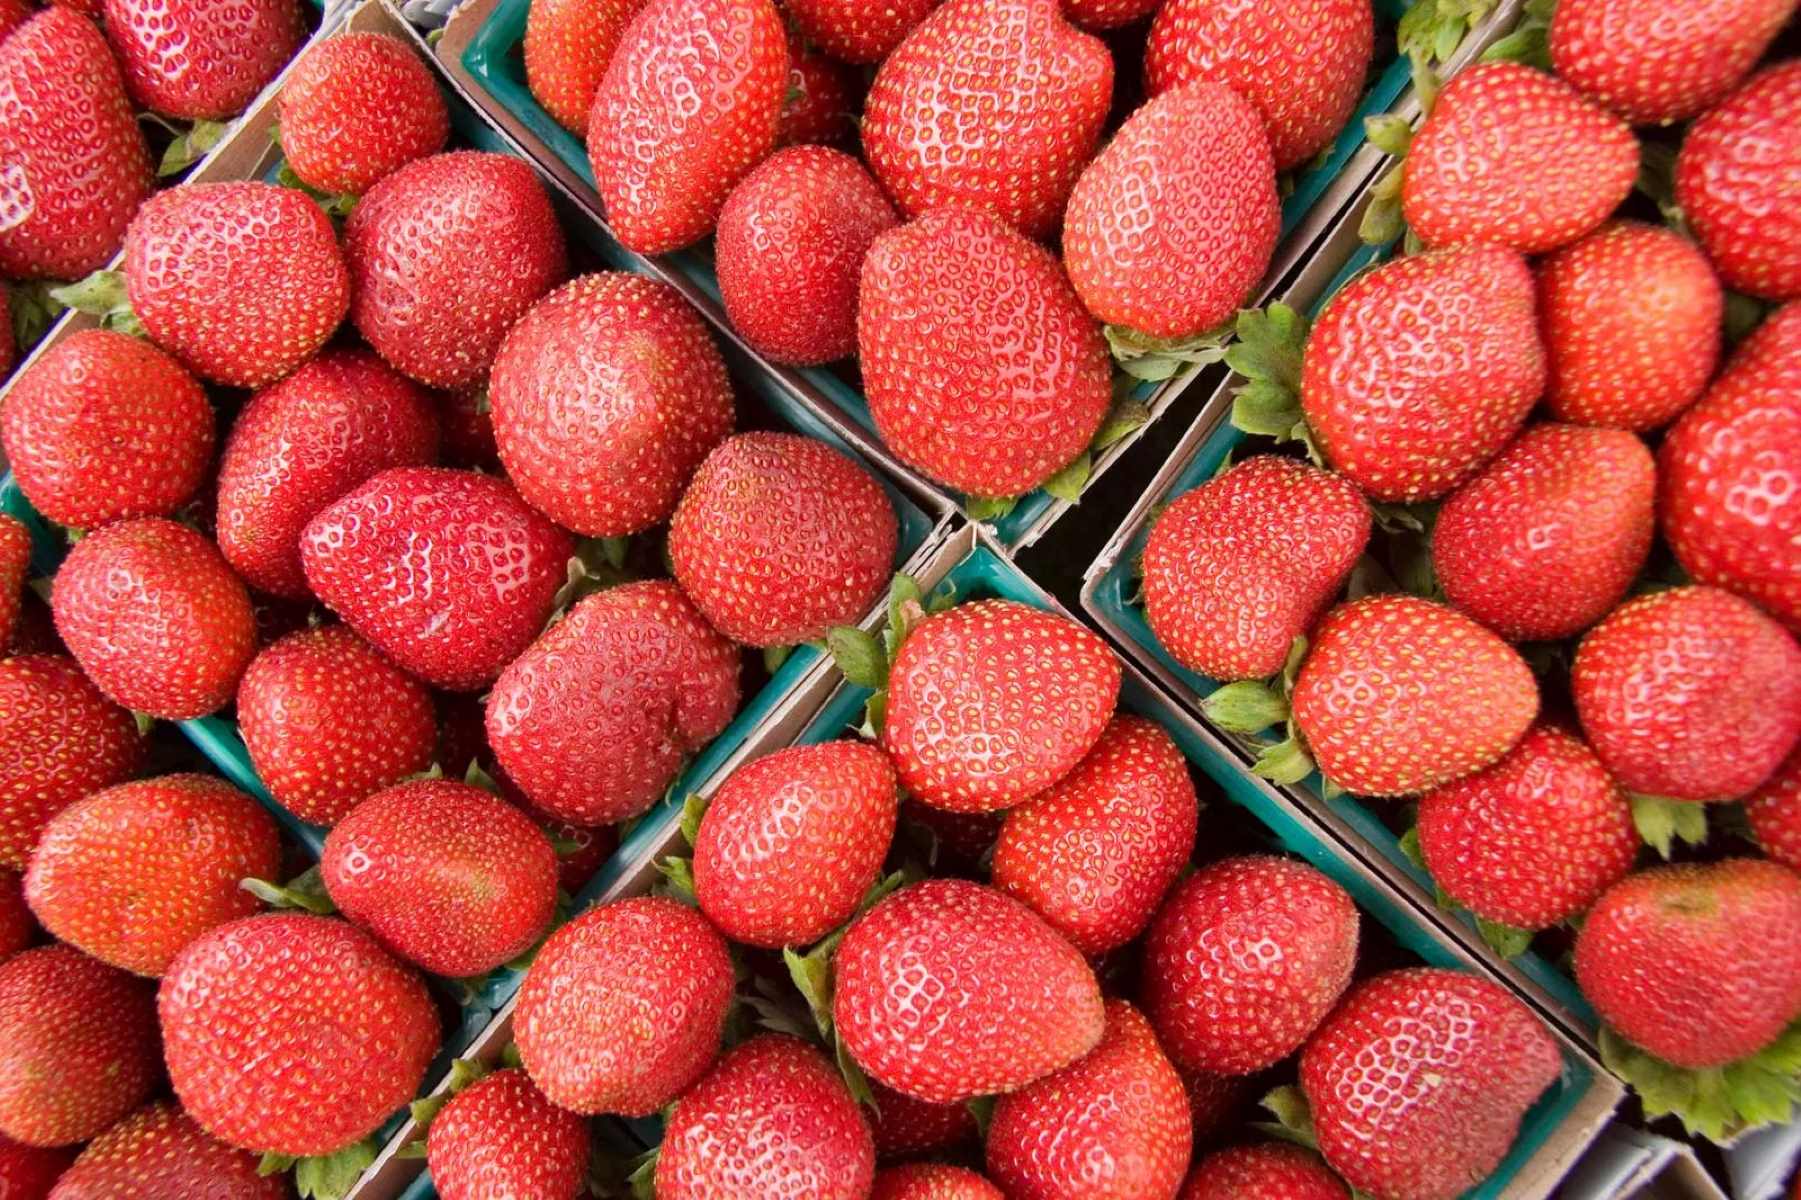
When it comes to harvesting strawberry seeds, selecting the right strawberry fruit is crucial. Choose a ripe and healthy strawberry to ensure that the seeds inside are viable and capable of germinating into new plants. Here are a few tips to help you choose the perfect strawberry:
- Look for fully ripe strawberries: Ripe strawberries will have a deep red color, be plump, and have a sweet aroma. Avoid strawberries that are still partially green or unripe, as the seeds inside may not be mature enough for successful germination.
- Choose a disease-free strawberry: Inspect the strawberry for any signs of disease or damage. Avoid strawberries that have mold, rot, or visible blemishes, as this can indicate underlying issues that may affect the viability of the seeds.
- Consider the variety: Keep in mind that not all strawberry varieties produce viable seeds. Some strawberries are specifically bred for their taste and texture, while others may be hybrids or genetically modified. Select heirloom or open-pollinated varieties if you want to ensure that the seeds will produce similar plants.
Once you have chosen the perfect strawberry, it’s time to move on to the next step: preparing the fruit for seed extraction.
Step 2: Preparing the Fruit
After selecting the right strawberry, it’s important to properly prepare the fruit before extracting the seeds. This step ensures that any potential contaminants or unwanted materials are removed, ensuring the best chances of successful germination. Here’s how you can prepare the fruit:
- Wash the strawberry: Begin by gently rinsing the strawberry under cool running water to remove any dirt, debris, or pesticide residues that may be present. Pat it dry with a clean towel afterward.
- Remove the green calyx: Using a sharp knife or your fingers, carefully remove the green calyx, which is the leafy stem-like structure at the top of the strawberry. Be gentle to avoid damaging the fruit or the seeds inside.
- Slice the strawberry in half: To expose the seeds, slice the strawberry in half lengthwise. This will make it easier to extract the seeds in the next step.
By properly preparing the strawberry, you are ensuring that the seeds are clean and free from any potential contaminants. Once the fruit is prepared, we can move on to the exciting part – extracting the seeds!
Step 3: Extracting the Seeds
Now that you have a prepared strawberry, it’s time to extract the seeds. This step requires a bit of patience and precision, as you want to ensure that you collect as many viable seeds as possible. Here are the steps to follow:
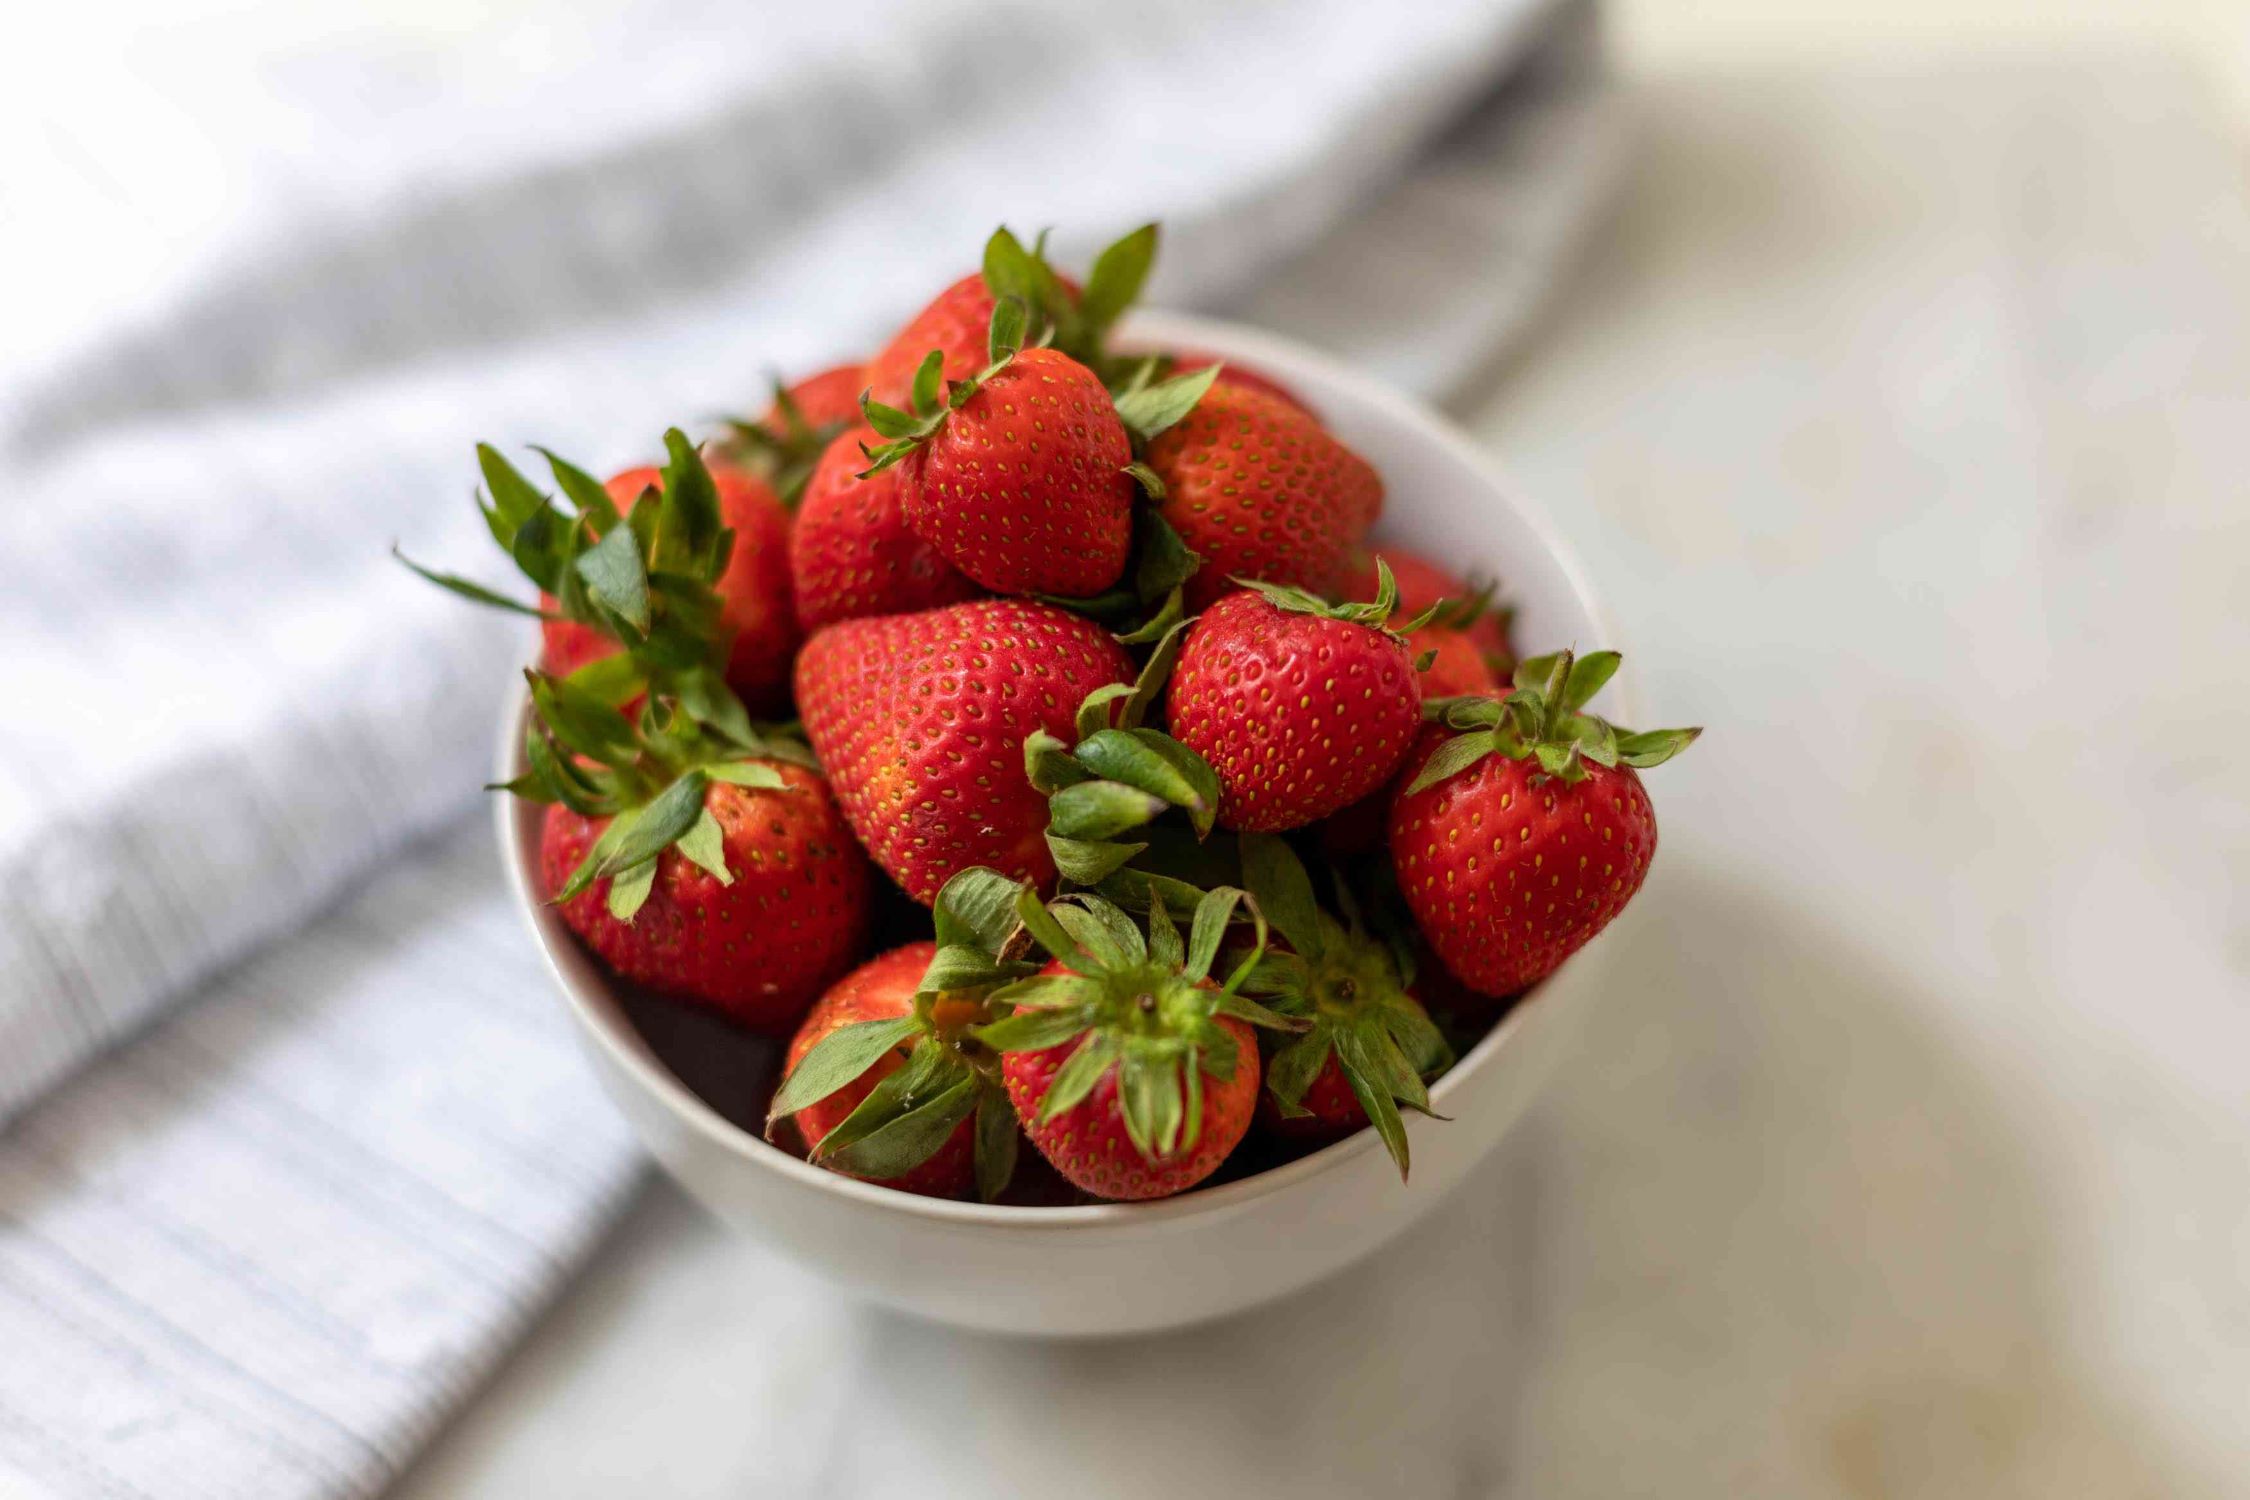
- Place the strawberry halves in a bowl: Take the sliced strawberry halves and place them in a bowl with the cut side facing down. This will help prevent the seeds from getting lost or rolling away.
- Gently scrape the seeds: Using a small spoon or your fingers, gently scrape the surface of each strawberry half to loosen the seeds. Be careful not to press too hard or crush the seeds in the process.
- Collect the seeds: As you scrape, you will notice small black seeds detaching from the fruit. Continue scraping until you have collected a sufficient number of seeds.
- Transfer the seeds to a separate container: Once you have collected the seeds, transfer them to a clean and dry container, such as a small glass jar or an envelope. This will make it easier to clean and dry the seeds in the next step.
It’s important to note that strawberry seeds are tiny and can be challenging to collect in large quantities. So, don’t worry if you don’t end up with hundreds of seeds – even a few dozen can yield multiple plants. Now that we have extracted the seeds, it’s time to move on to the next step: cleaning and drying them.
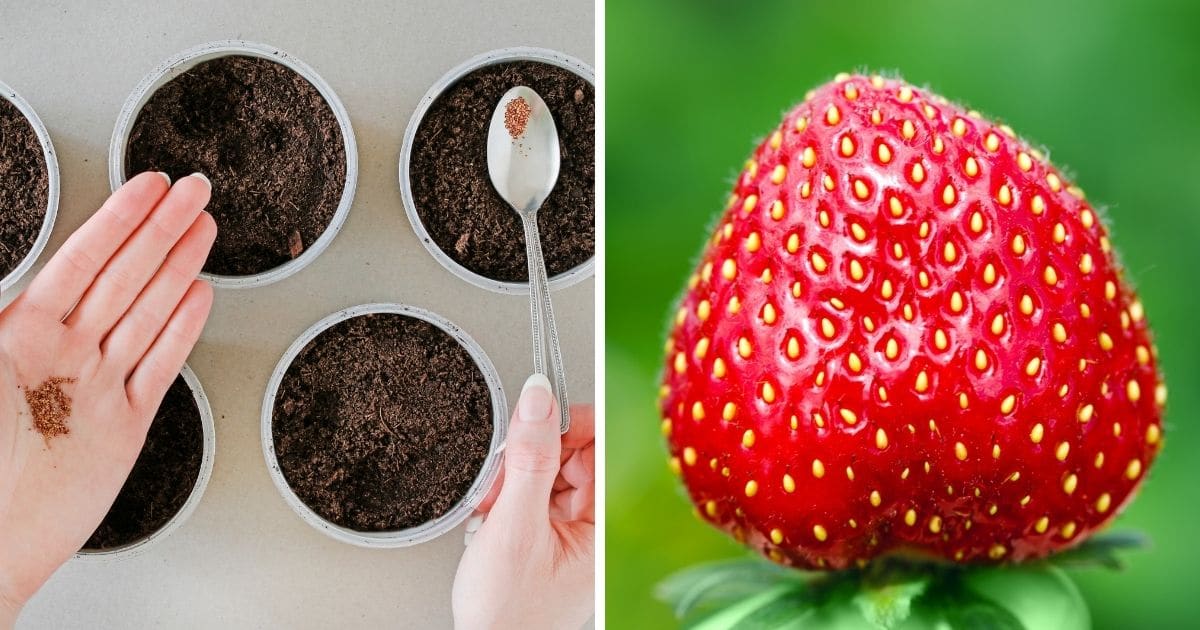
After removing seeds from ripe strawberries, rinse and dry them thoroughly. Plant in a well-draining soil mix, keep moist, and place in a sunny spot. Harvest seeds from the ripe fruit for best results.
Step 4: Cleaning and Drying the Seeds
Once you have collected the strawberry seeds, it’s essential to clean and dry them thoroughly. This step helps remove any remaining fruit pulp or moisture, which can potentially lead to mold or fungal growth. Here’s how you can clean and dry the seeds:
- Rinse the seeds: Start by rinsing the collected seeds in a fine sieve or strainer under gentle running water. This will help wash away any residual fruit pulp or debris. Be careful not to rinse the seeds too harshly, as they are delicate and can easily be washed away.
- Pat dry the seeds: After rinsing, gently pat the seeds dry using a clean, lint-free cloth or paper towel. Ensure that all excess moisture is removed to prevent mold formation.
- Spread the seeds for drying: Once dry, transfer the seeds to a clean, dry surface such as a plate or a piece of parchment paper. Spread them out evenly, ensuring that they are not clumped together. This will allow for proper air circulation during the drying process.
- Avoid direct sunlight: Place the seeds in a warm and well-ventilated area, away from direct sunlight. Excessive heat or sunlight can damage the seeds, so it’s important to choose a location with indirect light.
- Allow the seeds to dry: Let the seeds air dry for at least a week or until they are completely dry and brittle to the touch. Stir or gently shake the seeds daily to prevent clumping and ensure even drying.
By cleaning and drying the seeds properly, you are increasing their chances of successful germination. Once the seeds are completely dry, it’s time to move on to the final step: storing them for future use.
Read more: How To Seed Strawberries
Step 5: Storing the Seeds
Proper storage is crucial to maintain the viability of your harvested strawberry seeds. By following the right storage methods, you can ensure that the seeds stay viable for an extended period, allowing you to use them in future seasons. Here’s how you can store your strawberry seeds:
- Use airtight containers: Transfer the fully dried seeds into small, airtight containers such as glass jars or resealable bags. These containers will help protect the seeds from moisture and pests.
- Add desiccant packets: To further protect against moisture, consider adding desiccant packets to the containers. These packets absorb excess moisture in the air and help maintain a dry environment for the seeds.
- Label and date the containers: It’s important to label your containers with the variety, date of harvest, and any other relevant information. This will help you keep track of your seed collection and ensure that you use the oldest seeds first.
- Store in a cool, dark location: Find a cool and dark location for storing your containers. A pantry, basement, or refrigerator can be good options. Avoid storing the seeds in areas where temperature and humidity fluctuate regularly.
- Monitor and replace as needed: Periodically check your stored seeds for any signs of mold, damage, or loss of viability. If necessary, remove any compromised seeds and replace them with fresh ones.
By following these storage guidelines, you can maintain the quality and viability of your strawberry seeds for years to come.
Now that you’ve completed all the steps for harvesting, cleaning, drying, and storing strawberry seeds, you are ready to embark on your gardening journey and enjoy the fruits of your labor. Happy planting!
By following these steps diligently, you will be able to successfully harvest and save strawberry seeds from your favorite varieties, allowing you to grow an abundance of delicious strawberries in your garden year after year.
Conclusion
Harvesting and saving strawberry seeds is a rewarding process that allows you to grow your favorite varieties and experiment with different techniques in your garden. By following the steps outlined in this article, you can successfully extract, clean, dry, and store strawberry seeds for future planting.
Remember, when choosing strawberries for seed harvesting, opt for fully ripe and disease-free fruits to ensure the best quality seeds. Take the time to prepare the strawberries by washing, removing the green calyx, and slicing them in half to expose the seeds.
When it comes to extracting the seeds, scrape the surface of the strawberry halves to loosen and collect the tiny black seeds. Be patient and careful during this step to avoid damaging the seeds.
Cleaning and drying the seeds is essential for their long-term viability. Rinse the seeds to remove any pulp or debris, then pat them dry before spreading them out to air dry in a well-ventilated area. Be sure to avoid direct sunlight during the drying process.
Finally, store the fully dried strawberry seeds in airtight containers, such as glass jars or resealable bags, in a cool, dark location. Adding desiccant packets can help prevent moisture buildup, and labeling the containers will help you keep track of your seed collection.
By following these steps and properly storing your strawberry seeds, you can continue to grow an abundance of delicious strawberries in your garden for years to come.
Whether you’re a seasoned gardener or a beginner, harvesting and saving strawberry seeds is a fun and cost-effective way to expand your garden and explore the exciting world of strawberry cultivation. So, gather your ripe strawberries, extract the seeds, and get ready for a fruitful journey in your strawberry patch!
Frequently Asked Questions about How To Harvest Strawberry Seeds
Was this page helpful?
At Storables.com, we guarantee accurate and reliable information. Our content, validated by Expert Board Contributors, is crafted following stringent Editorial Policies. We're committed to providing you with well-researched, expert-backed insights for all your informational needs.


0 thoughts on “How To Harvest Strawberry Seeds”