Home>Garden Essentials>How To Harvest Nasturtium Seeds
Garden Essentials
How To Harvest Nasturtium Seeds
Modified: August 25, 2024
Learn how to harvest nasturtium seeds from your garden and save them for future planting. This guide provides step-by-step instructions to ensure a successful seed harvesting process.
(Many of the links in this article redirect to a specific reviewed product. Your purchase of these products through affiliate links helps to generate commission for Storables.com, at no extra cost. Learn more)
Introduction
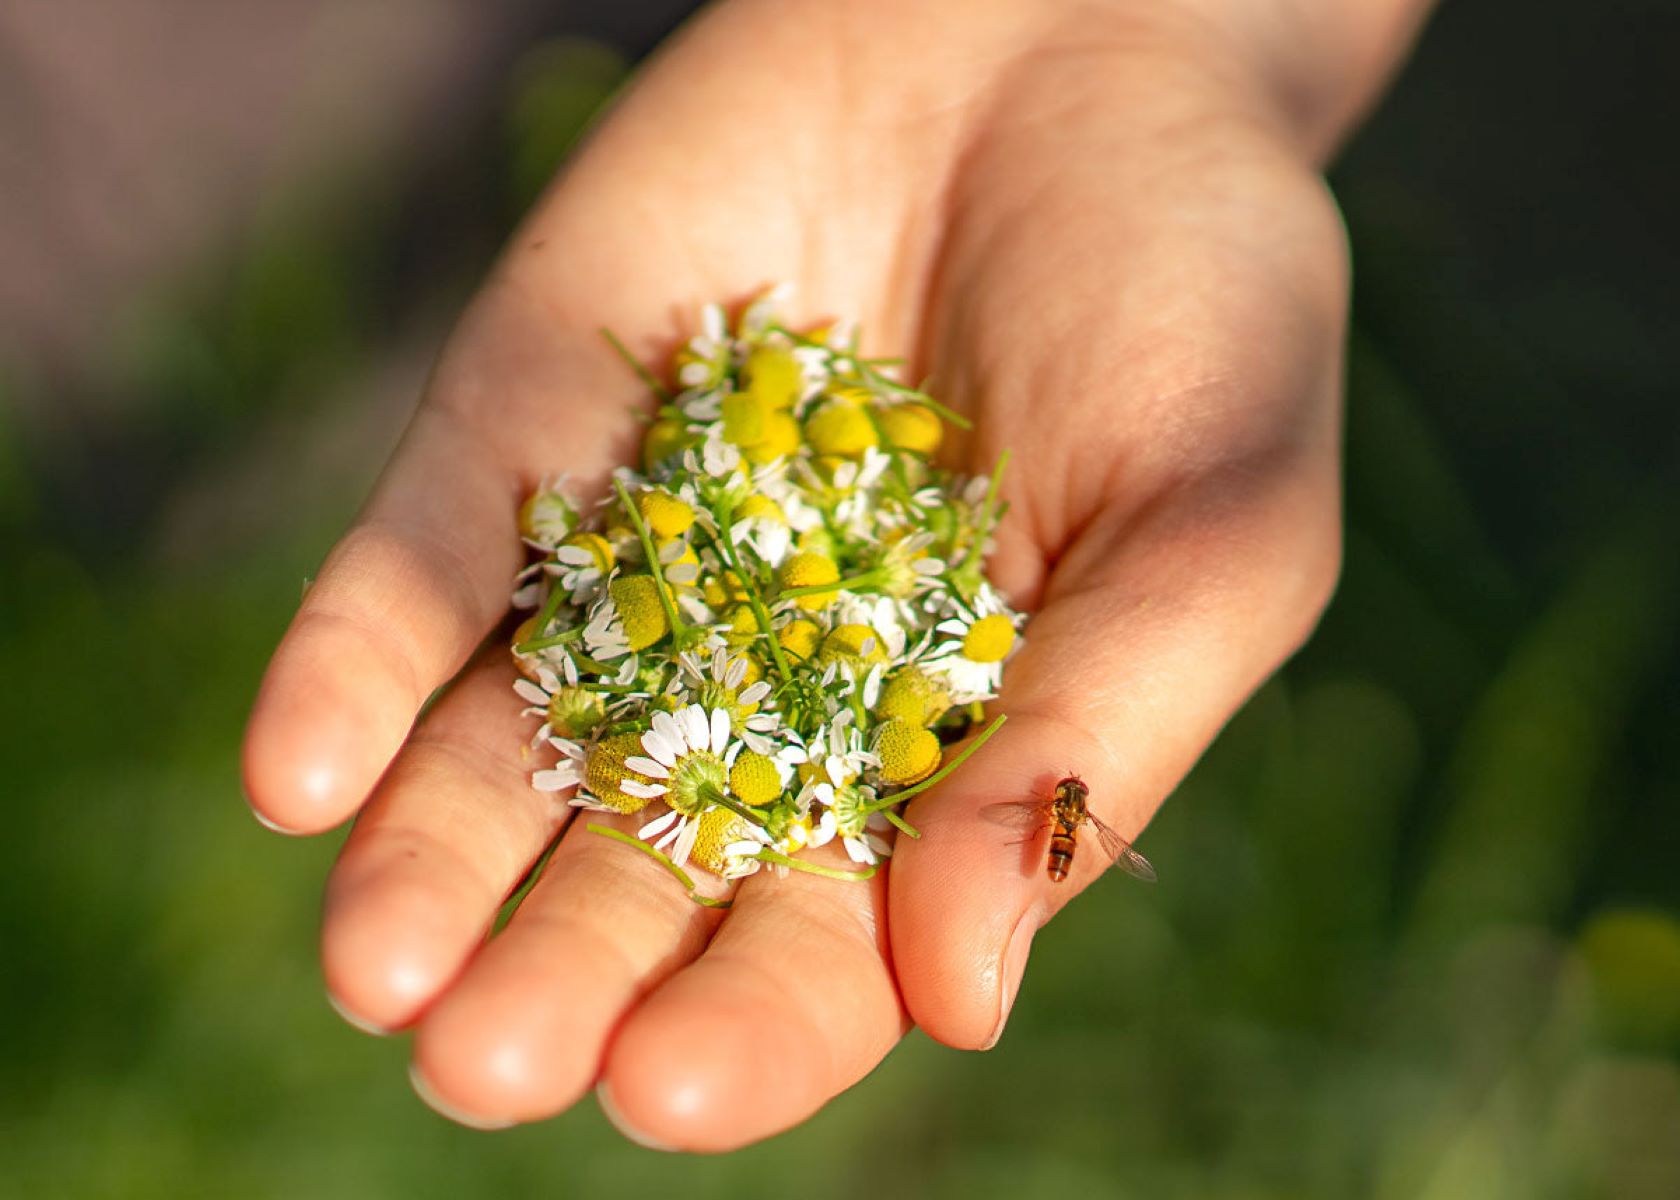
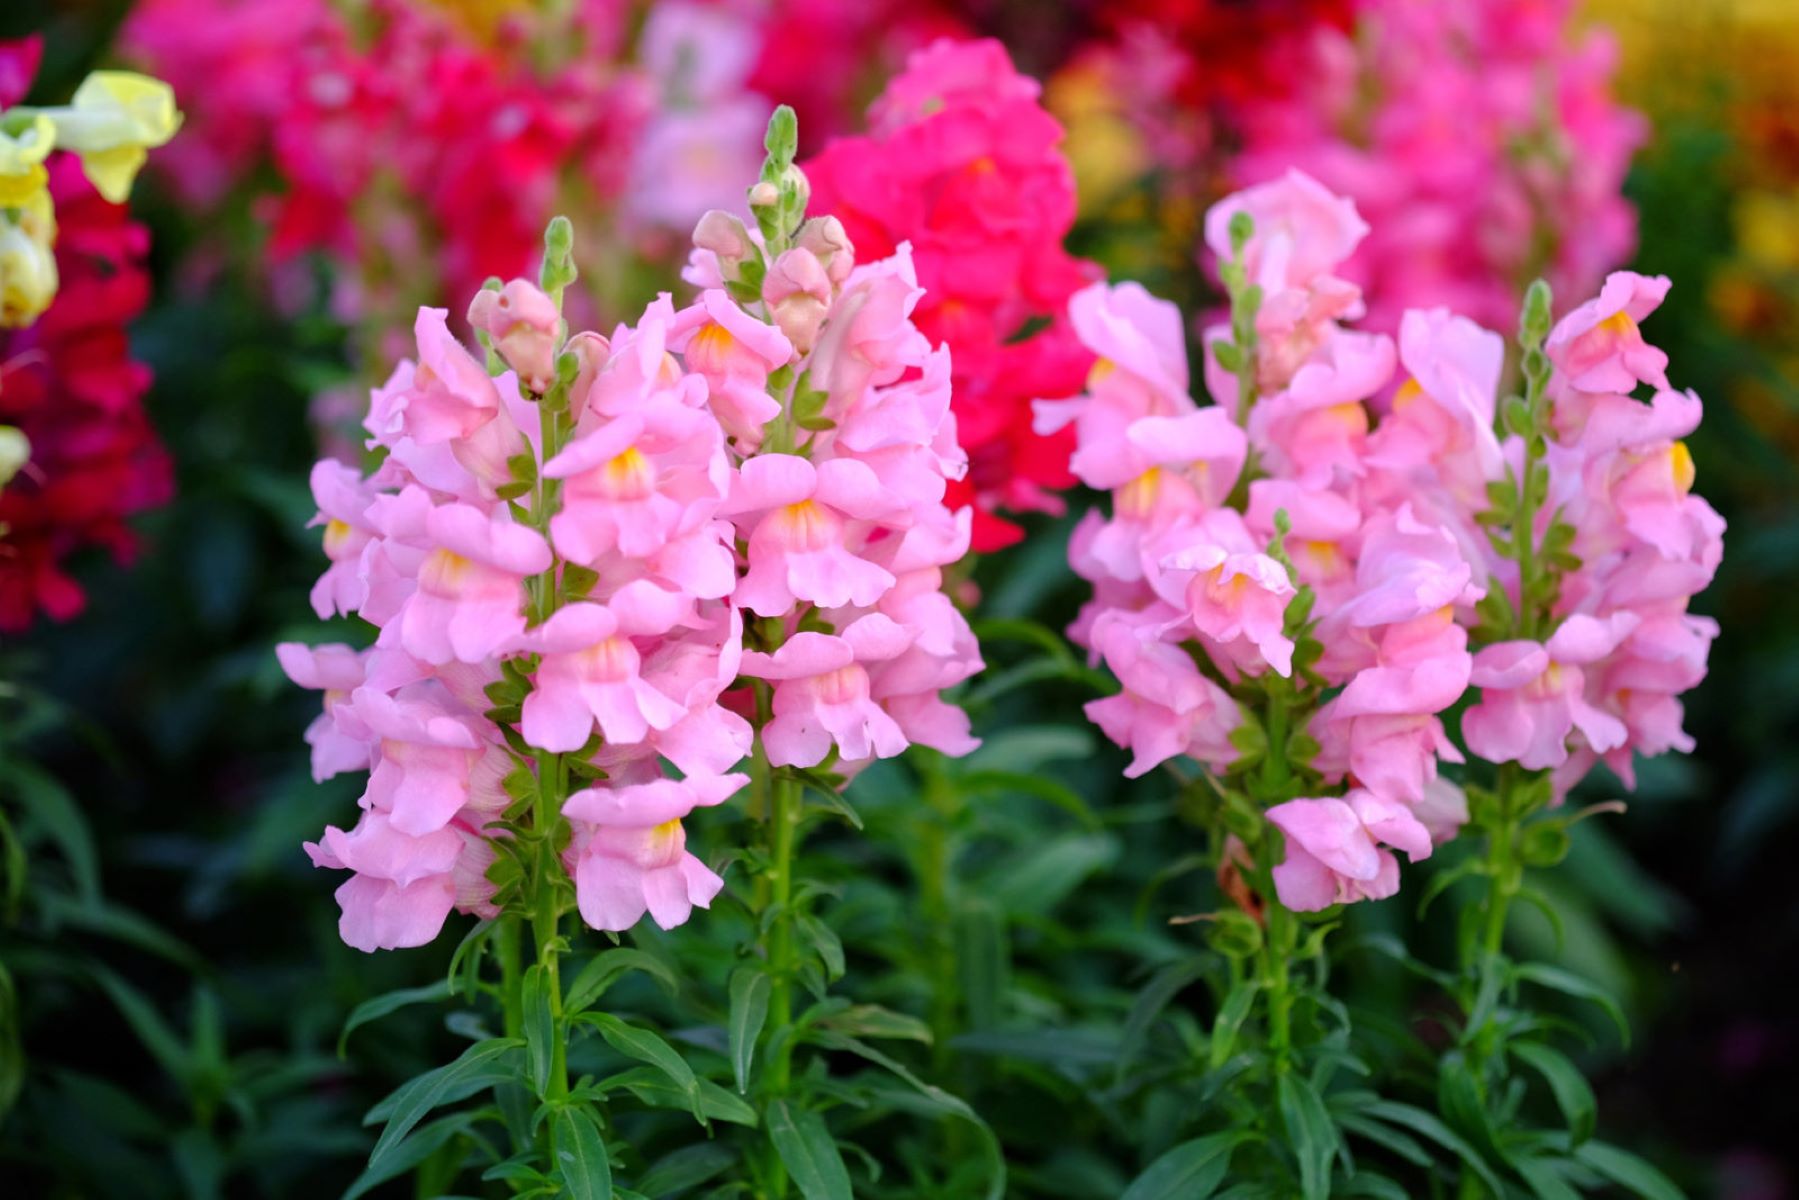
Harvesting seeds from your garden is not only a rewarding activity but also a cost-effective way to propagate your plants for future seasons. One plant that is particularly rewarding to harvest seeds from is the nasturtium. With their vibrant colors and peppery foliage, nasturtiums add a touch of beauty and flavor to any garden.
In this article, we will guide you through the process of harvesting nasturtium seeds. From choosing the right time to identifying ripe seed pods and storing the harvested seeds, you’ll learn all the necessary steps to ensure a successful seed harvest.
Before we dive into the specifics, let’s take a moment to appreciate the importance of harvesting seeds. By saving and replanting seeds from your favorite plants, you are not only preserving their unique traits but also maintaining genetic diversity. This practice plays a vital role in the conservation of plant species and supports sustainable gardening practices.
Growing your own nasturtiums from saved seeds also allows you to experiment with different varieties and colors that may not be readily available in commercial nurseries. Plus, nasturtiums are not only aesthetically pleasing but also edible. Their flowers and leaves can be used to garnish salads, while the seeds can be pickled and used as a peppery condiment.
Now that we understand the value of harvesting nasturtium seeds, let’s move on to the step-by-step process of harvesting and storing them for future use.
Key Takeaways:
- Harvesting nasturtium seeds is a fun and cost-effective way to grow vibrant plants. Follow the steps to choose the right time, identify ripe pods, and store the seeds for future planting.
- By harvesting and storing nasturtium seeds, you can save money and experiment with different varieties. Enjoy the process and watch your garden flourish with beautiful and flavorful nasturtiums!
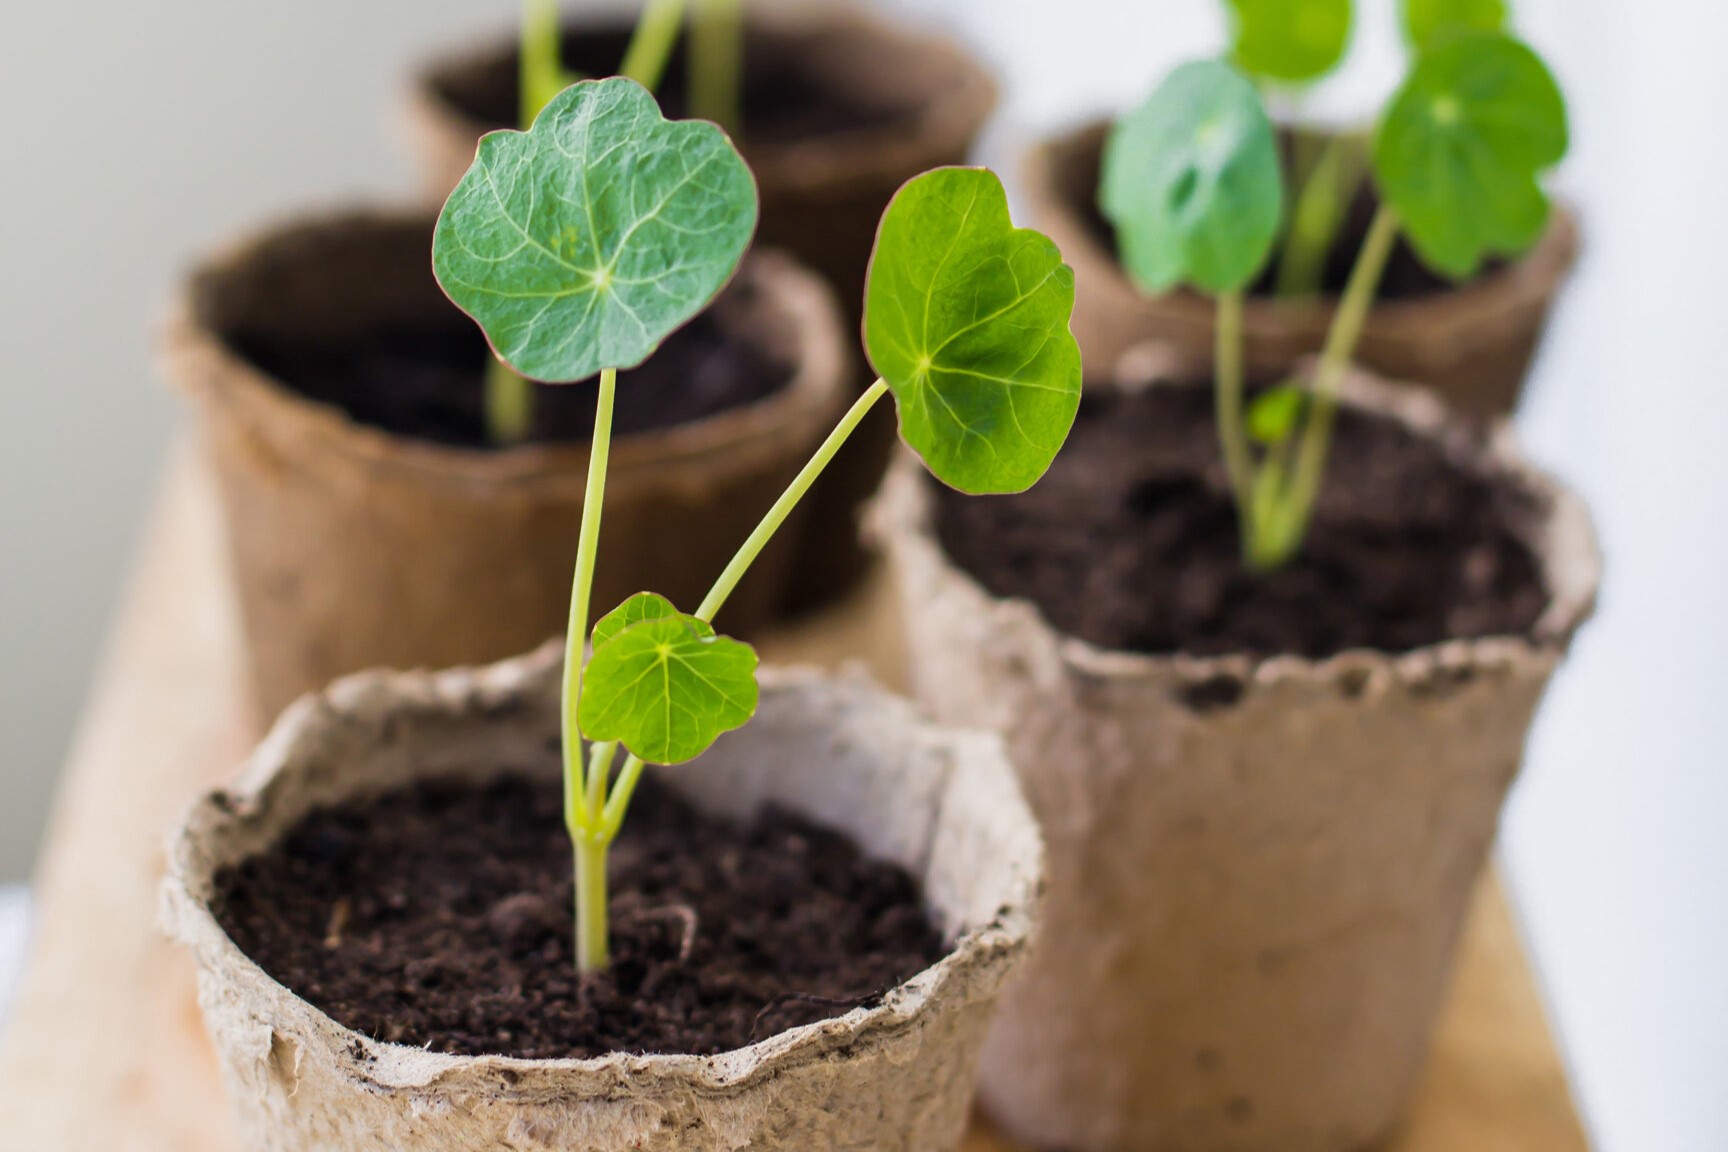
Read more: How To Start Nasturtium Seeds
Step 1: Choosing the Right Time for Harvesting
Timing is crucial when it comes to harvesting nasturtium seeds. To ensure optimal seed development, it’s important to wait until the seed pods have fully matured on the plant. Harvesting too early could result in underdeveloped seeds that may not germinate successfully.
Generally, the best time to harvest nasturtium seeds is towards the end of the growing season when the plants have finished blooming, and the petals have fallen off. This is usually in late summer or early fall, depending on your location and the specific climate conditions.
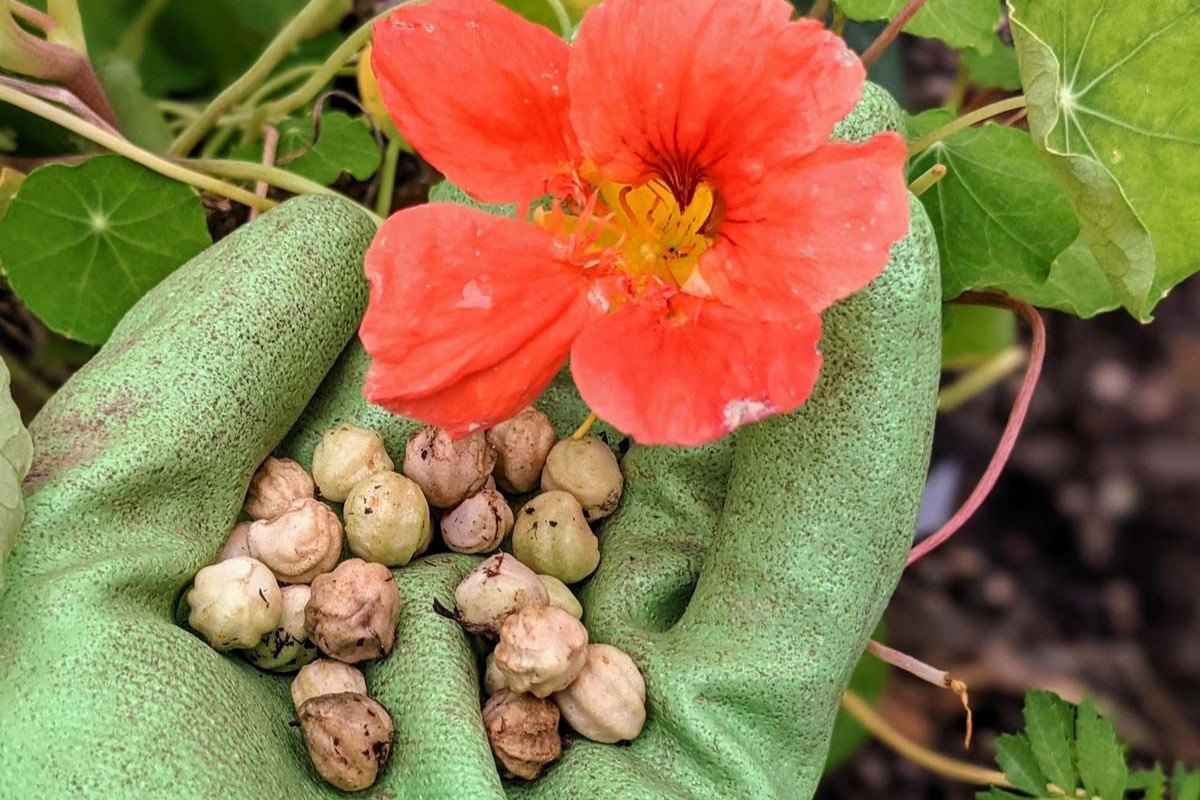
To determine if the seed pods are ready for harvest, examine them closely. Mature seed pods are large, swollen, and have a hard outer shell. They may also change color, transitioning from green to yellow or brown. Avoid harvesting seed pods that are still green, as the seeds inside may not be fully developed.
Keep in mind that not all seed pods on the nasturtium plant will mature at the same time. You may need to inspect the plant regularly and harvest the pods individually as they reach maturity. It’s a good practice to mark the date of harvest on each seed pod to keep track of their age.
Once you’ve determined that the seed pods are mature, it’s time to proceed to the next step: identifying ripe nasturtium seed pods.
Step 2: Identifying Ripe Nasturtium Seed Pods
Identifying ripe nasturtium seed pods is essential to ensure that you harvest seeds at their peak maturity. Ripe seed pods are more likely to contain fully developed seeds that have a higher chance of germination.
When examining the seed pods, look for the following characteristics to determine if they are ripe:
- Size and shape: Ripe nasturtium seed pods are usually larger and plump compared to immature ones. They may reach a size of around 1 inch (2.5 cm) or more.
- Color: As the seed pods mature, they tend to change color. Depending on the variety, the colors can range from green or pale yellow to brown. Ripe pods often have a darker hue or may have started turning brown.
- Texture: Gently squeeze the seed pod between your fingers. If it feels firm and slightly hard, it is likely ripe. Avoid seed pods that are soft or squishy, as they may contain undeveloped seeds.
- Rattling sound: Shake the seed pod gently. If you hear a rattling sound, it indicates that the seeds inside have loosened from the pod’s walls and are ready for harvest.
It’s important to note that not all seed pods on a nasturtium plant will ripen at the same time. The pods may ripen sequentially, starting from the bottom of the plant and moving upward. Therefore, it’s recommended to inspect each seed pod individually to determine its ripeness.
Once you have identified ripe seed pods, you are ready to move on to the next step: harvesting the seed pods.
Step 3: Harvesting the Seed Pods
After identifying the ripe nasturtium seed pods, it’s time to harvest them from the plant. The goal is to remove the seed pods without damaging them or the plant itself.
Follow these steps to harvest nasturtium seed pods:
- Gather your tools: Before starting, gather a pair of clean and sharp garden scissors or pruning shears. This will make the process easier and prevent any unnecessary damage to the plant.
- Select the seed pods: Carefully choose the ripest and healthiest seed pods for harvesting. Remove any damaged or diseased pods to ensure the quality of the seeds.
- Hold the stem: Hold the stem of the seed pod firmly with one hand, ensuring you have a good grip on the pod.
- Cut the stem: Using your pruning shears or scissors, cut the stem just above the point where it connects to the main stem of the plant. Make a clean and precise cut to minimize any potential damage.
- Continue harvesting: Move along the plant and repeat the process, harvesting the desired number of seed pods. Remember to leave some pods on the plant for natural reseeding or to enjoy the blooms.
It’s important to handle the seed pods with care, as rough handling or squeezing can cause damage and affect the viability of the seeds inside. By following these steps, you can ensure a successful harvest without harming the plant.
Once you have harvested the seed pods, it’s time to move on to the next step: opening the seed pods to extract the seeds.
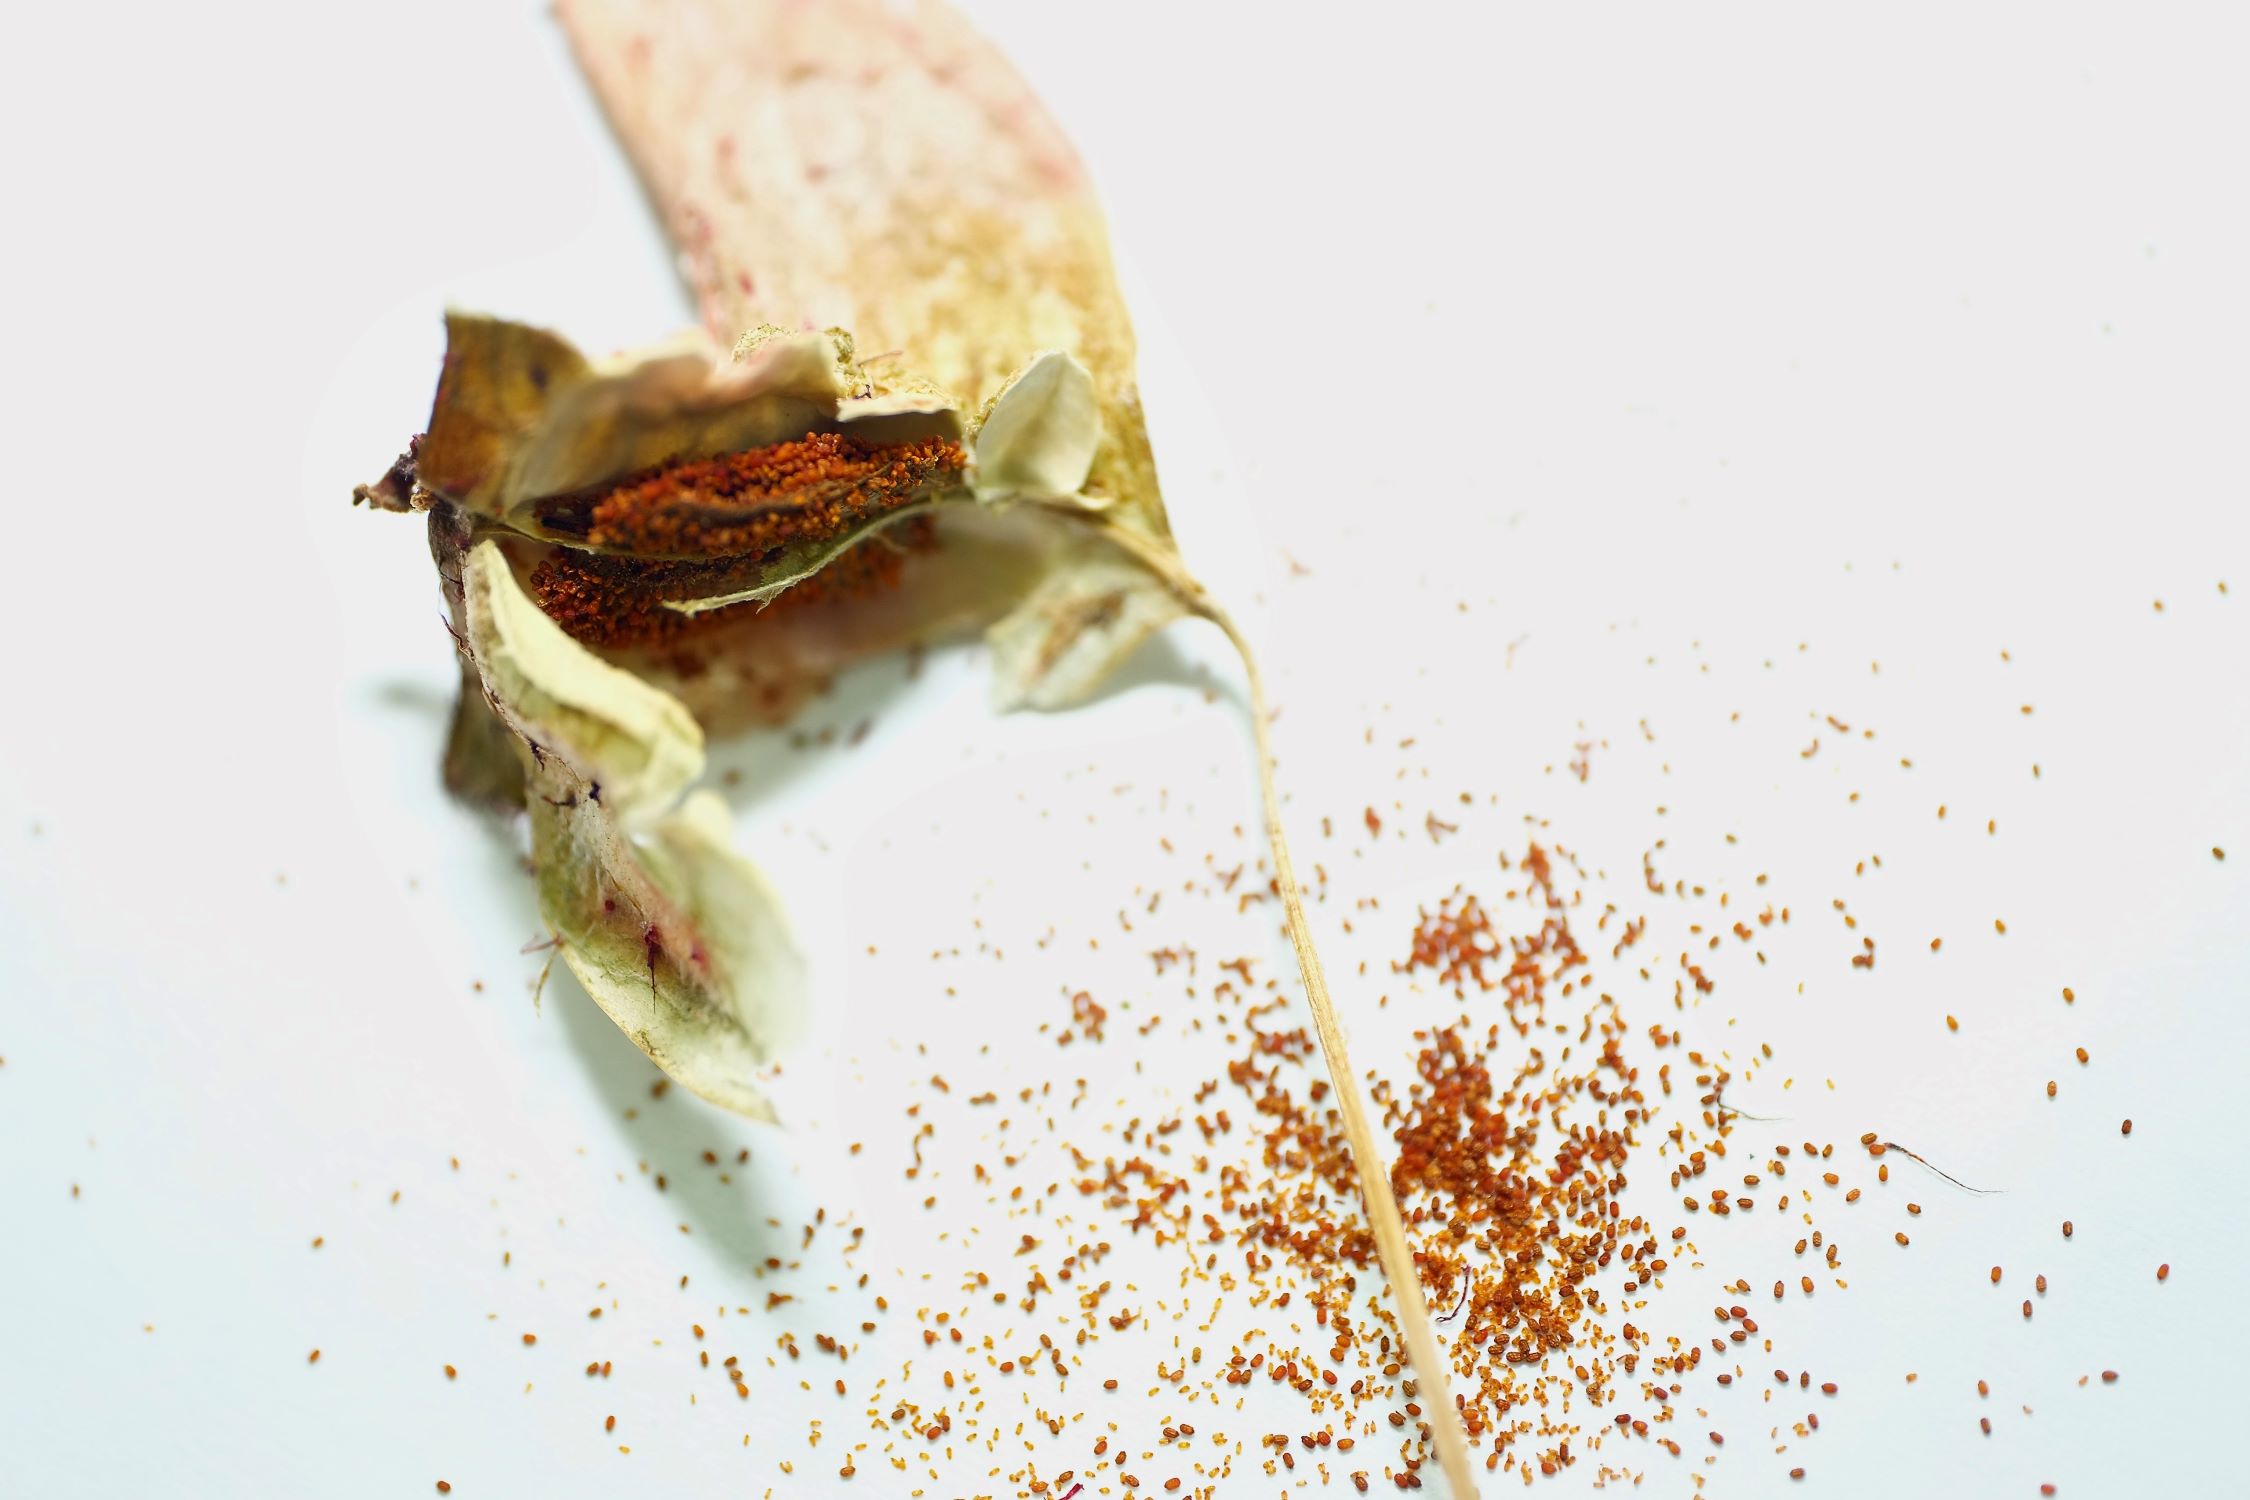
Step 4: Opening the Seed Pods
Now that you have successfully harvested the ripe nasturtium seed pods, it’s time to open them to access the seeds inside. Opening the seed pods can be done easily with just a little bit of gentle pressure.
Follow these steps to open the nasturtium seed pods:
- Prepare a clean work surface: Find a clean and well-lit area to work on. Spread out a sheet of newspaper or a clean cloth to catch any seeds that may be released during the process.
- Hold the seed pod: Take a seed pod in one hand, ensuring a firm grip but being gentle enough to avoid crushing it.
- Apply gentle pressure: Use your other hand to gently squeeze the seed pod. Apply pressure evenly along its length. This will cause the pod’s walls to split open.
- Release the seeds: As you squeeze the seed pod, you will notice that the pod starts to crack and the seeds inside will be visible. Continue applying gentle pressure until the pod opens fully and releases the seeds.
- Collect the seeds: Carefully collect the seeds and place them on the newspaper or cloth. Use your fingers or a small spoon to gently separate any seeds that may still be stuck together.
- Discard empty pods: After extracting the seeds, you can discard the empty seed pods. Compost them or dispose of them in an appropriate manner.
Repeat this process for each harvested seed pod until all of them have been opened and the seeds have been collected.
It’s important to note that nasturtium seeds are relatively large and easy to handle. However, if you find it challenging to open the seed pods with your hands, you can use small scissors or a knife to carefully cut them open, taking care to avoid injury.
Once you have extracted the seeds from the seed pods, it’s time to move on to the next step: removing the seeds from the pods.
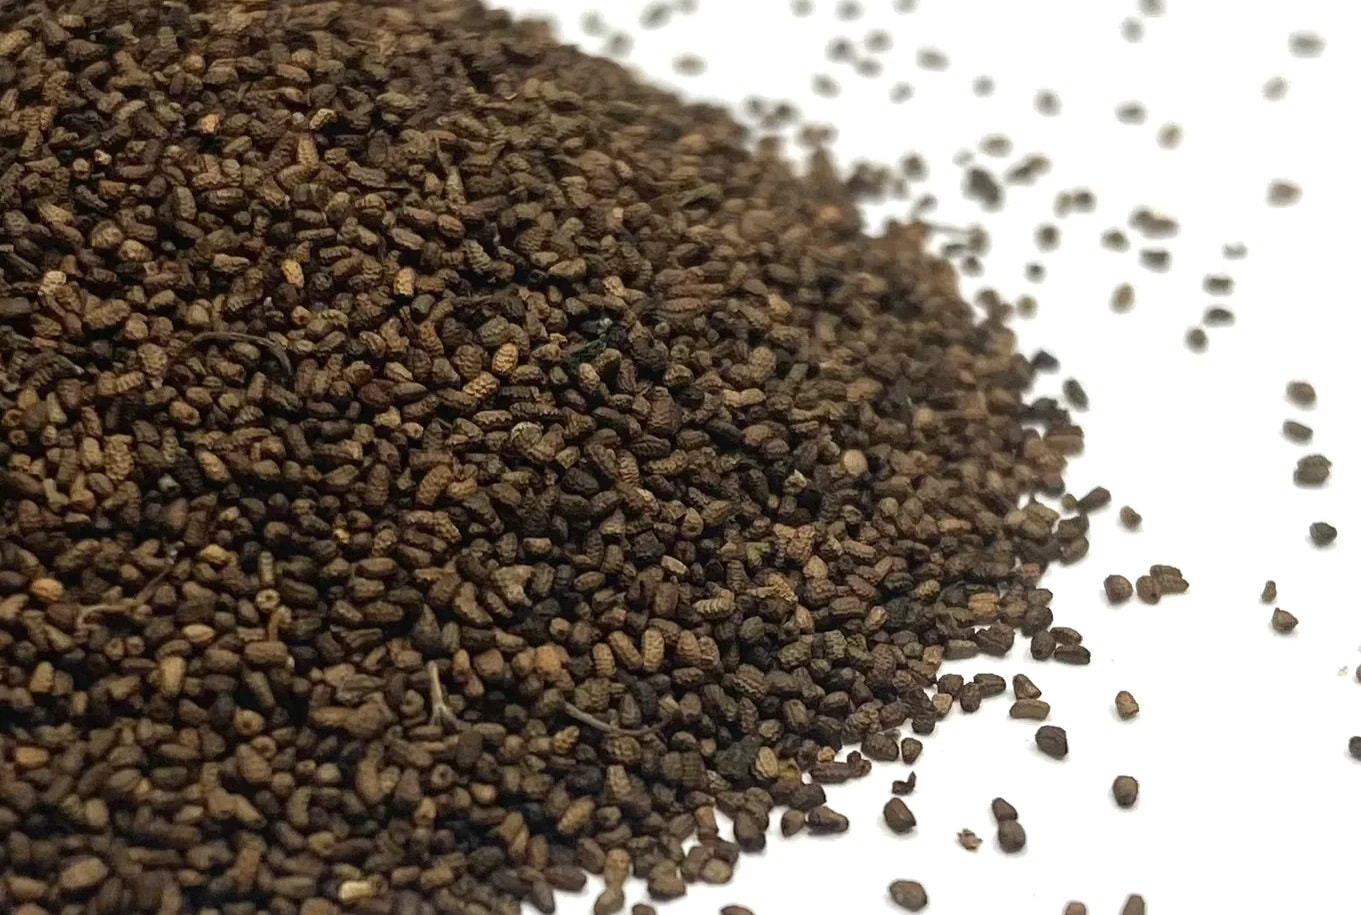
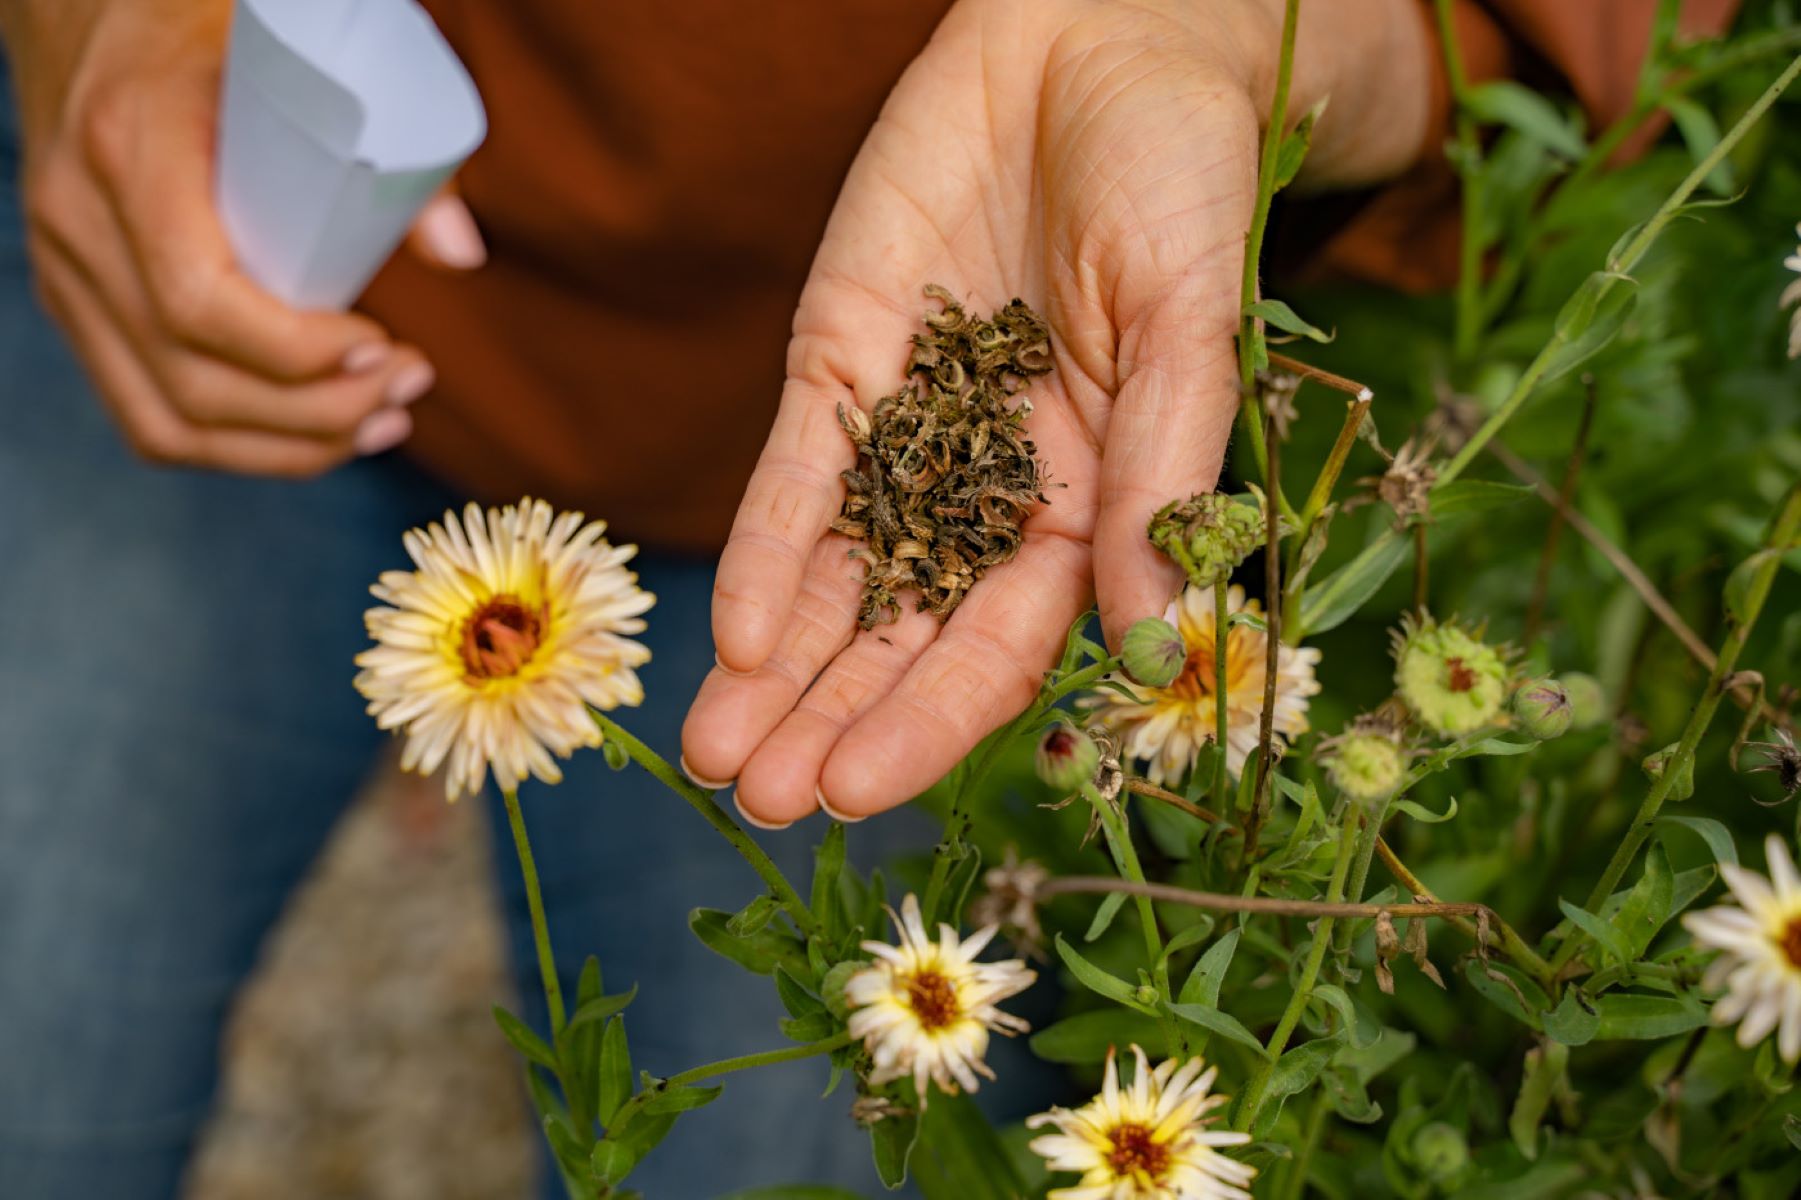
After the nasturtium flowers have faded, wait for the seed pods to dry and turn brown. Then, gently pinch the pods to release the seeds. Store the seeds in a cool, dry place for planting next season.
Step 5: Removing the Seeds from the Pods
After opening the nasturtium seed pods, the next step is to remove the seeds from the pods. This process allows you to separate the seeds from any remaining debris or plant material, ensuring that you have clean and viable seeds for planting.
Follow these steps to remove the seeds from the nasturtium seed pods:
- Check for any remaining debris: Before extracting the seeds, take a look inside the seed pod to check for any leftover plant material or debris. Remove any unwanted elements to ensure that only the seeds remain.
- Gently separate the seeds: Carefully separate the seeds from the pod using your fingers or a small spoon. Nasturtium seeds are relatively large and easy to handle, allowing you to easily separate them from the pod’s walls.
- Discard any damaged seeds: As you remove the seeds, check for any that may be damaged, discolored, or shriveled. Discard these seeds as they are unlikely to germinate successfully.
- Collect the viable seeds: Collect the clean and viable seeds in a container or on a clean surface. Be gentle while handling the seeds to avoid any damage or bruising.
- Repeat for all seed pods: Repeat this process for each opened seed pod until you have removed all the seeds.
By carefully removing the seeds from the pods, you ensure that only the high-quality, viable seeds are saved for future planting. This step is crucial for successful germination and healthy plant growth.
Once you have removed all the seeds from the pods, it’s time to move on to the next step: drying the nasturtium seeds.
Step 6: Drying the Nasturtium Seeds
After removing the seeds from the nasturtium seed pods, it’s important to dry them thoroughly before storing. Drying the seeds helps to remove any excess moisture, which can lead to mold or rot during storage.
Follow these steps to dry the nasturtium seeds:
- Prepare a drying area: Find a dry and well-ventilated area to dry the seeds. You can use a clean plate, a shallow tray, or a mesh drying rack.
- Spread out the seeds: Place the seeds in a single layer on the drying surface. Avoid overcrowding the seeds, as this can hinder proper airflow and slow down the drying process.
- Avoid direct sunlight: Place the seeds in a location away from direct sunlight to prevent excessive heat and potential damage to the seeds.
- Allow for airflow: Ensure there is good airflow around the drying area to promote efficient drying. This can be achieved by placing the drying surface in a well-ventilated room or using a fan on a low setting.
- Leave the seeds to dry: Allow the seeds to dry naturally for about one to two weeks. During this time, check on them occasionally to ensure they are drying properly and not showing any signs of moisture or mold.
- Check for dryness: To test if the seeds are fully dried, gently squeeze one between your fingers. The seed should feel dry and hard. If any moisture remains, continue drying for a few more days.
Properly drying the nasturtium seeds is essential to ensure their longevity and viability. Once the seeds are completely dry, you can proceed to the final step: storing the harvested seeds for future use.
Step 7: Storing the Harvested Seeds
After drying the nasturtium seeds, it’s important to store them properly to maintain their viability and ensure successful germination when you’re ready to plant them. Proper storage conditions help to preserve the seeds’ quality and prevent them from deteriorating over time.
Follow these steps to store the harvested nasturtium seeds:
- Remove any remaining debris: Before storing the seeds, ensure that they are clean and free from any remaining debris. Remove any plant material or empty seed pods that may be present.
- Place the seeds in a dry container: Choose a small, airtight container such as a glass jar or a seed packet. Make sure the container is clean, dry, and free from any moisture or contaminants.
- Add desiccant packets (optional): To absorb any remaining moisture and prevent moisture buildup, you can add desiccant packets or silica gel packets inside the container. These are readily available and can be found in packaging or craft stores.
- Label the container: It’s important to label the container with the date of harvest and the variety of the nasturtium seeds. This helps you keep track of their freshness and know which variety you have stored.
- Store in a cool and dark place: Place the sealed container of nasturtium seeds in a cool, dry, and dark location. A pantry or a cupboard away from direct sunlight and extreme temperature fluctuations is an ideal storage spot.
- Avoid moisture: Ensure that the storage area is free from excessive moisture or humidity, as this can lead to mold or seed damage. Keep the seeds away from areas such as the kitchen sink or refrigerator, which may have higher moisture levels.
- Periodic viability testing: Over time, it’s a good practice to periodically test the viability of your stored seeds by conducting a germination test. This will help you assess the percentage of seeds that are still capable of germinating, allowing you to plan for future plantings.
By following these steps, you can ensure that your harvested nasturtium seeds remain viable and ready for future planting seasons. Stored properly, the seeds can remain viable for several years, giving you ample time to use them in your gardening endeavors.
With the completion of this final step, you have successfully harvested, processed, and stored your nasturtium seeds. Now you can look forward to growing a beautiful and vibrant nasturtium garden in the seasons to come!
Happy gardening!
Conclusion
Harvesting nasturtium seeds is a fulfilling and cost-effective way to propagate these vibrant and flavorful plants in your garden. By following the steps outlined in this guide, you can successfully harvest, process, and store nasturtium seeds for future planting.
From choosing the right time for harvesting to identifying ripe seed pods and extracting the seeds, each step is essential in ensuring the viability and success of your nasturtium seeds. It’s important to handle the seed pods and seeds with care, avoiding unnecessary damage or bruising.
Drying the harvested seeds is crucial to remove any excess moisture and prevent mold or rot during storage. Providing the seeds with a cool, dry, and dark storage location helps to maintain their quality and preserve their viability for successful germination when the time comes.
By harvesting and storing your own nasturtium seeds, you not only save money but also have the opportunity to experiment with different varieties and colors that may not be readily available in commercial nurseries. Additionally, nasturtiums are not just visually appealing but also edible, with their flowers, leaves, and seeds offering a peppery and flavorful addition to your culinary creations.
Remember to periodically test the viability of your stored seeds through germination tests, as this allows you to gauge their freshness and plan your plantings accordingly. Taking the time to assess the percentage of viable seeds ensures greater success in your future gardening endeavors.
Now armed with the knowledge and understanding of how to harvest, process, and store nasturtium seeds, you can embark on this rewarding journey with confidence. Enjoy the process, embrace the joys of seed saving, and watch your garden flourish with the beauty and flavors of nasturtiums!
Happy harvesting and happy gardening!
Now that you’ve mastered harvesting nasturtium seeds, why not spruce up your garden’s appeal with some creative fencing solutions? Dive into our article on the best garden fence ideas. Whether you're looking for something functional to keep critters out or something stylish to add charm, there’s an idea waiting to transform your green space.
Frequently Asked Questions about How To Harvest Nasturtium Seeds
Was this page helpful?
At Storables.com, we guarantee accurate and reliable information. Our content, validated by Expert Board Contributors, is crafted following stringent Editorial Policies. We're committed to providing you with well-researched, expert-backed insights for all your informational needs.

0 thoughts on “How To Harvest Nasturtium Seeds”