Home>Garden Essentials>How To Harvest Stevia Seeds

Garden Essentials
How To Harvest Stevia Seeds
Modified: March 15, 2024
Learn how to harvest Stevia seeds in your garden with our step-by-step guide. Discover the secrets to a successful harvest and enjoy the sweetness of homegrown Stevia.
(Many of the links in this article redirect to a specific reviewed product. Your purchase of these products through affiliate links helps to generate commission for Storables.com, at no extra cost. Learn more)
Introduction
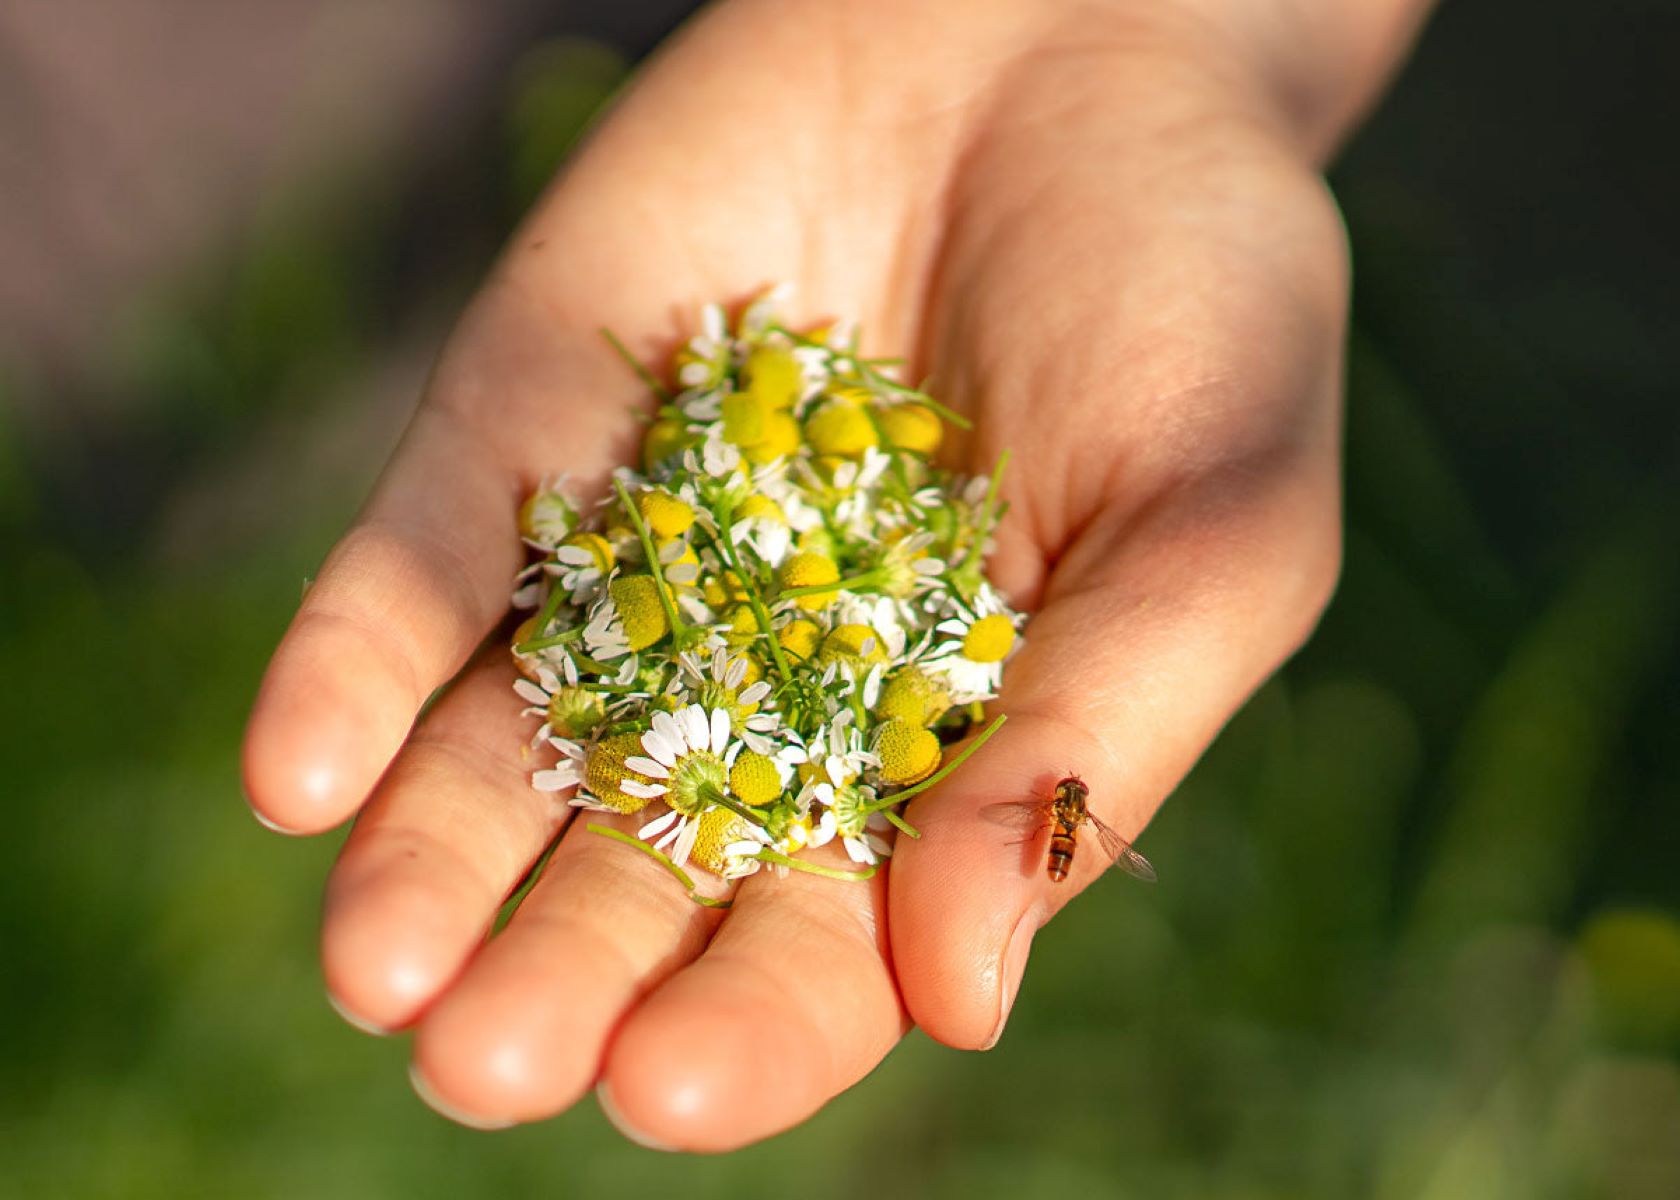
Welcome to our comprehensive guide on how to harvest stevia seeds! If you’re a garden enthusiast or interested in growing your own stevia plants, knowing how to harvest the seeds is an essential skill to have. Stevia, also known as sweet leaf or sugar leaf, is a plant native to South America that is widely grown for its sweet leaves, which are used as a natural alternative to sugar.
While many people propagate stevia through cuttings or by purchasing young plants, harvesting and saving the seeds can be a rewarding experience for those who want to expand their stevia garden or share seeds with fellow gardeners.
In this article, we will provide you with all the information you need to successfully harvest stevia seeds. We will cover the conditions required for seed harvesting, a step-by-step guide to the process, and tips on storing and preserving the seeds for future use. By the end, you’ll be equipped with the knowledge to confidently harvest and save stevia seeds for your gardening endeavors.
Key Takeaways:
- Harvesting stevia seeds requires patience and attention to detail. Wait for mature flowers, use sharp tools to collect the seeds, and ensure they are fully dry before storing.
- Proper storage is crucial for maintaining seed viability. Use airtight containers, label them, and periodically check for moisture or pests to ensure successful future planting.
Read more: How To Harvest Rosemary Seeds
Understanding Stevia Seeds
Before diving into the process of harvesting stevia seeds, it’s important to have a basic understanding of what stevia seeds are and how they are formed. Stevia seeds are the reproductive structures of the stevia plant, responsible for producing new plants through germination.
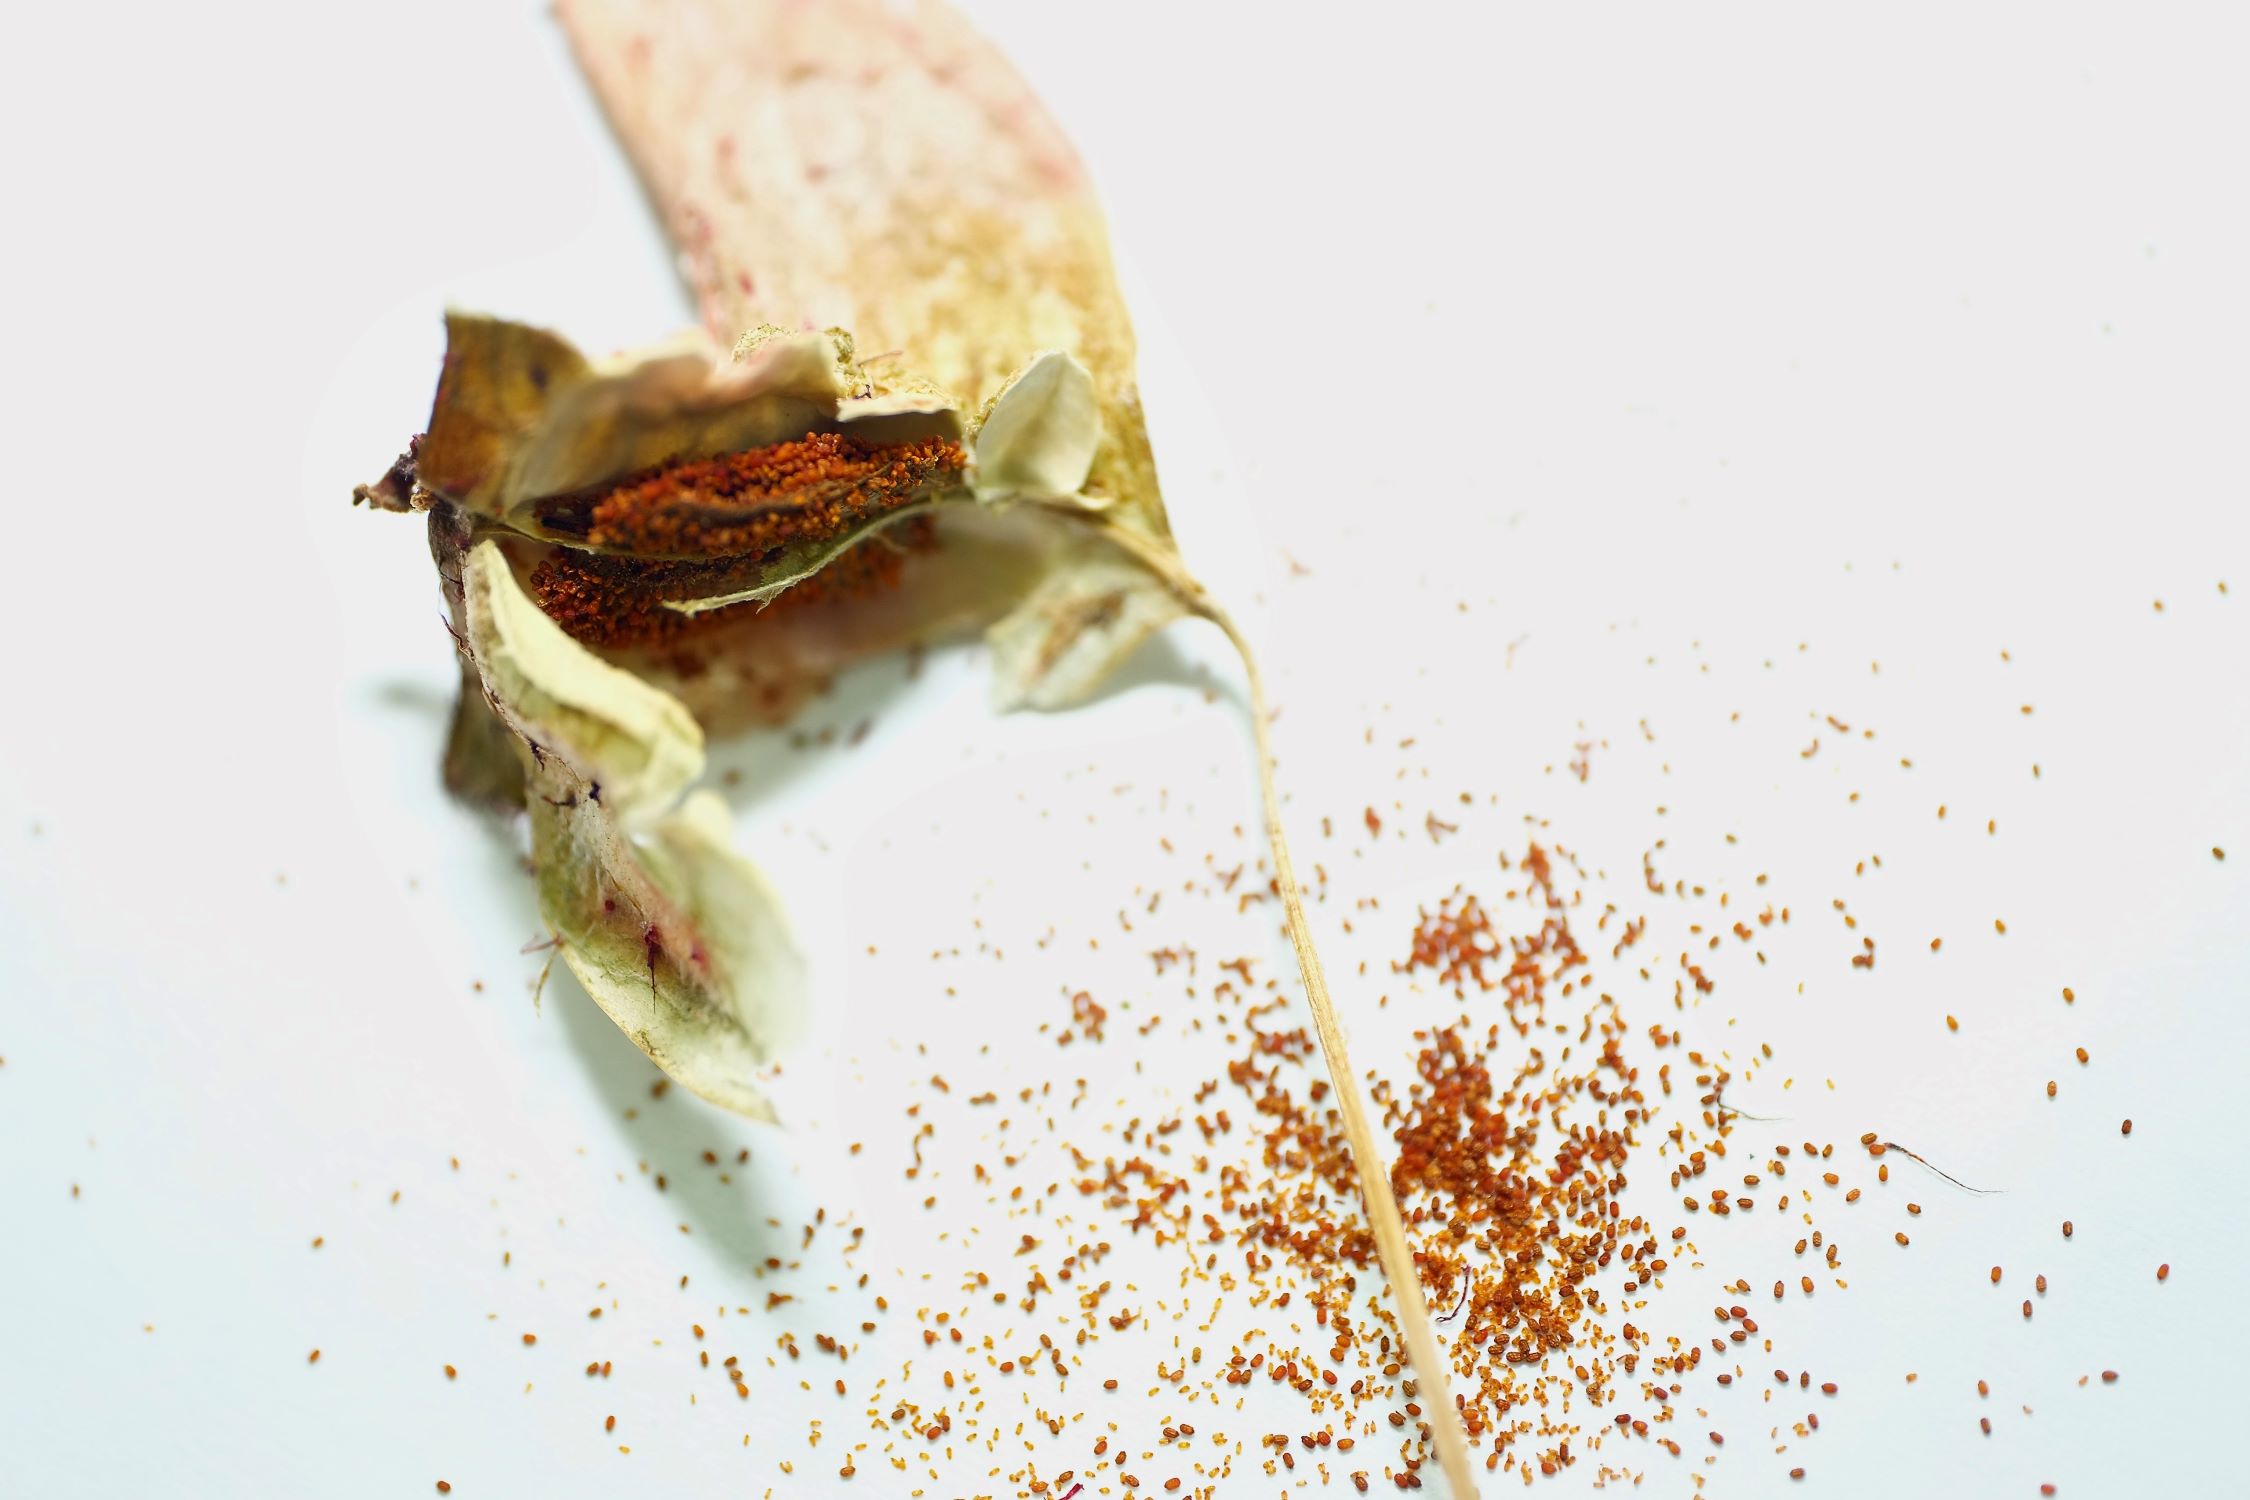
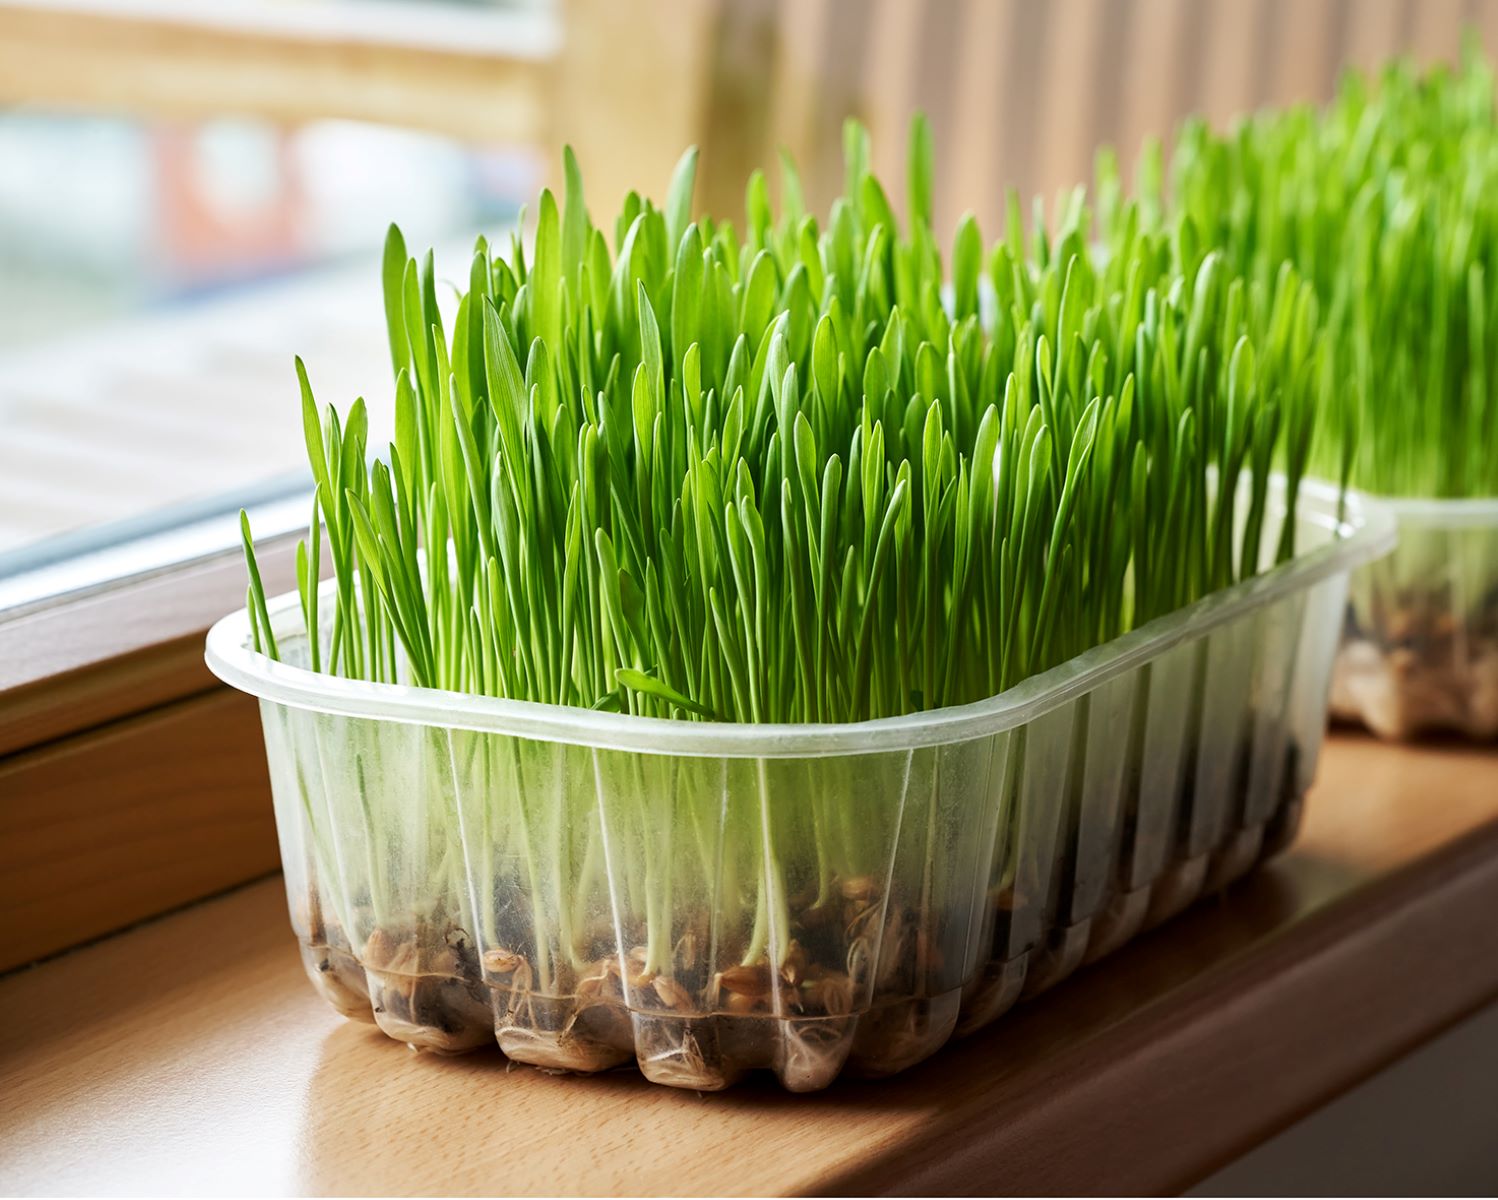
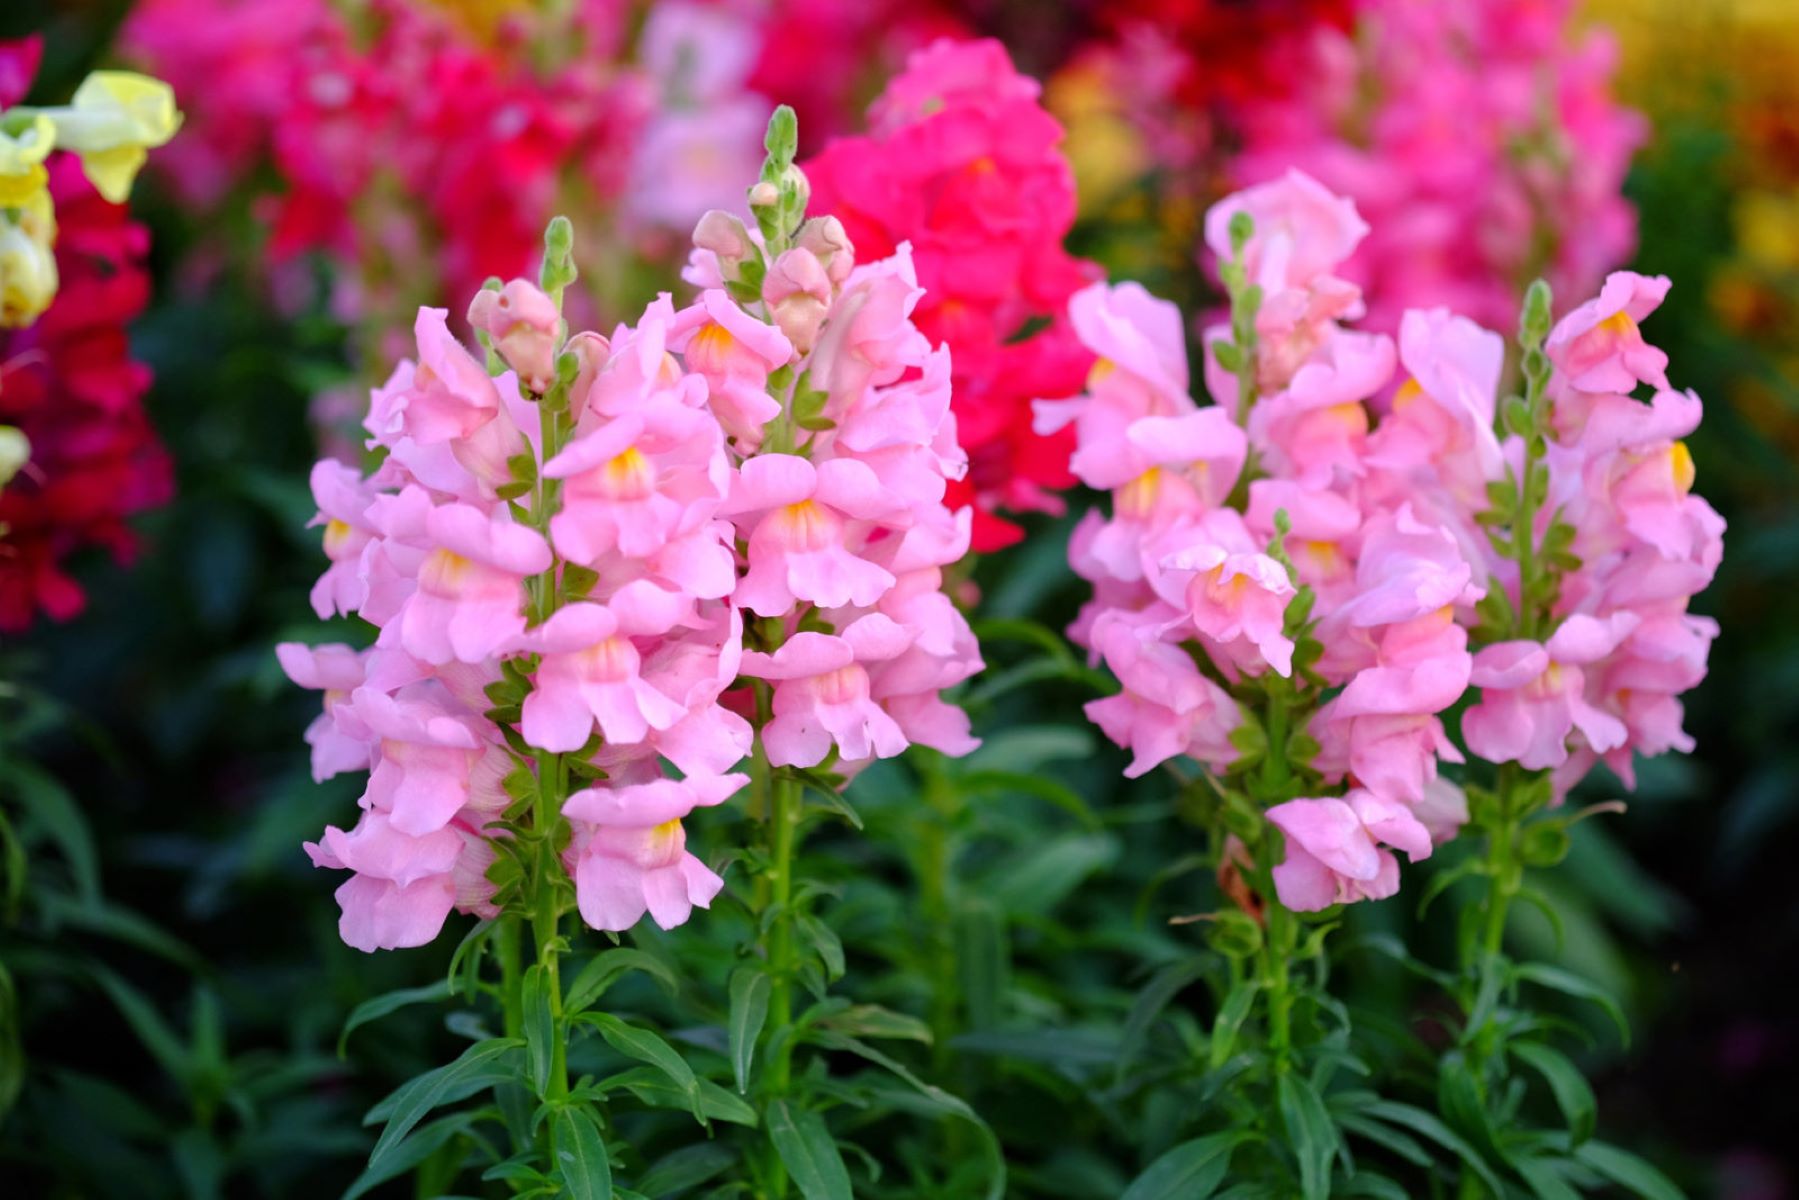
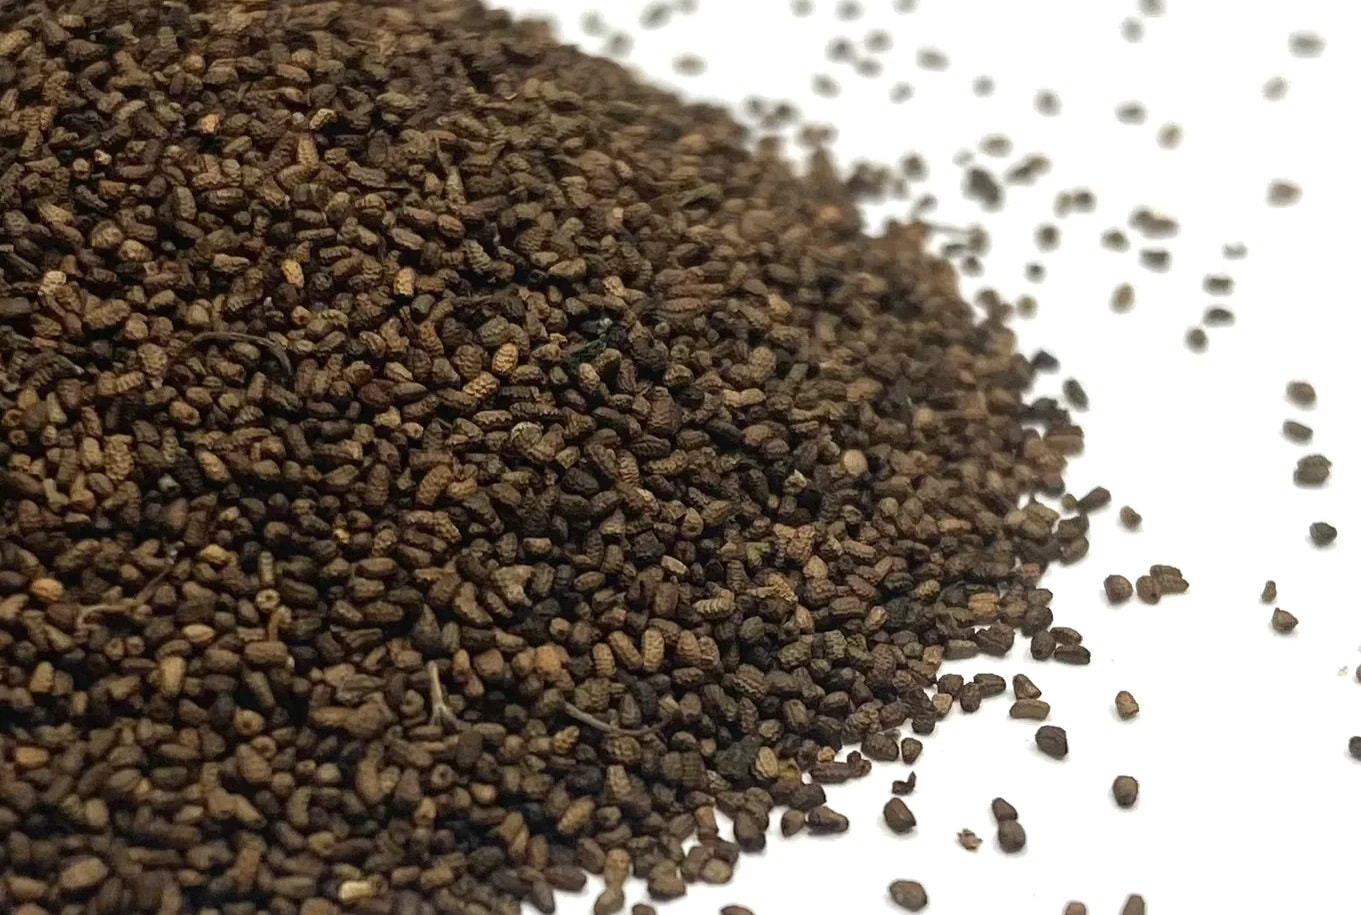
The stevia plant, scientifically known as Stevia rebaudiana, is a member of the Asteraceae family. It is a perennial herbaceous plant that can grow up to two feet in height. The plant produces small white flowers that eventually give rise to the seeds. These seeds are typically brown or black in color and can be quite small, similar in size to a grain of sand.
It’s worth noting that stevia seeds are not commonly found in grocery stores or nurseries. This is because the plant is often propagated through vegetative means, such as stem cuttings or tissue culture. However, if you already have stevia plants in your garden or are looking to collect seeds for future use, understanding the process of harvesting and saving seeds is crucial.
Furthermore, it’s important to keep in mind that stevia seeds may not always produce true-to-type plants. This means that the plants grown from seeds may not have the exact characteristics or sweetness level as the parent plant. Stevia plants are known for their variability, and it’s common for their traits to vary slightly from one generation to the next.
Despite this variability, harvesting stevia seeds can still be an exciting and worthwhile endeavor. It allows you to explore the possibilities of growing new stevia plants with unique characteristics and flavors. Additionally, by saving and sharing seeds, you can contribute to the preservation and diversification of stevia varieties.
Conditions for Harvesting Stevia Seeds
Harvesting stevia seeds requires specific conditions to ensure successful seed production. Here are some key factors to consider:
- Plant Age: Stevia plants typically start producing flowers and seeds in their second year of growth. It’s important to wait until the plants have reached maturity before attempting to harvest the seeds. This allows the plant to allocate its energy towards seed production rather than focusing on vegetative growth.
- Flower Development: Keep a close eye on the development of the flowers on your stevia plants. The flowers should be fully formed and have started to dry out before you begin the seed harvesting process. This indicates that the seeds are mature and ready for collection. Be patient and wait until the flowers have reached this stage to ensure the highest quality seeds.
- Weather Conditions: Weather conditions can play a crucial role in the success of seed harvesting. Stevia plants prefer warm temperatures, ideally between 70-85°F (21-29°C). Avoid harvesting seeds during periods of extreme heat or humidity, as this can affect seed viability. Additionally, try to choose a day with minimal wind to prevent the loss of seeds during the collection process.
- Seed Maturation: It’s important to remember that stevia seeds mature at different rates. Not all flowers on the plant will be ready for seed collection at the same time. To ensure the best quality seeds, harvest them individually as they reach maturity. Look for dried flower heads with seeds that easily detach from the plant when gently shaken.
By considering these conditions, you can ensure that you’re harvesting stevia seeds at their peak maturity. This will increase the chances of successful germination and the growth of healthy new stevia plants.
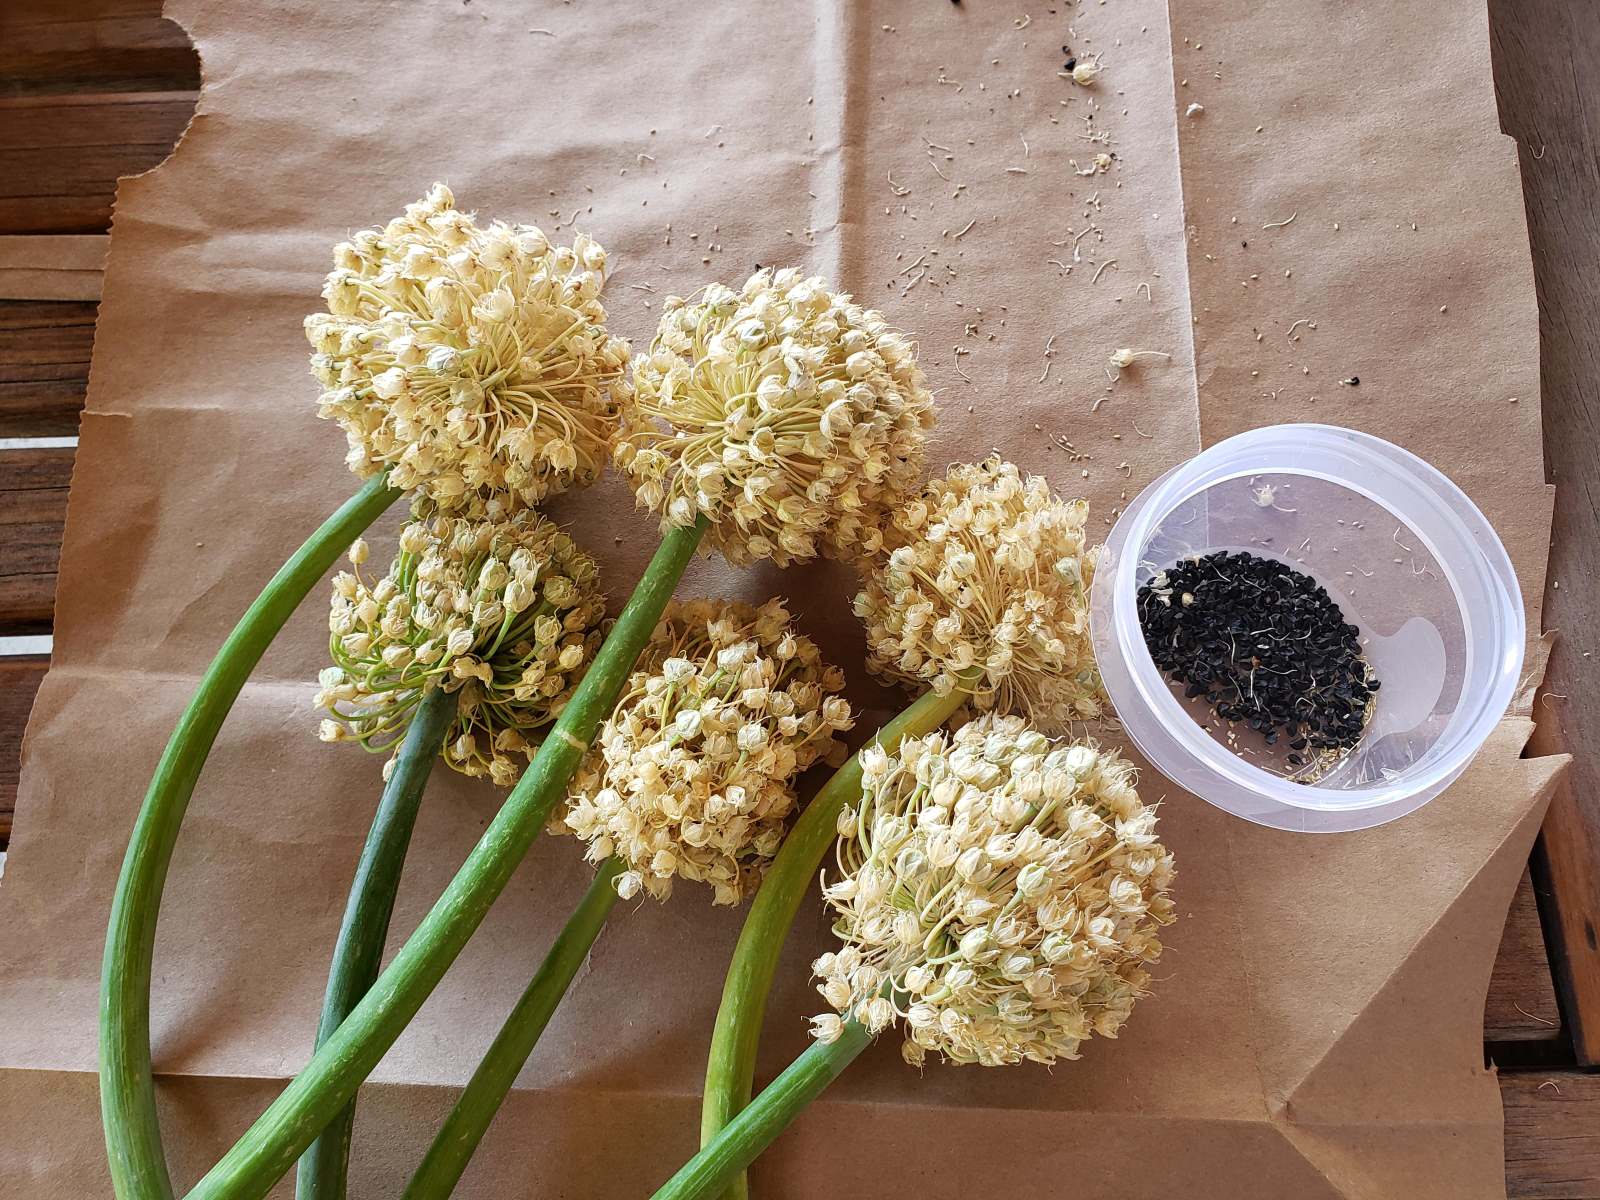
When harvesting stevia seeds, wait for the seed heads to turn from green to brown. Then, cut the seed heads and hang them upside down in a paper bag to dry. Once dry, shake the seed heads to release the seeds into the bag.
Step-by-Step Guide to Harvesting Stevia Seeds
Now that you understand the conditions necessary for harvesting stevia seeds, let’s dive into the step-by-step process:
- Observe and Identify: Begin by closely examining your stevia plants for flowers that have reached the appropriate stage of maturity. Look for flowers that have started to dry out and turn brown. These are the flowers that will contain mature seeds.
- Prepare Your Tools: Before harvesting, make sure you have a pair of clean and sharp pruning shears or scissors, a clean container to collect the seeds, and a labeling system to keep track of different varieties if necessary.
- Harvest the Seeds: Carefully cut the dried flower heads from the plant, making sure to leave a small stem attached to the base. Place the harvested flower heads in your container, taking care not to crush or damage the seeds. Continue harvesting flowers until you have collected a sufficient amount of seeds.
- Dry the Seeds: Once you have gathered the flower heads, it’s important to ensure that the seeds are completely dry before storing them. Spread them out in a single layer on a clean, dry surface, away from direct sunlight. Allow the seeds to air dry for about a week or until they are completely dry and brittle to the touch.
- Separate the Seeds: After drying, gently rub the dried flower heads between your fingers to separate the seeds from the remaining plant material. Be patient and take your time to ensure that all the seeds are released.
- Clean and Store: To remove any remaining debris or plant matter, you can sift the seeds through a fine-mesh sieve. Once the seeds are clean, transfer them into an airtight container, such as a glass jar or a resealable bag. Place a desiccant packet or a small pouch of rice in the container to help absorb any residual moisture and to keep the seeds dry.
Remember to label your container with the date and the variety of stevia seeds to maintain proper organization. Store the seeds in a cool, dry, and dark place, such as a pantry or a refrigerator. Properly stored stevia seeds can remain viable for several years.
By following these steps, you will be able to successfully harvest and store stevia seeds for future use.
Storing and Preserving Stevia Seeds
Proper storage is crucial to maintain the viability of stevia seeds over an extended period. Here are some guidelines to help you effectively store and preserve your harvested stevia seeds:
- Dry Seeds Completely: Before storing the seeds, it’s essential to ensure that they are completely dry. Moisture can lead to mold or fungal growth, which can render the seeds non-viable. Follow the drying process mentioned earlier, and only store the seeds once they are thoroughly dry.
- Airtight Containers: Transfer the dried stevia seeds to airtight containers to protect them from moisture and air exposure. Glass jars with tight-fitting lids or resealable plastic bags are ideal for storing seeds. Make sure the containers are clean and dry before placing the seeds inside.
- Labeling: Proper labeling is essential to keep track of different varieties and the date of seed collection. Use adhesive labels or small tags to mark the containers with relevant information. This will help you stay organized and make it easier to locate specific seeds in the future.
- Cool and Dark Storage: Store the labeled containers in a cool, dark, and dry place. A temperature range of 40-50°F (4-10°C) is suitable for long-term seed preservation. Avoid storing seeds in areas that are prone to temperature fluctuations and exposure to direct sunlight.
- Desiccant Packets: To absorb any remaining moisture, you can place desiccant packets or small pouches of rice in the seed container. These help to maintain a low humidity level, reducing the risk of seed degradation.
- Regular Monitoring: It’s a good practice to periodically check on the stored seeds to ensure they remain dry and free from pests or diseases. If you notice any signs of mold or moisture, take immediate action to address the issue and remove any affected seeds.
- Germination Testing: Over time, the germination rate of stored seeds may decrease. To assess the viability of your stevia seeds before planting, perform a germination test. Place a few seeds on a damp paper towel and keep them in a warm location. Monitor the seeds for signs of germination, such as the emergence of roots or sprouts. This will help you determine the effectiveness of your seed storage and whether the seeds are still viable.
By following these storage and preservation guidelines, you can maximize the longevity and viability of your stevia seeds. This will ensure that you have a steady supply of seeds for future planting and propagation.
Read more: How To Harvest Cilantro Seeds
Conclusion
Harvesting and storing stevia seeds is a rewarding process that allows you to expand your stevia garden, share seeds with other gardeners, and preserve unique varieties of this sweet herb. By understanding the conditions necessary for seed harvesting, following the step-by-step guide, and implementing proper storage practices, you can successfully collect and preserve stevia seeds for future use.
Remember to wait until the stevia plants have reached maturity and the flowers have dried out before harvesting the seeds. Take your time to carefully cut the flower heads and ensure the seeds are fully dry before separating and cleaning them.
Proper storage in airtight containers, with labeling and moisture control measures, is essential for maintaining seed viability. Regularly monitor the stored seeds and perform germination tests to confirm their viability before planting.
With the knowledge and skills gained from this comprehensive guide, you can confidently harvest, store, and preserve stevia seeds to continue growing this sweet herb in your garden for years to come.
Happy harvesting!
Frequently Asked Questions about How To Harvest Stevia Seeds
Was this page helpful?
At Storables.com, we guarantee accurate and reliable information. Our content, validated by Expert Board Contributors, is crafted following stringent Editorial Policies. We're committed to providing you with well-researched, expert-backed insights for all your informational needs.

0 thoughts on “How To Harvest Stevia Seeds”