Home>Garden Essentials>How To Grow Strawberries From Seeds Indoors
Garden Essentials
How To Grow Strawberries From Seeds Indoors
Modified: November 1, 2024
Learn how to grow strawberries from seeds indoors in your garden. Find step-by-step instructions and expert tips for a successful harvest.
(Many of the links in this article redirect to a specific reviewed product. Your purchase of these products through affiliate links helps to generate commission for Storables.com, at no extra cost. Learn more)
Introduction
Have you ever wanted to enjoy fresh, delicious strawberries picked right from your own garden? Growing strawberries from seeds indoors is a rewarding and cost-effective way to produce your own tasty berries. Not only does it allow you to control the growing conditions, but it also gives you the opportunity to start your strawberry plants earlier in the season.
In this article, we will guide you through the process of growing strawberries from seeds indoors. Whether you have a small apartment or a spacious backyard, anyone can successfully cultivate strawberries indoors and indulge in the sweet rewards.
By starting your strawberry plants from seeds, you have the advantage of selecting from a wide variety of strawberry cultivars available in seed form. This allows you to choose the flavor, color, and size that suits your preferences. Additionally, growing strawberries from seeds can be cost-effective, as buying a packet of seeds is often more affordable than purchasing established plants at a nursery.
Before you embark on your indoor strawberry-growing journey, it’s important to understand the benefits and challenges associated with this method. By doing so, you can make informed decisions throughout the process and ensure the best possible outcome for your strawberry plants.
In the next section, we will explore the benefits of growing strawberries from seeds indoors.
Key Takeaways:
- Enjoy fresh, homegrown strawberries year-round by growing them from seeds indoors. Select the right seeds, provide optimal conditions, and savor the sweet rewards of your indoor gardening adventure.
- Overcome challenges and nurture your indoor-grown strawberries to bountiful harvests. Troubleshoot common issues, transplant outdoors, and relish the joy of homegrown strawberries with friends and family.
Benefits of Growing Strawberries from Seeds Indoors
Growing strawberries from seeds indoors offers several advantages over other methods of strawberry cultivation. Here are some key benefits:
- Greater variety: When starting strawberries from seeds, you have access to a wider range of cultivars than what is typically available as established plants. This means you can choose from different flavors, colors, and sizes to suit your taste and preferences.
- Cost-effective: Purchasing a packet of strawberry seeds is often more affordable than buying multiple established plants. This makes growing strawberries from seeds a budget-friendly option, especially if you want to grow a large number of plants.
- Early start: By starting your strawberry plants from seeds indoors, you can get a head start on the growing season. Strawberry seeds can be sown several weeks before the last frost, allowing your plants to establish stronger root systems and get a jump-start on growth.
- Controlled growing conditions: Indoor cultivation gives you complete control over the growing conditions, including temperature, humidity, and lighting. This enables you to create the ideal environment for your strawberry plants, ensuring optimal growth and fruit production.
- Year-round availability: With indoor cultivation, you can grow strawberries throughout the year, regardless of the outdoor climate. This allows you to enjoy fresh, homegrown strawberries even during the colder months when traditional outdoor cultivation is not possible.
- Educational experience: Growing strawberries from seeds indoors can be a fun and educational project, especially for children. It provides hands-on learning about plant life cycles, germination, and the importance of proper care and maintenance.
Overall, growing strawberries from seeds indoors offers not only financial benefits but also the opportunity to experiment with different varieties and enjoy fresh strawberries year-round. In the following sections, we will delve into the process of selecting the right strawberry seeds and preparing them for indoor planting.
Selecting the Right Strawberry Seeds
Choosing the right strawberry seeds is an important step in the indoor growing process. There are a few factors to consider when selecting strawberry seeds:
- Variety: Determine the type of strawberries you want to grow. There are three main categories: June-bearing, everbearing, and day-neutral. June-bearing strawberries produce a large crop in late spring or early summer, while everbearing strawberries produce multiple smaller crops throughout the growing season. Day-neutral strawberries, on the other hand, produce fruit continuously throughout the season. Consider your preferences and the growing conditions in your region to choose the most suitable variety.
- Flavor and characteristics: Consider the flavor, color, and size of the strawberries. Some varieties have a sweeter taste, while others have a more tangy or tart flavor. Additionally, strawberry plants can have different colors, such as red, pink, or white. Determine the characteristics you desire in your strawberries and look for seeds that match those preferences.
- Hardiness: Check the hardiness zone of the specific strawberry variety you are interested in. Different varieties have different temperature requirements and can tolerate varying levels of cold and heat. Make sure the strawberry seeds you choose are suitable for the climate in your area.
- Seed quality: Purchase seeds from reputable sources to ensure high-quality and viable seeds. Look for fresh seeds that have been properly stored, as old or improperly stored seeds may have reduced germination rates. Consider purchasing organic or heirloom seeds if you prefer to grow strawberries using natural and non-GMO methods.
Once you have selected the right strawberry seeds, you are ready to proceed with preparing them for indoor planting. The next section will guide you through the process of preparing the strawberry seeds for successful germination.
Preparing the Strawberry Seeds for Indoor Planting
Preparing the strawberry seeds for indoor planting is an essential step to ensure successful germination and healthy seedlings. Here’s how to prepare the strawberry seeds:
- Seed scarification: Some strawberry seeds have hard outer shells that can inhibit germination. To improve germination rates, you can scarify the seeds by gently rubbing them with sandpaper or soaking them in lukewarm water for a few hours. This helps to break down the seed coat and allows moisture to penetrate the seed.
- Seed stratification: Many strawberry seeds require a period of cold stratification to simulate the natural winter dormancy they would experience outdoors. To stratify the seeds, place them in a plastic bag with slightly moistened paper towels or vermiculite. Seal the bag and keep it in the refrigerator for 3-4 weeks. This cold treatment helps to break seed dormancy and promotes better and more uniform germination.
- Seed moisture: Prior to sowing the seeds, make sure they are adequately hydrated. You can soak the scarified and stratified seeds in water for a few hours before planting. This ensures that the seeds are sufficiently moistened, which is crucial for germination.
- Seed storage: If you have more seeds than you plan to plant immediately, store the remaining seeds in a cool, dry, and dark place. Use a resealable bag or an airtight container to protect the seeds from moisture and humidity, as excessive moisture can cause them to rot.
By properly preparing the strawberry seeds, you increase the chances of successful germination and healthy seedling development. Once the seeds have been prepared, it’s time to move on to selecting the right container for indoor strawberry growing, which we will discuss in the following section.
Choosing the Right Container for Indoor Strawberry Growing
Choosing the right container is essential for successful indoor strawberry growing. The container should provide sufficient space for the strawberry plants to grow and allow for proper drainage. Here are some factors to consider when selecting a container:
- Size: Choose a container that is large enough to accommodate the root system of the strawberry plants. A container with a diameter of at least 12 inches (30 cm) is recommended to provide ample space for the plants to spread their roots.
- Depth: Strawberry plants have relatively shallow root systems, so a container with a depth of 6-8 inches (15-20 cm) should be sufficient. However, if you are growing larger strawberry varieties or want to provide more room for root development, opt for a deeper container.
- Drainage: Ensure that the container has proper drainage holes at the bottom. Excess water should be able to drain freely to prevent root rot and waterlogged soil. You can also place a layer of small rocks or broken pottery pieces at the bottom of the container to aid in drainage.
- Material: Various container materials can be used, including plastic, clay, or fabric. Plastic containers are lightweight, easy to clean, and retain moisture well. Clay pots provide better airflow to the roots but can dry out more quickly. Fabric pots are breathable and promote better aeration and root health.
- Number of plants: Consider how many strawberry plants you plan to grow. If you have limited space, choose a container that can accommodate the desired number of plants without overcrowding. Remember to leave sufficient space between plants to allow for proper air circulation and prevent the spread of diseases.
- Mobility: If you intend to move the container outdoors during the warmer months or rearrange your indoor garden, select a container that is lightweight and easy to maneuver.
Once you have selected the right container, it’s time to prepare the soil for planting your strawberry seeds. We will explore this step in the next section.
Read more: How To Grow Sage Indoors From Seed
Preparing the Soil for Planting Strawberry Seeds Indoors
Preparing the soil is a crucial step for successful indoor strawberry seed germination and plant growth. The right soil composition provides adequate nutrients, drainage, and support for healthy root development. Here’s how to prepare the soil for planting your strawberry seeds:
- Loosen the soil: Start by loosening the soil to improve its texture and ensure proper aeration. If you are using pre-packaged potting soil, skip this step. For garden soil or a mix of garden soil and compost, use a gardening fork or trowel to break up any compacted areas and remove any debris or rocks.
- Add organic matter: Incorporate organic matter, such as compost or well-rotted manure, into the soil to enrich it with nutrients and improve moisture retention. Aim for a 1:1 ratio of organic matter to soil, mixing it thoroughly to distribute it evenly.
- Adjust pH level: Strawberry plants prefer slightly acidic soil with a pH between 5.5 and 6.5. Test your soil’s pH using a soil testing kit, and if necessary, adjust it by adding amendments. To lower the pH, you can incorporate sulfur or peat moss into the soil. To raise the pH, add lime or wood ash. Follow the instructions on the product packaging for the appropriate amount to use.
- Ensure good drainage: Strawberries require well-draining soil to prevent waterlogged conditions that can lead to root rot. If your soil retains too much moisture, add perlite or vermiculite to improve drainage. Mix it into the soil according to the recommended ratios on the packaging.
- Sterilize the soil: If you are using garden soil or a mix that includes garden soil, consider sterilizing it to eliminate unwanted pests, diseases, and weed seeds. You can do this by heating the soil in an oven at 180°F (82°C) for 30 minutes or by microwaving small amounts of soil at a time.
- Fill the container: Fill your chosen container with the prepared soil mixture, leaving about an inch (2.5 cm) of space at the top. Gently tamp down the soil to level it without compacting it too tightly.
With the soil prepared, you are now ready to plant your strawberry seeds indoors. In the next section, we will guide you through the process of planting strawberry seeds and ensuring optimal growing conditions.
Planting Strawberry Seeds Indoors
Planting strawberry seeds indoors requires careful attention to detail to ensure successful germination and healthy seedling growth. Follow these steps to plant your strawberry seeds:
- Moisten the soil: Before planting the seeds, lightly water the soil to ensure it is evenly moist. Avoid overwatering, as excessively wet soil can lead to seed rot.
- Planting depth: Strawberry seeds should be planted at a shallow depth, just below the soil surface. Make small indentations in the soil about ¼ inch (0.6 cm) deep using your fingertip or the tip of a pencil. Space the indentations about 2-3 inches (5-7.5 cm) apart to provide enough room for each seedling to grow.
- Seed placement: Place one strawberry seed in each indentation and gently cover it with a thin layer of soil. Avoid burying the seeds too deeply, as this can inhibit germination.
- Mist the soil: Lightly mist the soil surface with water using a spray bottle. This helps to settle the soil around the seeds without disturbing them. Be careful not to saturate the soil, as excessive moisture can lead to fungal diseases.
- Cover the container: Cover the container with a plastic bag or a clear plastic dome to create a greenhouse-like environment. This helps to maintain high humidity levels and provide the seeds with the warmth they need for germination.
- Choose the right location: Place the container in a warm location with indirect sunlight, such as a windowsill or under grow lights. Aim for a temperature range of 65-75°F (18-24°C) to promote germination. Avoid placing the container in direct sunlight, as it can overheat the seeds and inhibit germination.
- Maintain moisture: Monitor the moisture level of the soil and mist it as needed to keep it consistently moist but not waterlogged. Check the soil daily and adjust the moisture level accordingly.
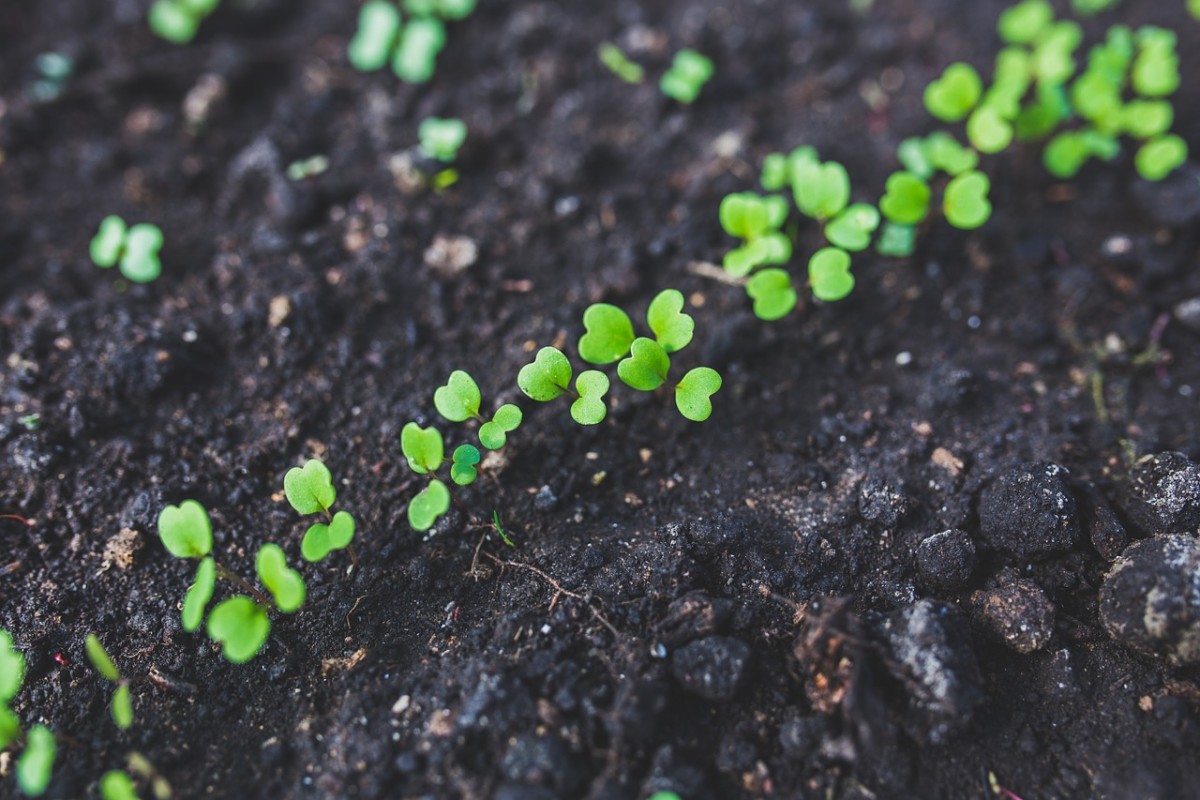
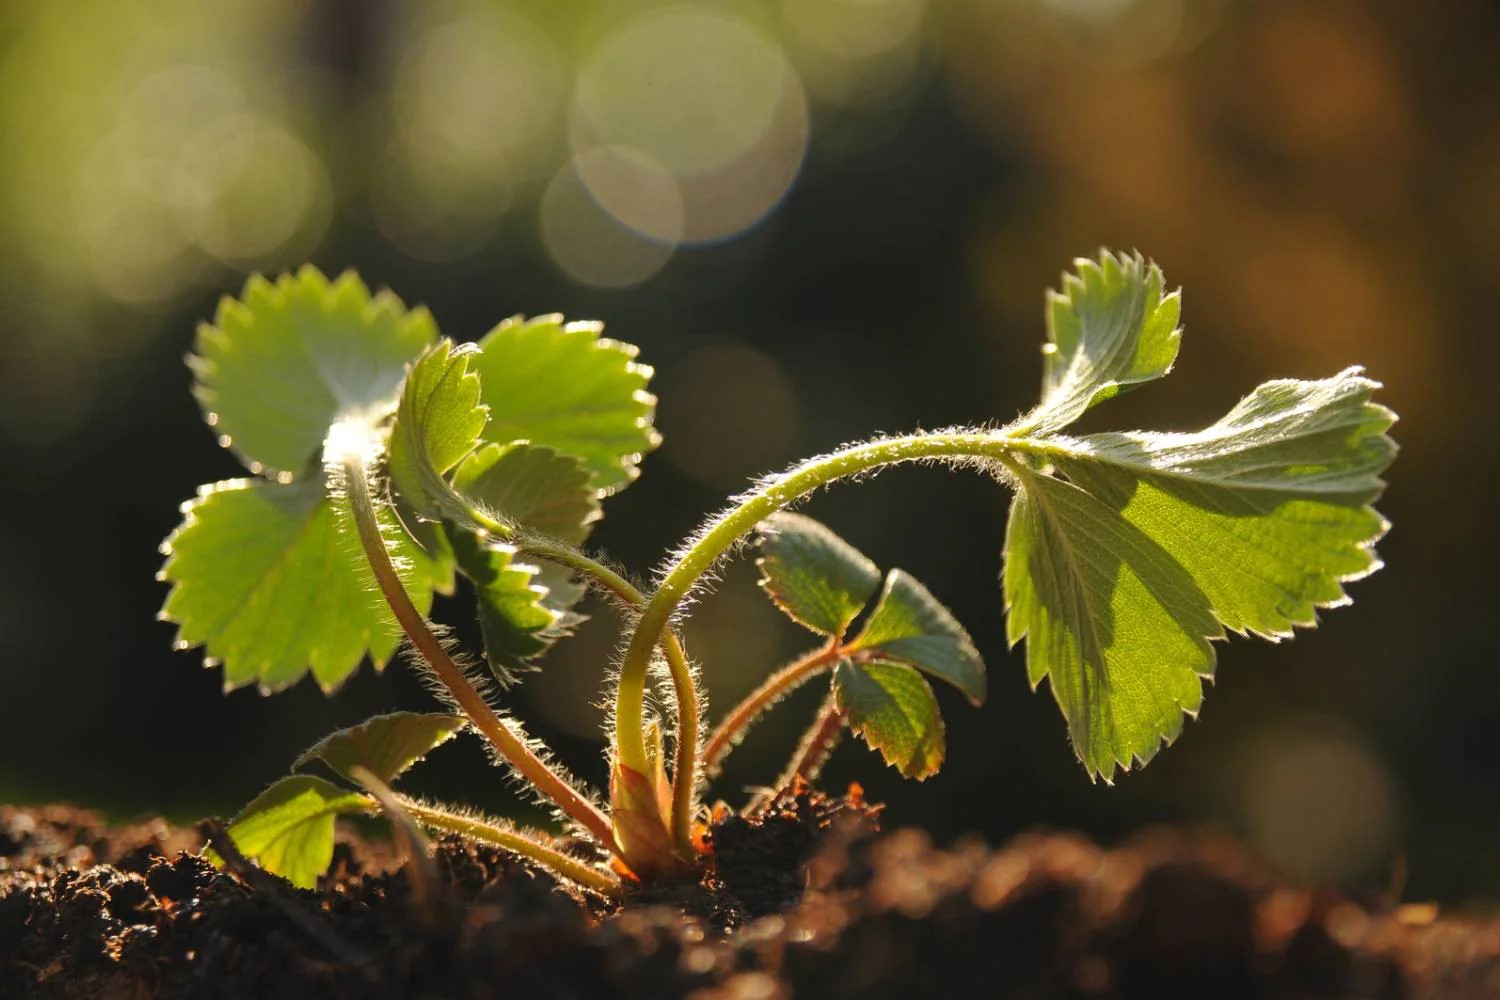
- Germination period: Strawberry seeds typically germinate within 2-4 weeks, although some varieties may take longer. Be patient and continue to provide the necessary care during this period.
Once the strawberry seeds have germinated and the seedlings have developed a few sets of true leaves, it’s time to provide the optimal growing conditions for their continued growth. This will be discussed in the next section.
To grow strawberries from seeds indoors, use a well-draining potting mix, keep the soil consistently moist, and provide plenty of sunlight or artificial light. Once the seedlings have grown a few inches tall, transplant them into larger containers or a garden bed.
Providing Optimal Growing Conditions for Strawberry Seeds Indoors
To ensure the healthy growth and development of your indoor strawberry seedlings, it is important to provide them with optimal growing conditions. Here are some key factors to consider:
- Light: Strawberry plants require at least 6-8 hours of direct sunlight or 12-16 hours of bright, indirect light each day. If you are growing them indoors, place them near a south-facing window where they can receive ample sunlight. Alternatively, use grow lights to supplement the natural light.
- Temperature: Strawberry plants prefer a cool climate with temperatures ranging between 60-75°F (15-24°C) during the day and slightly cooler at night. Avoid exposing them to extreme temperature fluctuations or drafts, as they can stress the plants.
- Humidity: Strawberry plants thrive in relatively humid environments. To increase humidity around the plants, you can place a tray filled with water near the containers or use a humidifier. Be careful not to allow the plants to sit in standing water, as it can lead to root rot.
- Air circulation: Good air circulation is important to prevent the occurrence of fungal diseases. To enhance air circulation, consider using a small fan set on low speed to gently move the air around the plants.
- Fertilization: Once the seedlings have developed their first set of true leaves, begin fertilizing them. Use a balanced, water-soluble fertilizer specifically formulated for strawberries or for seedlings. Follow the package instructions for the proper dosage and frequency of application.
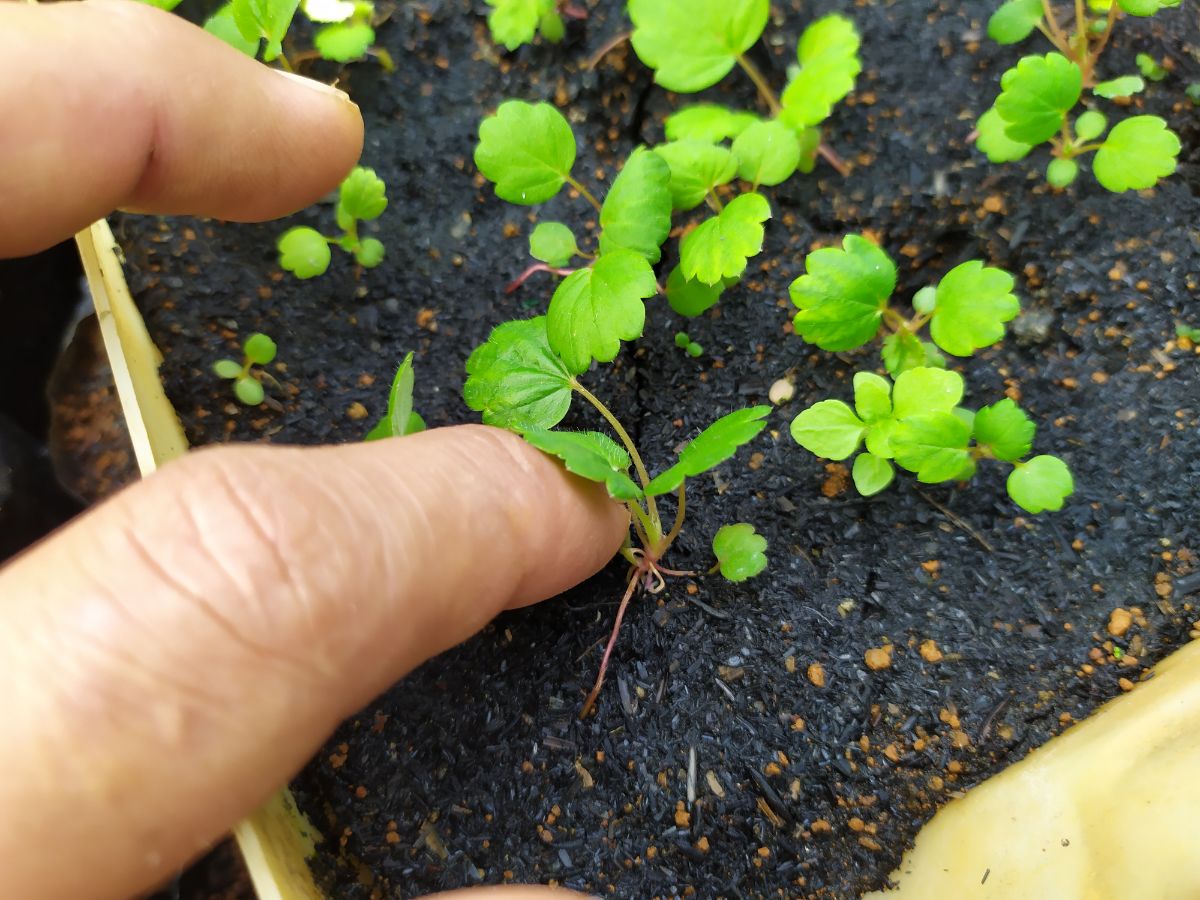
- Thinning: If multiple seeds have germinated in one location, thin out the weaker seedlings to create space for the remaining plants to grow. Gently remove the excess seedlings, being careful not to disturb the roots of the chosen seedlings.
- Transplanting: As the seedlings grow and develop, they will outgrow their initial containers. When the plants have a few sets of true leaves and are approximately 3-4 inches (7.6-10.2 cm) tall, transplant them into larger, individual containers to provide sufficient space for their root systems to expand.
- Monitor for pests and diseases: Regularly inspect your strawberry plants for signs of pests or diseases. Common pests that affect strawberries include aphids, slugs, and spider mites. If an infestation is detected, take appropriate measures to control and eliminate the pests. Additionally, maintain proper sanitation practices to prevent the spread of diseases.
By providing these optimal growing conditions, you are setting your indoor strawberry plants up for success. However, it’s important to keep in mind that they will eventually need to be transplanted outdoors. In the next section, we will discuss the process of transplanting indoor-grown strawberry plants to an outdoor garden or container.
Watering and Fertilizing Indoor Strawberry Plants
Proper watering and fertilization are essential for the healthy growth and development of indoor strawberry plants. Here are some guidelines to follow:
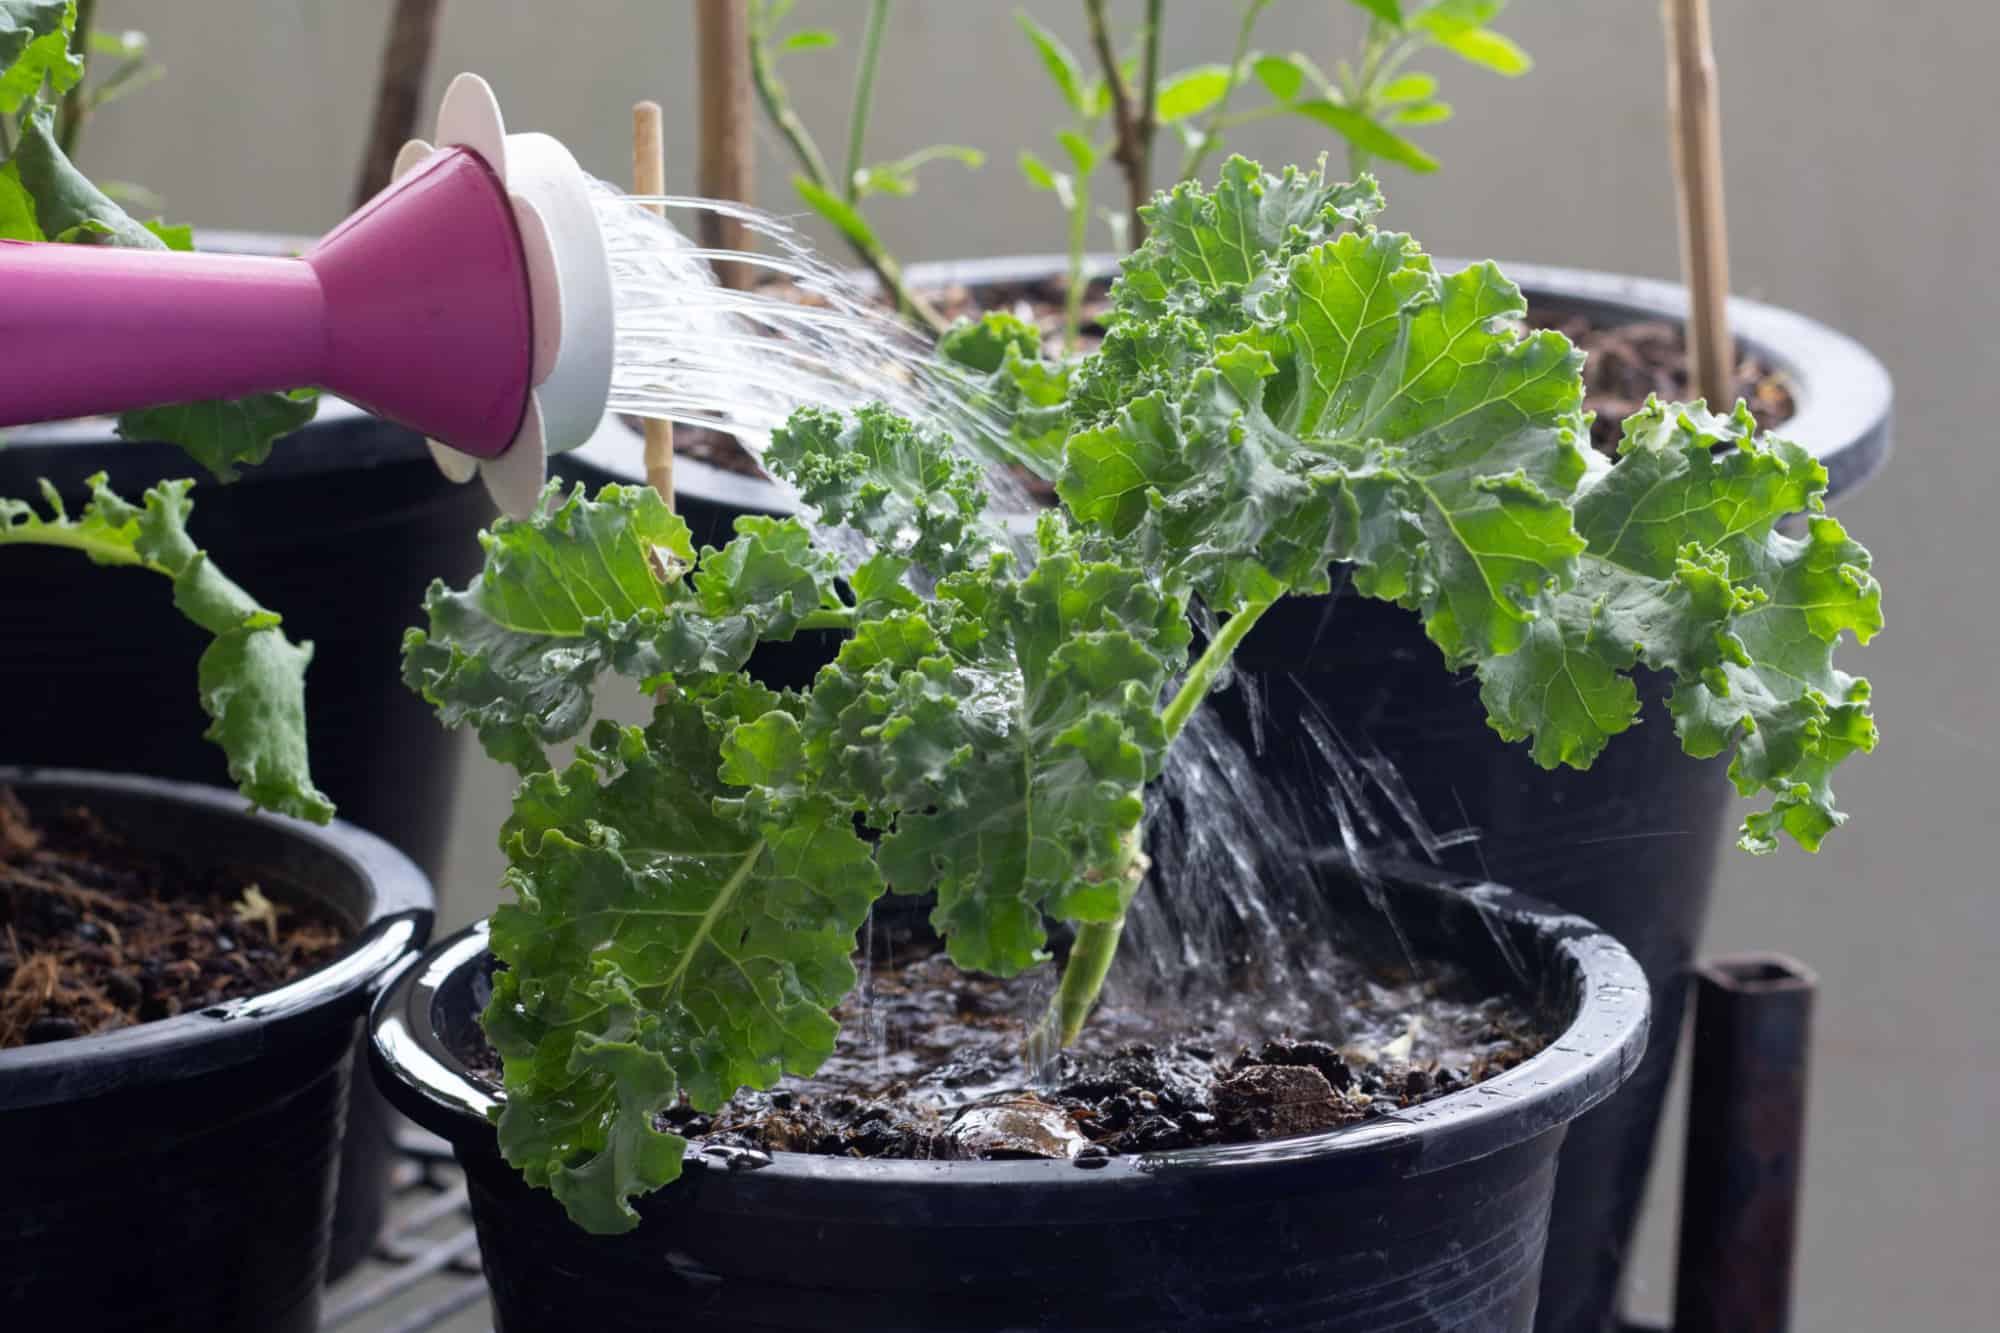
- Watering: Strawberry plants require consistent moisture, but overwatering can lead to root rot and other issues. Allow the top inch (2.5 cm) of soil to dry out slightly between waterings. Stick your finger into the soil to check the moisture level or use a moisture meter to gauge when it’s time to water. When watering, aim for the soil to be evenly moist, but not saturated.
- Watering methods: To avoid disturbing the delicate seedlings, use a gentle watering method, such as a watering can with a fine spout or a spray bottle. Direct the water at the base of the plants, avoiding wetting the leaves and crowns, which can increase the risk of fungal diseases.
- Deep watering: Occasionally, perform deep watering sessions to ensure proper root growth. Water the plants thoroughly until you see water draining from the bottom of the containers. This encourages the roots to grow deeper into the soil, making the plants more resilient.
- Fertilizing: Once the strawberry seedlings have developed a few sets of true leaves, start fertilizing them. Use a balanced, water-soluble fertilizer specifically formulated for strawberries or for seedlings. Follow the package instructions for the proper dosage and frequency of application. Generally, fertilize the plants every two to three weeks during the growing season.
- Fertilizer application: Apply the fertilizer solution around the base of the plants, avoiding direct contact with the leaves and crowns. Lightly water the plants after fertilizing to help distribute the nutrients evenly and prevent potential fertilizer burn.
- Organic fertilizers: If you prefer to use organic fertilizers, there are options available specifically formulated for strawberries. These typically contain a blend of natural ingredients that provide essential nutrients without synthetic chemicals. Follow the package instructions for application rates and frequency.
- Monitoring nutrient needs: Regularly monitor the appearance of your strawberry plants for signs of nutrient deficiencies, such as yellowing leaves or stunted growth. Adjust your fertilization schedule or nutrient formulation accordingly to address any deficiencies or excesses.
- Flush the soil: Occasionally, flush the soil with plain water to remove any fertilizer buildup and prevent nutrient imbalances. This can be done by thoroughly watering the plants with plain water, allowing the excess water to drain out completely.
By implementing a consistent watering routine and providing appropriate fertilization, you will ensure that your indoor strawberry plants receive the necessary nutrients for healthy growth and bountiful fruit production. However, it’s also important to protect your plants from potential pests and diseases, which we will discuss in the next section.
Read more: How To Grow Cilantro From Seed Indoors
Protecting Indoor Strawberry Plants from Pests and Diseases
While indoor strawberry plants are generally less prone to pests and diseases compared to outdoor plants, it’s still important to take precautions to protect them. Here are some preventive measures you can take:
- Sanitation: Keep your growing area clean and free of debris to minimize hiding places for pests and reduce the risk of diseases. Regularly remove any dead leaves or plant debris from the containers and the surrounding area.
- Air circulation: Good air circulation is crucial for preventing the development of fungal diseases. Provide adequate space between the strawberry plants to allow for proper airflow. Consider using a small fan set on low speed to promote air movement around the plants.
- Monitor for pests: Routinely inspect your strawberry plants for any signs of pests, such as aphids, spider mites, or slugs. Look for distorted leaves, webs, or holes in the leaves. If you spot any pests, promptly take action to control them.
- Natural pest control: For organic gardening, consider using natural methods to control pests. Neem oil, insecticidal soap, or homemade remedies like a solution of water and dish soap can help deter pests. Beneficial insects, such as ladybugs, lacewings, or predatory mites, can also be introduced to control pest populations.
- Disease prevention: To minimize the risk of diseases, avoid overhead watering as it can promote the spread of fungal infections. Water the plants at the base to keep the foliage dry. If necessary, apply fungicides specifically labeled for strawberry plants according to the package instructions.
- Quarantine: If introducing new plants or materials into your indoor gardening space, make sure to quarantine them before placing them near existing strawberry plants. This helps prevent the introduction of pests or diseases that may be present on new plants or materials.
- Crop rotation: If you are growing strawberries continuously indoors, practice crop rotation by changing the location of the containers to minimize the buildup of pests and diseases in the soil.
- Vigilance: Regularly monitor your strawberry plants for any changes in appearance, such as wilting, yellowing leaves, or unusual spots. Early detection and intervention can help prevent the spread of diseases and minimize potential damage.
By implementing these preventative measures and staying vigilant, you can protect your indoor strawberry plants from pests and diseases, ensuring a healthy and productive harvest. In the next section, we will discuss the process of transplanting your indoor-grown strawberry plants outdoors for optimal growth and fruit production.
Transplanting Indoor-grown Strawberry Plants Outdoors
Transplanting your indoor-grown strawberry plants outdoors is an exciting step that allows them to thrive in a natural environment and produce bountiful harvests. Here’s a guide to successfully transplanting your strawberry plants:
- Timing: Choose the right time to transplant your strawberry plants based on your local climate and the specific recommendations for your strawberry variety. Transplanting is typically done in spring after the danger of frost has passed and the soil has warmed up.
- Preparing the soil: Select a sunny location in your garden with well-draining, fertile soil. Prepare the soil by removing any weeds, rocks, or debris. Incorporate organic matter, such as compost or well-rotted manure, into the soil to enrich it with nutrients.
- Transplantation process: Gently remove the strawberry plants from their indoor containers, being careful not to damage the roots. Dig holes in the garden that are large enough to accommodate the root system of each plant. Place the plants in the holes, ensuring that the crown (where the roots meet the stem) is level with the soil surface. Space the plants according to the recommended spacing for your specific strawberry variety, typically around 12-24 inches (30-60 cm) apart.
- Watering: After transplanting, water the strawberry plants thoroughly to help them settle into their new environment. Apply water directly to the soil, avoiding wetting the leaves and crowns. Continue regular watering throughout the growing season, keeping the soil consistently moist but not waterlogged.
- Mulching: Apply a layer of straw or mulch around the strawberry plants to help suppress weeds, retain moisture, and regulate soil temperature. Mulching also helps prevent the strawberries from coming into direct contact with the soil, reducing the risk of rotting fruits.
- Support: Consider placing strawberry netting or installing a raised bed cover to protect your plants from birds, squirrels, and other pests that may be attracted to the fruits.
- Continued care: Provide regular care and maintenance for your transplanted strawberry plants. This includes watering as needed, fertilizing according to the recommended schedule, and monitoring for pests and diseases. Pinching off runners (offshoots) during the first few weeks after transplanting can redirect the plant’s energy towards fruit production.
- Winter protection: Before the arrival of winter, prepare your strawberry plants for cold weather. Apply an insulating layer of straw or leaves around the plants to protect them from freezing temperatures. This helps prevent frost damage and ensures the survival of the plants for the following growing season.
By following these transplanting guidelines and providing proper care, your indoor-grown strawberry plants will have a smooth transition to the outdoor garden and yield a plentiful harvest of delicious strawberries. In the next section, we will discuss the process of harvesting and enjoying the fruits of your labor.
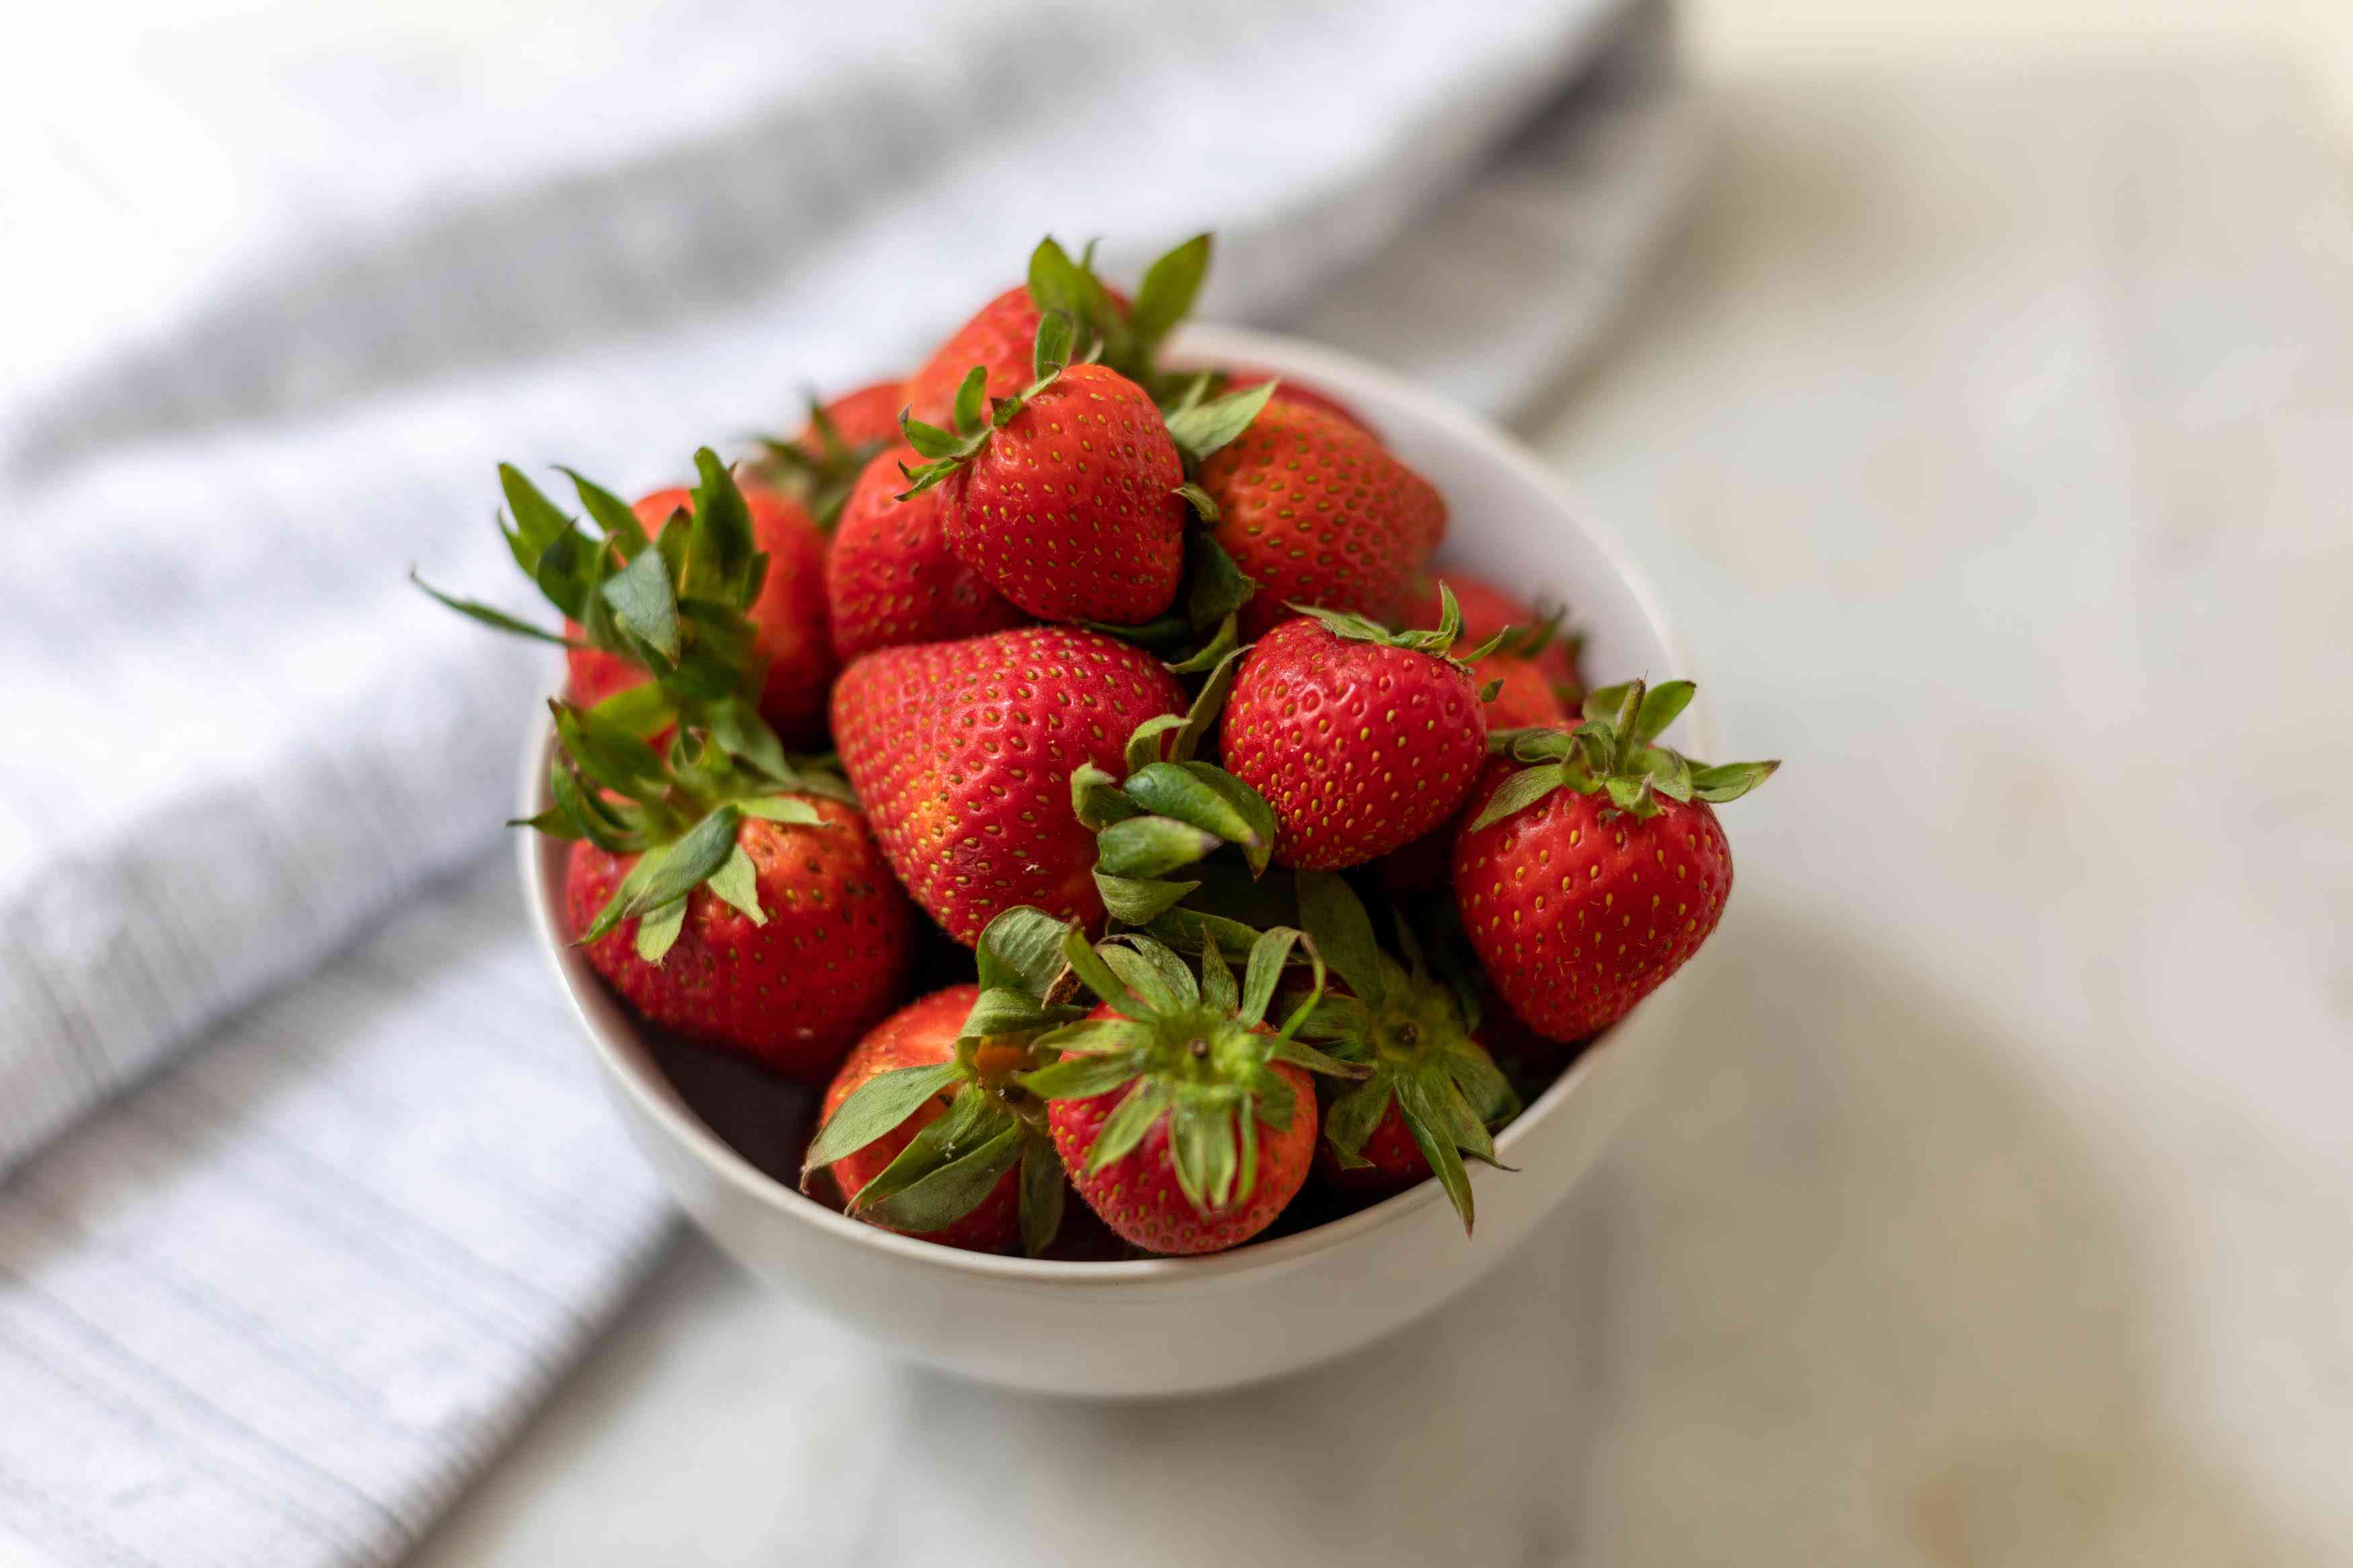
Harvesting and Enjoying Your Indoor-grown Strawberries
After patiently nurturing and caring for your indoor-grown strawberry plants, it’s time to enjoy the sweet rewards of your labor. Here are some tips for harvesting and savoring your homegrown strawberries:
- Timing: Harvest strawberries when they are fully ripe for the best flavor and sweetness. Strawberries are typically ready to be picked when they have turned a deep, vibrant red and are fully colored.
- Harvesting technique: Gently hold the stem of the strawberry between your thumb and forefinger and twist it slightly, pulling the fruit off the plant. Avoid pulling or tugging, as this may damage the fruit or the plant. Alternatively, you can use sharp scissors or garden shears to snip the stem just above the strawberry.
- Regular harvests: Strawberry plants produce fruit over an extended period, so check your plants regularly for ripe berries. Harvest ripe strawberries every few days to ensure you pick them at their peak of flavor and to encourage continuous fruit production.
- Post-harvest care: Handle harvested strawberries with care to avoid bruising or damage. Immediately after harvesting, gently rinse the strawberries with cool water to remove any dirt or debris. Pat them dry with a paper towel or allow them to air dry before storing or consuming.
- Storing strawberries: If you’re not planning on consuming the strawberries right away, store them unwashed in the refrigerator. Place them in a breathable container, such as a shallow bowl lined with paper towels, or in a perforated plastic bag. Properly stored strawberries can stay fresh for 2-3 days.
- Enjoying fresh strawberries: Enjoy the fresh flavor of homegrown strawberries by eating them as is, or serve them as a delightful addition to breakfast dishes, salads, desserts, or smoothies. Their natural sweetness and vibrant color make them a versatile and delicious ingredient in various culinary creations.
- Preserving strawberries: If you have an abundance of strawberries, consider preserving them for future use. You can freeze strawberries by rinsing, hulling, and drying them thoroughly before placing them in a single layer on a baking sheet lined with parchment paper. Once frozen, transfer the strawberries to an airtight freezer bag. They can be used in smoothies, jams, or baked goods throughout the year.
- Sharing the joy: Don’t forget to share the joy of your indoor-grown strawberries with friends, family, and neighbors. Sharing your bounty is a wonderful way to spread the delight of homegrown produce and inspire others to explore the joys of gardening.
So, relish the fruits of your indoor strawberry-growing endeavor by savoring the fresh flavors, experimenting with recipes, and sharing the joy of your successful harvest. The journey of growing strawberries from seeds indoors is a rewarding experience that allows you to connect with nature and enjoy the incomparable taste of homegrown strawberries.
Should you encounter any challenges or difficulties along the way, refer to the troubleshooting section in this guide or consult with local gardening resources for guidance. Happy harvesting!
Troubleshooting Common Issues with Growing Strawberries from Seeds Indoors
While growing strawberries from seeds indoors can be a rewarding experience, you may encounter some common issues along the way. Here are some troubleshooting tips to help you address and overcome these challenges:
- Poor germination: If you are experiencing low germination rates, ensure that your strawberry seeds are fresh and have been properly scarified and stratified. Make sure the environment is consistently warm, and the soil is kept moist but not waterlogged. If germination still seems low, consider trying a different batch of seeds from a reputable source.
- Weak or leggy seedlings: Weak or leggy seedlings can indicate insufficient light or overcrowding. Ensure your strawberry plants receive enough bright, indirect light or supplemental grow lights. Maintain proper spacing between seedlings to allow for adequate air circulation and prevent competition for light and nutrients.
- Pale or yellowing leaves: Pale or yellowing leaves may indicate a nutrient deficiency, such as nitrogen or iron. Adjust your fertilization routine to provide the necessary nutrients. Ensure that the soil pH is within the recommended range to facilitate nutrient uptake. Organic compost or balanced fertilizers formulated for strawberries can help correct nutrient deficiencies.
- Wilting or underwatering: If your strawberry plants appear wilted or dry, they may be underwatered. Check the moisture level of the soil and adjust your watering routine accordingly. Ensure that the soil is consistently moist and not allowed to dry out completely. Avoid overwatering, as it can lead to root rot.
- Fungal diseases: Common fungal diseases that may affect indoor-grown strawberries include powdery mildew and gray mold. Maintain good air circulation around the plants, avoid overhead watering, and promptly remove any affected leaves or plants to prevent the spread of disease. If necessary, apply organic fungicides according to the package instructions.
- Pests: Keep an eye out for common pests like aphids, spider mites, and slugs. Regularly inspect your plants and take appropriate measures if pests are detected. Consider using natural pest control methods or introduce beneficial insects to help control pest populations effectively.
- Transplant shock: Transplanting can sometimes cause temporary stress to the plants. To minimize transplant shock, handle the seedlings gently, ensuring that the roots are not damaged. Water the transplanted seedlings immediately after planting, and provide extra care and attention during the first few weeks to help them establish in their new environment.
- Poor fruit set: If your strawberry plants have flowers but are not setting fruit, it may be due to insufficient pollination. Gently shake the plants or use a small brush to transfer pollen from one flower to another. If pollination is still an issue, consider introducing pollinators such as bees or manually pollinate the flowers.
Remember, gardening is a learning process, and it’s normal to face challenges along the way. By identifying and addressing these common issues, you can improve the health and productivity of your indoor-grown strawberry plants. Don’t hesitate to seek advice from local gardening resources or fellow gardeners for additional guidance specific to your growing conditions.
With patience, observation, and perseverance, you can overcome these challenges and enjoy the satisfaction of growing and harvesting your homegrown strawberries. Happy gardening!
Read more: How To Grow Catnip From Seed Indoors
Conclusion
Growing strawberries from seeds indoors is a fulfilling and rewarding journey that allows you to enjoy the fresh, juicy fruits of your labor right in the comfort of your own home. By following the steps outlined in this guide, you can successfully cultivate your own indoor strawberry garden and indulge in the delicious flavors of homegrown strawberries.
From selecting the right strawberry seeds to preparing the soil, providing optimal growing conditions, and overcoming common challenges, each step plays an important role in the success of your indoor strawberry plants. Remember to choose a variety that suits your preferences, scarify and stratify the seeds, and ensure proper lighting, temperature, and humidity for healthy growth.
As your strawberry plants grow and develop, pay attention to their watering and fertilization needs, protect them from pests and diseases, and carefully monitor their progress. When the time comes to transplant your seedlings outdoors, ensure they are placed in the right location with well-prepared soil and continue to give them the care they need to thrive.
Finally, when it’s time to harvest the fruits of your labor, savor the delicious flavors of your homegrown strawberries. Whether eaten fresh, used in various recipes, or preserved for future enjoyment, your indoor-grown strawberries are a true testament to your dedication and passion for gardening.
Throughout your strawberry-growing journey, don’t be discouraged by challenges or setbacks. Remember that every experience is an opportunity to learn and improve your skills as a gardener. Seek advice and guidance from local gardening resources, fellow gardeners, and online communities to further enhance your knowledge and expertise.
So, embrace the joy of growing strawberries from seeds indoors, connect with nature, and appreciate the gratification that comes with nurturing plants and enjoying the fruits of your labor. Whether you have a small apartment or a spacious garden, anyone can embark on this delightful gardening adventure and experience the pleasure of homegrown strawberries.
Happy planting, growing, and harvesting!
Congrats on mastering indoor strawberry cultivation! Wondering what those tiny specks that grow into luscious berries are? Dive deeper with our detailed guide on strawberry seeds to understand their types, characteristics, and more. Curious about how soon you can see sprouts after planting? Our comprehensive article on seed germination provides timelines and factors influencing the sprouting of various plant seeds, ensuring your gardening success continues.
Frequently Asked Questions about How To Grow Strawberries From Seeds Indoors
Was this page helpful?
At Storables.com, we guarantee accurate and reliable information. Our content, validated by Expert Board Contributors, is crafted following stringent Editorial Policies. We're committed to providing you with well-researched, expert-backed insights for all your informational needs.


0 thoughts on “How To Grow Strawberries From Seeds Indoors”