Home>Garden Essentials>How To Get Strawberry Seeds From Strawberries
Garden Essentials
How To Get Strawberry Seeds From Strawberries
Modified: August 27, 2024
Learn how to grow a strawberry garden and save money by harvesting strawberry seeds from your own strawberries. Start your garden today!
(Many of the links in this article redirect to a specific reviewed product. Your purchase of these products through affiliate links helps to generate commission for Storables.com, at no extra cost. Learn more)
Introduction
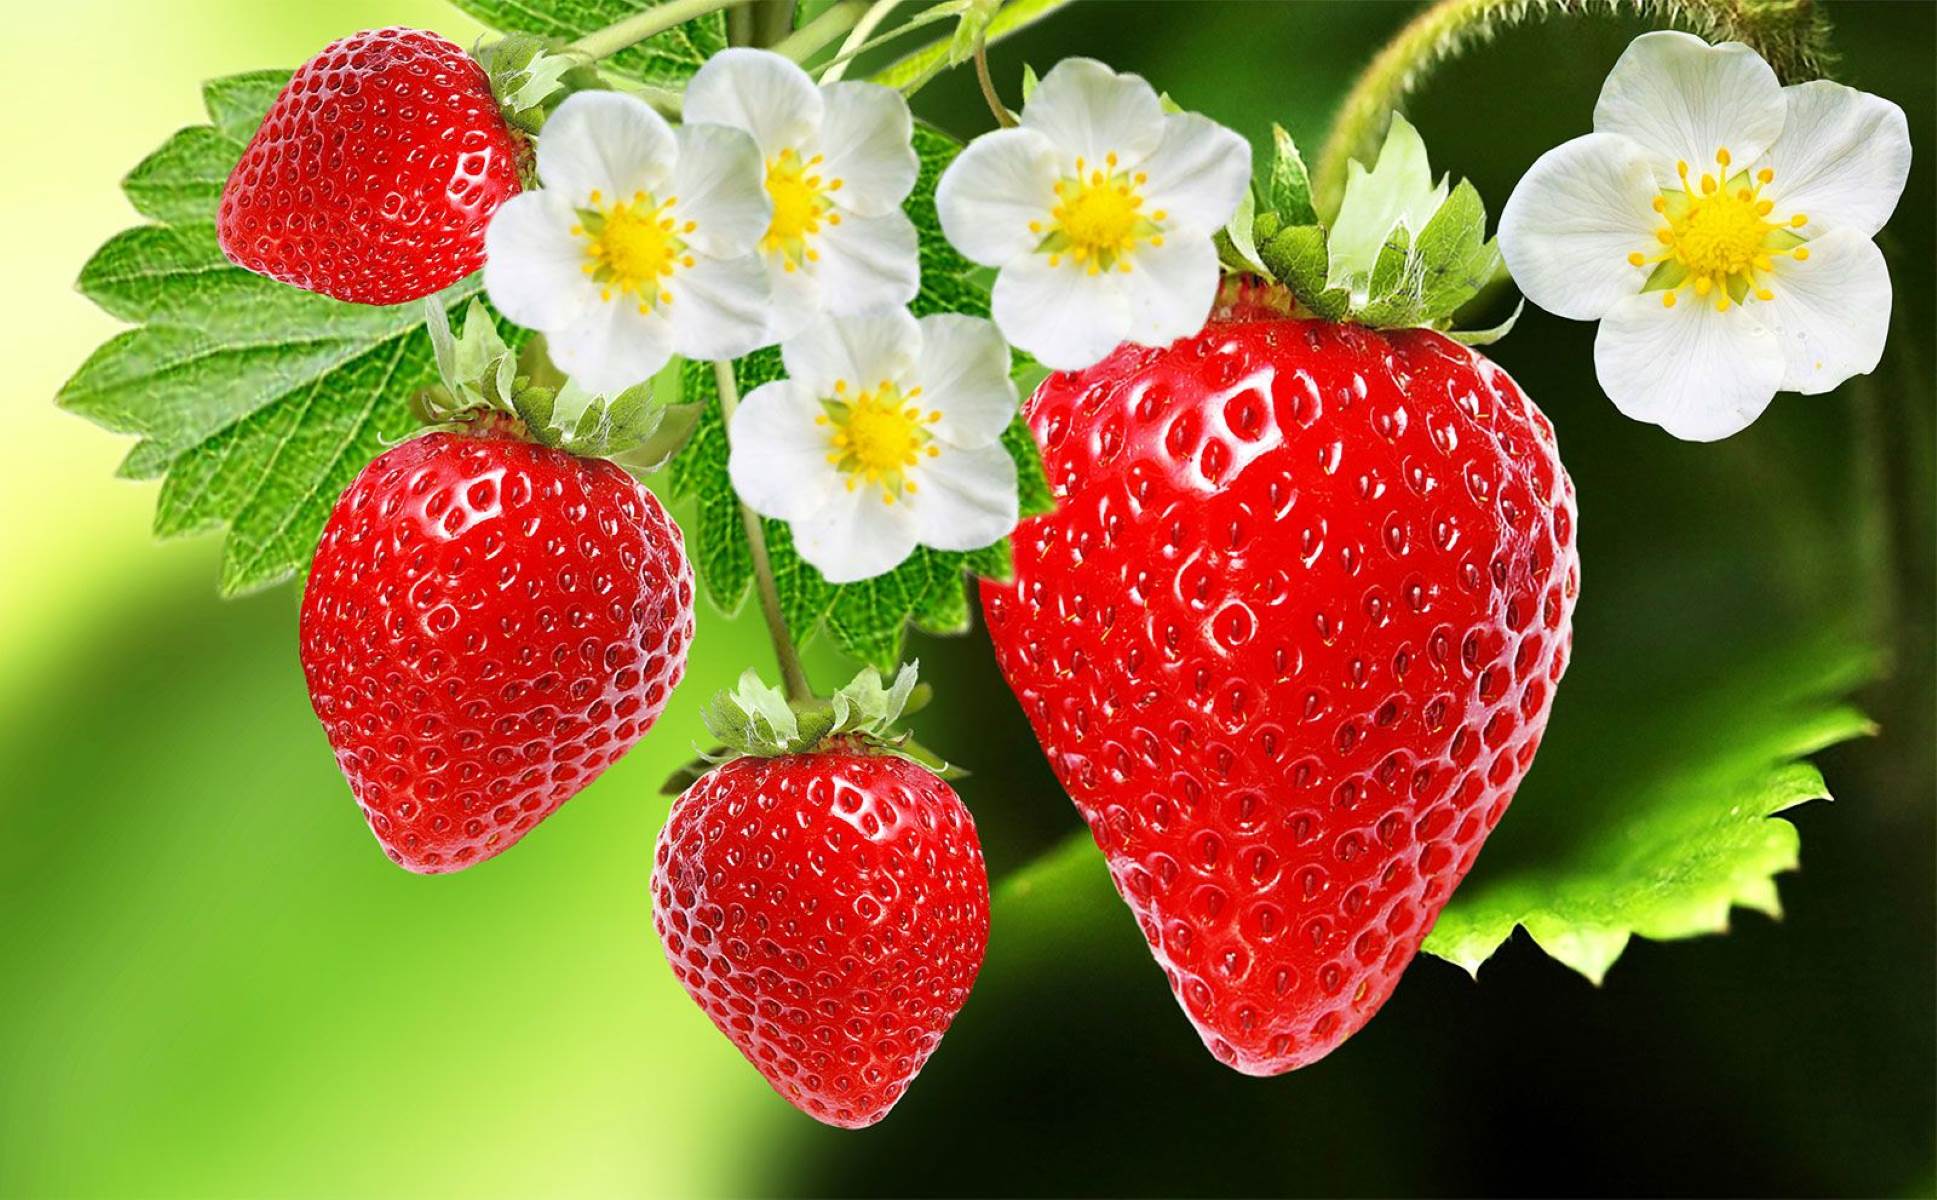
Welcome to the fascinating world of strawberries! If you’re a fan of these juicy, sweet fruits, you may have wondered how you can grow your own strawberry plants from scratch. One of the most rewarding ways to start a strawberry garden is by saving and planting the seeds from fresh strawberries. Not only is this an economical way to grow strawberries, but it also allows you to experiment with different strawberry varieties.
The process of getting strawberry seeds from fresh strawberries may seem daunting at first, but with a little patience and know-how, you can successfully harvest and plant your own strawberry seeds. In this article, we will guide you through the step-by-step process of extracting, cleaning, storing, and planting strawberry seeds. Let’s get started!
Before we dive in, let’s explore the reasons why you may want to save strawberry seeds in the first place. Firstly, saving your own seeds allows you to preserve and propagate the characteristics of specific strawberry varieties that you love. Secondly, it gives you the freedom to experiment and select the best plants to grow in your unique garden conditions. Lastly, it can save you money in the long run, as purchasing strawberry seeds or seedlings can be costly.
So, let’s roll up our sleeves and discover how you can harvest strawberry seeds from fresh strawberries!
Key Takeaways:
- Save money and experiment with unique strawberry varieties by harvesting and planting your own seeds from fresh strawberries. Enjoy the process and savor the satisfaction of growing your own delicious homegrown strawberries!
- Gather, extract, clean, and store strawberry seeds to start your own strawberry garden. With patience and care, you can nurture the seeds into healthy, productive plants and enjoy a bountiful harvest of sweet, juicy strawberries!
Read more: How To Remove Seeds From Strawberries
Why Save Strawberry Seeds?
There are several compelling reasons to save strawberry seeds from fresh strawberries. Whether you’re a passionate gardener or just starting out with your first strawberry patch, here are a few reasons why you should consider saving strawberry seeds:
- Preserve Unique Varieties: By saving and planting strawberry seeds, you can preserve the genetic characteristics of unique and heirloom strawberry varieties. This allows you to enjoy the flavors and traits that may not be easily found in commercially available strawberries.
- Cost-effective Solution: Purchasing strawberry seeds or seedlings can add up over time, especially if you plan on expanding your strawberry garden. By saving your own seeds, you can save money and have an endless supply of seeds for future plantings.
- Personalized Selection: When you save your own strawberry seeds, you have the opportunity to select and breed plants that are particularly well-suited to your specific growing conditions. This can result in stronger, more resilient strawberry plants that thrive in your garden.
- Learning Experience: Saving and planting strawberry seeds can be a fun and educational experience, especially if you involve children or aspiring gardeners in the process. It provides an opportunity to learn about plant reproduction, genetics, and the importance of seed saving in preserving biodiversity.
- Exploration and Innovation: Saving strawberry seeds opens up a world of possibilities for experimentation and innovation. You can cross-pollinate different strawberry varieties to create your own unique hybrids, or even try growing strawberries in unusual conditions, such as hanging baskets or vertical gardens.
By saving strawberry seeds, not only are you taking an active role in preserving and enhancing our agricultural heritage, but you are also ensuring a sustainable source of delicious strawberries for years to come. So, let’s delve into the process of gathering and extracting strawberry seeds!
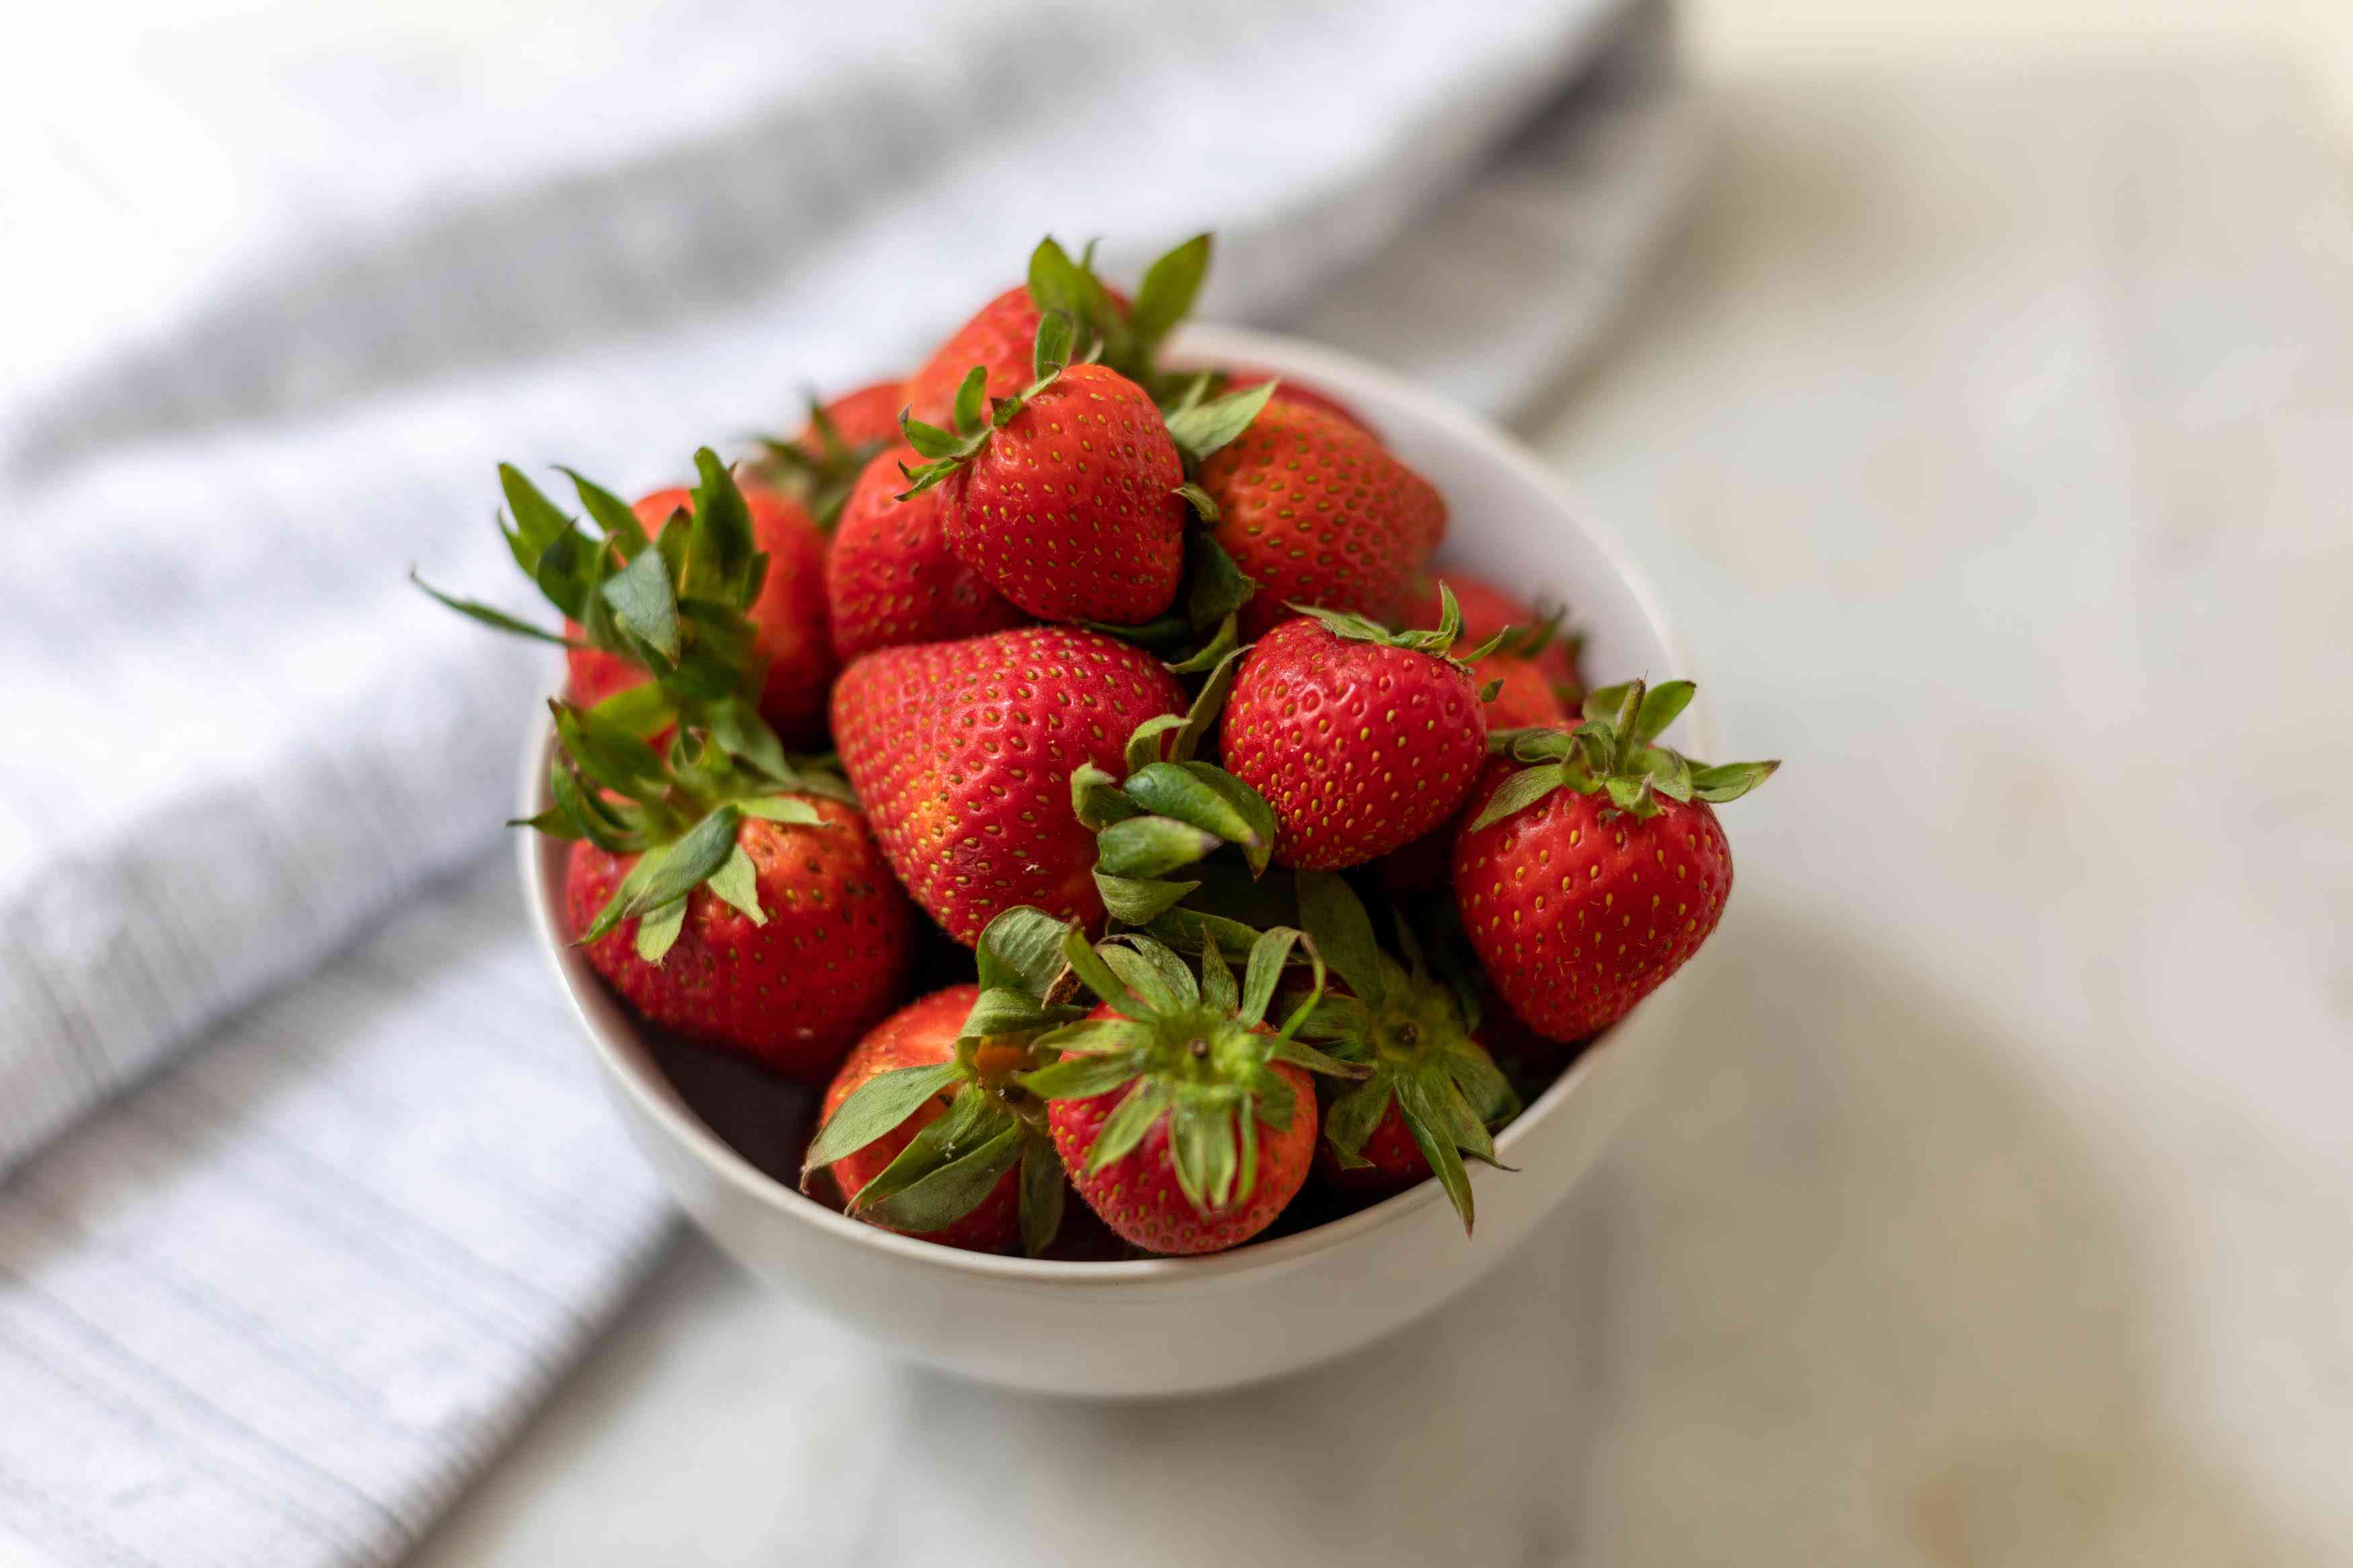
Gathering Fresh Strawberries
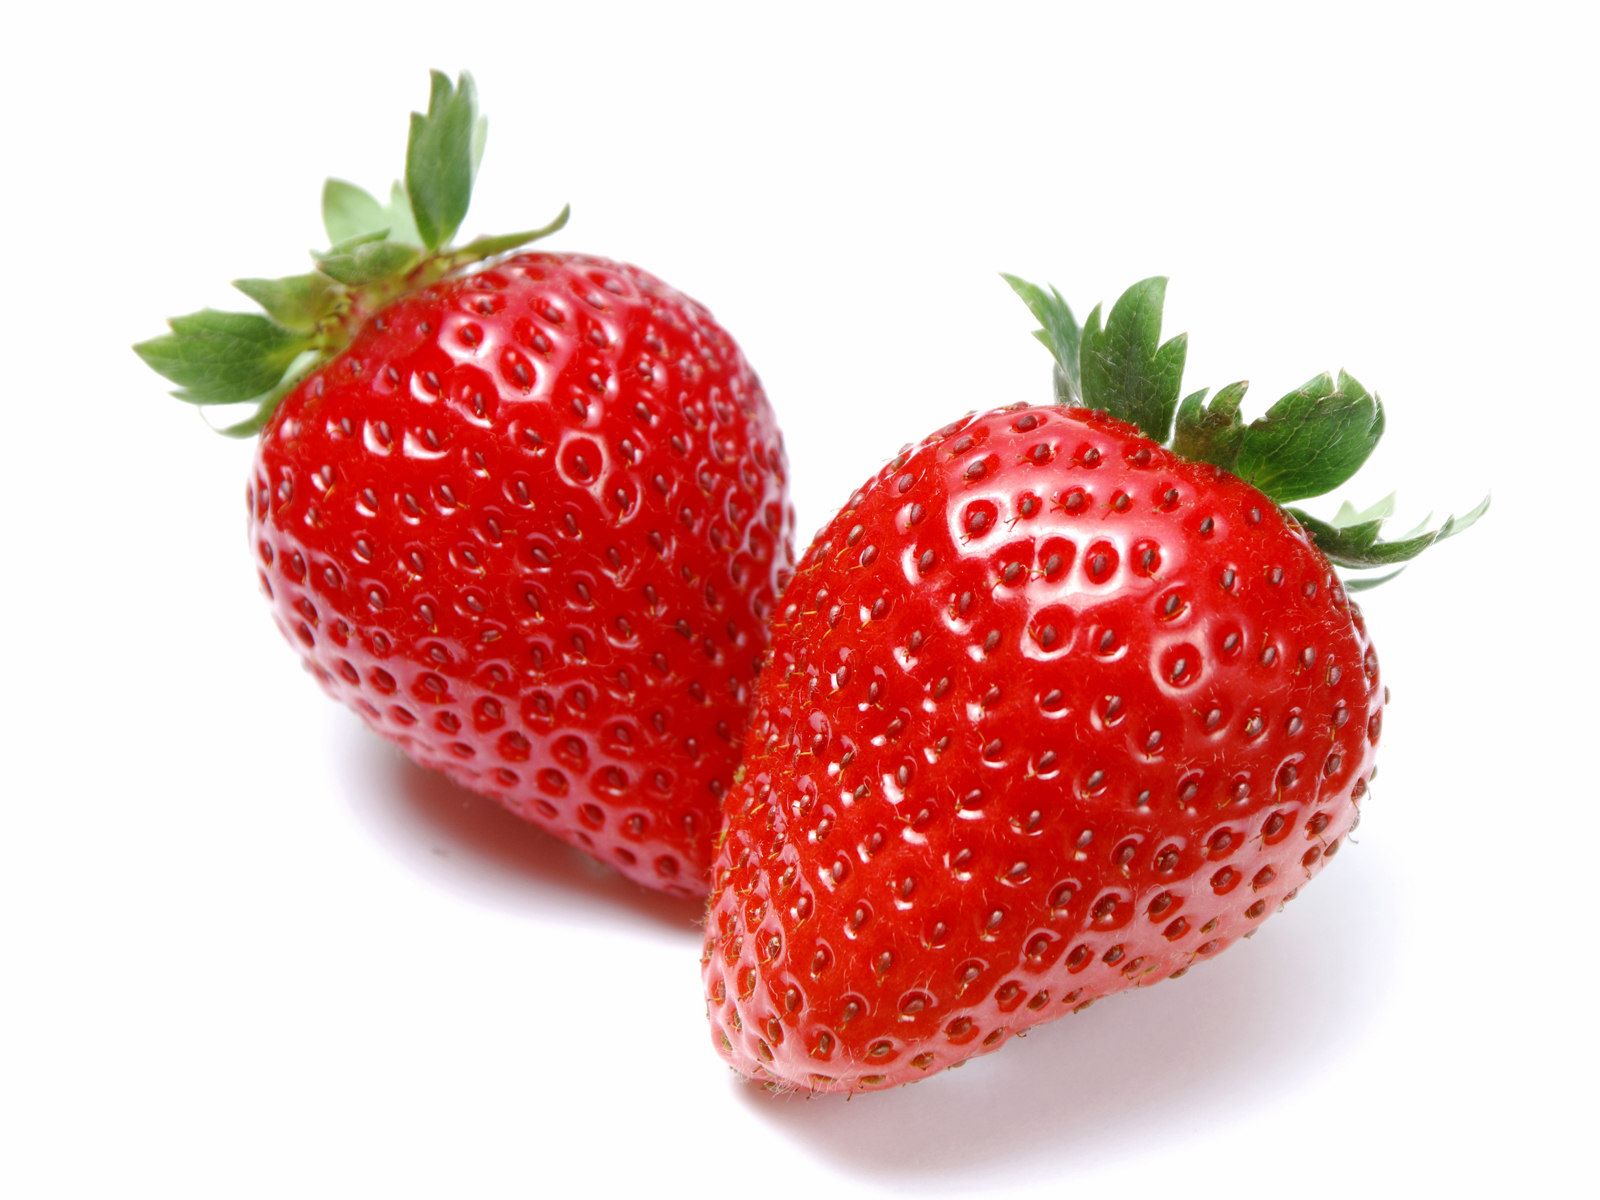
The first step in obtaining strawberry seeds is to gather fresh strawberries. You can either pick strawberries from your own garden if you have strawberry plants, or you can purchase them from a local farmers market or grocery store.
When selecting strawberries, it is important to choose ripe, healthy berries. Look for strawberries that are fully red, firm, and free from any mold or damage. Avoid strawberries that are overripe or mushy, as their seeds may not be viable for planting.
If you have your own strawberry plants, it is best to pick the strawberries in the morning when they are cool and the sugar content is at its highest. Gently pluck the strawberries from the plant, being careful not to damage the fruit or the surrounding foliage. Place the freshly picked strawberries in a clean container, ensuring there is enough space to avoid crushing or bruising the berries.
If you are purchasing strawberries, try to choose organic or locally grown strawberries, as they are less likely to have been treated with chemicals that can affect seed viability. Inspect the strawberries to ensure they are in good condition and have not been sitting out for too long.
Remember, the quality of the strawberries you choose will directly impact the quality of the seeds you obtain, so it’s crucial to select the best possible berries for seed extraction.
Now that you have gathered your fresh strawberries, it’s time to extract the seeds. Let’s move on to the next step in the process!
Extracting the Seeds
Extracting strawberry seeds from fresh berries may sound a bit intimidating, but it’s actually a straightforward process. Here’s how you can do it:
- Prepare your materials: You will need a sharp knife or scissors, a clean plate or paper towel, and a small bowl of water.
- Cut the strawberries: Take your ripe strawberry and carefully slice it in half lengthwise. You should be able to see the tiny seeds embedded on the outer surface of the strawberry.
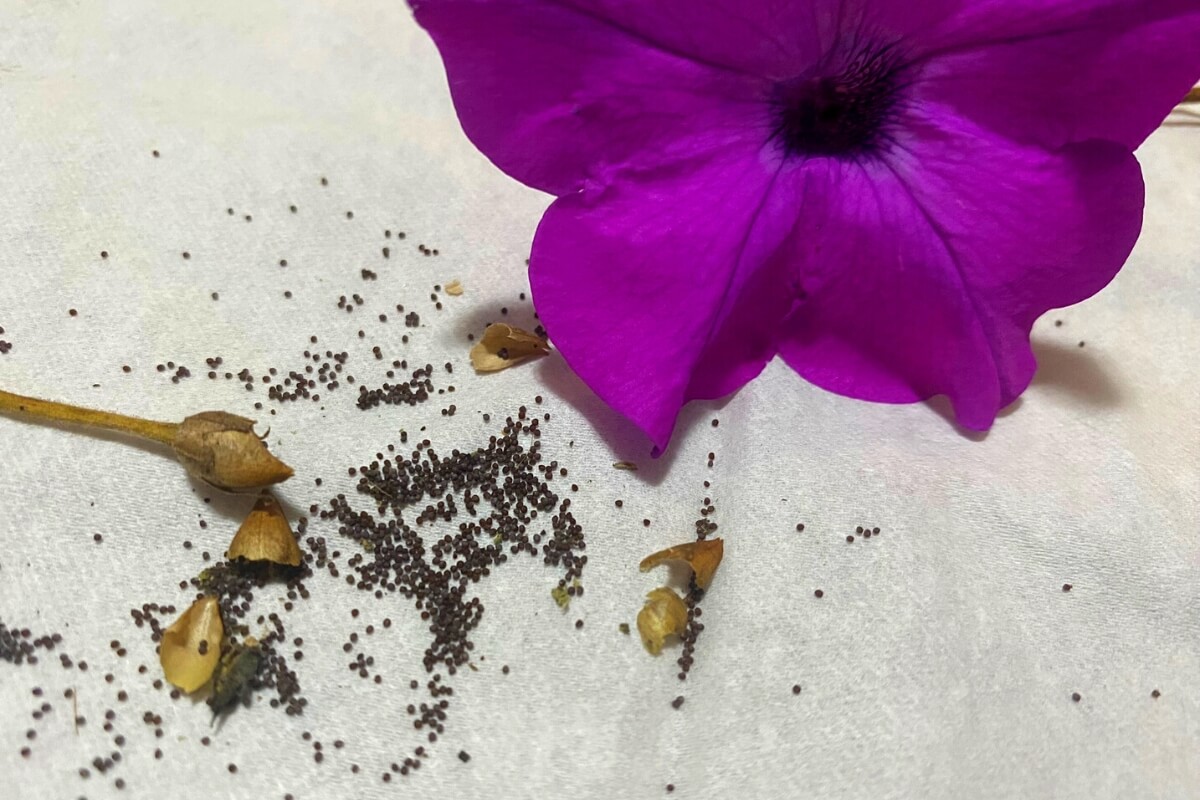
- Separate the seeds: Gently scrape the seeds from the strawberry flesh using your knife or scissors. Place the seeds on a clean plate or paper towel. It’s natural for some strawberry pulp to come along with the seeds, but try to remove as much excess pulp as possible.
- Rinse the seeds: Once you have extracted the seeds, transfer them to the small bowl of water. Swirl the seeds around in the water to remove any remaining pulp and debris. Strain the seeds using a fine-mesh sieve or colander.
- Dry the seeds: Spread the rinsed seeds on a clean paper towel or a piece of newspaper. Allow the seeds to air dry completely. This may take several days, so be patient. Keep the seeds away from direct sunlight and high humidity during the drying process.
It’s important to note that each strawberry seed is actually a tiny fruit containing an embryo. As a result, each seed has the potential to develop into a new strawberry plant with its unique characteristics.
Now that you have successfully extracted the strawberry seeds, it’s time to clean and store them properly. Let’s move on to the next step!
Washing and Drying the Seeds
After extracting the strawberry seeds, it’s essential to wash and dry them thoroughly before storing or planting. This step helps remove any remaining debris or pulp and ensures the seeds are clean and ready for storage or germination. Follow these steps to wash and dry your strawberry seeds:
- Rinse the seeds: Transfer the extracted seeds to a fine-mesh sieve or colander. Hold the sieve under running water and gently rinse the seeds, carefully removing any clinging pulp or residue. Continue rinsing until the water runs clear.
- Pat dry: After rinsing, gently pat the seeds dry using a clean paper towel. Avoid rubbing or pressing the seeds too firmly, as this may damage them.
- Air dry: Place the washed and dried seeds on a clean paper towel or a piece of newspaper. Allow them to air dry completely. This may take a few days, depending on the humidity levels in your location. Ensure the seeds are kept in a well-ventilated area away from direct sunlight.
- Avoid heat or artificial drying: It’s crucial to use the natural air-drying method rather than applying heat or artificial sources like ovens or heaters. Excessive heat can damage the seeds and affect their viability.
Once the strawberry seeds are completely dry, they are ready to be stored for future use or planted immediately. Properly dried seeds have a higher chance of germination and successful growth, so ensure they are thoroughly dry before moving on to the next steps.
Now that the seeds are clean and dry, let’s explore the best methods for storing them to maintain their viability over an extended period.
To get strawberry seeds from strawberries, simply cut the strawberry in half and scrape the seeds onto a paper towel. Let the seeds dry for a few days before planting.
Read more: How To Plant Strawberries From Seed
Storing Strawberry Seeds
Proper storage is key to maintaining the viability of strawberry seeds for future use. By following the right methods, you can ensure that your stored seeds remain viable and ready for germination when you decide to plant them. Here are some essential tips for storing strawberry seeds:
- Use airtight containers: Select airtight containers that are moisture-proof and will protect the seeds from humidity, pests, and fluctuations in temperature. Good options include small glass jars with tight-fitting lids, plastic zip-top bags, or seed storage envelopes.
- Label and date: Clearly label each container with the variety of strawberry seeds and the date of collection. This information will help you keep track of the seed’s age and enable you to plant the oldest seeds first.
- Store in a cool, dark place: Find a cool, dry, and dark location for your seed storage. The ideal temperature range for storing strawberry seeds is between 32°F (0°C) and 41°F (5°C). A refrigerator or a cool basement is often suitable for this purpose.
- Prevent moisture buildup: To minimize any moisture buildup, you can place a desiccant packet or a small pouch of rice in the container. This helps absorb excess moisture and maintains the seeds’ dryness.
- Regularly check for viability: Over time, the viability of strawberry seeds may decrease. To ensure you are working with viable seeds, periodically perform germination tests by planting a few seeds and observing their ability to sprout. If a significant percentage of seeds fail to germinate, it may be time to collect and save fresh seeds.
It’s important to note that strawberry seeds, like many other plant seeds, have a limited lifespan. While some sources suggest that strawberry seeds can remain viable for up to two years when stored properly, it’s generally recommended to use them within the first year for the highest likelihood of successful germination.
Now that your strawberry seeds are safely stored, you can start planning when and how to plant them. Let’s move on to the exciting part – planting and growing your own strawberry seedlings!
Planting the Strawberry Seeds
Now that you have properly stored your strawberry seeds, it’s time to bring them to life by planting them. Planting strawberry seeds is a rewarding process that allows you to witness the growth and development of your own strawberry plants. Follow these steps to ensure a successful planting:
- Choose the right planting time: Strawberry seeds are typically planted in early spring or late summer when the weather is mild. Consider your climate and the specific requirements of the strawberry variety you are planting when determining the best time to sow the seeds.
- Prepare the planting medium: Fill small seedling trays or pots with a well-draining potting mix. Alternatively, you can use a mixture of peat moss, vermiculite, and perlite for optimal drainage.
- Sow the seeds: Place 2-3 strawberry seeds on the surface of the planting medium in each seedling tray or pot. Gently press the seeds into the medium, ensuring they are in good contact with the soil without being buried too deep.
- Lightly cover the seeds: Sprinkle a thin layer (about 1/8 inch) of the planting medium over the seeds to provide some protection and help retain moisture.
- Maintain moisture: Keep the planting medium consistently moist throughout the germination process. Use a spray bottle or a misting attachment to water the seeds gently, as oversaturating the soil can lead to seed rot.
- Provide proper lighting: Place the seedling trays or pots in a location that receives bright but indirect sunlight. If natural light is insufficient, consider using grow lights to provide the necessary light intensity for optimal germination.
- Be patient and wait for germination: Strawberry seeds typically take 2-4 weeks to germinate, although it can vary depending on the variety and growing conditions. Be patient and maintain the right moisture and light levels as you wait for the first signs of seedlings.
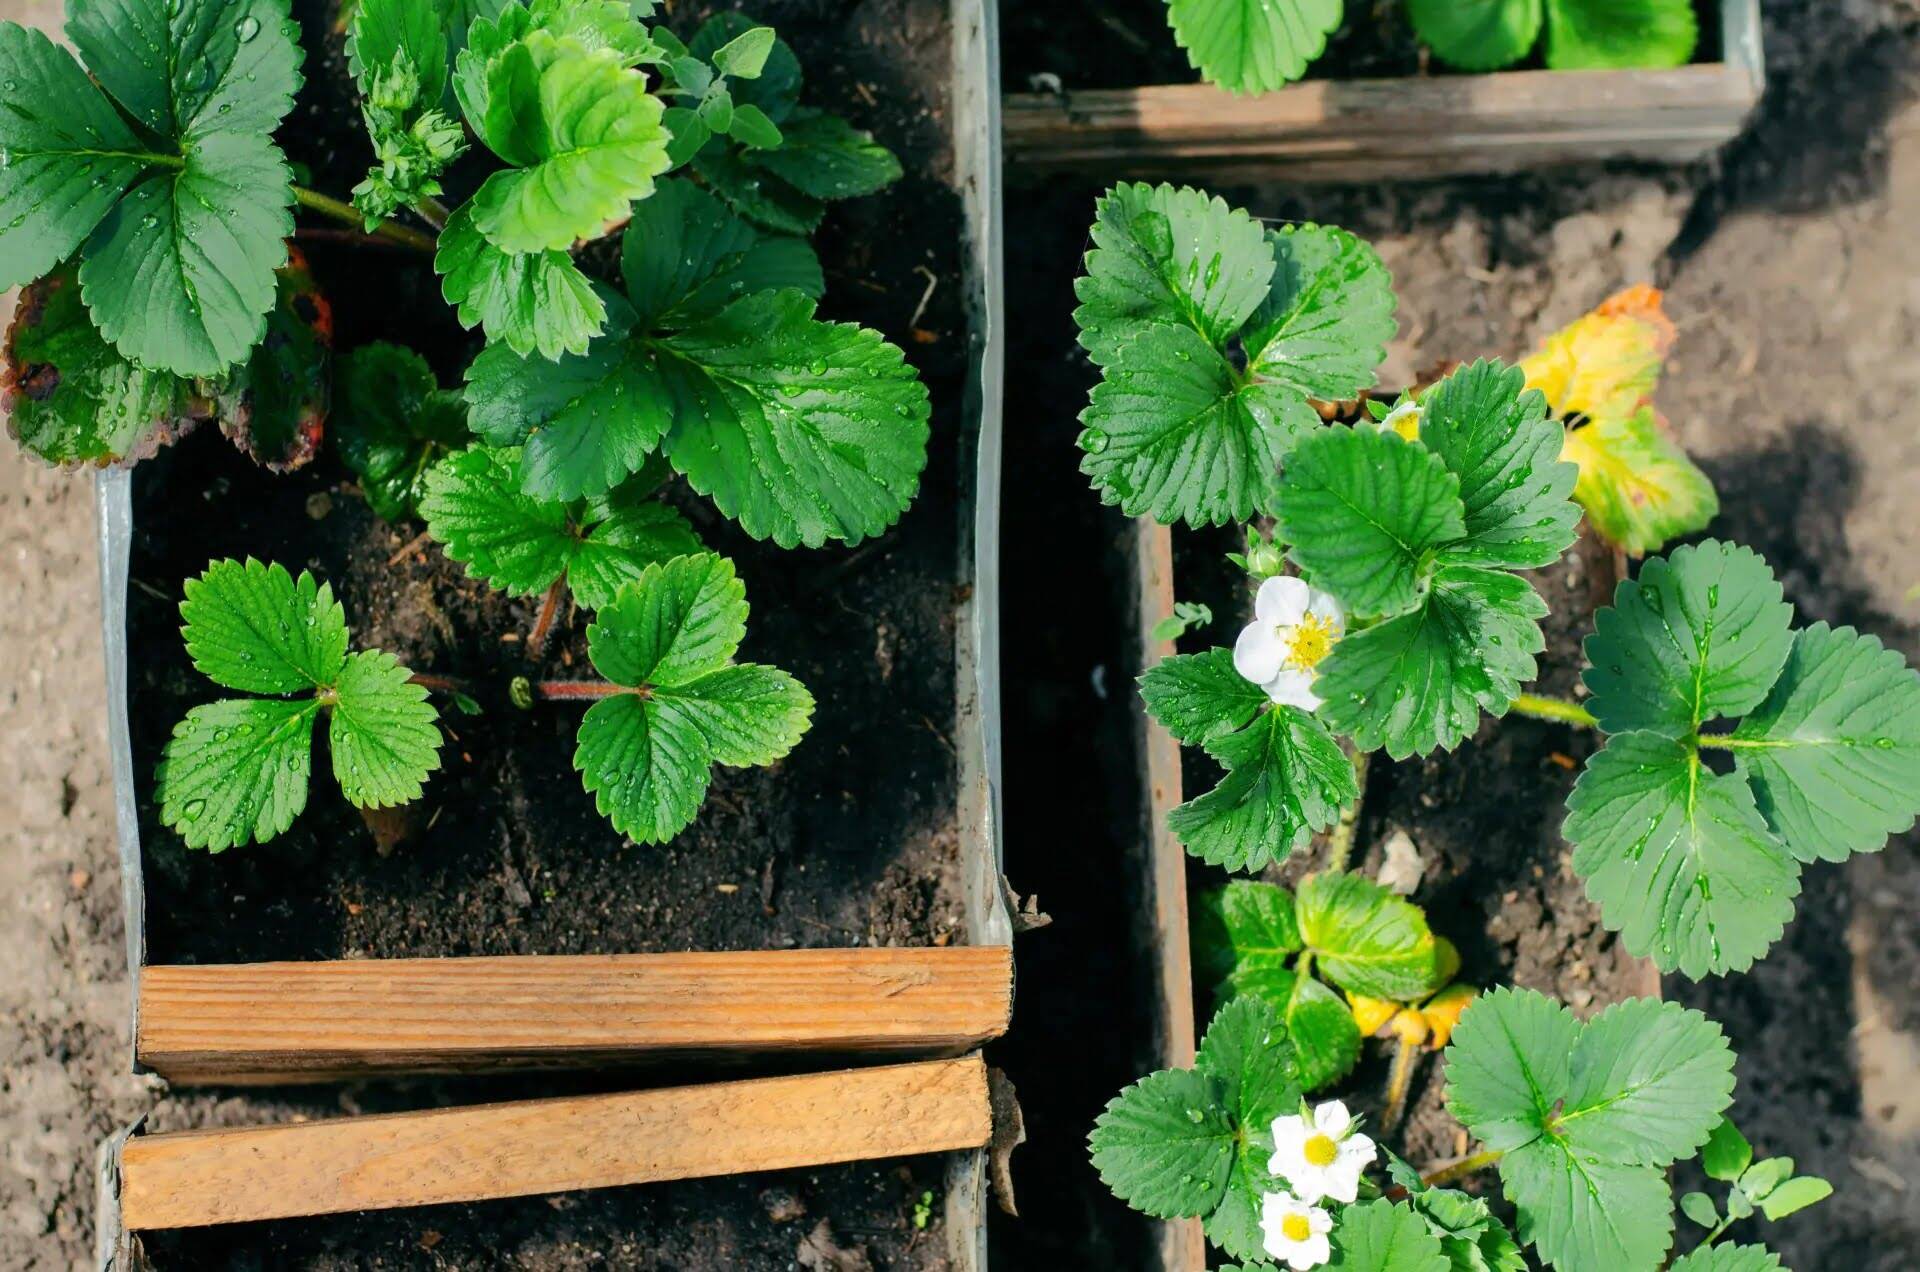
Once the seedlings have developed a few sets of true leaves and are strong enough to handle, you can transplant them into larger pots or directly into your garden. Ensure they are given enough space to spread and grow, as strawberry plants tend to grow vigorously.
Now that you have planted your strawberry seeds, it’s time to care for the seedlings and help them grow into healthy, productive plants. Let’s explore some essential tips for caring for strawberry seedlings.
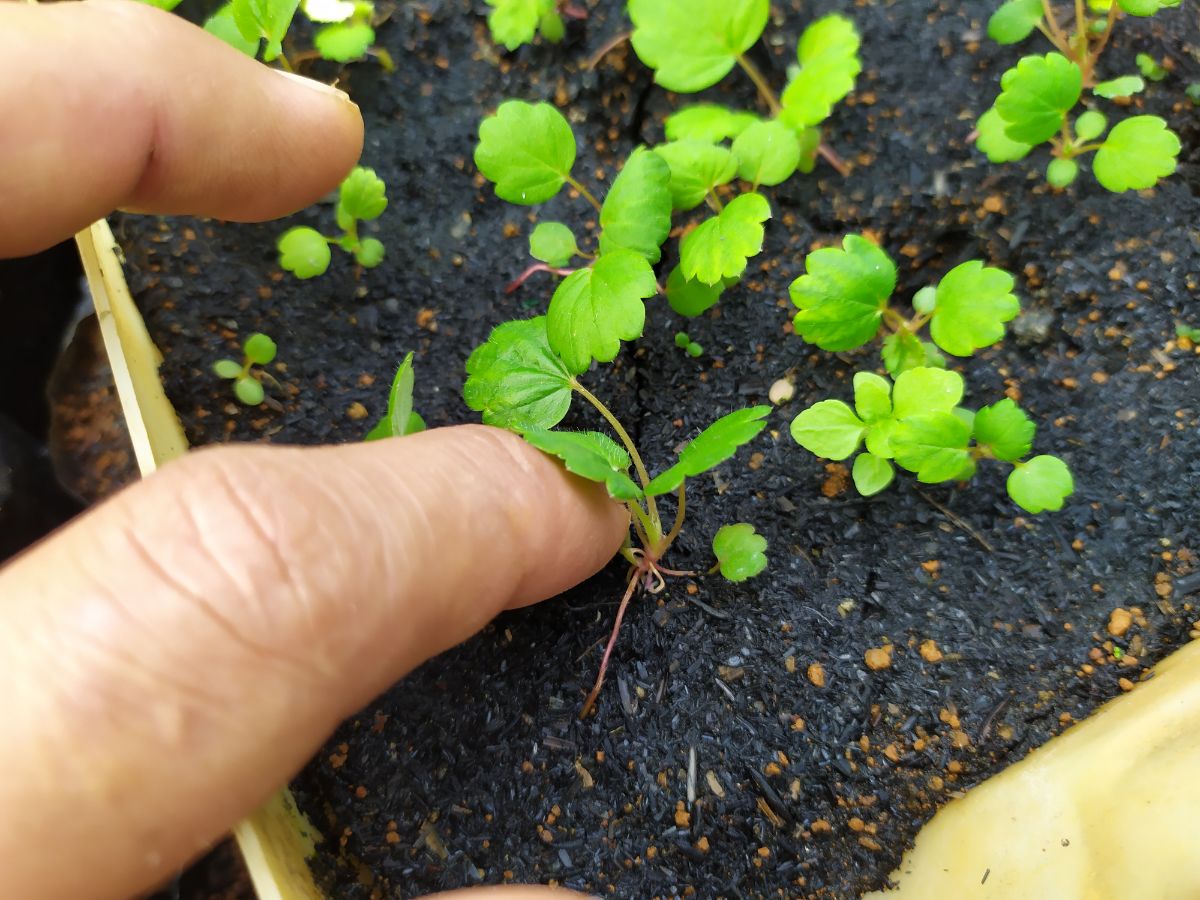
Caring for Strawberry Seedlings
Now that your strawberry seedlings have emerged and are beginning to grow, it’s crucial to provide them with proper care to ensure their healthy development. Here are some essential tips for caring for your strawberry seedlings:
- Watering: Keep the soil consistently moist, but not waterlogged. Strawberry plants require regular watering, especially during dry periods. Water the seedlings at the base to avoid wetting the foliage, which can lead to disease.
- Weeding: Remove any weeds or unwanted plants that compete with the strawberry seedlings for nutrients and space. Be careful not to disturb the shallow roots of the seedlings when weeding.
- Fertilization: Apply a balanced, slow-release fertilizer or organic compost around the base of the seedlings to provide essential nutrients. Follow the package instructions for the appropriate dosage and timing.
- Sunlight: Strawberry plants thrive in full sun, so ensure they receive at least 6-8 hours of direct sunlight daily. If your location experiences intense heat, provide some shade during the hottest part of the day to prevent stress on the seedlings.
- Protect from pests: Keep a close eye on your strawberry seedlings for signs of pest damage, such as chewed leaves or wilted growth. Implement organic pest control methods, such as handpicking pests or using natural insecticides, to protect your plants.
- Mulching: Apply a layer of organic mulch, such as straw or wood chips, around the base of the seedlings. This helps retain moisture, suppresses weed growth, and regulates soil temperature.
- Monitor diseases: Regularly inspect the seedlings for signs of diseases, such as powdery mildew or fungal infections. Promptly address any issues by removing affected leaves or using appropriate organic treatments.
- Pinch off runners: As the strawberry plants grow, they may produce runners, which are long stems that extend from the main plant. Pinch off these runners to encourage the seedlings to focus on producing stronger roots and leaves.
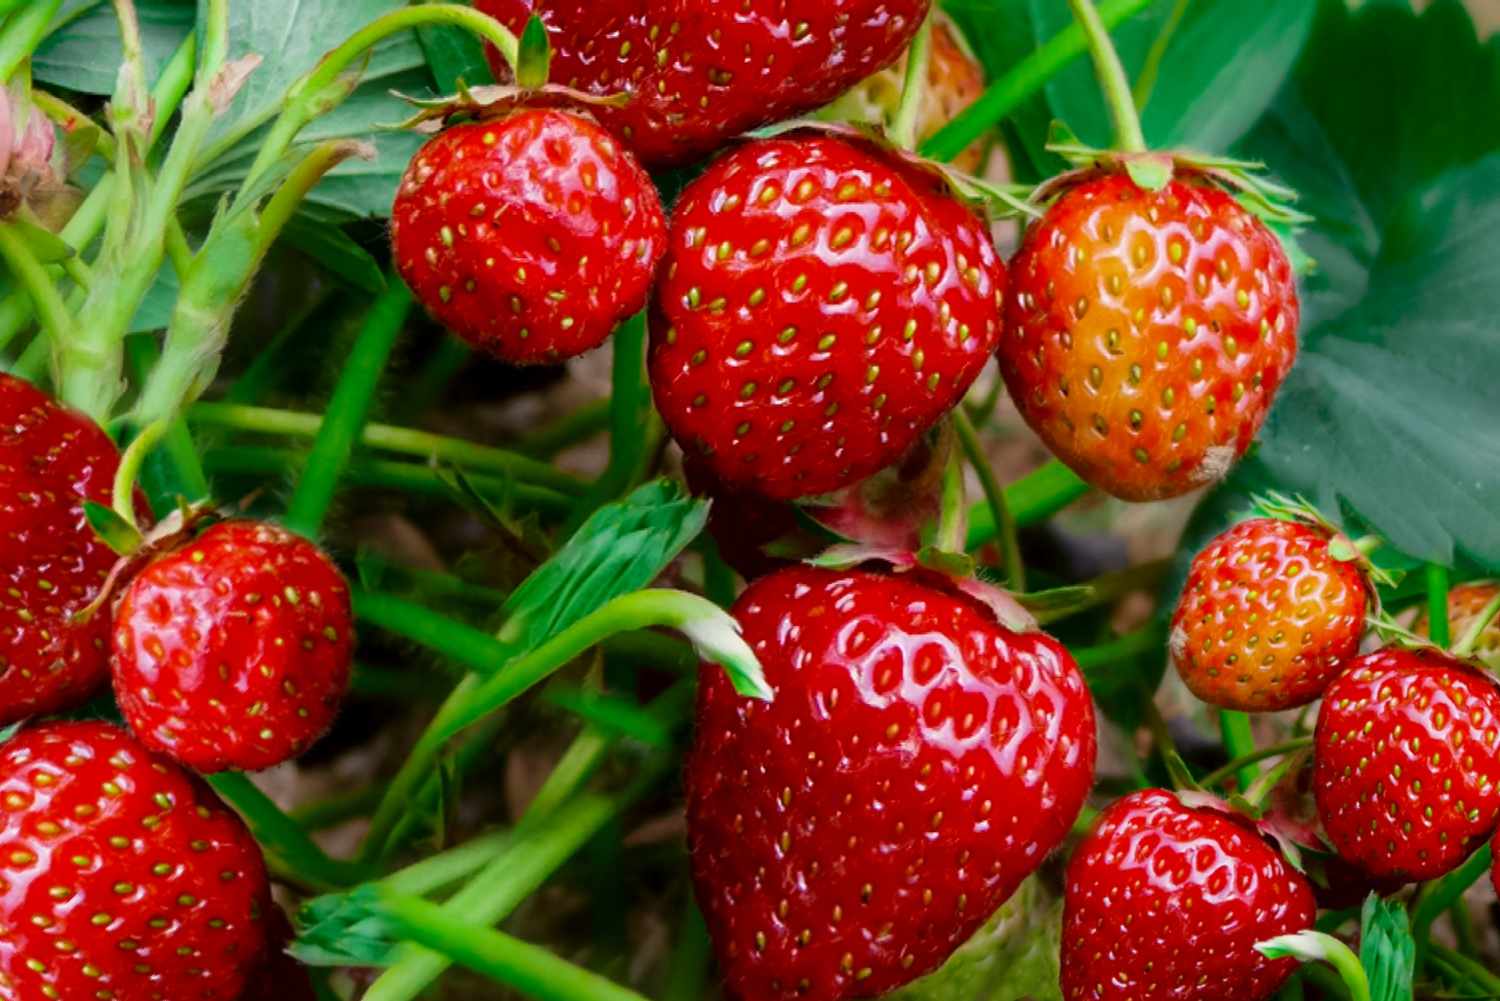
By providing appropriate care and attention, your strawberry seedlings will thrive and eventually bear delicious fruits. Monitor their growth, address any issues promptly, and continue to provide the necessary care as they mature.
With time, patience, and proper care, you’ll be rewarded with a bountiful harvest of homegrown strawberries that you can enjoy straight from your garden.
Let’s wrap up and summarize the key points we’ve covered in this guide to harvesting and growing strawberries from seeds.
Conclusion
Congratulations on completing your journey to learn how to get strawberry seeds from fresh strawberries! By saving and planting your own strawberry seeds, you have gained a valuable skill that allows you to propagate unique varieties, experiment with different growing conditions, and enjoy cost-effective strawberry gardening.
We began by understanding the importance of saving strawberry seeds and the benefits it offers, from preserving unique varieties to personalizing your selection and saving money. We then explored the process of gathering fresh strawberries, extracting the seeds, and washing and drying them properly to ensure viability. Storing the seeds in a cool, dark place using airtight containers was emphasized, along with periodically checking for their viability.
Next, we discussed the exciting part of planting the strawberry seeds, including choosing the right time, preparing the planting medium, sowing the seeds, and maintaining proper moisture and lighting. Finally, we covered essential care tips for nurturing your strawberry seedlings, such as watering, weeding, fertilizing, and protecting from pests and diseases.
Remember, growing strawberries from seeds requires patience, as it takes time for the seedlings to emerge and develop. However, the rewards are worth it. With proper care and attention, your strawberry seedlings will mature into productive plants that reward you with sweet and juicy berries.
Now that you have the knowledge and tools to successfully grow strawberries from seeds, it’s time to roll up your sleeves and embark on your strawberry gardening adventure. Enjoy the process, embrace the learning experience, and savor the satisfaction of harvesting and enjoying your very own homegrown strawberries!
Happy gardening!
Frequently Asked Questions about How To Get Strawberry Seeds From Strawberries
Was this page helpful?
At Storables.com, we guarantee accurate and reliable information. Our content, validated by Expert Board Contributors, is crafted following stringent Editorial Policies. We're committed to providing you with well-researched, expert-backed insights for all your informational needs.
0 thoughts on “How To Get Strawberry Seeds From Strawberries”