Home>Garden Essentials>How To Install Fake Grass For Dogs On A Rooftop

Garden Essentials
How To Install Fake Grass For Dogs On A Rooftop
Modified: October 20, 2024
Looking to create a pet-friendly rooftop garden? Learn how to install fake grass for dogs with our step-by-step guide and transform your rooftop into an oasis for your furry friends.
(Many of the links in this article redirect to a specific reviewed product. Your purchase of these products through affiliate links helps to generate commission for Storables.com, at no extra cost. Learn more)
Introduction
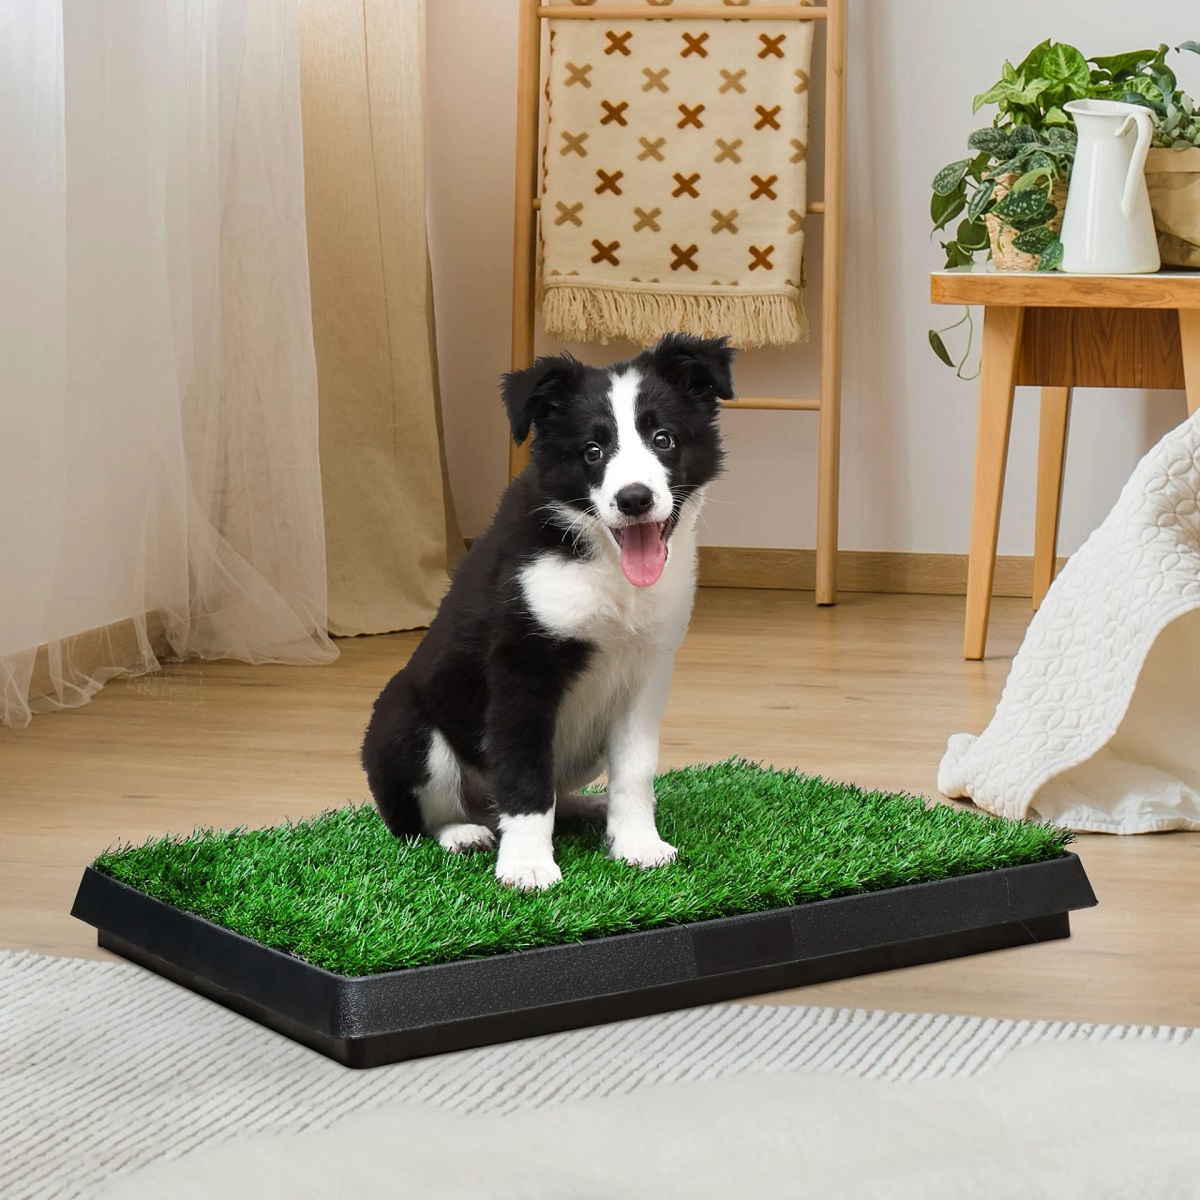
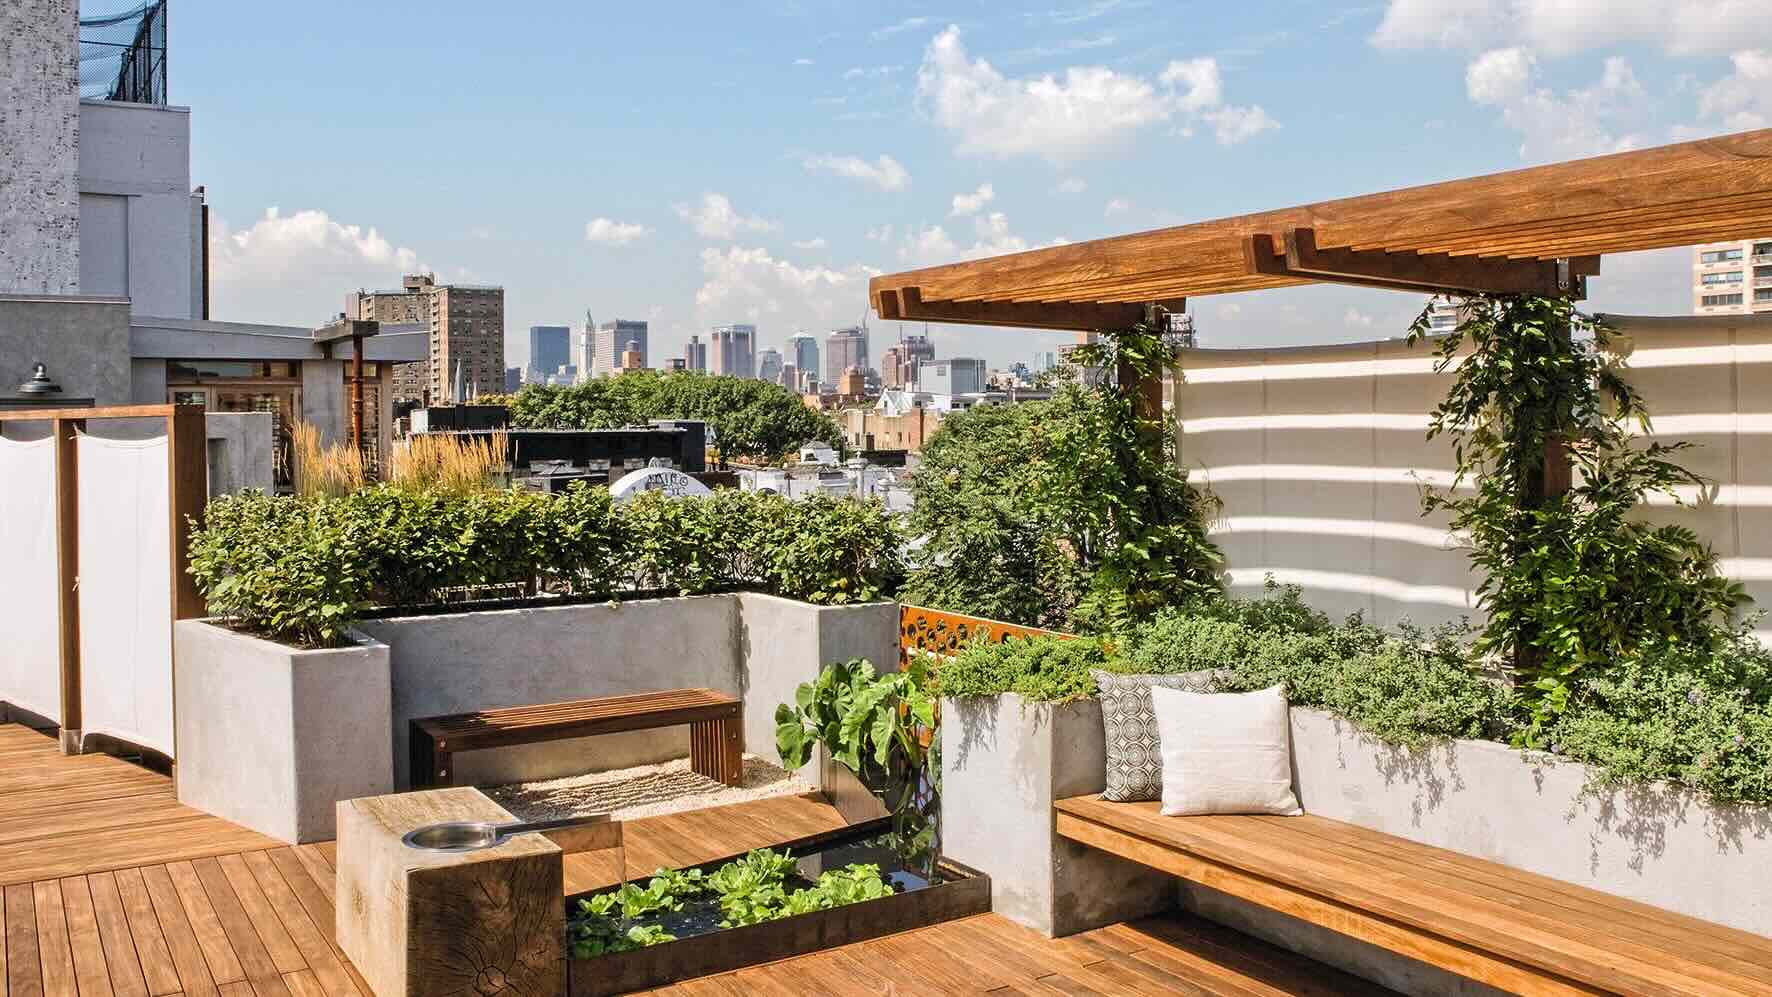
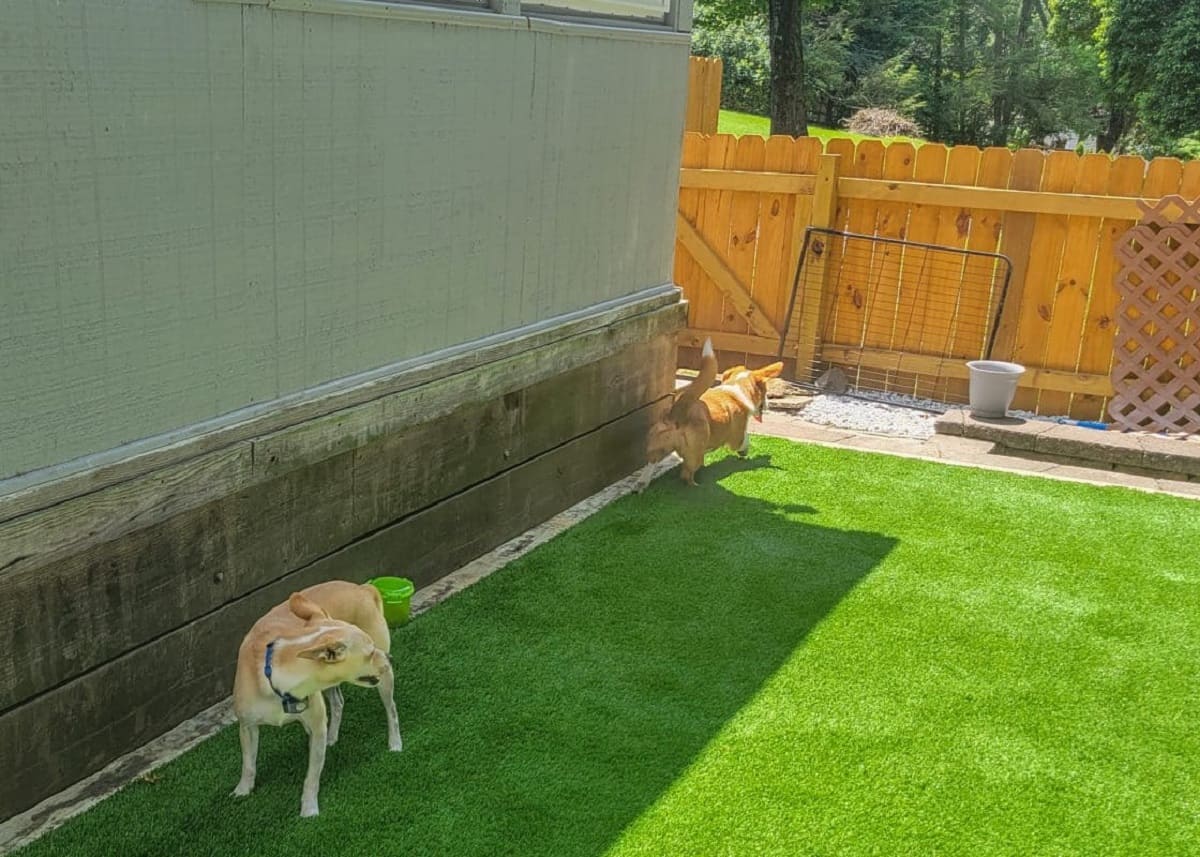
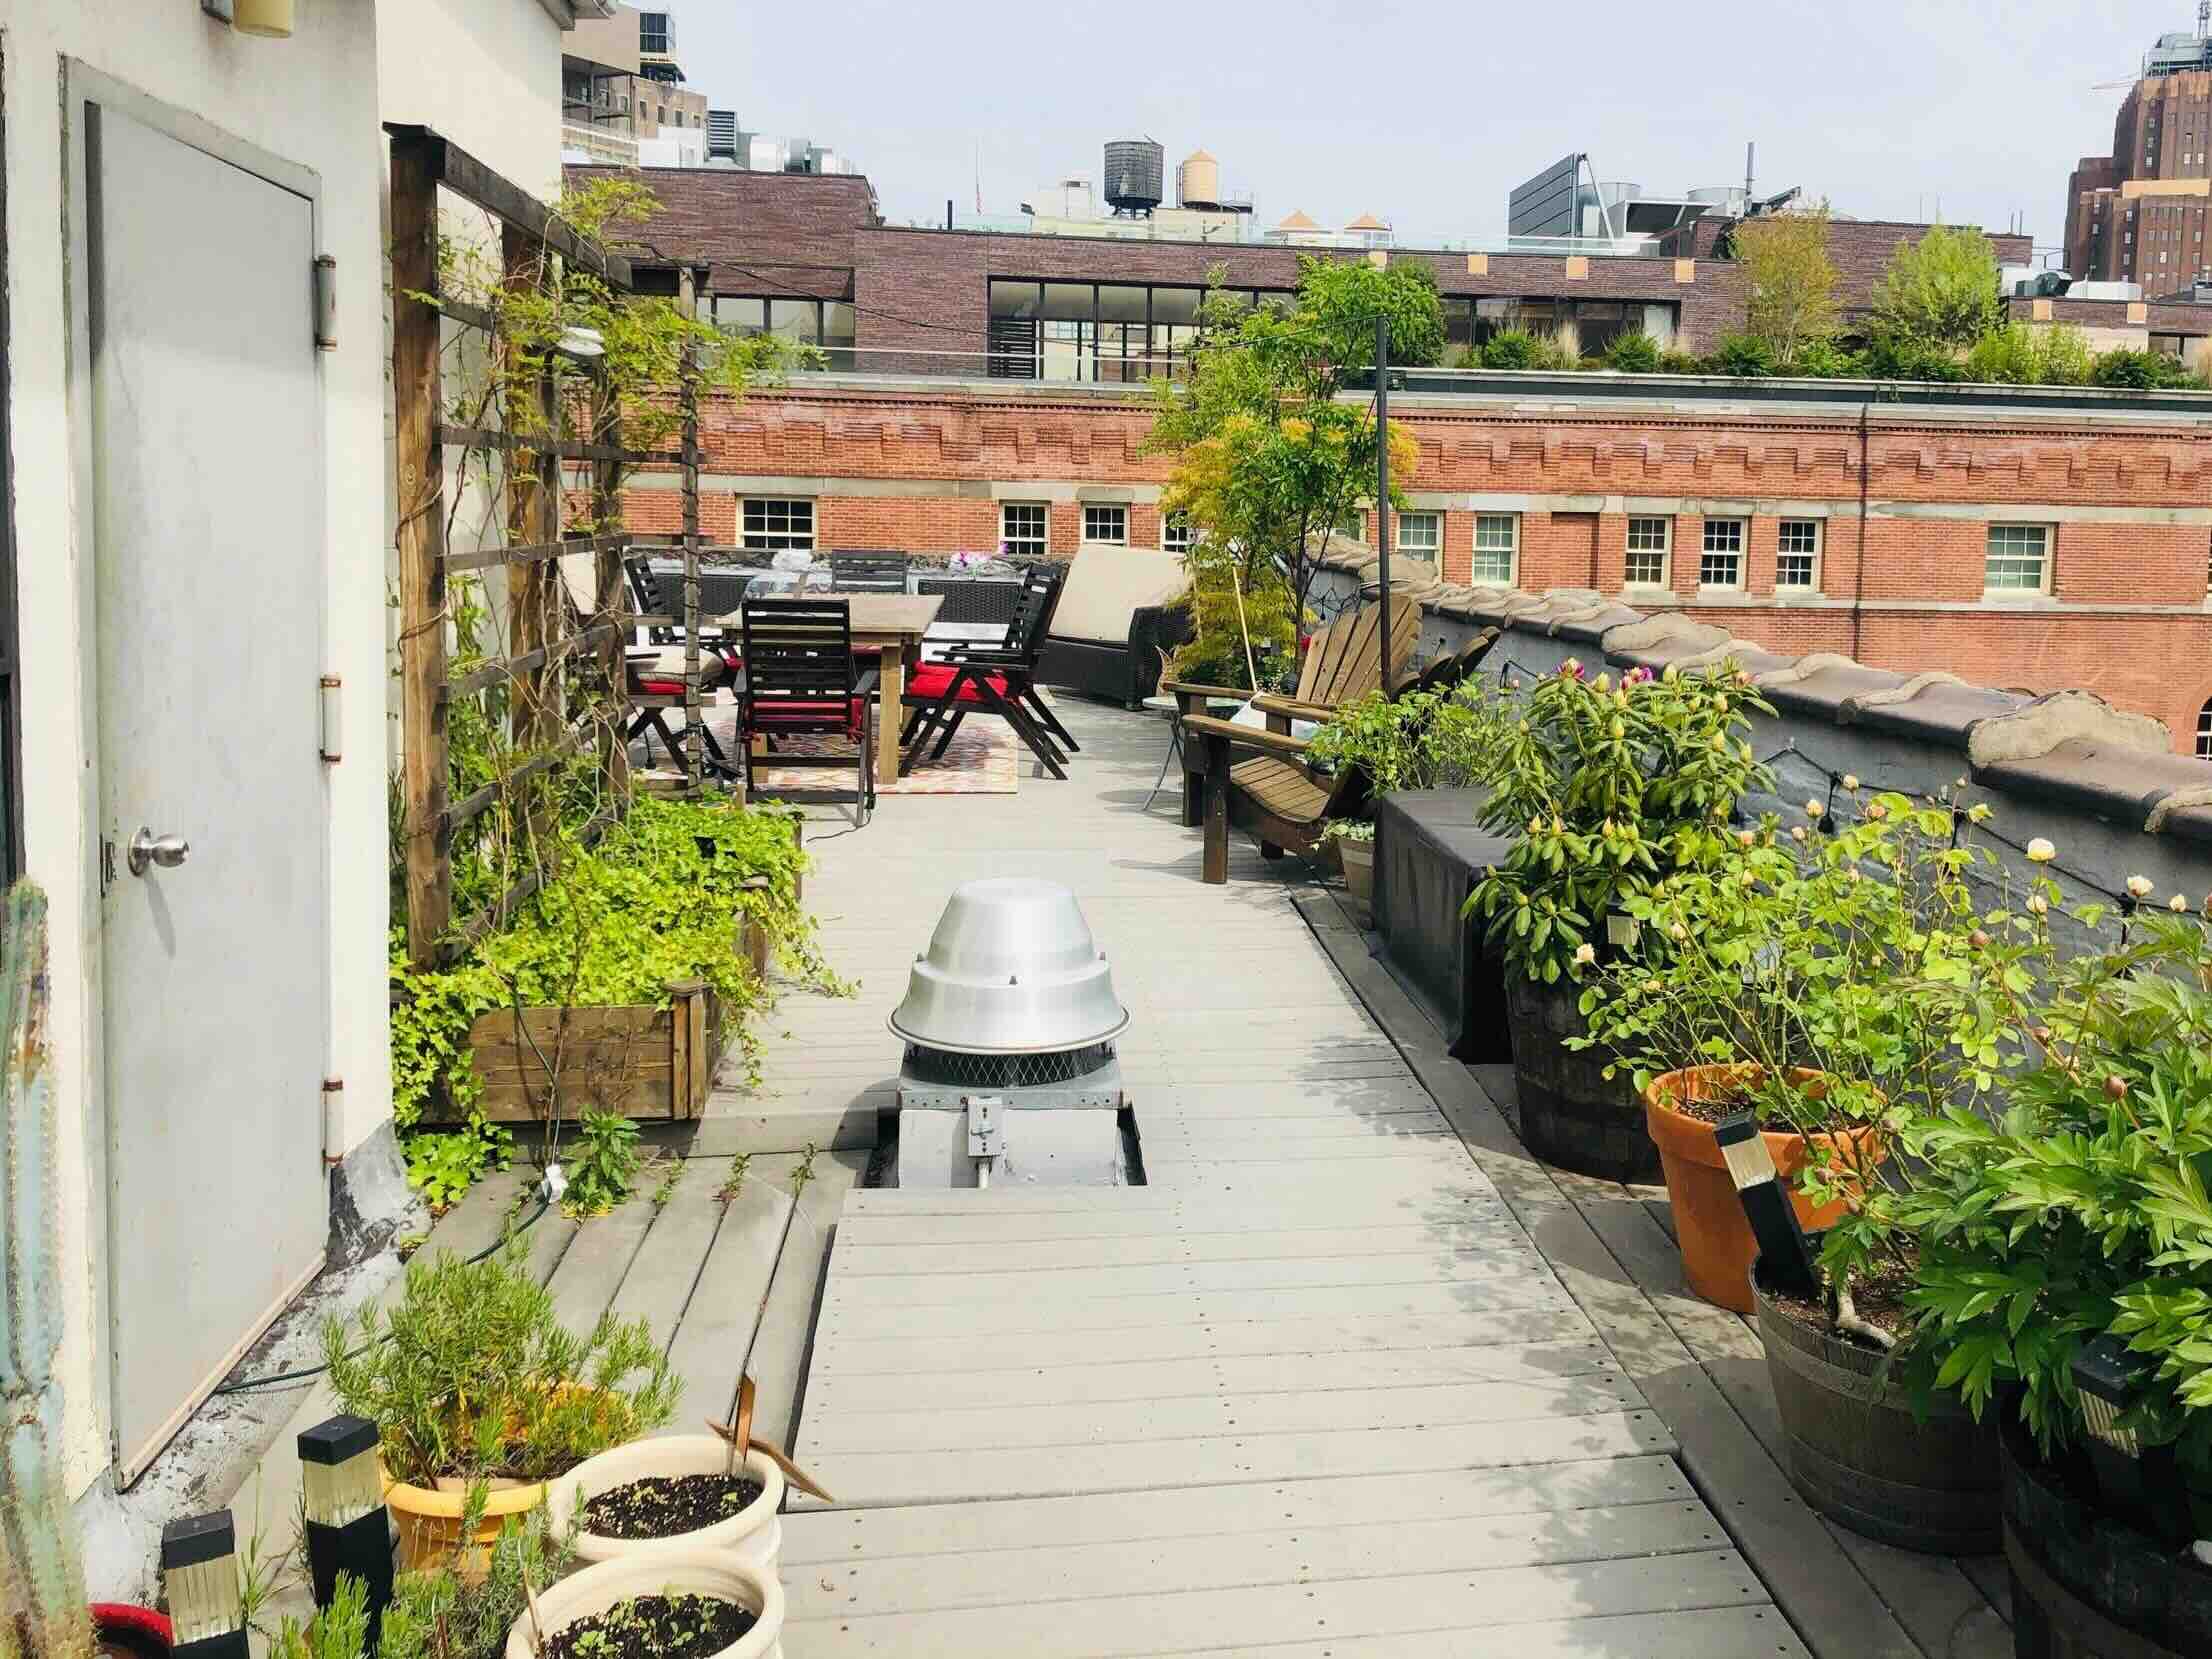
Welcome to our guide on how to install fake grass for dogs on a rooftop. If you have a rooftop area that is frequented by your furry friends, installing fake grass can provide them with a safe and comfortable space to play and relax. Fake grass, also known as artificial turf, offers several benefits such as low maintenance, durability, and resistance to wear and tear, making it an ideal choice for a rooftop dog run or play area.
In this article, we will take you through the step-by-step process of installing fake grass on a rooftop, specifically designed to withstand the needs of dogs. Whether you have a small or large rooftop space, this guide will help you create a pet-friendly environment that is both aesthetically pleasing and functional.
Before we get started, it’s important to note that the installation process may vary depending on the specific brand of fake grass you choose and the condition of your rooftop. It’s always a good idea to follow the manufacturer’s instructions for the best results. With that said, let’s dive in and learn how to install fake grass for dogs on a rooftop!
Key Takeaways:
- Create a pet-friendly rooftop oasis with fake grass for dogs. Measure, prepare, and install carefully for a durable and low-maintenance play area that your furry friends will love!
- Keep your rooftop fake grass clean and maintained for a long-lasting investment. Regular cleaning, brushing, and inspection will ensure a safe and comfortable environment for your dogs to enjoy.
Read more: How To Install Fake Grass In A Dog Run
Step 1: Measure the Rooftop
The first step in installing fake grass for dogs on a rooftop is to accurately measure the area. This will help you determine the amount of fake grass you’ll need to purchase and ensure that it fits perfectly on your rooftop. Here’s how to do it:
- Prepare the tools: Gather a measuring tape, a notepad, and a pen or pencil.
- Start at one corner: Begin at one corner of the rooftop and measure the length of one side. Note down the measurement in feet or meters. Repeat this process for the other sides of the rooftop.
- Check for irregular shapes: If your rooftop has irregular shapes or angles, measure the length of each section separately and note down the measurements.
- Calculate the total area: Once you have measured all sides and irregular shapes, add up the measurements to calculate the total area of the rooftop. This will give you the square footage or square meterage required for the fake grass.
- Consider extra materials: It’s always a good idea to purchase slightly more fake grass than the calculated area to account for any mistakes or additional needs in the installation process. It’s better to have a little extra than fall short.
By accurately measuring your rooftop, you can ensure that you purchase the right amount of fake grass and avoid any wastage or shortage. This step sets the foundation for a successful installation process, so take your time and double-check your measurements before moving on to the next step.
Step 2: Prepare the Surface
Once you have measured the rooftop, the next step is to prepare the surface where the fake grass will be installed. Proper surface preparation is crucial for the longevity and performance of the fake grass, especially in a rooftop setting. Follow these steps to prepare the surface:
- Clean the rooftop: Remove any debris or loose materials from the rooftop, such as leaves, dirt, or rocks. Sweep or use a leaf blower to ensure the surface is clean and free from obstructions.
- Repair any damages: Inspect the rooftop for any cracks, holes, or uneven areas. Use a concrete patch or rooftop repair product to fix any damages. Smooth out any rough spots or uneven surfaces to create a level base for the fake grass.
- Create drainage: If your rooftop doesn’t have a built-in drainage system, make sure to create proper drainage to prevent water accumulation. This can be done by installing drainage tiles or creating slopes using sand or gravel to redirect water flow.
- Install a weed barrier: To prevent weeds from growing through the fake grass, install a weed barrier over the prepared surface. This will help maintain a clean and weed-free rooftop area for your dogs.
- Secure edges: If your rooftop has exposed edges or gaps, install edge restraints or use adhesive to secure the edges of the fake grass. This will prevent any shifting or movement once the fake grass is laid down.
Properly preparing the surface ensures a stable and long-lasting installation of the fake grass. Take your time to address any issues or potential obstacles and ensure that the rooftop surface is clean, level, and ready to receive the artificial turf.
Step 3: Install the Base Layer
Once the surface is prepared, it’s time to install the base layer that will provide stability and proper drainage for the fake grass. The base layer consists of crushed stone or decomposed granite and is essential for maintaining a solid foundation. Follow these steps to install the base layer:
- Calculate the base layer depth: Determine the appropriate depth for the base layer. Generally, a depth of 2-3 inches (5-7.5 cm) is recommended, but this may vary based on the specific requirements of your fake grass and the rooftop conditions.
- Mark the depth: Use stakes or markers to indicate the desired depth around the perimeter of the rooftop. This will serve as a guide during the installation process.
- Spread the crushed stone: Start spreading the crushed stone or decomposed granite evenly across the rooftop. Use a rake or shovel to distribute it smoothly and maintain the desired depth. Make sure to compact the base layer as you go to ensure a firm and stable surface.
- Level the base layer: Use a compactor or tamper to compress and level the crushed stone. This will help create a solid and even base for the fake grass. Take your time to ensure that the base layer is flat and consistent throughout the rooftop surface.
- Water the base layer: Lightly spray water over the base layer to help settle the materials and provide additional stability.
The base layer serves as a strong foundation for the fake grass, promoting proper drainage and preventing it from shifting or becoming uneven. Ensure that the base layer is well-compact and level before proceeding to the next step of the installation process.
Step 4: Lay the Fake Grass
Now that the base layer is in place, it’s time to lay the fake grass on your rooftop. This step requires careful positioning and alignment to ensure a seamless and professional-looking installation. Follow these steps to lay the fake grass:
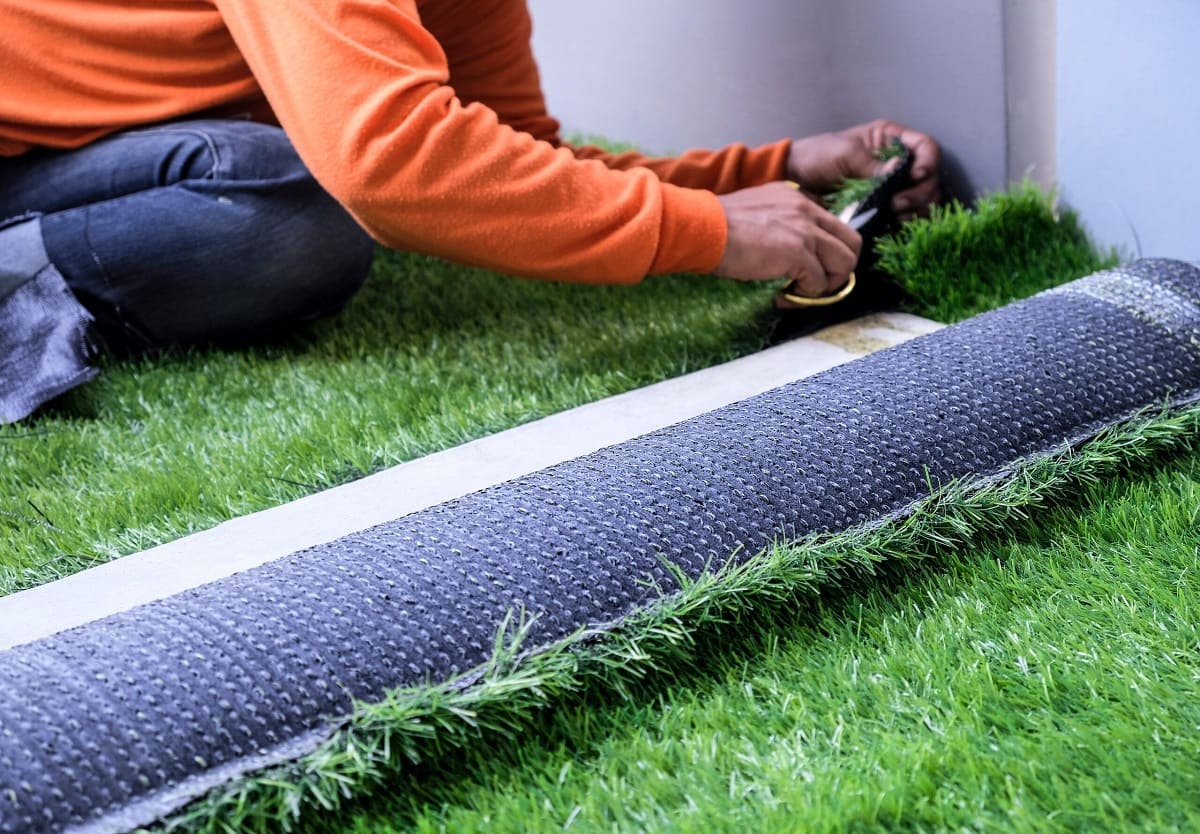
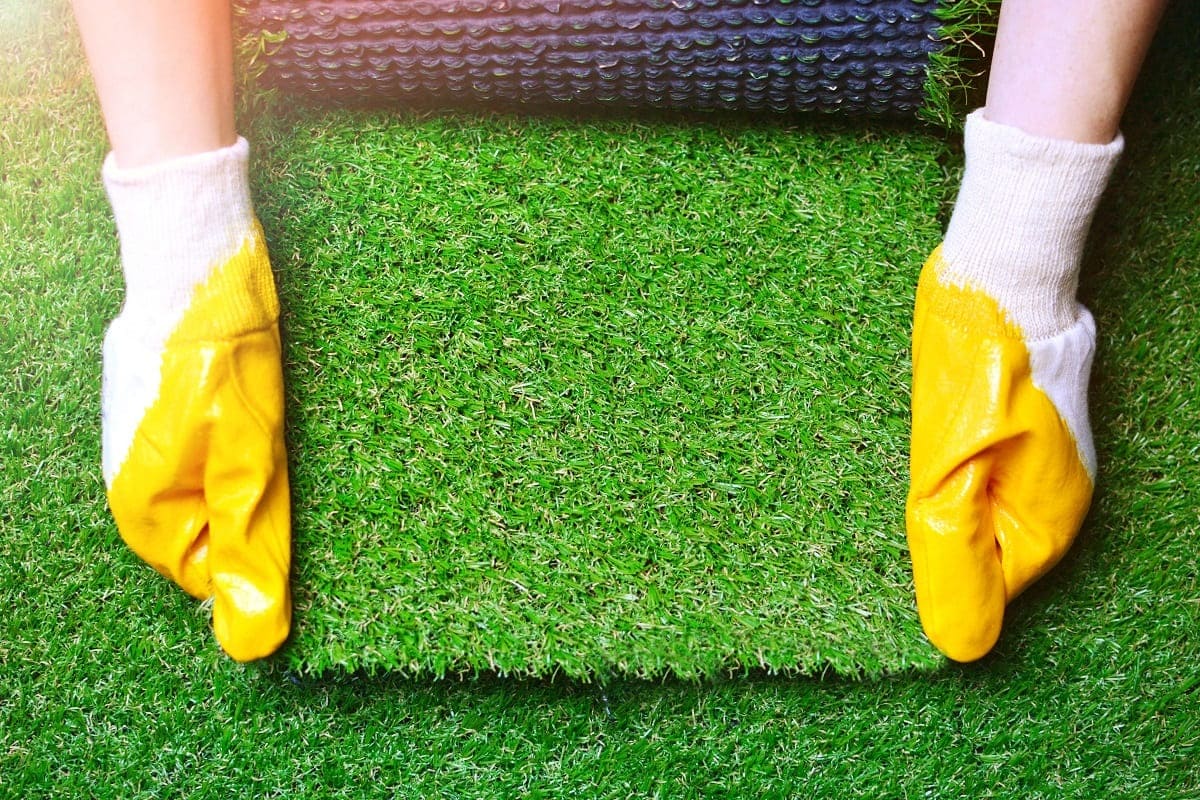
- Roll out the fake grass: Unroll the fake grass on the rooftop and position it according to the dimensions and shape of the area. Allow the grass to relax and settle for a few hours, especially if it has been tightly rolled during transportation.
- Trim the edges: Using a utility knife or scissors, carefully trim the edges of the fake grass to fit the rooftop perfectly. Take your time to ensure clean and precise cuts.
- Overlap seams: If your rooftop area is larger than the width of the fake grass rolls, you may need to join multiple rolls together. Align the seams and use adhesive or seam tape to secure the edges and create a seamless look.
- Check for wrinkles or folds: Smooth out any wrinkles or folds in the fake grass by gently pulling and adjusting the material. This will help create a smooth and natural appearance.
- Secure the fake grass: Use landscaping staples or nails to secure the fake grass to the base layer. Place them along the edges and approximately every 6-8 inches (15-20 cm) apart. Make sure the grass is tight but not overly stretched.
Take your time during this step to ensure that the fake grass is positioned correctly and aligned properly. Pay attention to details such as trimming the edges and creating seamless joins to achieve a professional-looking installation.
When installing fake grass for dogs on a rooftop, make sure to use a high-quality artificial turf that is pet-friendly and has good drainage. It’s also important to properly secure the turf to prevent it from shifting or lifting in high winds.
Read more: How To Clean Dog Poop On Fake Grass
Step 5: Secure the Edges
Securing the edges of the fake grass is essential to prevent any shifting or movement, especially in high-traffic areas. This step ensures that the fake grass remains in place and maintains its neat appearance. Follow these steps to secure the edges of the fake grass:
- Trim excess grass: Trim any excess fake grass that extends beyond the edge of the rooftop. This will create a clean and tidy edge.
- Install edge restraints: Use flexible edge restraints, such as plastic or metal strips, along the perimeter of the rooftop. Secure them into the base layer and position them so that they line up with the edge of the fake grass.
- Secure with nails or screws: Use nails or screws to attach the edge restraints to the rooftop. Make sure to space them approximately 12-18 inches (30-45 cm) apart for proper stability.
- Tuck and secure: Carefully tuck the edge of the fake grass under the edge restraints. Use a mini sledgehammer or mallet to secure the grass and ensure a snug fit.
- Check for proper alignment: Inspect the edges of the fake grass to ensure they are properly aligned with the edge restraints. Adjust as needed to achieve a straight and even edge.
Securing the edges of the fake grass not only enhances the appearance but also helps to prevent tripping hazards and keeps the grass in place, even during playful dog activities. Take the time to properly secure the edges to ensure a durable and long-lasting installation.
Step 6: Apply Infill (Optional)
Applying infill to your fake grass is an optional step that can provide additional stability and help maintain the overall appearance of the turf. Infill refers to the material that is spread into the fake grass blades to add weight, support, and cushioning. While not necessary for all types of fake grass, it can be beneficial in certain situations. Here’s how to apply infill:
- Choose the right infill: There are various types of infill materials available, including silica sand, rubber granules, or a combination of both. Consider factors such as pet usage, desired level of cushioning, and local climate when selecting the infill material.
- Distribute the infill: Use a drop spreader or a shovel to evenly distribute the infill throughout the fake grass. Start at one end and work your way across the entire rooftop surface. Make sure to apply enough infill to the grass blades without overfilling.
- Brush in the infill: Use a stiff brush or power broom to brush the infill into the fake grass blades. This helps distribute the infill evenly and allows it to settle between the blades for a natural and uniform appearance.
- Check for proper coverage: Inspect the fake grass to ensure that the infill is evenly distributed and there are no areas that are lacking coverage. Add more infill as needed to achieve the desired result.
Applying infill can help enhance the performance and aesthetics of your fake grass, especially in areas where dogs frequently play or run. However, keep in mind that not all types of fake grass require infill, so it’s essential to consult with the manufacturer or installer to determine if it’s necessary for your specific product.
Step 7: Clean and Maintain the Fake Grass
Once the fake grass is installed on your rooftop, it’s important to establish a regular maintenance routine to keep it in optimal condition. Proper cleaning and maintenance will ensure the longevity and aesthetics of the fake grass, providing your furry friends with a clean and safe play area. Follow these steps to clean and maintain the fake grass:
- Remove debris: Regularly remove any leaves, twigs, or other debris that may accumulate on the surface of the fake grass. This can be done by using a leaf blower or a stiff broom.
- Brush the grass blades: Brush the fake grass blades with a stiff bristle broom. This helps to maintain their upright position and prevent matting or compacting of the turf. Brushing against the grain of the grass can be especially effective in rejuvenating the appearance of the fake grass.
- Treat stains: If there are any stains or pet waste on the fake grass, clean them up promptly. Use a mild detergent mixed with water to spot clean the affected area. Rinse thoroughly to remove any soap residue.
- Water the fake grass: Occasionally, give the fake grass a light watering to wash away any dust or pollen and keep it looking fresh. Avoid excessive watering, as it can lead to water accumulation or drainage issues.
- Inspect for damage: Regularly inspect the fake grass for any signs of damage, such as tears, loose seams, or fading. Address any issues promptly to prevent further deterioration and maintain the integrity of the installation.
- Trim surrounding vegetation: Trim any nearby trees, shrubs, or plants to prevent them from overhanging onto the fake grass. This will help reduce the amount of debris or leaves that may fall onto the turf.
By establishing a regular cleaning and maintenance routine, you can keep your rooftop fake grass looking pristine and ensure a long-lasting investment. Proper care will also help prevent any potential health hazards and maintain a comfortable environment for your dogs to enjoy.
Conclusion
Congratulations! You have successfully learned how to install fake grass for dogs on a rooftop. By following the step-by-step process outlined in this guide, you can create a pet-friendly space that is both aesthetically pleasing and functional. Installing fake grass on your rooftop offers numerous benefits, including low maintenance, durability, and a safe environment for your furry friends to play and relax.
Remember to start by accurately measuring the rooftop and preparing the surface to create a solid foundation. Lay the fake grass carefully, ensuring proper alignment and securing the edges to prevent any shifting. If desired, apply infill for added stability and cushioning. Once the installation is complete, establish a regular cleaning and maintenance routine to keep the fake grass looking its best.
Whether you have a small rooftop dog run or a larger play area, fake grass provides a practical and attractive solution for your beloved pets. It allows them to enjoy the outdoors while minimizing the maintenance and upkeep required with natural grass.
Don’t forget to consult the manufacturer’s instructions for the specific brand of fake grass you choose, as different products may have slightly different installation processes or maintenance requirements.
By creating a rooftop oasis with fake grass, you not only provide a safe and comfortable space for your dogs but also enhance the overall appearance of your rooftop. Get ready to enjoy countless hours of quality time with your furry friends in this new addition to your home.
So go ahead, take the leap, and transform your rooftop into a dog-friendly paradise with the installation of fake grass!
Frequently Asked Questions about How To Install Fake Grass For Dogs On A Rooftop
Was this page helpful?
At Storables.com, we guarantee accurate and reliable information. Our content, validated by Expert Board Contributors, is crafted following stringent Editorial Policies. We're committed to providing you with well-researched, expert-backed insights for all your informational needs.

0 thoughts on “How To Install Fake Grass For Dogs On A Rooftop”