Home>Garden Essentials>How To Install Fake Grass On A Balcony
Garden Essentials
How To Install Fake Grass On A Balcony
Modified: August 18, 2024
Learn how to install fake grass on your balcony and create a beautiful garden space. Transform your balcony into an inviting oasis with easy step-by-step instructions.
(Many of the links in this article redirect to a specific reviewed product. Your purchase of these products through affiliate links helps to generate commission for Storables.com, at no extra cost. Learn more)
Introduction
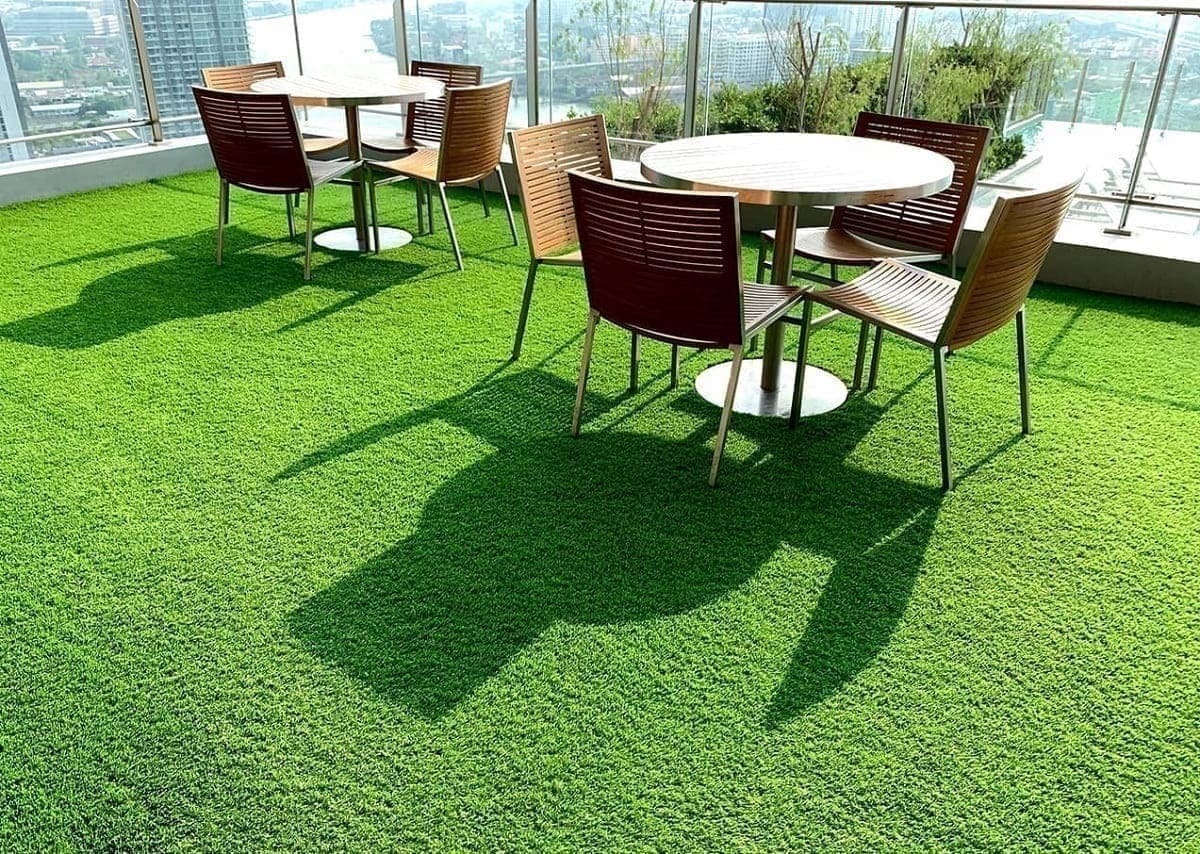
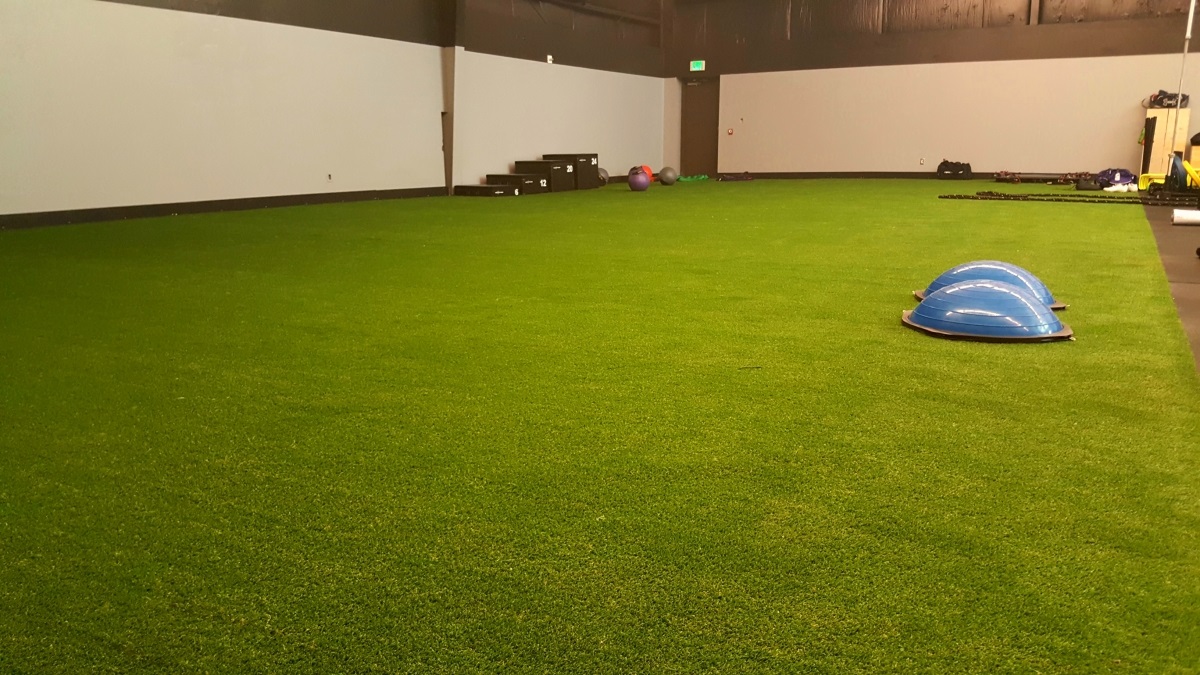
Are you tired of looking at a plain and boring balcony? Do you yearn for a green space to relax or enjoy the outdoors? If so, installing fake grass on your balcony might be the perfect solution! Whether you live in a high-rise apartment or a cozy apartment with a small balcony, adding artificial grass can transform your space into a lush and inviting oasis.
Fake grass, also known as artificial turf, offers numerous benefits for balcony owners. Not only does it provide a visually appealing and low-maintenance alternative to real grass, but it also offers durability and longevity. Unlike natural grass, artificial grass doesn’t require regular watering, mowing, or fertilizing. Plus, it stays green and pristine all year round, regardless of weather conditions.
In this step-by-step guide, we will walk you through the process of installing fake grass on your balcony. By following these simple instructions, you’ll be able to create a vibrant and comfortable outdoor space that requires minimal upkeep.
Key Takeaways:
- Transform your balcony into a lush oasis with low-maintenance fake grass. Enjoy the beauty of greenery without the hassle of watering, mowing, or fertilizing. Create a vibrant and inviting outdoor space right at your doorstep!
- Follow the simple steps to measure, clean, lay, secure, trim, and maintain artificial grass on your balcony. With minimal upkeep, you can enjoy a beautiful and long-lasting green space that stays vibrant all year round.
Read more: How To Install Fake Turf
Step 1: Measure and Prepare the Balcony
The first and most crucial step in installing fake grass on your balcony is to measure and prepare the area. This ensures that you purchase the right amount of artificial turf and properly fit it on your balcony.
Start by measuring the dimensions of your balcony. Use a tape measure to determine the length and width of the surface where you want to install the fake grass. Make sure to account for any irregularities or obstacles, such as railings or pillars, that may require additional material or adjustments.
Once you have the measurements, you can decide on the amount of artificial grass you’ll need. It’s recommended to add a few inches to each side to account for any trimming or adjustments during the installation process.
Next, prepare the balcony surface by removing any debris, dirt, or existing flooring materials. Thoroughly clean the area to ensure proper adhesion and a smooth installation. You can use a broom or a vacuum cleaner to remove loose particles. For stubborn stains or grime, you may need to scrub the surface with a mild cleaning solution and rinse it off with water.
If your balcony has any drainage holes, make sure they are clear and functional. Adequate drainage is essential to prevent water from pooling on the fake grass and causing damage in the long run.
Once the balcony is clean and ready, it’s time to move on to the next step: laying the artificial grass.
Step 2: Clean the Balcony Surface
Now that you have measured and prepared the balcony, it’s time to clean the surface thoroughly. This step is essential to ensure proper adhesion and a smooth installation of the artificial grass.
Start by removing any loose debris, such as leaves, twigs, or dirt, using a broom or a vacuum cleaner. Pay close attention to the corners and crevices where dirt tends to accumulate. You can also use a brush with stiff bristles to dislodge any stubborn dirt or grime.
Once the loose debris is removed, it’s time to tackle any stains or spills on the balcony surface. If there are any noticeable stains, such as oil or food stains, you may need to use a mild cleaning solution to remove them. Dilute a small amount of dish soap or mild detergent in warm water and use a sponge or a soft cloth to scrub the stained areas.
Rinse the balcony surface thoroughly with clean water to remove any soapy residue. It’s crucial to ensure that no cleaning solution is left behind as it can affect the adhesion of the artificial grass.
If your balcony has stubborn stains or grime that the regular cleaning solution couldn’t remove, you may need to use a specialized cleaner specifically designed for outdoor surfaces. Follow the instructions on the cleaner and use it as directed to eliminate any tough stains.
After cleaning the balcony surface, allow it to dry completely before proceeding to the next step. This is important to ensure that the adhesive used to secure the artificial grass sticks properly.
With the balcony surface now clean and dry, you’re ready to move on to the next step: laying the artificial grass.
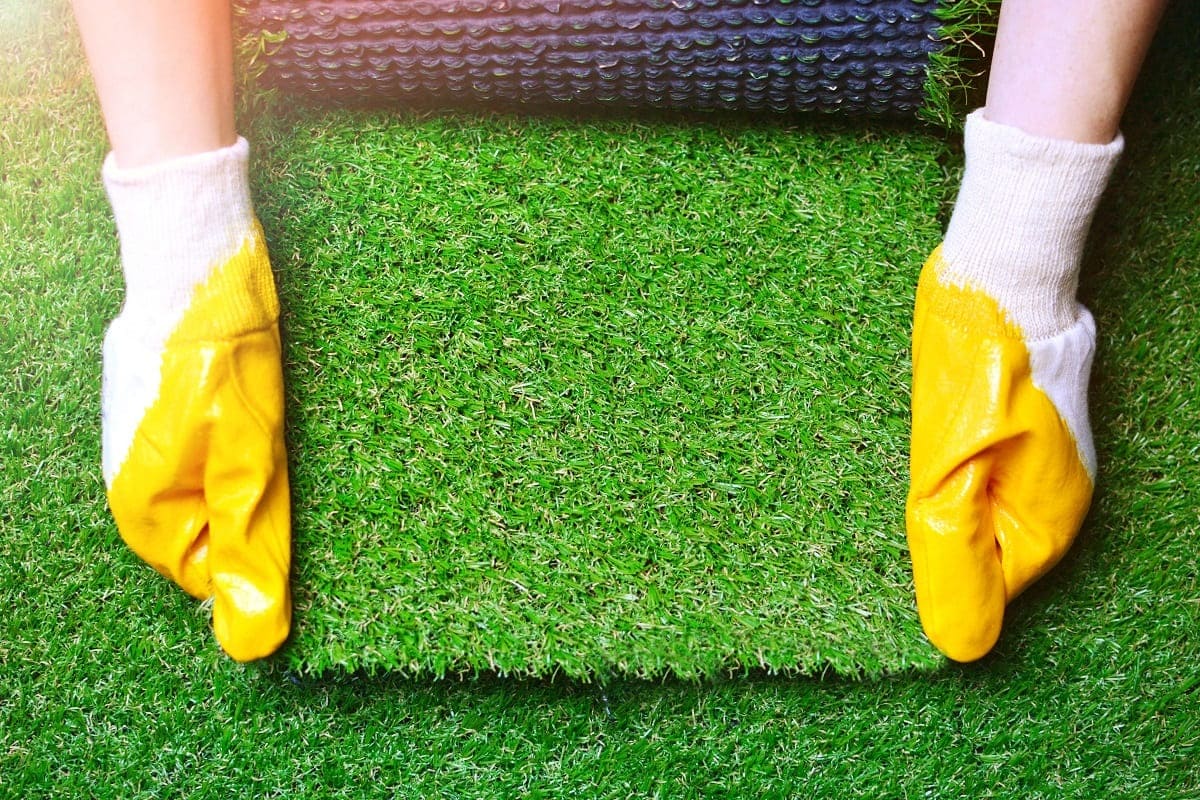
Step 3: Lay the Artificial Grass
Now comes the exciting part – laying the artificial grass on your balcony. Follow these steps to ensure a seamless and professional-looking installation.
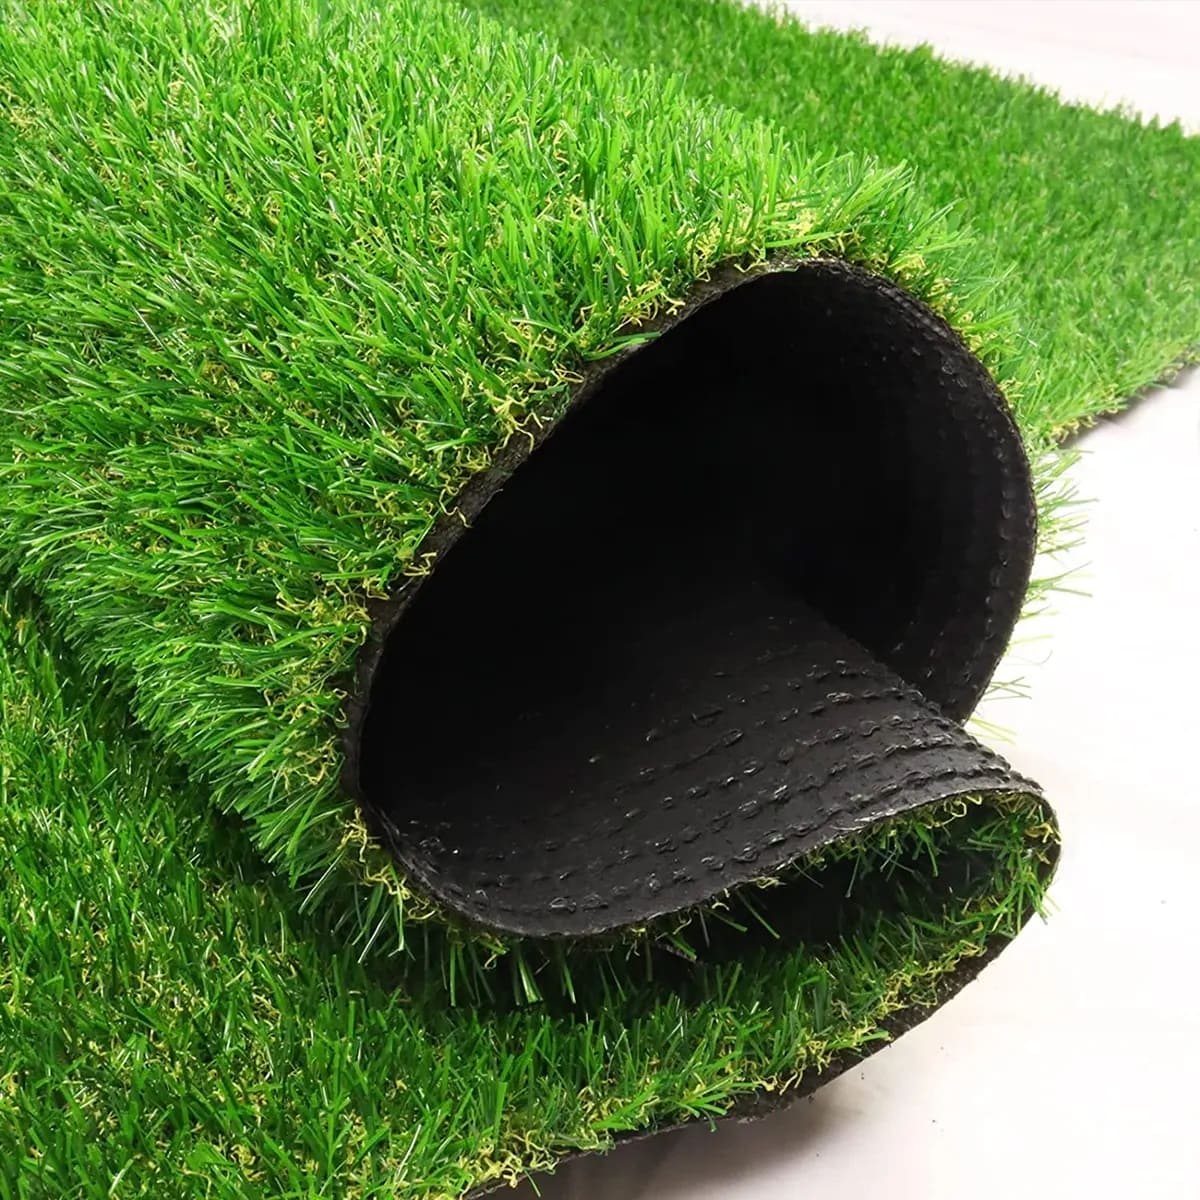
First, roll out the artificial grass on your clean and dry balcony surface. Start from one end and unroll it across the entire area. Make sure the grass fibers are facing the same direction for a consistent and natural appearance.
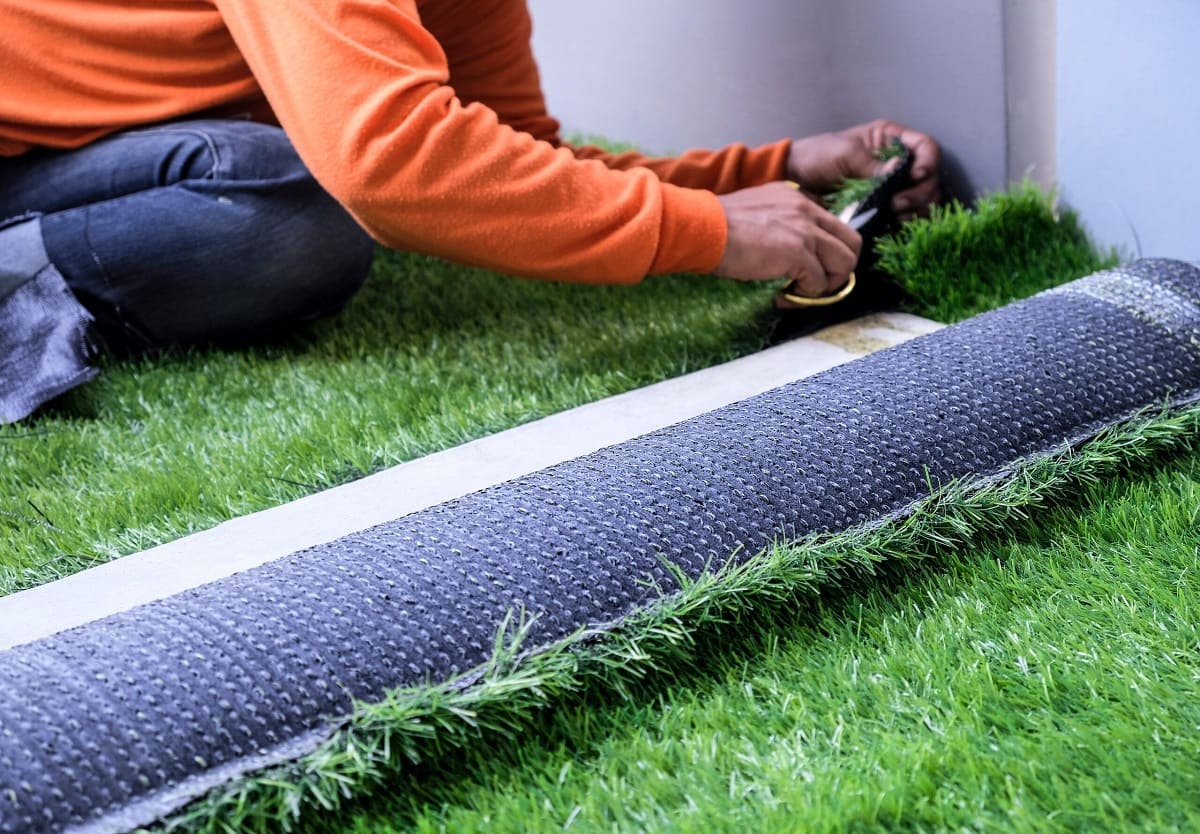
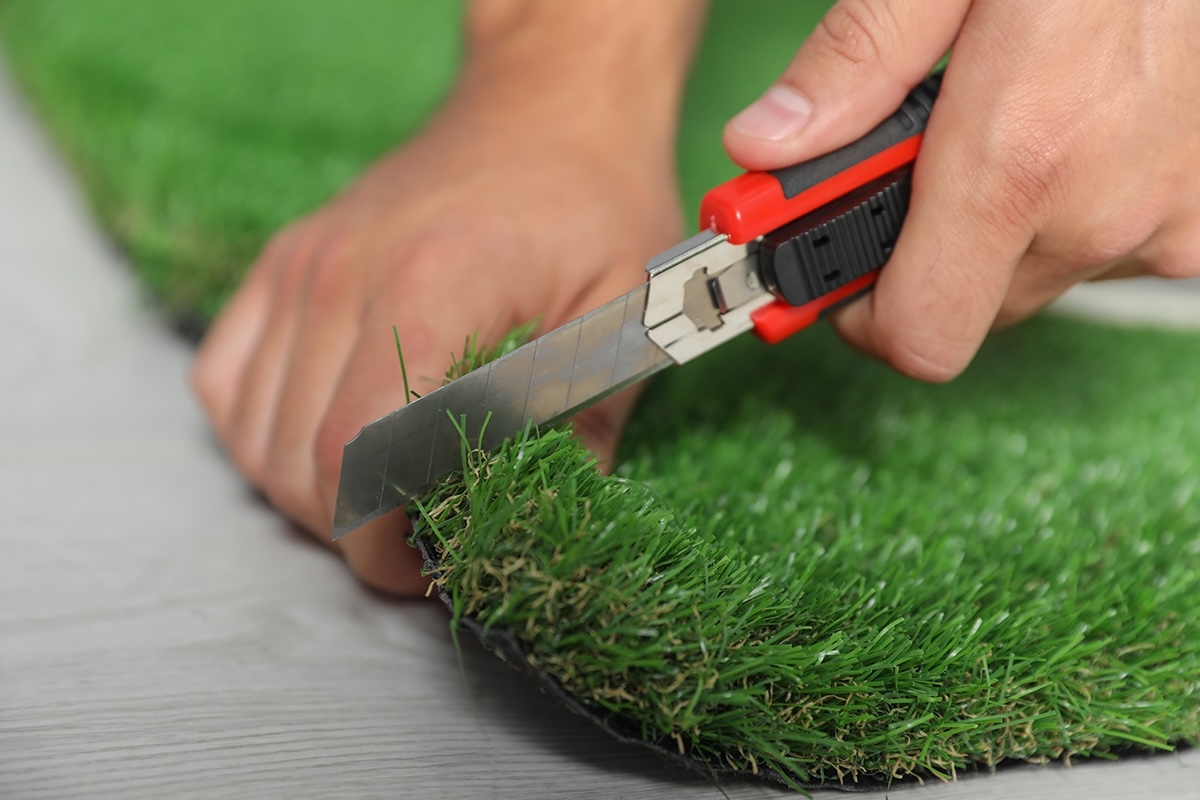
Once the artificial grass is in place, it’s time to trim any excess material. Use a sharp utility knife or scissors to carefully cut along the desired edge, whether it’s against a wall, railing, or any other obstacle. Take your time and make precise cuts to ensure a clean and neat finish.
If your balcony has multiple sections or irregular shapes, you may need to join the pieces of artificial grass together. To do this, overlap the edges of the two sections and use a special joining tape or adhesive to create a seamless connection. Follow the manufacturer’s instructions for the specific product you are using to ensure a secure and durable bond.
While laying the artificial grass, pay attention to any pattern or texture variations you may desire. Some artificial grass options have built-in patterns or different shades of green to mimic natural grass more closely. Experiment with the orientation of the grass to achieve your desired look.
As you lay the artificial grass, make sure it fits tightly against any walls or edges. Avoid leaving gaps or loose areas as this can affect the overall appearance and durability of the installation. Use heavy objects or weights, if necessary, to hold down the edges temporarily while you secure them in the next step.
With the artificial grass laid out on your balcony, it’s time to move on to the next step: securing the grass in place.
Before installing fake grass on a balcony, make sure the surface is clean and level. Use a weed barrier to prevent growth underneath, and secure the grass with adhesive or fasteners to keep it in place.
Step 4: Secure the Grass in Place
Once you have laid the artificial grass on your balcony, it’s important to secure it in place to prevent any shifting or movement. Follow these steps to ensure a secure and long-lasting installation.
Start by applying an adhesive along the edges and seams of the artificial grass. Use a specialized artificial grass adhesive that is designed for outdoor use. Apply a thin and even layer of adhesive along the edges and press the grass firmly into place. Make sure to follow the manufacturer’s instructions for the specific adhesive you are using.
If your balcony has any curved edges, use a flexible adhesive to ensure the grass adheres properly to the curves. This will help prevent any lifting or bubbling of the grass along the edges.
After securing the edges, use landscape staples or nails to anchor the artificial grass to the ground. Place the staples or nails at regular intervals along the perimeter of the balcony. This will further ensure that the grass remains in place, especially during heavy winds or foot traffic.
When inserting the staples or nails, be careful not to damage the artificial grass fibers. Position them close to the edges without piercing through the grass itself.
If your balcony has a concrete or tiled surface, you may need to use an adhesive specifically designed for these types of surfaces. Consult with a professional or the manufacturer for the recommended adhesive that will provide the best results for your specific balcony flooring.
Once the grass is securely in place, you can move on to the next step: trimming any excess grass.
Step 5: Trim Excess Grass
After securing the artificial grass in place on your balcony, it’s time to trim any excess grass to achieve a clean and polished look. Follow these steps to ensure a precise and professional finish.
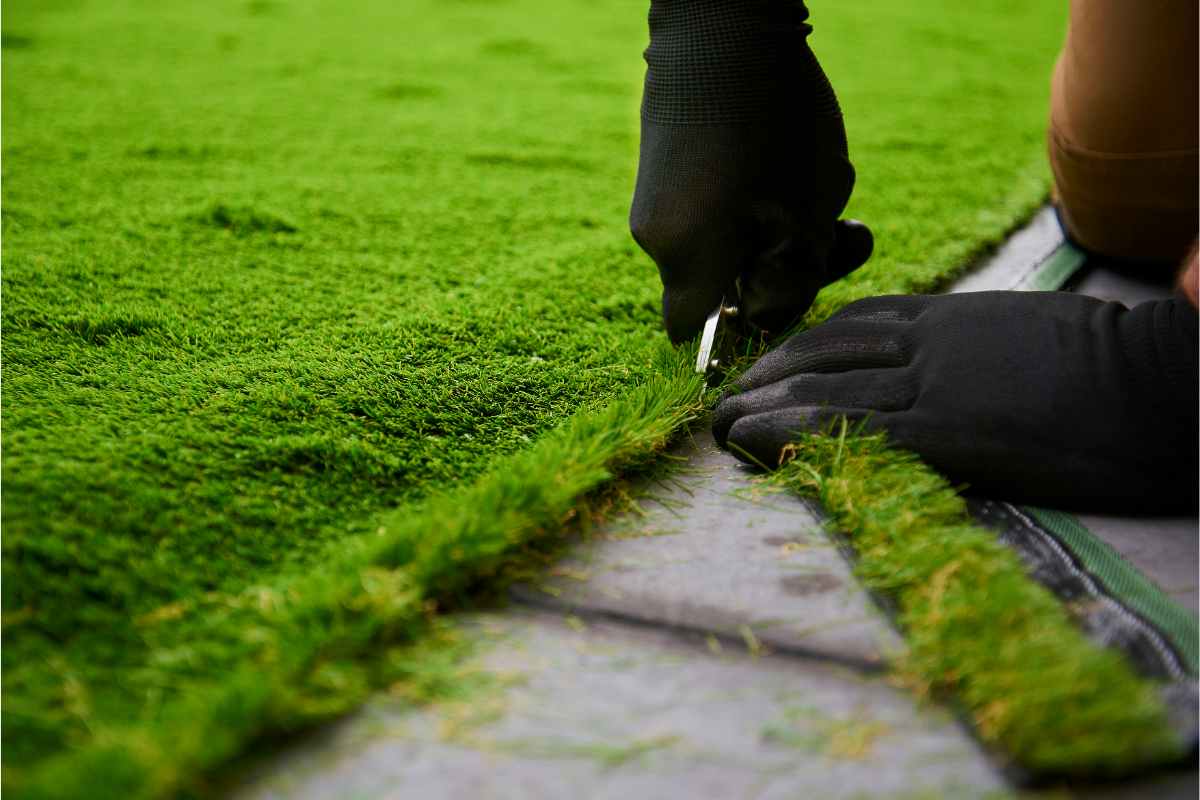
Start by using a sharp utility knife or scissors to trim the excess grass along the edges of your balcony. Take your time and make careful cuts, following the edge of the balcony or any desired design lines.
Hold the knife or scissors at a slight angle to create a beveled edge, which will help the grass blend seamlessly with the surroundings. Avoid cutting too much off at once to prevent any mistakes or uneven edges.
If your balcony has any irregular shapes or obstacles, such as pillars or railings, carefully cut around them to create a neat and tailored appearance. Pay attention to detail and take your time to ensure a precise fit.
As you trim the excess grass, make sure to leave a small gap between the grass and any solid structures, such as walls or railings. This will allow for proper air circulation and prevent any moisture buildup or potential damage.
Once you have completed trimming the excess grass, stand back and assess the overall appearance. Make any necessary adjustments or touch-ups to ensure a uniform and visually appealing installation.
With the excess grass trimmed and the edges neatly finished, you can move on to the final step: brushing and maintaining the artificial grass.
Step 6: Brush and Maintain the Artificial Grass
Now that you have installed the artificial grass on your balcony, it’s important to regularly brush and maintain it to keep it looking its best. Follow these steps to ensure the longevity and beauty of your fake grass.
Start by using a stiff broom or brush to brush against the grain of the artificial grass. This will help to lift the grass fibers and prevent them from matting down over time. Regular brushing also helps to distribute any infill material evenly.
If your artificial grass has infill material, such as sand or rubber granules, make sure to regularly check and replenish it as needed. Infill helps to support the grass fibers and ensures proper drainage. Consult the manufacturer’s instructions for the recommended frequency and amount of infill material to use.
Keep an eye out for any weeds or unwanted plant growth on your balcony. Although fake grass is resistant to weeds, it’s still possible for them to grow through the drainage holes or edges. Remove any weeds or plants promptly to maintain a clean and pristine appearance.
In the case of any spills or stains, clean up the area immediately using a mild detergent and warm water. Blot the affected area gently with a cloth or sponge, avoiding any scrubbing that could damage the grass fibers. Rinse off any soap residue and allow the area to dry completely.
Regularly inspect the artificial grass for any signs of damage, such as tears or loose edges. Repair any small damages promptly to prevent them from spreading. For larger damages or extensive wear and tear, consider contacting a professional for repairs.
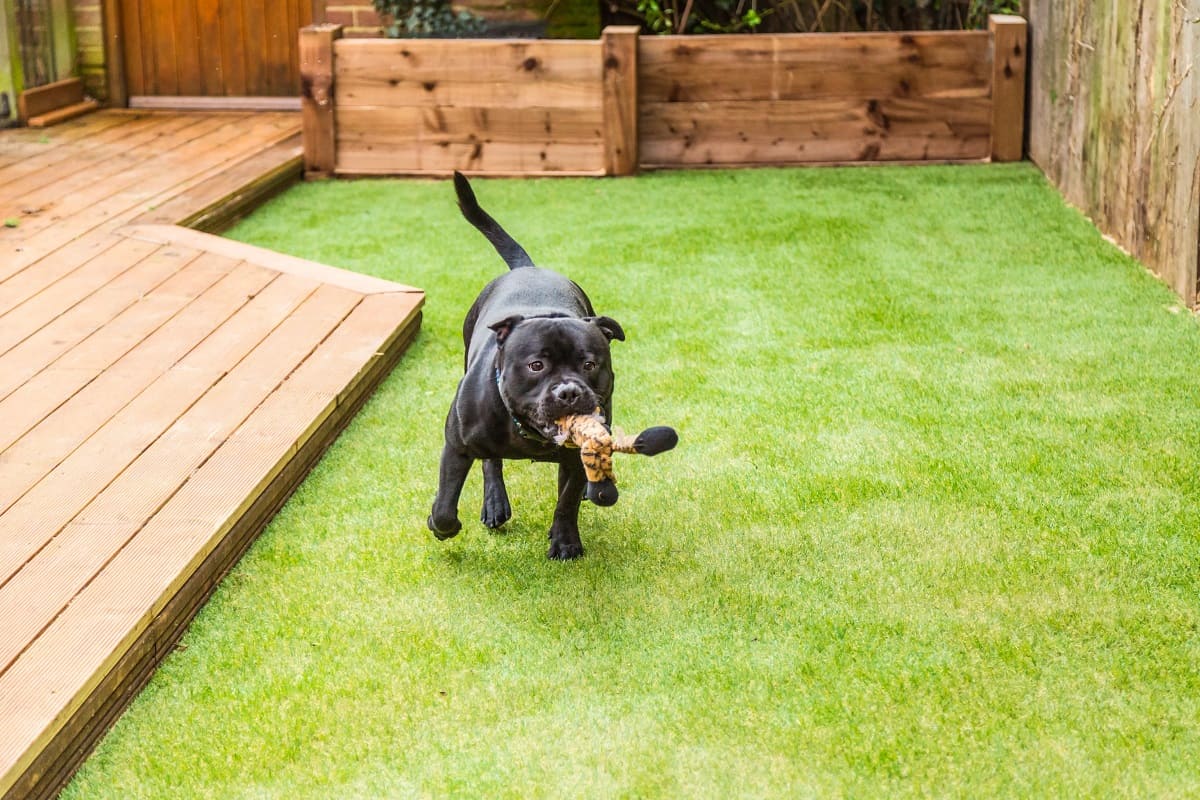
Finally, in areas where pets may be using the balcony, make sure to regularly remove any solid waste and clean the artificial grass using a pet-friendly cleaner. This will help to keep your balcony smelling fresh and hygienic.
By regularly brushing and maintaining your artificial grass, you can enjoy a vibrant and long-lasting balcony space that requires minimal upkeep.
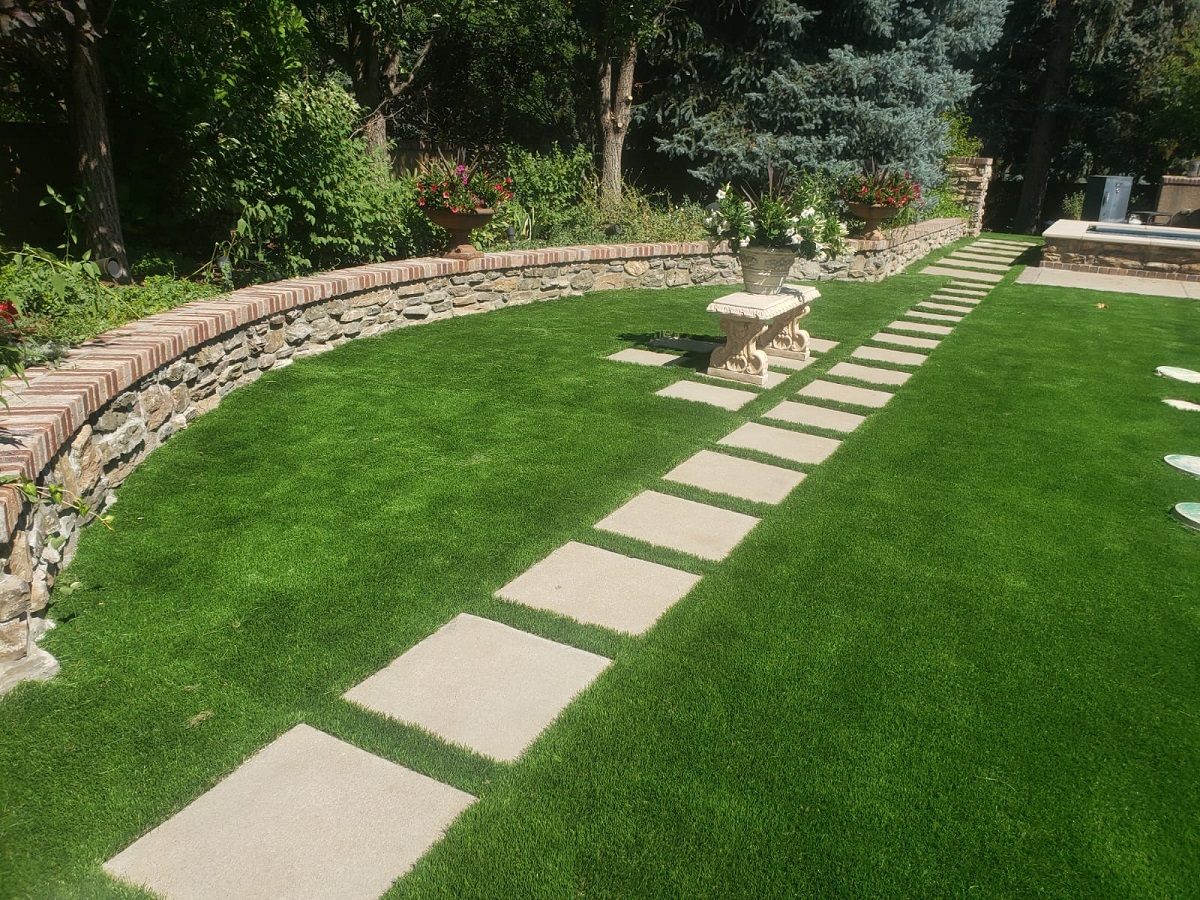
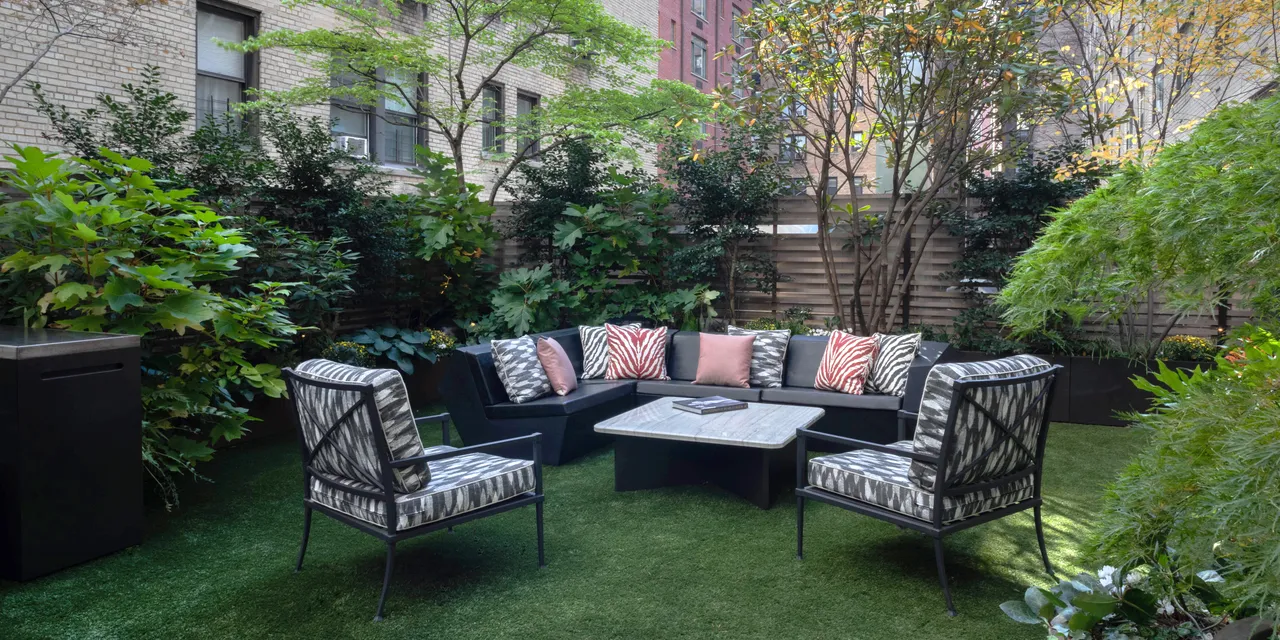
With the installation and maintenance complete, step back and appreciate your transformed balcony. Get ready to bask in the beauty of your new green oasis, whether you’re relaxing with a book, hosting a dinner party, or simply enjoying a breath of fresh air.
Remember, artificial grass offers the aesthetic appeal of natural grass without the headaches of long-term maintenance. So go ahead, savor the beauty and simplicity of your balcony’s new look with artificial grass!
Conclusion
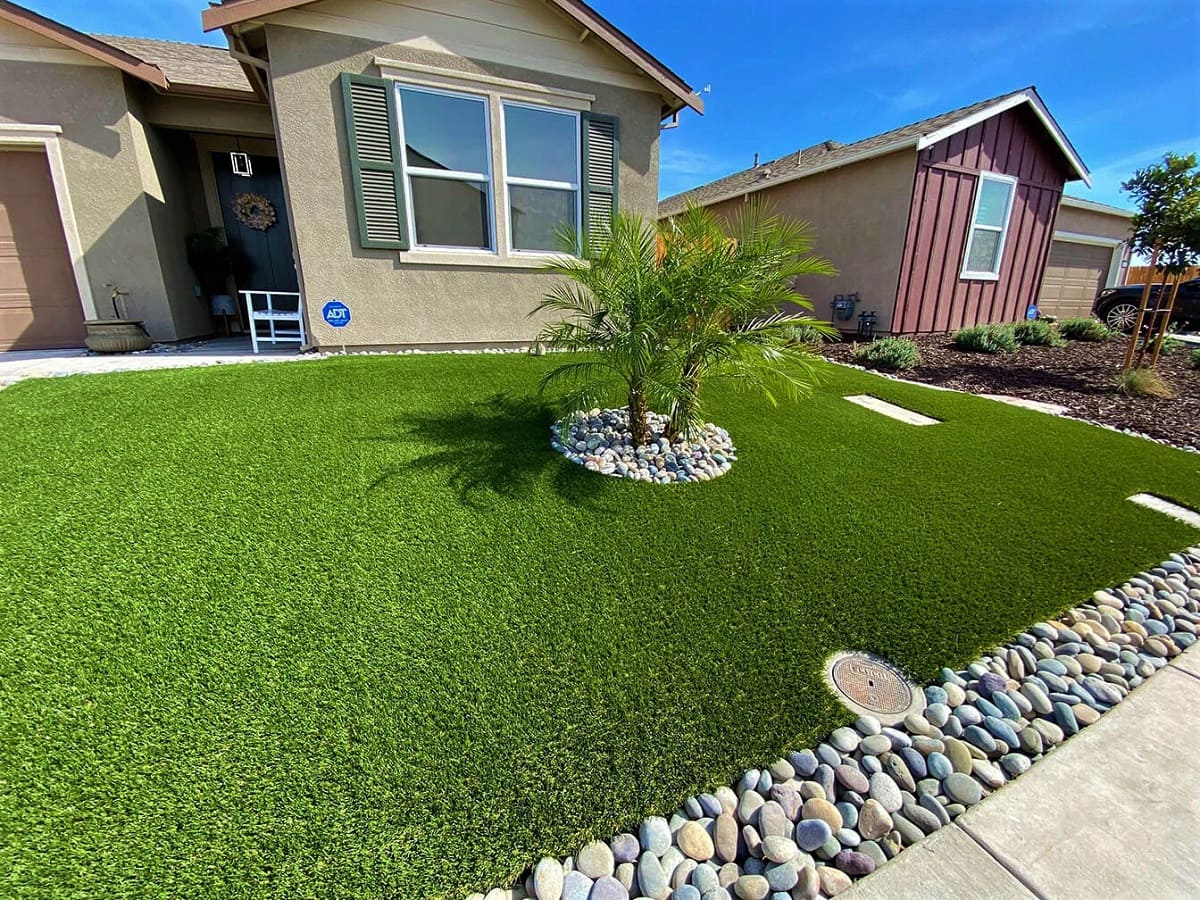
Transforming your balcony into a lush and inviting space is easier than ever with the installation of fake grass. Not only does it provide a visually appealing and low-maintenance alternative to real grass, but it also offers durability and longevity. By following the step-by-step guide outlined in this article, you can create a vibrant and comfortable outdoor space that requires minimal upkeep.
From measuring and preparing the balcony surface to laying and securing the artificial grass, each step in the installation process plays a vital role in achieving a professional and polished look. Taking the time to properly clean and maintain the artificial grass ensures its longevity and beautiful appearance for years to come.
Fake grass on your balcony provides a natural aesthetic without the hassle of watering, mowing, or fertilizing. It stays green and vibrant all year round, regardless of weather conditions. Whether you live in a high-rise apartment or a cozy apartment with a small balcony, adding artificial grass can transform your space into a relaxing and inviting oasis.
So, why wait? Start planning and installing fake grass on your balcony today. Enjoy the beauty of greenery and create a space where you can unwind, entertain, and connect with nature, right at your doorstep.
Remember, with regular maintenance and care, your artificial grass will continue to bring joy and beauty to your balcony for years to come. So, go ahead and bring life and vibrancy to your balcony with the installation of fake grass.
Frequently Asked Questions about How To Install Fake Grass On A Balcony
Was this page helpful?
At Storables.com, we guarantee accurate and reliable information. Our content, validated by Expert Board Contributors, is crafted following stringent Editorial Policies. We're committed to providing you with well-researched, expert-backed insights for all your informational needs.

0 thoughts on “How To Install Fake Grass On A Balcony”