Home>Garden Essentials>How To Install Fake Turf
Garden Essentials
How To Install Fake Turf
Modified: October 21, 2024
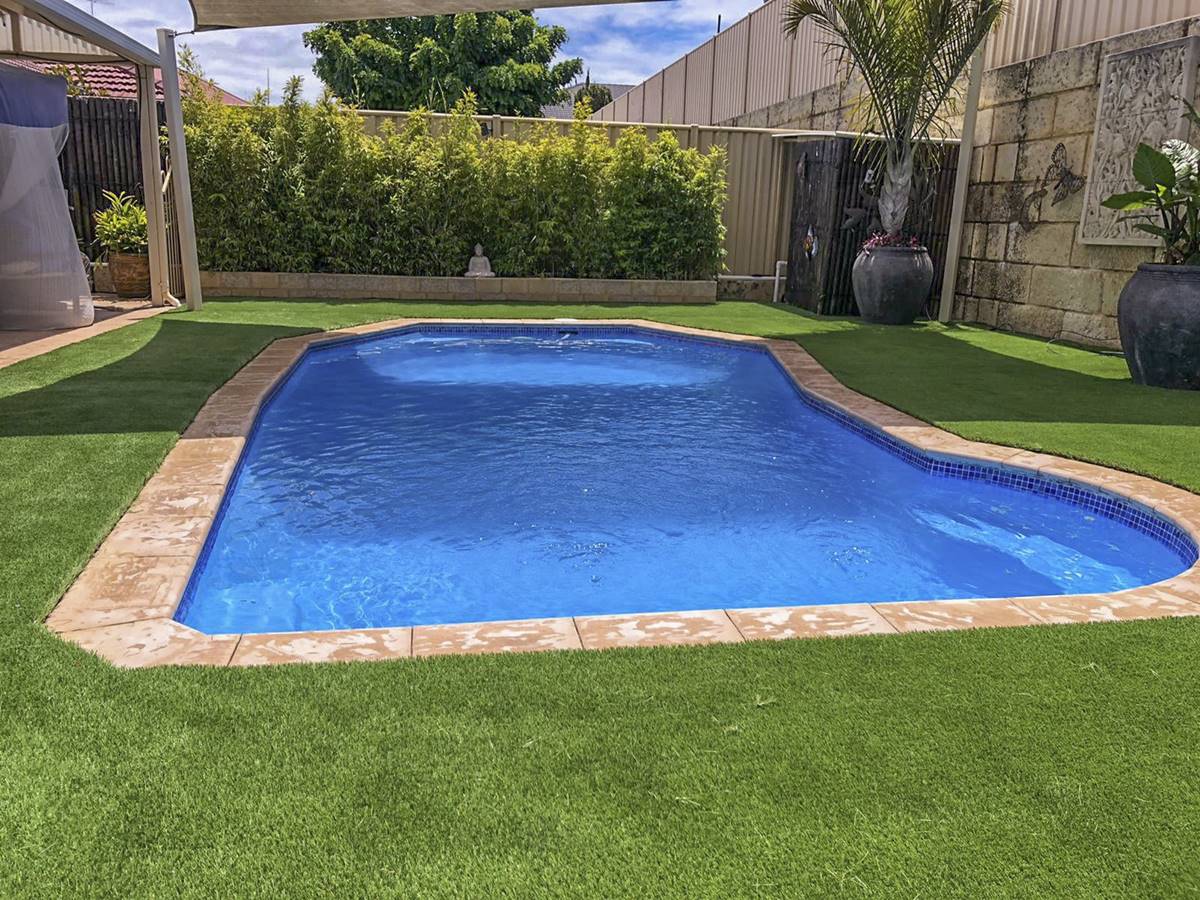
Looking to transform your garden? Learn how to install fake turf and enjoy a low-maintenance, green space all year round.
(Many of the links in this article redirect to a specific reviewed product. Your purchase of these products through affiliate links helps to generate commission for Storables.com, at no extra cost. Learn more)
Introduction
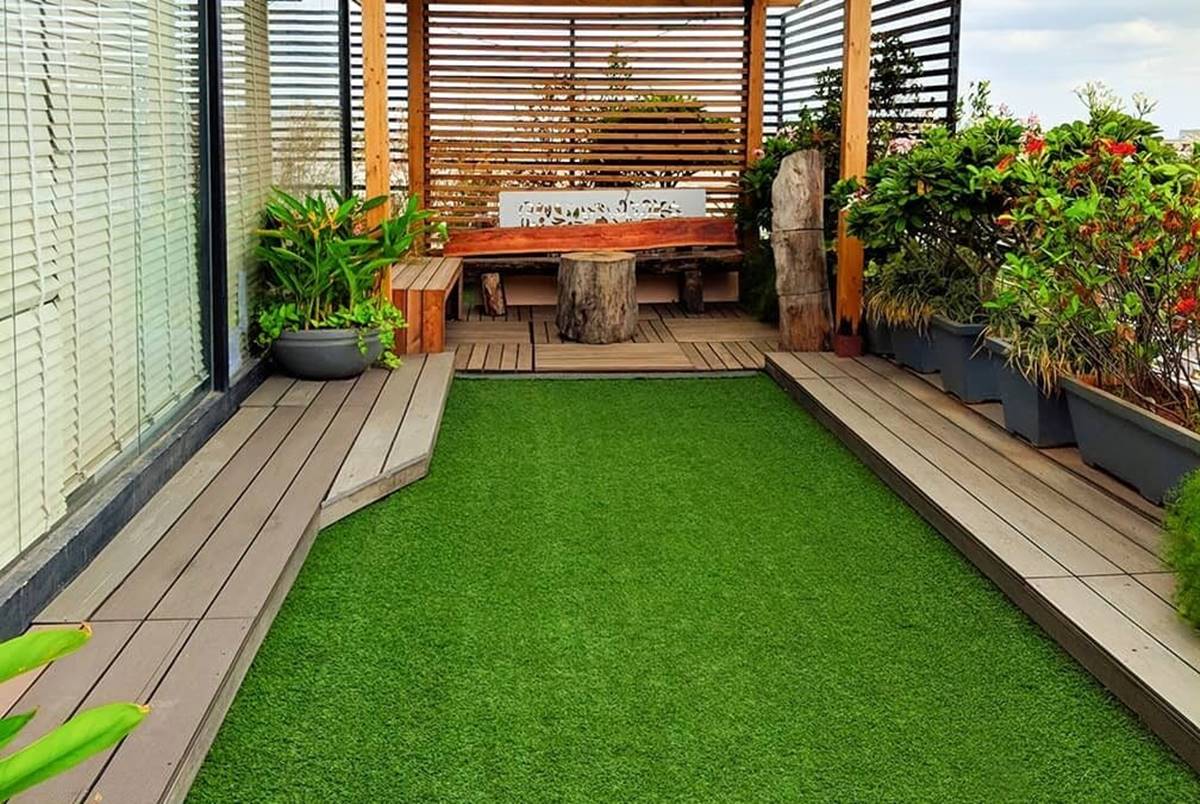
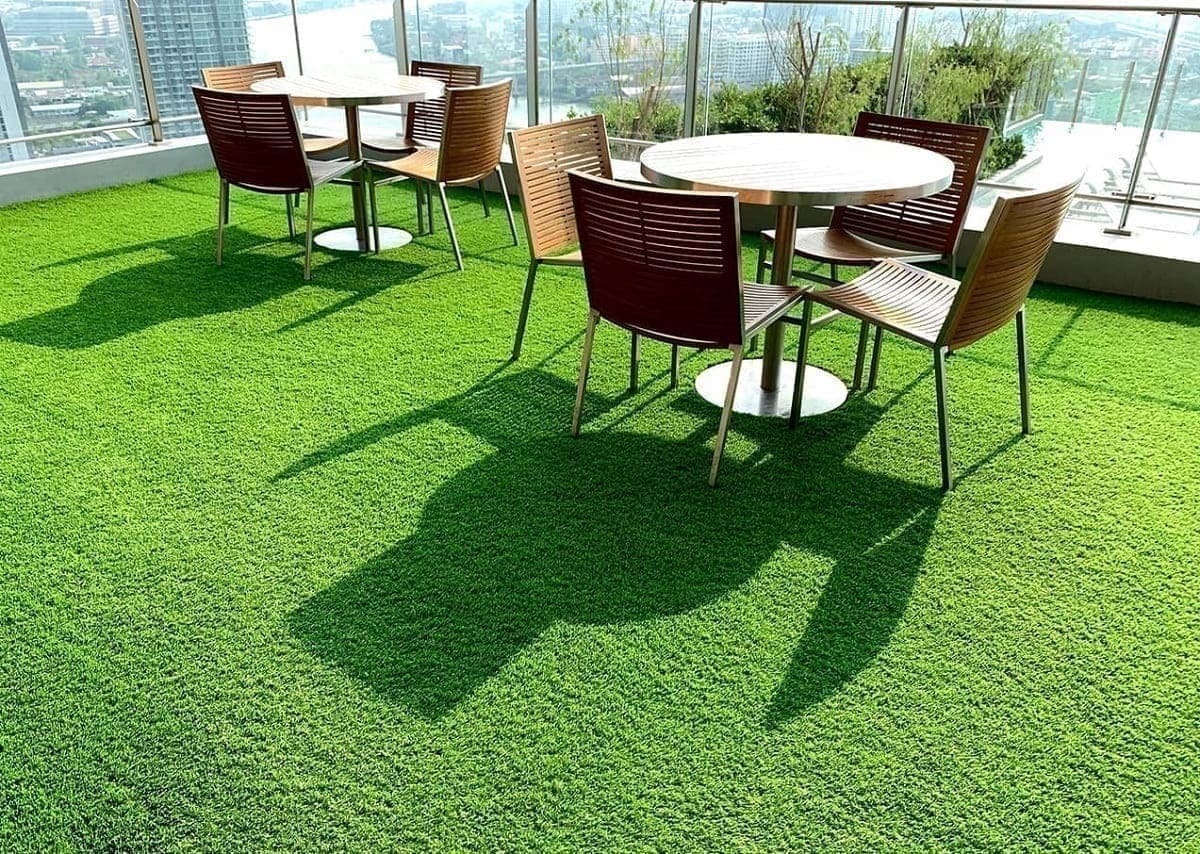
Welcome to the world of artificial turf! Whether you’re looking to create a low-maintenance garden or seeking a lush green surface for your backyard, installing fake turf can be a fantastic solution. Fake turf offers numerous benefits, including saving water, reducing maintenance efforts, and providing a beautiful and consistent appearance year-round.
In this comprehensive guide, we’ll take you through the step-by-step process of installing fake turf in your garden or yard. By following these instructions and investing a bit of time and effort, you can transform your outdoor space into a stunning oasis that’s both aesthetically pleasing and functional.
Before we dive into the installation process, it’s important to consider a few key factors. Assess the area where you plan to install the turf and determine whether it’s suitable for artificial grass. Ensure that the soil is well-drained and relatively flat, as these conditions will contribute to the longevity and performance of the turf.
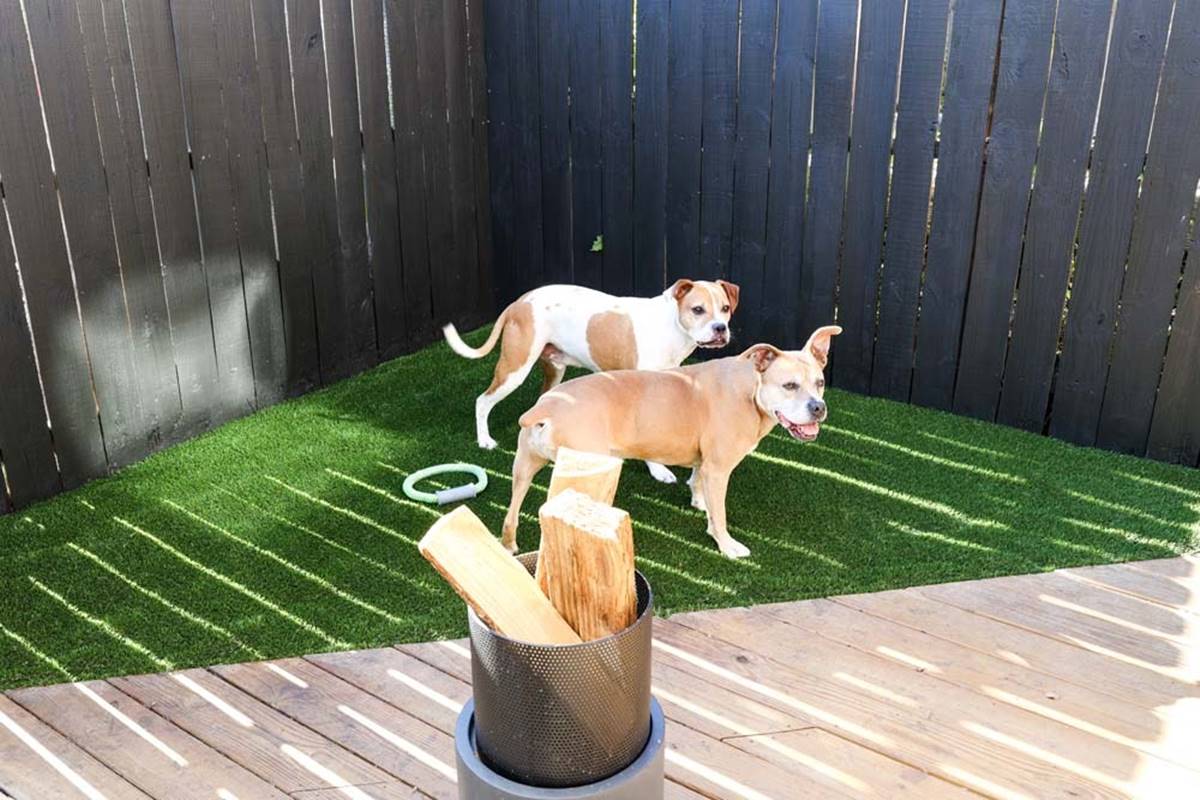
Additionally, take into account how you will use your new turf. Will it be a play area for kids or pets? Will it be purely ornamental? Understanding the intended use will help you make informed decisions throughout the installation process.
Now that we have a clear understanding of the importance of artificial turf and the considerations to keep in mind, let’s dive into the step-by-step installation process. By following these instructions, you’ll soon be able to enjoy a stunning, low-maintenance landscape that will impress both your family and guests. So, let’s get started!
Key Takeaways:
- Save time and effort by installing fake turf in your garden. Enjoy a lush, low-maintenance oasis with reduced water usage and year-round beauty.
- Transform your outdoor space into a stunning, sustainable haven. Follow the step-by-step guide to install fake turf and create a vibrant, low-maintenance landscape.
Read more: Where To Buy Fake Turf
Step 1: Gather the Necessary Materials
Before you begin installing fake turf, it’s essential to gather all the necessary materials. Having everything on hand will streamline the installation process and ensure that you have everything you need to complete the project without interruptions.
Here’s a list of materials you will need:
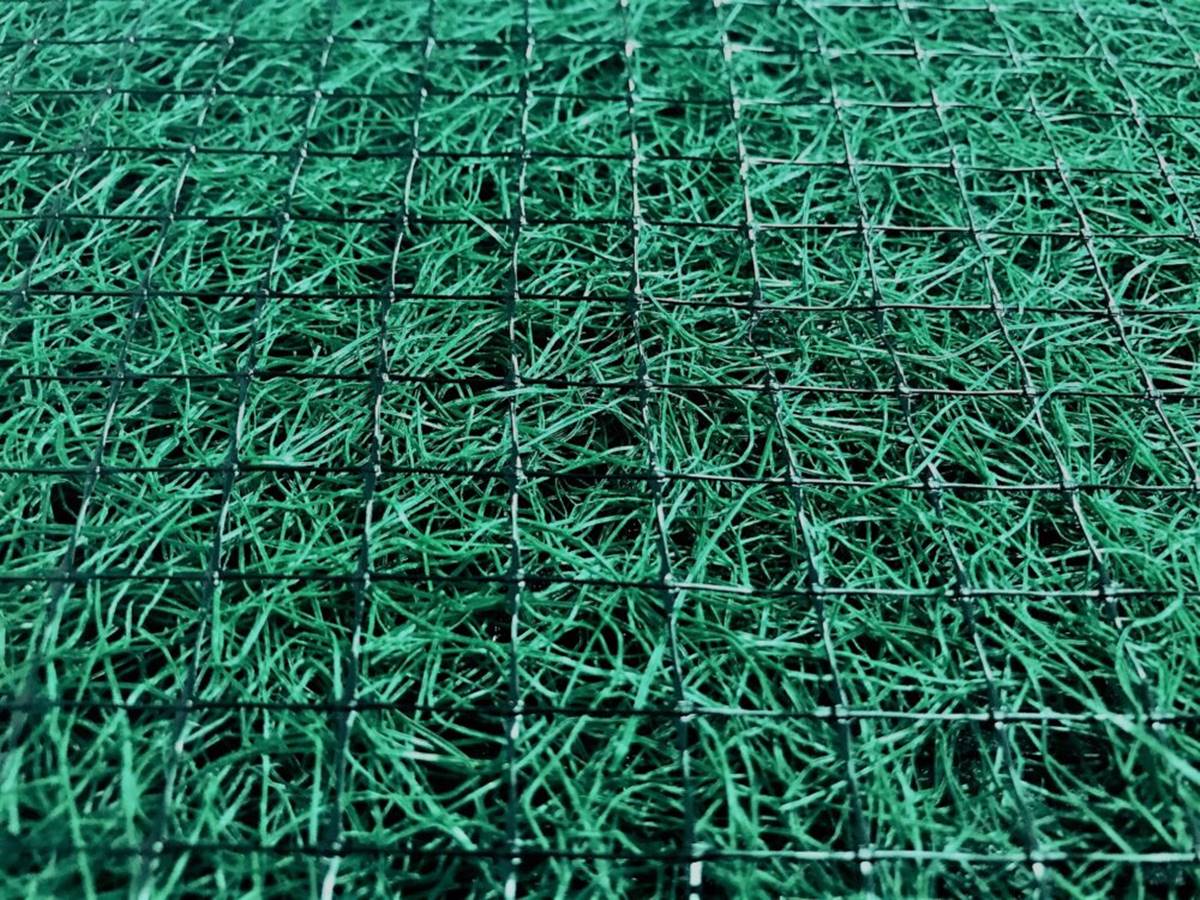
- Fake turf rolls
- Measuring tape
- Utility knife
- Hand tamper or plate compactor
- Landscape fabric
- Stakes or landscape pins
- Infill material (optional)
- Brush or rake
- Water hose or sprayer
Fake turf rolls: Measure the area where you will be installing the turf to determine the amount of fake grass you need. Consider any odd shapes or curves that may require additional trimming or joining.
Measuring tape: Use a measuring tape to accurately measure the dimensions of the installation area. This will help you ensure that you purchase the correct amount of turf.
Utility knife: A sharp utility knife will be your best friend during the installation process. You will use it to trim the fake turf and make precise cuts to fit your space perfectly.
Hand tamper or plate compactor: These tools are used to compact the soil and create a smooth, level surface for the turf. The choice between a hand tamper and plate compactor depends on the size of the area you are working with.
Landscape fabric: Landscape fabric acts as a barrier to prevent weeds from growing up through the fake turf. It is placed directly on the soil before installing the turf.
Stakes or landscape pins: These are used to secure the edges of the fake turf and prevent it from shifting or moving. They are particularly important in areas with high winds.
Infill material (optional): Infill material adds stability to the fake turf and helps it maintain its shape and structure. This step is optional, and the decision to use infill depends on personal preference and the specific requirements of your project.
Brush or rake: A brush or rake is essential for fluffing up the turf fibers, removing any debris, and giving your lawn a realistic appearance.
Water hose or sprayer: To clean and maintain your fake turf, you will need a water hose or sprayer. Regular rinsing helps keep the turf looking fresh and removes any dust or dirt that may accumulate over time.
Once you have gathered all the necessary materials, you’ll be well-prepared to proceed with the installation process. In the next step, we’ll guide you through preparing the installation area to ensure a solid foundation for your fake turf.
Step 2: Prepare the Area
Preparing the area is a crucial step in the installation process to ensure a smooth and long-lasting fake turf installation. Proper preparation will help prevent issues like uneven surfaces, drainage problems, and weed growth. Follow these steps to prepare your installation area:
- Clear the area: Remove any existing vegetation, rocks, debris, or obstacles from the area. Use a rake or shovel to clear the surface and make it as smooth as possible. This will provide a clean canvas for the fake turf installation.
- Excavate the soil (if necessary): Depending on the condition and levelness of the ground, you may need to excavate the soil to achieve a flat surface. Use a shovel or spade to remove any excess soil or high spots. Fill in low spots with additional soil and compact it using a hand tamper or plate compactor.
- Install edging: Installing edging around the perimeter of the installation area is important to keep the fake turf in place and prevent it from shifting. Use flexible plastic or metal landscape edging and secure it into the ground with stakes or landscape pins.
- Check drainage: Ensure that the area has proper drainage by evaluating the slope and addressing any drainage issues. If needed, create a slight slope away from buildings or structures to allow water to flow away from the turf. This will prevent water pooling and potential damage to the fake turf.
- Apply landscape fabric: Roll out landscape fabric over the prepared ground. This prevents weed growth beneath the fake turf and allows for better drainage. Overlap the edges of the fabric by a few inches and secure it with landscape pins or staples.
- Compact the soil: Use a hand tamper or plate compactor to compact the soil and create a firm and level surface. This step ensures stability and reduces the risk of uneven areas under the fake turf.
Preparing the area properly sets the stage for a successful fake turf installation. Taking the time to clear the area, excavate if necessary, install edging, and address drainage concerns will help create a solid foundation for your fake turf. Once the area is adequately prepared, you’re ready to move on to the next step: installing the base layer.
Step 3: Install the Base Layer
The base layer is an essential component of a fake turf installation as it provides stability, proper drainage, and a comfortable surface underfoot. Follow these steps to install the base layer:
- Add a layer of crushed stone: Start by adding a layer of crushed stone or decomposed granite to the prepared area. This layer serves as a solid base and aids in proper drainage. Spread the crushed stone evenly across the area and use a rake or shovel to level it.
- Compact the crushed stone: Use a hand tamper or a plate compactor to compact the crushed stone. This step ensures a firm and stable base for the fake turf. Compact the crushed stone in sections, working your way across the entire area.
- Apply a layer of leveling material: If needed to achieve a perfectly level surface, apply a leveling material like a thin layer of sand or leveling compound on top of the compacted crushed stone. Use a rake or straight edge to distribute the material evenly and create a smooth and level surface.
- Compact the leveling material: Just like the crushed stone, use a hand tamper or plate compactor to compact the leveling material. This step helps create a solid and even surface for the fake turf to be laid on.
- Check for proper drainage: After compacting the leveling material, check that the area has proper drainage. Sprinkle water onto the surface and observe how it flows. If there are any areas where water pools, make adjustments by adding more leveling material or compacting the area further.
Installing the base layer is crucial to ensure a stable and level surface for your fake turf. By adding a layer of crushed stone, compacting it, applying a leveling material, and checking for proper drainage, you’re setting the stage for a successful installation. With the base layer in place, you’re ready to move on to the next step: laying down the turf itself.
Step 4: Lay Down the Turf
With the preparation work complete, it’s time to start laying down the fake turf. Follow these steps to ensure a smooth and accurate installation:
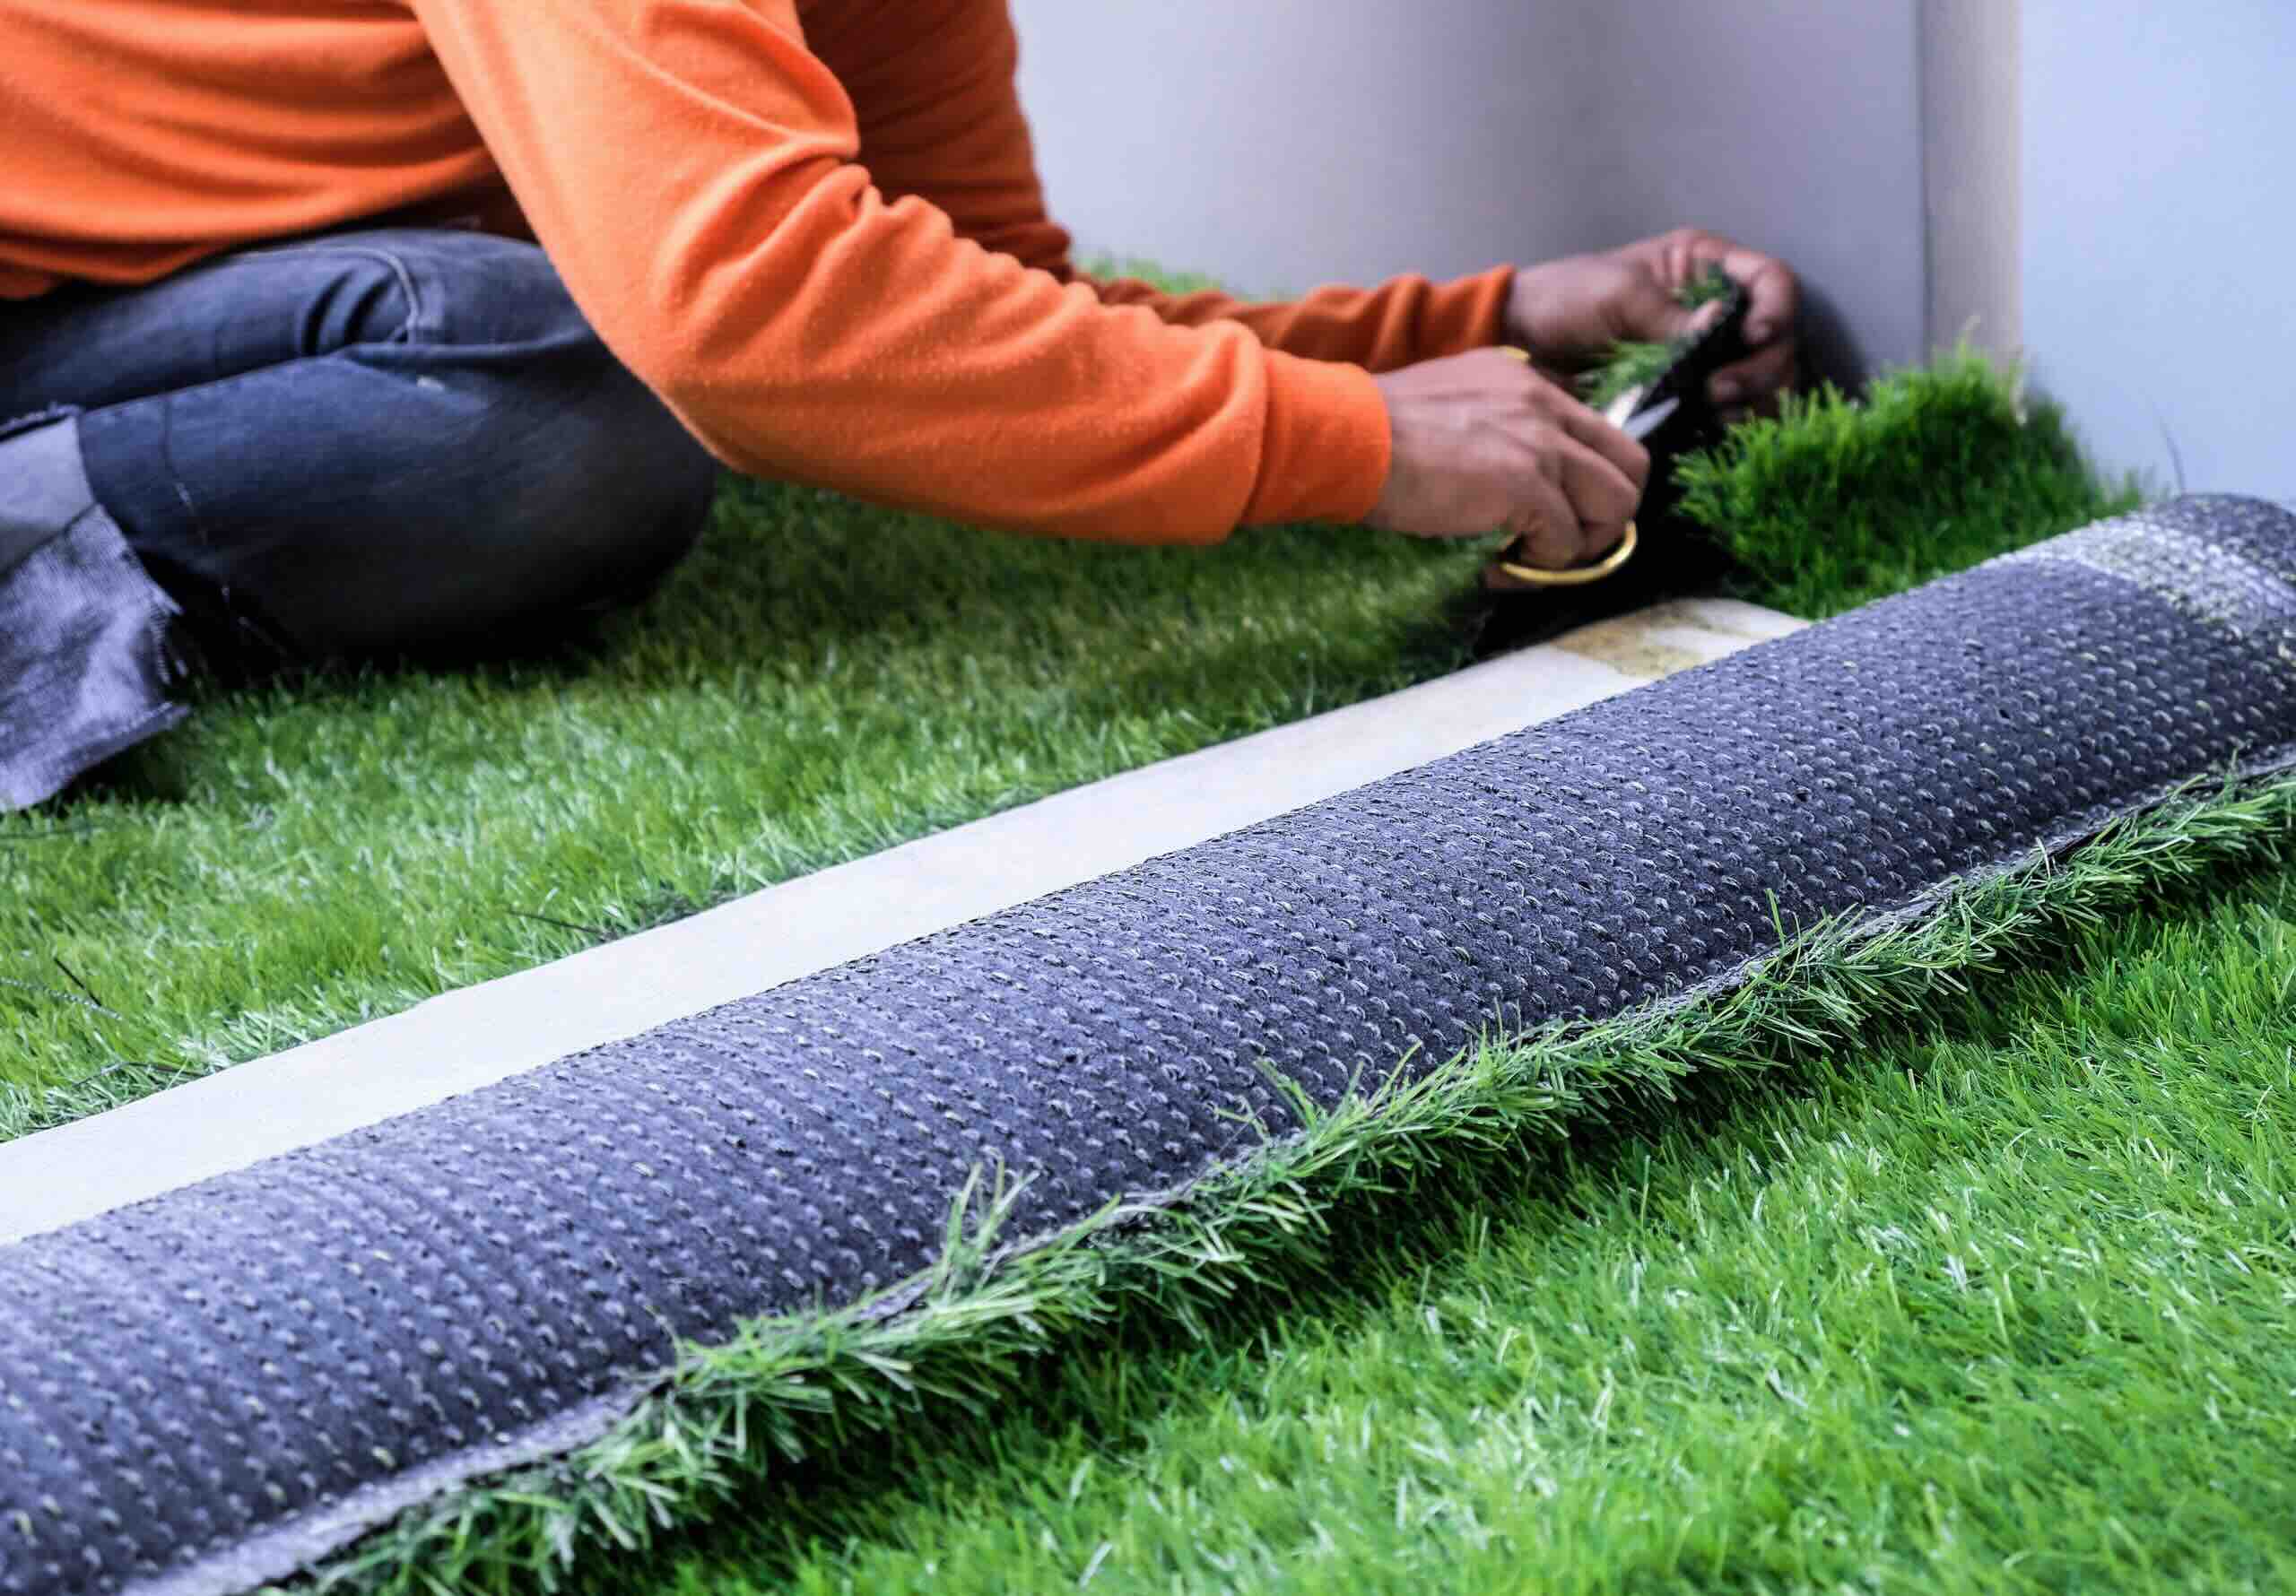
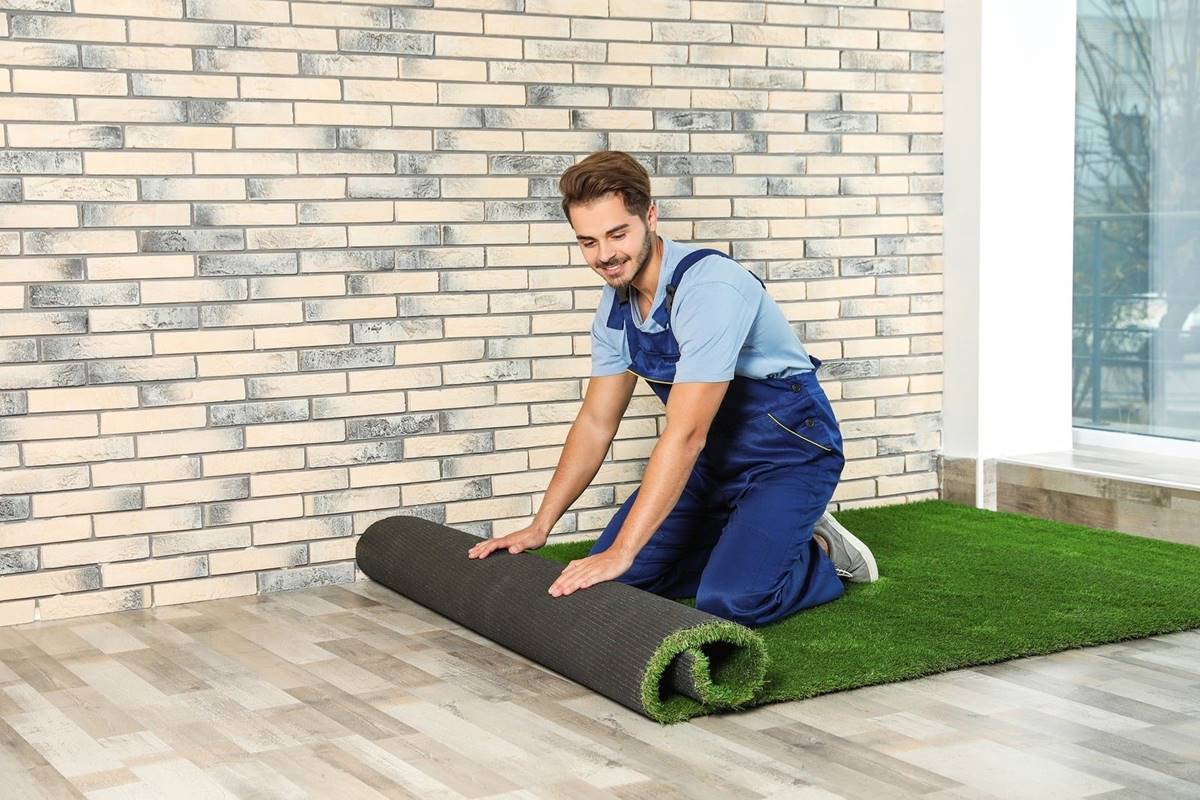
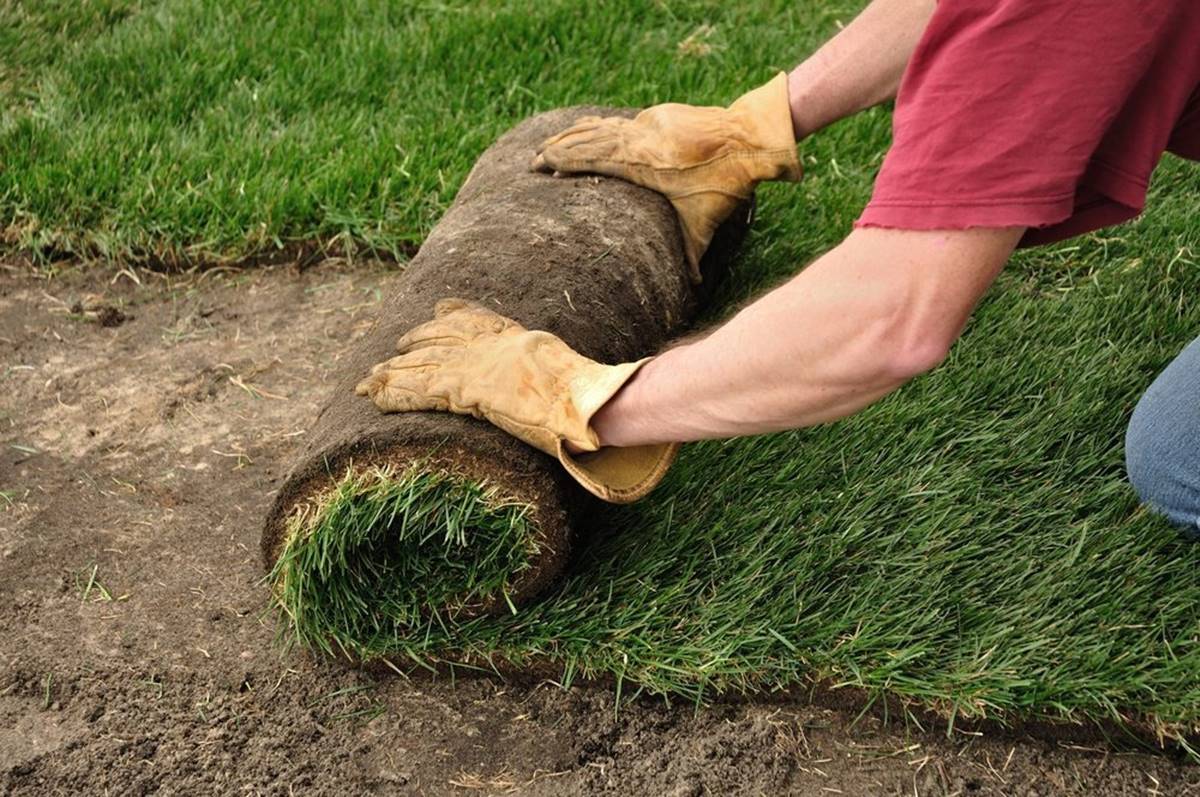
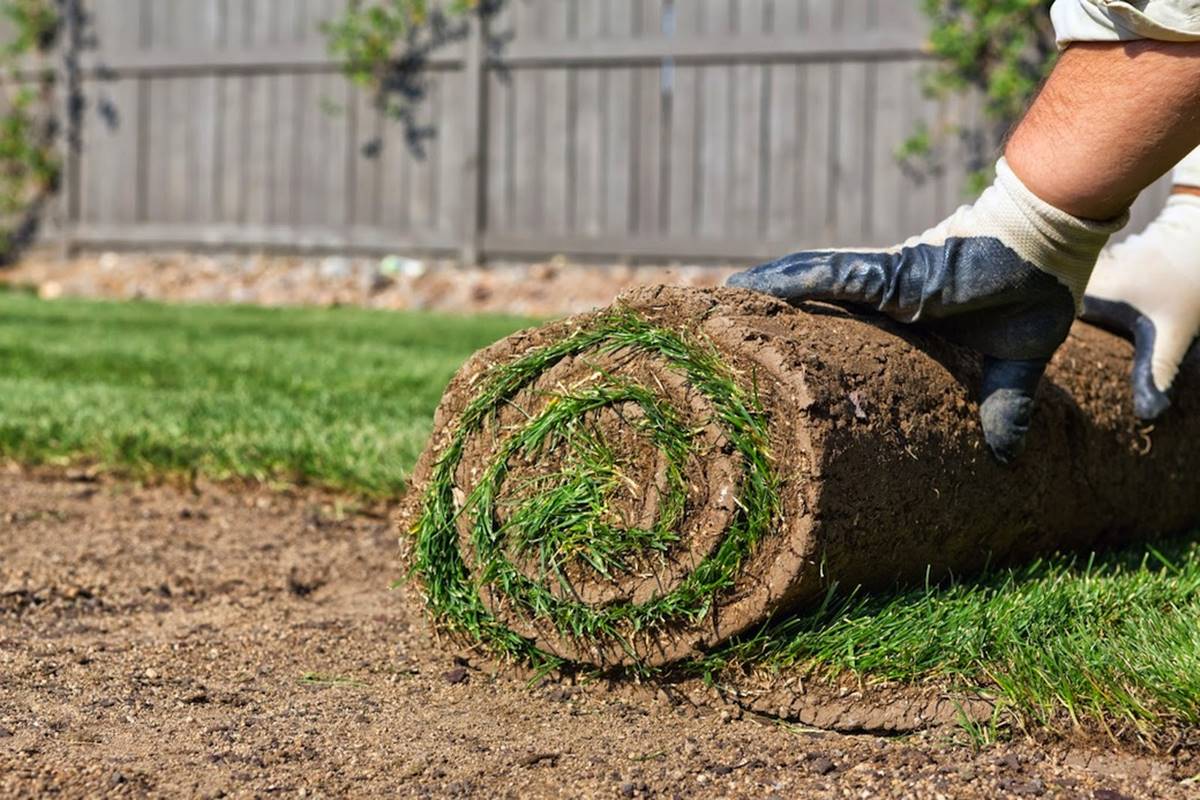
- Unroll the fake turf: Carefully unroll the fake turf on top of the prepared and leveled surface. Start from one end, positioning the turf along the edge or against the installed edging.
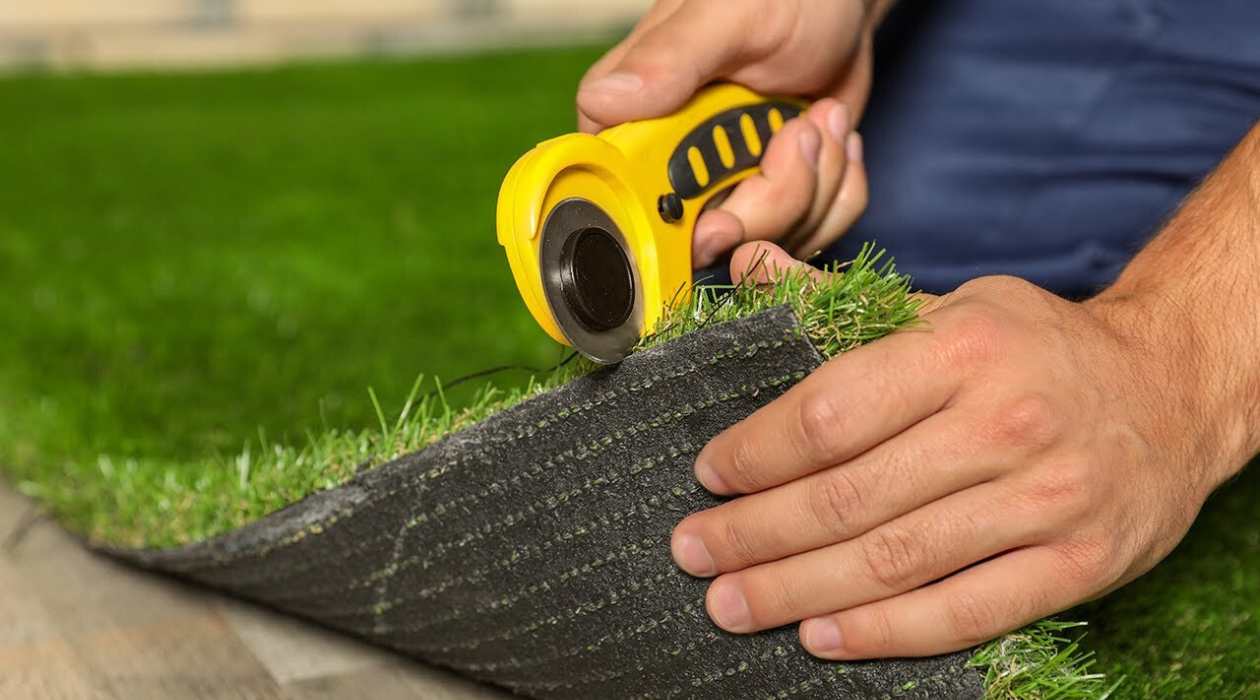
- Trim the edges: If necessary, use a sharp utility knife to trim the edges of the turf to fit the desired area. Take your time and make precise cuts to ensure a clean and seamless finish.
- Overlap or join sections: If your area is larger than the width of a single turf roll, you may need to overlap or join multiple sections. Overlapping involves laying one section of turf partially over another, while joining requires connecting the sections using artificial grass seam tape and adhesive.
- Check for alignment and direction: Ensure that the turf is aligned properly and that the grass fibers are facing the desired direction. This step is crucial for achieving a natural and aesthetically pleasing look.
- Smooth out wrinkles and folds: As you unroll the turf, smooth out any wrinkles or folds that may have formed during transportation. Gently pull and adjust the turf to ensure a smooth surface.
- Avoid stretching: Be careful not to stretch the turf during installation, as this may result in an unnatural appearance and potential issues with the seams.
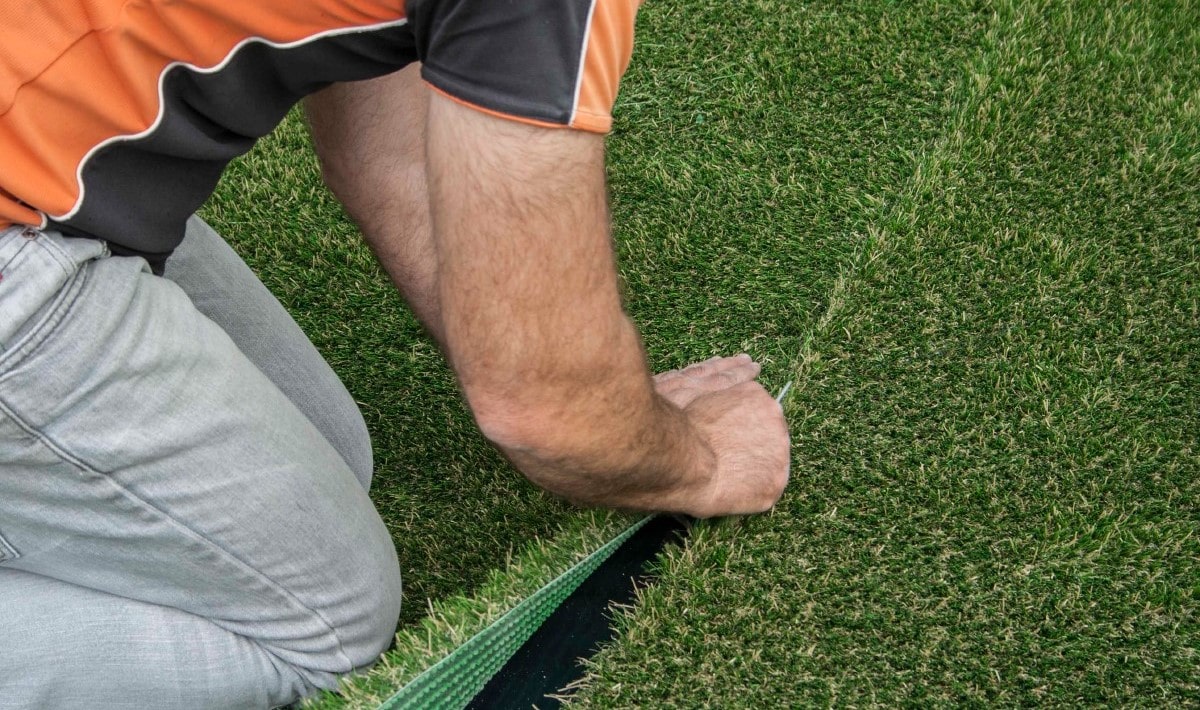
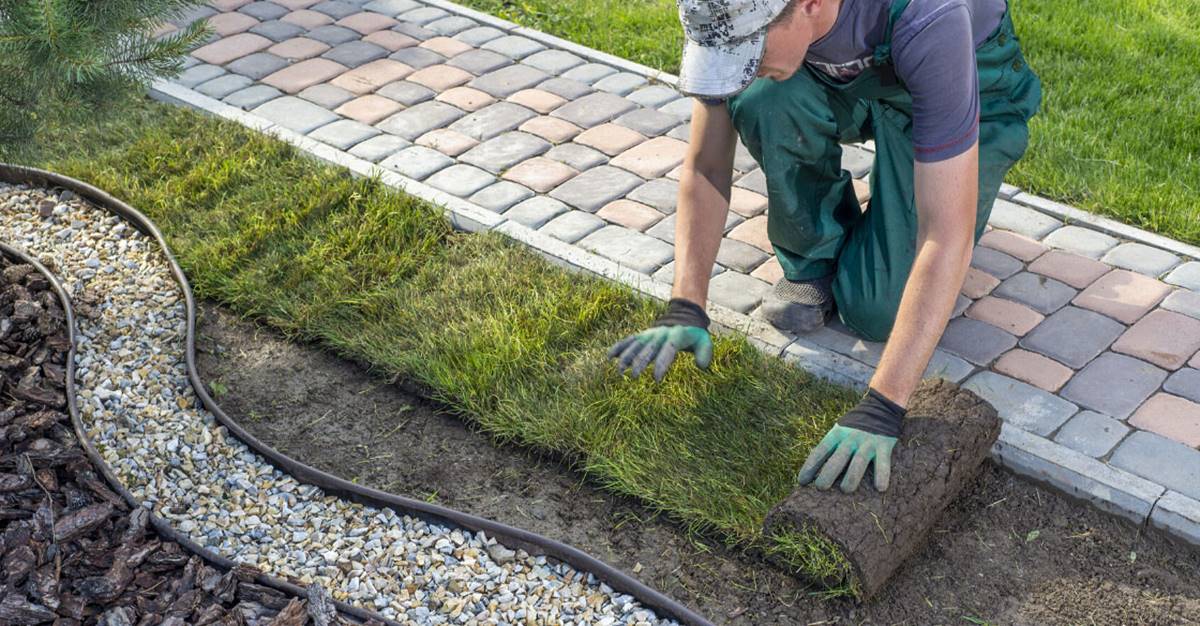
- Secure the edges: Once the turf is laid out and positioned correctly, secure the edges using landscape pins or stakes. Space the pins or stakes every few inches along the perimeter to ensure the turf stays in place.
Take your time during this step to ensure that the turf is properly positioned and installed. Double-check the alignment, smooth out any folds, and secure the edges tightly. This will help create a seamless and professional-looking fake turf installation.
With the turf in place, we’re now ready to move on to the next step: securing the turf to the ground.
Before installing fake turf, make sure the area is properly leveled and free of debris. Use a weed barrier to prevent unwanted growth and secure the turf with landscape staples for a professional finish.
Read more: How To Clean Fake Turf In The Backyard
Step 5: Secure the Turf
Securing the fake turf is an important step to ensure its stability and longevity. Here’s how to securely fasten the turf to the ground:
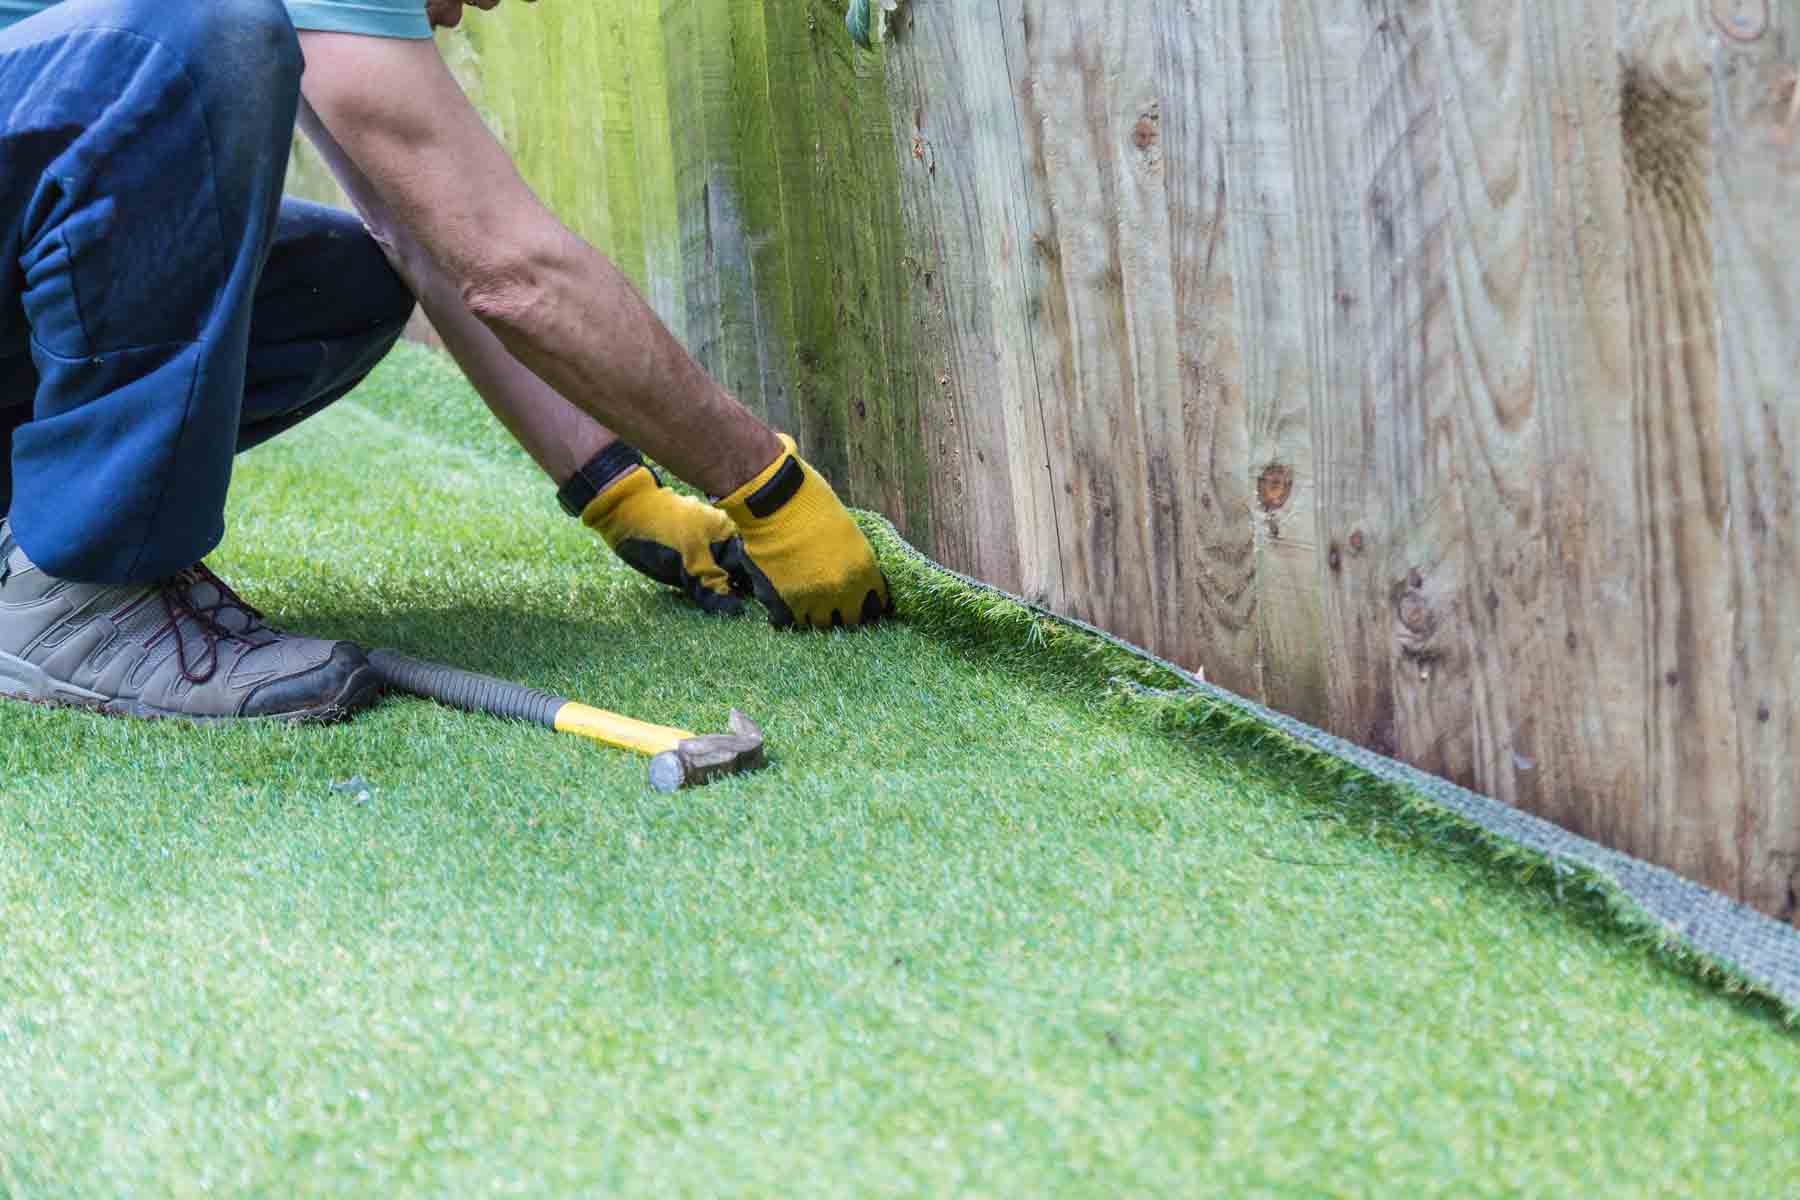
- Nail or staple the edges: Use galvanized nails or staples to secure the edges of the turf to the subbase or edging. Place the nails or staples approximately 6 to 8 inches apart, ensuring they penetrate through the turf backing and into the subbase or edging.
- Avoid over-nailing or stapling: Take care not to over-nail or staple, as it may cause damage to the turf or create uneven surfaces. Consistent spacing and proper fastening are key.
- Secure the seams (if applicable): If you have multiple sections of turf that require joining, use artificial grass seam tape and adhesive to secure the seams. Follow the manufacturer’s instructions for applying the tape and adhesive, ensuring a strong and seamless bond.
- Check for any loose areas: Once the turf and seams are secured, walk over the entire surface to identify any loose areas. If you notice any loose spots or wrinkles, re-nail or staple those sections to provide a tight and secure fit.
By securely fastening the turf to the ground, you’ll prevent shifting or movement, ensuring a stable and long-lasting installation. Take your time during this step to ensure that all edges are properly secured and any seams are tightly bonded. With the turf secure, we’re now ready to move on to the next step: trimming and shaping the turf.
Step 6: Trim and Shape the Turf
Trimming and shaping the fake turf is an important step to achieve a polished and professional look. Here’s how to trim and shape the turf:
- Trim the excess turf: Use a sharp utility knife to trim any excess turf along the edges and around objects like trees, flower beds, or pathways. Make clean and precise cuts, following the natural contours of the area.
- Create curves or angles: If you want to create curved or angled edges, use a hose or flexible string to outline the desired shape. Cut along the marked line, ensuring smooth and gradual curves.
- Avoid gaps or overlapping: When trimming the turf, ensure that there are no gaps or overlapping areas. This will help achieve a seamless and natural appearance.
- Trim around obstacles: When trimming around objects like tree trunks or posts, cut the turf as close to the object as possible. Take care not to damage the object or leave unsightly gaps.
- Remove excess debris: Once the trimming is complete, remove any debris or loose grass clippings from the surface. Use a rake or leaf blower to achieve a clean and tidy finish.
Take your time during this step to achieve clean and precise cuts. It’s better to make small adjustments and trim as needed to achieve the desired shape and fit. Trimming and shaping the turf will give your installation a professional and well-manicured appearance.
With the turf trimmed and shaped, we’re now ready to move on to the next step: adding infill material (optional).
Step 7: Add Infill (Optional)
Adding infill material to your fake turf is an optional step but can provide additional stability and enhance the overall look and feel of the surface. Infill material helps support the grass blades, reduces matting, and improves the turf’s resilience. Follow these steps to add infill to your turf:
- Select the appropriate infill material: There are various types of infill material available, including silica sand, rubber granules, or a combination of both. Choose the infill material that best suits your needs and preferences.
- Distribute the infill evenly: Spread the infill material evenly over the entire surface of the turf using a seed spreader or a shovel. Start at one corner and work your way across the area, making sure to distribute the infill material consistently.
- Brush the infill into the turf: Use a power broom or a stiff bristle brush to brush the infill material into the turf fibers. This process helps the infill settle and evenly distribute throughout the turf. Brush in different directions to ensure thorough coverage.
- Add more infill if needed: If you notice any areas that appear sparse or flat, add more infill material and repeat the brushing process. This will help achieve a uniform and lush appearance across the entire turf.
Adding infill can improve the performance and longevity of your fake turf. It helps the blades stand upright, enhances drainage, and provides a more natural look. However, keep in mind that the decision to use infill is personal, and some fake turf products may not require it.
Once the infill is added and brushed into the turf, we’re ready to move on to the final step: brushing and grooming the turf.
Step 8: Brush and Groom the Turf
Brushing and grooming the fake turf is the final step in the installation process, ensuring that the turf looks lush, natural, and well-maintained. Here’s how to brush and groom your turf:
- Use a stiff bristle brush or power broom: Start by using a stiff bristle brush or a power broom to brush the turf fibers against the grain. This process will help the blades stand upright and give your turf a fuller appearance. Brush in different directions to ensure even coverage.
- Remove debris and pet hair: Brushing the turf also helps to remove any debris, leaves, or pet hair that may have accumulated on the surface. Regularly brushing your turf will keep it clean and free from unwanted materials.
- Fluff up the turf fibers: Gently rake or brush the turf fibers in the opposite direction to fluff them up. This will give your turf a natural and realistic look. Take care not to pull or damage the turf in the process.
- Inspect for unevenness: During the brushing process, keep an eye out for any areas that may appear uneven or require additional attention. Address these areas by brushing and grooming them until they blend seamlessly with the rest of the turf.
- Maintain a regular brushing schedule: To keep your turf looking fresh and well-groomed, establish a regular brushing schedule. The frequency of brushing will depend on the level of traffic and usage your turf receives. Aim to brush your turf at least once a month or as needed.
Brushing and grooming your turf not only enhances its appearance but also helps to prolong its lifespan and maintain optimal performance. Regular brushing and maintenance will ensure that your fake turf continues to look beautiful and withstand the test of time.
Congratulations! You have successfully completed the installation process. Your fake turf is now ready to be enjoyed and admired. Sit back, relax, and revel in the beauty and low-maintenance benefits of your newly installed turf!
Read more: How Hot And Unsafe Is Fake Turf?
Conclusion
Congratulations on successfully installing your fake turf! By following the step-by-step guide outlined in this article, you have transformed your outdoor space into a beautiful, low-maintenance oasis. Fake turf offers numerous benefits, including water conservation, reduced maintenance efforts, and year-round aesthetic appeal.
Throughout the installation process, you gathered the necessary materials, prepared the area, installed the base layer, laid down the turf, secured it in place, trimmed and shaped it as needed, added infill (if desired), and finally, brushed and groomed the turf to achieve a natural and well-maintained look.
Remember to establish a regular maintenance routine, including brushing the turf regularly and keeping it free from debris. This will ensure that your fake turf remains in pristine condition for years to come.
Whether you’re using fake turf in your garden, backyard, or any outdoor space, you can enjoy the benefits of a vibrant, green landscape without the hassle of constant watering, mowing, or weeding. Relax and appreciate your beautiful new turf, knowing that you’ve made a sustainable and visually appealing choice for your outdoor space.
Thank you for choosing fake turf and for investing the time and effort into installing it properly. Enjoy your stunning, low-maintenance landscape and create lasting memories in your transformed outdoor haven!
Frequently Asked Questions about How To Install Fake Turf
Was this page helpful?
At Storables.com, we guarantee accurate and reliable information. Our content, validated by Expert Board Contributors, is crafted following stringent Editorial Policies. We're committed to providing you with well-researched, expert-backed insights for all your informational needs.
0 thoughts on “How To Install Fake Turf”