Home>Garden Essentials>How To Install Fake Grass Beside Stepping Stones
Garden Essentials
How To Install Fake Grass Beside Stepping Stones
Modified: October 19, 2024
Learn how to easily install fake grass beside stepping stones in your garden. Enhance the beauty of your outdoor space with this simple DIY project.
(Many of the links in this article redirect to a specific reviewed product. Your purchase of these products through affiliate links helps to generate commission for Storables.com, at no extra cost. Learn more)
Introduction
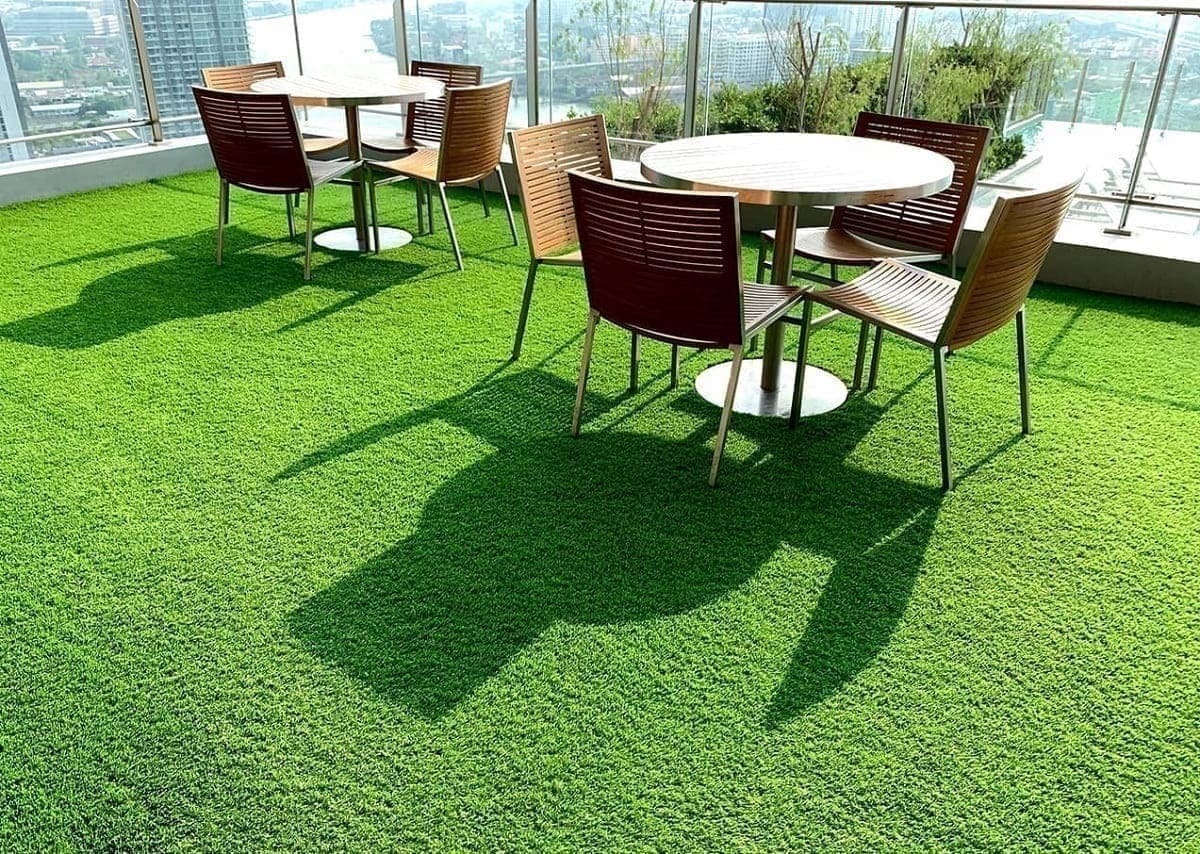
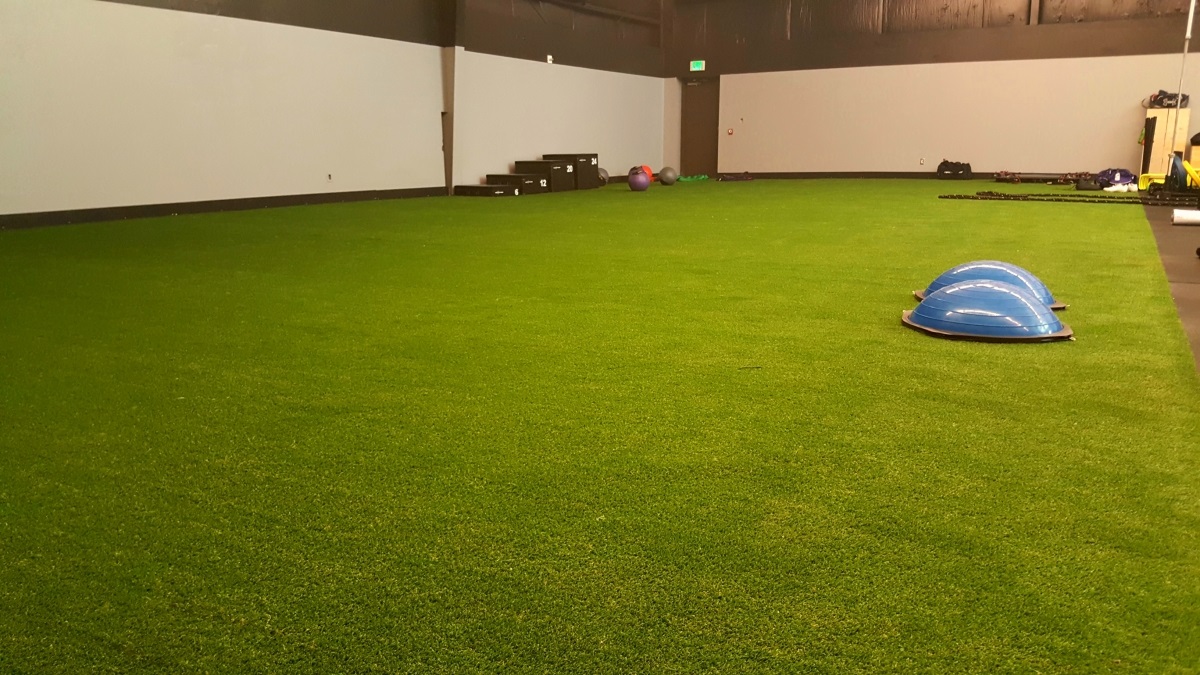
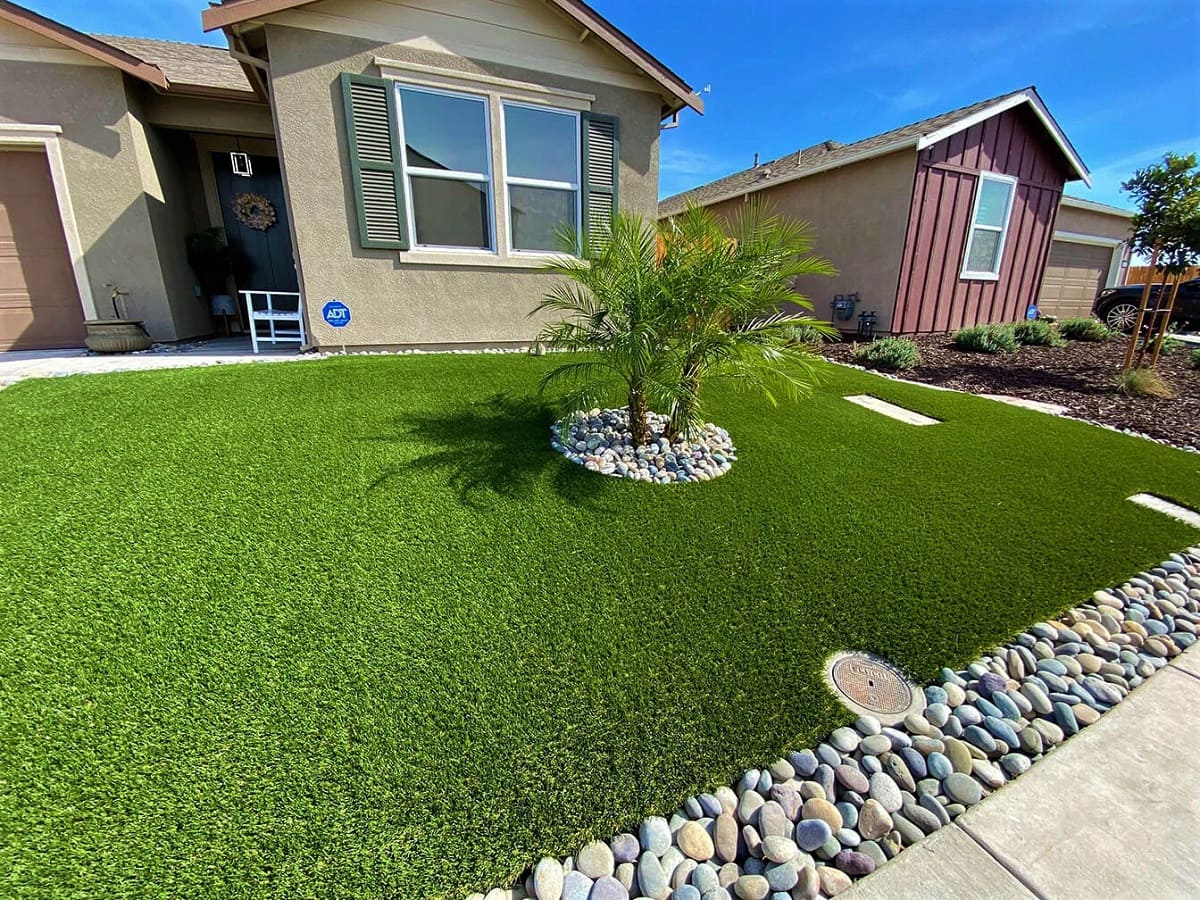
Installing fake grass alongside stepping stones is a fantastic way to enhance the aesthetic appeal of your garden while providing a low-maintenance solution. Whether you’re looking to create a beautiful pathway in your backyard or add some greenery to a paved area, artificial grass can be a great option.
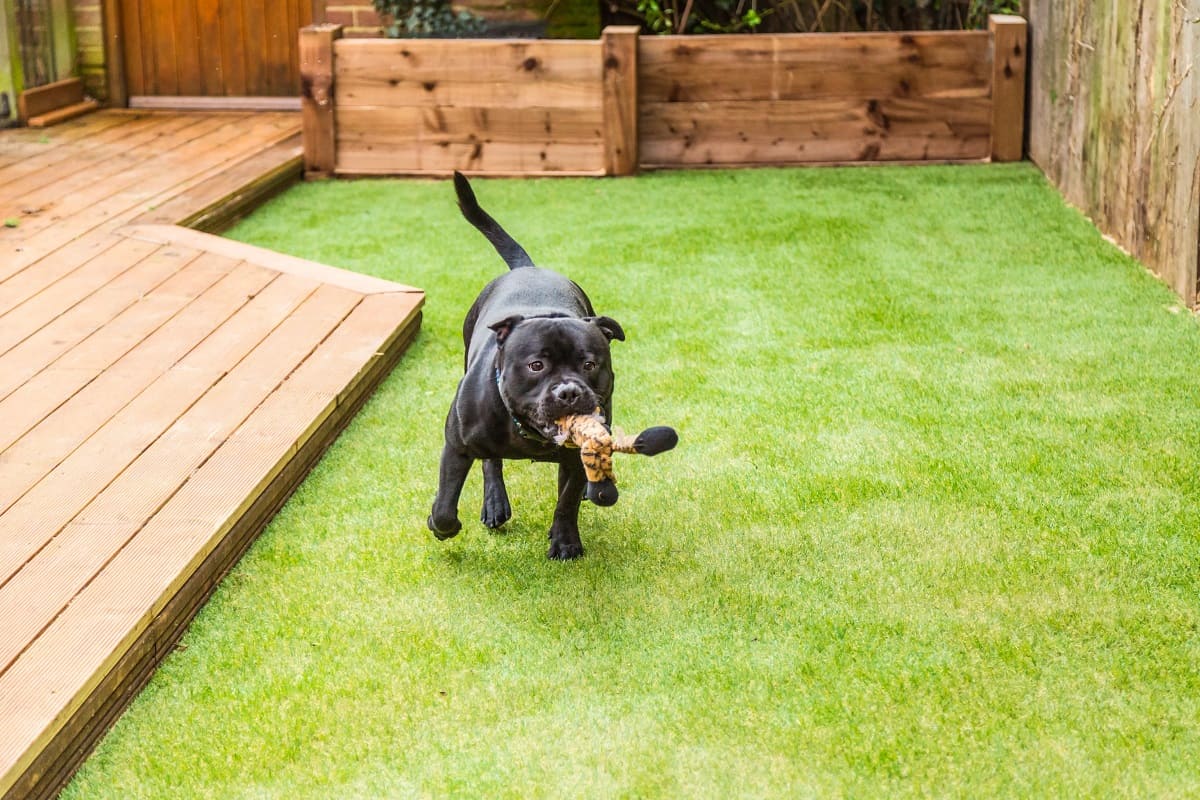
Fake grass, also known as synthetic turf, offers several advantages over natural grass. It requires minimal upkeep, stays green all year round, and doesn’t need mowing, watering, or fertilizing. Additionally, it provides a soft and cushioned surface, making it ideal for walking barefoot or enjoying outdoor activities.
In this article, we will guide you through the step-by-step process of installing fake grass beside stepping stones. We’ll discuss the tools and materials you’ll need, provide detailed instructions on each stage of the installation, and offer maintenance tips to keep your artificial grass looking its best.
So, let’s get started! With a little time and effort, you can transform your outdoor space into a beautiful and low-maintenance oasis. Whether you’re a seasoned DIY enthusiast or a beginner, this guide will help you achieve professional-looking results. Get ready to enjoy a lush green lawn without the hassle!
Key Takeaways:
- Installing fake grass beside stepping stones offers a low-maintenance and beautiful pathway solution for your garden. With proper preparation and maintenance, you can enjoy a lush green lawn without the hassle of traditional grass upkeep.
- Regular brushing and proactive care are essential for maintaining the appearance and longevity of artificial grass. By following the provided steps and maintenance tips, you can keep your outdoor space looking vibrant and well-maintained.
Read more: How To Put Stepping Stones On Grass
Tools and Materials Needed
Before you begin the installation process, it’s essential to gather all the necessary tools and materials. Here’s a comprehensive list of what you’ll need:
Tools:
1. Measuring tape: To measure the area where the artificial grass will be installed.
2. Utility knife: For cutting the artificial grass and trimming edges.
3. Shovel: To remove existing grass, plants, and debris from the area.
4. Rake: For leveling the ground and removing any remaining debris.
5. Power brush or stiff broom: To brush and maintain the artificial grass.
6. Wheelbarrow: For transporting materials and debris.
7. Garden hose: To rinse off the artificial grass during installation and for periodic cleaning.
Materials:
1. Artificial grass: Choose high-quality synthetic turf that suits your preferences and the intended use. Make sure it is designed for outdoor use and has good drainage capabilities.
2. Weed barrier fabric: A geotextile membrane that prevents weed growth underneath the artificial grass.
3. Stepping stones: Select the type and size of stepping stones that match your garden design and personal style.
4. Landscape fabric pins or nails: Metal anchors used to secure the weed barrier fabric to the ground.
5. Infill material (optional): Typically silica sand or rubber granules used to provide stability and enhance the resilience of the artificial grass.
6. Adhesive and seaming tape (optional): For joining and securing the edges of the artificial grass.
Make sure to choose good-quality materials that are specifically designed for artificial grass installation. This will ensure durability, longevity, and a realistic look and feel.
Having all the necessary tools and materials ready before you begin will make the installation process smoother and more efficient. So, gather everything listed above and let’s move on to the next step: preparing the area.
Step 1: Prepare the Area
Preparing the area is an important first step in installing fake grass beside stepping stones. Proper preparation will ensure a stable and even surface, allowing for a seamless installation. Follow these steps to prepare the area:
1. Measure and Mark: Use a measuring tape to determine the dimensions of the area where you want to install the artificial grass. Mark the boundaries with stakes or spray paint.
2. Clear the Area: Remove any existing grass, plants, or obstructions from the marked area. Use a shovel to dig out the vegetation, roots, and debris. If there are large stones or rocks, remove them as well.
3. Grade the Ground: Use a rake to level the ground, ensuring the area is smooth and even. Pay attention to any low spots or high points and make necessary adjustments. This step is crucial to prevent unevenness in the finished installation.
4. Drainage Considerations: Evaluate the drainage of the area. If there are areas prone to pooling water, consider adding a slight slope to improve water runoff. This will help maintain the longevity and performance of the artificial grass.
5. Remove Sod: If your existing lawn has a layer of sod, you may want to remove it. This optional step allows for better integration of the artificial grass with the ground. You can use a sod cutter or a shovel to carefully strip away the sod layer.
By following these steps, you’ll have a well-prepared area ready for the next stages of installation. Properly preparing the area will set the foundation for a successful and long-lasting artificial grass installation.
Step 2: Remove Existing Grass or Plants
Once you have prepared the area in the previous step, it’s time to remove any existing grass or plants from the marked installation area. Removing the vegetation ensures a clean and level surface for the artificial grass. Follow these steps to effectively remove the existing grass or plants:
1. Start by marking a clear boundary: Use stakes or spray paint to clearly mark the perimeter of the installation area. This will help you stay focused and prevent removing more vegetation than necessary.
2. Use a shovel or a turf cutter: If the area has a thick layer of grass, use a sharp shovel or a turf cutter to cut through the grass and separate it from the underlying soil. Start from one edge and work your way across the entire area.
3. Lift and remove: Once you have cut through the grass, lift the sections using the shovel or turf cutter. Remove the grass chunks and transfer them to a compost pile or dispose of them properly.
4. Remove any remaining roots: Use a rake or your hands to remove any remaining roots or plant remnants from the soil. This step is important to prevent any regrowth or unevenness in the installation area.
5. Dispose of the removed vegetation: Properly dispose of the removed grass and plants. Some vegetation can be composted, while others may need to be discarded following local waste management guidelines.
6. Inspect the soil: After removing the vegetation, inspect the soil for any rocks, roots, or debris that may affect the installation process. Remove any obstructions to ensure a smooth and even surface.
Removing the existing grass or plants creates a clean slate for installing the artificial grass. Take your time and make sure to thoroughly remove all vegetation and debris. With Step 2 complete, you are now ready to move on to the next phase of installation: leveling the ground.
Step 3: Level the Ground
Leveling the ground is a crucial step in the installation process, as it helps ensure a smooth and even surface for the fake grass. This step is essential for achieving a professional-looking and long-lasting installation. Follow these steps to level the ground properly:
1. Walk the area: Take a walk around the installation area and identify any unevenness or bumps in the ground. Pay attention to areas that may have settled or are higher than the surrounding surface.
2. Fill in low spots: If you notice any low spots or depressions, fill them in with topsoil or a suitable leveling material. Use a rake to spread the soil evenly and level it. Repeat this process until all the low spots are leveled and in line with the rest of the ground.
3. Compact the soil: After filling in the low spots, use a soil compactor or a tamper to compact the soil. This step ensures a firm and stable base for the artificial grass. Compact the soil in all areas, including the newly filled-in spots.
4. Check for proper drainage: While leveling the ground, it’s important to consider proper drainage. Ensure that the surface slopes away from any structures or areas prone to water accumulation. This will prevent waterlogging and maintain the longevity of the artificial grass.
5. Use a level: To ensure a truly level surface, use a level tool such as a spirit or laser level. Place it in various spots across the ground to verify that it is consistently level.
6. Adjust as needed: If you find any areas that are still uneven, use additional soil or leveling material to make the necessary adjustments. Repeat the leveling and compacting process until the entire installation area is level.
Taking the time to properly level the ground will lay the foundation for a seamless and visually appealing installation. This step ensures that the artificial grass sits evenly and provides a natural look once installed. With Step 3 complete, you’re ready to move on to the next stage: installing the stepping stones.
Read more: How To Lay A Stepping Stone Patio
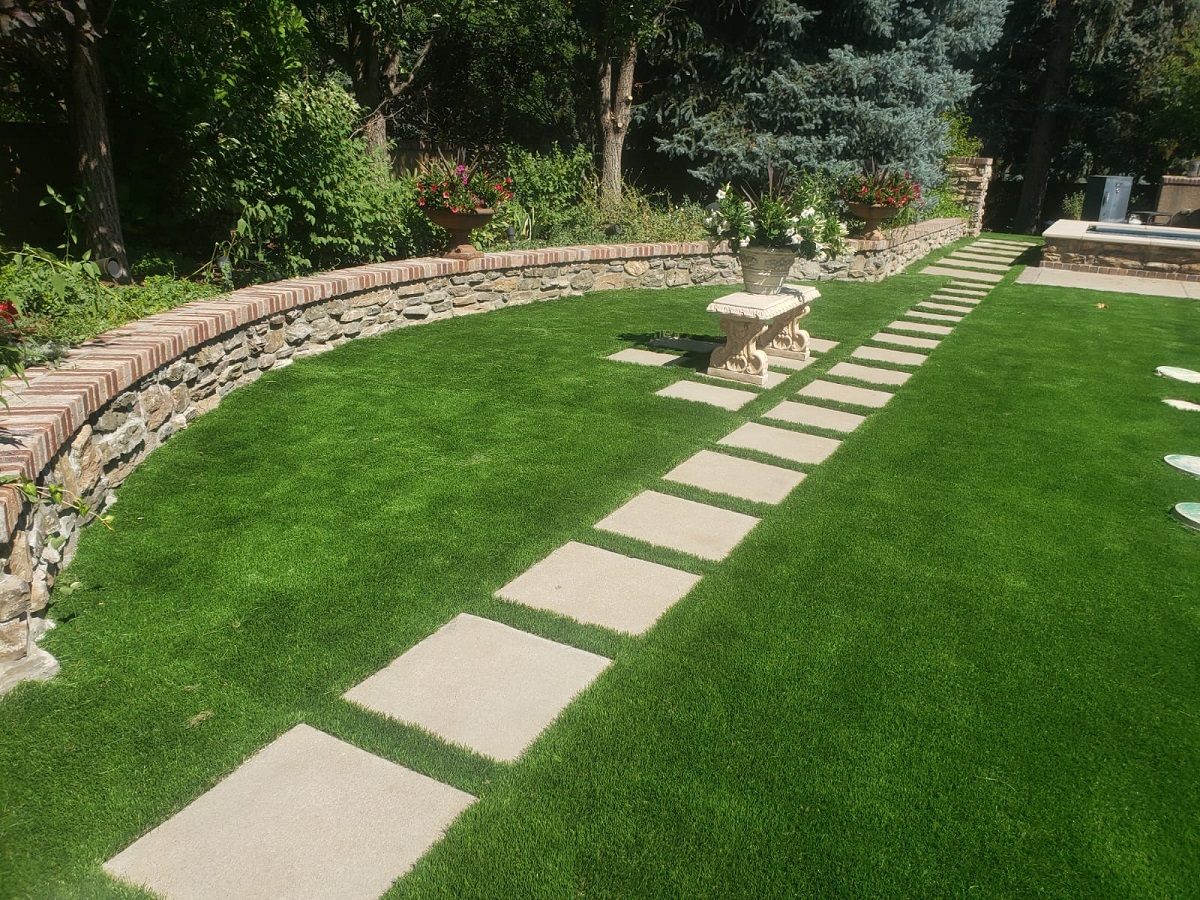
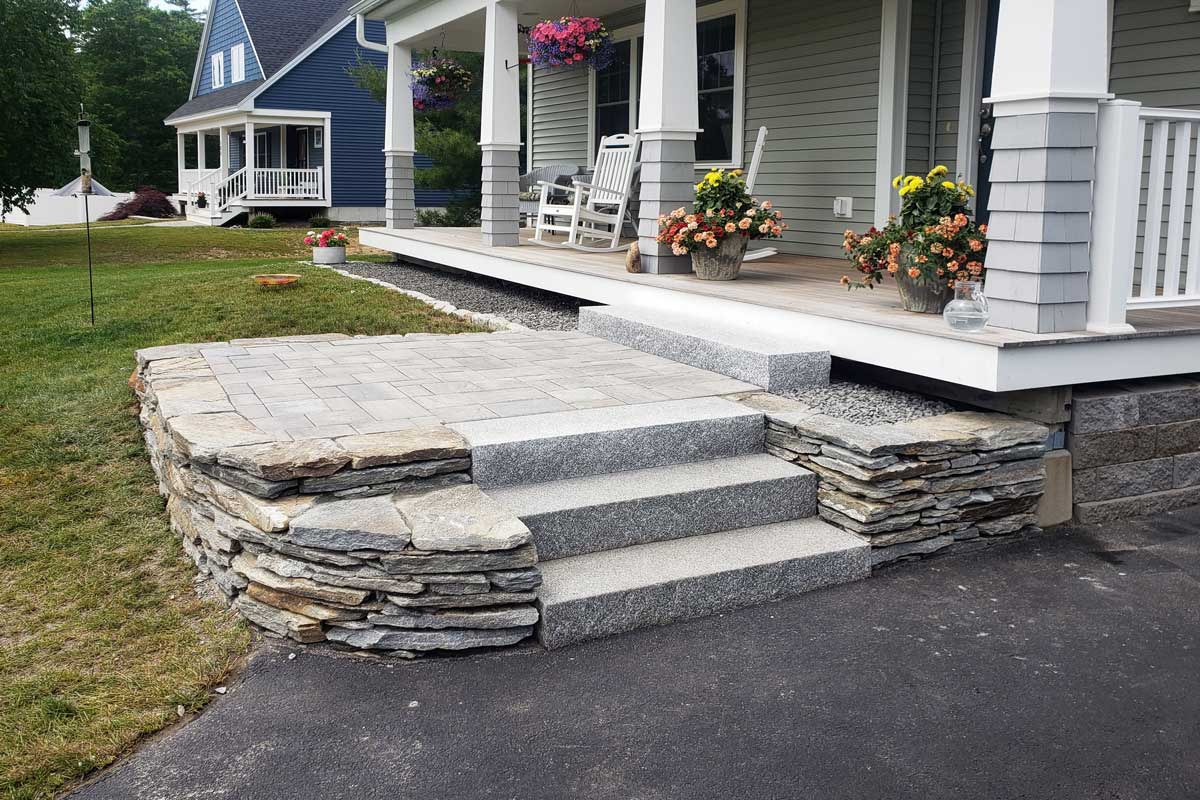
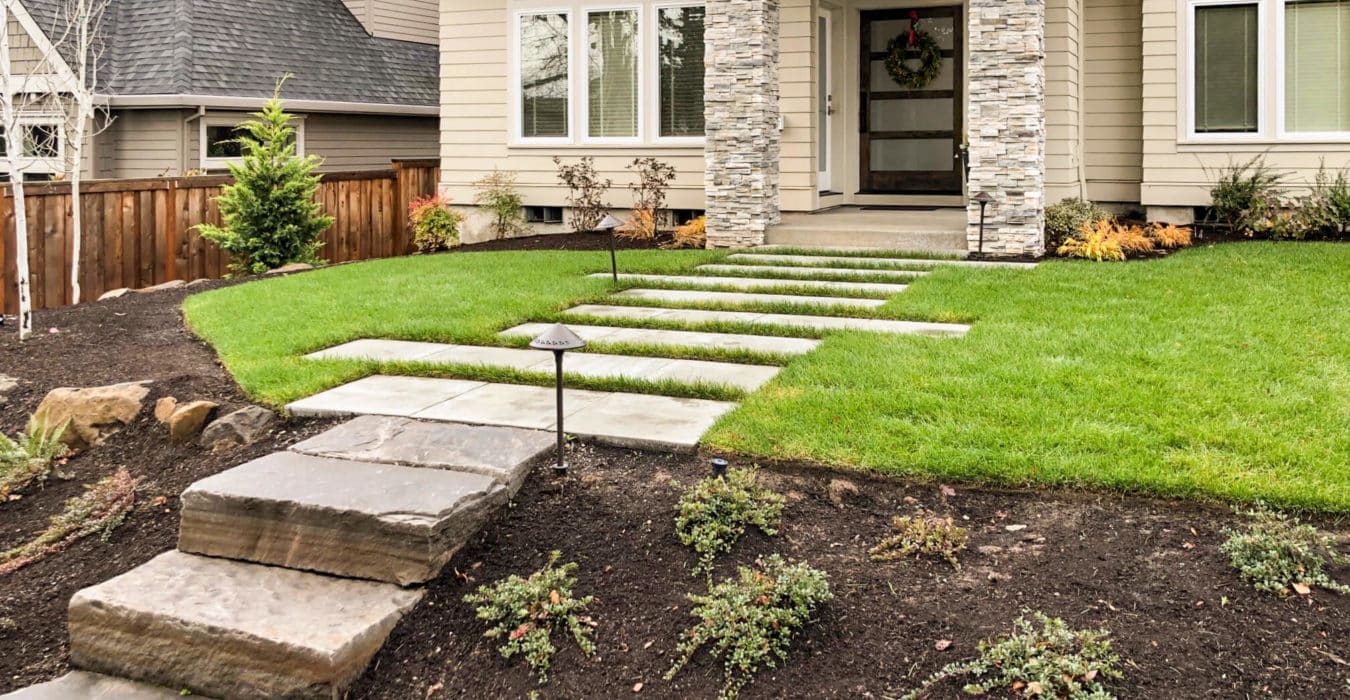
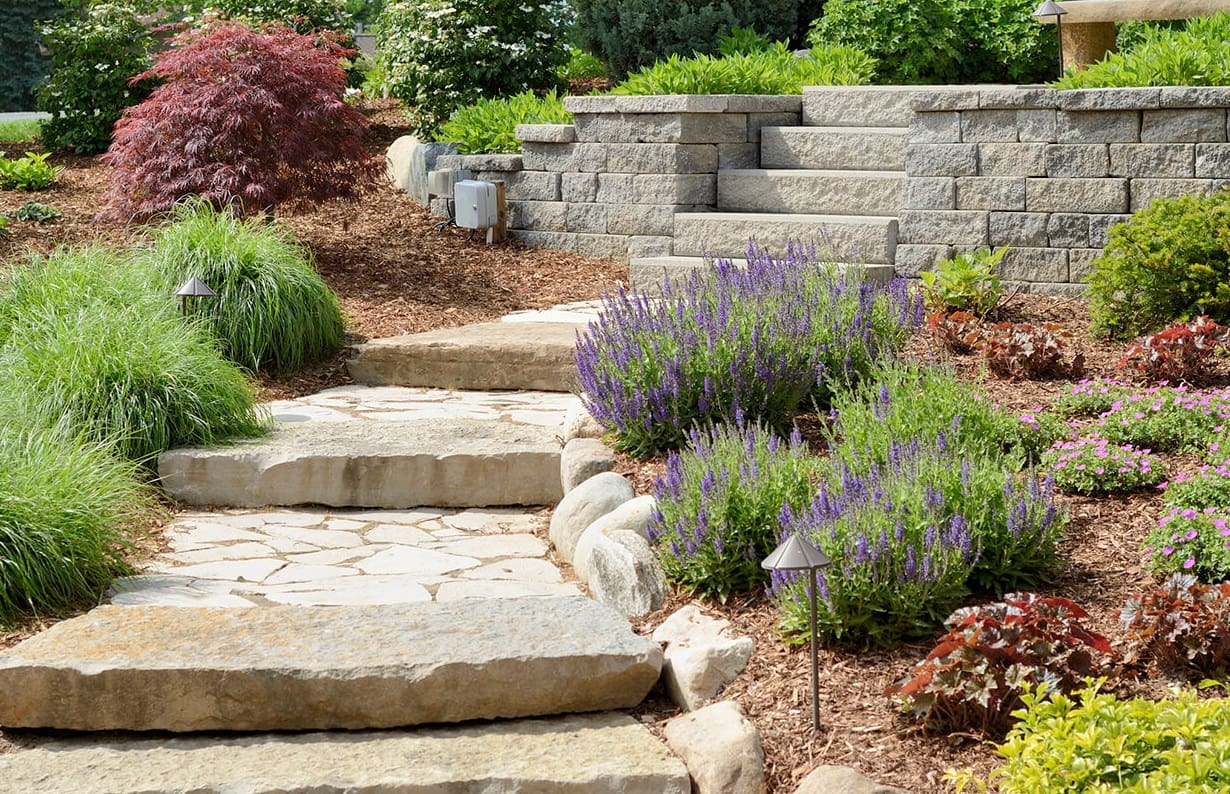
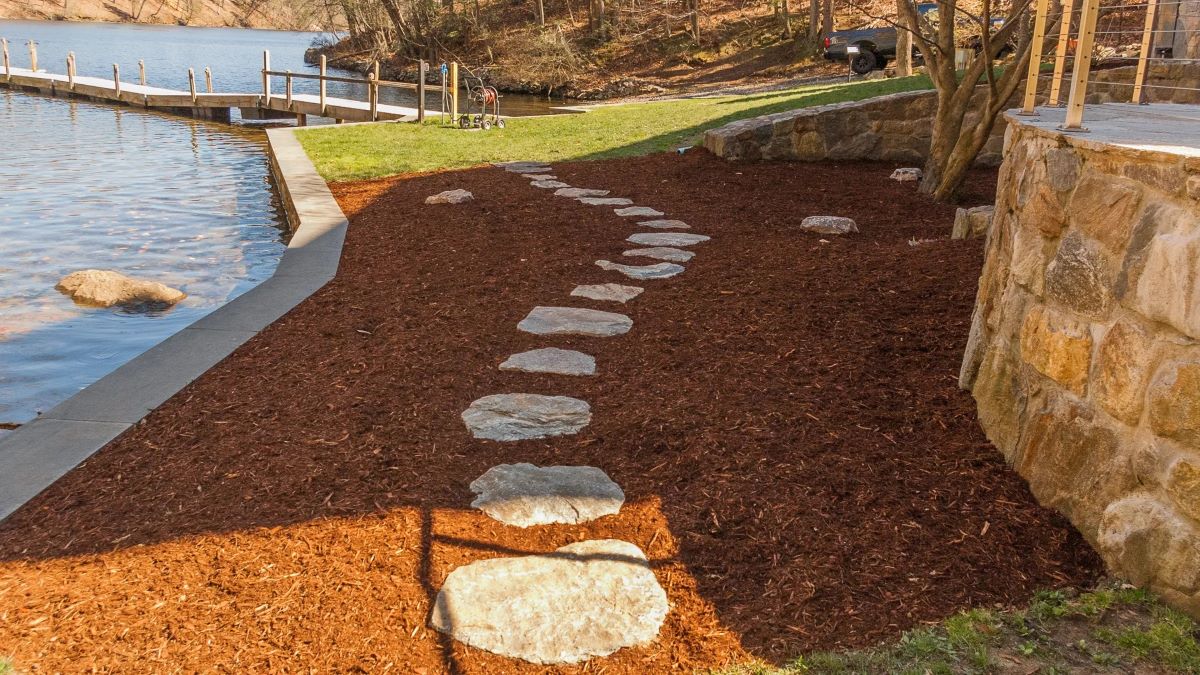
Step 4: Install Stepping Stones
Installing stepping stones alongside the artificial grass not only adds functionality but also enhances the overall aesthetic appeal of your garden. These stones create a visually appealing pathway and provide a stable surface to walk on. Follow these steps to properly install the stepping stones:
1. Plan the placement: Before installing the stones, plan their placement in the installation area. Consider the spacing between the stones, ensuring they are evenly distributed and provide a comfortable stepping pattern. Use stakes or spray paint to mark the exact positions of the stones.
2. Prepare the ground: Use a shovel to dig holes in the ground where the stepping stones will be placed. The holes should be slightly larger than the stones to allow for proper positioning. Make sure the depth of the holes is consistent to maintain an even surface.
3. Add a base material: To provide stability and support for the stepping stones, fill the bottom of each hole with a base material. This can be crushed stone, gravel, or sand. The base material should be compacted to ensure a firm foundation.
4. Place the stepping stones: Carefully place each stepping stone into its designated hole, pressing it down into the base material. Use a level to ensure that each stone is flat and level with the ground. Make any necessary adjustments to achieve the desired look and functionality.
5. Check for stability: Once all the stones are in place, test their stability by stepping on each one. If any stones feel loose or wobble, remove them and make the necessary adjustments to the base material or leveling.
6. Fill the gaps: Fill the gaps around the stepping stones with a decorative material such as decorative gravel, pebbles, or mulch. This will enhance the visual appeal and help secure the stones in place. Make sure to level and compact the material for a tidy finish.
Installing stepping stones alongside the artificial grass adds a charming and functional element to your garden. Take your time during this step to ensure proper placement and stability. Once Step 4 is complete, you’re ready to move on to the next stage: laying down the weed barrier.
Before installing fake grass beside stepping stones, make sure to clear the area of any debris and level the ground. Use a weed barrier to prevent any unwanted growth and secure the edges of the fake grass with landscape staples for a clean and professional look.
Step 5: Lay Down Weed Barrier
Laying down a weed barrier is an essential step in the installation process of fake grass beside stepping stones. A weed barrier helps prevent weed growth from underneath the artificial grass, ensuring a clean and low-maintenance surface. Follow these steps to properly lay down the weed barrier:
1. Measure and cut: Measure the dimensions of the installation area and cut the weed barrier fabric accordingly. Make sure to leave some excess fabric around the edges for securing purposes.
2. Clear the area: Before laying down the weed barrier, ensure that the ground is free of any debris, rocks, or roots. Use a rake or your hands to clear the surface and ensure a smooth base.
3. Lay the fabric: Roll out the weed barrier fabric over the prepared area. Make sure it covers the entire installation area, extending beneath the stepping stones and overlapping any seams by a few inches.
4. Secure the fabric: Use landscape fabric pins or nails to secure the weed barrier fabric to the ground. Place the pins or nails approximately 12-18 inches apart along the edges and in the middle of the fabric. This will prevent any shifting or movement during the installation process.
5. Trim excess fabric: Once the weed barrier fabric is secured, trim any excess fabric around the edges using a utility knife or scissors. Make clean, straight cuts to ensure a neat and tidy appearance.
6. Seam multiple pieces (if necessary): If you have multiple pieces of weed barrier fabric, use a seaming adhesive or tape to join them together. Follow the manufacturer’s instructions for the specific adhesive or tape you are using.
Laying down a weed barrier is an important step to prevent unwanted weeds from growing through the artificial grass. It creates a barrier between the ground and the synthetic turf, ensuring a clean and weed-free surface. With Step 5 complete, you’re now ready to move on to the next stage: trimming and fitting the artificial grass.
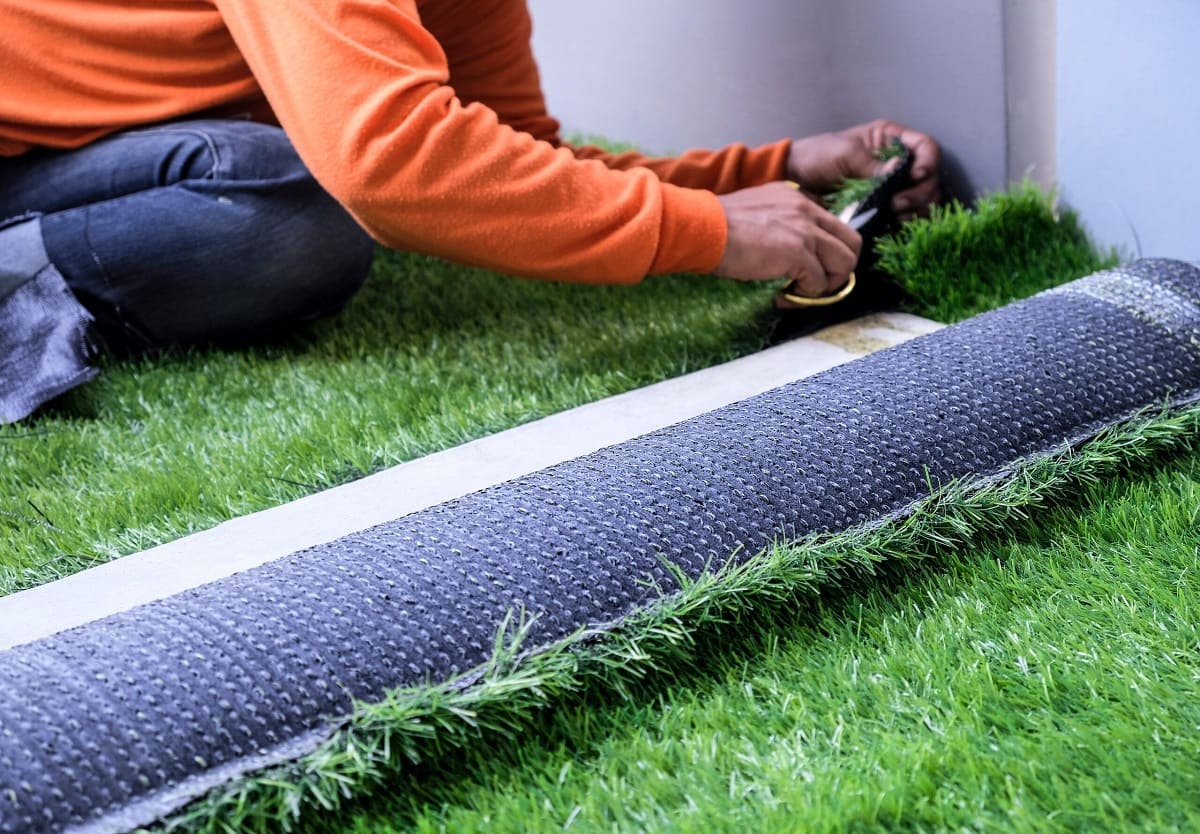
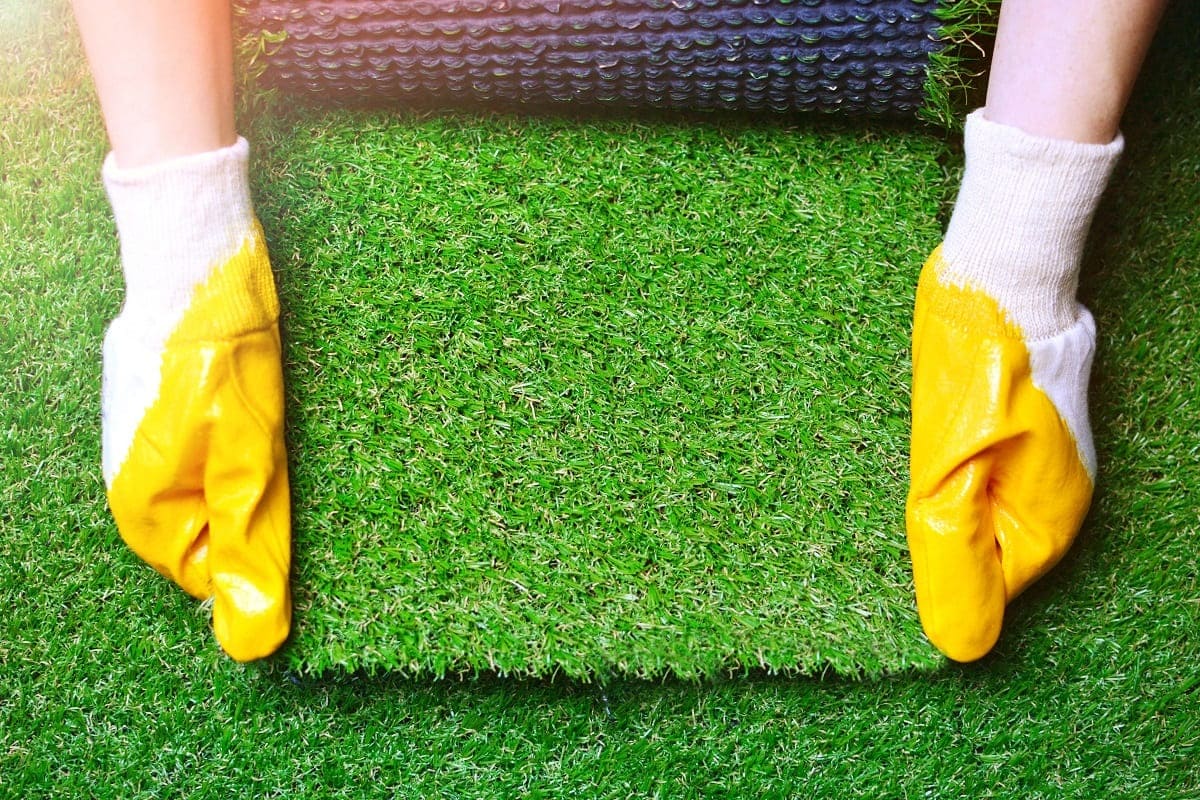
Step 6: Trim and Fit Artificial Grass
Trimming and fitting the artificial grass is a crucial step in the installation process, as it ensures a precise and tailored fit to the designated area. Follow these steps to effectively trim and fit the artificial grass:
1. Roll out the artificial grass: Begin by unrolling the artificial grass over the prepared area. Allow the grass to acclimate to the surroundings for a few hours, as it may have been compressed during shipping.
2. Trim excess length: Once the grass has acclimated, use a utility knife to trim any excess length along the edges. Make smooth, straight cuts, and use a straight edge or a plank of wood to guide the knife for clean lines.
3. Fit around stepping stones: Carefully fit the artificial grass around the stepping stones. Using the utility knife, make small, precise cuts to create spaces for the stones to sit flush with the grass. Take your time to ensure a snug and seamless fit.
4. Check the fit: Check the fit of the artificial grass around the stepping stones and the edges of the installation area. Make any necessary adjustments by trimming the grass as needed. It’s important to leave a small gap (approximately ¼ inch) between the edge of the grass and any solid structures to allow for expansion and contraction.
5. Mark and trim around obstacles: If there are any other obstacles, such as trees or garden features, mark them on the backside of the grass. Then, carefully cut around the obstacles, ensuring a precise fit. Take care not to damage any existing roots or structures.
6. Seam multiple pieces (if necessary): If you have multiple pieces of artificial grass, use the manufacturer-recommended adhesive or seaming tape to join them together. Follow the instructions provided by the manufacturer for the specific adhesive or tape you are using.
Remember to take your time and make precise cuts during this step. A well-fitted artificial grass installation will result in a seamless and professional-looking outcome. With Step 6 complete, you’re now ready to move on to the next stage: securing the edges of the artificial grass.
Step 7: Secure the Edges
Securing the edges of the artificial grass is essential to ensure its stability and longevity. Properly securing the edges prevents the grass from shifting or lifting over time, especially in high-traffic areas. Follow these steps to effectively secure the edges of the artificial grass:
1. Use landscape spikes or staples: Start by securing the edges of the artificial grass with landscape spikes or staples. These can be inserted into the ground along the perimeter of the installation area, approximately 6-8 inches apart. Make sure the spikes or staples penetrate through the weed barrier fabric and into the ground beneath.
2. Hammer in the spikes or staples: Use a rubber mallet or a hammer to firmly drive the spikes or staples into the ground. Ensure they are flush with the surface and tightly secure the grass. Take care not to damage the grass or the weed barrier fabric while hammering in the spikes or staples.
3. Avoid over-tightening: While securing the edges, avoid over-tightening the spikes or staples as it can create tension and cause the grass to ripple or wrinkle. Maintain a consistent tension, ensuring the grass remains flat and even.
4. Secure the corners: Pay special attention to the corners of the artificial grass. Fold and tuck the grass neatly around the corners, ensuring a smooth and snug fit. Use additional landscape spikes or staples to secure the corners, if needed.
5. Use adhesive (optional): If required, you can use an adhesive recommended by the manufacturer to further secure the edges of the artificial grass. Apply the adhesive along the trimmed edges, following the instructions provided. This step helps reinforce the bond between the grass and the ground.
Properly securing the edges of the artificial grass is crucial to ensure its stability and prevent any movement or lifting. Take your time during this step and ensure each spike or staple is securely in place. With Step 7 complete, you’re now ready to move on to the optional step of spreading infill material for added durability and resilience.
Read more: How To Install Fake Turf
Step 8: Spread Infill (Optional)
Spreading infill material is an optional step in the installation process of fake grass beside stepping stones. Infill serves multiple purposes, including enhancing the resilience of the artificial grass, improving drainage, and providing a more natural look and feel. Follow these steps to effectively spread infill material:
1. Choose the right infill: Select the appropriate infill material based on your preferences and requirements. Common types of infill include silica sand, rubber granules, or a combination of both. Ensure that the infill you choose is specifically designed for use with artificial grass.
2. Prepare the artificial grass: Before spreading the infill, ensure that the artificial grass is clean and well-maintained. Remove any debris or loose fibers by brushing or using a leaf blower. Ensure that the grass blades are standing upright.
3. Apply the infill: Start by spreading the infill material evenly across the surface of the artificial grass. Use a broadcast spreader or a shovel to distribute the infill in a uniform manner. Work in small sections, gradually moving across the entire installation area.
4. Brush in the infill: After spreading the infill material, use a power broom or stiff brush to work the infill into the base of the artificial grass. Brush against the natural grain of the grass to ensure the infill penetrates and settles between the blades.
5. Repeat the process: If necessary, repeat the process of spreading and brushing in the infill until the desired amount is achieved. The recommended amount of infill may vary depending on the type and height of the artificial grass.
6. Check for proper distribution: Once the infill is spread and brushed in, inspect the artificial grass to ensure the infill is evenly distributed and does not create any clumps or bare spots. Use the broom or brush to make any necessary adjustments.
Spreading infill material is an optional step, but it can significantly improve the performance and appearance of the artificial grass. It provides additional support, helps the grass blades stand upright, and enhances overall durability. With Step 8 complete, you’re now ready to move on to the final step: brushing and maintaining the artificial grass.
Step 9: Brush and Maintain Artificial Grass
After installing fake grass beside stepping stones, proper maintenance is crucial to ensure its longevity and keep it looking lush and vibrant. Regular brushing and maintenance will help maintain the appearance, resilience, and cleanliness of the artificial grass. Follow these steps to effectively brush and maintain your artificial grass:
1. Brush regularly: Use a power broom, stiff brush, or a leaf blower with a soft bristle attachment to regularly brush the artificial grass. This helps keep the grass blades upright and remove any debris, leaves, or pet hair that may have accumulated on the surface.
2. Brush against the grain: When brushing, make sure to go against the natural grain of the grass blades. This will help fluff up the fibers and keep them looking natural and upright.
3. Remove stains and spills promptly: Accidental spills or stains should be addressed promptly to prevent permanent discoloration. Use a mild detergent mixed with water to spot clean the affected area. Gently scrub the stain with a soft-bristled brush, then rinse thoroughly with water.
4. Prevent pet waste buildup: If you have pets, promptly remove their waste from the artificial grass and rinse the area with water to prevent odor or bacterial buildup. For tougher pet odors, you can use specialized artificial grass deodorizers or enzymatic cleaners.
5. Maintain proper drainage: Ensure that the drainage holes or perforations in the artificial grass are not blocked by debris or infill. Regularly check and clear any obstructions to maintain optimal drainage.
6. Address matting or compacted areas: Over time, certain areas of the artificial grass may flatten or become compacted due to heavy foot traffic. Use a stiff brush or power broom to gently brush these areas and restore their natural appearance.
7. Inspect and address damage: Regularly inspect the artificial grass for any signs of damage, such as loose seams or tears. If you notice any damage, promptly repair or replace the affected area to prevent further issues.
8. Avoid sharp objects: Keep sharp objects, such as furniture legs or gardening tools, off the artificial grass to prevent punctures and damage.
By following these maintenance tips, you can keep your artificial grass looking clean, vibrant, and well-maintained for years to come. Regular brushing and proactive care will ensure its performance and aesthetics. With Step 9 complete, you have successfully installed and learned how to maintain fake grass beside stepping stones.
Conclusion
Installing fake grass beside stepping stones is a fantastic way to enhance the beauty and functionality of your garden or outdoor space. With minimal maintenance and a natural appearance, artificial grass provides an ideal solution for those seeking a lush green lawn without the hassle of traditional grass upkeep.
Throughout this guide, we have walked you through the step-by-step process of installing fake grass beside stepping stones. From preparing the area and removing existing vegetation to trimming and fitting the artificial grass, each stage plays a crucial role in creating a professional-looking and long-lasting installation.
By following the provided instructions and utilizing the necessary tools and materials, you can achieve excellent results, even if you’re a beginner. From leveling the ground and securing the edges to spreading infill (optional) and properly maintaining the artificial grass, each step contributes to a beautiful and functional outdoor space.
Remember to regularly brush and maintain your artificial grass to keep it looking its best. From routine brushing to prompt stain removal and addressing compacted areas, proper care ensures the longevity and aesthetics of your artificial grass investment.
Whether you’re creating a pathway, adding greenery to a paved area, or transforming your entire garden, installing fake grass alongside stepping stones offers countless benefits. Enjoy the lushness of green throughout the year, reduced water consumption, and a low-maintenance solution that allows you to spend more time enjoying your outdoor space.
With the knowledge gained from this guide, you are now equipped to embark on your fake grass installation journey. Get ready to transform your garden into a vibrant and inviting oasis, and relish the beauty and convenience of a hassle-free lawn experience for years to come.
Frequently Asked Questions about How To Install Fake Grass Beside Stepping Stones
Was this page helpful?
At Storables.com, we guarantee accurate and reliable information. Our content, validated by Expert Board Contributors, is crafted following stringent Editorial Policies. We're committed to providing you with well-researched, expert-backed insights for all your informational needs.

0 thoughts on “How To Install Fake Grass Beside Stepping Stones”