Home>Garden Essentials>How Do You Install Fake Grass

Garden Essentials
How Do You Install Fake Grass
Modified: March 7, 2024
Looking to install fake grass in your garden? Learn how to easily transform your outdoor space with our step-by-step guide.
(Many of the links in this article redirect to a specific reviewed product. Your purchase of these products through affiliate links helps to generate commission for Storables.com, at no extra cost. Learn more)
Introduction
Have you ever dreamed of having a lush and vibrant lawn all year round, without the hassle of constant maintenance and watering? If so, then installing fake grass, also known as artificial turf or synthetic grass, might be the perfect solution for you.
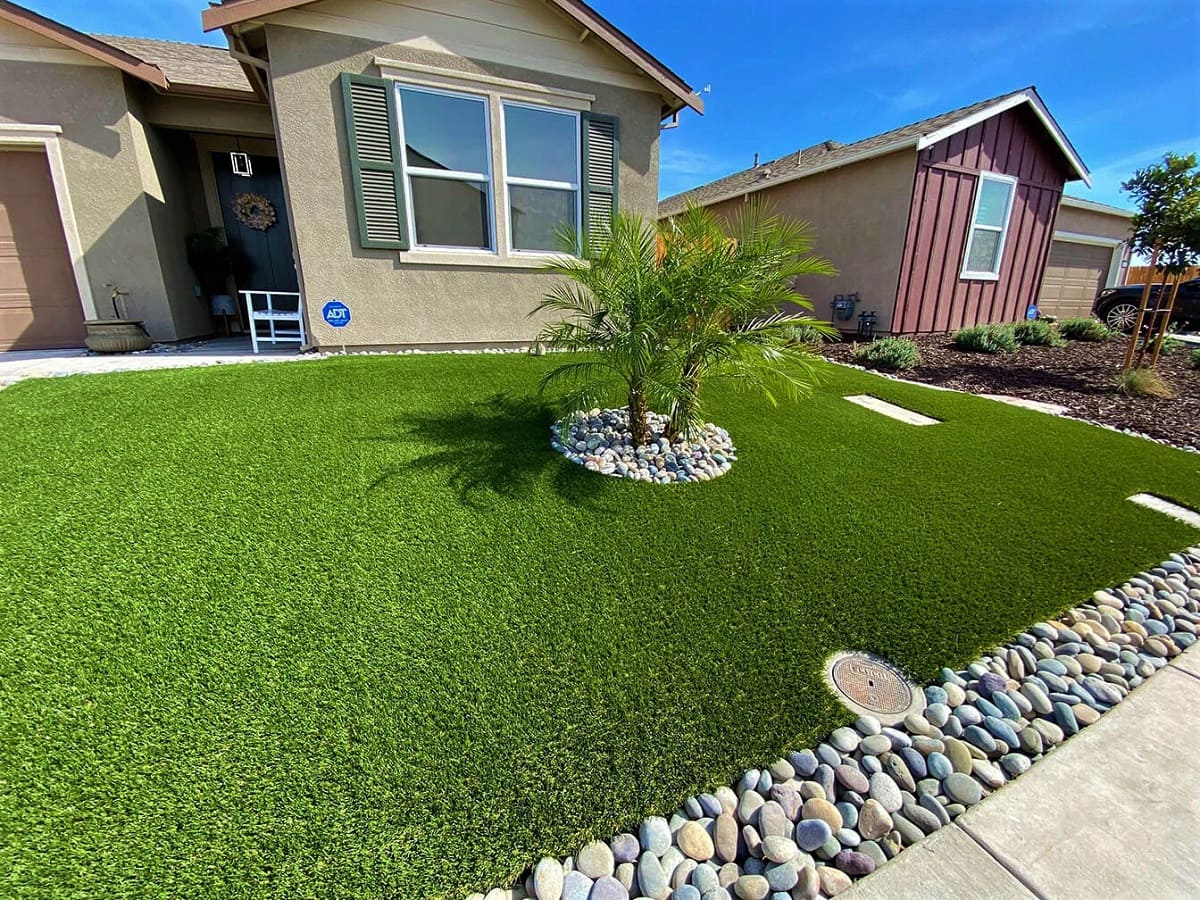
Fake grass has come a long way in recent years, both in terms of its appearance and quality. It is now designed to closely resemble natural grass, with different shades of green, realistic textures, and even variations in height to mimic the look of a well-manicured lawn.
Not only does fake grass provide a beautiful aesthetic, but it also offers several advantages over natural grass. It requires minimal maintenance, doesn’t need watering, and stays green and fresh-looking all year round, regardless of weather conditions. Furthermore, installing fake grass can help conserve water, reduce pesticide use, and eliminate the need for mowing, saving you time and effort.
If you’re considering installing fake grass in your garden or outdoor space, this article will guide you through the step-by-step process. From assessing the area to maintaining the artificial turf, we will cover everything you need to know to ensure a successful installation.
Before you begin, it’s essential to gather the necessary tools and materials. You will need items such as a measuring tape, utility knife, compactor or hand tamper, weed barrier fabric, adhesive or turf tape, infill material (such as silica sand or rubber pellets), a power brush or broom, and a leaf blower.
Now, let’s dive into the details and learn how to install fake grass to create a stunning and low-maintenance outdoor space.
Key Takeaways:
- Installing fake grass offers a low-maintenance, environmentally-friendly solution for a lush lawn. It requires careful assessment, proper base preparation, and regular maintenance to ensure a vibrant and long-lasting outdoor space.
- Regular brushing, debris removal, and proper drainage maintenance are essential for preserving the beauty and longevity of fake grass. By following these steps, you can enjoy a stunning, hassle-free garden oasis.
Read more: How Do You Install Fake Grass Indoors?
Assess the Area
The first step in installing fake grass is to assess the area where you plan to lay it. Start by measuring the dimensions of the space to determine how much artificial turf you will need. Consider any irregular shapes, curves, or obstacles that may require special attention during the installation process.
Take note of any existing vegetation, rocks, or debris that need to be cleared before you can proceed with the installation. It’s important to have a clean and smooth surface to ensure the best results.
Additionally, assess the drainage system in the area. Good drainage is crucial to prevent any pooling of water on the fake grass, which can lead to damage and a less appealing appearance. If the area doesn’t have proper drainage, you may need to make some modifications or consider installing a drainage system before proceeding.
Consider the amount of foot traffic the area will receive. If it’s a high-traffic area, such as a backyard or a playground, you may need to choose a more durable type of artificial turf that is designed to withstand heavy use.
Lastly, take into account the amount of sunlight the area receives. Some types of fake grass can fade over time if exposed to excessive sunlight. If your installation area gets a lot of direct sunlight, consider choosing a UV-resistant artificial turf to maintain its vibrant green color.
By assessing the area beforehand, you can properly plan the installation process and ensure that you have all the necessary materials and tools to complete the project successfully. It also allows you to make any necessary adjustments or preparations to create the ideal foundation for your artificial turf.
Once you have assessed the area and gathered all the required information, you’re ready to move on to the next step: preparing the base for your fake grass installation.
Prepare the Base
Preparing the base is a crucial step in the installation process that will provide a stable and long-lasting foundation for your fake grass. Follow these steps to ensure proper preparation:
Remove Existing Vegetation and Debris
Start by clearing the area of any existing vegetation, rocks, or debris. Use a garden rake or shovel to remove any grass, weeds, or roots. It’s important to remove any obstacles that could affect the smoothness and stability of the base.
Grade the Surface
Next, ensure that the surface is properly graded to allow for proper drainage. Use a compactor or hand tamper to level the area and create a slight slope away from any structures or buildings. This will prevent water from pooling on the fake grass and causing damage.
Read more: How Do You Cut Fake Grass
Add a Base Material
To further enhance the stability and drainage of the base, you can add a layer of crushed stone or decomposed granite. Spread the material evenly across the area and use a rake to smooth it out. Take care to ensure that the thickness of the base material is appropriate for your specific installation. Consult the manufacturer’s guidelines or seek professional advice if needed.
Compact the Base
Once the base material is in place, use a compactor or hand tamper to compact it thoroughly. This will help to create a solid and firm base that can withstand the weight and use of the fake grass. Pay extra attention to areas that may require additional compaction, such as high-traffic areas or spots prone to settling.
Apply a Weed Barrier
To prevent weed growth and ensure a clean and pristine installation, apply a weed barrier fabric over the compacted base. The weed barrier will help to prevent weeds from penetrating through the artificial turf and provide an additional layer of protection.
By properly preparing the base, you will create a stable and well-drained foundation for your fake grass. This will not only ensure the longevity and durability of your installation but also provide a level and even surface for a seamless and professional-looking finish.
Lay the Weed Barrier
Once you have prepared the base for your fake grass installation, the next step is to lay the weed barrier. The weed barrier serves as an additional layer of protection against unwanted weed growth and keeps the area beneath the artificial turf clean and free from vegetation. Follow these steps to lay the weed barrier:
Read more: Where Do You Buy Fake Grass
Measure and Cut the Weed Barrier
Start by measuring the dimensions of the installation area and cut the weed barrier fabric accordingly. Leave a few inches of overlap on all sides to ensure full coverage and prevent any weeds from sneaking through the edges.
Roll Out the Weed Barrier
Gently roll out the weed barrier fabric over the prepared base, ensuring that it fully covers the entire area. Smooth out any wrinkles or creases as you go along to create a flat surface. If needed, you can use landscaping pins to secure the weed barrier to the ground and prevent it from shifting during the installation process.
Secure the Seams
If the installation area is larger than the width of the weed barrier fabric, you may need to secure multiple pieces together to cover the entire space. Overlap the edges of the fabric by a few inches and use adhesive or turf tape to secure the seams. This will ensure a seamless and sturdy barrier against weed growth.
Trim Excess Weed Barrier
Once the weed barrier is laid and secured, trim any excess fabric along the edges. Use a utility knife or scissors to carefully cut away the excess material, ensuring a clean and tidy finish.
Laying the weed barrier is an important step in the installation process as it helps maintain a weed-free and low-maintenance surface beneath your fake grass. It provides an extra layer of protection and ensures the longevity and appearance of your artificial turf.
With the weed barrier in place, you’re now ready to move on to the next step: installing the artificial turf.
Read more: How To Install Fake Turf
Install the Artificial Turf
Now that you have prepared the base and laid the weed barrier, it’s time to install the artificial turf. Follow these steps to ensure a successful and professional-looking installation:
Roll Out the Artificial Turf
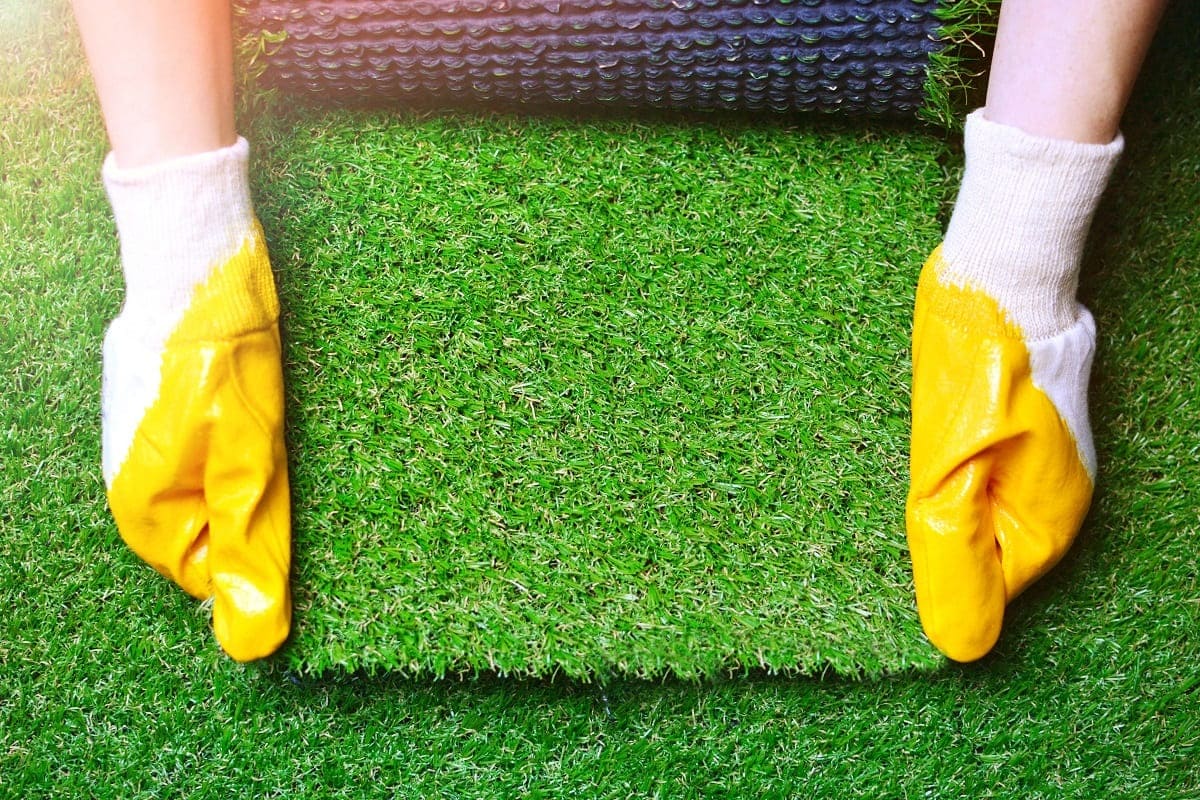
Start by unrolling the artificial turf over the prepared area, making sure it covers the entire space. Allow the turf to relax for a few hours to remove any wrinkles or folds that may have formed during transportation or storage.
Cut and Shape the Turf
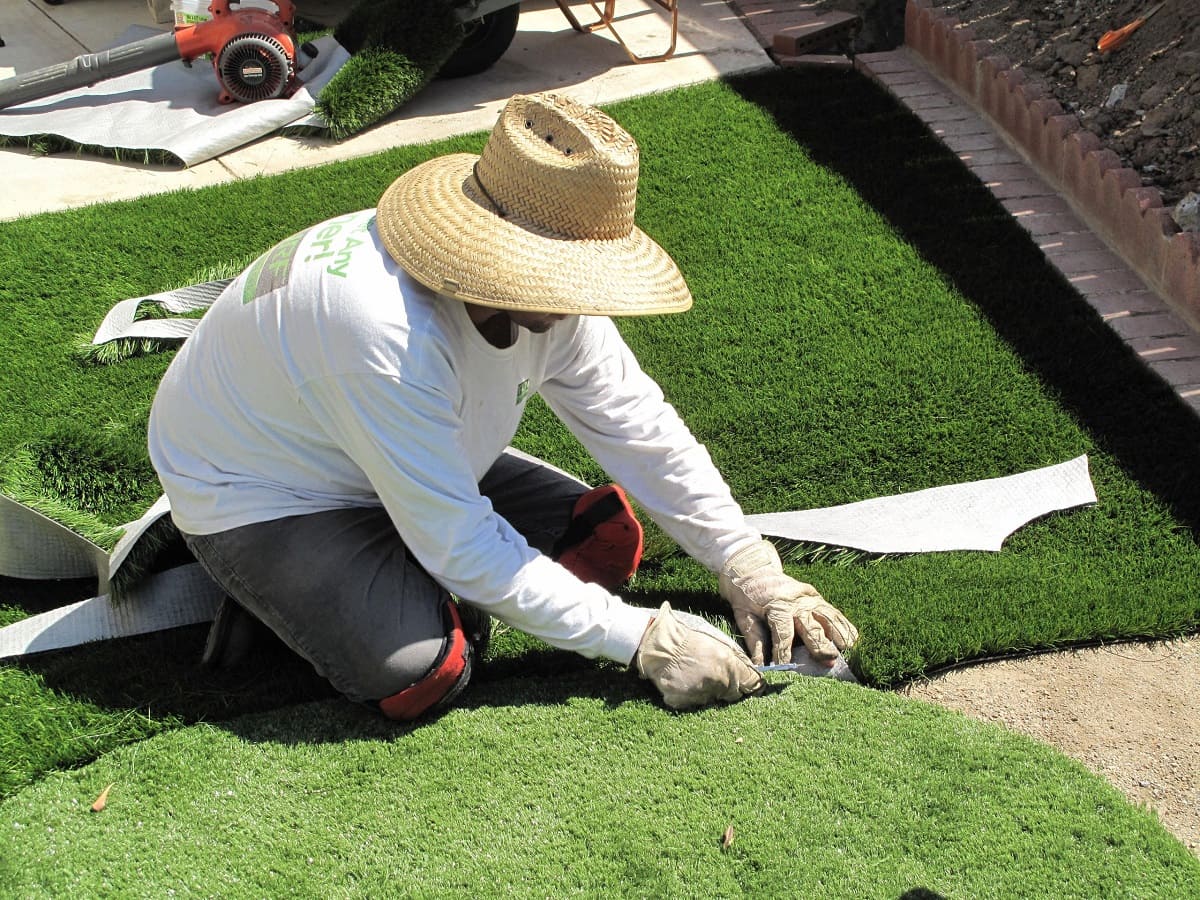
Using a sharp utility knife, carefully cut the artificial turf to fit the dimensions of your installation area. Take your time to ensure clean and precise cuts, especially around curves or irregular shapes. Trim any excess turf as needed, but remember to leave a small overlap along any edges that will be secured later.
Join Multiple Pieces Together
If your installation area requires multiple rolls or pieces of artificial turf, you will need to join them together. Align the edges of the turf and use adhesive or turf tape to bond them securely. Be sure to follow the manufacturer’s instructions for the specific type of adhesive or tape you are using.
Read more: What Do You Put Under Fake Grass
Secure the Turf
Once the turf is in place, use landscaping pins or nails to secure it to the ground. Place the pins or nails at regular intervals around the edges and in the middle of the installation area to ensure the turf stays in place, especially during inclement weather or high winds.
Trim and Shape the Edges
Use the utility knife to trim and shape the edges of the artificial turf for a clean and professional finish. Pay attention to detail, ensuring that the edges line up neatly with any borders or features in your outdoor space.
Installing the artificial turf requires precision and attention to detail, especially when cutting and joining multiple pieces. Taking your time and following these steps will help you achieve a seamless and visually appealing installation.
With the artificial turf installed, you’re now ready to move on to the next step: securing the edges of the fake grass.
Secure the Edges
Securing the edges of the artificial turf is an important step to ensure that the fake grass stays in place and maintains a neat and professional appearance. Follow these steps to securely fasten the edges of the turf:
Use Nails or Staples
Starting at one corner of the installation area, use landscaping nails or staples to secure the edges of the turf to the ground. Place the nails or staples about 6-8 inches apart along the perimeter of the turf, ensuring that they go through the turf and into the base below.
Read more: How To Install Fake Grass On A Balcony
Use Adhesive or Turf Tape
In addition to using nails or staples, you can also use adhesive or turf tape to further secure the edges of the fake grass. Apply the adhesive or tape along the outer edge of the turf, pressing it firmly against the base to create a strong bond. Follow the manufacturer’s instructions for the specific type of adhesive or tape you are using.
Trim Excess Material
Once the edges are secured, carefully trim any excess turf along the edges to create a clean and finished look. Use a sharp utility knife to make precise cuts, taking care not to cut into the secured edge.
Create a Finished Border
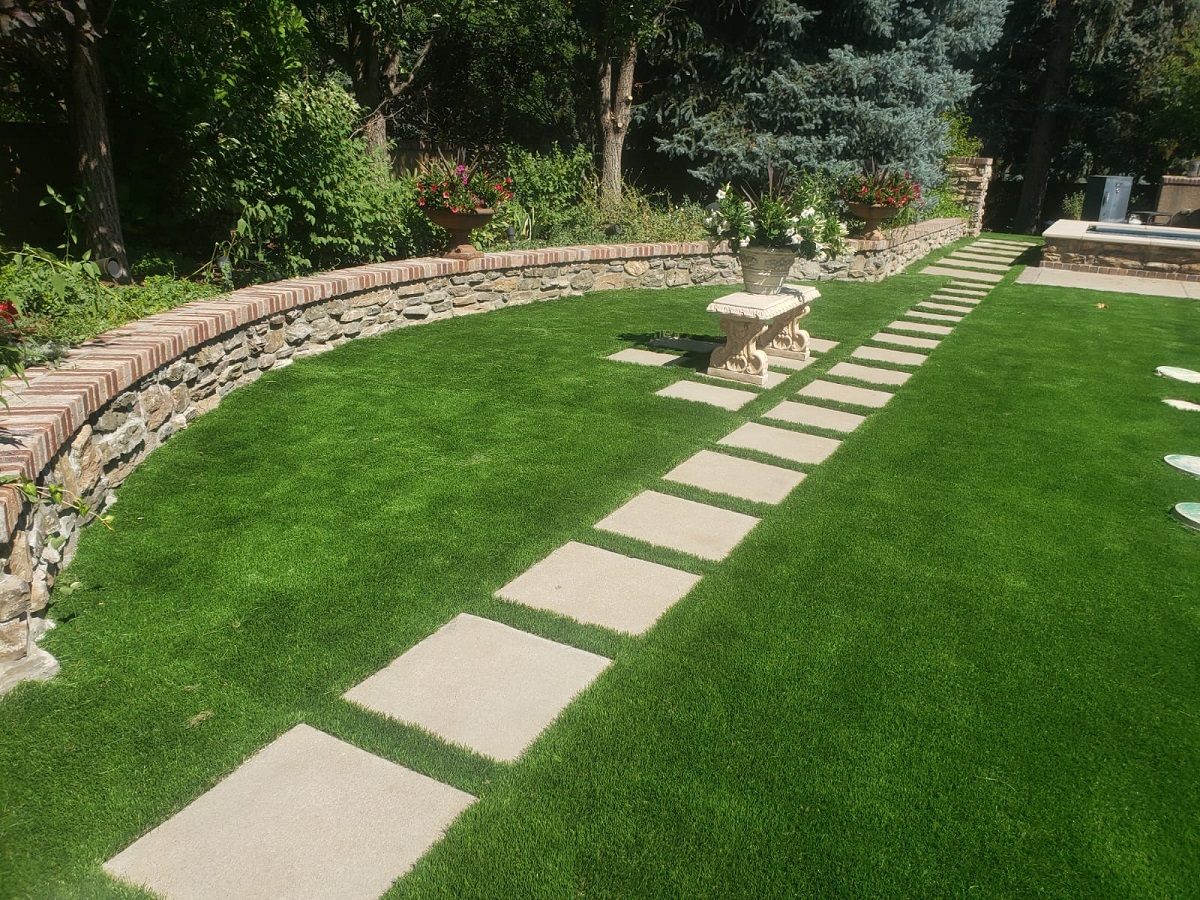
If desired, you can create a finished border around the installation area. This can be done by installing edging materials such as plastic or metal borders, bricks, or pavers. The border not only adds a decorative touch but also helps to keep the artificial turf in place and prevent any shifting or movement.
By securing the edges of the artificial turf, you ensure that the turf remains in place, even during heavy foot traffic or inclement weather. It also gives the installation a polished and professional appearance.
With the edges secured, you’re now ready to move on to the next step: infilling the turf to enhance its stability and aesthetics.
Infill the Turf
Infilling the artificial turf is an important step that enhances the stability, durability, and aesthetics of the installation. The infill material fills the gaps between the blades of fake grass, adds weight to keep the turf in place, and provides cushioning for a more natural feel underfoot. Follow these steps to properly infill the turf:
Read more: Who Installs Fake Grass
Select the Right Infill Material
Choose the appropriate infill material based on your specific needs and preferences. Common infill options include silica sand, rubber pellets, or a mixture of both. Consider factors such as foot traffic, intended use, and desired feel when selecting the infill material.
Distribute the Infill Material
Using a drop spreader or a seed spreader, evenly distribute the infill material across the surface of the artificial turf. Begin at one corner and work your way across, making sure to cover the entire area. Use a broom or brush to spread the infill material into the turf fibers, ensuring that it reaches the base of the turf for optimal stability.
Brush the Turf
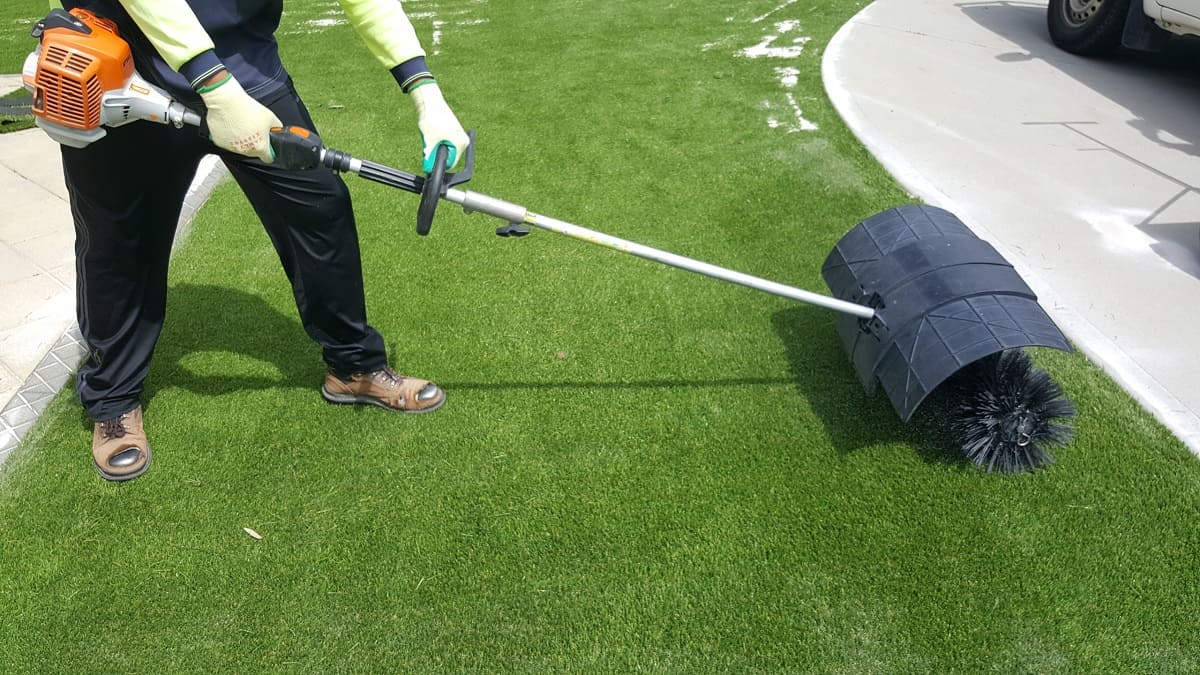
After distributing the infill, use a power brush or stiff bristle broom to brush the artificial turf in different directions. This helps to evenly distribute the infill material and ensure that it is properly incorporated into the grass blades. Brushing also helps to lift the fibers and give the turf a more natural and lifelike appearance.
Add More Infill as Needed
Check the turf’s infill level and add more material if necessary. Pay attention to areas that may require additional infill, such as high-traffic areas or spots that appear flattened or compacted. It’s important to maintain a consistent and appropriate amount of infill for the best performance and appearance of the fake grass.
Read more: How Do You Install Synthetic Grass
Clean Up Excess Infill
After infilling the turf, clean up any excess infill material that may have spilled onto surrounding areas. Use a leaf blower or broom to remove any loose infill from nearby surfaces, such as sidewalks or patios.
Infilling the artificial turf provides stability, cushioning, and a more natural feel to your installation. It also helps to maintain the integrity and longevity of the artificial grass, ensuring that it stays in optimal condition for years to come.
Now that you have infilled the turf, the installation is almost complete. The final step involves brushing and maintaining the fake grass to keep it looking fresh and vibrant.
Brush and Maintain the Fake Grass
Once you have installed the artificial turf and infilled it, it’s important to regularly brush and maintain the fake grass to keep it looking its best. Follow these guidelines to ensure the longevity and optimal appearance of your artificial turf:
Brush the Turf Regularly
Use a power brush or stiff bristle broom to brush the artificial turf regularly. Brushing helps to lift the grass fibers, prevent matting, and distribute the infill material evenly. It also helps to maintain the natural appearance of the turf and prevent any debris from accumulating on the surface.
Remove Leaves and Debris
Regularly remove leaves, twigs, and other debris that may collect on the fake grass. Use a leaf blower or a broom to gently sweep away the debris, making sure not to damage or displace the turf’s fibers. Keeping the surface clean will prevent any blockage of the drainage system and maintain the aesthetic appeal of your artificial lawn.
Read more: Who Installs Fake Grass In NYC?
Clean Spills and Stains
Accidental spills or stains can occur on the artificial turf. Promptly clean up any spills using a mild detergent mixed with water. Gently blot the affected area with a clean cloth or sponge, being careful not to scrub too vigorously as it could damage the turf. Rinse the area with clean water and let it air dry. For tougher stains, specific artificial turf cleaners are available in the market that can be used following the manufacturer’s instructions.
Inspect for Damage
Regularly inspect the fake grass for any signs of damage such as tears, loose seams, or excessive wear. Address any issues as soon as possible to prevent further damage. Small tears or loose seams can be repaired by using adhesive specifically designed for artificial turf. However, if significant damage is present, it may be necessary to seek professional help or consider replacing the affected section.
Maintain Proper Drainage
Ensure that the drainage system of your artificial turf is functioning properly. Clear any debris or blockages in the drainage holes to prevent water from pooling on the surface. If you notice any issues with the drainage, consult a professional for assistance.
Protect from Sharp Objects
Avoid using sharp objects on the artificial turf, as they can cause cuts or damage. Keep items such as gardening tools, furniture with sharp edges, or pets’ toys away from the fake grass to maintain its integrity and appearance.
By regularly brushing and maintaining the fake grass, you can enjoy a beautiful and long-lasting outdoor space that requires minimal upkeep. The proper care and attention will ensure that your artificial turf looks fresh and vibrant for years to come.
With these steps complete, you have successfully installed and maintained your fake grass, transforming your outdoor space into a low-maintenance and visually appealing area. Sit back, relax, and enjoy your lush green lawn without the hassle of constant upkeep.
Conclusion
Congratulations! You have successfully learned how to install and maintain fake grass, transforming your outdoor space into a low-maintenance and visually appealing area. By following the step-by-step process, from assessing the area to brushing and maintaining the fake grass, you have created a lush and vibrant lawn that will stay green and fresh-looking all year round.
Installing fake grass offers numerous advantages over natural grass. It requires minimal maintenance, eliminates the need for watering and mowing, and stays green regardless of weather conditions. Additionally, artificial turf helps conserve water, reduces the use of pesticides, and provides a safe and comfortable surface for outdoor activities.
Throughout the installation process, it is important to pay attention to details such as assessing the area, preparing the base, laying the weed barrier, installing the artificial turf, securing the edges, infilling the turf, and brushing and maintaining the fake grass. These steps ensure a seamless and professional-looking installation that will provide years of enjoyment and beauty.
Remember to regularly brush the fake grass, remove any debris or stains, inspect for damage, and maintain proper drainage. Taking these maintenance steps will keep your artificial lawn looking its best and prolong its lifespan.
As you enjoy your new fake grass, take pride in knowing that you have made an environmentally-friendly choice. By installing synthetic grass, you have significantly reduced water consumption, minimized the use of harmful chemicals, and eliminated the pollution generated by gas-powered lawn equipment.
Now, sit back, relax, and relish in the beauty of your low-maintenance garden oasis. Whether it’s a backyard, a rooftop terrace, or a sports field, synthetic grass allows you to enjoy a lush and vibrant green space without the hassle of traditional lawn care. So go ahead, invite your friends and family for a backyard picnic or kick off your shoes and soak up the sun on your maintenance-free lawn.
With fake grass, the possibilities are endless, and the beauty is everlasting. Embrace the convenience, beauty, and sustainability that artificial turf provides and reap the benefits of a picture-perfect lawn for years to come.
Frequently Asked Questions about How Do You Install Fake Grass
Was this page helpful?
At Storables.com, we guarantee accurate and reliable information. Our content, validated by Expert Board Contributors, is crafted following stringent Editorial Policies. We're committed to providing you with well-researched, expert-backed insights for all your informational needs.

0 thoughts on “How Do You Install Fake Grass”