Home>Garden Essentials>How To Make A Wreath With Fresh Greenery

Garden Essentials
How To Make A Wreath With Fresh Greenery
Modified: March 7, 2024
Learn how to make a stunning wreath with fresh garden greenery. Get step-by-step instructions and create a beautiful decoration for your home.
(Many of the links in this article redirect to a specific reviewed product. Your purchase of these products through affiliate links helps to generate commission for Storables.com, at no extra cost. Learn more)
Introduction
Welcome to the world of wreath-making! If you’re looking to add a touch of natural beauty to your home or create a thoughtful handmade gift, making a wreath with fresh greenery is the perfect project for you. Wreaths have long been a symbol of warmth, hospitality, and celebration, and crafting your own adds a personal and unique touch to any space.
In this article, we will guide you through the step-by-step process of creating a beautiful wreath using fresh greenery. Whether you’re a seasoned gardener or a beginner with a green thumb, this project is accessible and enjoyable for all. So, let’s dive in and get started on creating your own stunning wreath!
Before we begin, here’s a list of materials you will need:
- A wreath base (such as a wire frame or grapevine wreath)
- Various types of fresh greenery, such as pine branches, eucalyptus, cedar, or ivy
- Floral wire or twine
- Pruning shears or scissors
- Decorative elements, such as berries, pinecones, or ribbon (optional)
Now that we have all the necessary materials, let’s move on to the first step: gathering the greenery.
Key Takeaways:
- Embrace nature’s beauty and creativity by crafting a stunning wreath with fresh greenery. Enjoy the process and let your imagination run wild to create a unique and visually appealing piece of decor.
- Gather various types of greenery, wire them onto a wreath base, and add decorative elements to make a beautiful wreath. Hang and preserve it carefully to enjoy the natural charm it brings to your home.
Read more: How To Make A Greenery Wreath
Materials Needed
To create a beautiful wreath with fresh greenery, you will need a few essential materials. Here’s a breakdown of what you’ll need:
- Wreath Base: Choose a wreath base that suits your style and desired outcome. You can opt for a wire frame wreath, foam wreath, or a natural grapevine wreath.
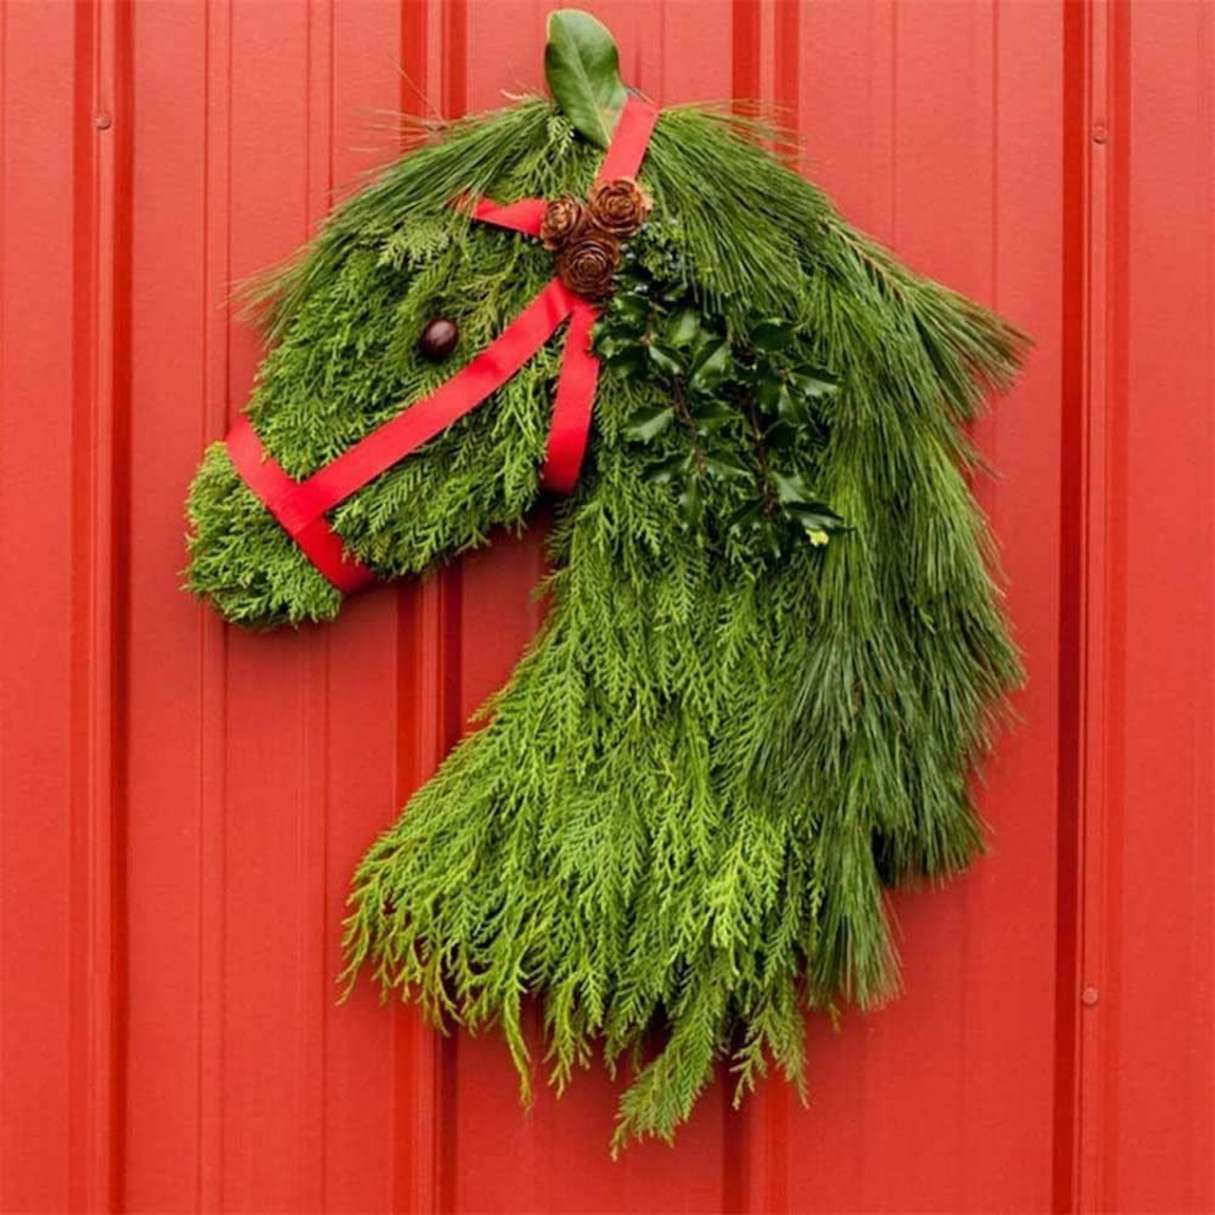
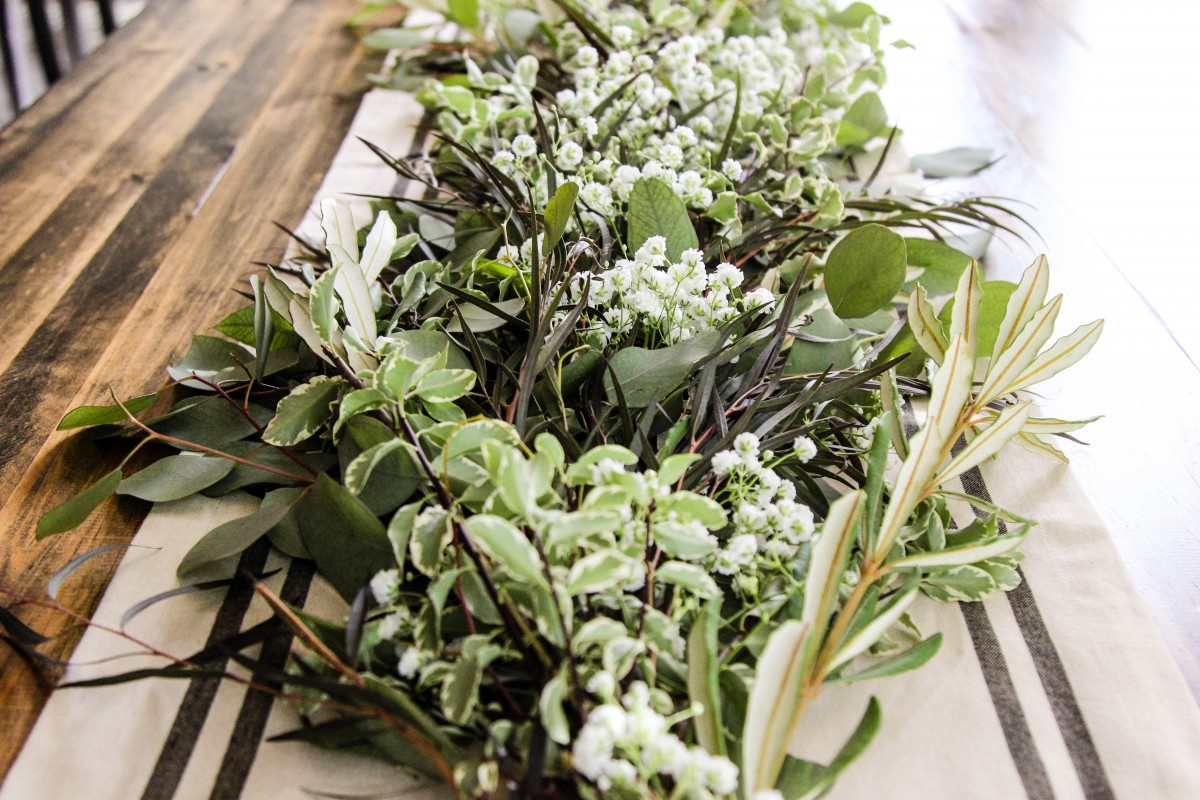
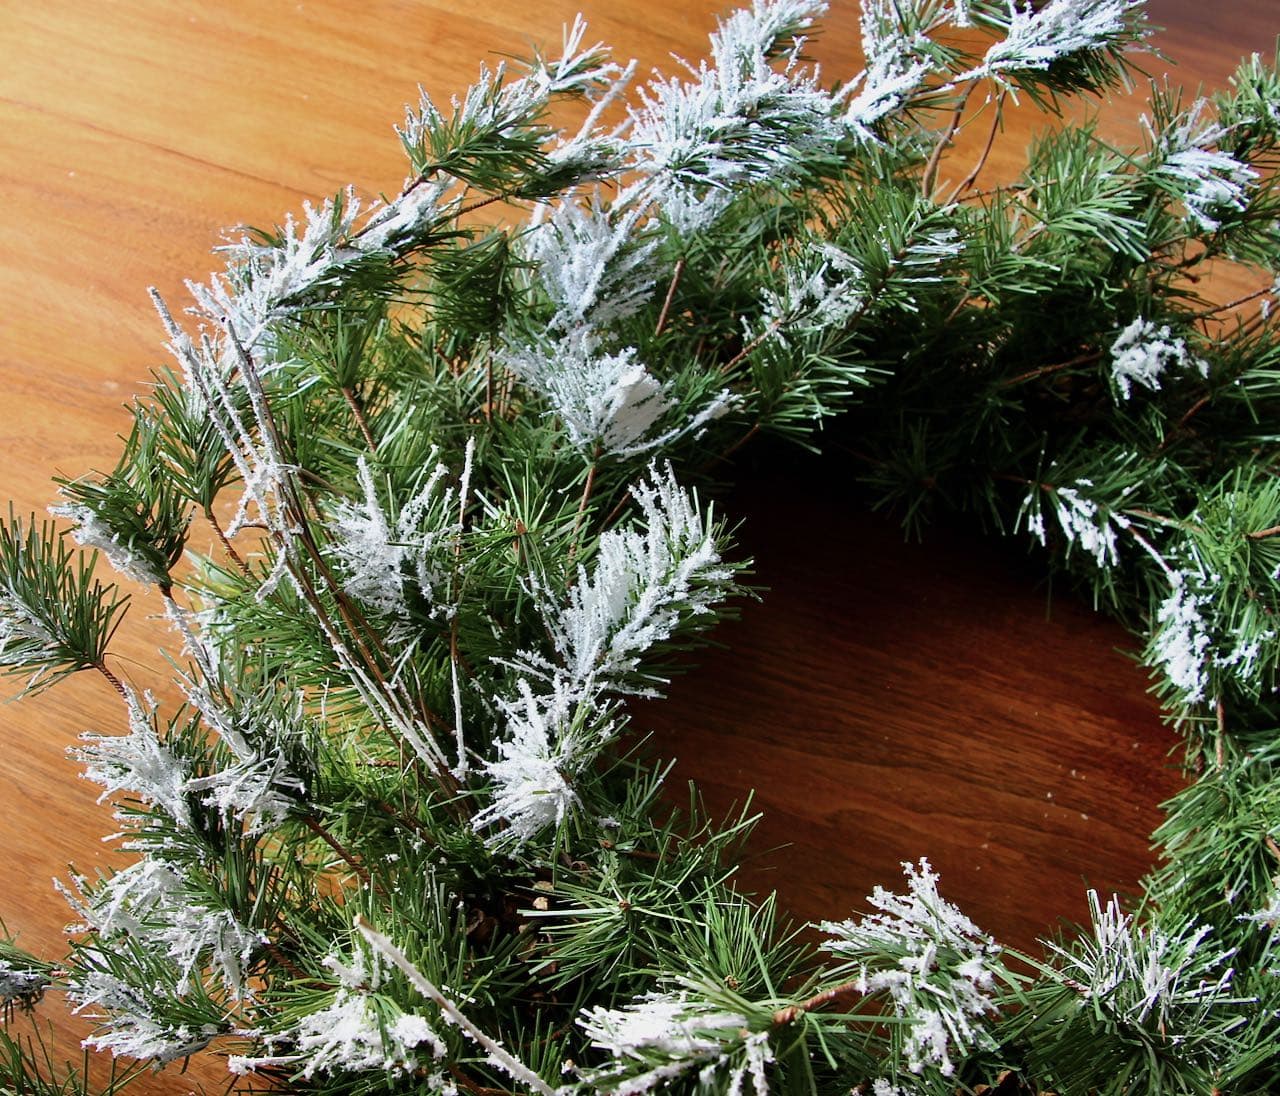
- Fresh Greenery: Select an assortment of fresh greenery to give your wreath texture and depth. Consider using pine branches, eucalyptus, cedar, or ivy. You can gather them from your garden or purchase them from a local florist.
- Floral Wire or Twine: Floral wire or twine will be used to secure the greenery to the wreath base. Choose a sturdy gauge wire or strong twine to ensure durability.
- Pruning Shears or Scissors: You’ll need a reliable pair of pruning shears or scissors to trim the greenery and remove any excess foliage.
- Decorative Elements (optional): If you want to add a touch of flair to your wreath, consider incorporating decorative elements like berries, pinecones, or ribbon. These items can be found at craft stores or even gathered from nature.
By gathering these materials beforehand, you’ll be well-prepared to create your wreath without any interruptions. Once you have everything you need, let’s move on to the next step: gathering the greenery.
Step 1: Gathering the Greenery
The first step in creating your wreath is collecting the fresh greenery. This is where you have the opportunity to get creative and choose a variety of foliage to add texture and visual interest to your wreath.
If you have a garden or access to greenery in your surrounding area, take a walk and gather different types of foliage. Look for pine branches, eucalyptus leaves, cedar sprigs, or ivy vines. Collect a generous amount of each to ensure you have enough material to cover your wreath base.
When gathering the greenery, consider the different textures, colors, and scents they offer. Pine branches give a traditional Christmas feel, while eucalyptus provides an aromatic touch. Mix and match different types of greenery to achieve a balanced and visually appealing wreath.
Remember to handle the greenery with care, as some plants may have thorns or prickly leaves. Use pruning shears or scissors to trim the branches, removing any damaged or browned parts.
Once you have collected your greenery, it’s time to move on to the next step: preparing the base.
Step 2: Preparing the Base
Now that you have gathered your fresh greenery, it’s time to prepare the base of your wreath. The base provides the structure and foundation for attaching the greenery and creating a cohesive look.
If you’re using a wire frame wreath base, make sure it is clean and free from any dust or debris. Gently fluff and reshape the wire if needed. If you’re using a foam wreath, soak it in water for a few minutes to moisten the foam, which will help prolong the freshness of the greenery.
If you prefer a natural and rustic look, consider using a grapevine wreath base. These bases are made from dried grapevines and have a charming and organic appearance. They provide a perfect backdrop for a variety of greenery.
Before attaching the greenery, consider adding a layer of moss or foliage to the base. This helps create a seamless transition between the wreath base and the greenery, giving it a more polished look.
Secure the moss or foliage using floral wire or hot glue, carefully distributing it evenly around the base. If using wire, twist it around the foliage and the base to keep it in place. If using hot glue, apply small dots throughout the base and press the moss or foliage firmly onto it.
Once the base is prepared and the moss or foliage is secured, you’re ready to move on to the next step: wiring the greenery.
To make a wreath with fresh greenery, start by gathering a variety of greenery such as pine, cedar, and eucalyptus. Then, use a wire wreath frame to secure the greenery in place, layering and overlapping the branches as you go. Finally, add any additional decorations like pinecones or berries, and hang your beautiful wreath for all to see!
Step 3: Wiring the Greenery
With the base prepared, it’s time to start attaching the fresh greenery to your wreath. Wiring the greenery ensures that it stays firmly in place and maintains its shape over time.
Begin by selecting a few branches of greenery and trimming them to a manageable size. Remove any excess foliage or branches that may obstruct the shape of your wreath.
Take a length of floral wire or twine and secure one end to the wreath base. Wrap it tightly around the base, leaving a small tail to secure the other end later.
Layer the greenery on the wreath, positioning the stems towards the secured end of the wire. Use the wire to secure the greenery to the wreath base, wrapping it tightly around the stems. Ensure that the wire is hidden beneath the foliage for a clean and natural look.
Continue adding more greenery, slightly overlapping each piece to create a full and lush appearance. Vary the direction and angle of the stems to create depth and dimension.
If you’re using multiple types of greenery, intertwine them to create an interesting mix of colors and textures. This will give your wreath a visually appealing and dynamic look.
As you work your way around the wreath, periodically check that the greenery is securely attached and adjust as needed. Trim any excess stems or foliage that may protrude from the wreath.
Continue wiring the greenery until the entire wreath base is covered and you’re satisfied with the arrangement. Make sure to leave a small section of wire or twine unsecured at the end.
Once all the greenery is wired, it’s time to move on to the next step: adding decorations to your wreath.
Read more: How To Make An Artificial Greenery Wreath
Step 4: Adding Decorations
Now that you have the greenery securely attached to your wreath, it’s time to add some decorative elements to enhance its visual appeal. This step allows you to get creative and customize your wreath based on your personal style and the occasion.
Start by choosing the decorative elements you want to incorporate. This could be berries, pinecones, dried flowers, ribbon, or any other ornaments that reflect your desired theme or season.
If you’re using berries or pinecones, attach them to the wreath by wiring them securely in place. Position them strategically throughout the greenery, spacing them evenly to achieve a balanced look.
If you want to add a pop of color, consider incorporating dried or artificial flowers. Secure them to the wreath using floral wire or hot glue, making sure they are nestled among the greenery for a cohesive look.
If you prefer a more minimalistic look, a simple ribbon bow can add a touch of elegance to your wreath. Choose a ribbon that complements the colors of your greenery and tie it in a bow, leaving long tails that trail down the wreath.
Experiment with different combinations and placements of decorations until you achieve the desired look. Remember to step back and assess the overall balance and symmetry of your wreath as you add each element.
Once you are satisfied with the decorations, it’s time to move on to the final step: hanging and preserving your wreath.
Step 5: Hanging and Preserving the Wreath
With the final touches added to your wreath, it’s time to hang it up and ensure it lasts as long as possible. Proper hanging and preservation techniques will help maintain the freshness and beauty of your wreath for an extended period of time.
Decide where you want to display your wreath. It could be on your front door, above a fireplace, or on a wall. Use a wreath hanger, a piece of ribbon, or a sturdy nail to hang your wreath securely.
Before hanging, take a few minutes to give the greenery a gentle shake to remove any loose needles or debris that may have accumulated during the crafting process.
To preserve your wreath, make sure it is kept in a cool, dry area away from direct sunlight and excessive heat. This will help prevent the greenery from drying out and maintain its vibrant colors.
If you notice any wilting or drying of the greenery, lightly mist it with water using a spray bottle. This will provide some humidity and help keep the foliage fresh and hydrated.
Remember that fresh greenery will naturally start to dry out over time. However, with proper care, your wreath can last for several weeks, bringing beauty and charm to your home.
If you want to extend the lifespan of your wreath, you can also consider spraying it with a sealant or preserving spray. These products help lock in the moisture and keep the greenery looking fresh for a longer period.
Lastly, enjoy the beauty and fragrance of your handmade wreath. Admire its unique charm and the effort you put into creating it. Your wreath will not only be a beautiful addition to your home but also a testament to your creativity and love for nature.
Congratulations! You have successfully completed your wreath-making journey. Now, it’s time to sit back, relax, and bask in the joy of your beautiful creation.
May your wreath bring warmth, happiness, and a touch of nature into your life.
Happy wreath-making!
Conclusion
Creating a wreath with fresh greenery is a rewarding and fulfilling experience that allows you to express your creativity and embrace the natural beauty of your surroundings. The step-by-step process we’ve explored in this article has guided you through gathering the greenery, preparing the base, wiring the greenery, adding decorations, and hanging and preserving your wreath.
By selecting a variety of fresh greenery, you’ve added texture, color, and a delightful aroma to your wreath. The careful wiring and arrangement of the greenery, along with the addition of decorative elements, have resulted in a wreath that is visually appealing and uniquely yours.
Throughout this journey, you’ve honed your crafting skills, gained a deeper appreciation for nature’s beauty, and created a stunning piece of decor that brings joy to your home or makes a thoughtful gift.
Remember, wreath-making is not just about the final product; it’s about the entire process. Take the time to enjoy every step, from gathering the greenery to adding the finishing touches. Let your creativity flow and embrace the imperfections, as they add character to your wreath.
Whether you’ve created a wreath for a special occasion, to celebrate a season, or simply to decorate your space, your handmade creation is a testament to your love for nature and your desire to infuse your surroundings with beauty and warmth.
Now that you’ve learned the art of wreath-making with fresh greenery, don’t hesitate to explore different techniques, experiment with new materials, and let your imagination run wild. Let each wreath you create be a reflection of your style and personality.
So, gather your materials, step into the world of wreath-making, and enjoy the process of creating beautiful, natural creations that will bring a touch of nature’s magic into your life.
Happy wreath-making!
Frequently Asked Questions about How To Make A Wreath With Fresh Greenery
Was this page helpful?
At Storables.com, we guarantee accurate and reliable information. Our content, validated by Expert Board Contributors, is crafted following stringent Editorial Policies. We're committed to providing you with well-researched, expert-backed insights for all your informational needs.


0 thoughts on “How To Make A Wreath With Fresh Greenery”