Home>Garden Essentials>How To Make A Solar Water Fountain
Garden Essentials
How To Make A Solar Water Fountain
Modified: March 16, 2024
Learn how to create a stunning garden solar water fountain and add a touch of elegance to your outdoor space. Perfect for any garden lover!
(Many of the links in this article redirect to a specific reviewed product. Your purchase of these products through affiliate links helps to generate commission for Storables.com, at no extra cost. Learn more)
Introduction
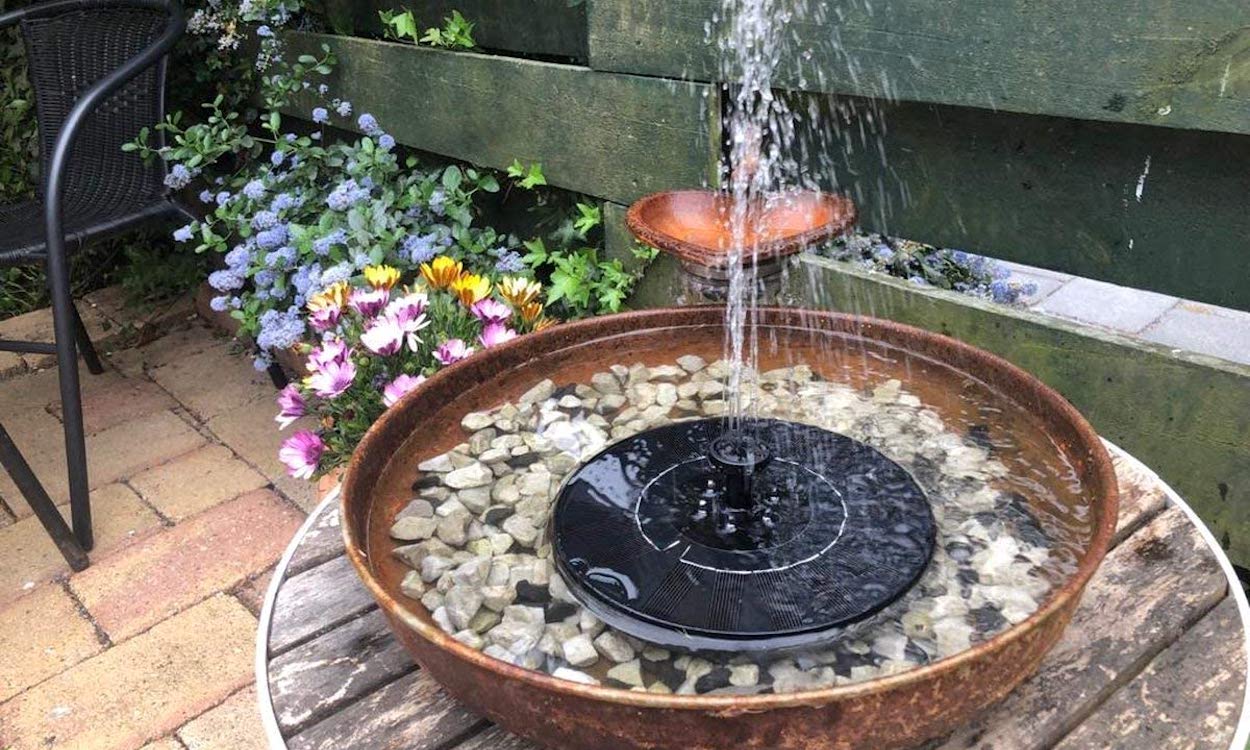
Welcome to the world of solar-powered water fountains! If you’re looking to add a touch of tranquility and beauty to your garden or outdoor space, a solar water fountain is the perfect choice. Not only does it offer the soothing sound of flowing water, but it also operates using renewable energy, making it an eco-friendly and cost-effective option.
In this article, we will guide you through the process of creating your own solar water fountain. No need to worry if you have limited DIY experience – this project is suitable for beginners and can be completed in just a few hours. So let’s dive in and get started on this exciting journey!
Key Takeaways:
- Create your own eco-friendly solar water fountain for your garden using simple materials and easy steps. Enjoy the soothing sights and sounds of nature while contributing to a sustainable environment.
- Maintain your solar water fountain by cleaning regularly, checking water levels, and monitoring for leaks. Embrace the beauty of renewable energy and the tranquility of flowing water in your garden.
Read more: How To Make A Musical Water Fountain
Materials Needed
Before you begin constructing your solar water fountain, it’s essential to gather all the necessary materials. Here’s a list of items you’ll need:
- Solar panel
- Water pump
- Fountain basin
- PVC piping and connectors
- Waterproof sealant
- Decorative stones or pebbles
- Waterproof adhesive
- Marker or pencil
- Tape measure
- Sharp knife or PVC cutter
Make sure to choose a solar panel and water pump that are suitable for your desired fountain size and water flow. It’s also important to consider the location of your fountain and the amount of sunlight it will receive. The materials listed here can be easily found at your local hardware store or purchased online.
Now that you have all the materials, let’s move on to the next step: selecting the solar panel.
Step 1: Selecting the Solar Panel
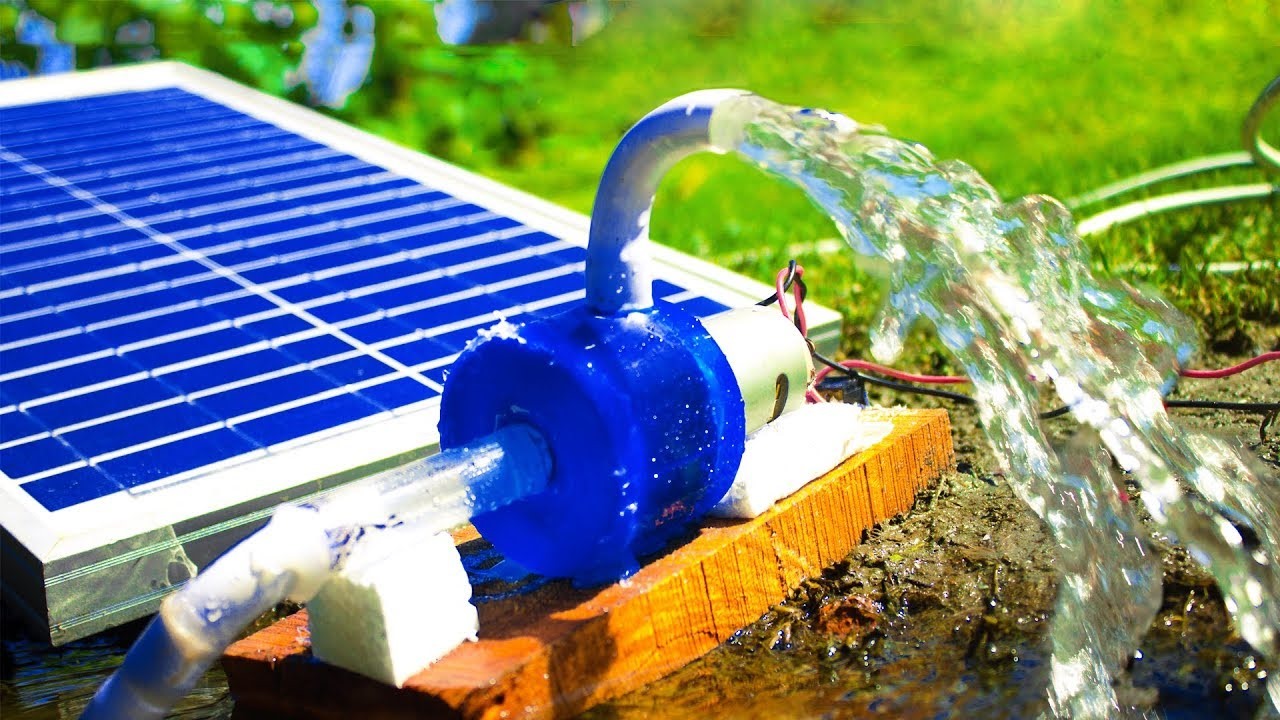
The solar panel is the heart of your solar water fountain, as it captures sunlight and converts it into electricity to power the water pump. When selecting a solar panel, there are a few factors to consider:
- Size and Power Output: Choose a solar panel with the appropriate size and power output for your fountain. Consider the height and flow rate of the water you want, as well as the size of the fountain basin. Generally, a panel with 10-20 watts of power should be sufficient for most small to medium-sized fountains.
- Efficiency: Look for a solar panel with high efficiency ratings to ensure maximum power generation. Monocrystalline panels are known for their efficiency and durability, although they may be slightly more expensive.
- Durability: Consider the weather conditions in your area and choose a solar panel that can withstand them. Look for panels with weatherproof and UV-resistant features.
- Mounting Options: Check if the solar panel comes with mounting brackets or hardware for easy installation. Some panels are designed to be mounted on the ground, while others can be placed on a wall or roof.
It’s a good idea to do some research and read customer reviews before making a decision. Once you have chosen the right solar panel, you’re ready to move on to the next step: choosing the water pump.
Step 2: Choosing the Water Pump
The water pump is responsible for circulating the water in your solar water fountain, creating a beautiful flowing effect. When selecting a water pump, consider the following:
- Flow Rate: Determine the desired flow rate for your fountain. This will depend on the size of the fountain and the effect you want to achieve. A higher flow rate will create a more vibrant and lively display, while a lower flow rate will have a more gentle and serene appeal.
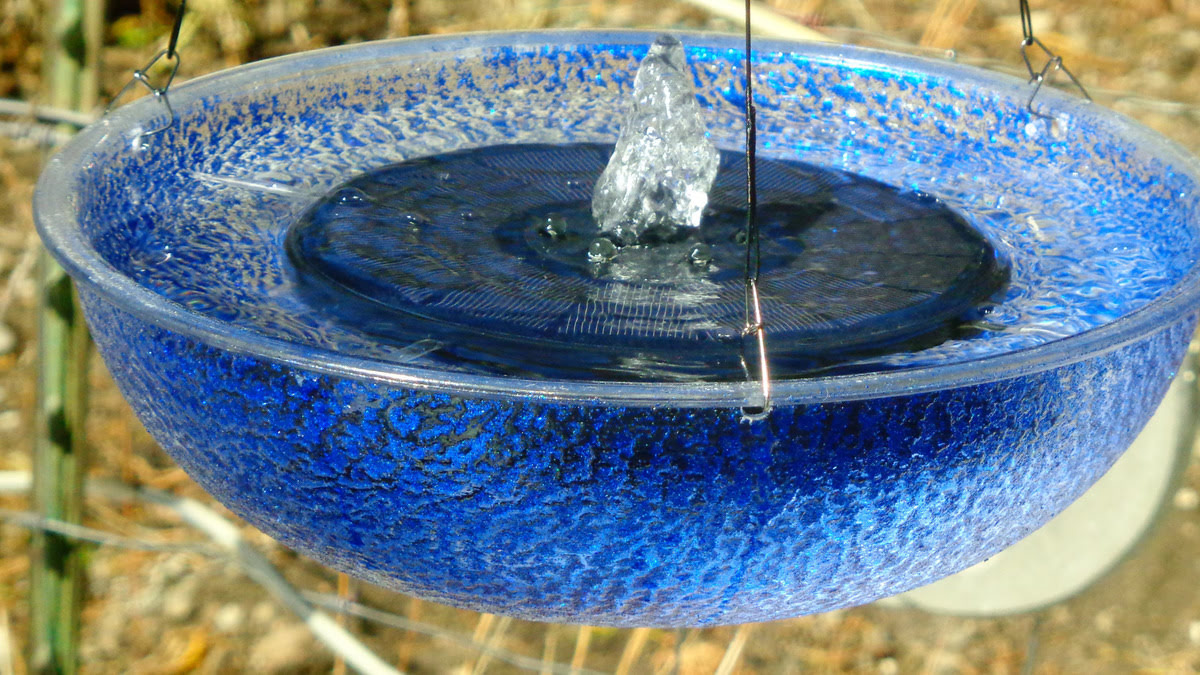
- Power Source: Choose a water pump that can be powered by solar energy. Look for pumps specifically designed for solar applications or those that can be connected to a solar panel. These pumps are typically low voltage and energy-efficient.
- Capacity: Consider the water capacity of your fountain basin and select a pump with an appropriate capacity. It’s important to choose a pump that can handle the volume of water you’ll be using.
- Adjustability: Look for a pump that allows you to adjust the water flow and pressure. This will give you more control over the fountain’s appearance and sound.
- Durability and Noise: Check customer reviews or product specifications to ensure the pump is durable and operates quietly. No one wants a noisy fountain!
Take your time to compare different options and choose a water pump that meets your specific needs. Once you have the pump, it’s time to move on to the next step: finding the right fountain basin.
Step 3: Finding the Right Fountain Basin
The fountain basin serves as the container for the water in your solar water fountain. It provides a stable base and helps to prevent water leakage. When selecting a fountain basin, consider the following:
- Size and Depth: Choose a basin that complements the size and design of your fountain. It should be deep enough to accommodate the water pump and allow for proper water circulation.
- Material: Select a basin made of durable and waterproof material such as plastic, fiberglass, or metal. The material should be able to withstand constant exposure to water and weather conditions.
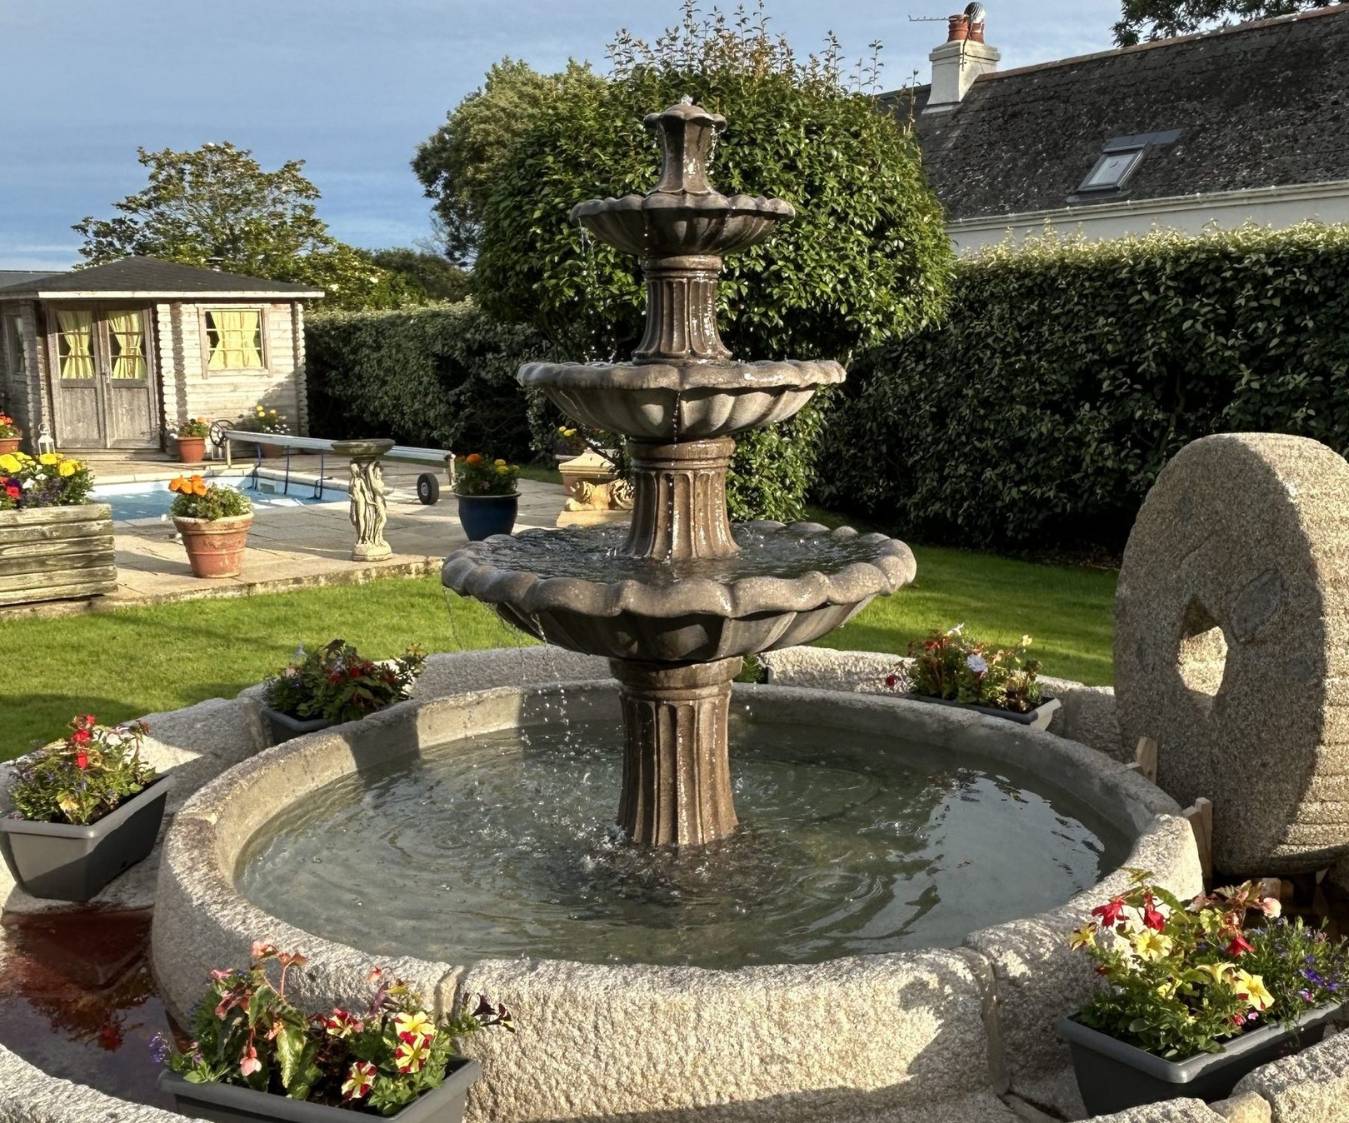
- Design and Style: Consider the aesthetic appeal of the basin and how it will complement your outdoor space. Choose a design that aligns with your personal taste and the overall theme of your garden.
- Stability: Ensure that the basin is stable and sturdy, especially when filled with water. This will prevent any accidents or tipping over of the fountain.
- Drainage: Look for a basin that has proper drainage holes or outlets. This will allow for easy maintenance and water changes.
Before purchasing a fountain basin, measure the available space in your garden or patio where you plan to install the fountain. Make sure the basin fits comfortably and leaves enough room for the other components of the fountain.
Once you have found the perfect fountain basin, you’re ready to move on to the next step: setting up the fountain basin.
Read more: How To Make A Wall Water Fountain
Step 4: Setting up the Fountain Basin
Setting up the fountain basin is an important step in creating your solar water fountain. Follow these steps to properly set up the basin:
- Choose the Location: Select a suitable location for your fountain that receives ample sunlight and complements the overall design of your garden or outdoor space.
- Prepare the Area: Clear the area of any debris or obstacles to ensure a stable and level surface for the fountain.
- Place the Fountain Basin: Position the basin in the desired location and ensure that it is stable and level. Use a level tool to check for balance.
- Mark the Area for the Pump: Using a marker or pencil, mark the spot where the water pump will be situated. It’s usually located in the center of the basin.
- Create an Opening for the Pump: Depending on the design of your basin, you may need to create a small opening to accommodate the pump. Use a sharp knife or PVC cutter to carefully cut out the marked area.
- Attach the PVC Piping: If your fountain design requires it, connect the PVC piping and connectors to create the desired water flow and pattern. Use waterproof sealant to secure the connections and prevent any leaks.
- Add Decorative Stones or Pebbles: Place decorative stones or pebbles at the bottom of the basin to create a visually appealing base for your fountain.
Once you have completed these steps, your fountain basin is now set up and ready for the next phase: installing the solar panel.
To make a solar water fountain, use a solar-powered pump to circulate water from a basin through a fountain head. Place the solar panel in a sunny spot for optimal power.
Step 5: Installing the Solar Panel
Now that your fountain basin is set up, it’s time to install the solar panel. Follow these steps to correctly install the solar panel for your solar water fountain:
- Determine the Placement: Choose the optimal location for the solar panel, ensuring that it receives maximum sunlight throughout the day. Look for a spot that is unobstructed by trees, buildings, or other objects that may cast shadows.
- Mounting the Solar Panel: Depending on the design of your solar panel, you may need to mount it on a wall, roof, or balcony railing. Follow the manufacturer’s instructions for proper mounting techniques, using the provided brackets and hardware.
- Angle Adjustment: Adjust the tilt angle of the solar panel according to your geographical location and the time of year. This will ensure optimal sunlight absorption and energy production.
- Secure Wiring: Carefully route the wiring from the solar panel to the fountain basin, ensuring that it is out of the way and protected from potential damage.
- Connect the Solar Panel to the Pump: Connect the wiring from the solar panel to the water pump. Follow the specific instructions provided by the manufacturer to ensure a proper and secure connection.
- Test the Solar Panel: Before placing the solar panel in its final position, test it by placing it in direct sunlight and making sure it generates power to operate the water pump. If everything is functioning correctly, proceed to the next step.
Remember to take necessary safety precautions when working with electrical components and follow any local electrical codes. Once the solar panel is installed and connected, you’re ready to move on to the next step: connecting the water pump.
Step 6: Connecting the Water Pump
With the solar panel installed, it’s time to connect the water pump to complete the setup of your solar water fountain. Follow these steps to ensure a proper connection:
- Position the Water Pump: Place the water pump in the designated area within the fountain basin. Ensure that it is securely positioned and level.
- Connect the Pump to the Solar Panel: Take the wiring from the water pump and connect it to the wiring coming from the solar panel. Follow the color-coded instructions or markings provided by the manufacturer to ensure the correct connection.
- Secure the Connections: Use waterproof adhesive and sealant to secure and protect the wiring connections. This will prevent any water damage or electrical issues.
- Double Check the Connections: Once the connections are made, double check to ensure they are secure and correctly aligned. This will prevent any potential issues later on.
- Test the Fountain: Turn on the water pump and observe the flow of water in the fountain. Listen for any unusual noises or vibrations and ensure that the water flow is as desired. Adjust the flow rate or position of the pump if necessary.
It is essential to follow the manufacturer’s instructions when connecting the water pump to the solar panel to ensure safety and proper functionality. With the water pump connected and the fountain operating smoothly, you’re almost done! The next step involves testing and adjusting the fountain to perfect its appearance and performance.
Step 7: Testing and Adjusting the Fountain
With your solar water fountain up and running, it’s time to test its performance and make any necessary adjustments to ensure it looks and sounds just right. Follow these steps to test and adjust your fountain:
- Observe the Water Flow: Watch how the water flows in your fountain. Take note of any areas where the water may be pooling or splashing excessively.
- Adjust the Water Flow: If you find that the water flow is too strong or weak, you can adjust it by either modifying the pump settings or altering the position of the water outlet. Experiment with different flow rates until you achieve the desired effect.
- Add Additional Decorations: Enhance the visual appeal of your solar water fountain by adding decorative elements such as rocks, pebbles, or aquatic plants. These additions can create a more natural and aesthetically pleasing look.
- Listen to the Sound: Pay attention to the sound produced by the flowing water. If the sound is too loud or too quiet, you can adjust it by changing the height or angle of the water flow. Experiment with different positions until you achieve the soothing sound you desire.
- Check for Leaks: Regularly inspect the fountain for any signs of leaks. It’s important to address any leaks promptly to prevent damage to the components or surrounding area.
Take your time with this step, as fine-tuning the fountain’s appearance and sound can greatly enhance your overall experience. Make adjustments as needed until you are satisfied with the final result.
With the fountain now tested, adjusted, and operating smoothly, you’re ready to move on to the final step: maintaining your solar water fountain.
Read more: How To Make A Cat Water Fountain Quieter
Step 8: Maintaining the Solar Water Fountain
Proper maintenance is crucial to keep your solar water fountain running smoothly and looking its best. Follow these maintenance tips to ensure the longevity and optimal performance of your fountain:
- Clean the Fountain Regularly: Remove any debris, such as leaves or twigs, from the fountain basin. Use a soft brush or cloth to clean the surfaces and remove any algae or mineral buildup.
- Check the Water Level: Regularly monitor the water level in the fountain basin and top it up as needed. Adequate water levels are necessary for the proper functioning of the water pump.
- Inspect the Solar Panel: Periodically check the solar panel for any dust, dirt, or debris that may obstruct sunlight. Clean the panel’s surface with a soft cloth and mild soap solution to ensure maximum efficiency.
- Check the Wiring: Inspect the wiring connections between the solar panel and water pump to ensure they are secure and free from any damage or wear. Replace any worn-out or damaged wiring promptly.
- Winterize the Fountain (if applicable): If you live in a region with freezing temperatures, it’s important to winterize your solar water fountain. Empty the basin and remove the pump and solar panel before the first frost to prevent freezing and potential damage.
- Monitor for Leaks: Regularly check for any leaks in the fountain basin or the plumbing. Address any leaks immediately to prevent water damage and ensure the proper functioning of the fountain.
By performing these regular maintenance tasks, you can keep your solar water fountain in excellent condition and enjoy its beauty and tranquility for years to come.
Congratulations! You have successfully created and installed your own solar water fountain. Sit back, relax, and enjoy the soothing sights and sounds of your environmentally-friendly garden oasis.
Disclaimer: When working with electrical components, always prioritize safety. If you’re unsure or uncomfortable with any aspect of the installation, consult an experienced professional.
Conclusion
Creating your own solar water fountain is not only a rewarding DIY project but also a sustainable and beautiful addition to your garden or outdoor space. By following the steps outlined in this guide, you have learned how to select the right materials, set up the fountain basin, install the solar panel, and connect the water pump.
Through careful testing and adjustments, you have fine-tuned your fountain to achieve the desired flow rate and sound. By implementing a regular maintenance routine, you can ensure the longevity and optimal performance of your solar water fountain.
Remember, the beauty of a solar water fountain lies in its ability to harness the power of renewable energy while creating a serene and visually pleasing ambiance. With the gentle sound of flowing water and the soothing presence of nature, your solar water fountain will become a tranquil retreat, providing endless enjoyment for both you and your guests.
So, go ahead and embark on this eco-friendly journey. Let your creativity flow and bring the serenity of a solar water fountain to your garden. Sit back, relax, and cherish the beauty of nature at its best.
Enjoy the journey and may your solar water fountain bring you joy and tranquility for years to come!
Frequently Asked Questions about How To Make A Solar Water Fountain
Was this page helpful?
At Storables.com, we guarantee accurate and reliable information. Our content, validated by Expert Board Contributors, is crafted following stringent Editorial Policies. We're committed to providing you with well-researched, expert-backed insights for all your informational needs.


0 thoughts on “How To Make A Solar Water Fountain”