Articles
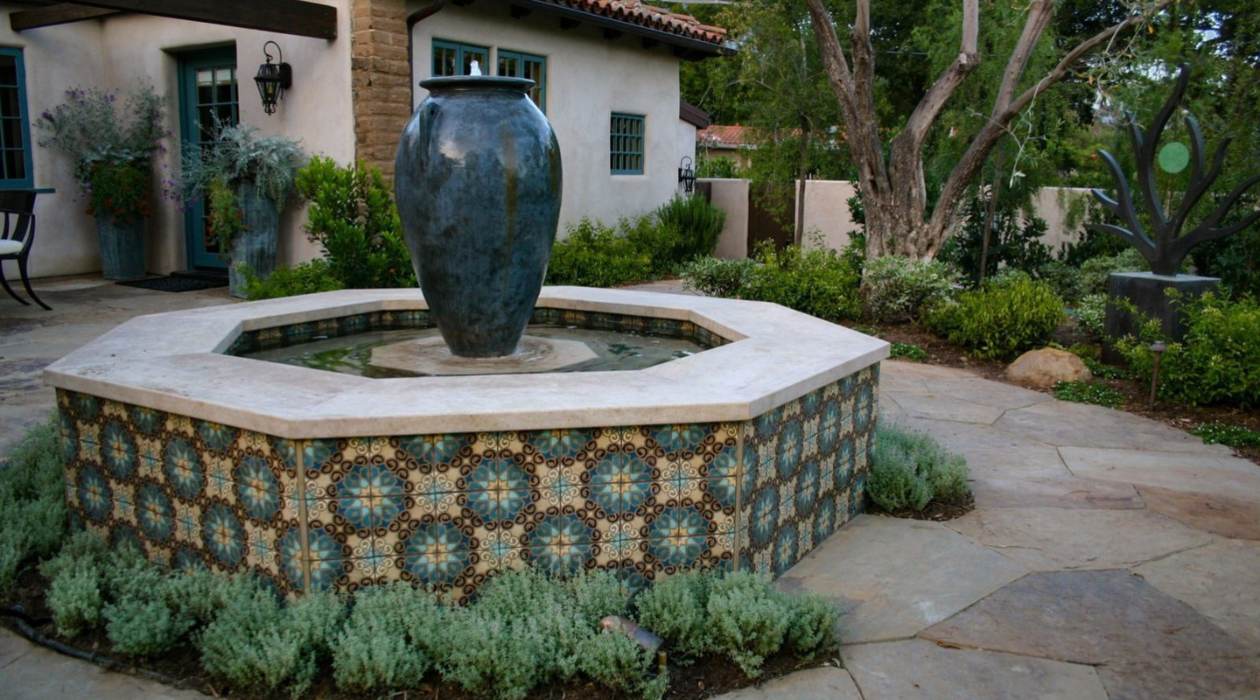
How To Make An Urn Fountain
Modified: October 19, 2024
Learn how to create a stunning urn fountain with our step-by-step articles, covering everything from design ideas to installation tips. Enhance your outdoor space today!
(Many of the links in this article redirect to a specific reviewed product. Your purchase of these products through affiliate links helps to generate commission for Storables.com, at no extra cost. Learn more)
Introduction
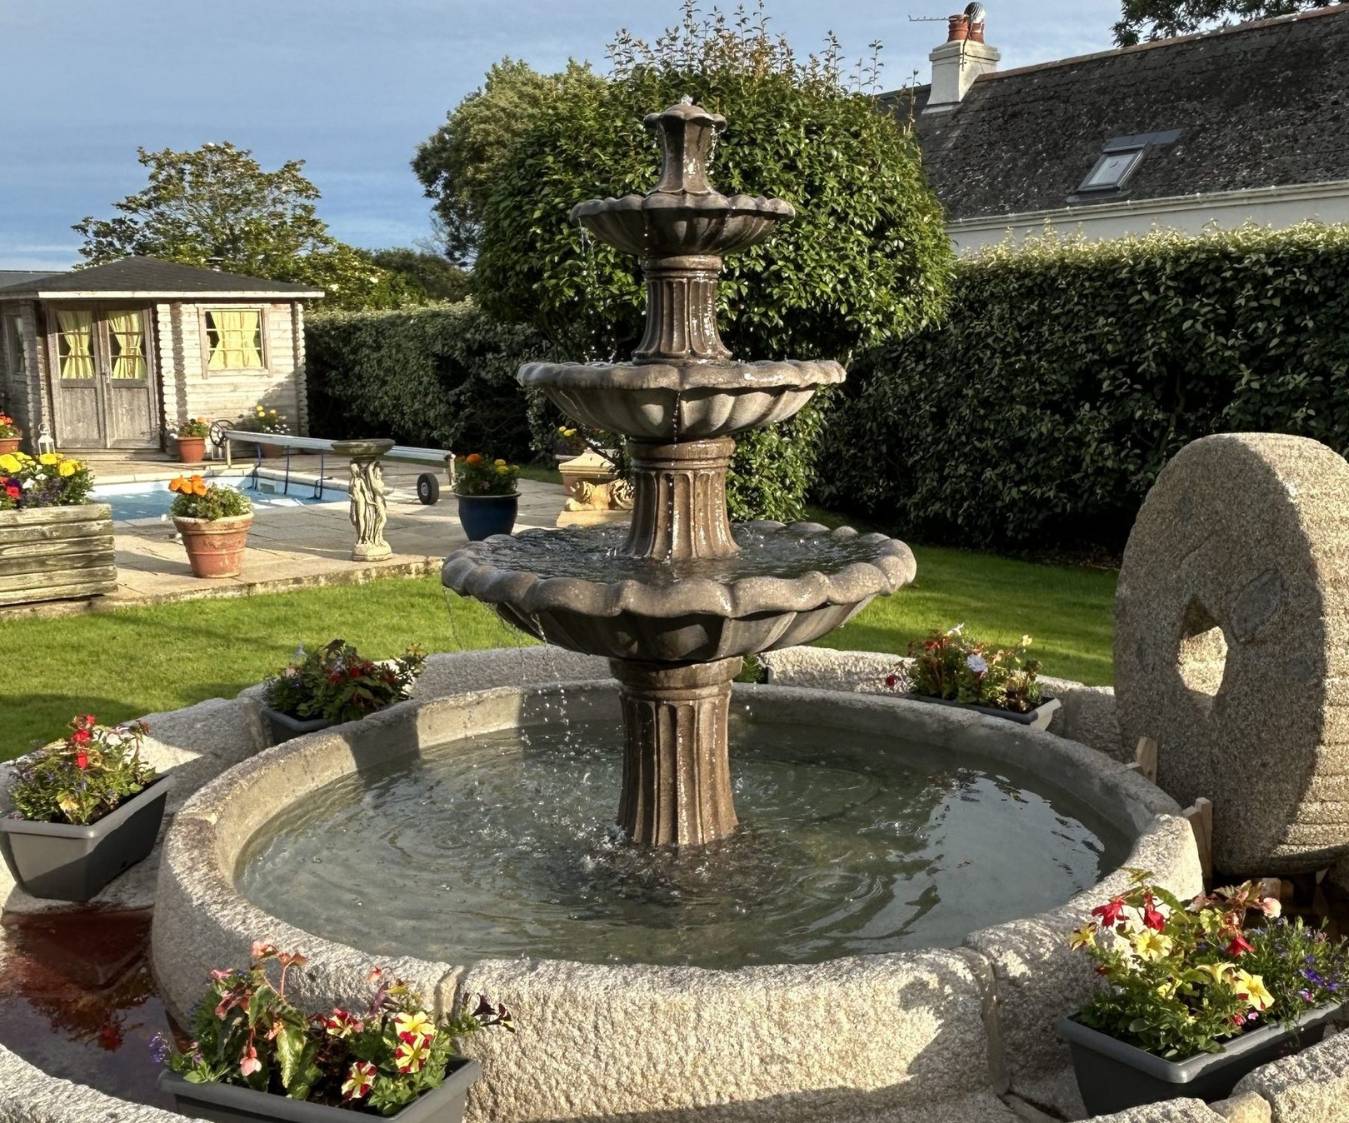
Having a beautifully crafted urn fountain can add a touch of elegance and tranquility to any outdoor space. The gentle sound of flowing water can create a soothing ambiance and attract various wildlife, making it a great addition to gardens, patios, or even front yards.
Creating your own urn fountain may seem like a daunting task, but with the right materials and a little bit of patience, it can be a rewarding DIY project. In this article, we will guide you through the steps of making an urn fountain, from choosing the right urn to finalizing the installation.
Before we dive into the process, it’s important to gather all the necessary materials. This will ensure that you have everything on hand and can smoothly complete each step without any unexpected delays.
Key Takeaways:
- Create a Tranquil Oasis: Crafting an urn fountain is a rewarding DIY project that brings beauty and serenity to outdoor spaces. From selecting the perfect urn to adding decorative elements, enjoy the process and the soothing beauty it brings.
- Personalize Your Outdoor Retreat: With an urn fountain, you can customize and enhance your outdoor space with decorative elements like plants, lighting, and seating. Enjoy the calming effects and create a peaceful oasis in your own backyard.
Read more: How To Make A Musical Water Fountain
Materials Needed
Before you begin making your urn fountain, gather the following materials:
- An urn or large decorative pot: Choose a sturdy and visually appealing urn that can hold the water for your fountain.
- Fountain pump: Select a pump that matches the size of your urn and has adjustable flow settings.
- Drill with a diamond drill bit: You will need this to drill a hole in the bottom of the urn for the fountain pump’s tubing.
- Fountain tubing: Get tubing that is compatible with your fountain pump and long enough to reach from the pump to the top of the urn.
- Fountain head or nozzle: Choose a decorative fountain head or nozzle that creates the desired water flow pattern.
- Waterproof sealant: Use a waterproof sealant to seal the drilled hole and prevent any leaks.
- Waterproof container or basin: You will need a waterproof container or basin to hold the water for the fountain. This can be a plastic or metal reservoir that fits inside the urn.
- Rocks or pebbles: Optional, but adding rocks or pebbles to the reservoir can enhance the visual appeal of the fountain.
- Decorative elements: Consider adding plants, lighting, or other decorative elements to enhance the overall aesthetic of your urn fountain.
Ensure that you have all these materials on hand before you start, as it will make the process much smoother and more efficient.
Step 1: Choosing the Urn
The first step in creating your urn fountain is to choose the right urn or large decorative pot. When selecting an urn, consider the following factors:
- Size: Choose an urn that is large enough to accommodate the fountain pump and provide sufficient water storage for the desired water flow.
- Material: Urns can be made from various materials such as terracotta, ceramic, metal, or fiberglass. Consider the durability, maintenance requirements, and aesthetic appeal of each material before making your choice.
- Style: Select an urn that complements the overall design and theme of your outdoor space. Whether you prefer a classic, modern, or rustic look, there are urns available in a wide range of styles and designs.
- Drainage: Ensure that the chosen urn has a solid bottom without any pre-existing drainage holes. This will allow you to drill a hole for the fountain pump without any complications.
Visit local garden centers, home improvement stores, or online retailers to explore different options and find an urn that meets your criteria. Take measurements and consider the scale of your outdoor space to ensure that the chosen urn fits proportionally.
Remember to also consider the weight of the urn, especially if you plan on placing it on a pedestal or elevated surface. Ensure that the structure can support the weight of the urn and the water it will hold.
Once you have chosen the perfect urn, you are ready to move on to the next step: drilling a hole for the fountain pump.
Step 2: Drilling a Hole for the Fountain
To install the fountain pump in your chosen urn, you will need to drill a hole in the bottom of the urn. Follow these steps to safely and accurately drill the hole:
- Prepare the urn: Place the urn on a stable and flat surface. Ensure that it is clean and free from any debris.
- Choose the drill bit: Select a diamond drill bit that is suitable for drilling into the material of your urn. The size of the drill bit should match the diameter of the tubing that will be connected to the fountain pump.
- Mark the drilling spot: Use a marker or tape to mark the exact spot where you want to drill the hole. Ensure that it is in the center and at the bottom of the urn.
- Wear protective gear: Put on safety goggles and protective gloves to protect yourself from any flying debris during the drilling process.
- Drill the hole: Start drilling at a slow speed, applying gentle pressure. Keep the drill perpendicular to the surface and position it directly on the marked spot. Gradually increase the speed and continue drilling until the hole is complete.
- Clean the urn: After drilling the hole, remove any shards or debris from the urn. Use a damp cloth or brush to clean the area around the hole.
It is important to note that drilling through certain materials, such as ceramic or terracotta, may require patience and a steady hand. Take breaks if needed and make sure to maintain stability while drilling.
Once the hole is successfully drilled, you can proceed to the next step: installing the fountain pump.
Step 3: Installing the Fountain Pump
Now that you have drilled a hole in the urn, it’s time to install the fountain pump. Follow these steps to ensure a proper installation:
- Prepare the fountain pump: Read the manufacturer’s instructions that came with the fountain pump. Familiarize yourself with the pump’s features and any specific installation requirements.
- Place the pump inside the urn: Carefully lower the fountain pump into the urn through the drilled hole. Make sure that the pump sits securely and is positioned in the center of the urn.
- Connect the tubing: Attach the fountain pump’s tubing to the outlet of the pump. Ensure a secure connection to prevent any leaks. Thread the tubing through the hole in the urn and let it extend to the top.
- Seal the hole: Apply a waterproof sealant around the drilled hole on the outside of the urn. This will prevent any water from leaking out of the urn through the hole.
- Let the sealant dry: Follow the manufacturer’s instructions for the sealant and allow it to dry completely. This ensures a tight and waterproof seal.
It is important to position the pump properly to ensure optimal functioning of the fountain. The pump should be fully submerged in water to avoid damage and to maintain a consistent water flow.
Once the fountain pump is securely installed, we can move on to the next step: connecting the tubing and fountain head.
Read more: How To Make A Wall Water Fountain
Step 4: Connecting the Tubing and Fountain Head
With the fountain pump in place, it’s time to connect the tubing and fountain head to create the desired water flow pattern. Follow these steps for a successful connection:
- Measure the tubing: Cut the tubing to the desired length, ensuring that it reaches from the top of the urn to the fountain pump.
- Attach the fountain head: Take the fountain head or nozzle of your choice and securely attach it to the end of the tubing. The type of fountain head you use will determine the shape and style of the water flow.
- Insert the tubing into the pump: Insert the other end of the tubing into the designated outlet or connector on the fountain pump. Make sure it fits snugly and is fully inserted.
- Check for leaks: Turn on the fountain pump and check for any leaks in the tubing connections or the seal around the drilled hole. If any leaks are detected, adjust the connections or sealant as necessary.
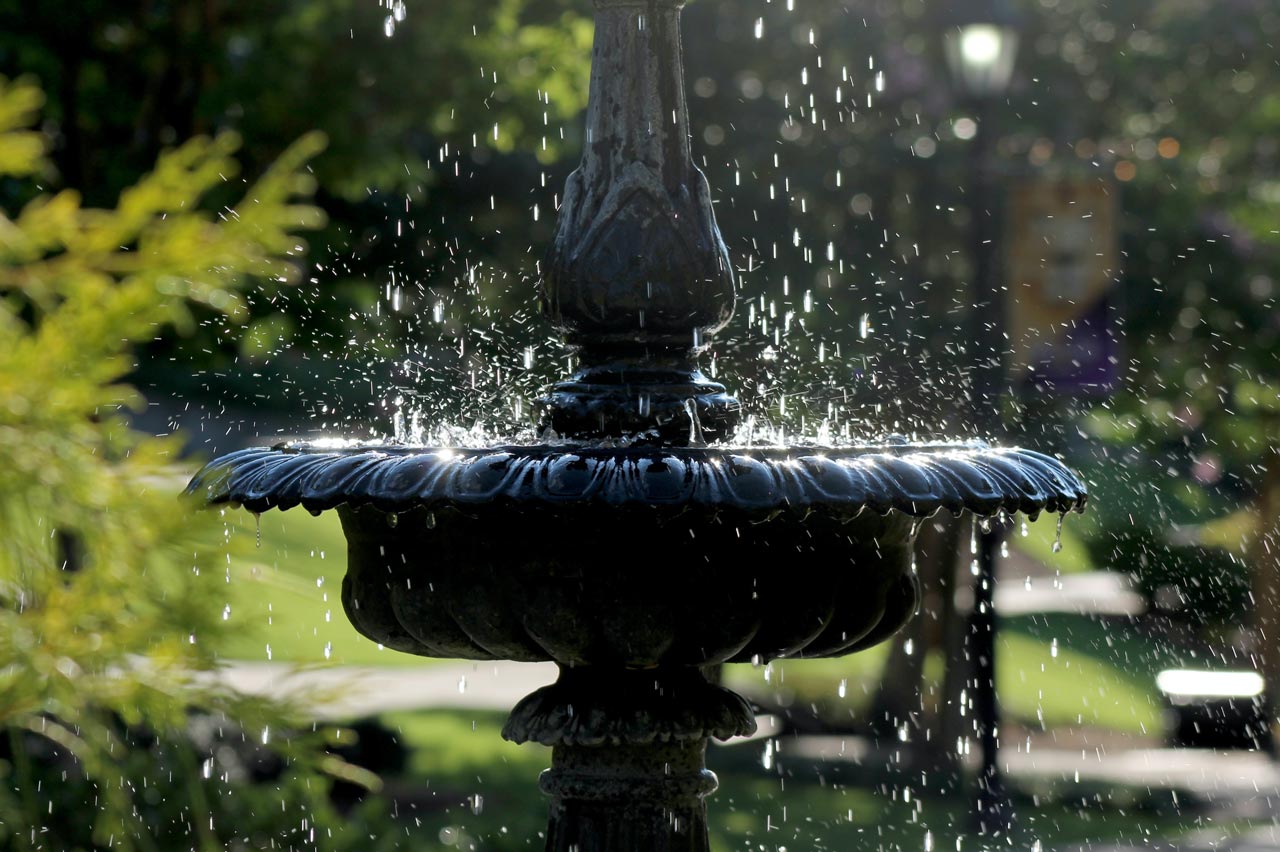
It’s important to choose a fountain head that suits your preferences and complements the style of your urn. Whether you prefer a tiered cascade, bubbling effect, or a simple spray, there are various fountain heads available to create the desired water flow.
With the tubing and fountain head in place, we can now move on to preparing the water reservoir in the next step.
When making an urn fountain, ensure the urn is watertight and has a hole for the pump cord. Use a sturdy base to support the weight of the urn and water.
Step 5: Preparing the Water Reservoir
Before assembling the urn fountain, it’s essential to prepare the water reservoir, which will hold the water for the fountain. Follow these steps to ensure a proper setup:
- Choose a waterproof container: Select a container or basin that is large enough to hold an adequate amount of water for your fountain. It should fit comfortably inside the urn without any gaps or spaces.
- Test for leaks: Fill the container with water and leave it for a few hours to test for any leaks. Check for any moisture build-up or water seeping through the walls or seams. If there are any leaks, repair or replace the container as necessary.
- Add rocks or pebbles (optional): To enhance the visual appeal of your urn fountain, you can add rocks or pebbles to the bottom of the water reservoir. This will create a natural look and provide a stable base for the urn.
- Place the water reservoir in the urn: Carefully place the prepared water reservoir inside the urn. Position it so that the tubing from the fountain pump reaches the top of the urn and is easily accessible.
Ensuring a watertight and stable water reservoir is crucial for the proper functioning of the fountain. This step also allows you to easily maintain and manage the water levels in your urn fountain.
With the water reservoir prepared, we are ready to assemble the urn fountain in the next step.
Step 6: Assembling the Urn Fountain
Now that all the necessary components are in place, it’s time to assemble your urn fountain. Follow these steps to complete the assembly:
- Position the urn: Carefully place the urn in its desired location. Ensure that it is stable and level, especially if you are using a pedestal or elevated surface.
- Lower the water reservoir: Gently lower the water reservoir with the fountain pump into the urn. Make sure the tubing from the pump extends to the top of the urn and is easily accessible.
- Adjust the tubing: Check the position and alignment of the tubing inside the urn. Ensure that it is not kinked or obstructed and can freely deliver water from the reservoir to the fountain head.
- Secure the pump: Use rocks, bricks, or other stable objects to secure the fountain pump and prevent it from moving or shifting inside the urn.
- Fill the water reservoir: Slowly pour water into the water reservoir, ensuring that it covers the pump and submerges it completely. Take care not to overflow the urn.
As you assemble the urn fountain, make sure to double-check all connections and components to ensure everything is in place and functioning properly. This step will bring your urn fountain to life and prepare it for testing in the next step.
Once the urn fountain is fully assembled, we can move on to testing and adjusting the fountain in the next step.
Step 7: Testing and Adjusting the Fountain
After assembling your urn fountain, it’s crucial to test it to ensure proper functionality and make any necessary adjustments. Follow these steps to test and adjust your fountain:
- Turn on the fountain pump: Plug in the fountain pump and turn it on to start the water flow. Observe the water flow and check for any irregularities.
- Adjust the flow rate: Most fountain pumps have adjustable flow settings. Use this feature to increase or decrease the water flow until you achieve the desired effect. Take note of the pump’s instructions for adjusting the flow rate.
- Check for leaks: Examine the tubing connections, the seal around the drilled hole, and the water reservoir for any water leaks. If you notice any leaks, address them by tightening the connections or resealing the hole.
- Listen for noises: Listen carefully to the fountain pump during operation. If you hear any unusual noises like grinding or squeaking, it may indicate a problem with the pump. In such cases, refer to the manufacturer’s instructions or consult a professional if needed.
- Monitor the water level: Keep an eye on the water level in the urn fountain. Over time, evaporation and splashing can cause the water level to decrease. Regularly add water as needed to maintain the proper water level for optimal pump performance.
Testing and adjusting the fountain allows you to fine-tune its performance and ensure a smooth and consistent water flow. Take your time during this step to make any necessary tweaks and achieve the desired visual and auditory effect for your urn fountain.
Once you are satisfied with the fountain’s operation, it’s time to add some decorative elements to enhance its overall appearance.
Read more: How To Make A Solar Water Fountain
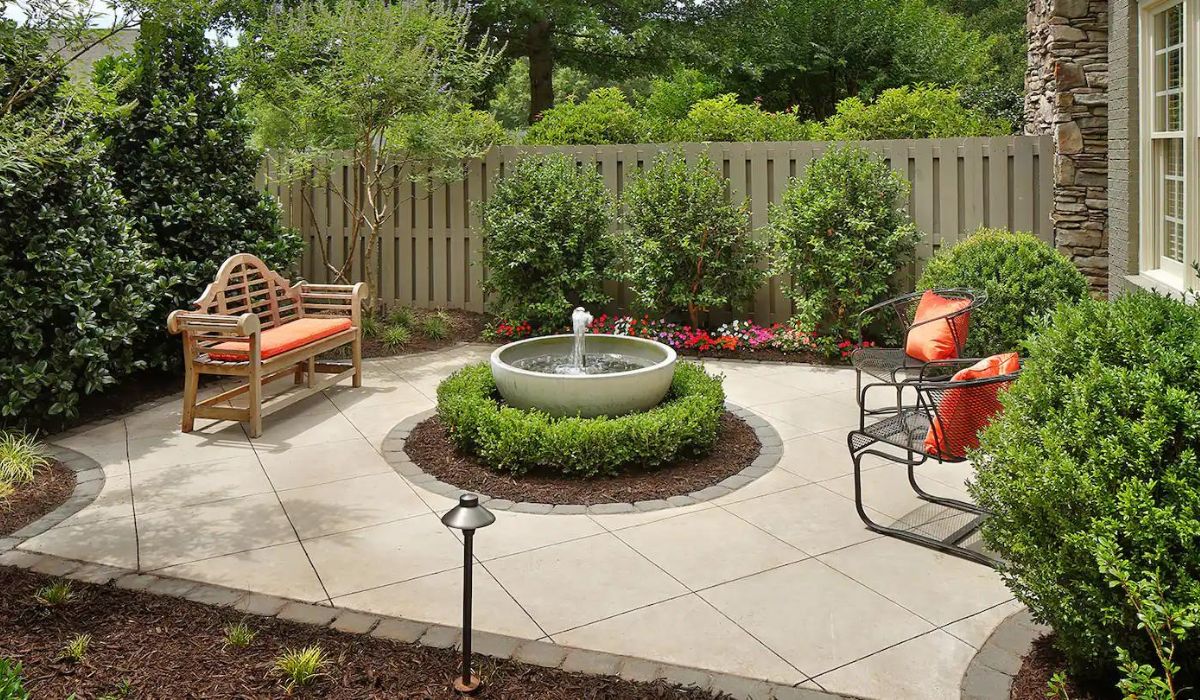
Step 8: Adding Decorative Elements
With your urn fountain assembled and functioning smoothly, it’s time to add some decorative elements to enhance its visual appeal. Consider the following ideas to customize and beautify your urn fountain:
- Plants and flowers: Surround your urn fountain with potted plants or flowers that complement your outdoor space. Choose plants that thrive in water features or opt for low-maintenance options like aquatic plants.
- Lighting: Install underwater lights or spotlights around the urn fountain to create a stunning visual effect during nighttime. This will not only illuminate the fountain but also add ambiance and charm to your outdoor area.
- Statues or figurines: Place decorative statues or figurines near the urn fountain to add a touch of elegance or whimsy. Opt for sculptures that match your personal style or reflect the theme of your garden or patio.
- Pebbles or glass beads: Scatter colorful pebbles or glass beads at the bottom of the water reservoir for a visually striking effect. Choose colors that complement the overall design of your urn fountain.
- Surrounding seating: Add seating arrangements such as benches or chairs around the urn fountain to create a relaxing spot in your outdoor space. This provides a cozy space for you to sit, unwind, and enjoy the soothing sound of flowing water.
Be creative in selecting your decorative elements and consider your personal style and preferences. Experiment with different combinations to find the perfect balance and create a unique and captivating urn fountain.
Remember to regularly maintain and clean your urn fountain to preserve its beauty and functionality. This includes removing debris, checking the water level, and ensuring that the pump is clean and in good working condition.
Congratulations! You have successfully created and customized your very own urn fountain. Enjoy the soothing sounds and visual beauty it brings to your outdoor space.
Additional Tips and Considerations:
- Keep an eye on the water quality by periodically performing water tests and treating the water as necessary.
- Consider using a timer to automate the fountain’s operation, controlling when it turns on and off.
- Regularly check and clean the fountain pump’s intake to prevent any debris from affecting its performance.
- If you live in a colder climate, be sure to winterize your urn fountain to protect it from freezing temperatures.
Conclusion
Creating your own urn fountain is a fulfilling DIY project that brings beauty, tranquility, and serenity to your outdoor space. By following the steps outlined in this guide, you can successfully design and assemble an urn fountain that fits your style and preferences.
From selecting the perfect urn and drilling a hole for the fountain pump to installing the pump, connecting the tubing, and preparing the water reservoir, each step plays a crucial role in the overall functionality and aesthetics of your fountain. Testing and adjusting the fountain ensures optimal performance, while adding decorative elements allows you to customize and personalize your urn fountain.
As you enjoy the gentle flow of water and the soothing sounds it creates, ensure you regularly maintain and clean your urn fountain. Consistent upkeep will help preserve its beauty and ensure its longevity.
Remember to consider your specific location, climate, and personal preferences when selecting materials and decorative elements for your urn fountain. This will help create a harmonious and well-integrated feature in your outdoor space.
Now that you have the knowledge and guidance to craft your own urn fountain, it’s time to get started. Dive into this rewarding project and transform your outdoor area into a peaceful oasis where you can unwind, relax, and connect with nature.
Enjoy the process and the beauty that your urn fountain will bring to your outdoor space!
Additional Tips and Considerations
Creating an urn fountain is an exciting project, and here are some additional tips and considerations to keep in mind:
- Location: Choose a suitable location for your urn fountain, considering factors such as sunlight exposure, proximity to electrical outlets, and the overall aesthetic of your outdoor space.
- Water source: Ensure that you have access to a water source nearby for easy refilling and maintenance of your urn fountain.
- Maintenance: Regularly clean the fountain pump and water reservoir to prevent debris buildup and ensure optimal performance. Consider using a fountain cleaner to keep the water clean and clear.
- Water quality: Use distilled water or consider using a water treatment solution to prevent mineral buildup and algae growth in the fountain.
- Weather protection: If your urn fountain is exposed to extreme weather conditions, consider protecting it with a cover during harsh winters or intense sunlight to prolong its lifespan and maintain its appearance.
- Energy-efficient options: Look for fountain pumps that offer energy-efficient features to help reduce electricity consumption and minimize environmental impact.
- Periodic maintenance: Take the time to regularly inspect and maintain your urn fountain, checking for any leaks, cracks, or worn-out parts that may need repair or replacement.
- Creativity: Use your creativity to add personal touches to your urn fountain, such as incorporating colorful accents, unique plants, or even a small sculpture or figurine. Let your imagination run wild!
- Enjoyment: Take the time to sit back, relax, and enjoy the beauty and calming effects of your urn fountain. It’s a wonderful addition to any outdoor space that can bring peace and serenity to your surroundings.
By keeping these additional tips in mind, you can enhance the functionality, longevity, and enjoyment of your urn fountain. Don’t be afraid to experiment and make adjustments along the way to create the perfect oasis in your own backyard.
Now, armed with these guidelines and insights, it’s time to embark on your urn fountain journey and create a captivating water feature that will delight both you and your guests for years to come.
Frequently Asked Questions about How To Make An Urn Fountain
Was this page helpful?
At Storables.com, we guarantee accurate and reliable information. Our content, validated by Expert Board Contributors, is crafted following stringent Editorial Policies. We're committed to providing you with well-researched, expert-backed insights for all your informational needs.


0 thoughts on “How To Make An Urn Fountain”