Home>Garden Essentials>How To Make Fake Grass For A School Project
Garden Essentials
How To Make Fake Grass For A School Project
Modified: April 22, 2024
Learn how to create realistic fake grass for your school project with our step-by-step guide. Perfect for garden-themed assignments and easy to make!
(Many of the links in this article redirect to a specific reviewed product. Your purchase of these products through affiliate links helps to generate commission for Storables.com, at no extra cost. Learn more)
Introduction
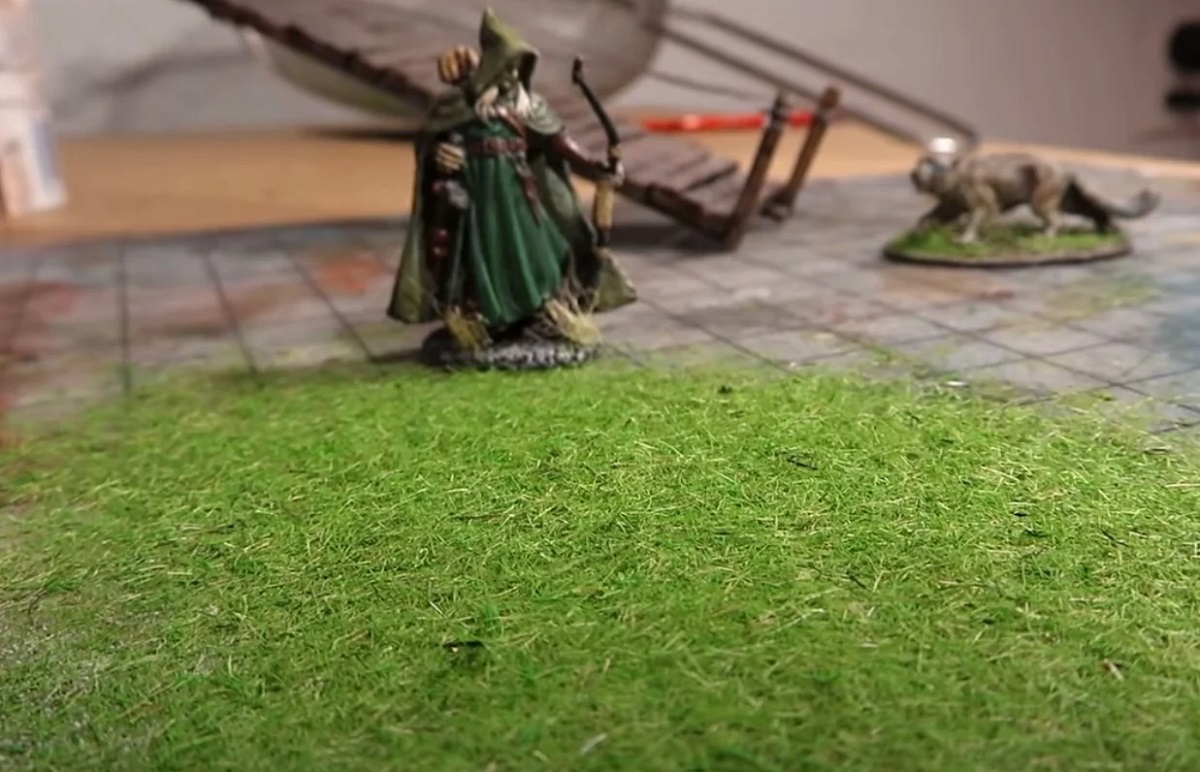
Creating a fake grass school project can be a fun and engaging way to learn about gardening, landscaping, and the environment. Whether it’s for a science fair or a classroom display, making your own fake grass allows you to explore the concepts of plant growth and aesthetics without the hassle of maintenance.
In this article, we will guide you through the step-by-step process of creating a realistic and durable fake grass for your school project. With just a few materials and a bit of creativity, you can bring the beauty of a lush green lawn indoors or showcase your project outdoors.
Whether you’re a student or a teacher looking for a hands-on project, this guide will provide you with all the necessary information and tips to successfully create a visually appealing and lifelike fake grass display.
Key Takeaways:
- Creating fake grass for a school project is a fun way to learn about gardening and the environment. With just a few materials and some creativity, you can make a realistic and durable display without the hassle of maintenance.
- Adding finishing touches like colors and textures can make your fake grass project look even more lifelike. Share your creative masterpiece with others and inspire them to explore their love for gardening!
Read more: How To Make Fake Grass
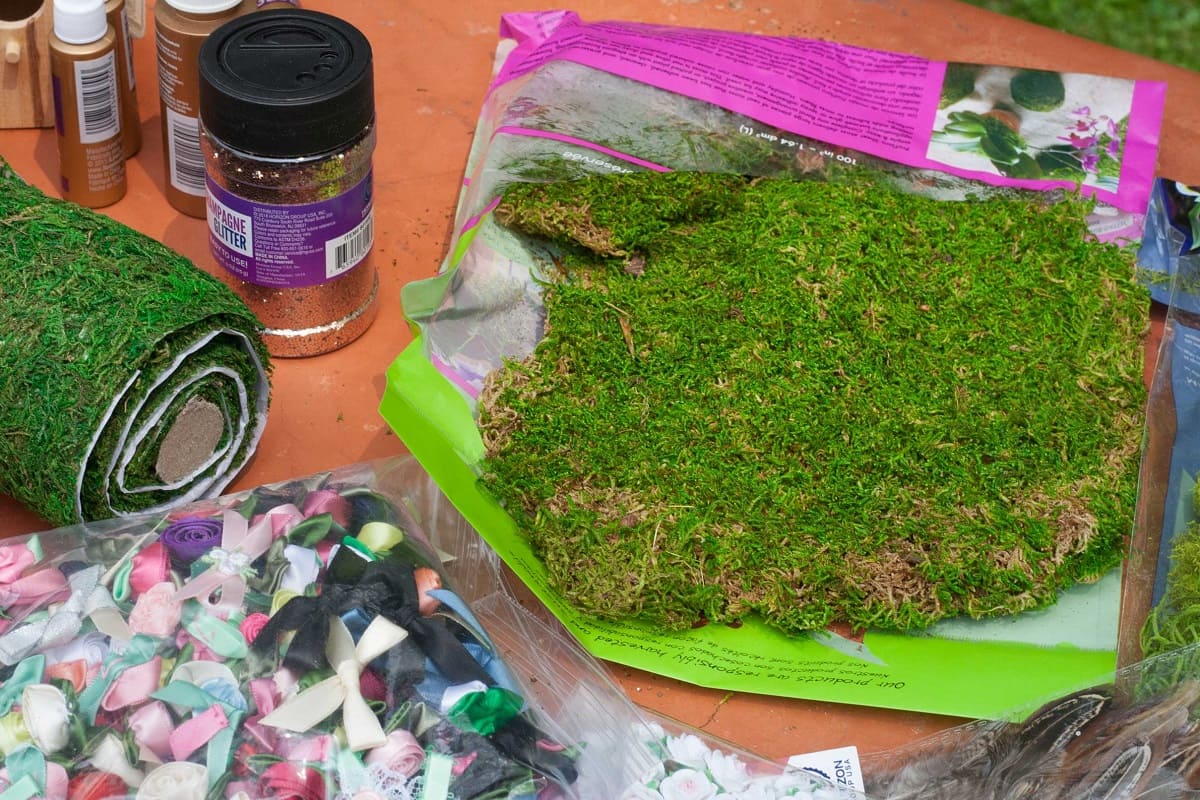
Materials Needed
Before we delve into the steps, let’s gather the materials you will need to create your own fake grass for a school project. Here’s a comprehensive list of what you’ll need:
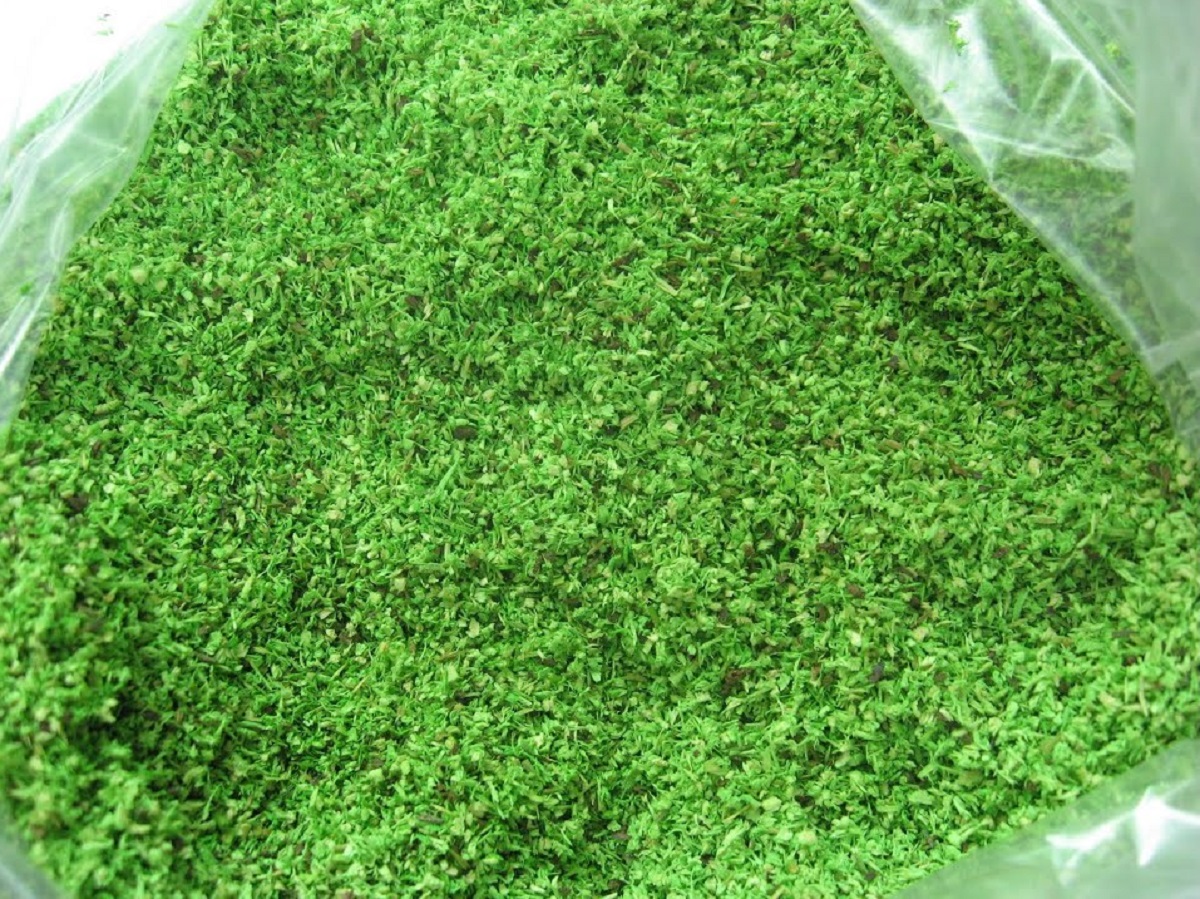
- Green felt or astroturf
- Scissors
- Cardboard or foam board
- Hot glue gun and glue sticks
- Markers or paint
- Ruler
- Spray adhesive
- Sand or fine gravel
The green felt or astroturf will serve as the base material for your fake grass. It should be large enough to cover the desired area of your project. Scissors will be needed to cut the felt or astroturf to the desired shape and size.
Cardboard or foam board will be used to create the base for your grass display. This will provide stability and support to the fake grass. The hot glue gun and glue sticks will be used to attach the grass to the base.
To add details and enhance the realism of your fake grass, markers or paint can be used to create patterns or designs on the felt or astroturf. A ruler will come in handy for precise measurements and straight lines.
Spray adhesive will be used to secure the fake grass to the base. It provides a strong bond and ensures that the grass stays in place. Lastly, sand or fine gravel can be used to create a textured and lifelike appearance for your grass.
Once you have gathered all the materials, you’re ready to move on to the next steps and create your own fake grass school project.
Step 1: Prepare the Base
Before you can start creating your fake grass, it’s important to prepare the base on which the grass will be attached. Follow these steps to prepare the base:
- Start by cutting a piece of cardboard or foam board to the desired size and shape for your project. Make sure it is large enough to accommodate the fake grass.
- If using cardboard, you may want to reinforce it by layering multiple pieces together and gluing them securely.
- If using foam board, it’s already sturdy enough for the base.
- Place the cut-out base on a flat surface, ensuring it’s stable and won’t wobble or tip over.
- Now, take your green felt or astroturf and spread it out over the base, making sure it completely covers the surface.
- Trim any excess material around the edges of the base using scissors.
- You can also shape the edges of the grass by cutting them into curves or waves, depending on your preference.
Preparing the base is an important step as it provides a solid foundation for your fake grass project. Once you are satisfied with the shape and size of the base, you can move on to the next step of creating the fake grass itself.
Step 2: Creating the Fake Grass
Now that you have prepared the base, it’s time to create the fake grass for your school project. Follow these steps to create a realistic and lifelike appearance:
- Take your green felt or astroturf and flip it over so that the backing side is facing up.
- Using a ruler and a marker or paint, draw thin lines or zigzag patterns on the backing side. This will create the illusion of individual grass blades.
- Carefully cut along the lines you have drawn, making sure to leave some parts uncut to maintain the integrity of the grass.
- Continue cutting until you have created several rows of grass blades across the entire piece of felt or astroturf.
- Once you have finished cutting, gently fluff and separate the grass blades with your fingers to give them a more natural and realistic appearance.
Keep in mind that the length and density of the grass blades can vary depending on your preference and the type of grass you are trying to replicate.
If you want to add more dimension to your fake grass, you can also use different shades of green markers or paints to create variations in color throughout the blades.
Creating the fake grass requires patience and attention to detail. Take your time to ensure that the blades are evenly cut and separated to achieve the desired effect.
Now that you have created the grass, it’s time to move on to the next step of applying the fake grass to the base.
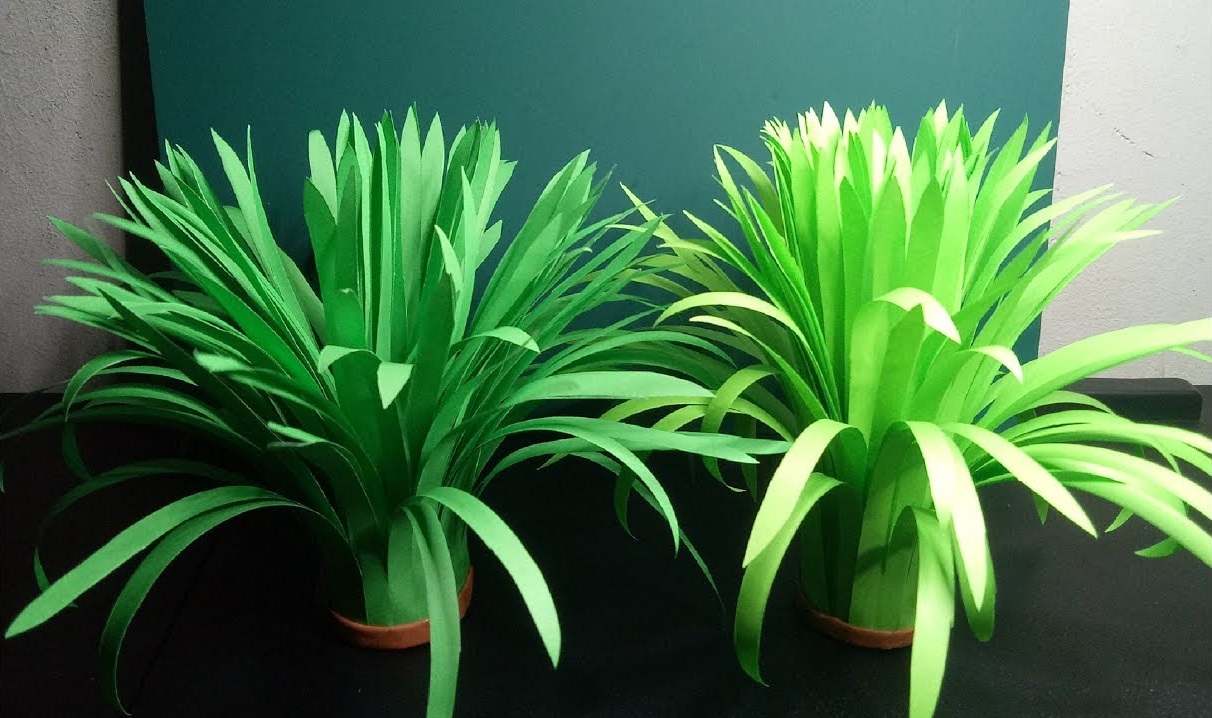
To make fake grass for a school project, use green construction paper or tissue paper. Cut it into thin strips and then crumple them up to create a grass-like texture. Glue the strips onto a cardboard base to create a realistic looking grassy area for your project.
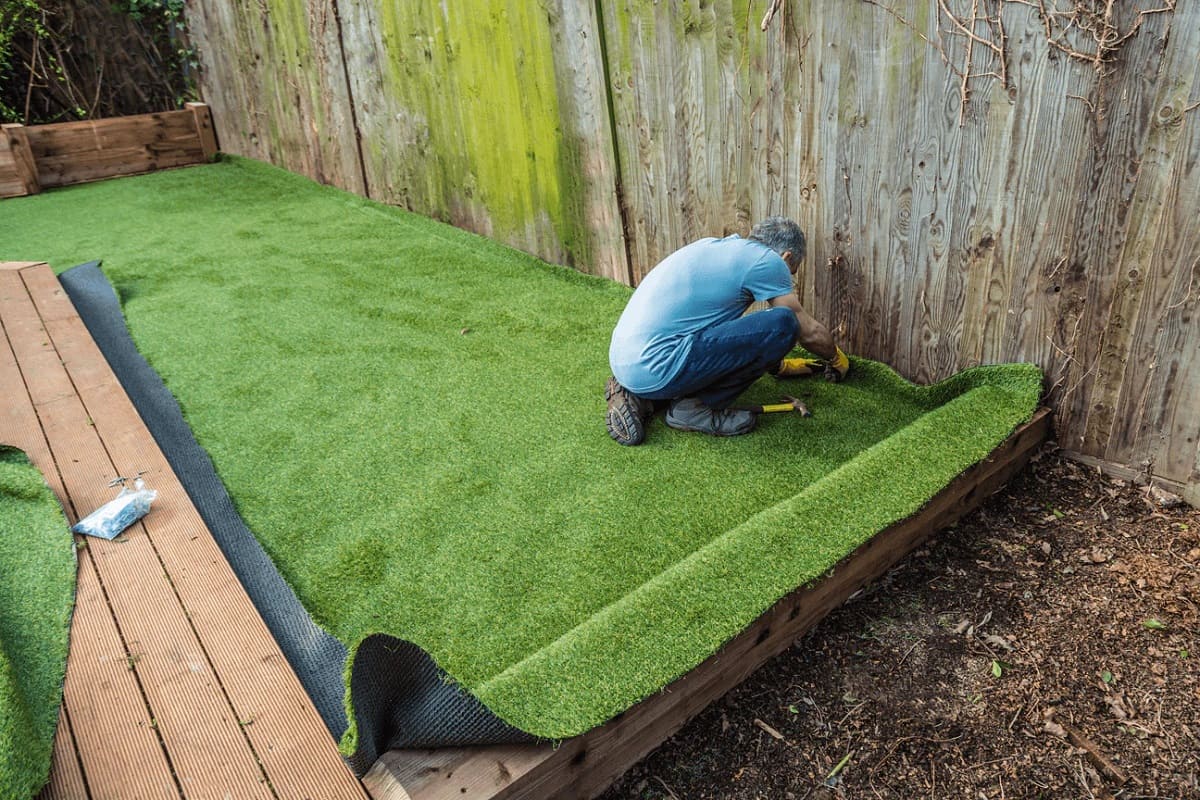
Step 3: Applying the Fake Grass
With the fake grass created, it’s time to secure it to the base you prepared earlier. Follow these steps to apply the fake grass:
- Use a hot glue gun to apply a thin, even layer of hot glue along one edge of the base.
- Starting from that edge, carefully press the cut edge of the fake grass onto the hot glue, making sure it adheres firmly.
- Continue applying hot glue in small sections along the edge of the base, pressing the fake grass onto the glue as you go.
- Work your way around the entire perimeter of the base, securing the grass with the hot glue.
- Once the edges are securely attached, fill in the center of the base by applying hot glue in a grid pattern.
- Press the fake grass onto the glue in the center, making sure it is evenly distributed and adhered.
- Continue adding more hot glue and pressing the fake grass onto it until the entire surface of the base is covered.
Be cautious when working with a hot glue gun to avoid any accidental burns. If needed, you can use a small tool like a popsicle stick to help press down the fake grass onto the hot glue.
Make sure to hold the grass firmly in place for a few seconds to allow the glue to cool and set. This will ensure that the grass stays securely attached to the base.
Once you have completed the application of the fake grass, it’s time to add the finishing touches to make it look even more realistic.
Read more: How To Make Fake Grass For A Project
Step 4: Adding Finishing Touches
Now that you have applied the fake grass to the base, it’s time to add some finishing touches to make your project look even more realistic. Follow these steps to enhance the appearance of your fake grass:
- Using markers or paint, add some darker shades of green or brown to create shadows and depth within the grass.
- You can also add some lighter shades of green or yellow to create highlights and give the grass a more vibrant look.
- Be creative and experiment with different patterns and colors to achieve the desired effect.
- To add texture and dimension to the grass, you can sprinkle some sand or fine gravel onto the surface while the paint is still wet.
- Gently press the sand or gravel into the paint to ensure it adheres properly.
- This will create the illusion of soil particles or small rocks within the grass.
- Allow the paint and any added texture to dry completely before moving or displaying your fake grass project.
Adding these finishing touches will make your fake grass project look more lifelike and visually appealing. It will also demonstrate your attention to detail and dedication to creating a high-quality display.
Once everything is dry and the finishing touches have been added, your fake grass school project is ready to be showcased and admired by others.
Conclusion
Congratulations on creating your very own fake grass school project! By following the steps outlined in this article, you have learned how to make realistic and visually appealing fake grass for your display.
Creating a fake grass project helps cultivate your understanding of gardening, landscaping, and the environment. It allows you to explore the concepts of plant growth and aesthetics in a hands-on and creative way.
Remember, you can use this project as an opportunity to experiment with different colors, textures, and patterns to create a unique and personalized display. Add your own creative touch to make it truly stand out.
Display your fake grass project proudly at school, in a science fair, or even in your own backyard. Share your knowledge and the process behind creating it with others, inspiring them to explore their own creativity and love for gardening.
Don’t forget to document your project with photographs or videos and share them online or with your classmates. This way, others can appreciate your effort and be inspired by your creative masterpiece.
So, next time you need to create a school project that involves grass, consider making your own fake grass. Not only will it save you from the hassle of maintenance, but it will also provide a unique and engaging learning experience.
Now go ahead and enjoy the fruits of your labor by showcasing your beautifully crafted fake grass project!
Frequently Asked Questions about How To Make Fake Grass For A School Project
Was this page helpful?
At Storables.com, we guarantee accurate and reliable information. Our content, validated by Expert Board Contributors, is crafted following stringent Editorial Policies. We're committed to providing you with well-researched, expert-backed insights for all your informational needs.

0 thoughts on “How To Make Fake Grass For A School Project”