Home>Garden Essentials>How To Make Fake Grass For A Model
Garden Essentials
How To Make Fake Grass For A Model
Modified: April 22, 2024
Learn how to create realistic fake grass for your model garden using simple materials. Enhance your garden model and make it look more natural with this step-by-step guide.
(Many of the links in this article redirect to a specific reviewed product. Your purchase of these products through affiliate links helps to generate commission for Storables.com, at no extra cost. Learn more)
Introduction
Creating realistic models often requires attention to detail, and one of the key elements in many model landscapes is the presence of grass. While using real grass might not be suitable for certain scale models or indoor dioramas, there is a solution: making fake grass.
Making fake grass for a model can be a fun and rewarding project that allows you to customize the texture, color, and appearance of the grass to fit your specific needs. Whether you’re building a model train set, a miniature garden, or a model display, creating your own fake grass gives you control over the final result and adds a personal touch to your creation.
In this article, we will guide you through the step-by-step process of making fake grass for your models. We will cover the materials you’ll need, the various steps involved, and provide helpful tips along the way to ensure you achieve professional-looking results. So let’s get started on this creative journey to bring your model landscapes to life!
Key Takeaways:
- Create your own fake grass for models using craft paper, synthetic fibers, and paint. Customize the color and texture to bring your model landscapes to life with a personal touch.
- Add detail and realism to your model landscapes by incorporating rocks, pathways, and small figurines among the fake grass. Enhance the overall aesthetic with creative touches and attention to detail.
Read more: How To Make Fake Grass
Materials Needed
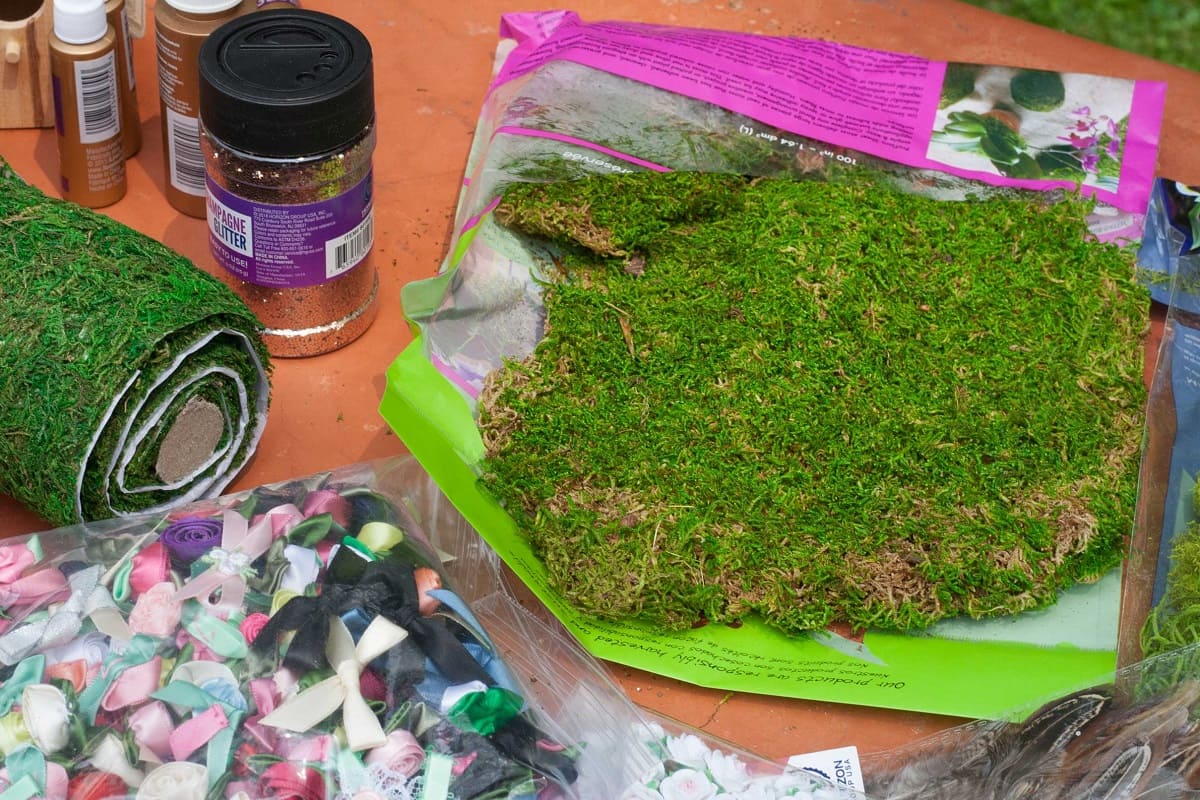
Before we begin making fake grass for our models, let’s gather all the necessary materials. Here are the items you will need:
- Craft paper or cardboard
- Scissors or utility knife
- Craft glue or adhesive
- Acrylic paint or spray paint
- Synthetic fiber or yarn
- Paintbrush
- Hot glue gun (optional)
- Tweezers (optional)
These materials can be easily found at a local craft store or online. Make sure to choose high-quality materials for the best results. Now that we have everything prepared, let’s move on to the next step: preparing the base for our fake grass.
Step 1: Gathering Supplies
Before we dive into creating the fake grass, it’s important to gather all the necessary supplies. Here’s what you’ll need:
- Craft Paper or Cardboard: This will serve as the base for your fake grass.
- Scissors or Utility Knife: You’ll use these to cut the craft paper or cardboard into the desired shape and size for your model landscape.
- Craft Glue or Adhesive: This will be used to secure the fake grass to the base.
- Acrylic Paint or Spray Paint: If you want to add color to your fake grass, acrylic or spray paint can help you achieve the desired look.
- Synthetic Fiber or Yarn: This will be used to create the blades of grass for your model.
- Paintbrush: A paintbrush will come in handy if you decide to paint the blades of grass.
- Hot Glue Gun (Optional): If you prefer a faster drying time, a hot glue gun can be used instead of craft glue to secure the fake grass to the base.
- Tweezers (Optional): Tweezers can be useful for positioning and arranging the blades of grass on the base.
Once you have gathered all these supplies, you’re ready to move on to the next step: preparing the base for your fake grass.
Step 2: Preparing the Base
Now that you have all the necessary supplies, it’s time to prepare the base for your fake grass. Follow these steps:
- Decide on the size and shape of your model landscape. If you are creating a specific scene or diorama, consider the dimensions and layout you want to achieve.
- Using scissors or a utility knife, cut the craft paper or cardboard to match the size and shape of your desired base.
- If you prefer a more durable base, you can glue multiple layers of craft paper or cardboard together to give it more stability.
- Ensure that the base is clean and free of any dust or debris before proceeding.
By preparing a solid base, you give your fake grass a sturdy foundation to adhere to and ensure longevity for your model landscape. Once the base is ready, it’s time to move on to the next step: creating the grass for your model.
Step 3: Creating the Grass
Now that the base is prepared, it’s time to create the grass for your model. Follow these steps to achieve realistic-looking grass:
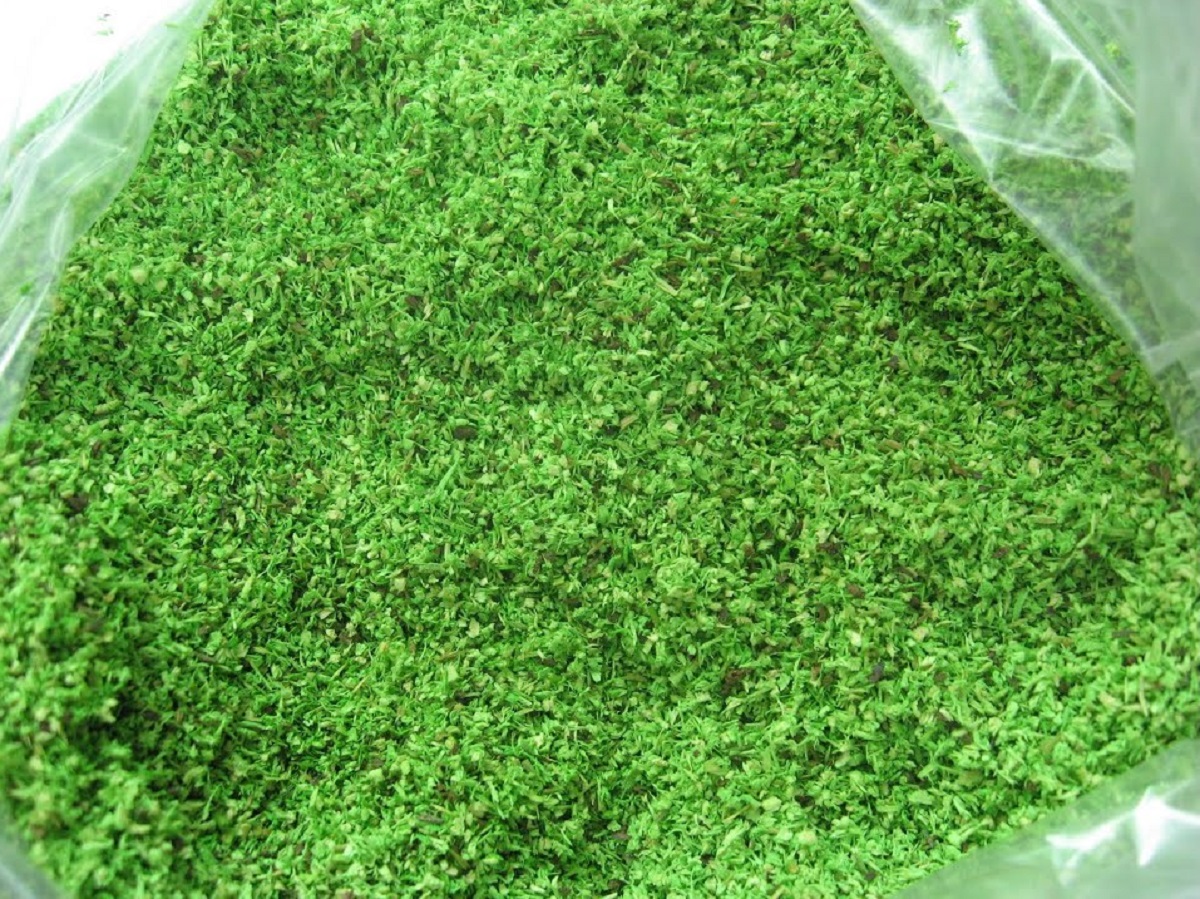
- Take your synthetic fiber or yarn and cut it into small pieces, approximately 1-2 inches long. These will be the individual blades of grass.
- Decide on the color of your grass. If you want a natural look, choose shades of green and brown. You can also mix different colors to achieve a more realistic effect.
- If you want to add color to your grass, use acrylic paint or spray paint to dye the synthetic fibers. Make sure to evenly coat the fibers and allow them to dry completely.
- Once the fibers are dry, you can further enhance the realism by gently brushing them with a dry paintbrush. This will help simulate the texture and randomness of real grass.
Alternatively, if you prefer to skip the painting process, you can find synthetic fibers that are already colored to resemble grass. This can save you time and effort while still achieving a natural look.
Remember, the key to creating realistic grass is variation. Experiment with different lengths, colors, and textures of synthetic fibers to achieve the desired effect. Let your creativity guide you as you create your own unique grass for your model landscape.
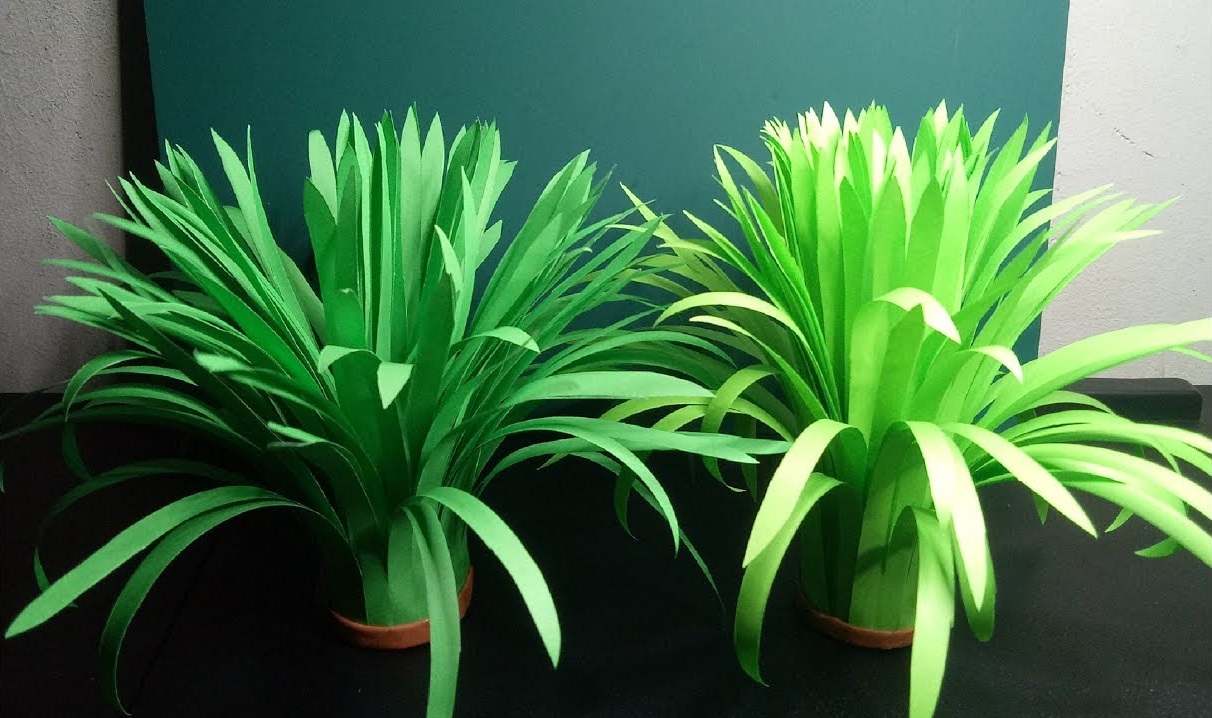
To make fake grass for a model, use green construction paper or fabric and cut it into small strips. Glue the strips onto the model base to create a grassy texture.
Read more: How To Make Fake Grass Craft
Step 4: Applying the Grass
With your fake grass prepared, it’s time to apply it to the base. Follow these steps to ensure a secure and visually appealing result:
- Apply a thin layer of craft glue or adhesive to the base using a paintbrush or a glue applicator. Make sure to cover the entire surface where you want the grass to be.
- Take a small bunch of synthetic fibers and gently press them into the glue. Start from one end of the base and work your way towards the other end, ensuring an even distribution of grass.
- If you want a more tailored and realistic look, you can use tweezers to position the fibers and create varying heights and angles.
- If you’re using a hot glue gun, apply a small amount of glue to the base and immediately press the synthetic fibers into it. Be cautious not to burn yourself in the process.
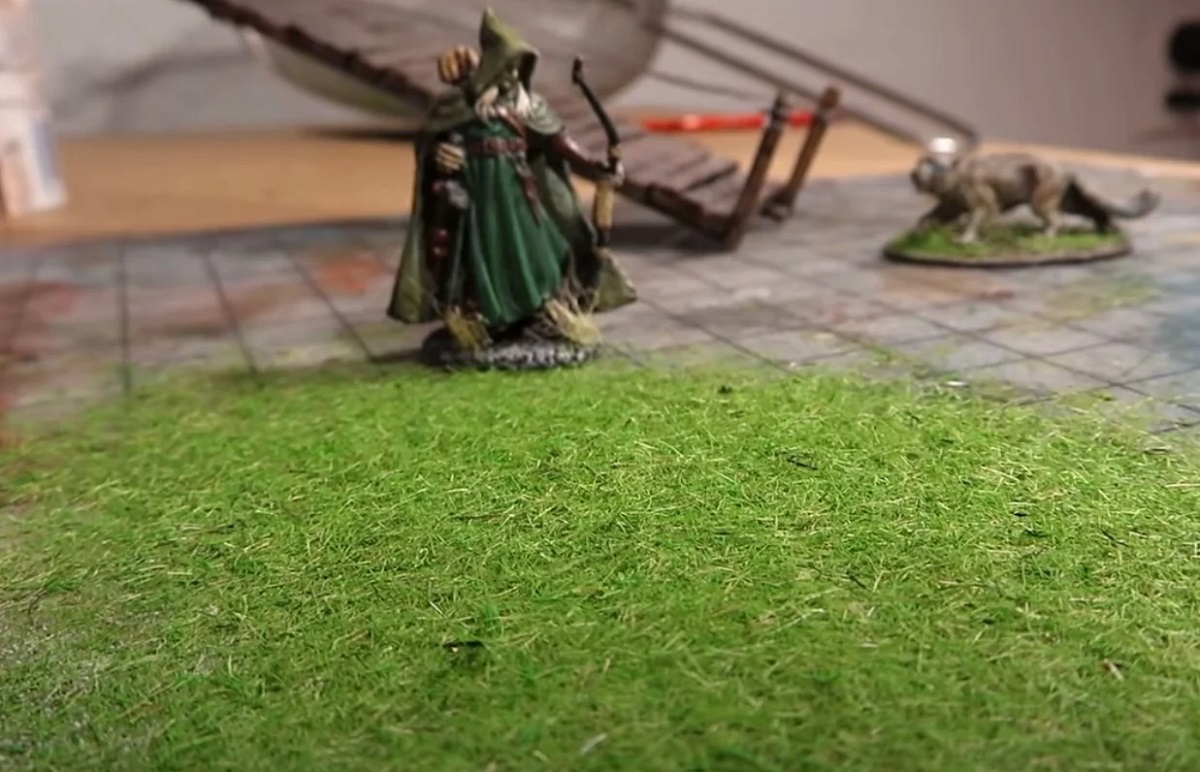
Continue adding small sections of grass at a time, making sure to overlap them slightly to achieve a full and natural appearance. Take breaks to step back and assess your progress, making any adjustments or additions as necessary.
Remember, the amount of fake grass you apply will depend on the scale and desired density of your model landscape. Consider the perspective and distance from which the grass will be viewed to achieve the most realistic effect.
Allow the glue to dry completely before moving on to the next step. This will ensure that the grass holds its position and doesn’t shift or detach.
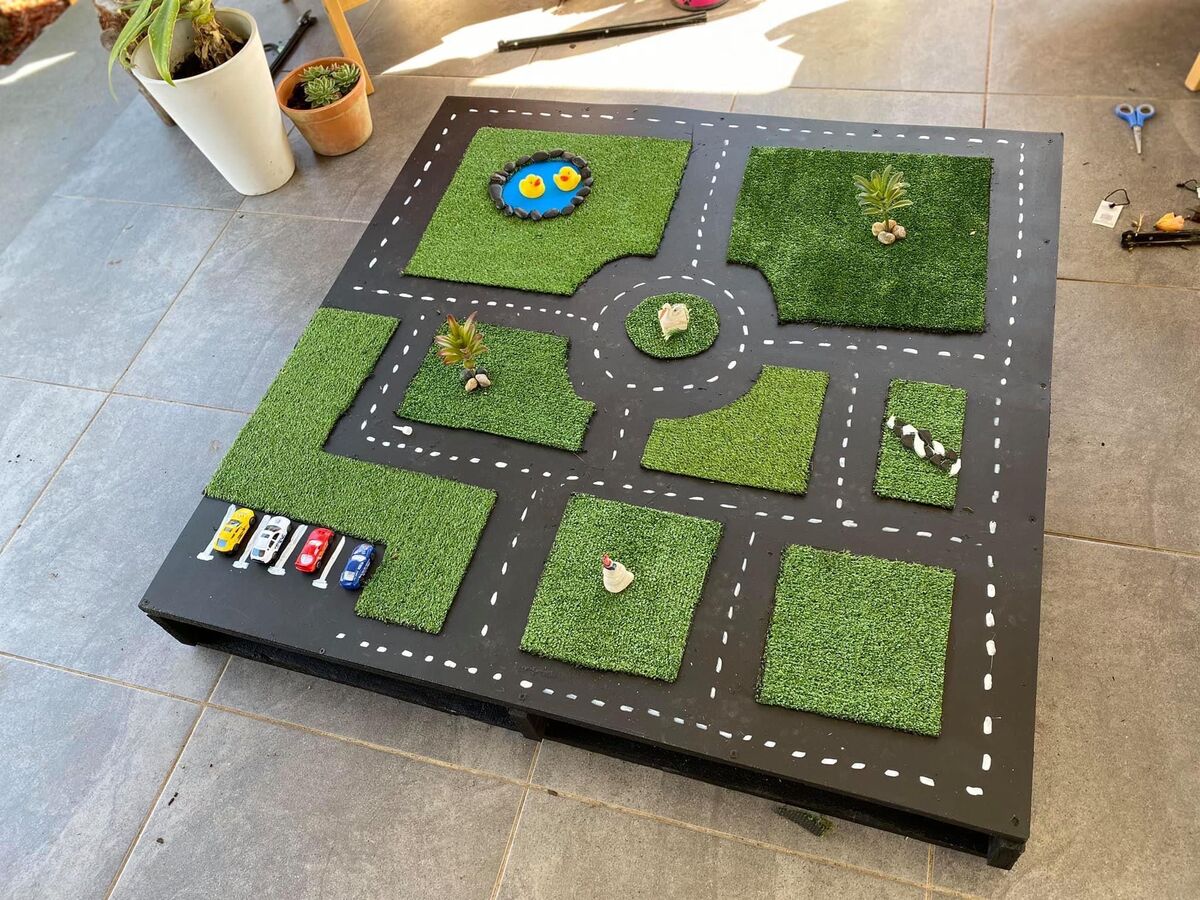
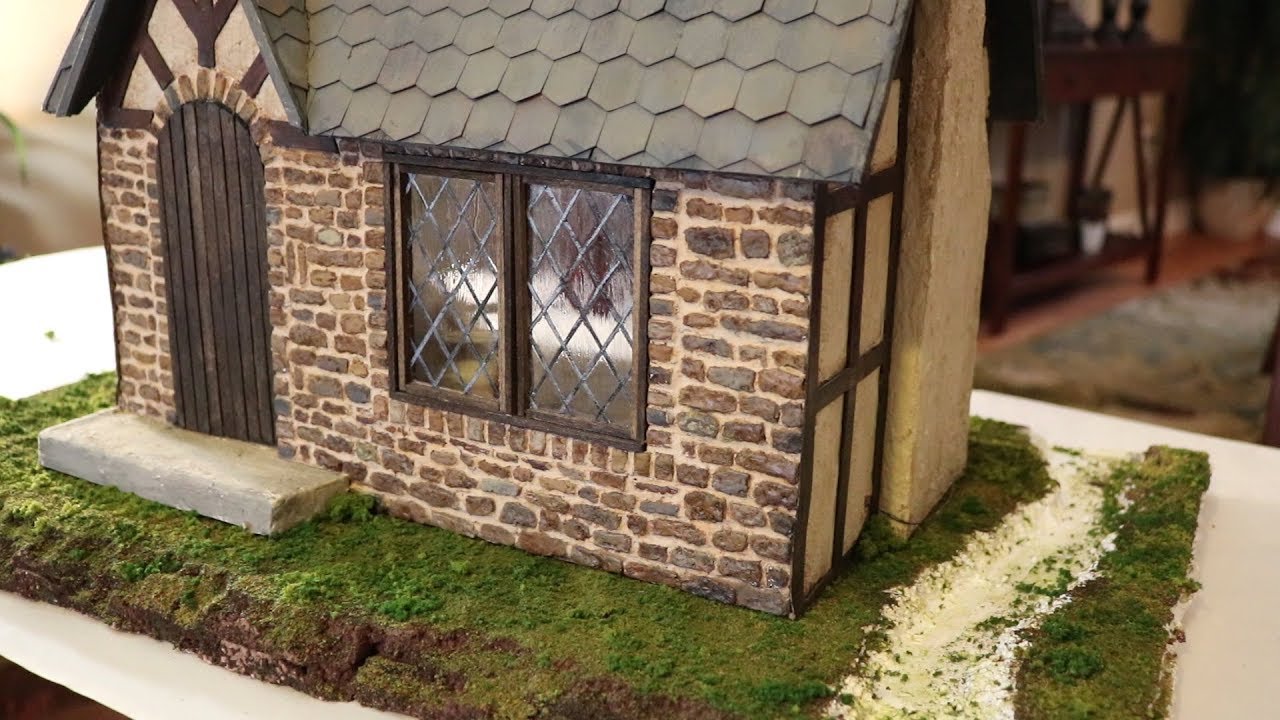
Step 5: Adding Detail and Realism
Now that the fake grass is securely applied to the base, it’s time to add detail and enhance the realism of your model landscape. Follow these steps to bring your creation to life:
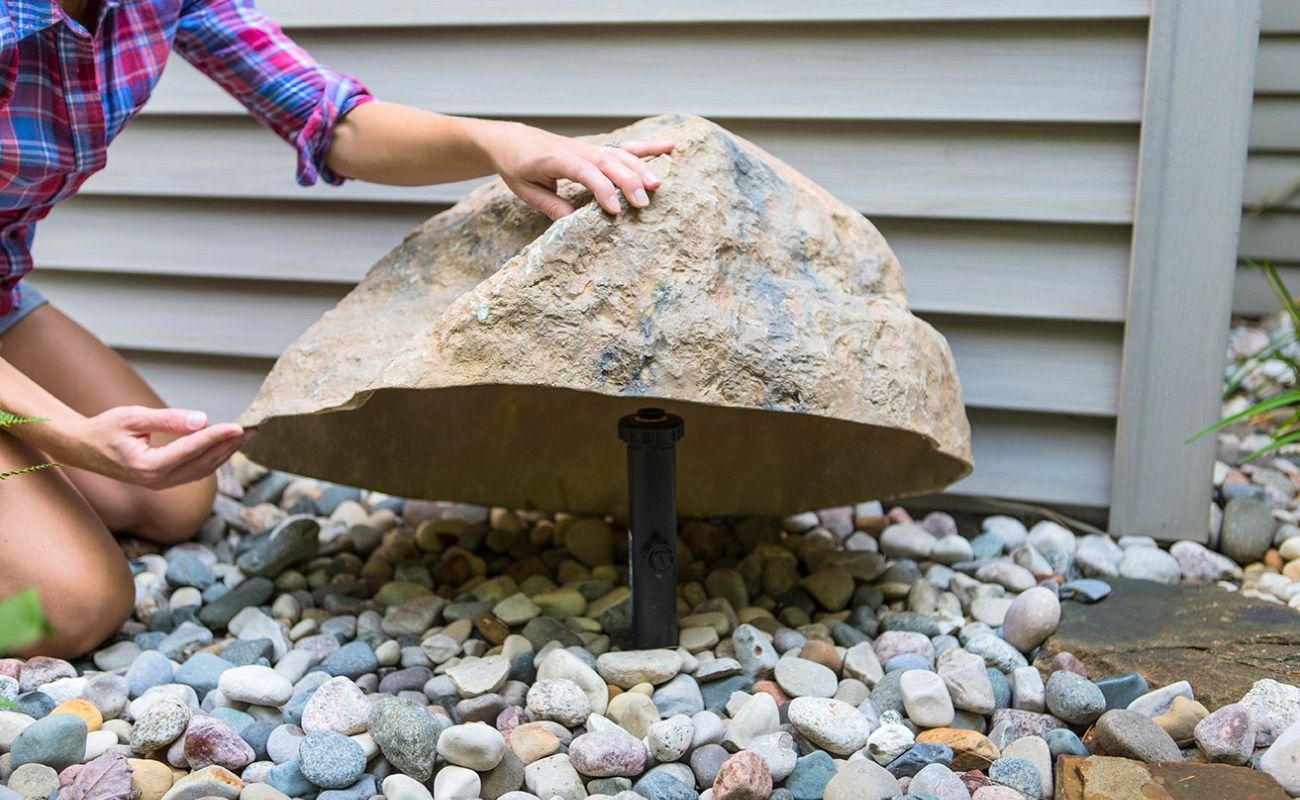
- Consider adding additional elements such as rocks, stones, or small figurines to create a more dynamic scene. These can be strategically placed among the grass to create interest and a sense of scale.
- If desired, you can create pathways or paths by cutting out sections of the grass and revealing the base beneath. This can be done using a utility knife or scissors.
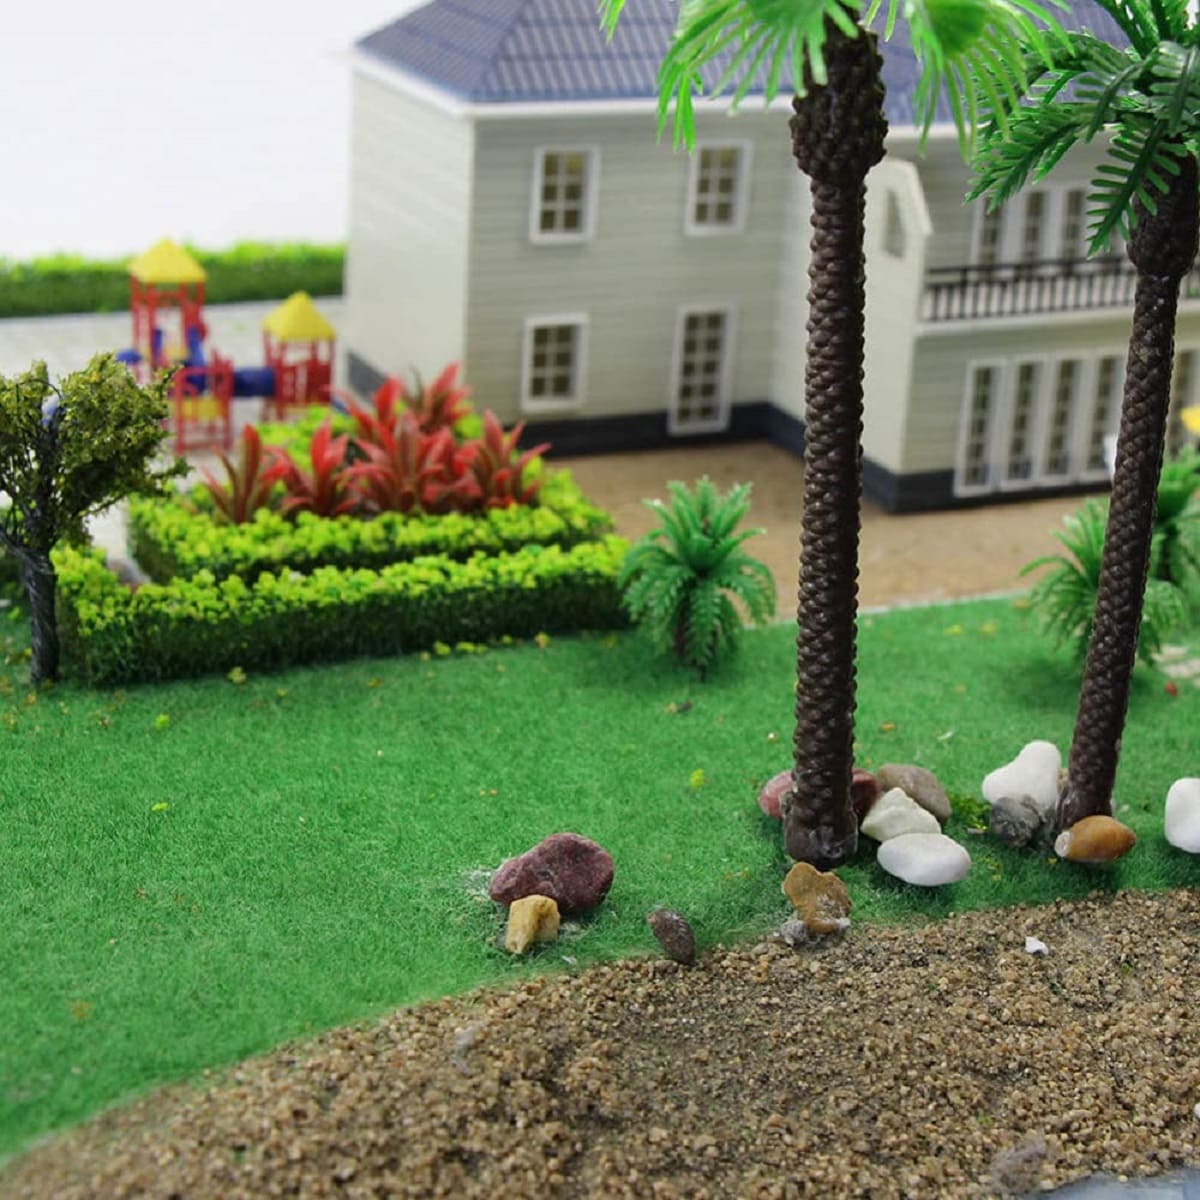
- You can further enhance the realism by adding small details like flowers, bushes, or even tiny animals using craft materials such as paper, foam, or miniature accessories. These elements can be easily glued onto the base among the grass.
- To mimic the appearance of dew or moisture on the grass, you can lightly spray the finished model with a water-based spray adhesive or mist it with water. This will give a refreshed and natural look to your grass.
Remember, adding detail and realism is about creating a cohesive and visually appealing scene. Consider the overall theme or setting of your model landscape and make choices that reflect that vision. Take your time during this step to ensure that every element complements the grass and contributes to the overall aesthetic.
Once you are satisfied with the level of detail and realism, it’s time for the final step: adding some finishing touches to complete your model landscape.
Step 6: Final Touches
Congratulations! You’re in the final step of creating your fake grass for the model. These final touches will bring your model landscape to life. Follow these steps to add those finishing details:
- Inspect your model landscape and make any necessary adjustments. Ensure that all the elements are securely attached and that the grass looks cohesive and natural.
- If desired, you can add additional layers of grass to create depth and texture. Simply repeat the process of applying glue and pressing the synthetic fibers onto the base.
- Consider adding small accents such as fallen leaves, twigs, or pebbles to create a more realistic and organic look. These can be carefully placed among the grass to add interest and variation.
- Take a step back and evaluate the overall composition of your model landscape. Ensure that it meets your vision and that all the elements work harmoniously together.
Once you are satisfied with the final touches, allow the glue to dry completely and inspect the model landscape one last time to make any final adjustments before displaying or using it in your desired setting.
Creating fake grass for your model is a fun and rewarding process that allows you to exercise your creativity and attention to detail. With these steps and some imagination, you can achieve a realistic and visually captivating model landscape that will impress onlookers and bring your models to life.
Remember, practice makes perfect, so don’t be afraid to experiment and refine your techniques. With each project, you’ll gain more experience and develop your skills in creating fake grass for models. Enjoy the process and have fun bringing your imaginative worlds to reality!
Conclusion
Creating fake grass for your model landscapes is a rewarding and enjoyable process that allows you to add a touch of realism and personalization to your creations. By following these steps and using the right materials, you can achieve professional-looking results that will enhance the overall aesthetic of your models.
Throughout this guide, we have covered the materials needed, the process of preparing the base, creating the grass, applying it to the base, adding detail and realism, and applying final touches. Whether you’re building a model train set, a miniature garden, or a diorama, these steps will guide you to success.
Remember to take your time and experiment with different techniques and materials to achieve the desired effect. Don’t be afraid to let your creativity shine through and add your own unique touches to your model landscapes. Each project is an opportunity to refine your skills and create something truly remarkable.
By making your own fake grass, you have the flexibility to customize the texture, color, and appearance to suit your specific needs. This adds a personal touch and elevates the level of detail in your models. Whether you’re recreating a natural landscape or constructing a fantasy world, the ability to create custom fake grass opens up endless possibilities.
So, gather your materials, follow the steps outlined in this guide, and let your imagination run wild. Bring your models to life with realistic and visually stunning fake grass. Enjoy the process, unleash your creativity, and take pride in the unique landscapes you create.
Now, go ahead and let your models stand out with the beauty and authenticity of your homemade fake grass!
Frequently Asked Questions about How To Make Fake Grass For A Model
Was this page helpful?
At Storables.com, we guarantee accurate and reliable information. Our content, validated by Expert Board Contributors, is crafted following stringent Editorial Policies. We're committed to providing you with well-researched, expert-backed insights for all your informational needs.
0 thoughts on “How To Make Fake Grass For A Model”