Home>Garden Essentials>How To Make Fake Rocks For Landscaping
Garden Essentials
How To Make Fake Rocks For Landscaping
Modified: May 6, 2024
Learn how to make fake rocks for landscaping in your garden with easy step-by-step instructions. Create stunning and realistic rock features to enhance your outdoor space.
(Many of the links in this article redirect to a specific reviewed product. Your purchase of these products through affiliate links helps to generate commission for Storables.com, at no extra cost. Learn more)
Introduction
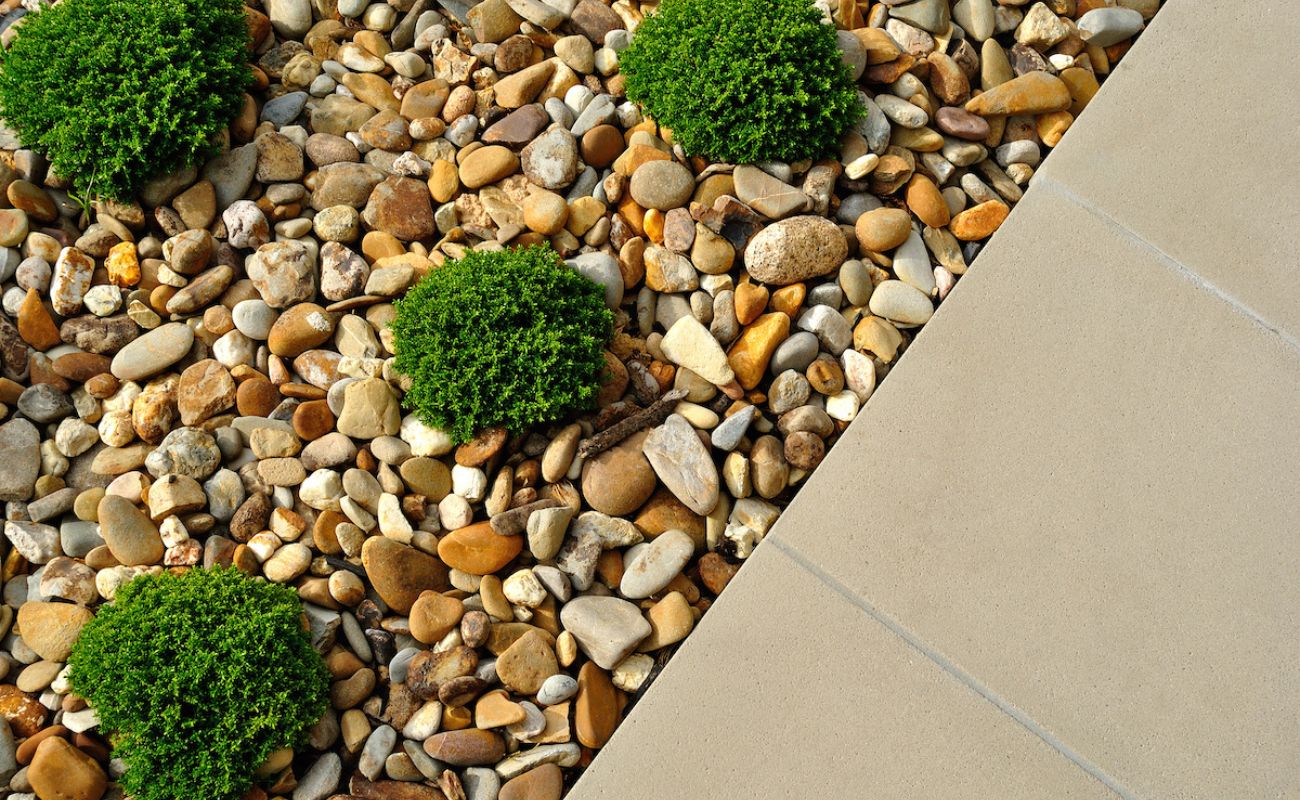
Gardens are a place of peace and tranquility, where nature blends beautifully with human creativity. Whether you have a small backyard or a sprawling garden, landscaping plays a crucial role in creating the perfect oasis. One element that can truly elevate the aesthetics of your outdoor space is the addition of natural-looking rocks. These rocks can be used as focal points, borders, or even as decorative features.
While you can purchase real rocks, they can be expensive and heavy to transport. A cost-effective and convenient alternative is to make your own fake rocks for landscaping. By crafting your own rocks, you have the freedom to choose the size, shape, and texture that best suits your garden design. Not only is it a fun and creative project, but it also allows you to customize your garden to reflect your personal taste.
In this article, we will guide you through the process of making fake rocks for landscaping. With a few materials and some creativity, you can create realistic rocks that will blend seamlessly into your garden. So, put on your DIY hat and let’s get started!
Key Takeaways:
- Create your own fake rocks for landscaping using concrete and simple materials. Customize the size, shape, and texture to fit your garden design and enjoy a fun and rewarding DIY project.
- Properly curing and painting your fake rocks will ensure their longevity and enhance their realistic appearance. Add finishing touches to blend them seamlessly into your garden landscape.
Read more: How To Move Landscaping Rocks
Materials Needed
Before diving into the process of making fake rocks, it’s essential to gather all the necessary materials. Here’s a list of what you’ll need:
- A base material: This can be anything from large rocks, old foam pieces, or even paper mache. The base material will help create the shape of the rock.
- Concrete mix: Opt for a concrete mix that is suitable for outdoor use. You can find it at your local home improvement store.
- Water: You’ll need water to mix with the concrete and create a workable consistency.
- Tools: Basic hand tools such as gloves, a trowel, a bucket, and a mixing tray will come in handy during the process.
- Texturing materials: To add realism to your fake rocks, gather materials like burlap, wire brushes, or even natural objects like leaves or bark.
- Paint: Once the rocks are cured, you can paint them to match the color and texture of real rocks in your garden.
- Protective sealant (optional): To extend the lifespan of your fake rocks, consider applying a protective sealant that will protect them from UV rays and harsh weather conditions.
Make sure to gather all these materials before you start creating your fake rocks. Having everything on hand will ensure a smooth and uninterrupted DIY process.
Step 1: Choosing the Base Material
The first step in making fake rocks for landscaping is choosing the base material. This material will act as the foundation and help determine the shape and size of your rocks. Here are a few options you can consider:
Large Rocks: If you have access to large rocks, they can serve as an excellent base material for creating fake rocks. They provide stability and can be easily molded with the concrete mix. Ensure that the rocks you choose are smooth and free from cracks or irregularities that may affect the final result.
Foam Pieces: Another option is to use foam pieces as the base material. You can find foam blocks or sheets that can be easily cut and shaped according to your desired rock size. Foam is lightweight and easy to work with, making it a popular choice for DIY fake rocks.
Paper Mache: If you prefer a more economical and lightweight option, consider using paper mache as the base material. You can create a basic shape using crumpled newspaper or cardboard, and then apply layers of paper mache paste. This option works well for smaller rocks or rock formations.
Choose a base material that best suits your project and is readily available to you. Keep in mind the size, weight, and desired texture of the rocks you want to create. Once you have your base material sorted, you can move on to the next step of the process.
Step 2: Creating the Shape of the Rock
Now that you have chosen your base material, it’s time to start shaping it into the desired form of your fake rock. This step will determine the overall appearance and style of your landscaping feature. Here’s how you can create the shape:
- For large rocks: If you’re using large rocks as the base material, arrange them in a way that resembles the shape you want to create. This can be a single rock or a cluster of rocks. Make sure they are securely positioned and won’t move during the application of concrete.
- For foam pieces or paper mache: If you’re using foam or paper mache as the base material, use a utility knife or scissors to shape it according to your desired rock form. You can cut and carve the material to create edges, crevices, or even protruding sections that mimic the look of natural rocks.
As you shape the base material, think about how you want your fake rock to fit into your overall garden landscape. Consider the placement, size, and organic feel of the rock. You can refer to photos and real rocks as inspiration during this process.
Once you are satisfied with the shape, make sure it is sturdy and stable. This will ensure that your fake rock remains intact during the following steps. Now that you have the shape down, it’s time to move on to the next step: mixing the concrete.
Step 3: Mixing the Concrete
With the shape of your fake rock in place, it’s time to mix the concrete. The concrete will provide the structure and texture for your rock. Follow these steps to mix the concrete:
- Read the instructions: Before mixing the concrete, carefully read the instructions provided on the packaging. Different concrete mixes may require slightly different mixing ratios and water amounts.
- Wear protective gear: It’s important to protect yourself during this step. Wear gloves, a face mask, and safety goggles to avoid any contact with the concrete mix.
- Prepare the mixing tray: Select a tray or bucket that’s large enough to hold the amount of concrete mix you need. Make sure it’s clean and free from any debris.
- Add water: Start by pouring water into the mixing tray according to the recommended amount in the instructions. Use a bucket or measuring cup to ensure accurate measurement.
- Add concrete mix: Gradually add the concrete mix to the water, following the instructions. Use a trowel or mixing tool to combine the materials and create a smooth, workable consistency. Keep mixing until there are no dry clumps left in the mixture.
Remember, it’s important to achieve the right consistency for the concrete. Aim for a thick, but not too dry, mixture that holds its shape when molded. If the mixture is too runny, add a bit more concrete mix. If it’s too thick, add a small amount of water.
Once the concrete is properly mixed, you’re ready to move on to the next step: applying the concrete mixture to your fake rock shape.
Mix concrete with sand and peat moss to create a realistic texture for fake rocks. Use a mold to shape the rocks and add natural-looking colors for a more authentic appearance.
Read more: How To Dispose Of Landscaping Rocks
Step 4: Applying the Concrete Mixture
Now that you have your concrete mixture ready, it’s time to start applying it to your prepared rock shape. This step will give your fake rock its solid structure. Follow these steps for a successful application:
- Start from the bottom: Begin applying the concrete mixture to the bottom surface of your rock shape. Use a trowel to spread the mixture evenly, covering the entire surface. Aim for a thickness of about 1-2 inches to ensure durability.
- Build up the sides: Once you’ve covered the bottom surface, gradually build up the sides of the rock shape by layering the concrete mixture. Use the trowel to smooth out the edges and blend the layers together.
- Pay attention to details: As you work, pay attention to any specific details or features you want to create on your fake rock, such as cracks, crevices, or textured surfaces. Use your trowel or other texturing materials you gathered earlier to achieve the desired effect.
- Continue layering: Keep applying the concrete mixture in layers until you have achieved the desired thickness and shape. Remember to periodically check the stability and balance of the rock as you build it up.
During the application process, take breaks if needed and allow the concrete to slightly harden. This will make it easier to work with and mold into the desired shape. You can also wet your hands or tools with water to help smooth out the surface of the concrete.
Once you’re satisfied with the application, set your fake rock aside and move on to the next step: adding texture and detail.
Step 5: Adding Texture and Detail
Adding texture and detail to your fake rock will make it appear more realistic and blend seamlessly into your garden landscape. This step allows you to create the unique characteristics of natural rocks. Here are some ways to achieve texture and detail:
- Texturing materials: Utilize the texturing materials you gathered earlier, such as burlap, wire brushes, leaves, or bark. Press these materials gently onto the surface of the wet concrete to create texture and visual interest. Experiment with different patterns and combinations to achieve the desired effect.
- Carving tools: Use carving tools like a chisel or screwdriver to carve lines, grooves, or indentations into the concrete. This technique can mimic the natural weathering and erosion that real rocks exhibit.
- Imprint natural features: If you have real rocks or stones with interesting surfaces, press them onto the wet concrete to leave imprints. This adds an authentic touch and enhances the overall natural appearance of the fake rock.
As you work on adding texture and detail, step back occasionally to view the rock from different angles. This will help you identify areas that need more texture or refinement. Take your time with this step, as it can greatly contribute to the final appearance of your fake rock.
Once you’re satisfied with the texture and detail, allow the rock to cure and harden according to the instructions on the concrete packaging. This leads us to the next step: curing the rock.
Step 6: Curing the Rock
After adding texture and detail to your fake rock, it’s important to properly cure it. Curing allows the concrete to fully harden and strengthen, ensuring the longevity and durability of your landscaping feature. Follow these steps to effectively cure your rock:
- Maintain moisture: Keep the concrete moist during the curing process. This can be achieved by covering the rock with a plastic sheet or using a fine mist sprayer to lightly dampen the surface. Moisture helps prevent cracking and promotes proper curing.
- Cover and protect: Cover the rock with a plastic sheet or tarp to protect it from direct sunlight, extreme temperatures, and precipitation. Place the rock in a shaded area or use additional materials, like bricks or boards, to create a protective enclosure.
- Allow ample time: The curing time for your fake rock will vary depending on the type of concrete mix used. Check the packaging or consult the manufacturer’s instructions for the recommended curing period. Generally, it takes around 7-10 days for the concrete to fully cure.
- Monitor and adjust: During the curing process, regularly check for any signs of cracking or drying. If you notice any cracks forming, lightly mist the area and cover it with plastic to prevent further damage. Adjust the moisture levels as needed.
Proper curing is crucial for the strength and longevity of your fake rock. Patience is key during this step, as rushing the curing process can result in a weaker structure. Once the rock is fully cured, it’s time to add the finishing touches: painting and enhancing the color.
Step 7: Painting and Finishing Touches
Now that your fake rock is fully cured and hardened, it’s time to bring it to life with some paint and finishing touches. This step will enhance the realism of your rock and allow it to seamlessly blend into your garden. Follow these steps to complete the process:
- Prepare the surface: Before painting, ensure that the surface of your rock is clean and free from any dirt or debris. Use a brush or a damp cloth to gently clean the surface if necessary.
- Choose the right paint: Select paint colors that closely match the natural hues of rocks in your garden. Acrylic paints work well for this purpose and provide a durable finish. Consider using a variety of earthy tones to create depth and realism.
- Start painting: Using a brush or sponge, apply a base coat of paint to the entire surface of the rock. Let it dry completely before proceeding to the next step.
- Add shading and highlights: To create a more natural and realistic appearance, add shading and highlights to your rock. Use a darker shade of paint to add depth and shadows, and a lighter shade to create highlights on raised areas and edges. Blend the colors softly for a seamless effect.
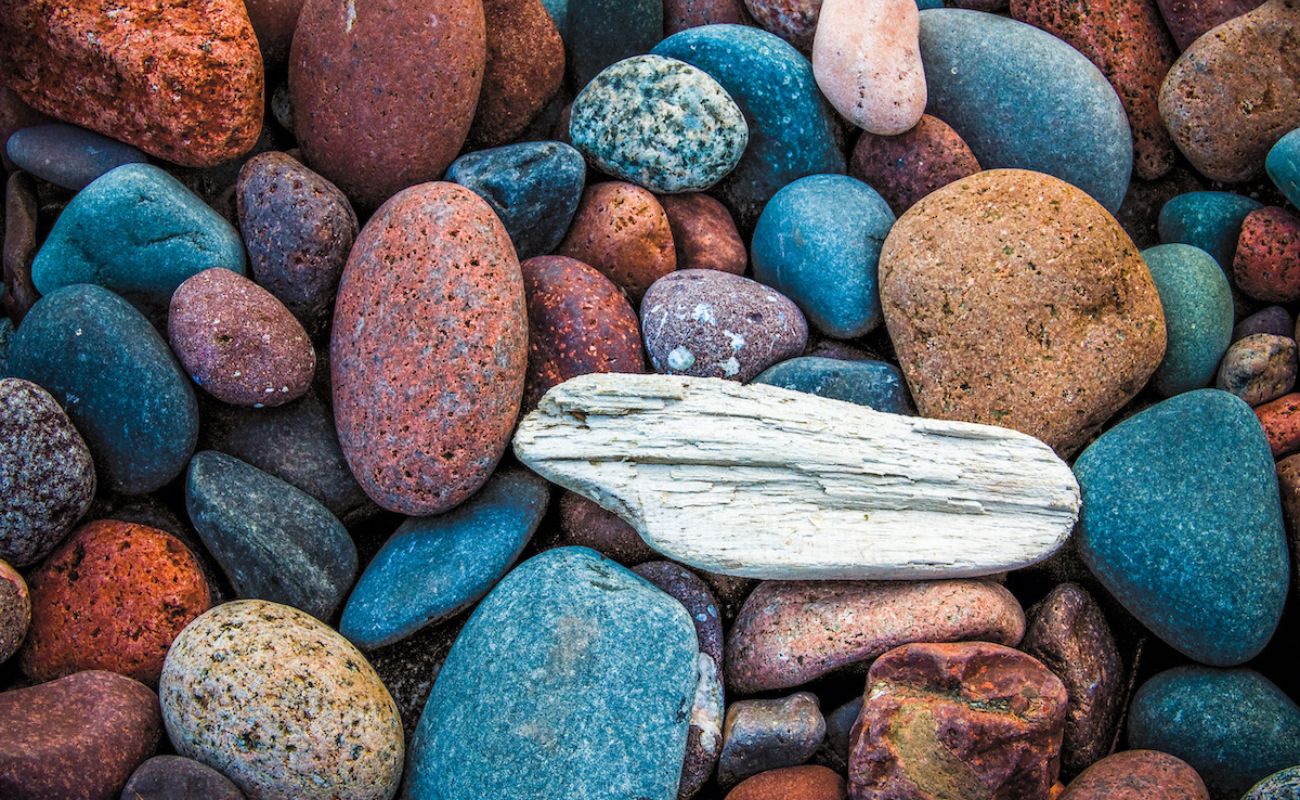
- Emulate natural patterns: Observe the patterns and markings on real rocks in your garden or reference photos. Use small brushes or finer tools to recreate those patterns on your fake rock, such as veins, speckles, or variations in color. This attention to detail will add authenticity to your creation.
- Protective sealant (optional): If you want to enhance the longevity of your fake rock, consider applying a protective sealant. Follow the instructions on the sealant product, ensuring proper ventilation and safety precautions.
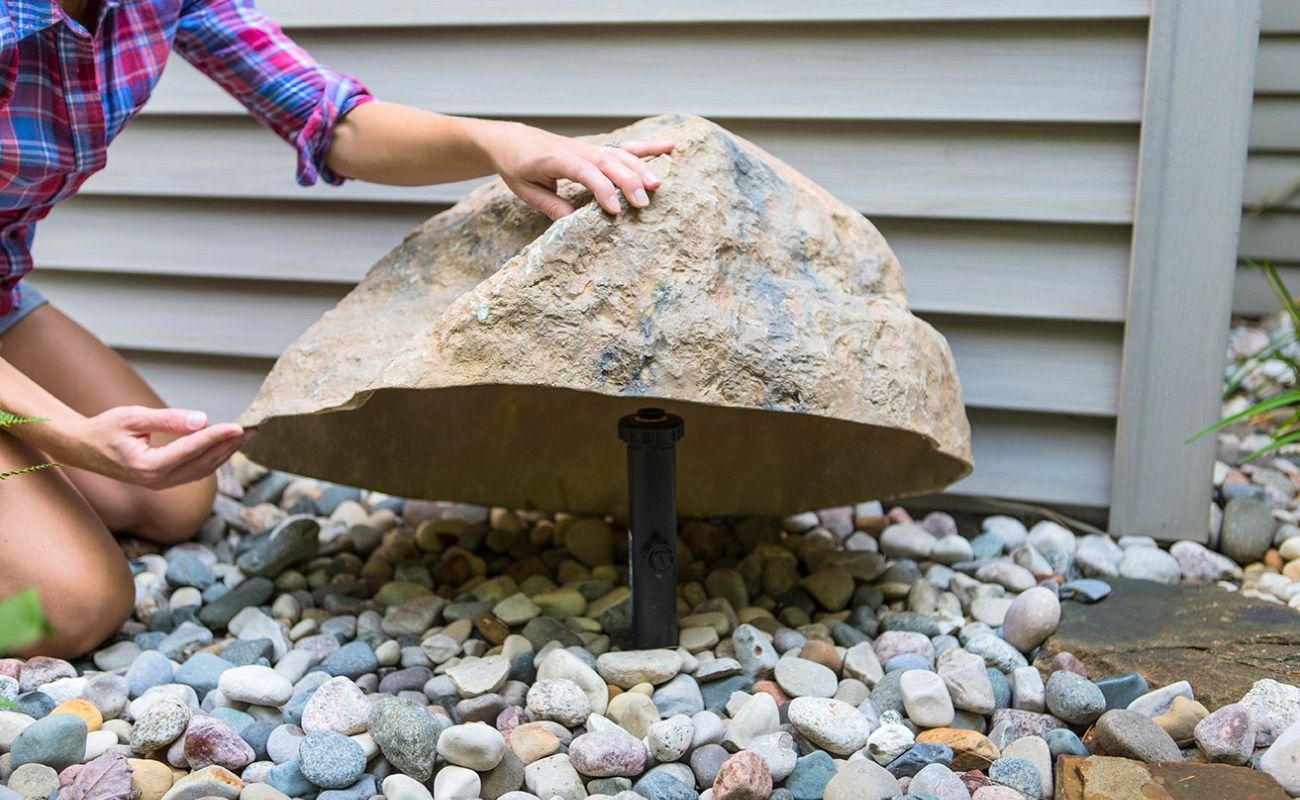
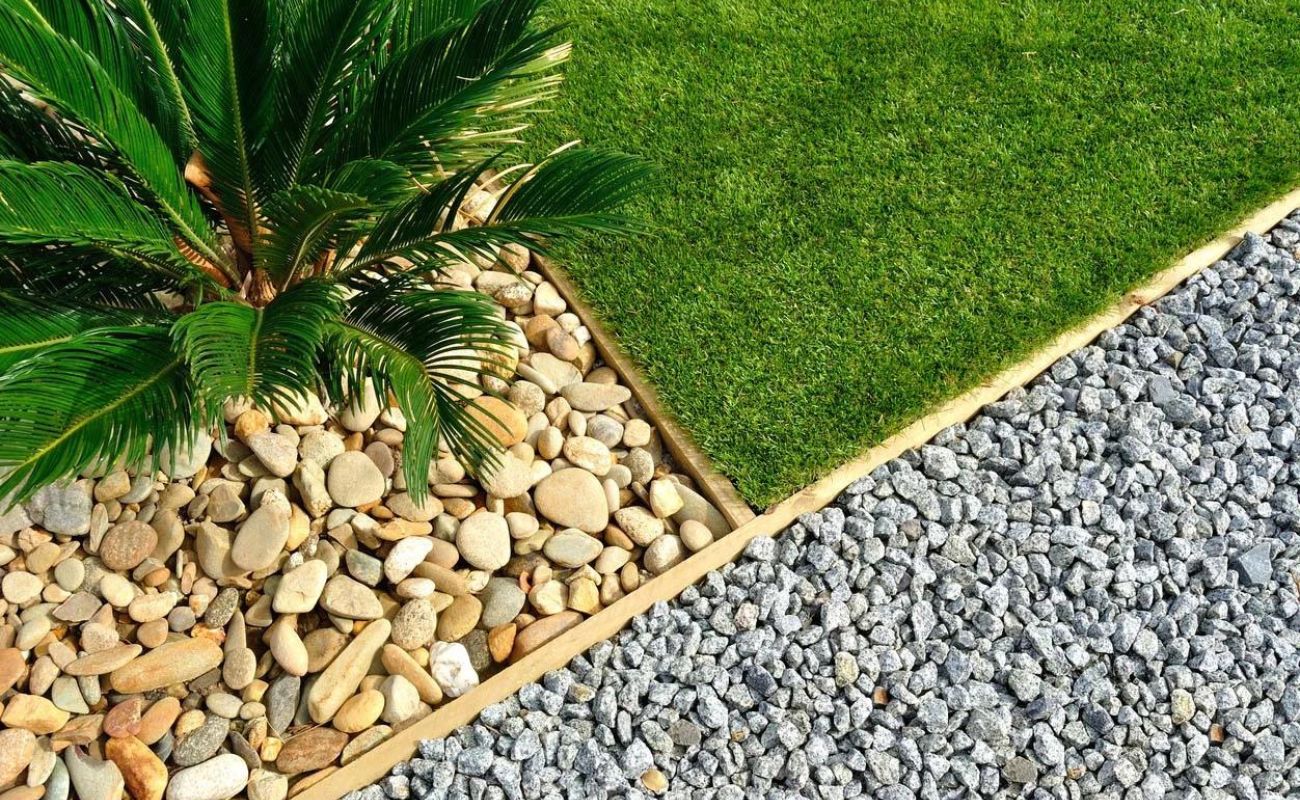
- Final touches: To make your rock even more realistic, consider adding some final touches. These could include applying a matte or gloss finish depending on the desired effect, adding some natural moss or lichens, or even placing small pebbles or gravel around the base of the rock to create a more natural setting.
Take your time with the painting process, allowing each layer to dry before adding additional colors or details. Step back periodically to assess the overall look and make any necessary adjustments.
Once you’re satisfied with the painting and finishing touches, your fake rock is ready to be placed in your garden. Find the perfect spot and enjoy the beauty of your DIY landscaping masterpiece!
Read more: How To Use Rocks For Landscaping
Conclusion
Creating your own fake rocks for landscaping is a rewarding and cost-effective way to enhance the beauty of your garden. By following the steps outlined in this guide, you can craft realistic-looking rocks that seamlessly blend into your outdoor space. Along the way, you have learned about the materials needed, shaping the rock, mixing and applying the concrete, adding texture and detail, curing the rock, and finally, painting and adding finishing touches.
By choosing the right base material, mixing the concrete to the proper consistency, and adding realistic textures and details, you can achieve stunning results. Remember to take your time and have fun during the process, allowing your creativity to shine through.
Not only does the DIY approach allow you to customize the size, shape, and color of your rocks, but it also gives you the freedom to create unique landscaping features that perfectly complement your garden design. Whether you’re aiming for a natural, rustic look or a more polished and modern aesthetic, making your own fake rocks allows you to achieve your desired outcome.
Keep in mind that proper curing and maintenance of your fake rocks are essential for their longevity and durability. Regularly inspect your rocks for any signs of damage or wear, and make necessary touch-ups or repairs to ensure they continue to enhance the beauty of your garden for years to come.
So, put your DIY skills to work and start creating stunning fake rocks for your landscaping project. With a little creativity and effort, you can transform your garden into a picturesque oasis that will leave your guests in awe. Enjoy the process and happy landscaping!
Now that you've mastered creating fake rocks, why not dive deeper into transforming your garden? Delve into our collection of inspiring rock garden ideas. With a plethora of designs ranging from serene Zen layouts to vibrant succulent arrangements, you'll find plenty of ways to bring texture and elegance to your outdoor haven. Get ready to turn those new skills into a breathtaking rock garden that neighbors will envy!
Frequently Asked Questions about How To Make Fake Rocks For Landscaping
Was this page helpful?
At Storables.com, we guarantee accurate and reliable information. Our content, validated by Expert Board Contributors, is crafted following stringent Editorial Policies. We're committed to providing you with well-researched, expert-backed insights for all your informational needs.

0 thoughts on “How To Make Fake Rocks For Landscaping”