Home>Garden Essentials>How To Make Fake Grass From Paper
Garden Essentials
How To Make Fake Grass From Paper
Modified: August 17, 2024
Discover how to create your own artificial grass using paper materials. Transform your garden with this eco-friendly alternative to real grass.
(Many of the links in this article redirect to a specific reviewed product. Your purchase of these products through affiliate links helps to generate commission for Storables.com, at no extra cost. Learn more)
Introduction
Welcome to our guide on how to make fake grass from paper! Whether you’re looking to create a realistic artificial landscape for a diorama or want to add a touch of greenery to your home decor, making your own fake grass can be a fun and satisfying project.
Using simple materials and a few easy steps, you can transform ordinary paper into a stunning replica of lush green grass. This DIY technique allows you to customize the color, texture, and length of your fake grass, giving you complete control over the final result.
Not only is making fake grass from paper a cost-effective alternative to purchasing ready-made artificial turf, but it also allows you to unleash your creativity and experiment with different techniques. So, let’s dive in and discover how to create your very own fake grass that looks and feels incredibly realistic.
Key Takeaways:
- Create your own fake grass from paper using simple materials and easy steps. Customize color, texture, and length for a cost-effective and realistic alternative to ready-made artificial turf.
- Use your handmade fake grass to enhance dioramas, table centerpieces, wall art, craft projects, and party decorations. Let your creativity shine and enjoy the endless possibilities!
Read more: How To Make Fake Grass
Materials Needed
Before we get started, let’s gather the materials you’ll need to make fake grass from paper:
- Newspapers or scrap paper
- Scissors or paper shredder
- Blender or food processor
- Water
- Bowl or large container
- Metal strainer
- Paper towels
- Plastic wrap or wax paper
- Artificial grass adhesive or white glue
- Paintbrush
- Acrylic craft paint (optional for adding color)
These materials are readily available and can be found at your local craft store or easily ordered online. It’s important to use non-glossy paper, such as newspaper or scrap paper, as it will give a more natural and textured appearance to your fake grass.
Once you have gathered all the necessary materials, you’re ready to move on to the next step: collecting and preparing the paper!
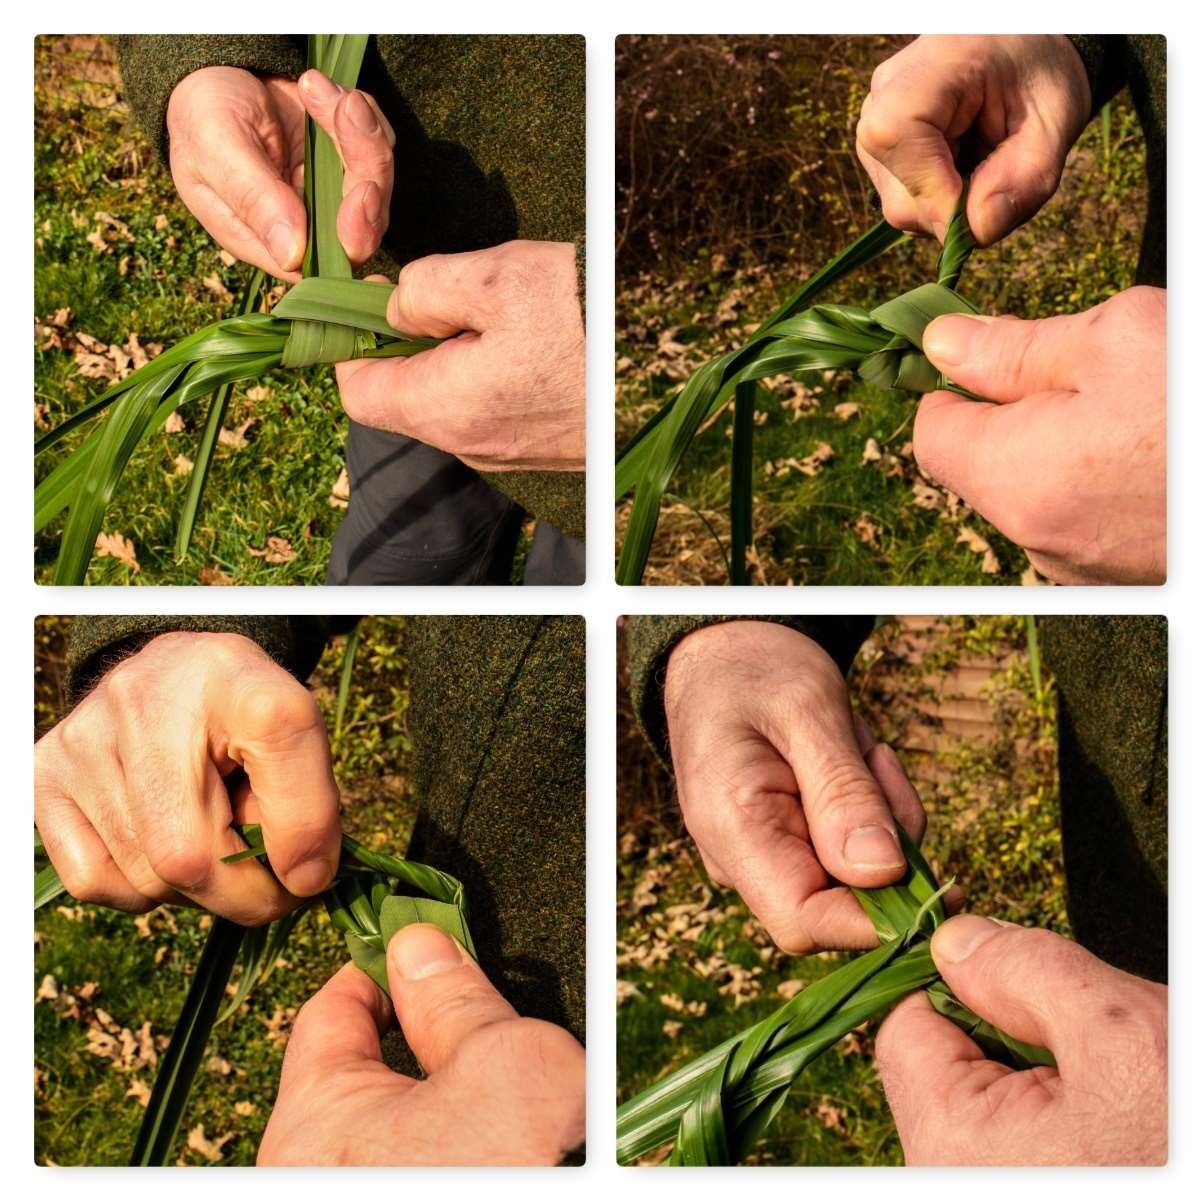
Step 1: Collecting and Preparing the Paper
The first step in making fake grass from paper is to collect and prepare the paper that you will use as the base material. Start by gathering old newspapers or scrap paper, making sure they are clean and free from any ink smudges or stains.
If you’re using whole sheets of newspaper, tear them into smaller pieces to make them more manageable. Alternatively, you can use a paper shredder to shred the paper into thin strips. Shredding the paper will not only make it easier to blend later on but also create a more natural-looking texture for your fake grass.
Once you have your shredded or torn paper ready, it’s time to move on to the next step: soaking the shredded paper to prepare it for blending.
Step 2: Shredding the Paper
Now that you have collected the paper for your fake grass, it’s time to shred it into smaller pieces. Shredding the paper will not only make it easier to blend later on but also create a more natural-looking texture for your fake grass.
If you have a paper shredder, you can simply feed the paper strips into the shredder to create fine shreds. Make sure to follow the manufacturer’s instructions and take necessary safety precautions when using the shredder.
If you don’t have a shredder, don’t worry! You can achieve the same effect by tearing the paper into smaller pieces. Simply hold a sheet of paper and tear it into thin strips, repeating the process until you have a pile of shredded paper.
Keep in mind that the size and thickness of the paper strips will determine the final appearance of your fake grass. For a more realistic look, try to create strips of varying lengths and thicknesses.
Once you have finished shredding the paper, you’re ready to move on to the next step: soaking the shredded paper to prepare it for blending.
Step 3: Soaking the Shredded Paper
Now that you have shredded the paper, it’s time to soak it to soften the fibers and prepare it for blending. Soaking the shredded paper will make it easier to break down and create a smooth grass-like consistency.
First, fill a large bowl or container with water. Make sure the water is at room temperature, as hot water can cause the paper to become too soft and mushy.
Next, add the shredded paper to the bowl of water and let it soak for about 30 minutes to an hour. During this time, the paper will absorb the water and become more pliable, making it easier to blend later on.
You can use your hands or a wooden spoon to gently stir and agitate the shredded paper in the water. This will help ensure that all of the paper is evenly soaked.
After the soaking time is complete, drain the water from the bowl. You can use a metal strainer or simply pour the water out while keeping the shredded paper in the bowl.
Squeeze out any excess water from the shredded paper. You can do this by gently pressing the paper down with your hands or using a paper towel to absorb the water.
Once you have removed the excess water, you’re ready to move on to the next step: blending the soaked paper to create a grass-like texture.
Read more: How To Make Fake Rocks For Landscaping
Step 4: Blending the Paper
Now that you have soaked the shredded paper, it’s time to blend it to create a grass-like texture. Blending the paper will break down the fibers and create a smooth mixture that resembles the appearance of grass.
There are a few different methods you can use to blend the soaked paper:
- Blender: If you have a blender or food processor, you can use it to blend the soaked paper. Place a small amount of the soaked paper into the blender and blend on low speed until you achieve a fine, pulpy consistency. Repeat this process with the remaining soaked paper until all of it is blended.
- Hand Method: If you don’t have a blender, you can use your hands to manually blend the soaked paper. Take a handful of the soaked paper and squeeze and knead it until it breaks down and becomes pulpy. Repeat this process with the rest of the soaked paper until it is all blended.
Regardless of the blending method you choose, make sure to break down the paper as much as possible to ensure a uniform texture. This will result in a more realistic-looking fake grass.
Once you have finished blending the soaked paper, you’re ready to move on to the next step: creating the grass mixture.
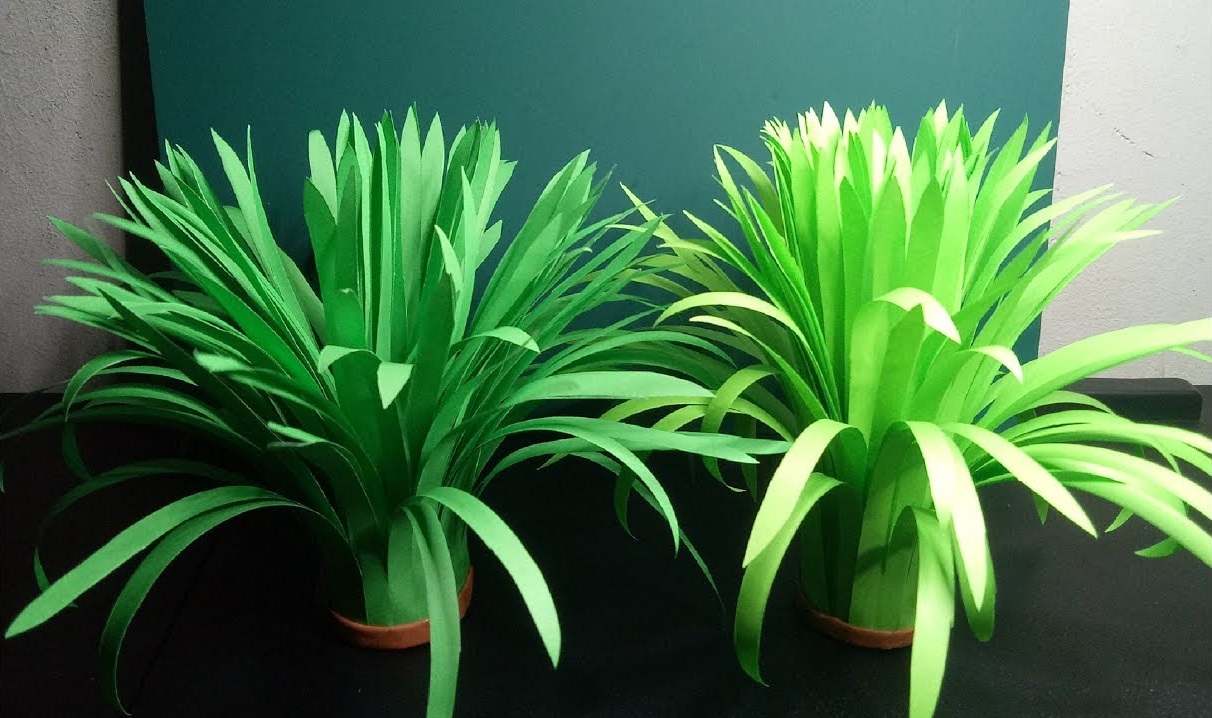
To make fake grass from paper, shred green construction paper and crumple it into small pieces. Then, glue the pieces onto a cardboard or paper surface to create a grassy texture.
Step 5: Creating the Grass Mixture
Now that you have blended the paper to create a grass-like texture, it’s time to create the grass mixture. This mixture will serve as the base for your fake grass and provide the foundation for shaping and drying.
To create the grass mixture, transfer the blended paper pulp into a clean bowl or container. If there is excess water in the pulp, gently squeeze it out using your hands or a paper towel. The pulp should be moist but not dripping wet.
Next, add a small amount of artificial grass adhesive or white glue to the pulp. Start with a tablespoon or two and gradually add more as needed. The adhesive will help bind the paper fibers together and give the fake grass more durability.
Mix the adhesive into the pulp using a spoon or your hands. Make sure the adhesive is evenly distributed throughout the mixture. As you mix, you will notice the pulp becoming more cohesive and malleable.
If you want to add color to your fake grass, this is the time to do it. You can mix in acrylic craft paint in shades of green or any other colors you desire. Add a small amount of paint to the grass mixture and blend it well until the desired color is achieved.
Once you have created the grass mixture, it’s time to shape and dry it. Move on to the next step to learn how to do this.
Step 6: Shaping and Drying the Fake Grass
With the grass mixture ready, it’s time to shape and dry your fake grass. This step will give your grass its desired appearance and allow it to harden and hold its shape.
Take a small portion of the grass mixture and shape it into a tuft or clump using your hands. You can make the tufts as small or as large as you want, depending on the size of your project or the desired effect.
Once you have shaped the tufts, place them on a surface lined with plastic wrap or wax paper. This will prevent them from sticking to the surface and allow for easier drying.
Gently press down on the tufts to flatten them slightly, mimicking the natural shape of grass blades. You can also use a paintbrush to create texture and add more definition to the grass.
Allow the shaped tufts to air dry completely. The drying time will depend on the thickness of the tufts and the humidity in your environment. It usually takes several hours to overnight for the fake grass to dry completely.
Once the fake grass is dry, carefully peel it off the plastic wrap or wax paper. It should retain its shape and have a firm, yet flexible texture similar to real grass.
Repeat the shaping and drying process with the remaining grass mixture until you have created the desired amount of fake grass for your project.
Now that your fake grass is shaped and dried, it’s ready to be used! However, if you want to add color to your fake grass, you can follow the optional step discussed in the next section.
Step 7: Optional: Adding Color to the Grass
If you want to add more depth and realism to your fake grass, you can consider adding color to it. This optional step allows you to customize the appearance of your grass and make it even more visually appealing.
To add color to the grass, you can use acrylic craft paint in shades of green or any other colors that you prefer. Here’s how to do it:
- Start by selecting the shades of green that you want to use. You can choose different shades to create a more natural and varied look.
- Squeeze a small amount of acrylic craft paint onto a palette or a disposable surface.
- Using a paintbrush, lightly dip the bristles into the paint, making sure to remove any excess.
- Gently brush the paint onto the dried fake grass, focusing on the tips and edges of the blades. This will create a subtle, realistic gradient effect.
- Repeat this process with different shades of green, blending them together for a more natural appearance.
- Allow the painted grass to dry completely before using it.
Adding color to your fake grass can give it a vibrant and lifelike appearance, adding dimension to your projects or decorative displays. However, remember to use a light touch when applying the paint to avoid saturating the grass and losing its natural texture.
Once you are satisfied with the color, your fake grass is now ready to be used in various creative ways. Let’s explore how you can incorporate it into your projects in the next step!
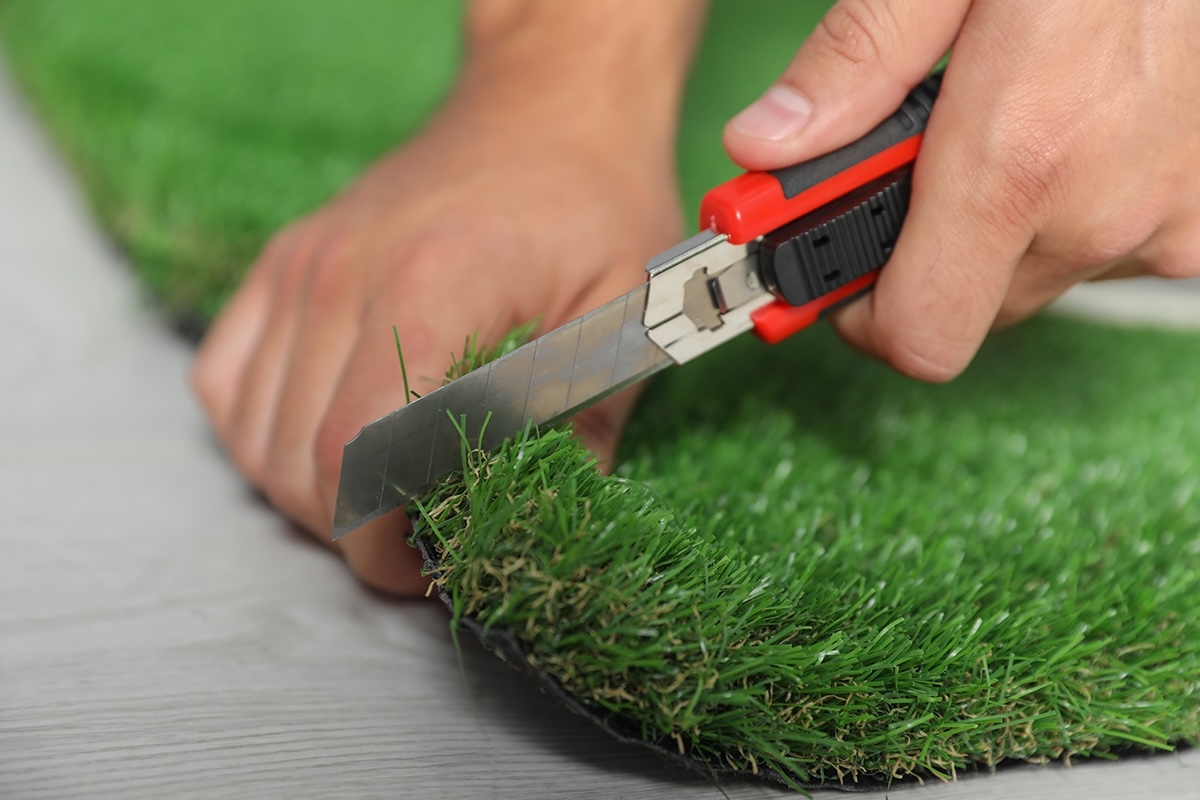
Read more: How To Remove Paint From Fake Grass
Step 8: Using the Fake Grass
Now that you have successfully created your own fake grass from paper, you can start using it in various ways to enhance your home decor or craft projects. The versatility of fake grass allows for endless possibilities. Here are a few ideas:
- Dioramas: Use the fake grass as a realistic base for dioramas, whether it’s a miniature garden scene or a model train setup. The texture and color of the grass will add depth and detail to your diorama.
- Table Centerpieces: Create eye-catching table centerpieces by placing the fake grass underneath flower arrangements or decorative objects. It can add a touch of nature and enhance the overall visual appeal.
- Wall Art: Cut the fake grass into different shapes and sizes and attach them to canvas or wooden frames to create unique and textured wall art pieces. It can bring the beauty of the outdoors inside your home.
- Craft Projects: Incorporate the fake grass into various craft projects, such as handmade cards, scrapbooking, or even creating decorative accents for gift wrapping. The grass can add a playful and whimsical touch.
- Party Decorations: Use the fake grass as a backdrop for themed parties or events. It can be especially fitting for garden-themed parties or as a base for displaying desserts and treats.
Experiment with different ways of using your fake grass to spark your creativity and add a unique touch to your projects. Don’t be afraid to combine it with other materials and elements to create stunning and personalized designs.
Remember to store your fake grass in a dry and safe place to prevent damage or deformation when not in use. With proper care, your fake grass can be reused for future projects and continue to bring life and vibrancy to your creations.
And there you have it! You have successfully learned how to make fake grass from paper. Get creative, have fun, and enjoy the endless possibilities of using your handmade fake grass.
Happy crafting!
Conclusion
Congratulations on completing your journey in creating fake grass from paper! With just a few simple steps and readily available materials, you have learned how to transform ordinary paper into a stunning replica of lush green grass.
By making your own fake grass, you not only have the ability to customize the color, texture, and length but also unleash your creativity and experiment with different techniques. The end result is a cost-effective and realistic alternative to ready-made artificial turf.
Throughout this guide, we have covered everything from collecting and preparing the paper to shaping, drying, and even adding color to the grass. Each step was designed to help you achieve the most natural-looking fake grass possible.
With your newly created fake grass, the possibilities are endless. Whether you incorporate it into dioramas, use it as unique table centerpieces, create textured wall art, or incorporate it into various craft projects, your fake grass is sure to add a touch of nature and charm to your creations.
Remember to store your fake grass properly to ensure its longevity and continue to bring life to your future projects. And don’t forget to have fun and let your creativity shine as you explore the endless possibilities of using your handmade fake grass.
Thank you for joining us on this creative journey. We hope you enjoyed learning how to make fake grass from paper and that it has inspired you to embark on more DIY projects in the future.
Happy crafting!
If you enjoyed learning how to craft fake grass from paper, you'll love our guide on creating elegant decorations for the spring season. Dive into our collection of Easter craft ideas, perfect for adding a personal touch to your celebrations. These DIY projects are simple enough for anyone to try and offer a splendid way to spruce up your home. Whether you're hosting a gathering or just want to add some festive flair, these crafts will surely set the mood.
Frequently Asked Questions about How To Make Fake Grass From Paper
Was this page helpful?
At Storables.com, we guarantee accurate and reliable information. Our content, validated by Expert Board Contributors, is crafted following stringent Editorial Policies. We're committed to providing you with well-researched, expert-backed insights for all your informational needs.


0 thoughts on “How To Make Fake Grass From Paper”