Home>Garden Essentials>How To Attach Fake Grass To A Wall
Garden Essentials
How To Attach Fake Grass To A Wall
Modified: August 27, 2024
Learn how to attach fake grass to a wall in your garden effortlessly with our step-by-step guide. Transform your space with this easy DIY project!
(Many of the links in this article redirect to a specific reviewed product. Your purchase of these products through affiliate links helps to generate commission for Storables.com, at no extra cost. Learn more)
Introduction
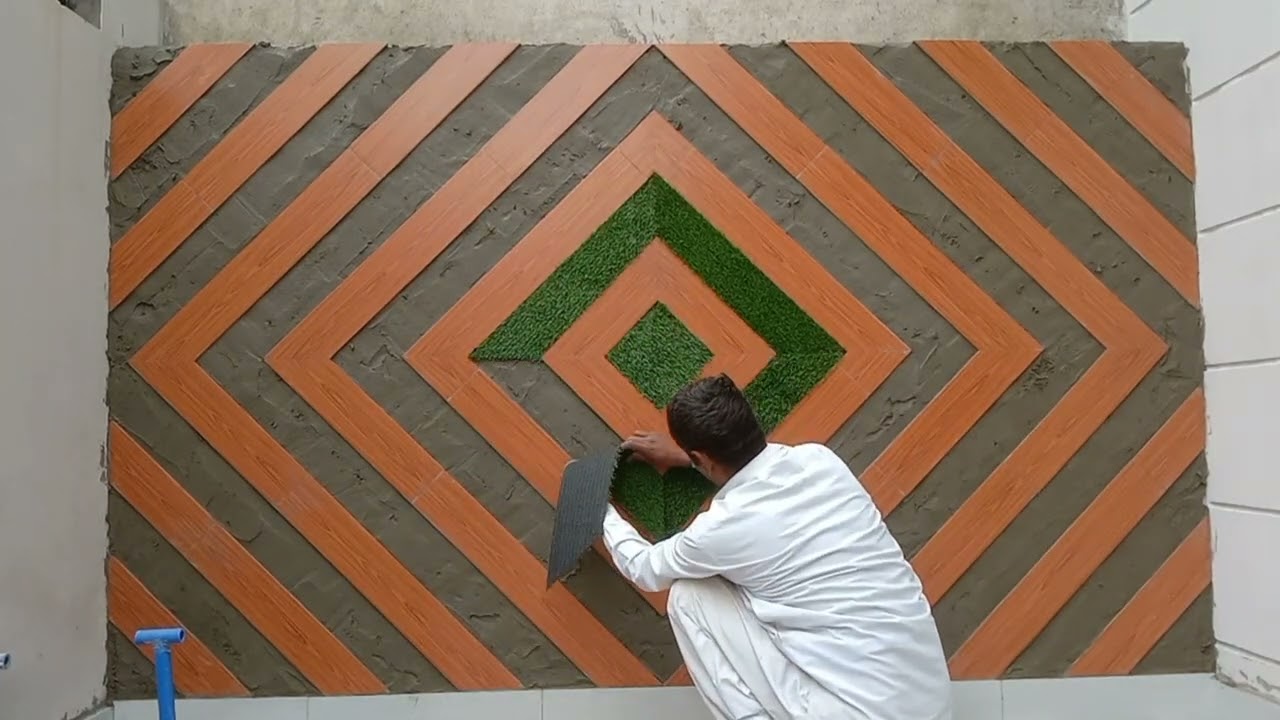
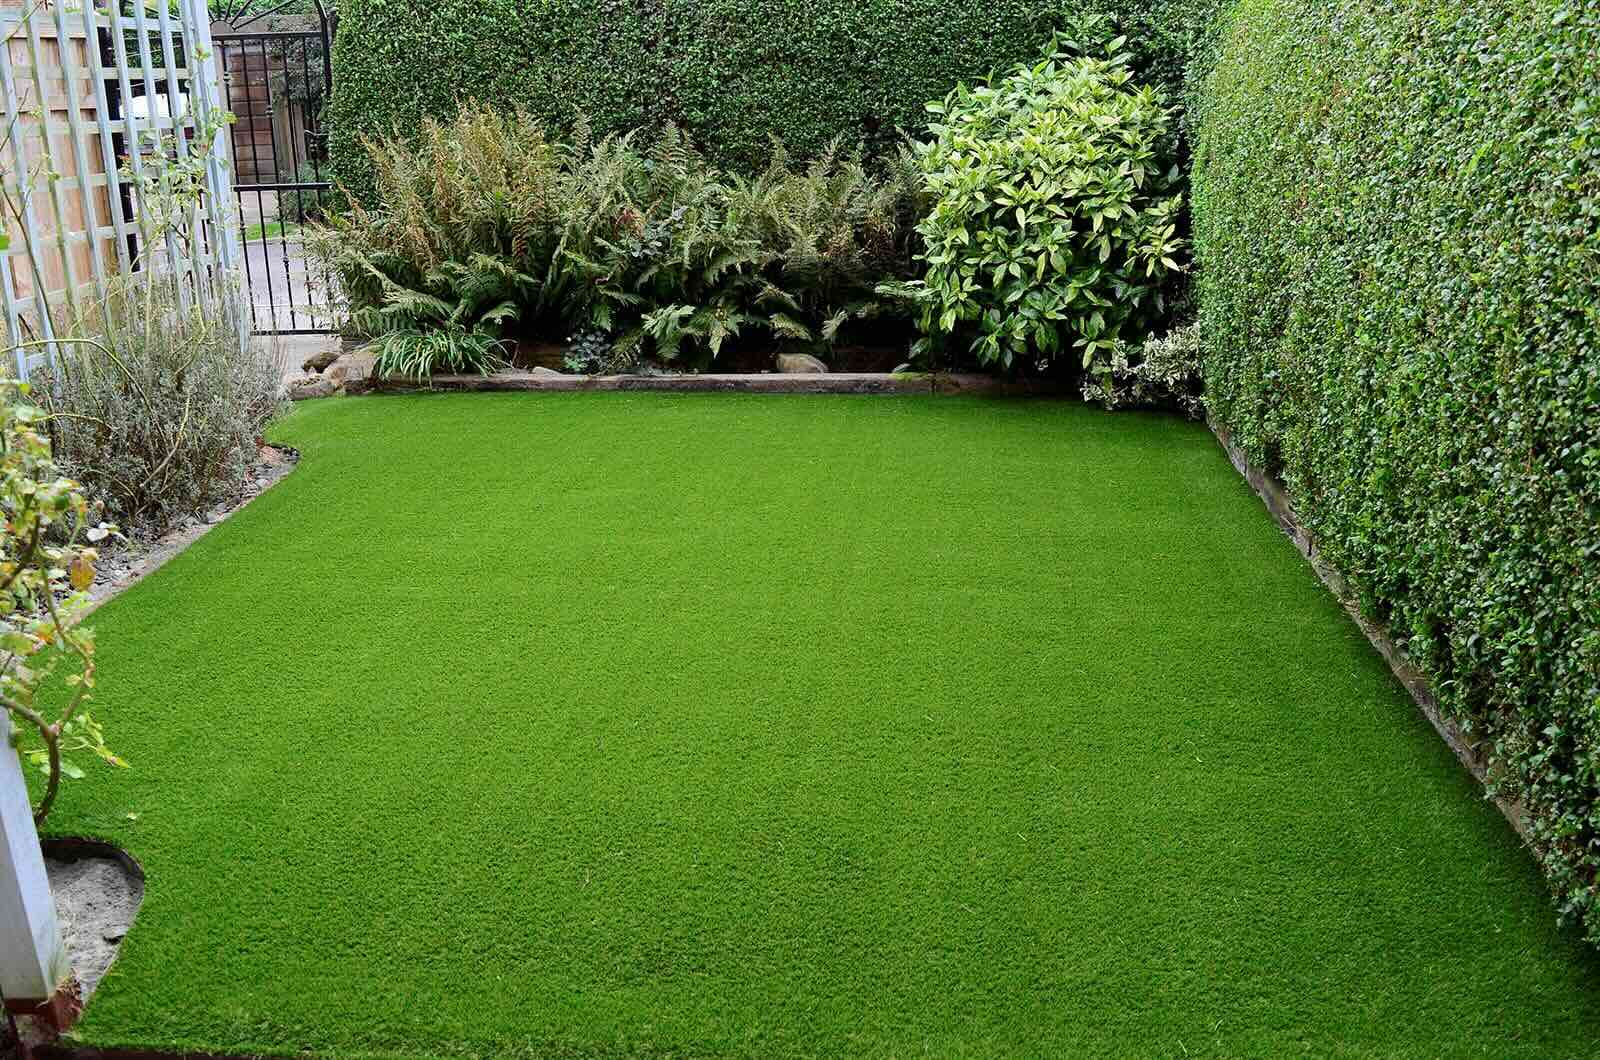
Have you ever wondered how to bring some greenery to a bare wall? Well, look no further! With the help of fake grass, you can easily transform any wall into a vibrant and inviting focal point. Whether you’re looking to add a touch of nature to your home, office, or outdoor space, attaching fake grass to a wall is a simple and effective solution.
In this article, we’ll guide you through the step-by-step process of attaching fake grass to a wall. From preparing the wall to securing the grass in place, we’ll cover all the necessary steps to achieve a stunning result. So, grab your tools and let’s get started!
Key Takeaways:
- Transform any bare wall into a vibrant focal point by attaching fake grass. Prepare the wall, measure and cut the grass, apply adhesive, and secure it in place for a stunning and inviting installation.
- Gather materials, follow step-by-step instructions, and unleash your creativity to bring life and beauty to any space with attached fake grass. Enjoy the beauty of nature without the maintenance!
Read more: What Is Fake Grass
Materials Needed
Before you begin attaching fake grass to a wall, gather the following materials:
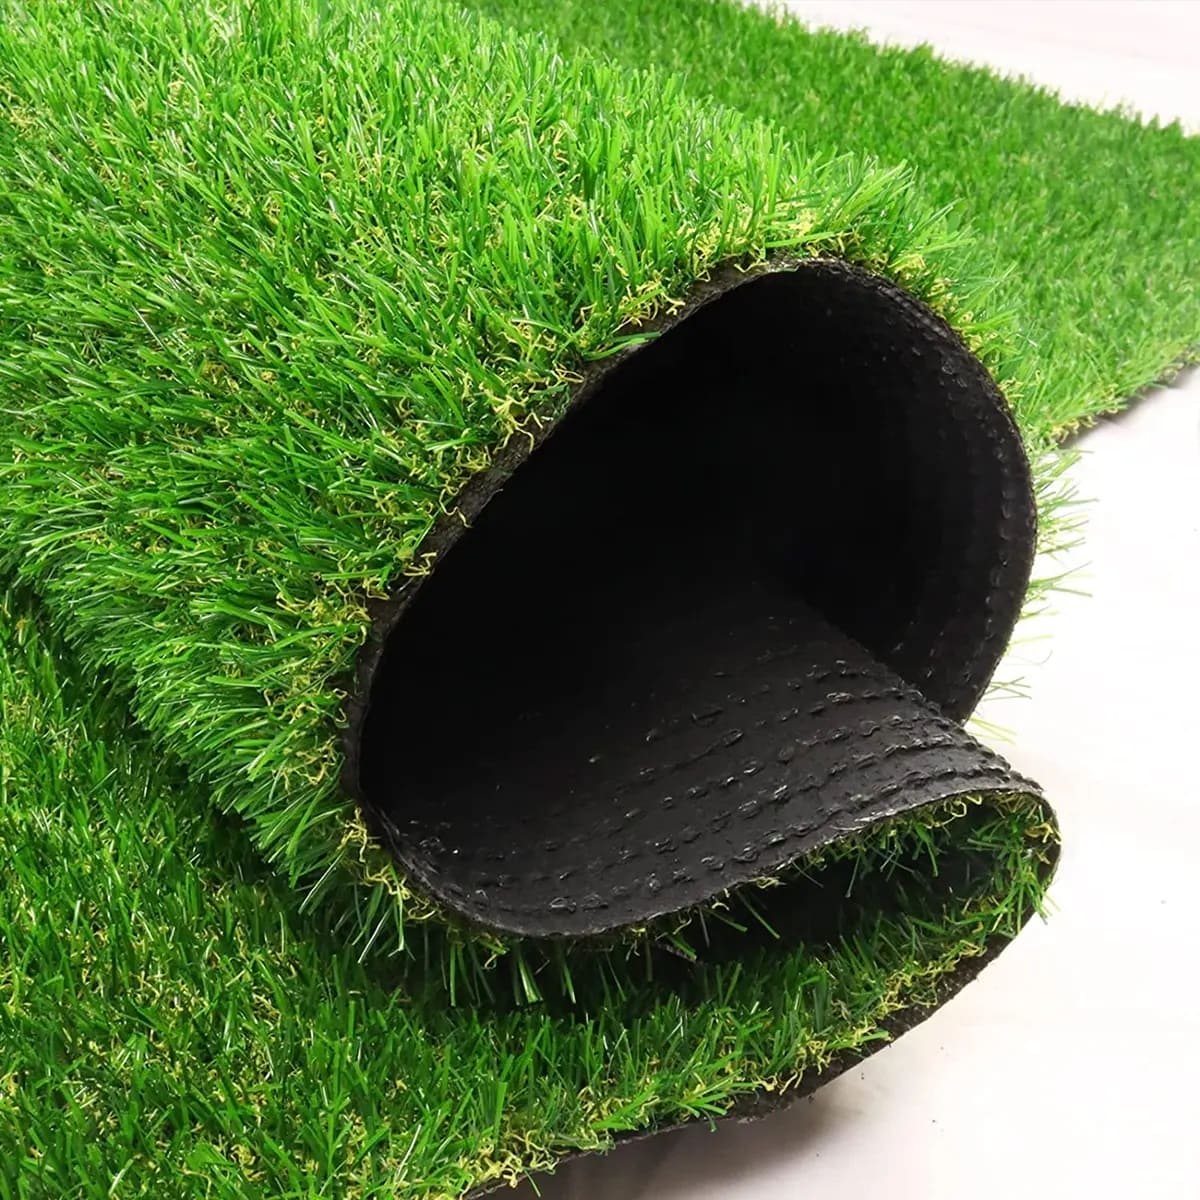
- Fake Grass: Purchase high-quality artificial grass that is suitable for outdoor use and can withstand different weather conditions. Consider the size and color of the grass, as well as the overall look you want to achieve.
- Measuring Tape: Use a measuring tape to measure the dimensions of the wall and the fake grass. This will help you determine the amount of grass you’ll need and ensure accurate cutting.
- Utility Knife: A utility knife will come in handy for cutting the fake grass to the desired size and shape.
- Adhesive: Choose a high-quality adhesive that is suitable for outdoor use and can adhere to both the wall and the fake grass. Ensure that the adhesive is waterproof and provides a strong bond.
- Paintbrush or Roller: Use a paintbrush or roller to evenly apply the adhesive onto the wall.
- Spatula or Trowel: A spatula or trowel will be useful for spreading the adhesive evenly and removing any air bubbles.
- Clamps or Nails: Depending on the weight of the fake grass, you may need clamps or nails to secure it to the wall temporarily while the adhesive sets.
- Scissors: Keep a pair of scissors handy for trimming any excess grass after it is attached to the wall.
By gathering all these materials in advance, you’ll have everything you need to complete the project smoothly and efficiently.
Step 1: Prepare the Wall
Before attaching the fake grass, it’s essential to prepare the wall surface properly. Follow these steps to ensure a smooth and long-lasting installation:
- Clean the Wall: Begin by thoroughly cleaning the wall surface. Remove any dirt, dust, or debris using a broom or a brush. If there are stubborn stains or grime, you may need to use a mild detergent or a wall cleaner and a sponge to scrub the surface clean. Allow the wall to dry completely before proceeding to the next step.
- Repair any Damages: Assess the wall for any cracks, holes, or imperfections. If you spot any, repair them using a suitable wall filler or patching compound. Follow the instructions on the product for the best results and allow the filler to dry and cure according to the recommended time.
- Sand the Wall: Depending on the condition of the wall surface, you may need to lightly sand it to create a smooth and even texture. This will help the adhesive adhere better to the wall and ensure a secure bond. Use a sanding block or sandpaper to gently sand the wall, and then wipe away any dust residue.
- Primer (if necessary): In some cases, it might be beneficial to apply a primer to the wall before attaching the fake grass. This is especially true if you’re working with a highly porous or uneven surface. Consult with a specialist in your local hardware store to determine if a primer is needed and which type would be most suitable for your specific wall surface.
By thoroughly cleaning, repairing, and preparing the wall, you’ll create an optimal base for attaching the fake grass. This will ensure a strong and long-lasting installation that can withstand different weather conditions.
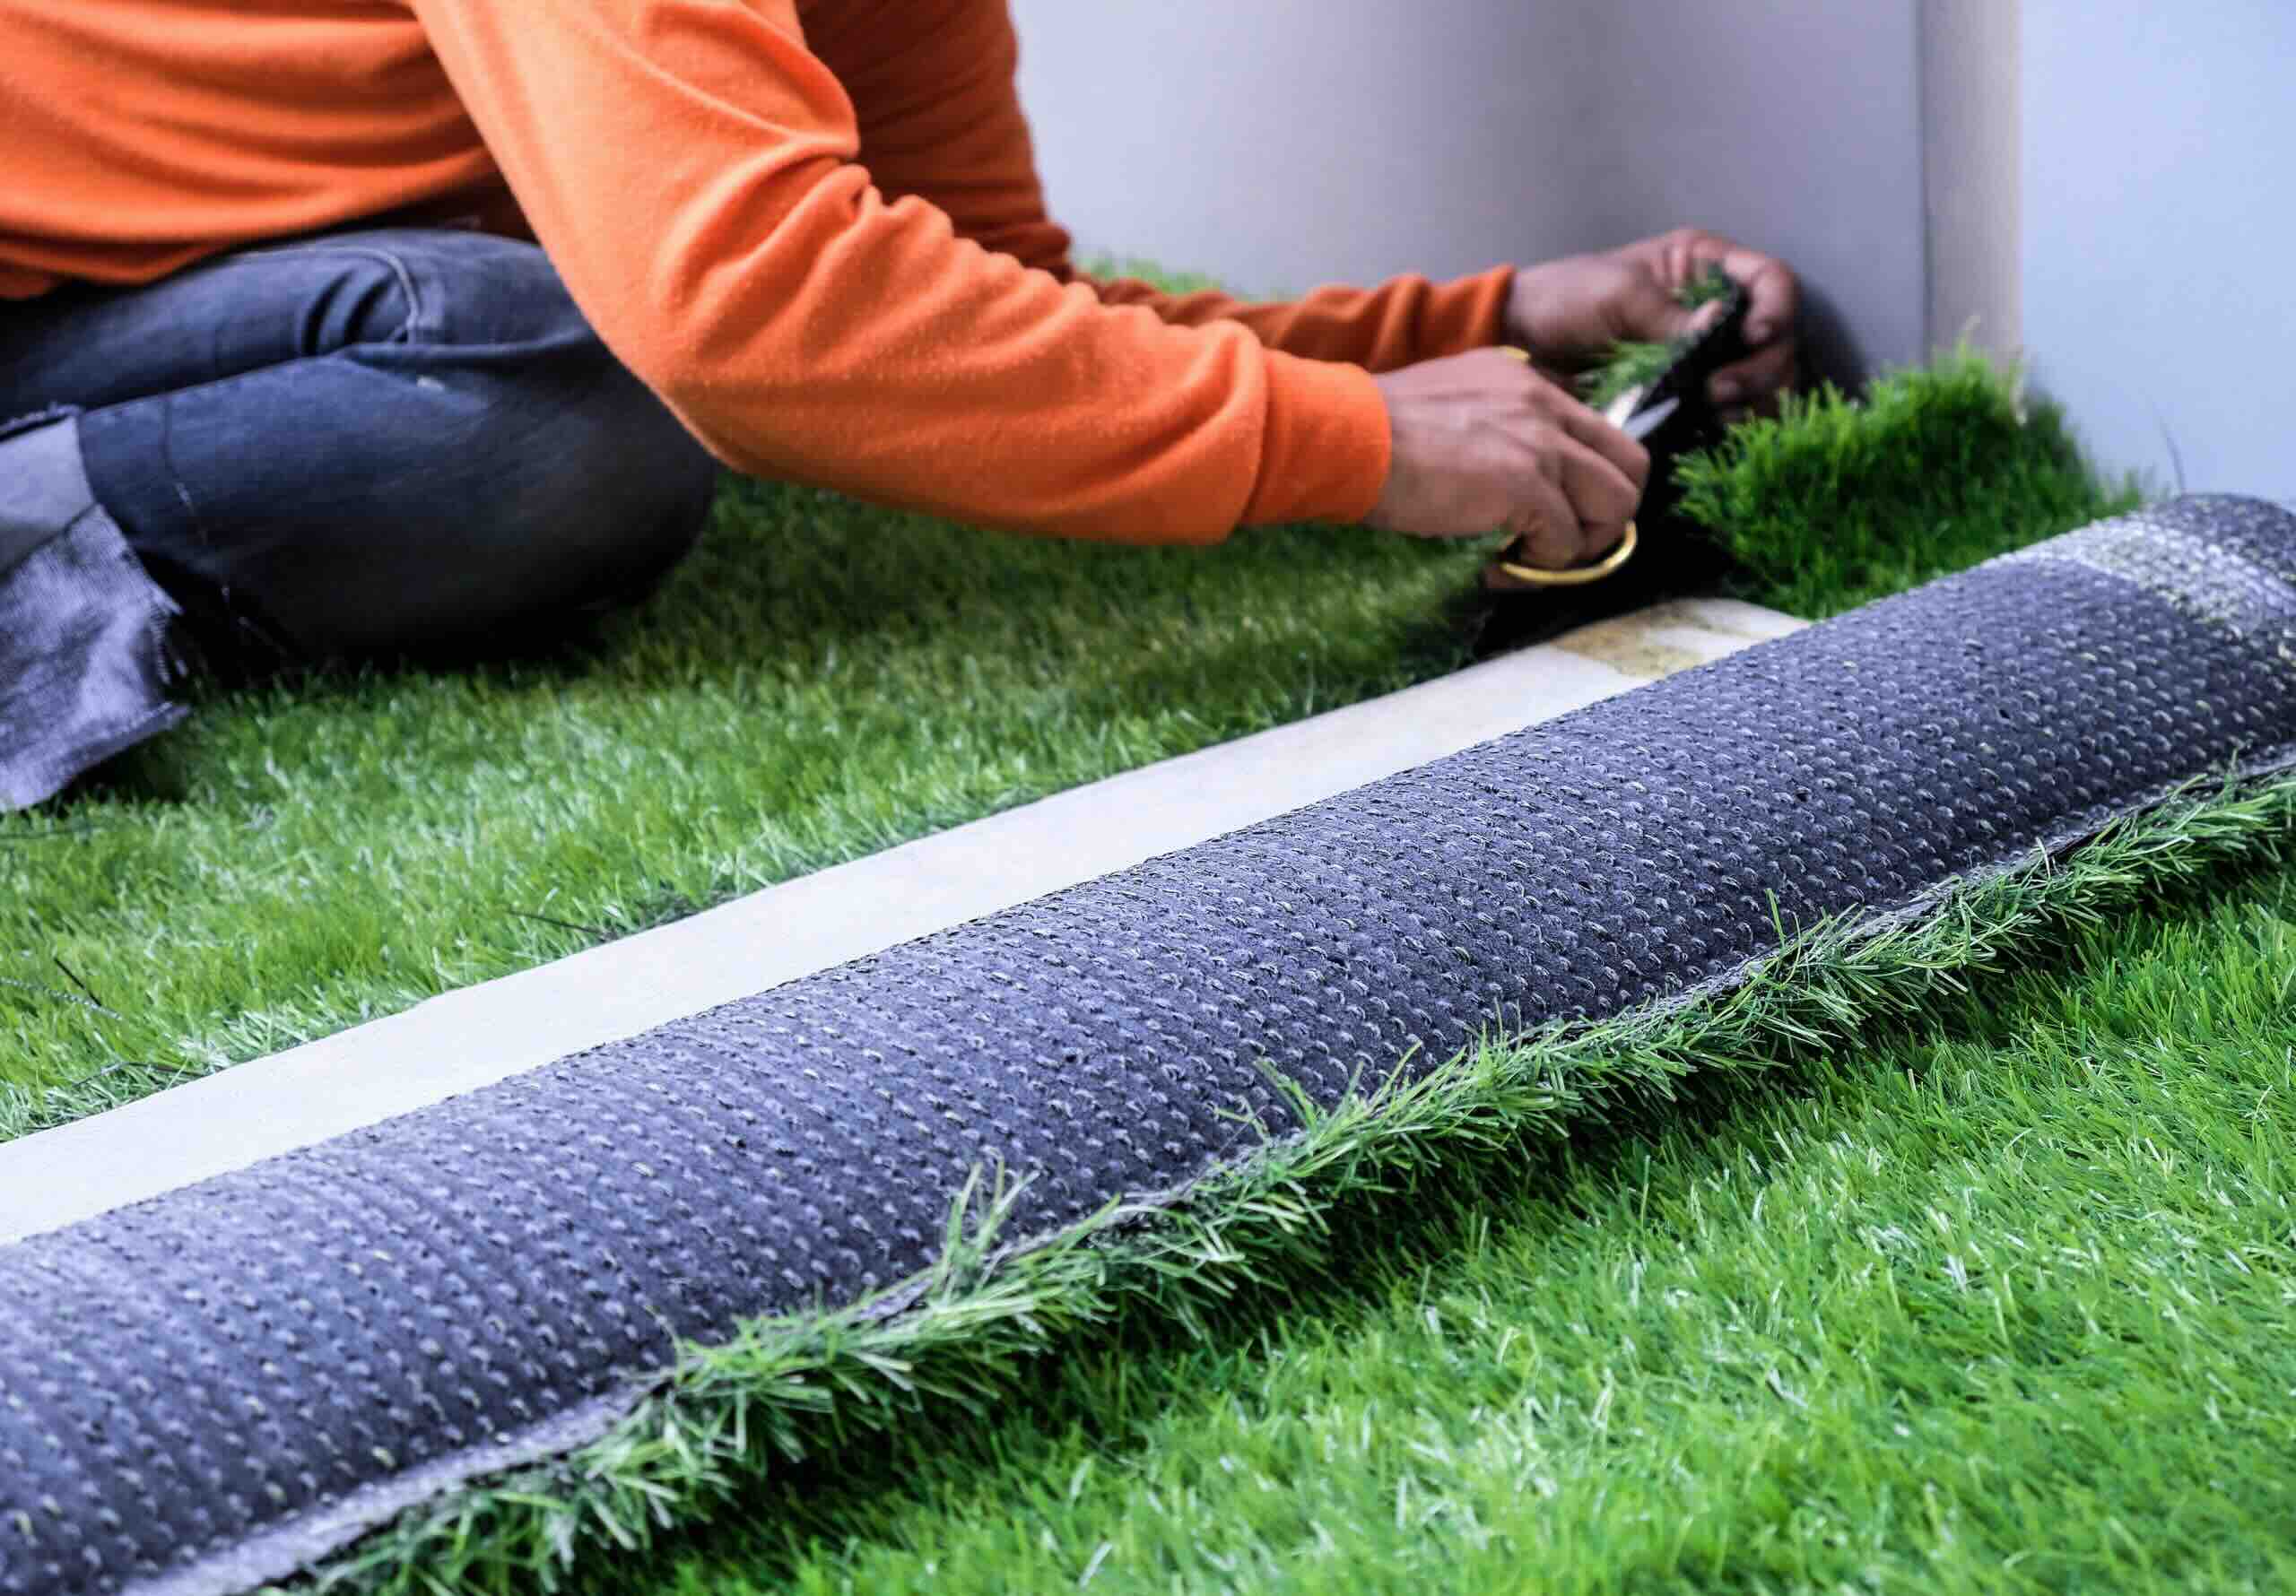
Step 2: Measure and Cut the Fake Grass
Once the wall is prepared, it’s time to measure and cut the fake grass to fit your desired dimensions. Follow these steps to ensure a precise and professional-looking result:
- Measure the Wall: Use a measuring tape to measure the height and width of the wall where you’ll be attaching the fake grass. Take accurate measurements from edge to edge, accounting for any gaps or overlaps you want to leave.
- Transfer the Measurements: Transfer the measurements onto the backside of the fake grass. Use a marker or chalk to mark the cutting lines and ensure the grass will fit perfectly on the wall.
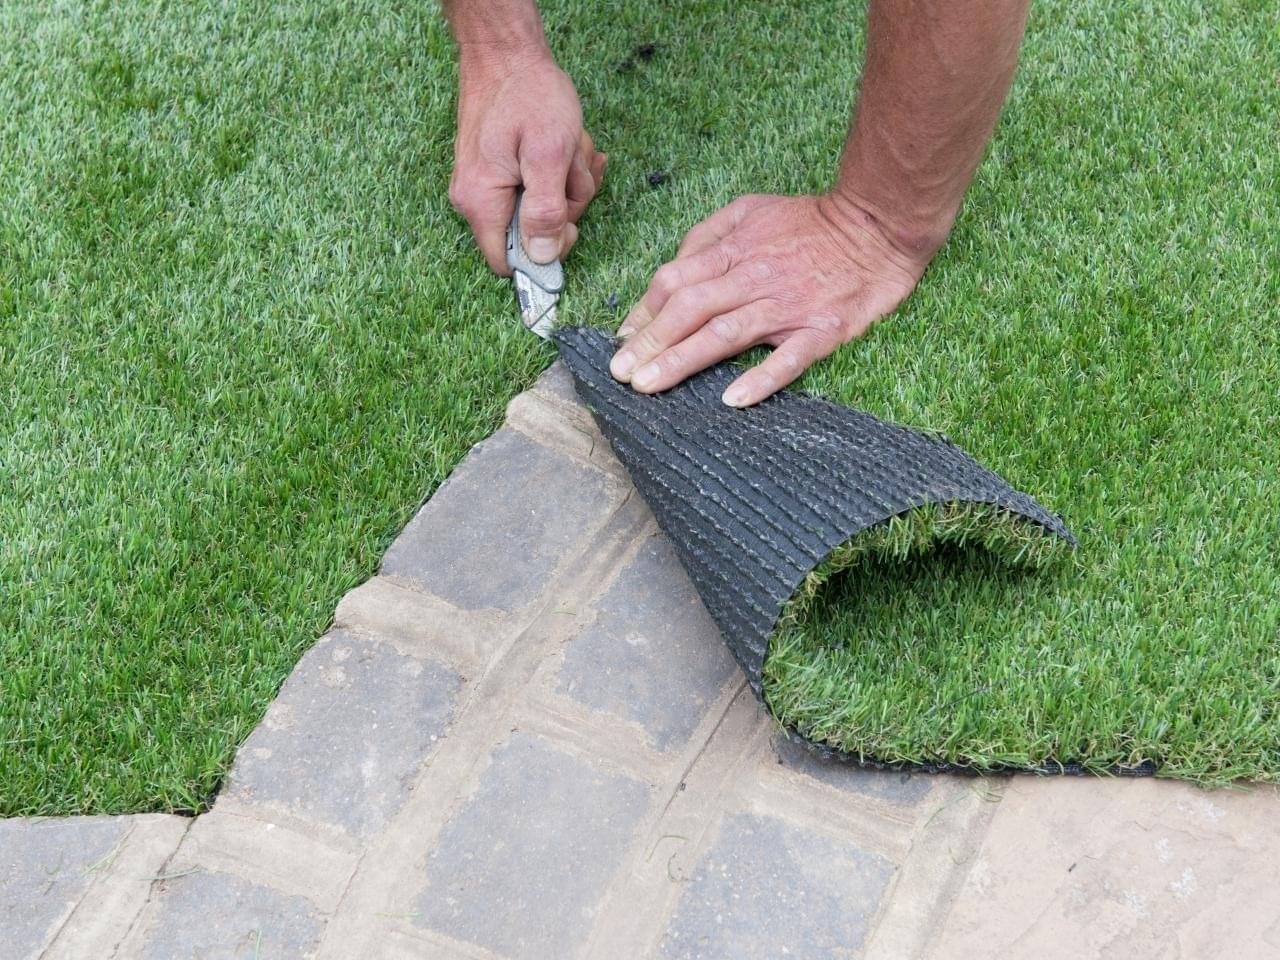
- Cut the Grass: Using a sharp utility knife, carefully cut along the marked lines to trim the fake grass to the desired size. Take your time and make clean, straight cuts to achieve a professional finish. Remember to take safety precautions and use a cutting mat or a protective surface to avoid damaging your work area.
- Check the Fit: Once the grass is cut, hold it up against the wall to check the fit. Make any necessary adjustments by trimming off additional sections if needed.
By carefully measuring and cutting the fake grass, you’ll ensure a seamless and customized fit that enhances the overall aesthetic of the wall. Taking the time to achieve accurate measurements and clean cuts will greatly contribute to the professional look of the final installation.
Step 3: Apply Adhesive to the Wall
Now that you have the fake grass cut to the desired size, it’s time to apply adhesive to the wall. Follow these steps to ensure proper adhesion and a secure installation:
- Read the Instructions: Before applying the adhesive, carefully read and follow the manufacturer’s instructions. Different adhesives may have specific guidelines and drying times, so it’s essential to understand the process.
- Prepare the Adhesive: Mix or prepare the adhesive according to the instructions provided. Use a clean bucket or container to ensure the adhesive is free from any contaminants.
- Apply the Adhesive: Using a paintbrush or roller, evenly apply a layer of adhesive onto the wall. Start from the bottom and work your way up, ensuring complete coverage and avoiding any gaps. Pay close attention to the edges and corners of the wall.
- Spread the Adhesive: Using a spatula or trowel, spread the adhesive evenly across the wall surface. This will help create a smooth and consistent layer, ensuring proper adhesion of the fake grass.
- Work in Small Sections: To prevent the adhesive from drying too quickly, work in small sections of the wall at a time. This will give you enough time to attach the fake grass before the adhesive becomes tacky.
Applying the adhesive properly is crucial for a strong and long-lasting installation. Take your time and follow the instructions provided by the adhesive manufacturer to ensure the best results.
Use a strong adhesive or double-sided tape to attach fake grass to a wall. Make sure the wall is clean and dry before applying the adhesive. Press the grass firmly against the wall to ensure it sticks properly.
Read more: How To Attach Backsplash To Wall
Step 4: Attach the Fake Grass to the Wall
With the adhesive in place, it’s time to attach the cut fake grass to the wall. Follow these steps to ensure a secure and visually appealing installation:
- Start from the Bottom: Begin by aligning the bottom edge of the fake grass with the bottom of the wall. Press it firmly against the adhesive, ensuring proper contact.
- Smooth Out the Grass: Use your hands or a clean towel to smooth out the fake grass, removing any wrinkles, air bubbles, or unevenness. Work your way from the bottom to the top, ensuring a flat and seamless installation.
- Press Firmly: Apply firm pressure to the fake grass, ensuring it adheres to the wall and the adhesive. This will help create a strong bond between the grass and the wall surface.
- Check for Alignment: Periodically step back and check the alignment of the fake grass. Ensure it is straight and properly positioned, making any necessary adjustments as you go.
- Continue Adding Rows: Repeat the process by applying adhesive to the wall and attaching additional rows of fake grass. Make sure each row is aligned with the previous one and firmly pressed against the adhesive.
As you attach the fake grass, ensure that there are no gaps between the rows and that the grass is securely adhered to the wall. Taking the time to properly align and press the grass will result in a visually pleasing and professional-looking installation.
Step 5: Secure the Grass in Place
Once the fake grass is attached to the wall, it’s important to secure it in place to ensure a stable and long-lasting installation. Follow these steps to secure the grass and prevent any movement:
- Use Clamps: If the fake grass is lightweight, you can use clamps to temporarily hold it in place while the adhesive sets. Attach the clamps to the top edge of the grass, ensuring they don’t damage or leave marks on the grass or the wall.
- Use Nails or Staples: For heavier fake grass or outdoor installations, you can use nails or staples to secure the grass to the wall. Drive them through the top edge of the grass into the wall, spacing them evenly to provide sufficient support.
- Check for Stability: Once the grass is secured, gently tug on it to ensure it is stable and doesn’t move. Make any necessary adjustments or additional clamping/stapling to ensure a secure hold.
By securing the fake grass in place, you’ll prevent any shifting or movement that could compromise the installation. This step is especially important for outdoor installations that are exposed to wind or other environmental factors.
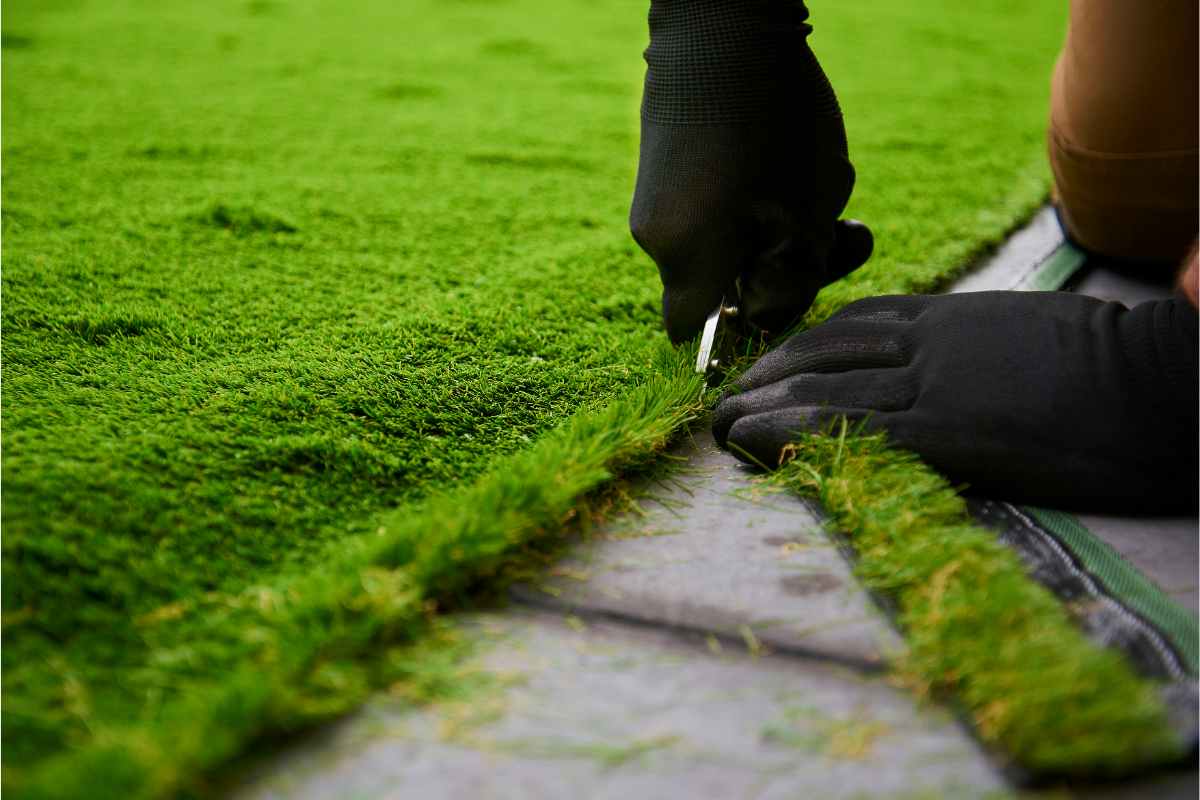
Step 6: Trim Excess Grass
After securing the fake grass in place, there may be some excess grass that needs to be trimmed for a neater and more polished look. Follow these steps to trim the excess grass:
- Inspect the Edges: Examine the edges of the fake grass where it meets the wall. Look for any areas where the grass extends beyond the desired boundary or appears uneven.
- Use Scissors: Carefully use a pair of scissors to trim the excess grass along the edges. Take small, precise cuts to achieve a clean and tidy appearance. Be cautious not to cut into the wall or damage the surrounding grass.
- Create a Smooth Edge: As you trim, aim to create a smooth and seamless edge between the fake grass and the wall. This will enhance the overall aesthetics of the installation.
Make sure to take your time during this step and be patient. It’s better to make smaller cuts and gradually trim the excess grass rather than cutting too much at once. Take breaks to step back and evaluate the result, making any necessary adjustments along the way.
Step 7: Allow the Adhesive to Dry
Once you have trimmed the excess grass, it’s crucial to allow the adhesive to fully dry and set. Follow these steps to ensure a strong and durable attachment:
- Read the Drying Time: Refer to the adhesive manufacturer’s instructions to determine the recommended drying time. Different adhesives may require varying lengths of time to fully dry and set.
- Avoid Disturbing the Installation: During the drying period, avoid touching, moving, or putting any pressure on the fake grass. It’s important to allow the adhesive to dry undisturbed for the best results.
- Consider Climate Factors: The drying time may be affected by external factors such as temperature and humidity. If you’re working in a humid or cold environment, allow for extra drying time to ensure the adhesive sets properly.
- Test for Dryness: After the recommended drying time has passed, perform a simple test to ensure the adhesive is fully dry. Gently press a small area of the fake grass against the wall and release it. If it does not move or detach, it’s a sign that the adhesive has properly dried.
Allowing the adhesive ample time to dry is vital for the longevity of the installation. Rushing the drying process may result in a weaker bond, which can lead to the fake grass peeling or detaching from the wall.
Once the adhesive is completely dry and set, you can enjoy your newly attached fake grass wall, adding a touch of greenery and visual appeal to your space.
Read more: How To Cut Fake Grass To Size
Conclusion
Attaching fake grass to a wall is a creative and effective way to add a touch of nature and beauty to any space. By following the step-by-step process outlined in this article, you can achieve a professional and visually stunning installation.
Starting with preparing the wall by cleaning, repairing, and priming if necessary, ensures a solid base for the fake grass. Measuring and cutting the grass to fit the wall dimensions allows for a customized and seamless look. Applying the adhesive properly and securing the grass in place guarantees a secure and stable hold. Trimming excess grass and allowing the adhesive to dry completely ensures a polished and finished appearance.
Remember to gather all the necessary materials before starting the project, including high-quality fake grass, measuring tape, adhesive, and tools such as scissors, spatula or trowel, and clamps or nails. Taking the time to gather the right materials will make the installation process smoother and more successful.
By following these steps and adding your own personal touch, you can transform a plain wall into a vibrant and eye-catching feature. Whether it’s in your home, office, or outdoor space, the attached fake grass will create a refreshing and inviting atmosphere.
So, unleash your creativity and dive into the world of artificial greenery. Attach fake grass to a wall and watch as it brings life and beauty to your surroundings. Get ready to enjoy the beauty of nature without the maintenance and care required for real grass. With a bit of time and effort, you can achieve a stunning wall installation that will leave everyone impressed.
Now that you've mastered attaching fake grass to a wall, why not dive deeper into DIY projects that spruce up your home? Whether you're eager to add unique touches with handmade decor or want to tackle larger projects like laying down a lush, artificial lawn, we've got guides ready to help. Each step-by-step tutorial will arm you with the skills needed to transform any space into a personalized paradise.
Frequently Asked Questions about How To Attach Fake Grass To A Wall
Was this page helpful?
At Storables.com, we guarantee accurate and reliable information. Our content, validated by Expert Board Contributors, is crafted following stringent Editorial Policies. We're committed to providing you with well-researched, expert-backed insights for all your informational needs.

0 thoughts on “How To Attach Fake Grass To A Wall”